Light Graffiti

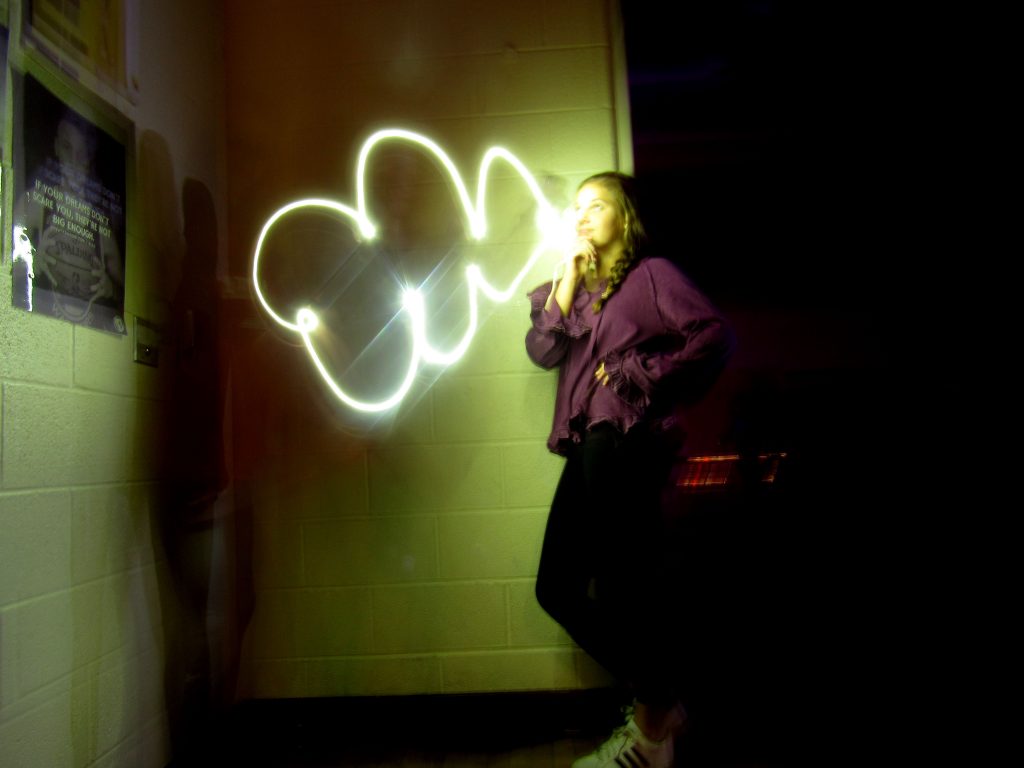
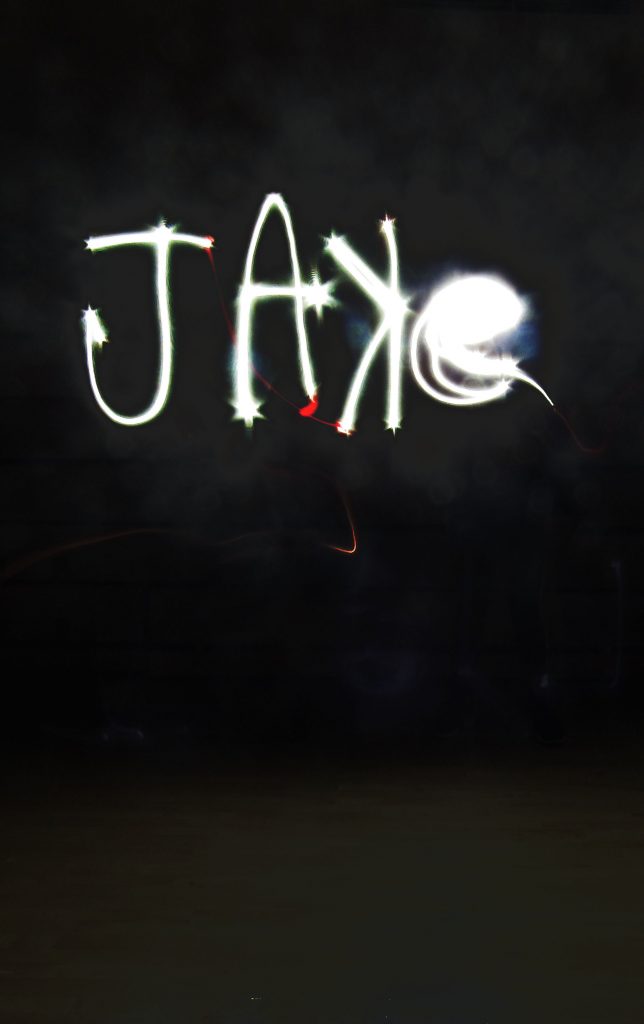
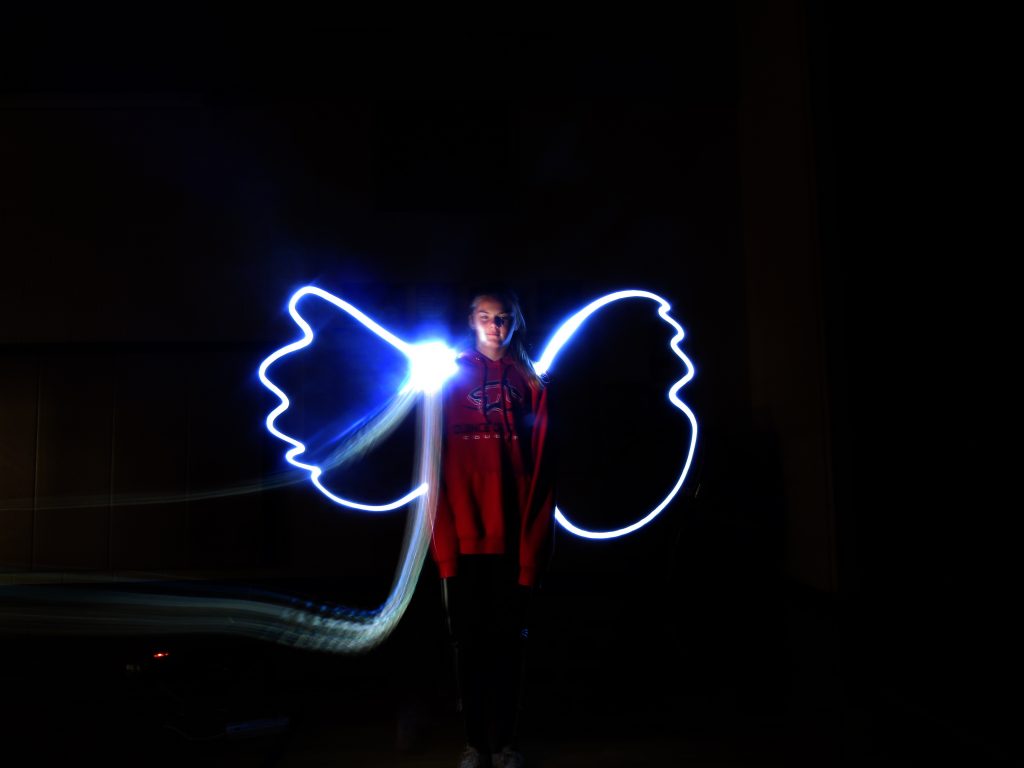
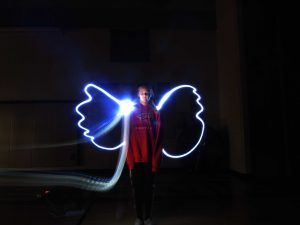
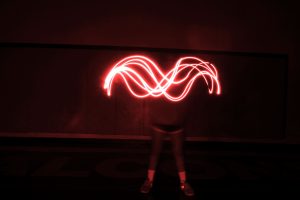
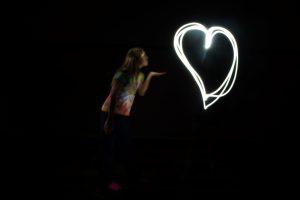
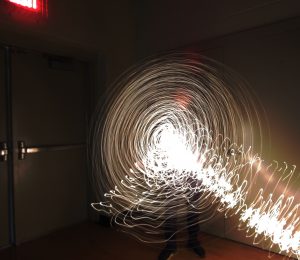
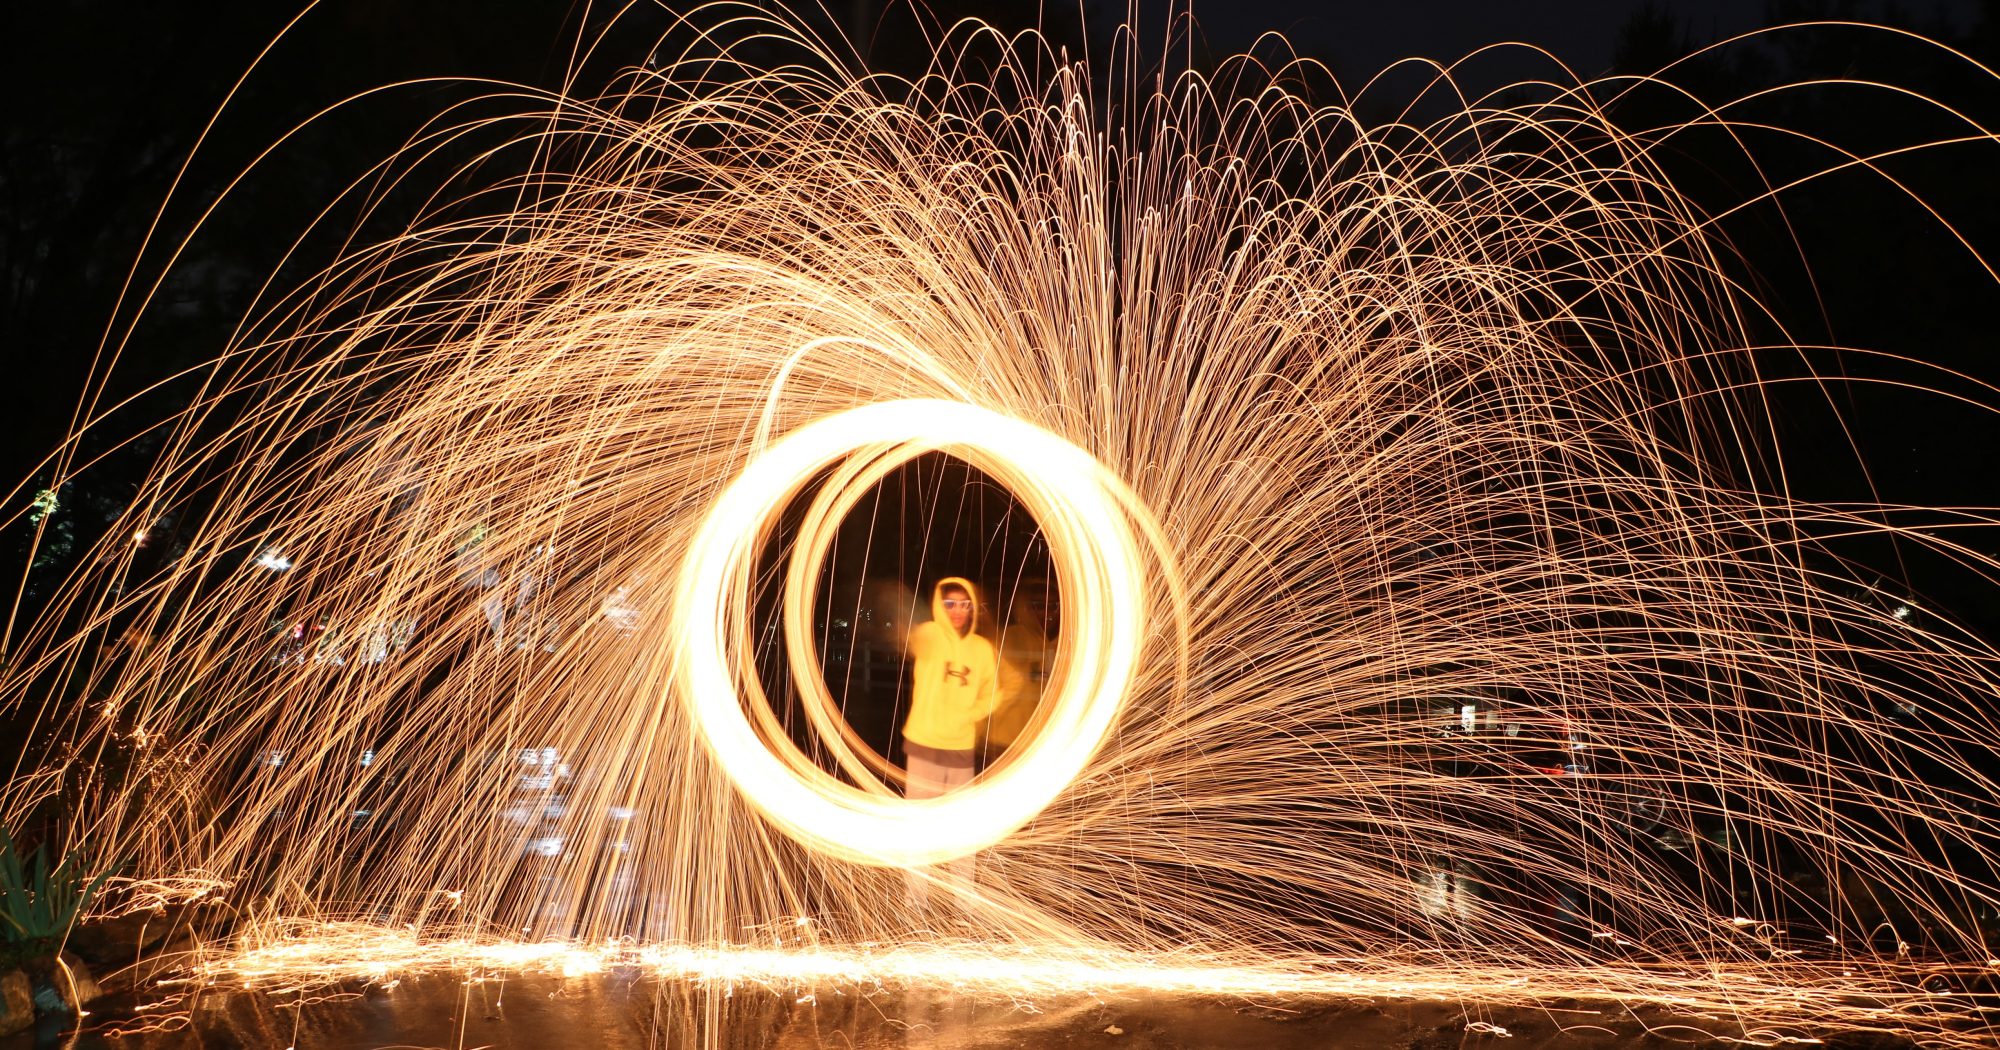
For this project we had to use many different settings and had to mes around a lot. This was because we had many challenges. One of the biggest challenges was lighting the person up. When we did it we were sometimes to close so it would look as if they were very white. Sometimes you couldn’t see them at all. When we messed with the F-stop on certain images we found that it was better to only do one layer at parts because then the camera wouldn’t capture so much that it would overpower it. This project was very fun because you could draw and make whatever you wanted. Whether it was a setting or powers coming from the person.

Here is the link for more of the photos we took- https://photos.app.goo.gl/1LDejv4Hew9lOoEk1

Light Graffiti

In this project we were told to create interesting pictures with flashlights by messing with the camera’s settings.  First we went to the gym and turned off all the lights so that it was pitch black.  Then, we changed the shutter speed to 15 seconds so that the camera would allow the light to come in.  After that we shined our flashlight at the camera and created a design and the final result was an interesting picture with light graffiti.  Some of the challenges in this project were if you were posing for the picture you couldn’t move at all or else the picture would be messed up and you would have to retake it.  Another challenge was if you were shining your flashlight and creating a design you couldn’t see what you had already drawn so you might go over it again and mess it up.  Some of the things that worked in this project were that it was easy to set up the camera and take the picture because you just set the shutter speed to 15 seconds then take the picture and leave it.  The picture below is my favorite picture because I find it interesting that the k is backwards.  Below is a link to the rest of  the pictures we took.   https://photos.app.goo.gl/cGH5rQ1259bpPWMf1

Light Graffiti

This project was probably the most fun so far this year and the hardest too. It was fun because we could be creative in the light painting. To get the picture the way it is we had someone with Christmas lights throwing them up and down so you see the light streak. This worked because the shutter speed was at 15 seconds so that the light travels around. We had to move quickly too so the camera didn’t pick us up. It didn’t work when you moved slowly and then there was just random white lights. It was a lot of trial and error as it took 4 days to get 5 good photo’s. To take this project to the next level I think if we used mirrors or water in a cool way to make reflections. Also because so many people were doing this project at the same time there was a lot of light coming into the camera so it was hard. Because of that if we were in a bigger space it would be easier.

https://photos.app.goo.gl/Tkxycla7WzhvZEGa2

Light Graffiti

In this project we were asked to create images using light photography in the dark. We had to adjust the shutter speed and ISO to make the photo look good and so you could see the light. The shutter speed was most important because it allowed us to create shaped with the lights for a maximum of 15 seconds and the camera was sucking in the light to make the shapes viable in a picture. This project was very fun but also very challenging. It was hard at first because we had to learn how to properly light up the person and images so you can see the person and words/ pictures without lighting up someone else.  Below are my five favorite photos that my group created and the link to all my other photos.

https://photos.app.goo.gl/MPaRxI34gi6Paykl1

Infinite Backgrounds


This project was about making the backgrounds of the picture look infinite, that meant trying to avoid showing shadows. I had to adjust the camera’s ISO, Shutter Speed, and F-stop to get my picture just right. The hardest part of the project was editing the photos so that you couldn’t see the shadows, so I had to crop out a lot of things. The easiest part of the project was posing for the pictures. I hope you like my pictures as much as I do.  Link is below.


https://photos.app.goo.gl/iFgsXty5OoUlxQS12


Light Graffiti

In this project we were supposed to take pictures using light photography with our flashlights. A key part of this project was the ISO and shutter speed. The shutter speed allowed us to move the lights to make the shape we wanted, while all that was happening the camera was taking in all the light being flashed. The shutter speed was usually 15 seconds but  in some cases we shortened it. In some scenarios we would want our person to be seen, so we would  shine with the flashlight and other times we kept them dark. In the picture above, we lit the person in the middle after we made the wings, the blue line behind the wing is there because the person lighting them forgot to turn off  the light, but the final product was cool.

One of the challenges of this project was to make sure to have the right timing and not get the people behind the scenes in the background. This was my favorite project so far, because we had lots of freedom and creativity. Here is the link to the rest of my  photos. https://photos.app.goo.gl/KmNW8GE9g2IRlXNq2

Light Graffiti

I used my camera and photo shop to edit and take pictures.  The dark work worked in our pictures.  Sometimes the light didn’t work.  For example the person coloring the other person would sometimes show up.


https://photos.app.goo.gl/UulhSuhU7LX62gi63


Light Graffiti

This week in class, I had to create “Light Graffiti” by using different sources of light, and certain shutter speeds. During this project I set my shutter speed to at least 5 seconds, depending on the picture I wanted to take. Also, all of the lights had to be off, so no other light would interfere with the picture. I edited my photos on Adobe Photoshop, to darken the background, to get a photo I was satisfied with. A challenge in this project was trying to hide the people creating the light. The rest of the project was easy to learn, and apply to my photos. The picture below is my favorite picture…

Click the link below to see more of my photos!!

https://photos.app.goo.gl/Uh2oiyw3KhYLVTPM2

Light Grafiti

The project this was a part of was was Light Graffiti. It was a very cool Project. You had to put the shutter speed on 15 seconds so you could light up the scene and then you put your Flashlight towards the camera to make cool light designs to make the picture cool. It was hard to create a cool design done without going crazy and ruining the picture. Also,it was easier to already have someone in position to light the picture. Also, it was Frustrating because you could not know what you were painting in the air. I think we could do it out side where it is dark and get more cool lights.

Album Link :https://photos.app.goo.gl/H9hjWeyNqq73Ns8K2


Light Graffiti

In Photography class we had to take a flashlight and have a room completely dark and than we had to draw some thing and someone would have to take a picture and than your drawing would show up like the examples I have below. Also, we had to mess around with the photos a lot in order to make it look like that for example we had a certain time limit to draw something and than we had to keep a straight face throughout the whole time until the picture was taken.


https://photos.google.com/album/AF1QipP4YK7CRzhW12MRKHm4khpC-lSawjsZYopCJVYy