Light Graffiti

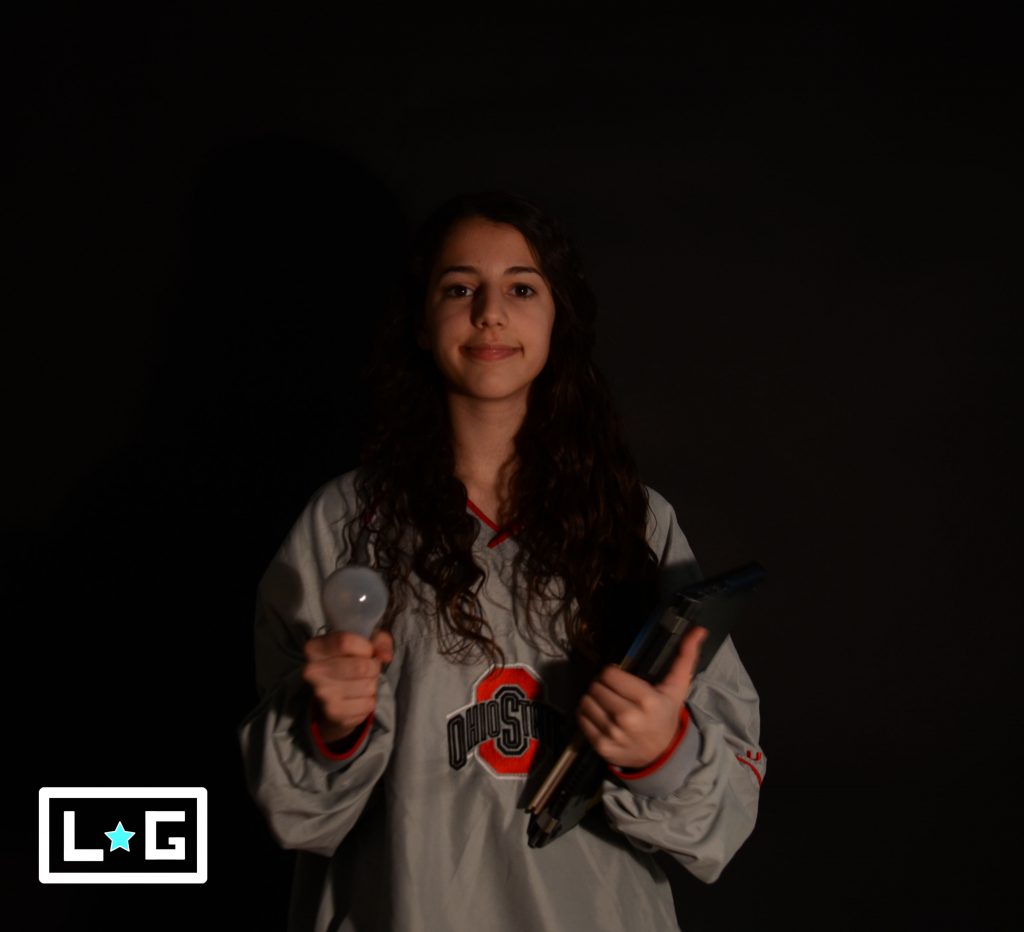
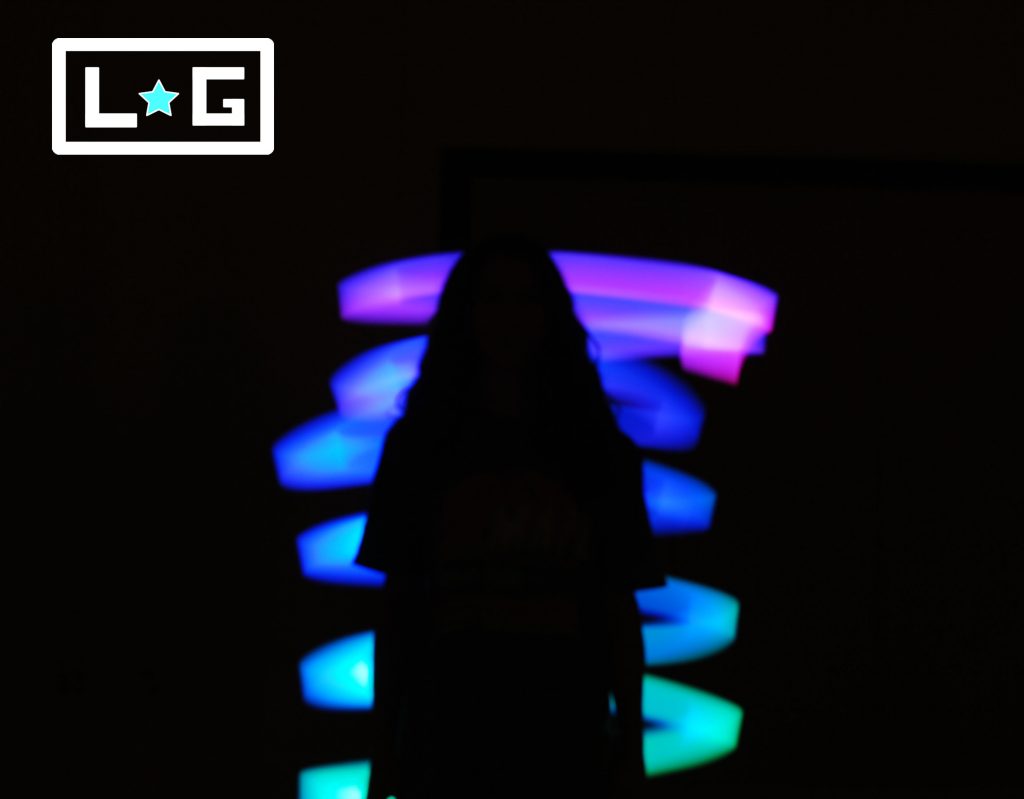
For these pictures, we needed to take our pictures in a very dark area so that the light would show up the best way possible. To do this, we went into the gym and turned off all the lights. Also, we had to have the camera set to very low ISO so that the camera wouldn’t take in as much light. We found it worked best if everything and everyone stayed as still as possible, so that the picture is focused and not blurry. We found that it didn’t work to have too much light coming in or leaving the camera open for too long, because it would mess up the lighting. It was frustrating when my group wouldn’t all be working and cooperating, because we couldn’t get as many pictures or the best quality pictures. To make this project even better, maybe be more specific about the kinds of pictures we should take, because it was very open-ended.

Click here to see the rest of my photos.

Lego Portraits

For this project, we took very close up pictures of Legos, to make them look like they are normal size and not tiny objects. Also, our pictures were supposed to tell a story of something happening. Similarly to the macro pictures, we had to take very close up pictures of objects without them becoming out of focus. Once again, I used the VSCO app to focus my pictures as best as possible.The hardest part of this project for me was to come up with good ideas to take pictures that made sense and were original. Also, I had trouble taking pictures from a good angle. If I were to take 5 more pictures, I would photograph different characters and maybe even more interesting scenes, outdoor and inside.

Going for a Float
Boat in the Grass?
Poisonous Picnic

Macro Pictures

For this task, we were asked to take very close up pictures of objects, as close as possible without the object or image becoming blurry. For this project I found it very helpful to use the VSCO Camera app on my phone to focus my photos. I hadn’t ever used this app before, so I was surprised at how helpful it was to take better quality photos. I found it kind of challenging to find some interesting and different objects to take photos of, instead of just basic things like flowers. Although it was slightly challenging to take creative photos, I did not have trouble using my phone to take photos. If I had the right equipment and ability, I would like to take close up pictures of flowers, because I find them very interesting to look at and fun to take pictures of.

Click here for the rest of my photos.

Action Photos

For this project, we took pictures of objects in motion, mostly people. The main point of the project was to keep the photo in focus, while the motion was being performed. The action we were doing had to be something that cannot be posed, like a person jumping through the air. To make sure the photos were not blurry and in focus, I used the burst feature on my phone to get many photos taken together in the same amount of time. I would recommend to try a variety of things when taking action photos and to be patient, because sometimes it takes a few tries to get the shot you want. If I could I would photograph soccer and take action pictures during a soccer game. I would take pictures of a soccer game because there are many different opportunities for creative photos and things that cannot be staged.

Click here to find the rest of my photos.

Framing Your Subject

For this project, we had to be creative and find different gaps in buildings or breaks in structures to make one main focus in our photos. This helped to make our photos more creative and interesting. This is different from the Rule of Thirds project in many ways. Mainly, the objective is different. In Rule of Thirds, we had to have the main focus of the image on one or two of the thirds lines on our camera. The main idea in Rule of Thirds was to make your eye focus on one thing in the photo. This is similar to Framing, but instead you are using different objects to draw the attention towards the main focus, instead of the thirds lines. Pictured above is my favorite photo from this project, because I was able to create a double-frame to frame Ela. I really like how this picture turned out because Ela is focused between the stair railings, making it a very interesting photo. A challenge I faced when using this type of composition was thinking of creative ways to make frames, not just simple things like doorways.

Click here to see my other photos.

Rule of Thirds

For the Rule of Thirds project, I found it worked best to place the people and objects in simple locations with simple background, so your eye can focus on the main object in the pictures. I found that it did not work to have people standing right against the wall, because then your eye had nowhere to travel to look for the person in the photo. Before we did this project, I thought it would be pretty simple to take these pictures. After we started taking the pictures, I found it to be actually very hard. For the picture on the left, I wanted Anna Claire to be one third of the image, so I put her on the far right vertical line so she stood out against the stairs. For the picture on the right, I wanted the main focus to be on the camera, so I put the lens on the intersection of the top line and the line to the far left.

Click here to see the rest of my photos.

Portraits: Black Background

For this project, we had to make the camera less sensitive to light, so the background looked like it wasn’t there. I edited them in Photoshop to clear up any other obvious shadows from the light. We found it worked best to keep the light in front of us, to create the least amount of shadows. We also found we could not move very much during pictures, because they would come out blurry.

Click here to see the rest of my photos.

Portraits: White Background

For this project, we needed to make it look like there was no background in our pictures. We had to make the camera more sensitive to light so the background looked as bright as possible. When editing, I found it easiest to use the curves feature on Photoshop to make the whites as bright as possible. We needed to make sure the camera was more sensitive to light, otherwise it wouldn’t work. Also, we needed to step a little bit away from the paper, so no shadows appeared, because then you would be able to see the background.

Click here to view the rest of my pictures.

5 Shots

In this assignment, we had to take pictures of 3 different objects from 5 different angles. We took a total of 15 photos, and one of our 3 objects had to be a person. One challenge I had during this assignment was coming up with 5 different angles that still looked good in pictures. In my opinion, the person was the hardest of the 3 objects. I found it more challenging because it wasn’t as easy to do simple angles, like overhead shots. This project helped me to realize that there is more to taking photos than a straight-on picture of an object, and you can get better quality pictures with different angles.

Click here to find the other photos.

24 Colors

For this assignment, we got a box of 24 crayons and we asked to take 24 pictures for each crayon in the box. The point of the assignment was to look around the school for color in the building to match the color of each crayon. The biggest challenge for me during this project was to make sure I used every crayon in the box, and didn’t repeat. For example, I was worried I would repeat a shade of blue, since there were so many different shades. Differently, I found it pretty easy to match the blue, white, and grey colors, since they are our primary school colors and were located around the building a lot.

Click here to see my photos.