Light Graffiti

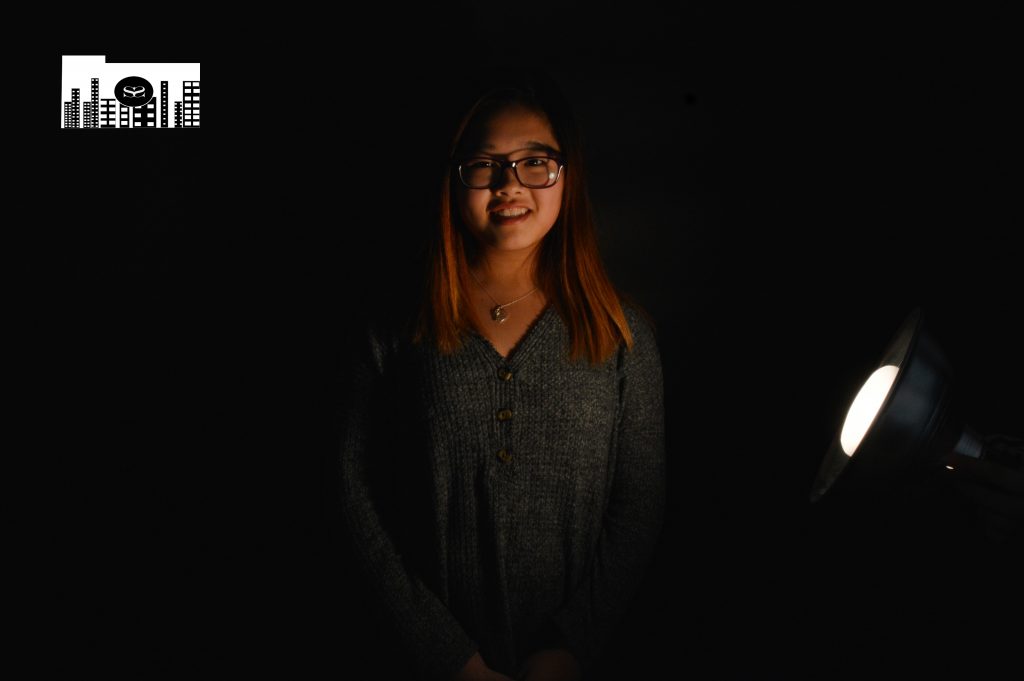
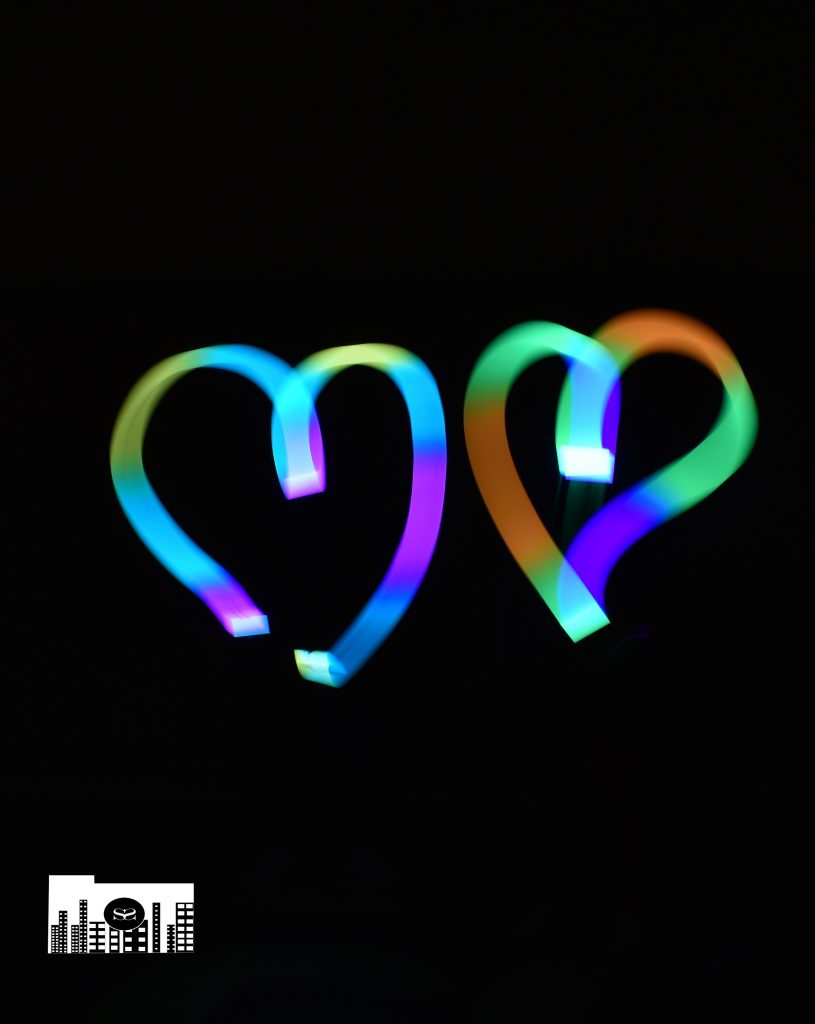
We took the pictures by going in the gym while it was dark. We put the settings on bulb mode so the photographer can hold the button to take the picture and keep the lens open for the desired amount of time. We then used our phones to draw. What worked was just carefully drawing what we wanted. What did not work however, including the person in the shot. It made the person look too lit up. What was frustrating was that when we finished the drawing, we did not cover up the light and so there was a streak of light that was not supposed to be there. Also, when we covered our lens, but needed to draw something else, the photographer would let go of the button when we were not done with the picture. Next time, I hope to include the person in the picture because when I did it with this project, it failed.

Drawn by Paola and Sophia

If you would like to see more, click here

LEGO

With this project, I had to take pictures of Legos and make them look like they were in a normal world, not a giant world. I used skills that I learned from the last macro project. For example, I used the method of making sure that the subject was in focus and the background was not. Another skill I used was making sure that the camera was not too close to the subject, or else the subject will become blurry. If I had to take 5 more pictures, I would do one of a lego riding a bike, a lego reading, a lego walking a dog, a lego playing on a swing set, and legos in school. Here are my photos!

Go Team!
I’m Finally Home!
Me Jane.

Close Up

For this assignment, we had to go up close to an object and snap a picture. For this project, we could not use the zoom option or else the picture would look grainy. For this project, I found that when using a phone, we can not go up too close to the object or else the phone will not focus on the object. This was the most challenging part about this project. We needed to be close, but not too close, or the picture would not turn out well. I would want to go to a garden and take pictures of flowers up close, bumble bees, bugs and a lot more.

Here is my favorite picture

If you want to see more, click here

Action

For this project, we needed to catch someone in action. For example, someone jumping. On an iPhone, we needed to capture the movement through the burst setting. We then chose one picture from the burst of the person in action. For someone taking action photos, I would tell them to make the picture and movement unique and different from what you normally do. We also needed to take multiple photos and stack them together in Photoshop. I would enjoy taking a picture of someone riding in a 1978, Volkswagen Beetle because I really like that car.

Here is one of my favorite photos.

Click here for more pictures.

Frame

In this project, we took pictures through a frame or a space in the object. We took pictures of a person through the object. For example, we took a picture of a friend through two trees. In Rule of Thirds, we were supposed to make the subject be the attention of the project, similar to the Frame project. In the Frame project, we were supposed to put the subject in a frame. Here is my favorite picture.

This picture is my favorite picture because I like how my friend is in the middle of two trees and I really like the nature aspect of it. One thing that I found challenging was finding the frames inside because there are no good frames indoors. Outdoors, there are structures and there is nature so, it was easier.

For more pictures, click here.

Rule Of Thirds

What worked was using the grid because then the horizon would not be straight. What did not work was doing close ups of people because there would not be a background and no place to focus on. At first, I was confused on why the rule of thirds was important, but then I eventually got the hang of it and started to understand why it was significant. The grid, or lines used to set up the shot is a 3×3 grid that helps organizes the focus of the picture. For example, if you want the focus of the picture to be the sky, then put 2/3 of the grid filled up with the sky.

Picture without person
Here is a picture of a person

Click here for more pictures!

Black Background

For the black background, we used a black back drop. We set the ISO to low and made the shutter speed a little longer to let more light in. We used Photoshop to add black and white, curves, and to adjust the brightness. What worked was shining the light on the person, not the background. What did not work was when the light was not at the perfect place, then the wrinkles of the back drop would show.

Here is a picture of me!

Click here for more pictures

White Background

For this project, we needed to use a white back drop to make it look like there was not a background. We took a a camera and put the ISO on high and we played around with the shutter speed. We put it at a lower number to let less light in. We had to experiment a little with the lighting, but everything turned out okay. What worked was putting the light behind the person so the light was dispersed. What did not work was when the ISO was really low and it did not capture any light.

Here is a picture of me!
Here is a picture I took of my friend!

Click here to see more pictures!

5 Shots

In this assignment, we had to take 3 objects (1 of them is a person), and get 5 photos of 5 different angles for each object, so there are 15 photos in all. The most challenging part was finding different angles because there are not many options to angle the camera. It helped me explore how to take pictures in different, creative angles. Here is my favorite picture.

If you would like to see more of my pictures, click here

24 Colors

The assignment of “24 Colors,” was to take a crayon and make it match to the objects around our world. A major challenge of this project was seeing if the colors matched the object. We took pictures around the school and the school does not have much color, so it was hard finding colorful things. The easy thing was finding positions of the camera and crayon so it would look good. My favorite picture one to photograph was the color gray because all the focus is on the crayon and not the background. Here is the picture!

If you would like to see more, click here