Light Graffiti

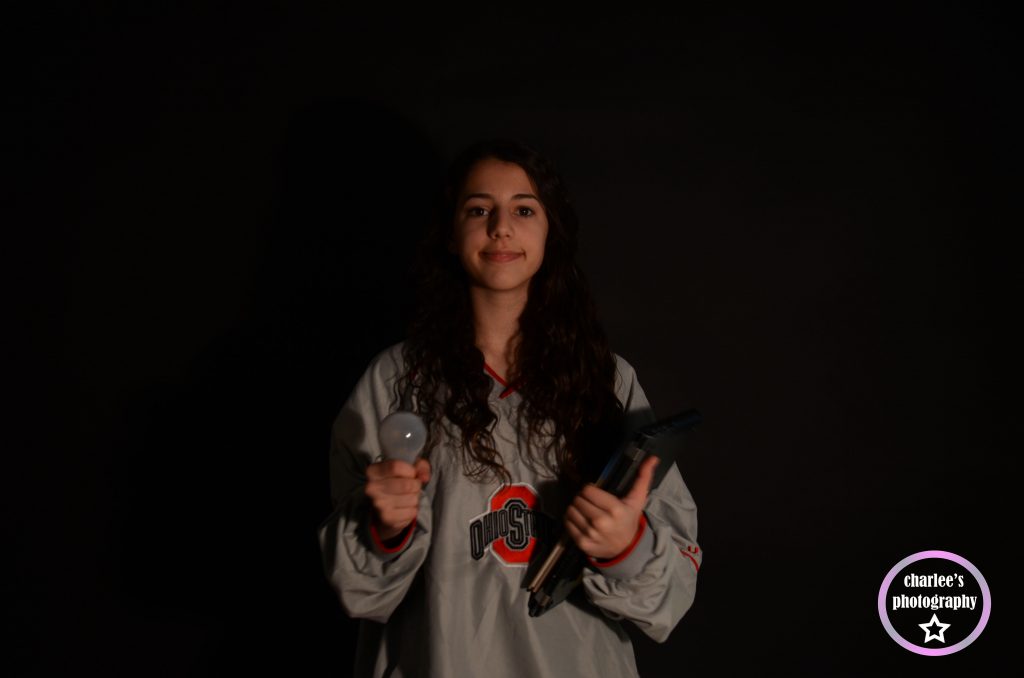
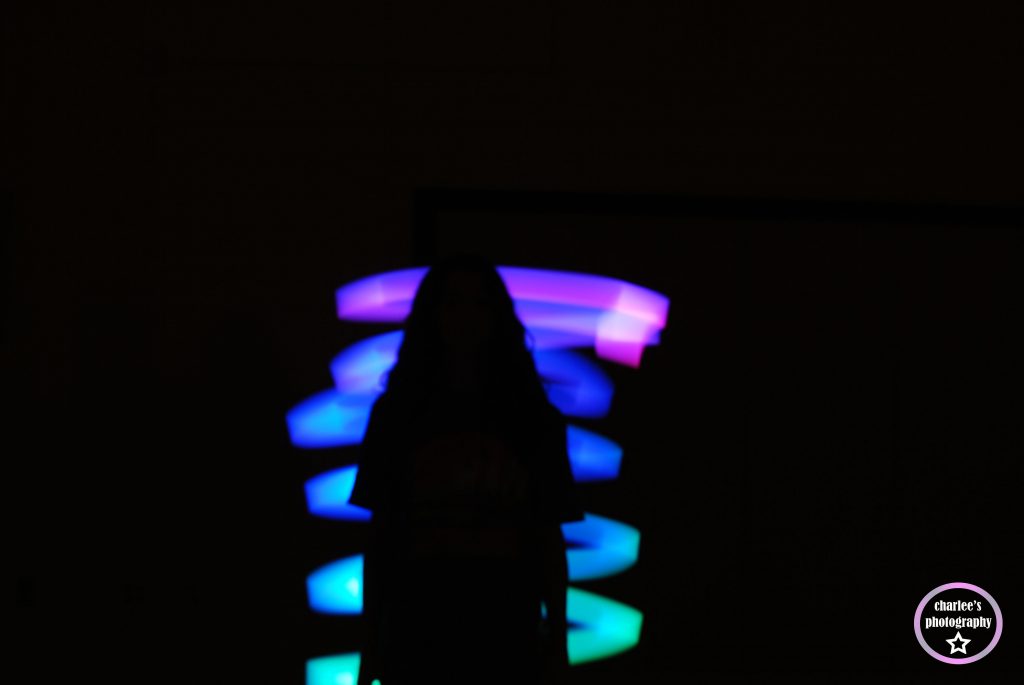
To take the pictures we had to be in the gym with the lights off to have the least amount of light. We had to make the camera have a low iso and a long shutter speed. To take a picture we had to press the button, then we outlined with the flashlight and then we pressed the button again. It worked when everyone helped with their flashlight and the camera wasn’t open for too long. The camera can’t let in too much light so you have to go fast. It was frustrating when people moved or you messed up and it didn’t turn out good. To take this project next level we could use multiple colors and multiple flashlights to make the picture look very cool.

To see the rest of my pictures click Here

Lego Portraits

Say cheese.
Oh no!
Just a day on the job.

In this project we had to make the Lego look like it is a normal size in a normal world. The Lego pictures had to tell a story and be doing something. We used skills from the macro photography project because we had to get close to the Lego and make everything else blurry and only the Lego and props in focus. Coming up with the ideas for the pictures was challenging for me. If I had to take 5 more pictures I would take pictures of different scenes including a police scene. In the first picture my Lego is taking a picture of a tree. In the second picture my Lego is hanging onto a branch and is about to fall off. In the last picture the firefighter Lego is taking out the fire with a hose.

Up Close

For this project we had to get a close up picture with it in focus. It worked well when I used the vsco app and used the focus feature. This was the first time I tried this. It was challenging to keep the objects still and in focus while taking the picture. If I had the time and photography equipment I would like to take a macro image of an eye.

Click Here to see the rest of my photos

Action

For this project, we took pictures of people and objects in motion. During this project the pictures should not be blurry, they should be in focus. A tip I have for people trying to take action photos is making a burst and choosing the best one. This helps it to not be blurry. I would like to photograph cheerleading because I think the shots would be very cool.

Click Here to see the rest of my photos

Framing your Subject

In this project we needed to take pictures of people or objects with an outline/frame. This is kind of like rule of thirds because to take a good picture you have to use rule of thirds in the picture, however it has to have a frame. This is my favorite photo because it is very interesting and took a lot of effort to get. There were not many challenges but the main challenge was finding cool/different angles for all of the pictures.

Click Here to see the rest of my pictures

Rule Of Thirds

This project worked when you didn’t stand against the wall because there is nowhere for your eye to travel to. At the beginning of this project I did not really understand the point of it because I thought it was very confusing, but by the end I understood and got many good pictures. The lines were the most important part of the project because without the lines you would not be able to do this. While doing this project we had to line up this picture with the rule of thirds lines and in the intersections.

Click Here to see my photos from this project

White Background

For this project we needed to make it look like there was an infinite background. We had to make the camera more sensitive to light. It worked better when there were no shadows and a lot of light. It also worked for me when I used the curves tool and increased the contrast. It didn’t work when it was not very bright and sunny outside because you could see the background and shadows in the picture.

Click Here to see my pictures

1 Object, 5 Shots

During this assignment we took 5 pictures at different angles of 1 object. We had to do this for 3 different objects. The challenge of this assignment was finding different angles for the pictures. There was no specific object that was hard but all of them were challenging to find the different angles. This project helped me learn some different angles and helped me understand that a different angle isn’t just walking farther away from the picture it has to be at a different height. (my adobe fireworks did not open so I could not put my logo on the picture)

Click Here to see my posts

24 Colors

In this assignment we got a box of 24 pictures and got a picture of each crayon. When we took the pictures of the crayons the backgrounds of the pictures had to match the color of the crayon. This project was challenging because it was hard finding matching backgrounds for all 24 color crayons. The easy part of the project is that all you have to do is take pictures of the crayons and you don’t have to edit them.

Click here to see my photos