Light Graffiti

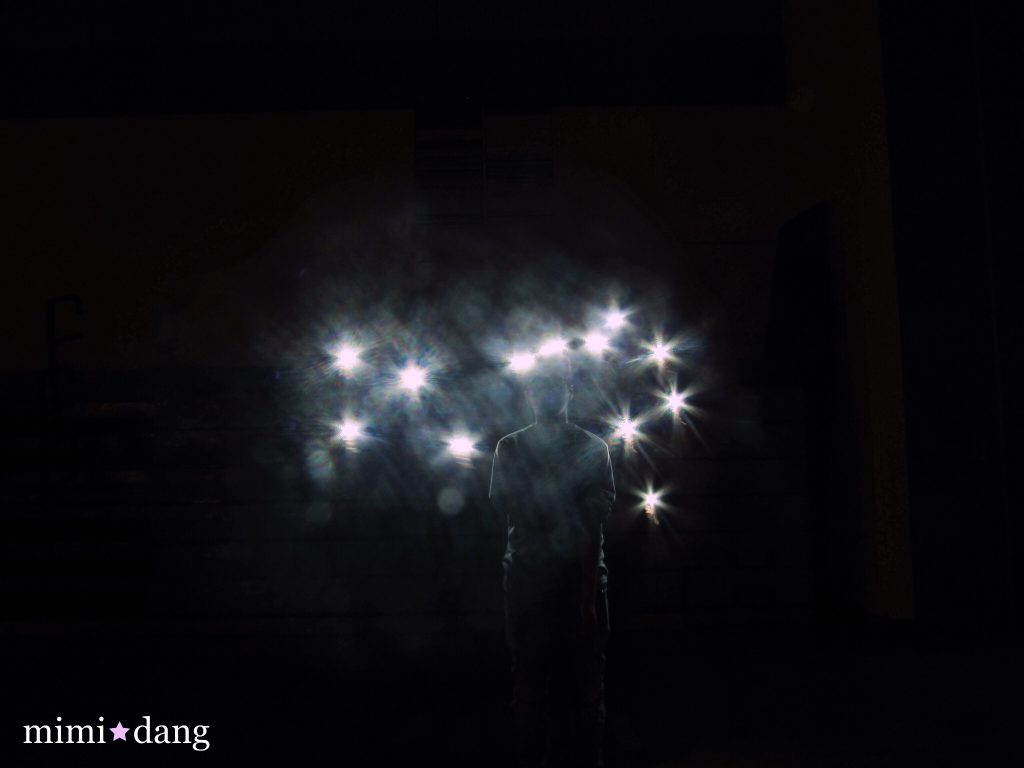
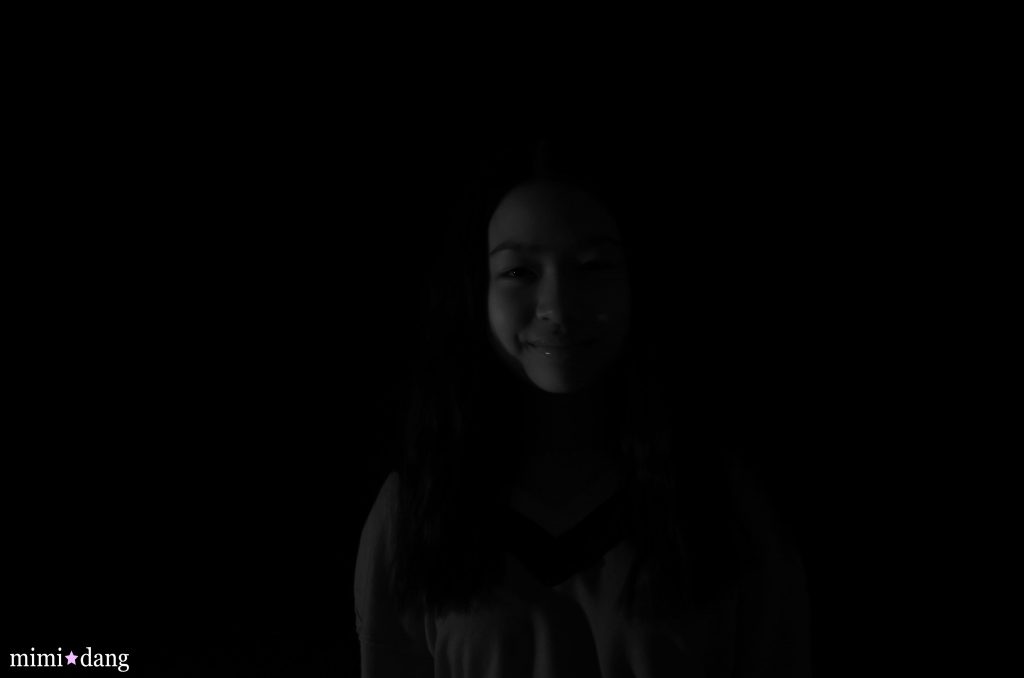
For this project, Saige, Bryan, Maansur, Abhay and I had to take pictures in the dark in order to see the light graffiti. For the light graffiti, we used the flashlights on our phone to create a picture or drawing. We also used a blue and pink background on our phone to make the light graffiti have color in it. We tried to draw things like hearts, stars, wings, etc. and it worked really good. We tried to draw a ukulele and make Abhay into Bob Ross but it didn’t work since we messed up a lot. It was hard to make the drawing look more cool and colorful because we had trouble trying to work all together. If I took this project to the next level, I would want to use multiple colors in one photo. In this photo below, we tried to surround Abhay with stars by moving our flashlight and turning it on and off.

Click here to see my other photos.

Lego Stories

For this project, we needed to create a story using lego characters and objects. The camera needed to be up close to the legos, which also relates to our previous project, “Up Close.” Our previous project helped me to focus on small details of an object, so for this project we needed to focus on the details of the legos. I also used the “Rule of Thirds” technique to position my camera so that the lego figure wasn’t just in the middle. The objects in the photo had to be “lego sized,” like in the photo with the lego figure playing golf, the golf club had to be small so that the lego figure could actually hold it. It was challenging to use the legos to represent a story because the objects had to be as small as the lego figures and it was hard to come up with ideas. If we had to take 5 more pictures, I would like to photograph the lego figures in a forest and a lake or river (with a boat).

The boy climbs on the tree with a rope.
The girl is playing golf on the golf course.
The girl is riding a tractor on the grass.

Up Close

For the project, “Up Close,” we had to find small objects or a close up of a large object and we needed to take very close photos so that the object itself would take up the whole shot. We went outside to take photos because there was good lighting which makes the photo look much better. I also tried to take multiple pictures of the same object with different angles to see which one looked the best. It was difficult to make the photo look clear but sometimes the camera would become blurry. It was also challenging to find different unique objects around the school. If I ever had the equipment, time, and ability to get really good photos, I would like to photograph the petals of a flower.

Click here to see more.

Processed with VSCO with c1 preset

Action Shots

For our action shots, we had to take pictures of people in action or doing something like jumping, running, etc. For this project, we had to go outside because if we go inside, the photos wouldn’t look good. I took pictures of my friends jumping, jumping over hurdles, and catching a football. I used my phone to take photos for this project and I used the Burst mode on the camera. The camera has to stay still for the stacking photo or else it wouldn’t be photo shopped well. I would want to photograph pictures of people swimming.

Click here to view my other photos.

Processed with VSCO with c1 preset

Framing A Subject

For this project, we needed to find objects that would make a “frame” shape to take our photos. We used these frames to create a better looking picture. The person or object had to be positioned in the frame. We used different shapes outside and inside the school to take our photos. When creating “Rule of Thirds” it can help frame an image by using the edges. The most challenging part was trying to find unique “frames” throughout the school, we mainly used doors as our frames for our photos. My favorite photo is the one below of my friend, Emily. This is my favorite photo because she was doing this random position while she was talking to my other friends. Her smile also doesn’t seem forced. I also like this picture because it’s very clear and I used the black fence around the turf as a unique frame.

Click here to view my other photos : )

Processed with VSCO with c1 preset

Rule of Thirds

For this project, we went outside to take photos and we also took photos inside our school. I wanted to take pretty photos so I also decided to add a filter to my photos by using VSCO. I thought rule of thirds was a unique way to take pictures. On the camera on my phone, I used a grid and when I took a picture of a person or object, one of the vertical lines had to be on the person or object. This project showed me that the person or object in a photo does not have to be in the middle.

Click here to see my other photos.

Portraits

For this project, we used a white background and a black background to take portraits of ourselves. Saige and I wanted to make the picture show only half of our faces using the light. We had to stand far away and point the light on the side of our face to make this effect, and it worked. At first we had the light too close to us so the photos didn’t look good so we had to adjust the ISO and Shutter Speed. We had to make sure that there were no shadows on the background. We also had to make sure that the photos didn’t have a lot of light. I edited my photos with Adobe Photoshop to make it black & white and to add brightness and contrast to my photos.

Click here to see the other photos 🙂

5 Shots

For this assignment “5 Shots”, we had to go out and take pictures of 3 different objects with 5 different positions. I took pictures of my shoe, a book, and Bryan. What I found challenging was that it was hard to come up with ideas on what to take a photo of. The hardest object to photograph was Bryan because he kept on moving and he was talking. This project helped me take better clear photos so I can take good pictures in the future. The photo below is my favorite picture because these Vans are one of my favorite shoes and it stands out.

Click here to view my other photos. 🙂

Processed with VSCO with p5 preset

24 Colors

The first thing we needed to do was to get 24 crayola crayons. Then we went all around school and we also went outside to take photos of my crayons. The crayons needed to match the background. A challenge was that we couldn’t find some colors that matched some crayons. Another challenge was that we didn’t get much time to take a lot of photos. It was easy to find the basic colors of the crayons like black, grey, white, etc. My favorite photo is the photo below because the blue crayon matches perfectly with the background color.

Click here to view my other photos.