Macro Portraits(playing with Legos)

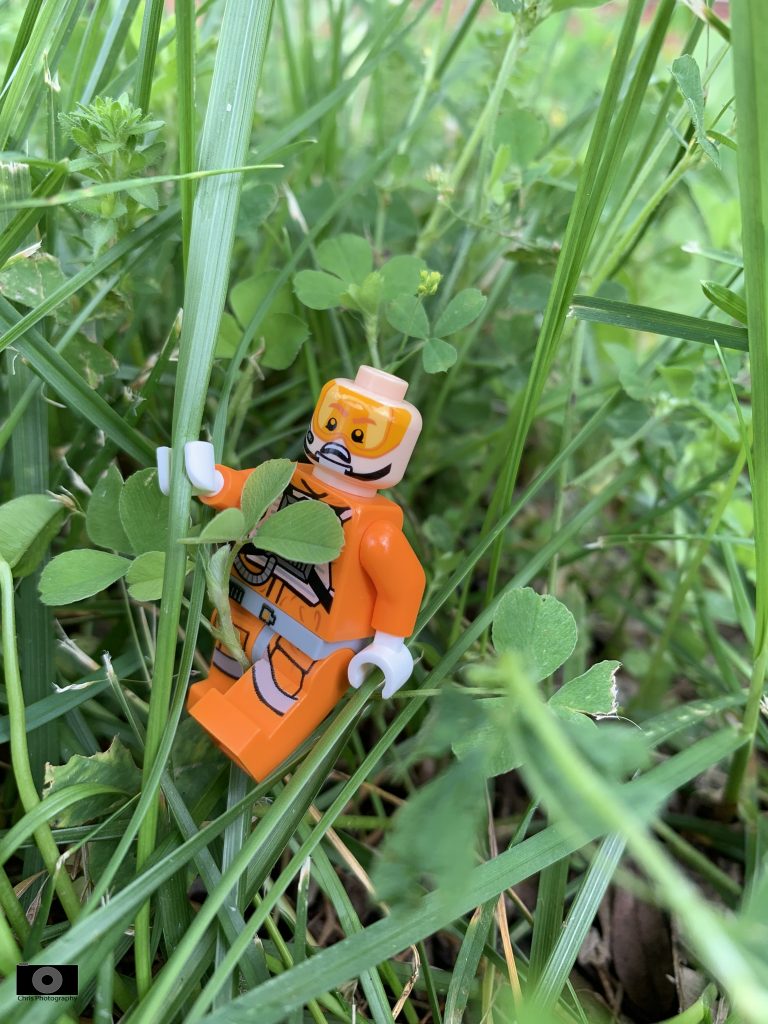
In this project we took pictures of Lego figures and we could come up with our own scenarios to take pictures of. We had to build our sets and use those materials to represent the scenes we came up with. We had to make 3 different scenes with the Lego. I used the rule of thirds for the different positions and scenes. The positioning of the Lego was the most difficult part because it was hard to move them into the right positions. If I had to take 5 more pictures they would probably be more detailed with more figures and bigger sets.

Click Here To See My Photos

Getting Close

For this project we had to find everyday objects and instead of taking a picture of the whole object, all we do is get close into the object and only show a little bit of the picture. If there was a flower, we would only take of picture of maybe just the pedals or the stems of the flower. I feel like this project was easy and it was a fun project to do. I learned new things from this project and getting the focus right was a challenge. I feel that finding things to get close to was easy enough and it wasn’t hard to find different things. I would maybe go deep into some woods to find some different objects to get close to. In the woods there is a lot of things that I could find.

Click Here To See My Photos

Light Graffiti

For this post we used different flashlights and different type of lights in general to create a painting on the camera. We had to adjust the setting of the shutter on the camera to make the camera capture more light in the picture. We had to find a good spot to take the picture too. We had a lot of success with these pictures because we had the right ideas for everything and we knew how to do them. One of the difficult things was keeping the camera on for too long and it would capture too much light so we could easily see the people behind the lights. To make this project even better we could have had an even darker place and we could have gotten the flashlights that we saw in the videos to make it look more professional.

Click Here To See My Photos

Catch The Action

In this project we had to take pictures of different people doing different types of activities. We would have to take bursts of photos and after we chose the pictures that we thought were the best. After that we had to put our pictures into photo shop and put them into stacks so it would look as if all the pictures we took was one whole picture. It would give it an affect that the person had multiple of themselves and it would look very clean. It wouldn’t just take one try but instead it would take multiple to find the right pictures.

Click Here To See My Photos

Framing Your Subject

For this project we had to incorporate the rule of thirds because we had to use different “frames” that we could find outside or inside the building. We could use anything that could surround the main focus of the picture. This project is similar to the rule of thirds but we had to make an outline to bring more attention to the main object of the picture. This picture right her is my favorite because it uses people as a frame to make the person in the middle (Me) the center of attention. I feel that this one was really creative and it created an original aspect to the picture.

Click Here To See My Photos

Rule of Thirds

This project was very simple and it wasn’t that difficult but it was difficult making the lines right with the main focus. I feel that this project was very helpful especially for future pictures and it got more difficult because we needed to take a variety of pictures with different lines. I mostly used the left and right lines and if it was a landscape I would use the top line and bottom line.

Click Here To See My Photos

Black Infinite Background

Click Here to View My Photos

This is similar to the white but the shutter of the camera had to be changed. It can’t be as sensitive to the light because it is a darker background so it does need more light unless you want the picture to look darker. We used the light on the background so that the object wouldn’t have a shadow and they looked like they were the center of attention. If we would’ve shined the light on the person it would’ve had a shadow and they would’ve looked very bright when editing. When editing there was a lot of options when editing like black and white and changing the colors up.

White Infinite Background

To take these pictures we had to play with the settings of the camera. We had to change the shutter of the camera to get different amounts of light in the picture. The more light the camera got in, the lighter the picture looked. Our best strategies was using our light towards the backdrop and aiming to the white background. Things that didn’t work well was aiming the light on the person because that made the person look like they were disappearing.

Click Here To See My Photos

I object, 5 Shots

For this project we had to take 5 pictures of one object, and for every picture we had to take it in a different angle each time. We could’ve taken the picture from far, or up close. And some of the challenges for this project were that for each angle, it had to be at a different height and side, and this may sound easy but when you are actually doing it, It can get pretty difficult to take the pictures so they don’t all look the same. I feel like the hardest object was the plant because the leaves of it were pretty similar and some of the pictures I took looked like duplicates of other pictures. This project was actually very useful because I now know that I can take pictures easier now that I can take them in different angles and they come out a ton better.

Click here to see my photos

24 Crayons Project

In this project we had to take pictures of 24 crayons. We had to find colors around our school that matched the crayons we had. I feel that the most difficult parts of this project was maybe trying to find the perfect shade of the crayon you were using. What I found very simple and easy about this project was that there were a lot of colors that were easy to find around the school and outside. People had clothing that were the colors we needed. My personal favorite was the green color because it was on the turf.

Click here to see my photos