ACTION

   For this project we had to take 10 pictures of something in action. For the photos I used my phones burst mode, than you had to select your favorite ones. To set up most of our shots, I had to plan out what I was going to do and at what angle I would take the picture, in order to for me to get the best photo possible. For many of my photos, I had to take multiple in order to eventually get a good shot. Finally, if I could be at any sports event to take a photo I would.  I personally would be at a football game because its the most enjoyable plus there is a lot of chances to take good photos.

Click Here for Photos

Sun Bright Graffiti

For the light graffiti project my group used settings on our camera to take photos that show something drawn out of light. Doing this we we able to make cool and wacky designs from the light. What worked well was that we could make anything we want or any design. My favorite photo is the one our group decided to call ghost stories. It was a campfire with 2 people sitting at it. While I was drawing it in I on accidentally appeared in the photo but I looked like a ghost, In the end it looked really cool. But something that didn’t work well was the pictures them selves were hard to make. My biggest frustration is that I had to upload them to my google drive. To make this more fun we should do when all together, we could use props and everything.

Click Here for Photos

LEGO, LEGO let the past be in the past! LEGOO!

This project included using Lego figures and other small objects. We needed to make it look like the Lego figures are doing stuff that humans can do. We had to take 3 photos to make it look like the Lego figures were human size. The photos them selves ended up so well I did not need to edit them. It was pretty hard to get the right angle for most of our pictures. I would like to photograph something like the beginning of lion king during a sunset to get a good background.

Click Here for Photos

Close Up

This project was based on zooming in and taking photos to create a beautiful and kind of confusing picture. In order for me to have complete this project I would of used Macro on cameras but I had my phone on me. On my phone I couldn’t use the zoom because the pictures would be blurry, so what I did was just bring my phone’s camera really close to the object and it made the pictures come out a lot better then other wise. A couple challenges I had along the way was getting the cameras to focus and finding the objects to zoom into was also a big issue. If I had the equipment, time and the ability to get there I’d like photograph an tiny atomic explosion because that would be so beautiful.

Click here to find the rest.


Infinite/Black Background

For my project we had to take photos in font of a white background,  using manual mode and a higher ISO. The pictures when edited and made black and white ended up looking really good. For the black background we needed to master shutter speed and have a lower ISO. For the white we had to do almost the exact same thing except  the shutter speed had to be longer and we could not cast a shadow.  I think the black background was more simple because we didn’t have to worry about the shadows.

Click Here For More Photos

Rule of Thirds

When we did this project it was pretty fun and simple to think of thing to include in our rule of thirds photos. I thought it was hard enough though to find a really good place for the object to make it a true rule of thirds photo. When i first started I thought it was going to be super easy to find good locations for the rule of thirds photos. After the project I realized that it was a little harder to find the perfect place for a rule of thirds photo. When i was following the requirements for a rule of thirds photo, I needed to use a grid to show us all the thirds of the picture which ended up really helping. When setting up a shot I had to bring the main object or area, into a third of the photo either horizontally or vertically.

Click Here

Framing

The Framing project was all about framing or in other words creating a frame out of nothing. For example you can frame things like, trees, columns etc. This photo is my favorite photo because I took it when we were first taking photos back during the crayon age. I like how its double framed and also how the color of the crayons are inverted. A couple challenges I faced during the making of these photos was finding the perfect way to position me, myself, or I in the photos and clearly show the boarder.

Click Here

5 Angles

For this project, I had to take 5 different pictures of some objects and a person. One thing i found hard was when I couldn’t take a picture in the same angle again. I had to take a photo from 5 different angles. The computer was probably the hardest object to take a picture of because of it almost being against a wall. This project really helped me get a sense of  how to take multiple pictures from different angles efficiently. Next time I need to take some photos I will remember everything I’ve learned from this project.

Click here to see all my photos, here

24 Crayons

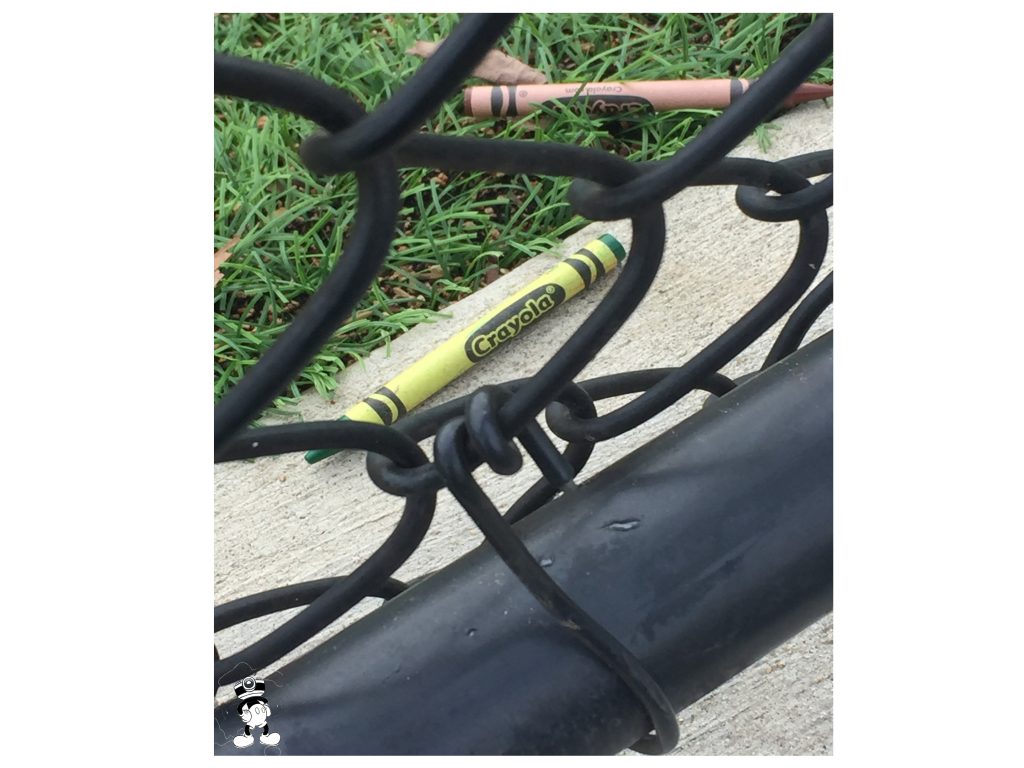
In the crayon assignment, I had to get 24 pictures of crayons. It was hard for me to find the perfect match for the color and get it to still be interesting. The easiest part of the project was using the camera/my phone because i was used to using it. My favorite picture I took was the one above because of the interesting way i took using the fence as almost a lens. If you want to see more of my amazingly taken photos, click here to view more.