Light Graffiti

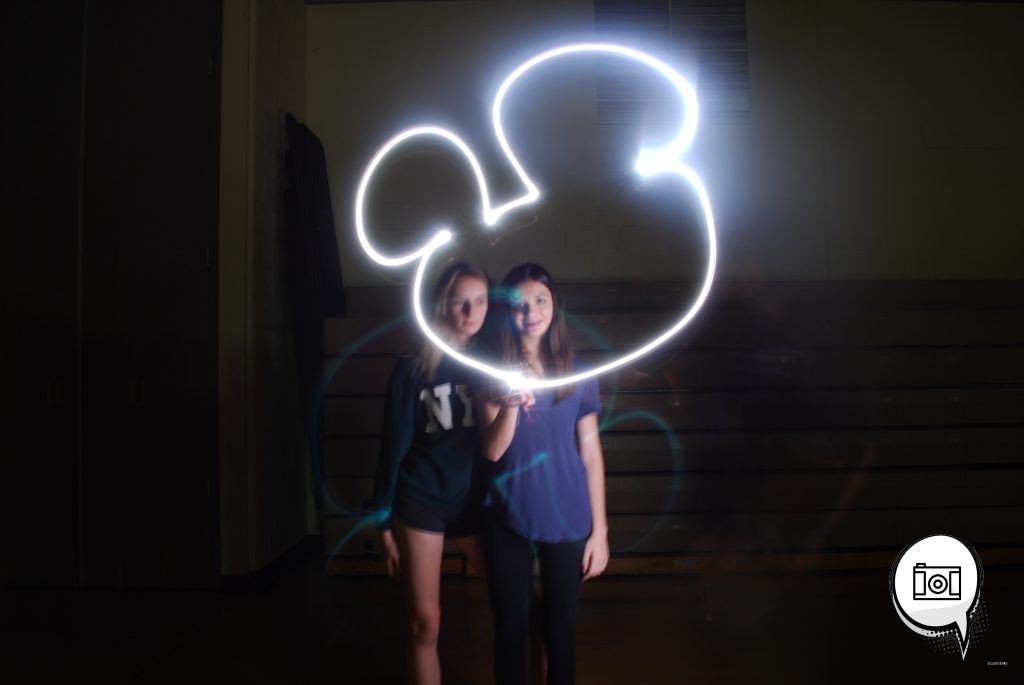
In this assignment, students had to use a phone flashlight to make light graffiti in the dark. This assignment took place in the corner of the gym. First we turned off the lights in the gym, and then we pressed down on the camera button while someone traced something in the air with a flashlight. The method that worked was turning the brightness of the flashlight down in order to make it focus. Going really fast and not taking your time made the photo blurry. The subject coming out blurry frustrated me.
Click here to see other photos

Lego Photography

Forest adventure

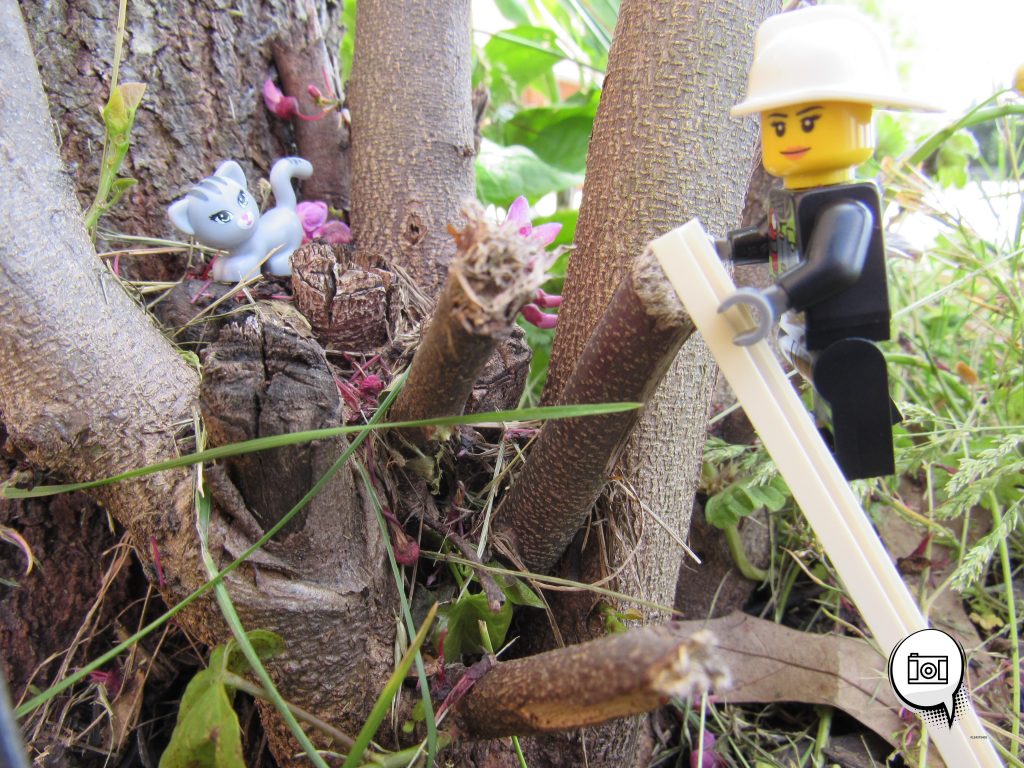
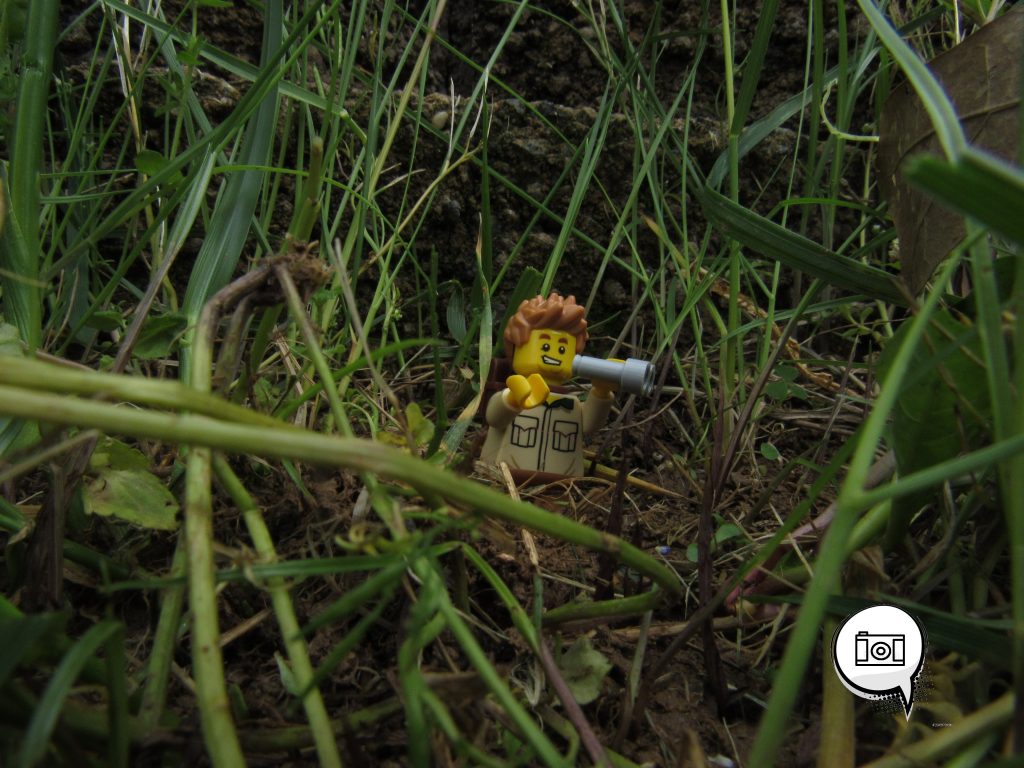
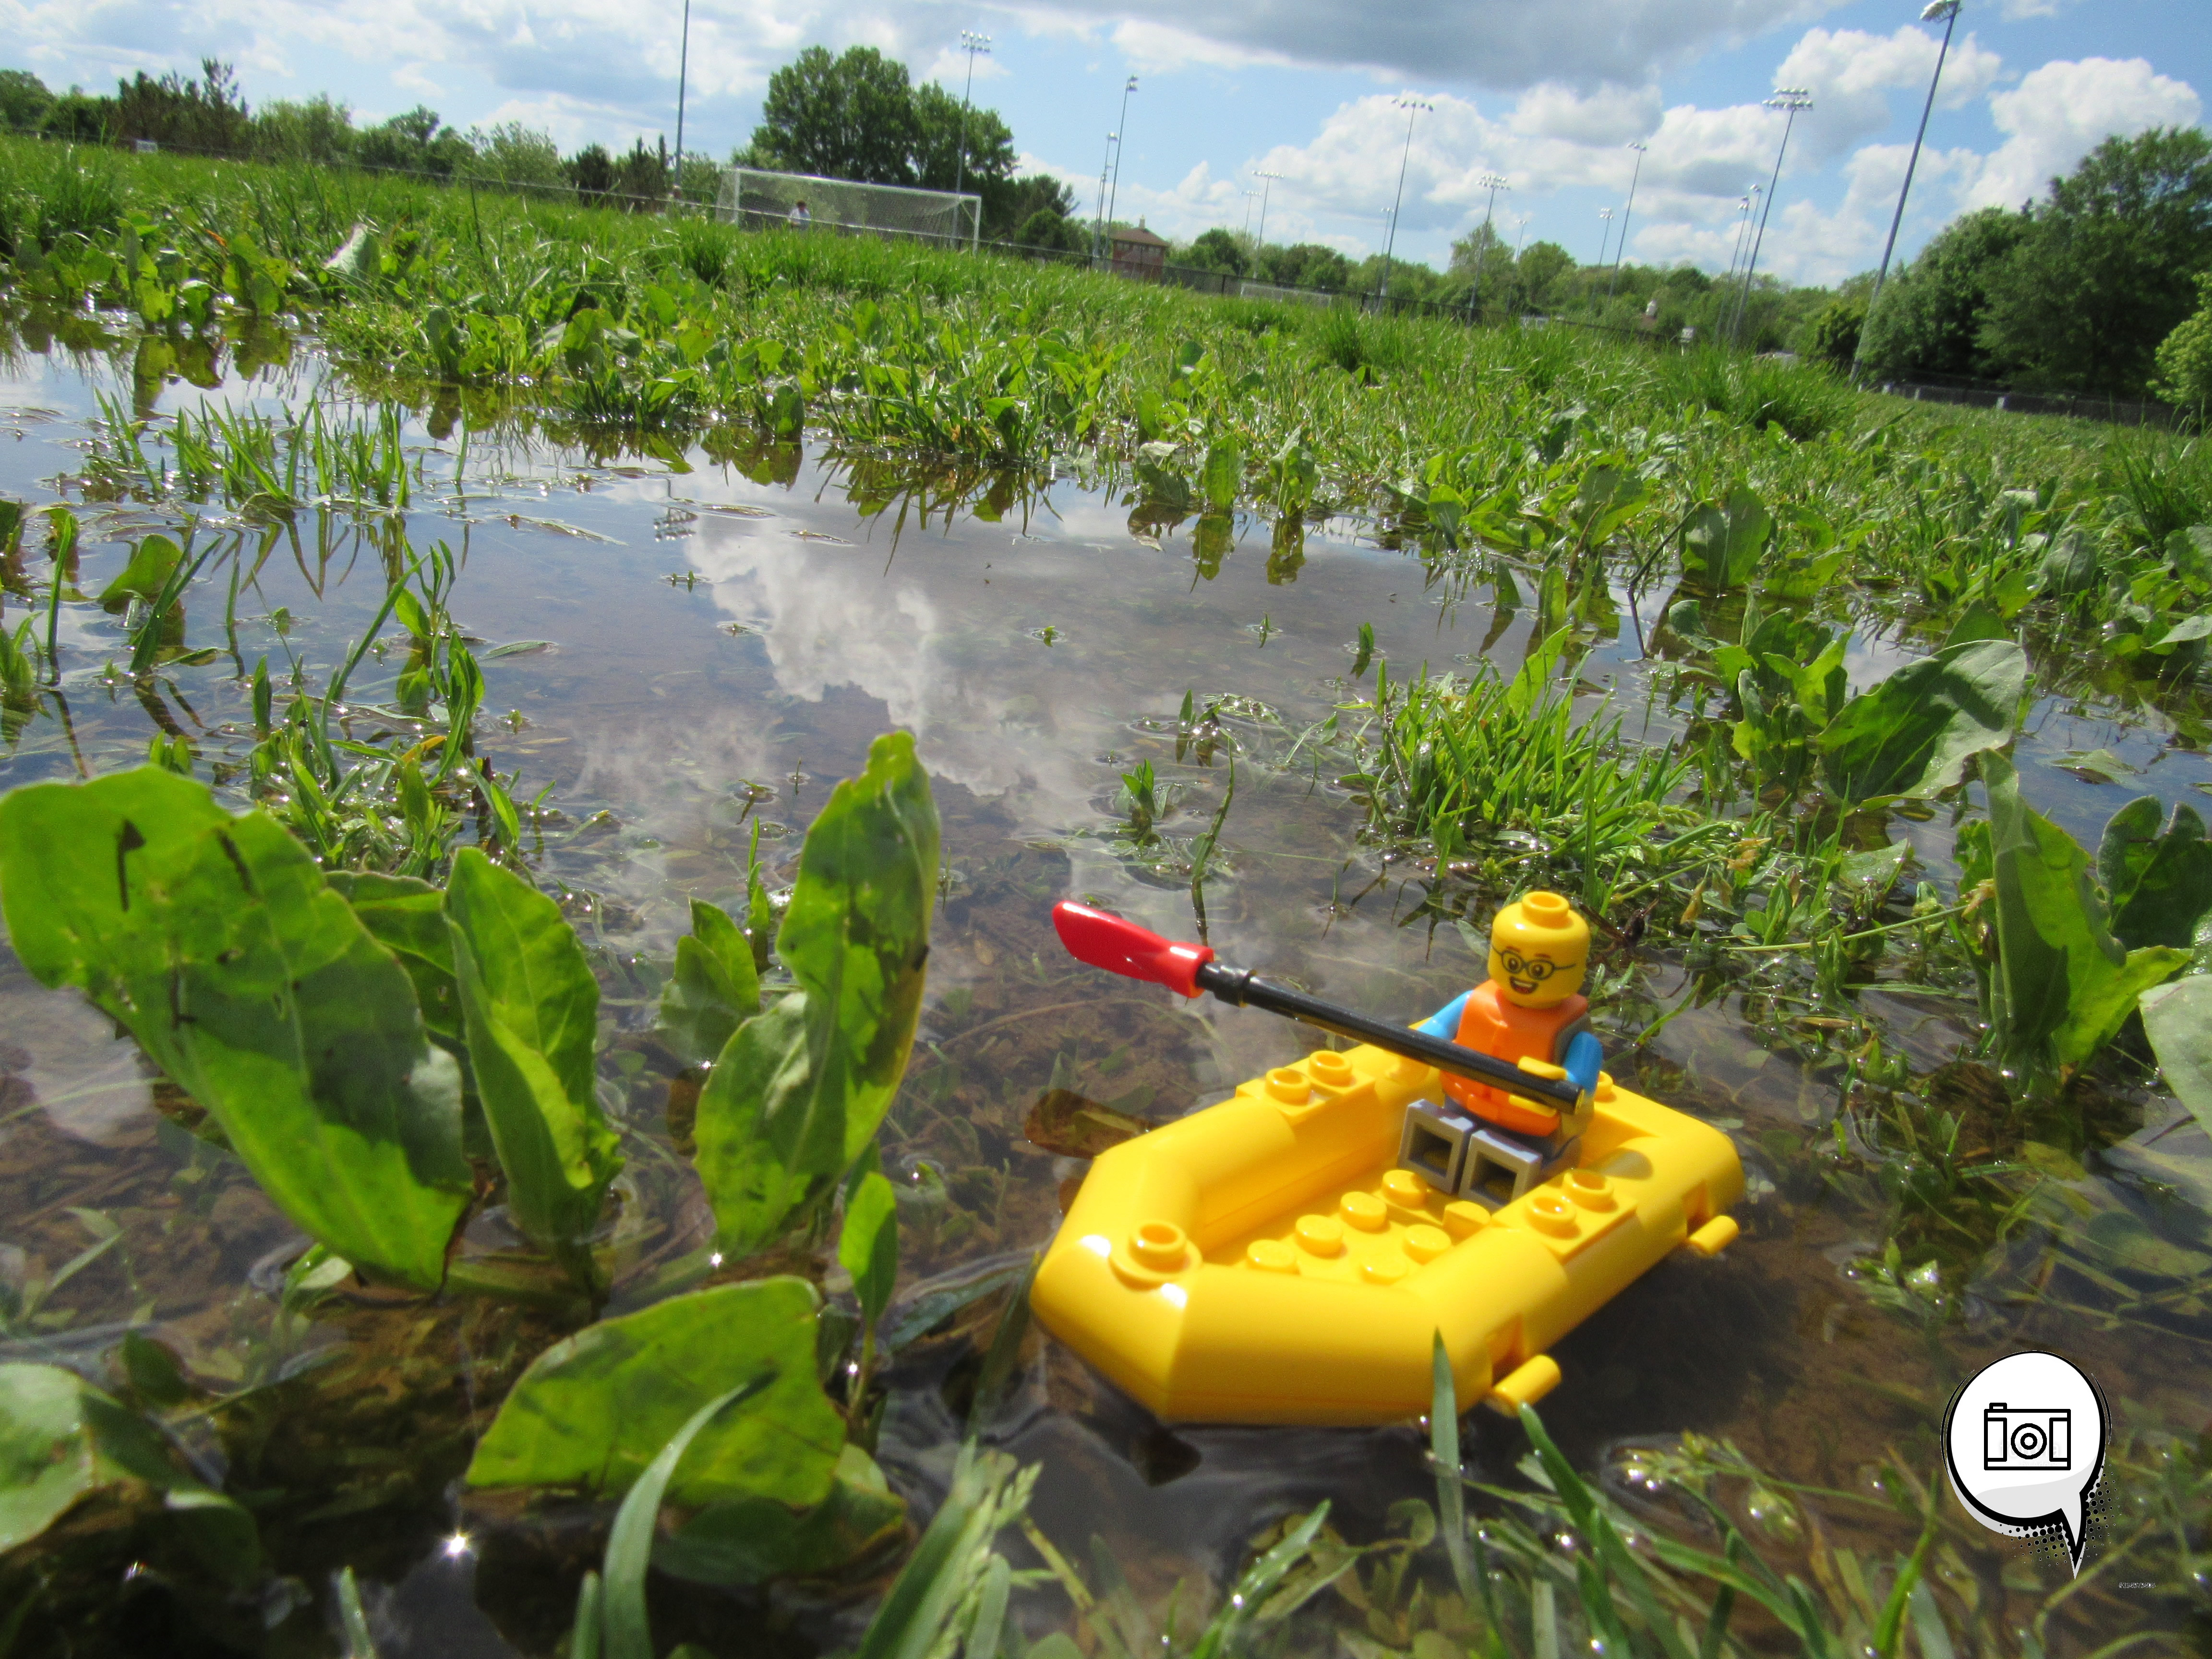
During this assignment, we had to take a photos of small lego figurines and these photos had to tell a story. I used the macro photos project because we had to get very close to the lego. The part that challenged me was finding an interesting story to tell through the legos. If I had to take another 5 photos, then I would have liked to take a picture of a lego falling from plane, skateboarding on ramp, petting a cat, taking a photo, and flying in the air.

kayaking experience
cat rescue

Macro Photos

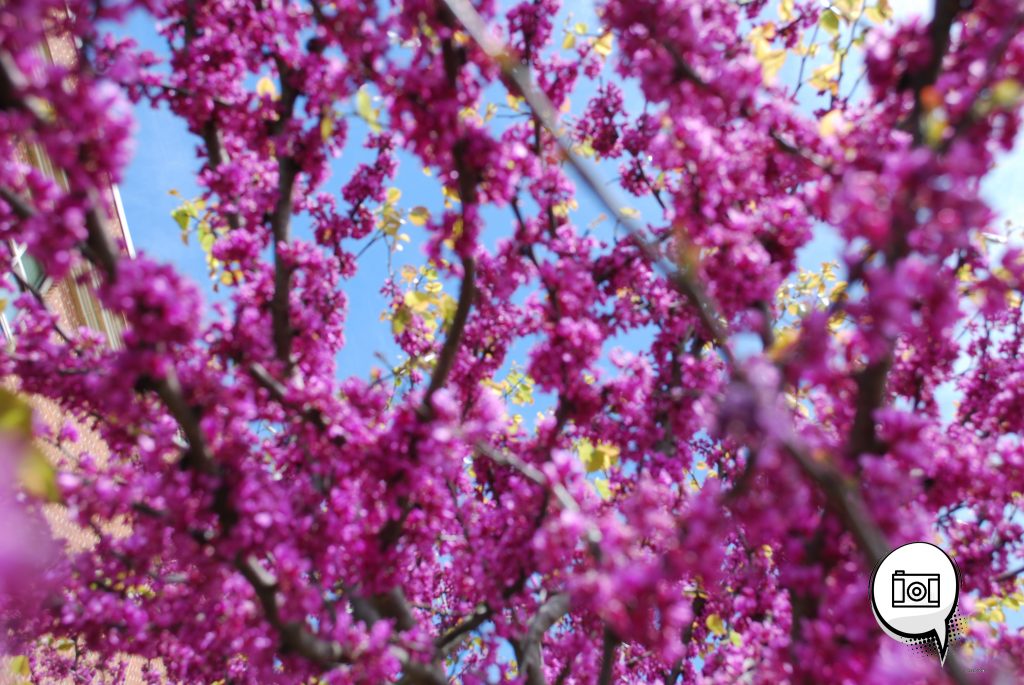
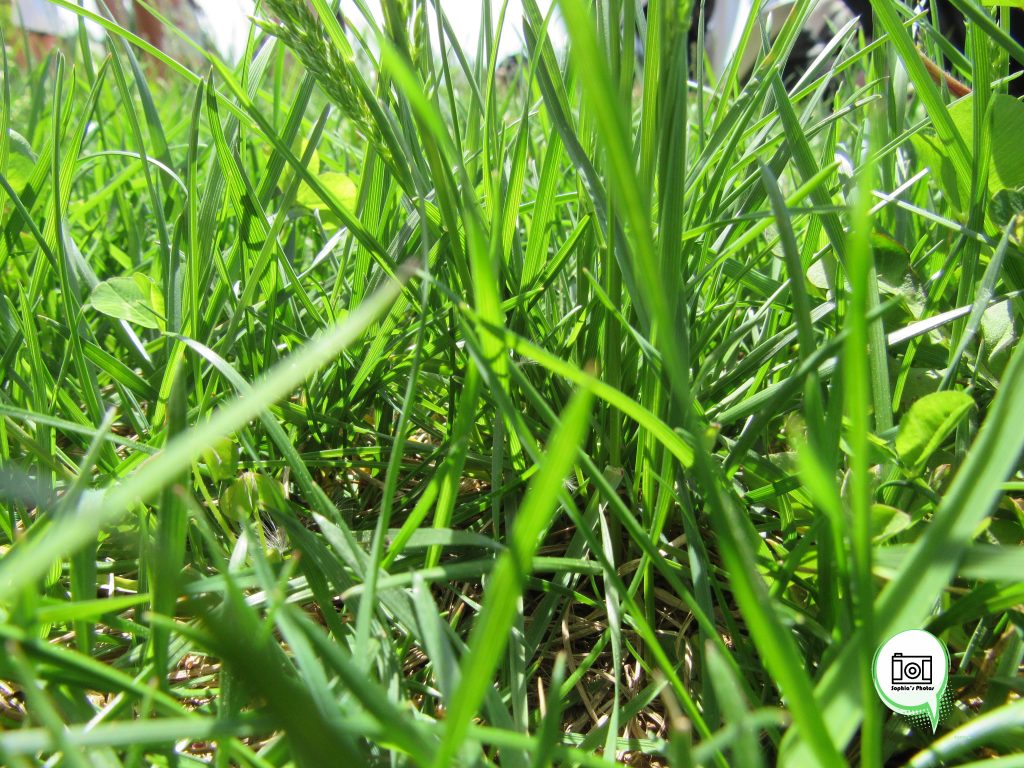
During this assignment, students had to take a zoomed in photo of a subject. Getting up close to the subject worked well for me. I also tried getting different angles of the subject, which worked well for me. I had some challenges with the camera because it kept turning the photo blurry and I didn’t know how to fix it. It was also difficult trying to find an interesting photo, so most of my photos were of plants and flowers.

Click here to see other photos

Action Photo

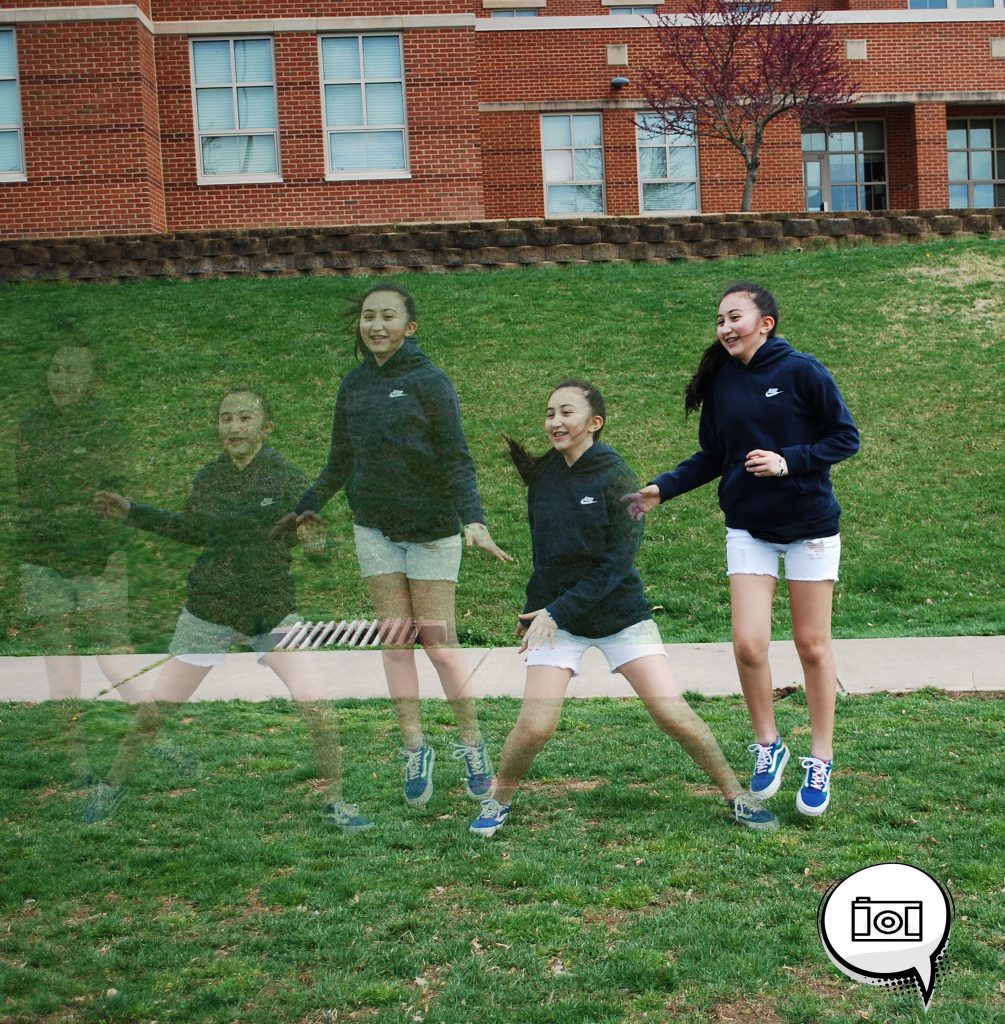
In this assignment, students had to take a photo of a subject in motion. During this project, I had a hard time trying to find an interesting motion to take a photo of. I found this assignment pretty easy because the idea was simple and fun. I would love to photograph jet skiing because I think that the effect of water in motion would look really cool. I really liked this photo because it was unique and interesting.

Click here to see more photos

Framing your subject

The role of any rule of composition is to draw the eye into a photograph. Framing refers to using elements of a scene to create a frame within your frame. For example, you might shoot through a doorway, pulled back curtains, branches, fences, tunnels, or arches to highlight your subject. In the rule of thirds, we had to put the subject at the side of the photo, but in this assignment we had to frame the subject using parallel objects. This is my favorite photo because the books are colorful and parallel. The challenge I faced during this assignment was finding something interesting to take a photo of.

Click here to see other photos

Rule of thirds

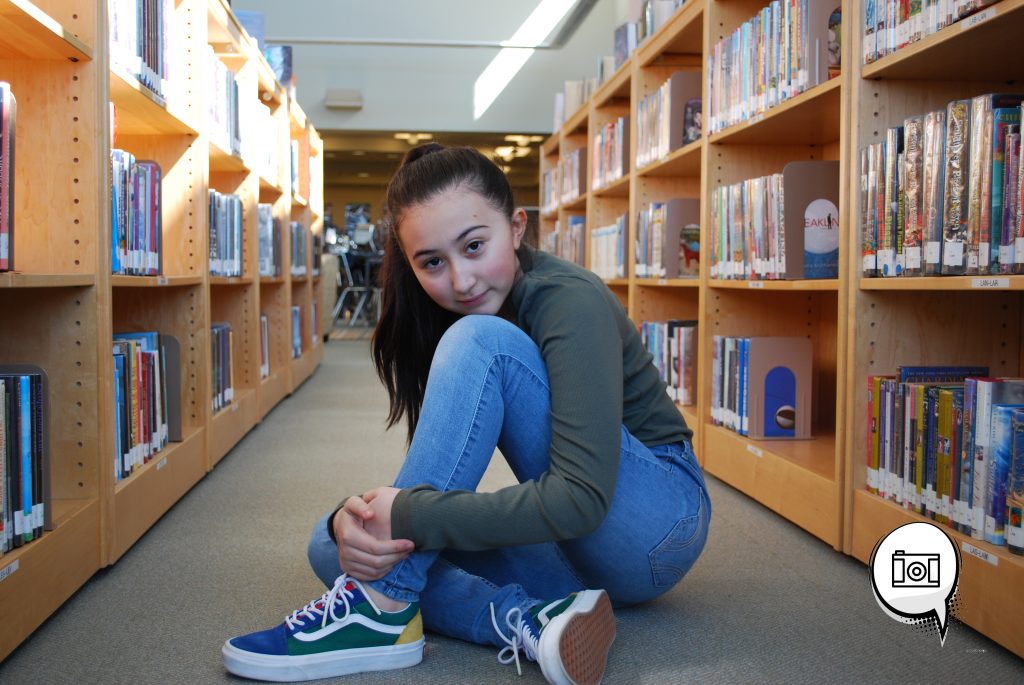
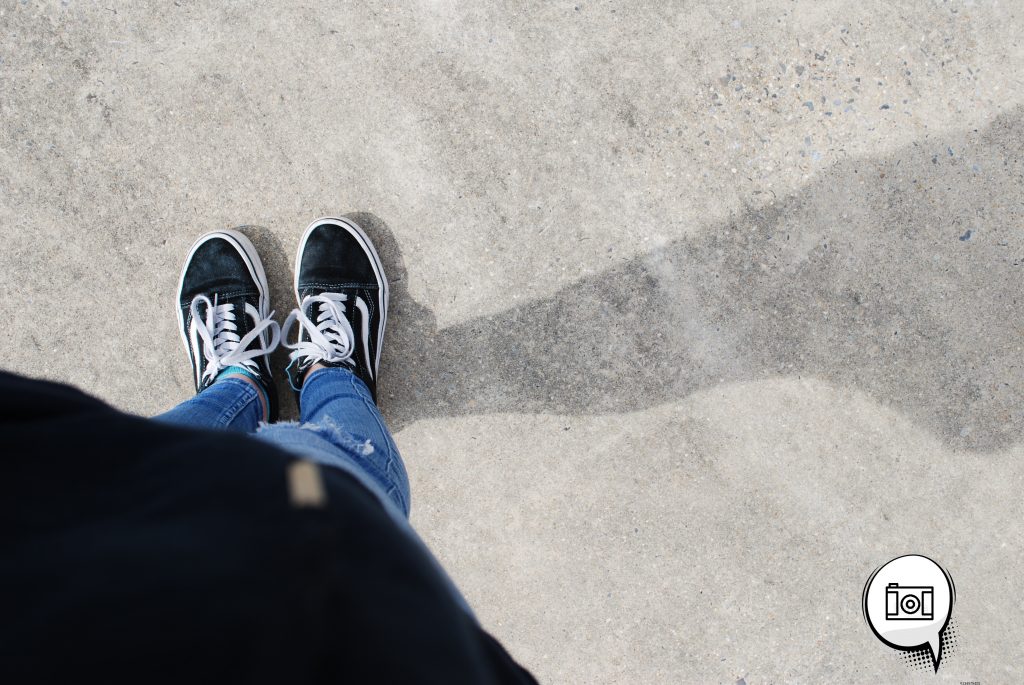
In this assignment, students had to apply the rule of thirds to their photos. The rule of thirds is an essential photography technique. It can be applied to any subject to improve the composition and balance of your images. The rule of thirds is one of the most useful composition techniques in photography. The technique that worked in this assignment was putting objects to the side instead of the middle. I had a hard time taking pictures of objects because it was hard for me to be creative. At first I thought that rule of thirds was a concept only professional photographers could understand, but then I realized that it was easy and made the photos more interesting. In the first picture, I decided to put kim in the left corner of the photo to make her the first thing you look at. In the second picture, I decided to be creative and put my shoes in the shot. It turned out good because of the contrast in color.

click here to see other photos

white portrait

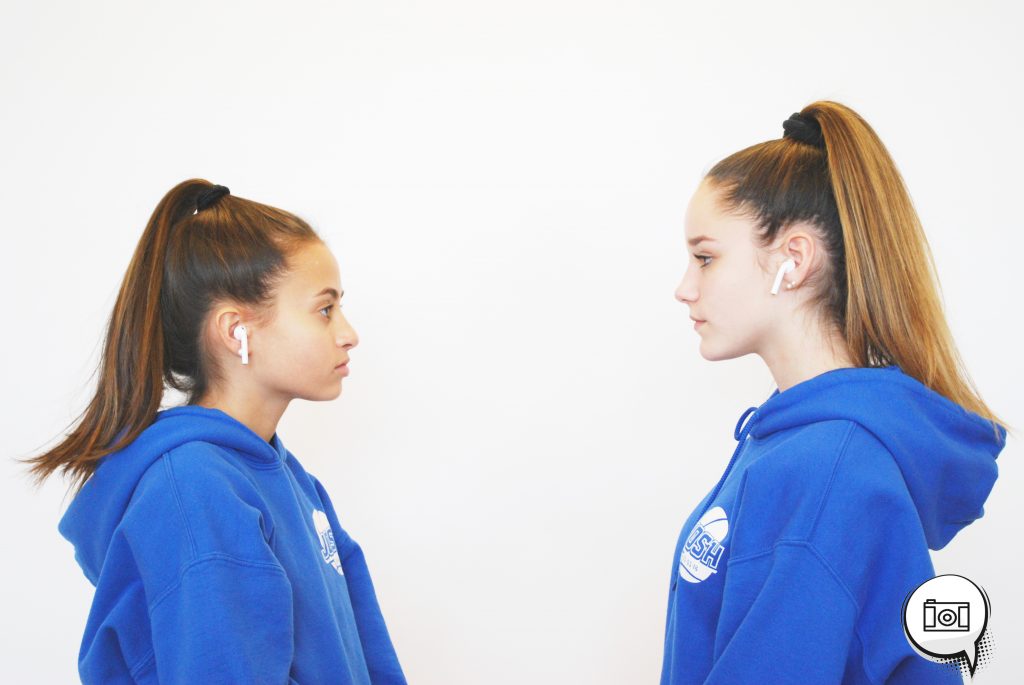
The process of this assignment was pretty easy. We started off by getting in groups and then choosing our photography stations. We all then took photos behind a white screen. The editing process was a little harder because we didn’t know how to use photoshop, but later got the hang of it. After playing with the angles of the camera and trying out different settings, it finally worked. At our stations, lights were placed and we decided to use them, but the photos turned out yellow instead of white, so we stopped using them and depended on natural lighting.

click here for other photos

1 objects, 5 shots

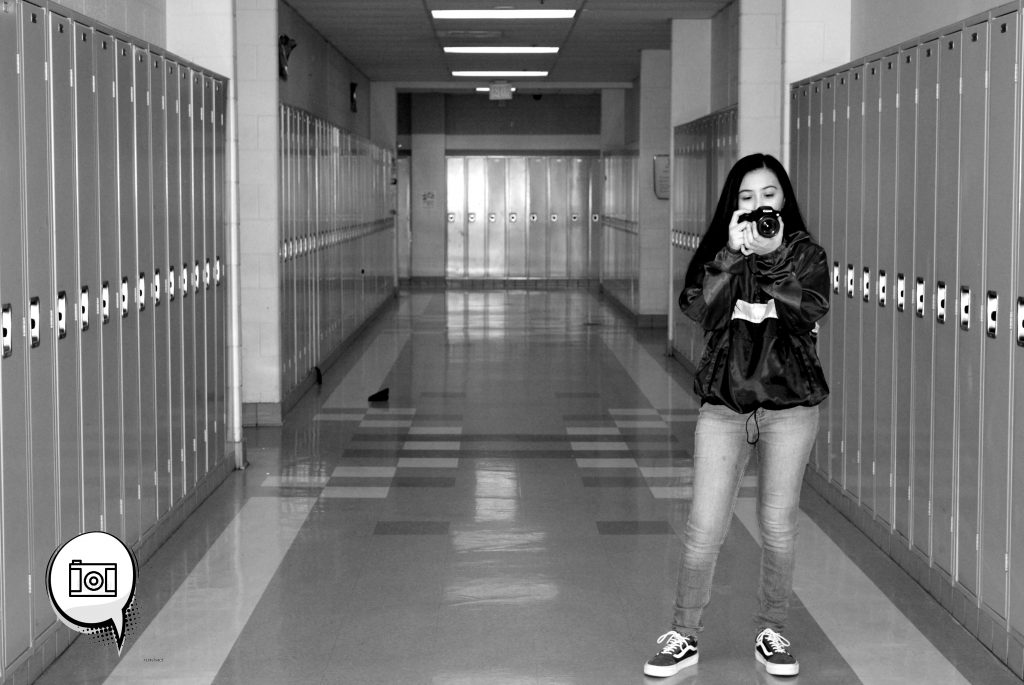
In this assignment, students had to find 2 objects and 1 person to photograph using different camera angles. Finding five different camera angles was a very big challenge during this project. The most challenging object to take a picture of was a person because it was hard for them to stay still. This project helped me explore different camera angles that would compliment the photo even better.

Click here to see more of my photos