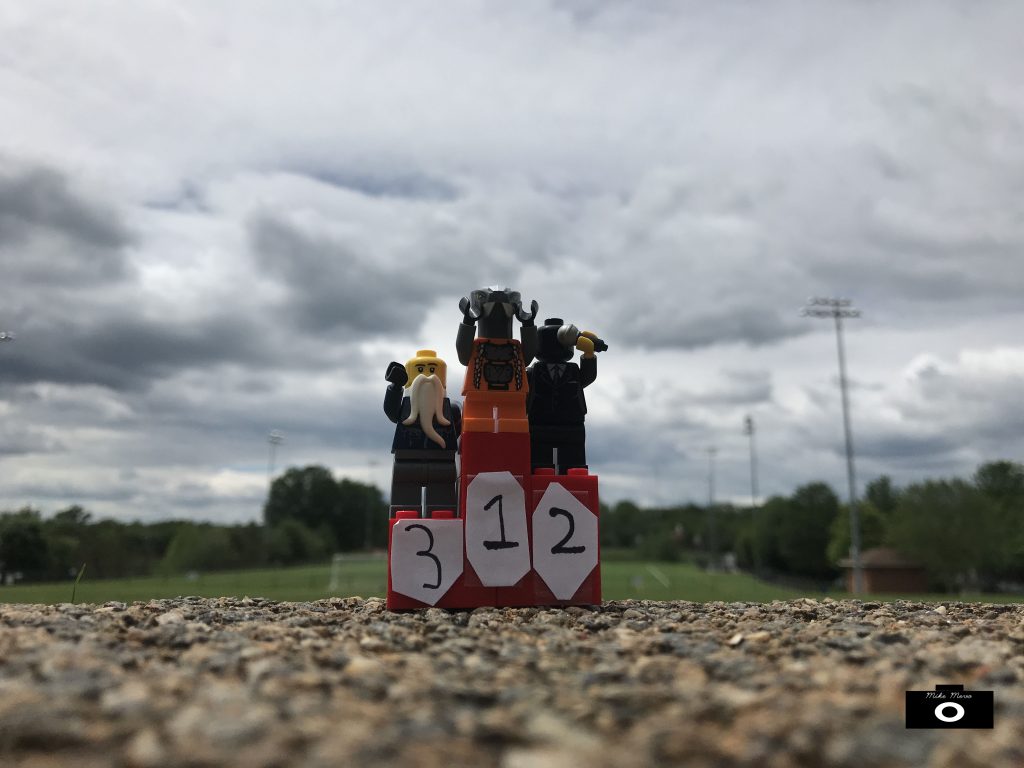
In this project you had to make a story of Lego people and take pictures to create a cool story. Skills I used on this project from previous projects is the up close and focus technique. The most challenging part was creating the story and getting everything together. If I could take 5 more pictures i’d take pictures in the pool. click here to see photos
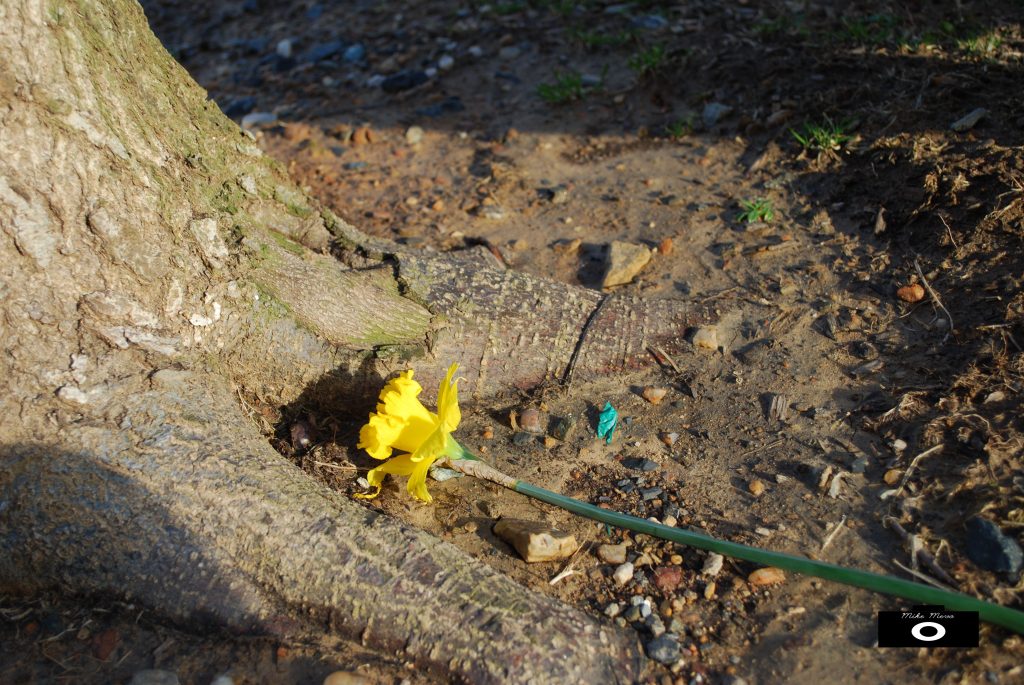
This time, for this project, we had to take pictures of things really close up so you could see all the little details. In order to do this, we had to use the super macro setting on the camera so it would focus on the object when we were up close. What worked pretty well for the project was some what the weather. The weather was very sunny outside which made a cool effect on the pictures. Also another thing that worked well for this project was the location we are in, we had tress, grass, plants, etc all around us. The most difficult and frustrating thing was getting the camera to focus on the object I wanted it to. Most of the time I would have to hold my position for a while in order to get a good picture/for the camera to focus. Although we had lots of things to take pictures around us, most of it looked the same so it was a tiny bit hard to find something new to take a picture of. Finally, if I could go anywhere to take macro pictures, I would definitely go to a rain forest area. I would go here because of the wide variety of plant life, animals life, and insects.
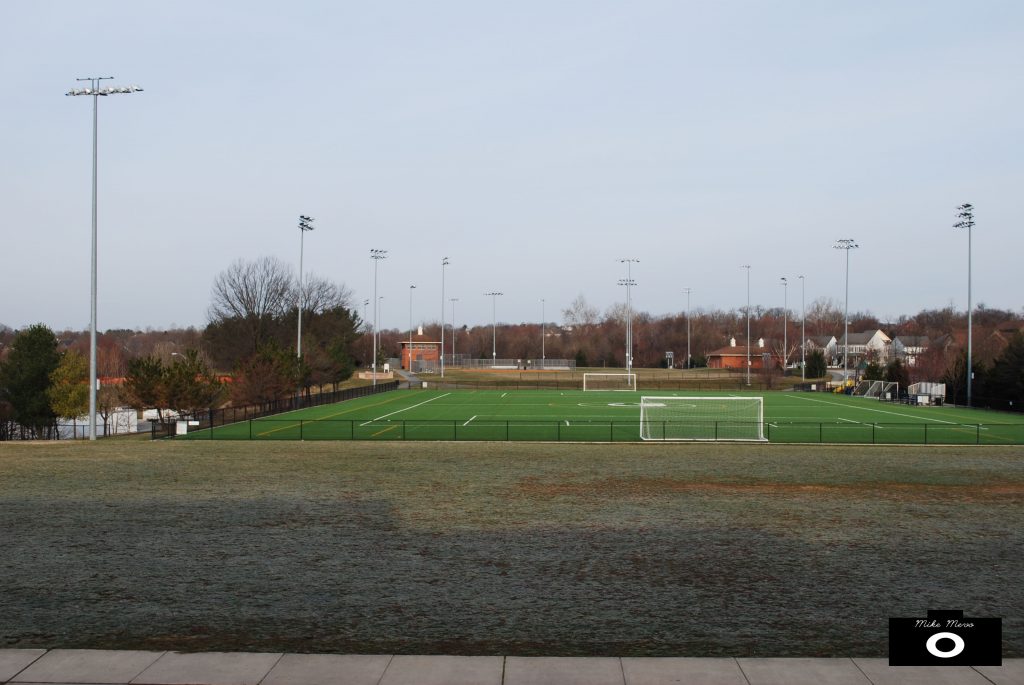
In this project, we had to capture people and objects in movement. I found if you take a picture in different angles it helps capture the movement better in the photo. If you’re trying to take action photos make sure that your picture doesn’t come out blurry and make sure you can actually see the movement of the person or object. In the future I would like to take pictures of track runners. I feel it would make a cool effect.
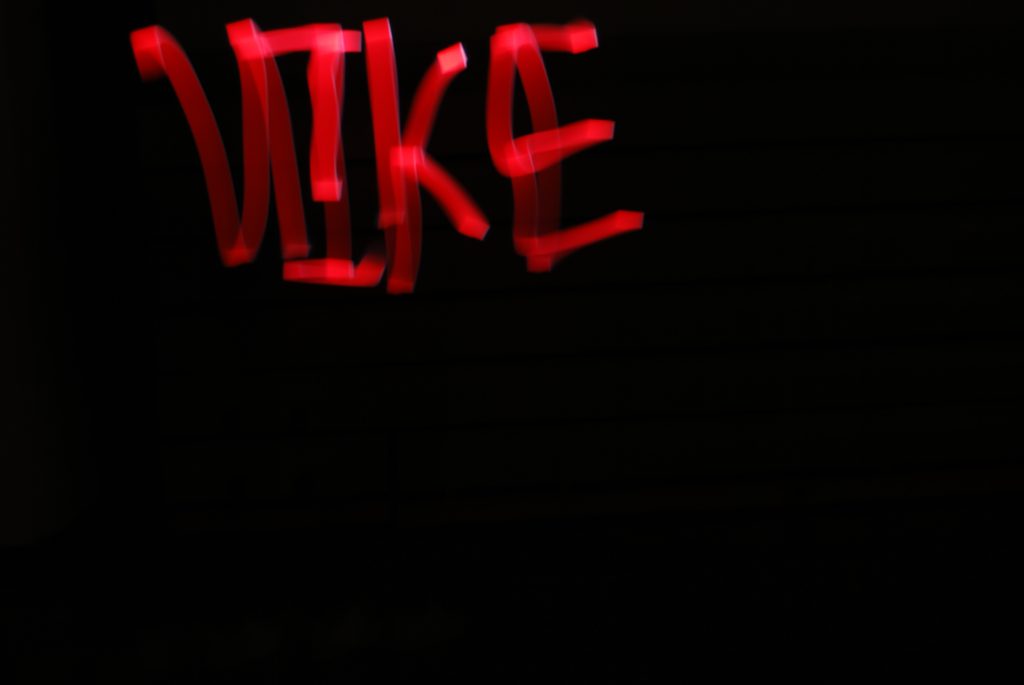
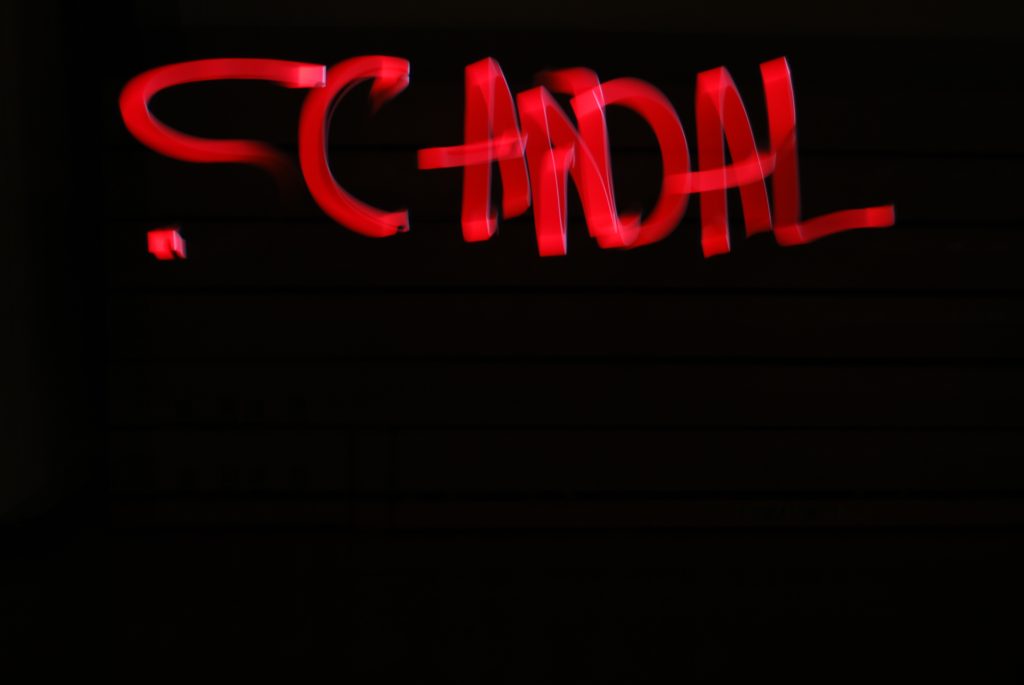
Me and my group used settings in this camera to take light graffiti pictures. We had to put the camera on bulb so it can keep the shutters open. Then we made designs using our phones . The project had it’s difficult times like when we where trying to spell the word but we couldn’t see what we where spelling, but that really was the only hard thing about this project.
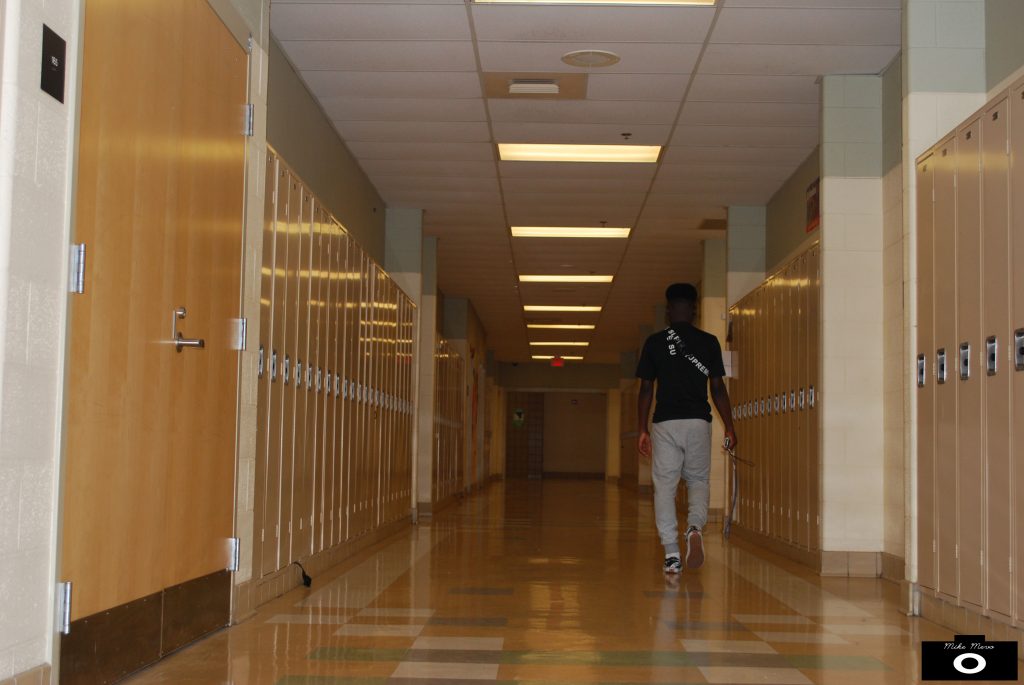
First walking into this project I thought this would be the hardest project I’d ever have to do in Photography. Little did I know it was not hard at all. During this project I really liked how when somebody sees the picture there’s is this a person or an object that catches the attention of the viewer. My thoughts changed a lot from before and after doing this project, for example my perspective from taking pictures changed a lot. Instead of taking pictures from the standard spot ( in front of your chest). I’m going to start taking pictures from different angles to make the picture look cooler. To help me take the pictures and to make the project a little bit easier I used lines to help me.
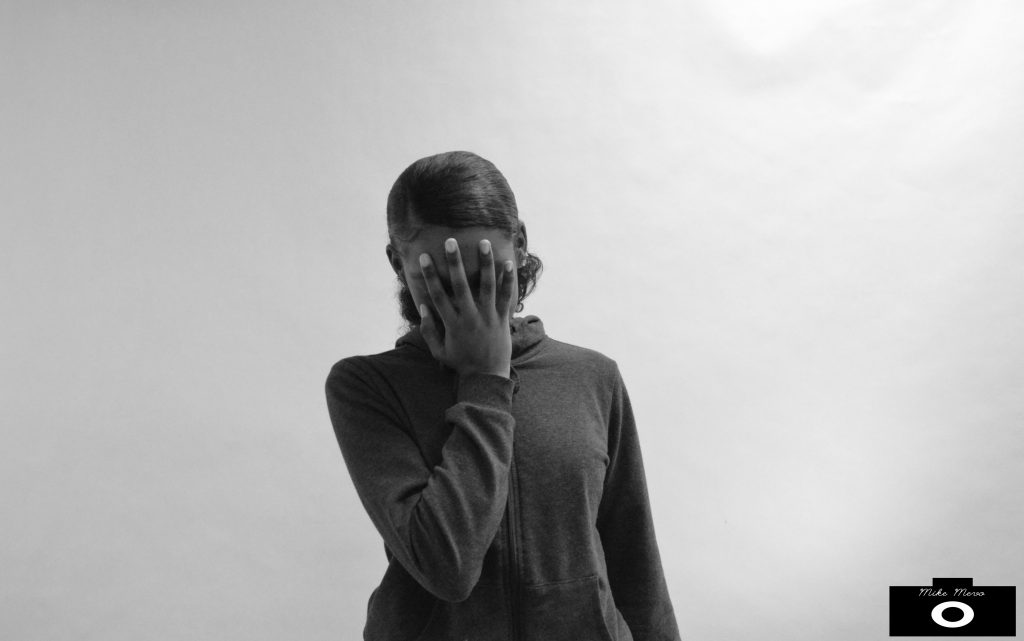
When making this project we had to take pictures on white background making the pictures look infinite. We used ISO so the light would be captured and the shadows wouldn’t show. If the ISO wouldn’t work then I would manipulate the picture using Photoshop. Using ISO really worked because it really captured the light and prevented it from making a shadow. I’m not sure if anything really did not work.
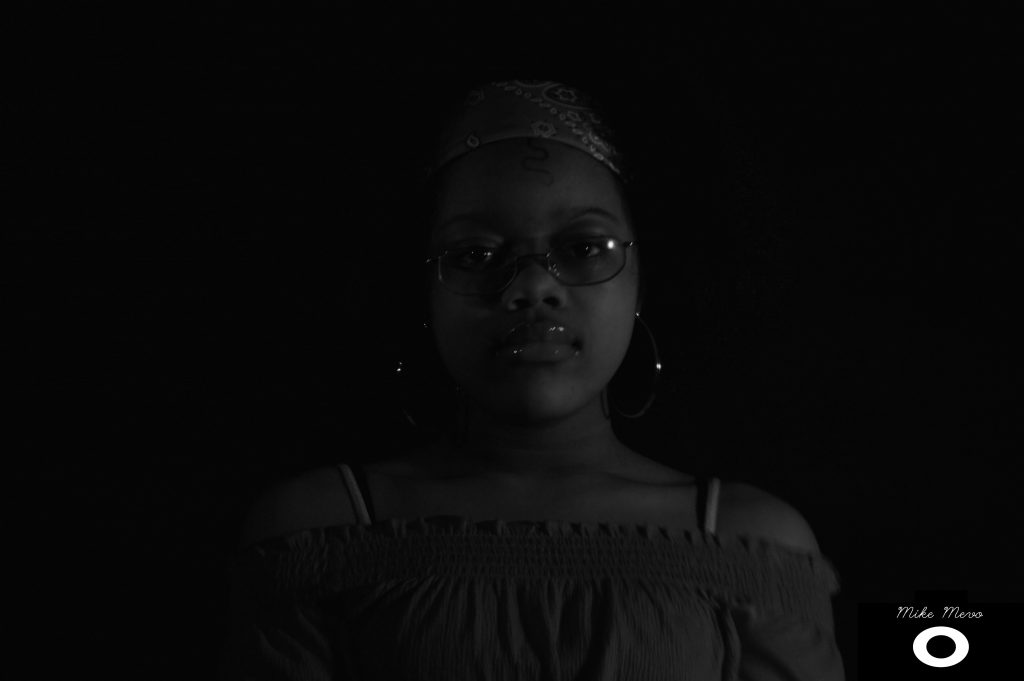
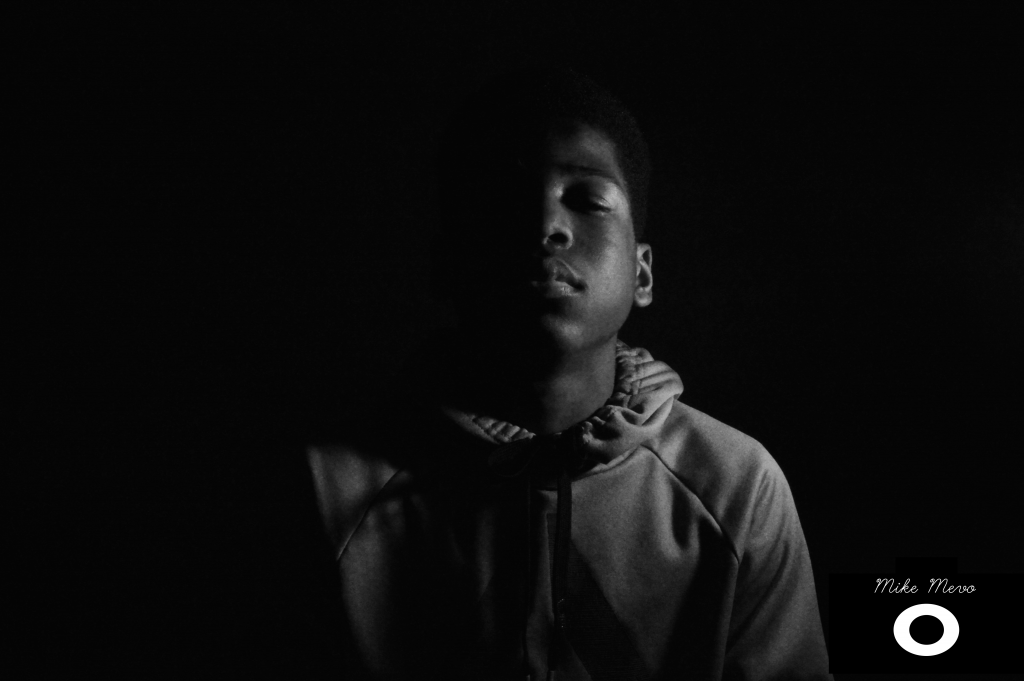
During this project we had to put the camera on manual mode and take pictures in ISO. What really worked was the outcome of the pictures, I really liked how the pictures looked. One setback on this project was the low amount of lighting from the outside lights.
In this project us students had to take 5 pictures (each picture at a different angle) of 3 different objects. while taking these pictures the hardest part was being creative and thinking of different angles to take the picture. One of my objects was a microwave and one of the hardest things of taking its picture was thinking of different ideas to make the pictures interesting because the microwave was shaped as a square. Although the project had its challenging moments, the project taught me how to take more quality pictures and get different angles while taking my friends pictures.
In this assignment I had to collect 24 crayons and take a picture of the crayon with the crayon’s color as a background. Since I had to take the pictures in the school the most difficult part was finding colors to match the crayon.The easiest part of this project was pulling the crayons out the box.
When I do essays and projects I use google images, but I do not give credit to the owner of the image. If someone in my class was using my image for a project I would expect the person to ask for permission. My logo is an image of a camera that I made from scratch and inside of my camera it has my full name in cursive. The hardest part of the project was making an unique logo.