My group took photos by holding down the camera button while they draw with a flash light from their phone’s. What worked well for this project was being creative and finding good things to draw. The hardest part was making sure everything was working and the light was working and the drawing was in place. Maybe making the light move is something I would do in the future.
Macro Portraits
Antonia Sennott
In this project me and my partner had to work together to take pictures of lego’s at lego level among lego objects, to make it seem like they were living in a lego world. The skills we used were close up shots, rule of thirds and more. The parts of the project that challenged me was coming up with ideas for the legos. I would like to take a picture of a lego climbing a tree, swimming, reading, eating and sleeping.
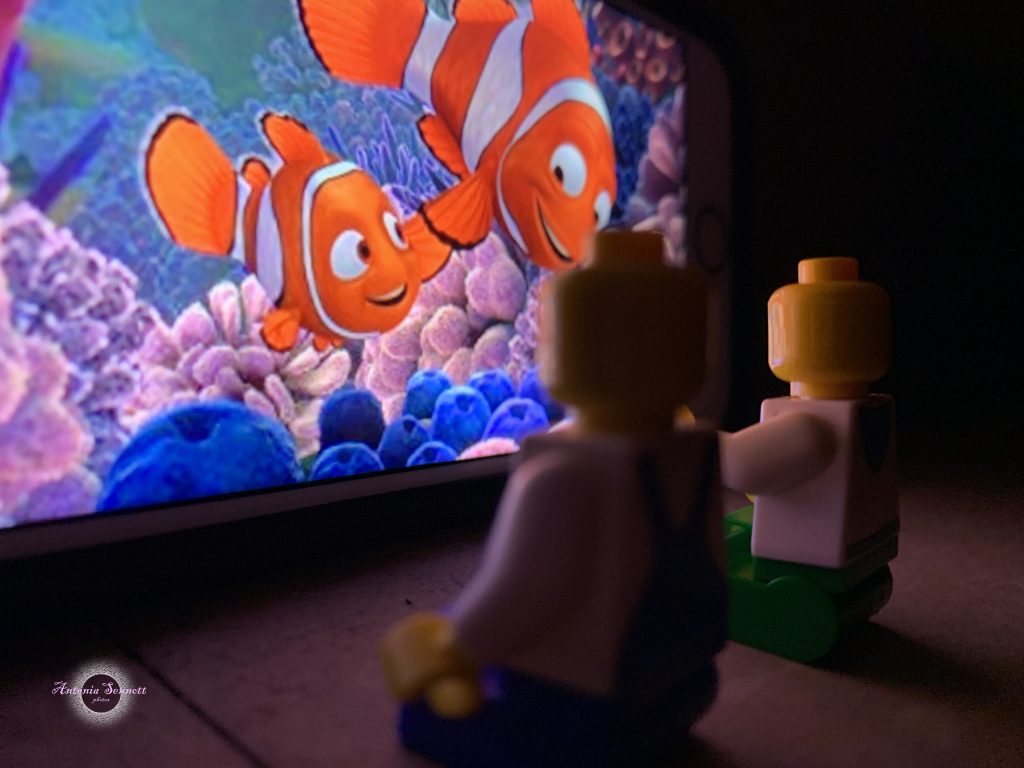
Close Up Shots
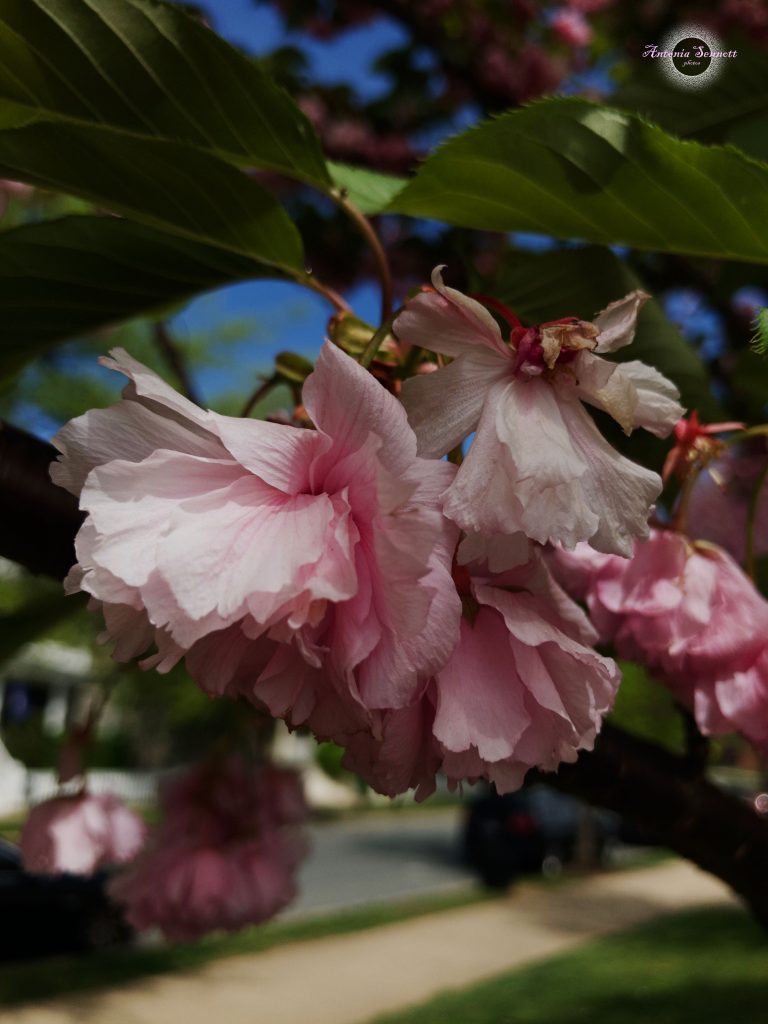
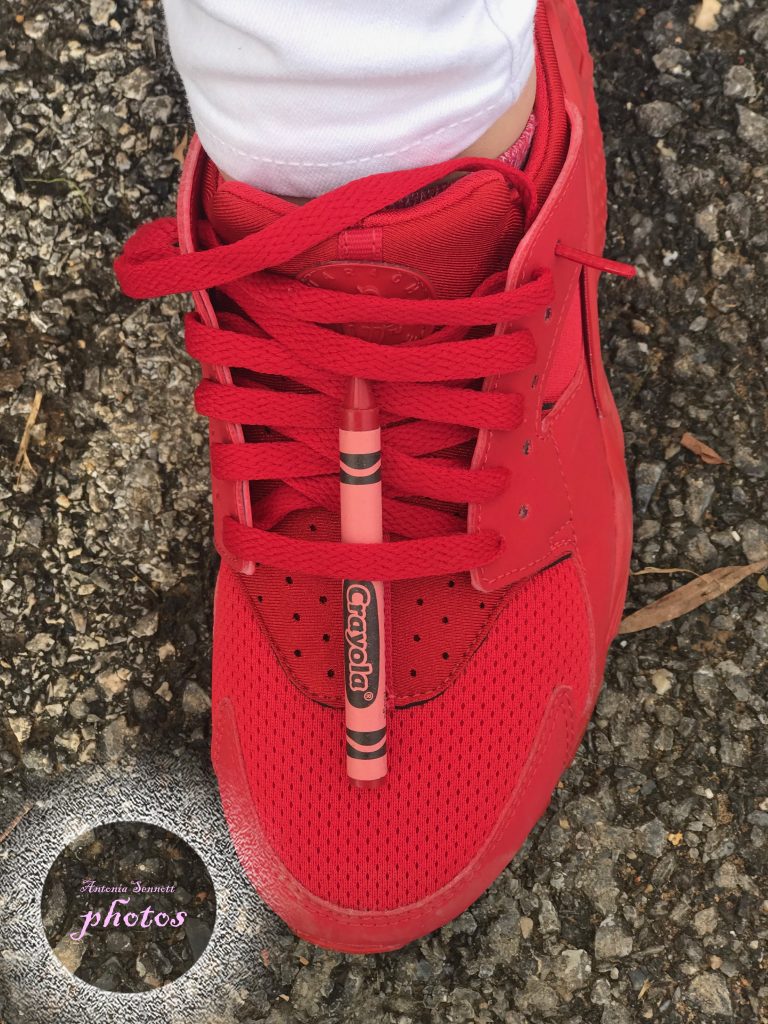
This project is a task where I focused my camera very close to a certain object. What worked well for this project was making my camera focus on a certain object, also making it focus. To make my camera focus better I used VSCO to take the photos. No issues with the camera but it was difficult to find subjects because I started to get less creative. I would like to photograph water close up.
Here is my favorite photo.
Action Photos
While I was taking the photos I always put my phone in burst mode. This helped me capture the certain moments of a photo that I want. My tip is try to keep the camera very still and time the photo. I would like to photograph a swimmer, about to appear from the surface of the water.
Here is my stacked photo:
Here is the link to my action photos folder, called, “motion shots”: https://drive.google.com/open?id=1-bLg8blIDUoElb0Sj5EAW-vYCKViBmFg
I put a setting on my phone so that every time I take a picture it captures several shots at the same time. One main piece of advice I have is to always use the burst option. I would love to photograph a wave crashing onto the shore.
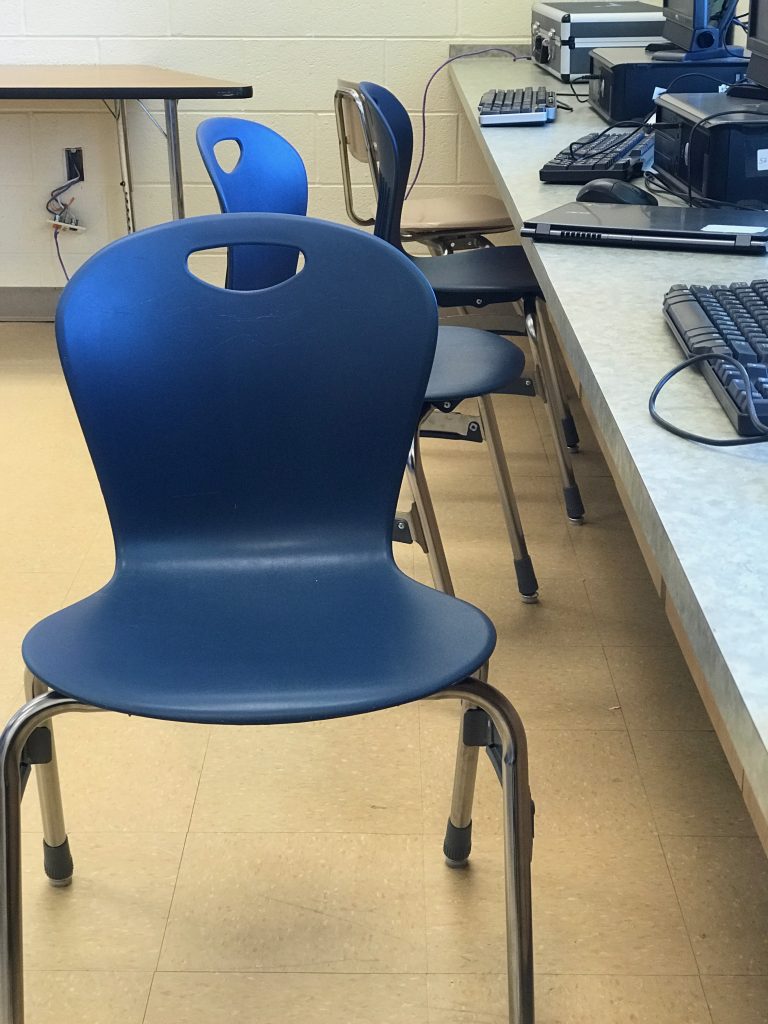
Rule Of Thirds
I think that overall what worked and what was easiest for me was aligning the person or the object with the lines. What didn’t work mostly was making the picture look professional and interesting. Before we started the project I thought that rule of thirds really wasn’t needed but near the end of the project I realized that it makes the picture look a lot better quality. I set up the shot with the lines over top of the main subject of my photo.
Here are my photos:https://drive.google.com/open?id=1rER–madipDg0d2OzLwFtQFbNU22spqx
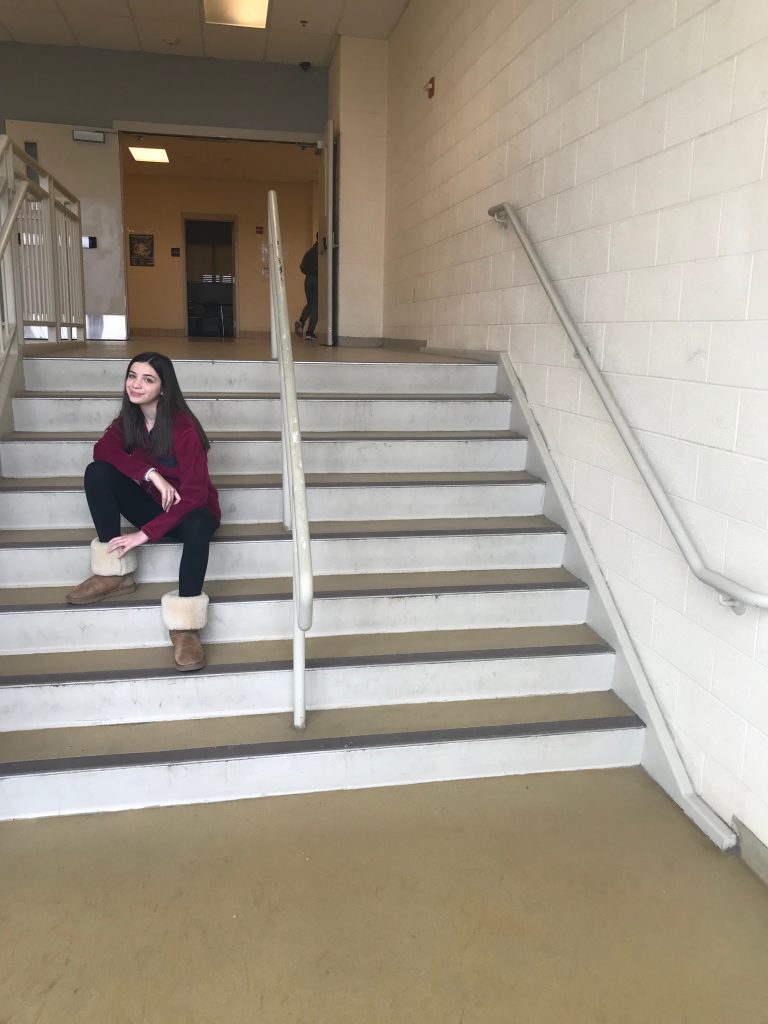
Frame your subject
The frame your subject project was a project where you had to use an object or something physical to surround a subject or a person. This compares to the Rule of Thirds project because in R.O.T I used imaginary lines to frame the subject and in the frame your subject I used physical objects (lines) to frame my subject. The challenges that I faced was finding interesting things to frame the person.
Black & White Portraits
I used photo shop to edit my photos and make them darker or brighter, also to add more saturation etc. To take the picture was pretty simple, I just had to make sure the camera was in focus and the subject was in the middle. What worked was making it seem like the photo had an infinite background. What didn’t work was making the shadows on the wallpaper disappear.
I used photo shop to edit my photos and make them darker or brighter, also to add more saturation etc. To take the picture was pretty simple, I just had to make sure the camera was in focus and the subject was in the middle. What worked was making it seem like the photo had an infinite background. What didn’t work was making the shadows on the wallpaper disappear.
5 shots 5 photos
For this assignment I had to take pictures of two objects and one person. A challenge in this assignment was making the pictures look professional. The object that was the hardest to photograph were the airpods because they were so small. The project helped me realize that the level that your camera is at while taking the photo greatly impacts how the photo looks and turns out. These are my photos:
24 colors project
During this project I took 24 pictures of 24 crayons. I made sure that each crayon was taken with the same color background as the crayon itself. I then uploaded the best picture from my collection and added my logo to it in fireworks. What was most challenging was finding the right color background to match the crayon because not everything was available. What I found easy was taking the actual photo and having it turn out as a good quality photo. Here are my photos.
My Logo
I normally get my photo’s off google images. If I am using someone else’s photo I always contact the owner of the photo because it is always important to give them credit. Most of the time tho, the owner puts a logo near the corner of their image. Personally, I would expect credit from the person that was using my image. To describe my design is is a circle with a design around it and my name typed in cursive font in the middle of it. “photos” is typed in the middle of the circle also in a cursive font. The only thing that was difficult was finding the right design for my logo to match my personality.