Light Graffiti

click to see more photos

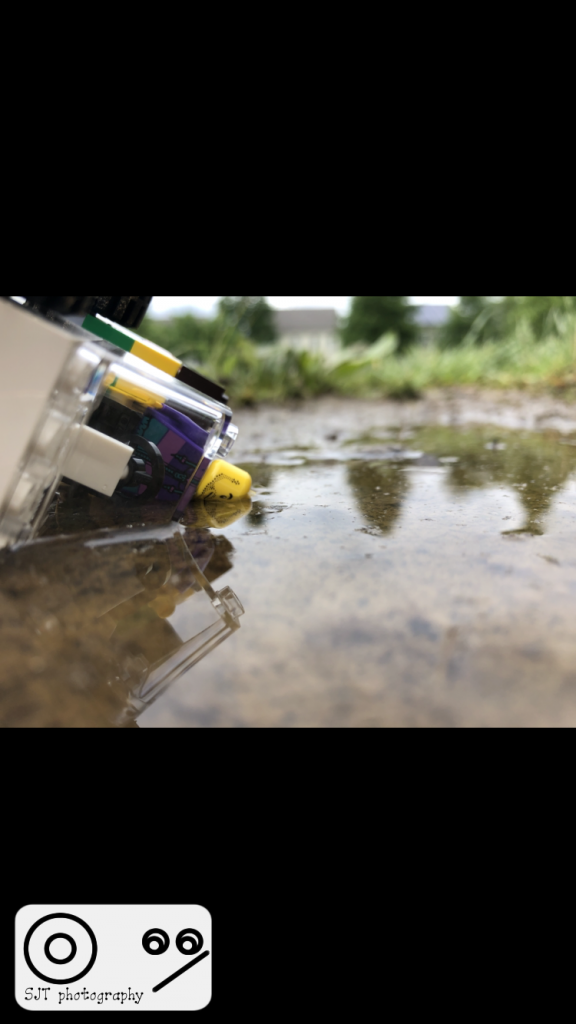
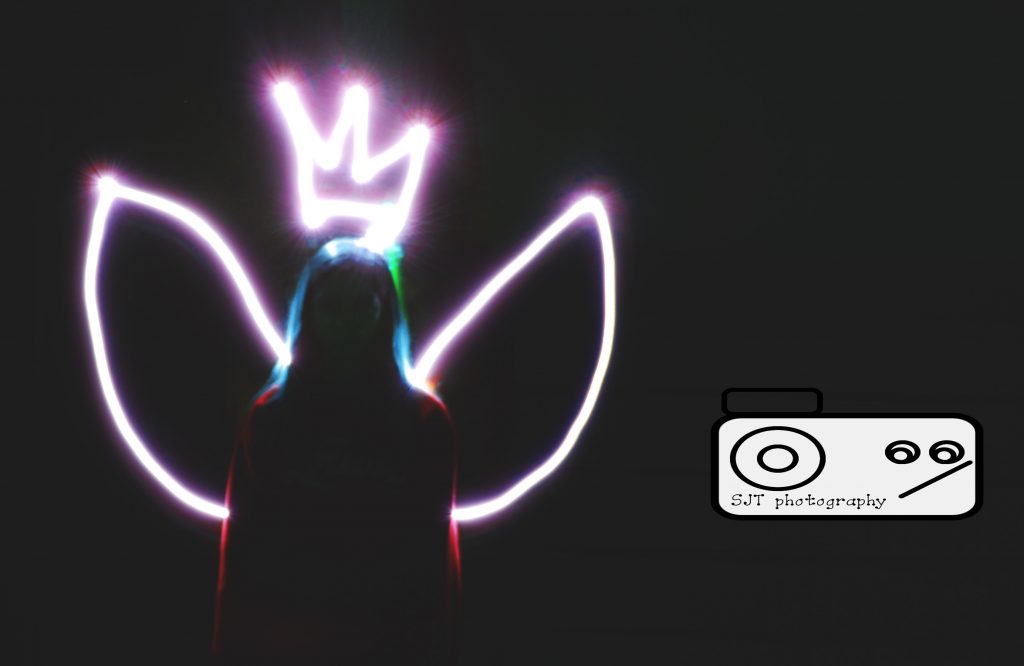
In this project we had to use a professional camera in a dark dark space with as little artificial light as possible. We used a phone flashlight to get the effect we wanted. In order for there not to be light everywhere, we had to cover the flashlight every time we moved from a place. There tended to be red lights when we looked back at the photos in which we had to edit out. using multiple people to do it didn’t work very well for us but doing it with just one person standing and the other tracing worked best. It was frustrating trying to get the wingsright in our photos, it took several tries. For next year, i suggest people get

Lego Photography

In this project we had to take pictures of Legos and the picture had to have a story behind it. along with the picture having a story behind it, everything in the picture had to be proportional to the Lego so it looked like the Lego was almost life size. it was hard for me to find things that were proportional to the Lego rather than Lego blocks. in this project, we used similar techniques from the macro project where we had to get really close to objects to sort of magnify it. If I got the chance to take more photos, I would take photos of the Legos in the ocean and get a go pro and take a photo under water. I would also like to take photos of the Legos on motorcycles, falling of of something, snowing, and skating.

wrong turn.
they see me rollin’, they hatin’
nice day for a swim

Macro Photography

click here to see more photos

In this project we had to take photos of objects up close without zooming in but instead we had to get as closes as we could without the photo getting blurry. in your camera, you had to turn it to manual mode for the camera to focus well. It was easy for me to find good objects to take photos of but actually taking the photo was difficult because the camera kept getting blurry. If i had the chance to take a photo up close, I would take a picture of a leaf to see all of the tiny lines in the leaf.

Action Photos

Click here to see more photos

in this assignment, we were told to take a picture of someone while in action. The picture could not look like it could be framed and it could not be blurry. It was hard for me to capture the right moment and for it to not be blurry at the same time. it was easy for me to do the stacking of the photos, for me it didn’t take that long for me to understand how to do everything in Photoshop. For me, it helped to put the camera in a setting where it could take photos at a high speed. this helped capture the moment and also have your subject not be blurry. The setting is called sports mode which can be found in almost all cameras. If you are trying to take action photos and your subject is jumping, it is best to put your camera/ device on the ground so that it looks like your subject is jumping much higher than they actually are. I would love to take pictures of people doing gymnastics or skateboarding, i feel like the picture would end up very unique and interesting.

Framing Your Subject

In this project, we used creative frames to make our subjects stand out in the photos we took. we could use frames such as trees, windows, doors, bookshelves, etc. This relates to the rule of thirds because in the rule of thirds we put people in certain places to make the viewer look at the subject first. In this project, we put our subject in creatively placed frames so that the viewer looks at the subject through the frame.

this is my favorite photo because it includes both rule of thirds and framing your subject. I am using the bookshelves to frame my subject (Sophia) which makes it framing your subject. The bookshelves seem to all be pointing at Sophia which adds a cool effect. She is also on one of the rule of thirds lines which makes it rule of thirds as well. I faced challenges when i was trying to be creative with my frame because it seemed like everything looked the same.

to see more photos click here

Rule of Thirds

click here to see more of my photos

There were a lot of challenges because i would take good pictures but they would not work with the project because they were not on the grid lines. The easiest part for me was finding a good spot for the camera. My thoughts on the project did not really change, I think this project is pretty cool and interesting to figure out why people position their photos the way they do. In the picture with the girl, I positioned the camera so that her face was on the grid line so that people see her face first and then the rest of her body.

Portraits with an Infinite Background (Black and White)

click here to see more of my photos

click here to see my photos


When we were taking the photos, we had to make sure that the camera was still and that people were far enough away from the paper so that there was no shadow when we edited the photos. In The white photos, the shadows were more of a problem than in the black photos because they were a lot easier to see on the white back round than in the back round. everything worked with the camera angles but when we had to work in the dark, you had to make sure to put the light on your face so that you were visible.

1 Object, 5 Shots

in this assignment, we had to choose 2 objects and 1 person (or 1 object and 2 people) and you had to get 5 different angles of each picture. The challenge for me in this project was figuring out the 5 angles that I needed. in my opinion, the 1 person that I had to take a picture of was harder because there really was no way of getting an angle from under them and with the objects, it was much easier to get pictures from under because they were much smaller. this project helped me get better with finding more angles to work with when i am using a camera. click here to see my photos

24 Colors

This assignment was to get a box of 24 crayons and take pictures with the crayons. you had to choose an object that matched every crayon color. it was hard for me to find a good match for every color and especially because there were 3 blues that looked almost identical. I found that once I found a good match to a color, it was easy for me to get a good angle of the crayon.

Click here to see my photos.