Light Graffiti

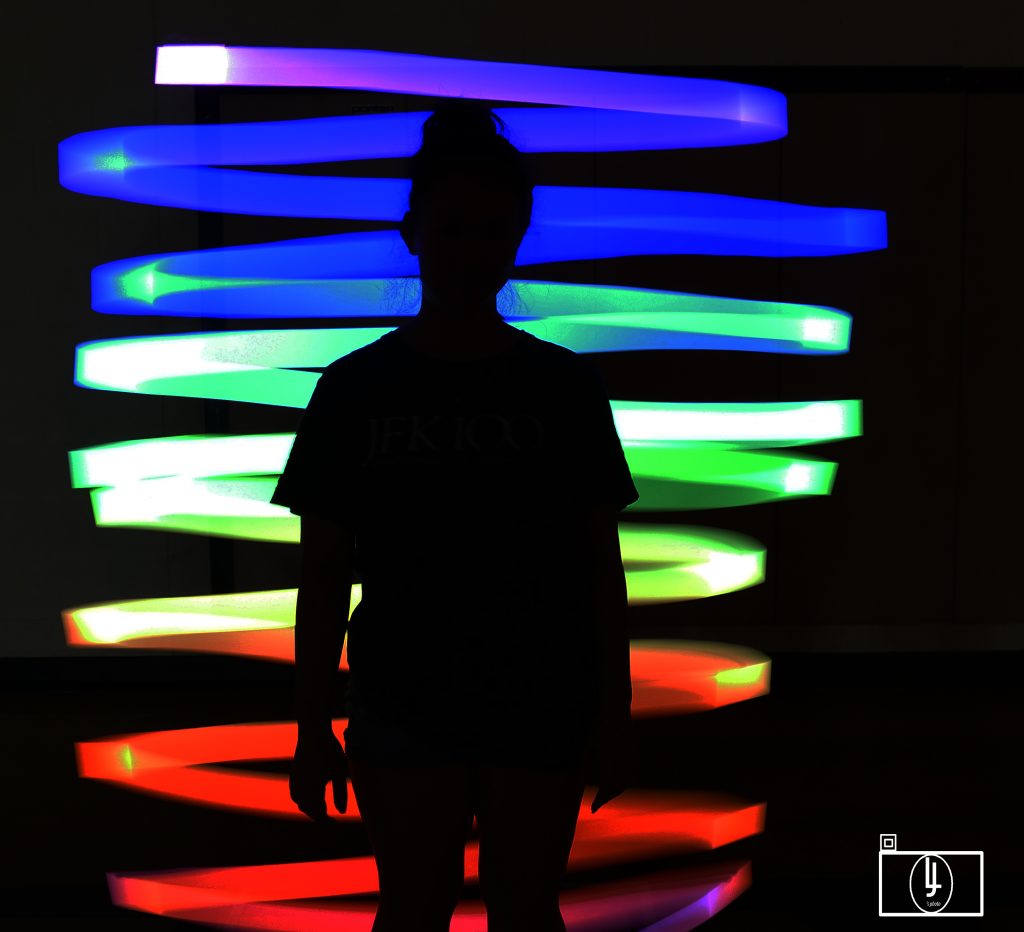
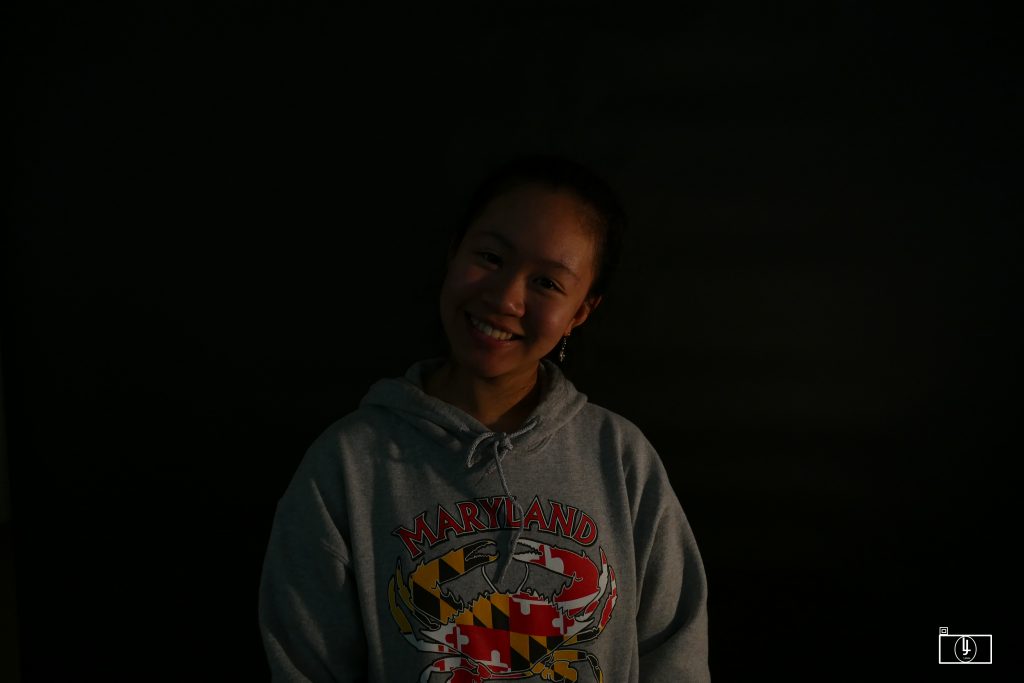
In this project, I used the flashlight to create cool photos. First, the environment needs to be all dark. Then you had to draw your design that you like, while your group mate was holding down the camera button. Also, we needed to set the ISO on low. The color of our pictures worked really well, but the shape of our drawing was too thick. One of the frustrations that our group struggled with was that the drawing came out sloppy, and we had to do it many times. The next time we want to make sure the flashlight is covered well enough when you change your drawing location.

Click Here See My Pictures

Lego Stories

In this project I worked with a partner, we are taking pictures with Lego peoples. We used lego peoples to make a story and take a photo of it. A skill that I used from the last project is close up, we take all the photos with low angles. If I could, I would like to talk photos about lego people flying, swimming, planting, party,and cooking.

The girl fireman is trying to telling others there’s fire
A boy skiing
A lego
Astronaut  above Russia

Getting Close

My favorite photo is the picture below with rain drops on the leaves, because the close up make the rain drops stand out. My photos turned out well because the picture quality is really good. Also the photos turned out interesting. My biggest challenge was taking close up pictures but it was always not on focus. If I had the ability, I would like to take a close up photo of a whale’s eyes.

Click Here To See My Photos

Action

In this project, we are experimenting how to take photos in motion. I learn the coolest thing in this class is to stack photos in Photoshop. A stacked photo is basically taking variety of motion photos and converted into multiple different figures. A good way to catch a good photos is to hold the camera still then keep clicking the burst as the object moves. A good tip is to stand still or change the camera angle. I would like to take a photo of a goose flapping its wings.

Click Here to see my photos.

Framing

For this project, I learn how to take photos with framing. Framing makes photos interesting. Framing is different from rule of thirds because in my view the “framing” makes certain objects standout. Either the object that’s inside of the framing or the framing itself. On the other side, rule of thirds is the object that stands out on one the lines, shows background or foreground. One challenge that I faced was trying to find a good frame to take the photo.

click here to see my photos

Rule Of Thirds

I learn so much through this project of using rule of thirds. I think I did well using the line to set objects stands out and create a focal point. But for the cloud photos, that color or patterns of the cloud did not stand out. So I used the camera edit to make the color darker. I changed my thoughts through this project, because I am able to learn how to look at a photo using rule of third, and take pictures using rule of thirds. Here’s how I used the “Lines” to take photos. First, I used 1/3 of the photo focus on the Marelin’s whole face. For the rest of the photos, I used the line to make sure the objects are on the second line.

Click Here To see the photos

Infinite Background

In this assignment, we took photos in white background and black background. The Challenges that we faced was that we had to change our ISO setting to make the camera more sensitive. In order to do this assignment well, we had to take photos from different ways so our shadows wouldn’t show. Then we used Photoshop to edit the photos. For example, I had to make my white background photos more bright so the background look infinite. I personally think the black background turned out really well. For the white background, I think it didn’t turn out as good as I expected it to be. Because there’s too much detail and the shadow was easier to see.

Click here to see the white background photos

Click here to see the black bwackground photos

5 shots

For this assignment I had to take 5 photos each in 3 objects. I took photos on a fake plants, a recycle bin and my classmate Sam. One challenge of this project is that I had to take photos in different angles. In my opinion, I think the recycling bin is more difficult for me to take a good photo, because the recycling bin is really basic, not much special, so no matter how I take it, it won’t turn out well. This project helped me a lot. For example it taught me take pictures in different angles, I also improve my skill of taking photos.

Click to see my photos

24 colors

While I’m taking those photos, I found out there were some challenges. One challenge I faced is that I had to take photos from different angles so I had to hold my phone in different directions. But through those challenges, I found some methods that could easily take a good photo. One method is to ask your friends to hold the crayons and to take a picture, only when the crayon is on the wall. One thing I like about this project is that we could show our skill or the ability to define different colors.click to see my photos