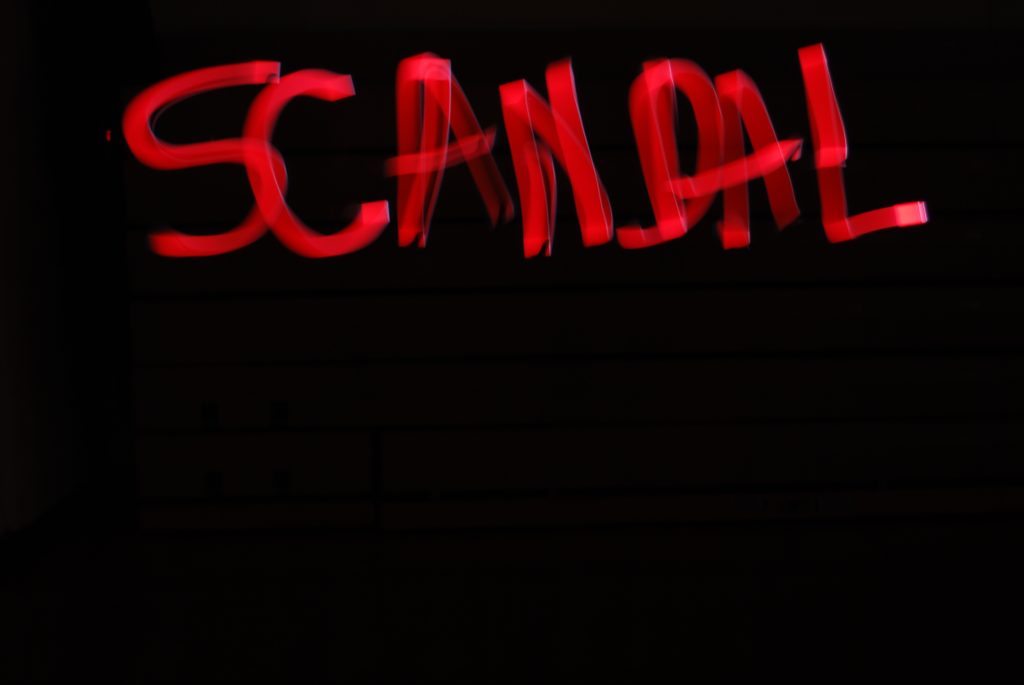
In this project, we took our pictures by having the entire room pitch black, then the changed the settings of the cameras so that they took at least 15 pictures at once, and got a bright light and waved it around in a particular motion to create images, like mine above which say, “scandal.” One thing that worked was turning up the brightness on your phone so that the light is brighter. (if using a picture of colored light) One thing that didn’t work was when someone would be making their image, and then someone would be casually standing next to them, when they weren’t supposed to be, with the flashlight on, creating light pollution. I would get frustrated when I would try to write a word, and the timer would stop in mid-writing. I believe that something that could help this project go to the next level. is for us to choose an image, for example, the Eiffel tower, you would have to draw the Eiffel tower as close to the real thing as possible. Click here to view the rest of my light graffiti.
LEGO stories
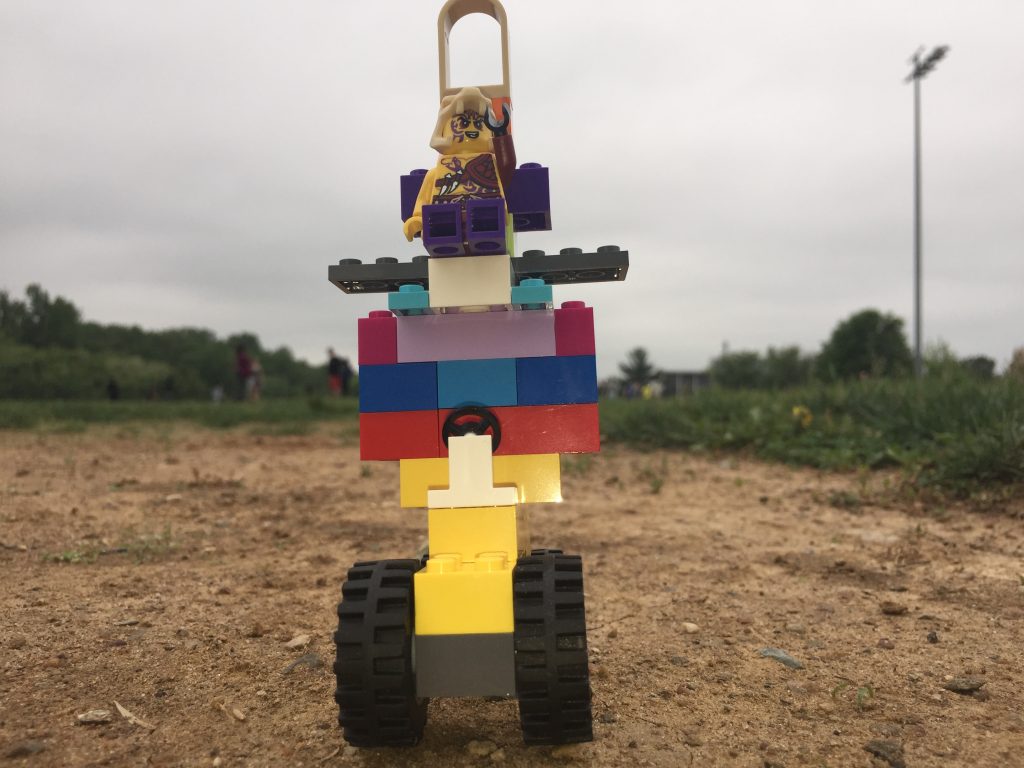
a wealthy warrior is showing off his fabulous vehicle to his subjects.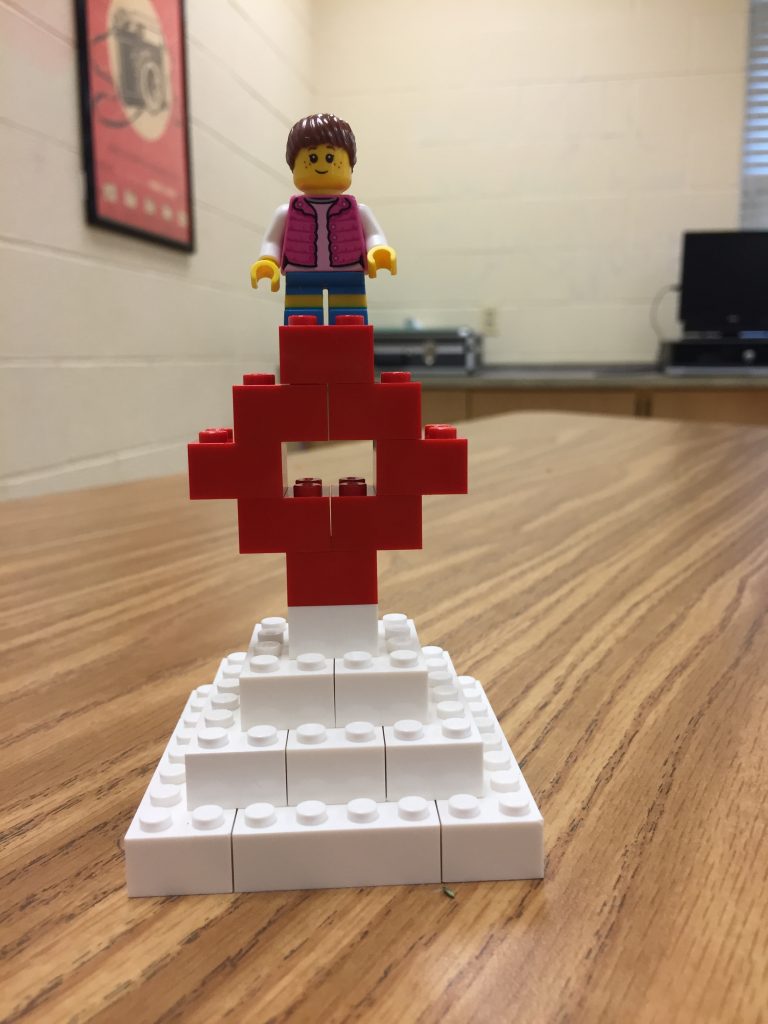
…looks a little too dangerous to be a “school project”. 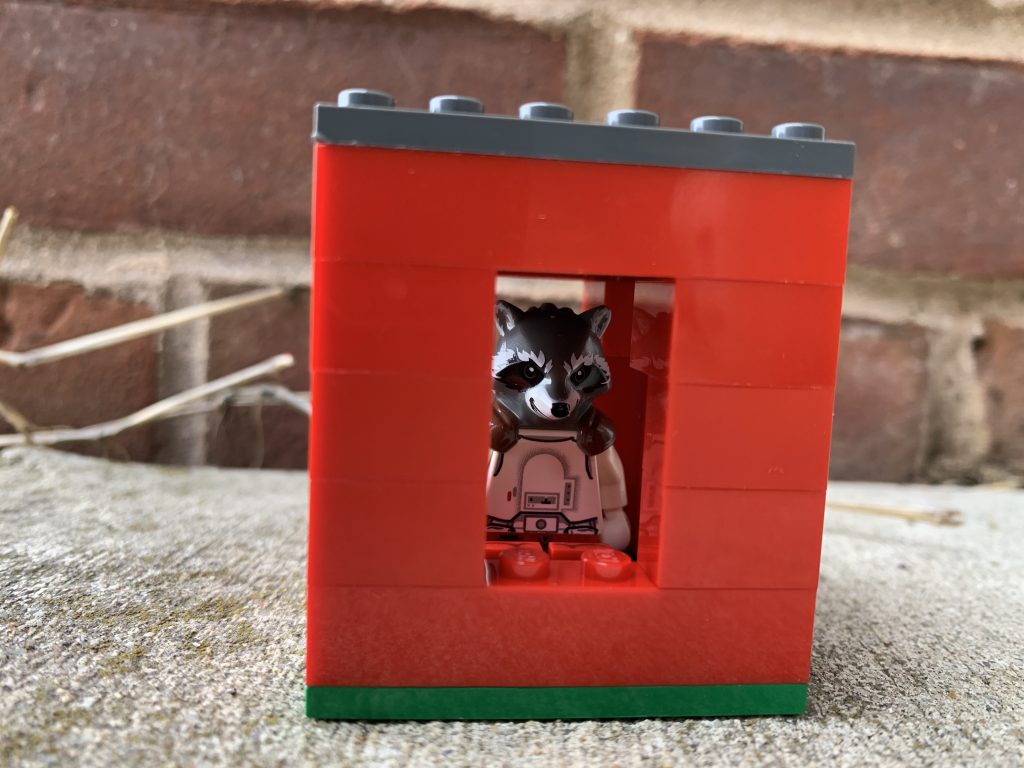
a bandit got caught stealing, and is now in jail
For this project, we had to find LEGO people, and make scenes in which it looks like another LEGO person is ‘taking the picture”. In this project, one skill that I used from other projects is the Rule of Thirds. two of the parts that challenged me was when i had to get the camera low enough to the same eye-view as the LEGO person I was taking a picture of. Another challenge was when I would have to build something and put the scene and the structure into a story, and I would sometimes struggle to make a story to begin with. If I could take at least five more pictures, I would take a picture of a firefighter saving a cat from a tree. and old lady sitting at home knitting, and a family gathering for thanksgiving.
Zoomed in…
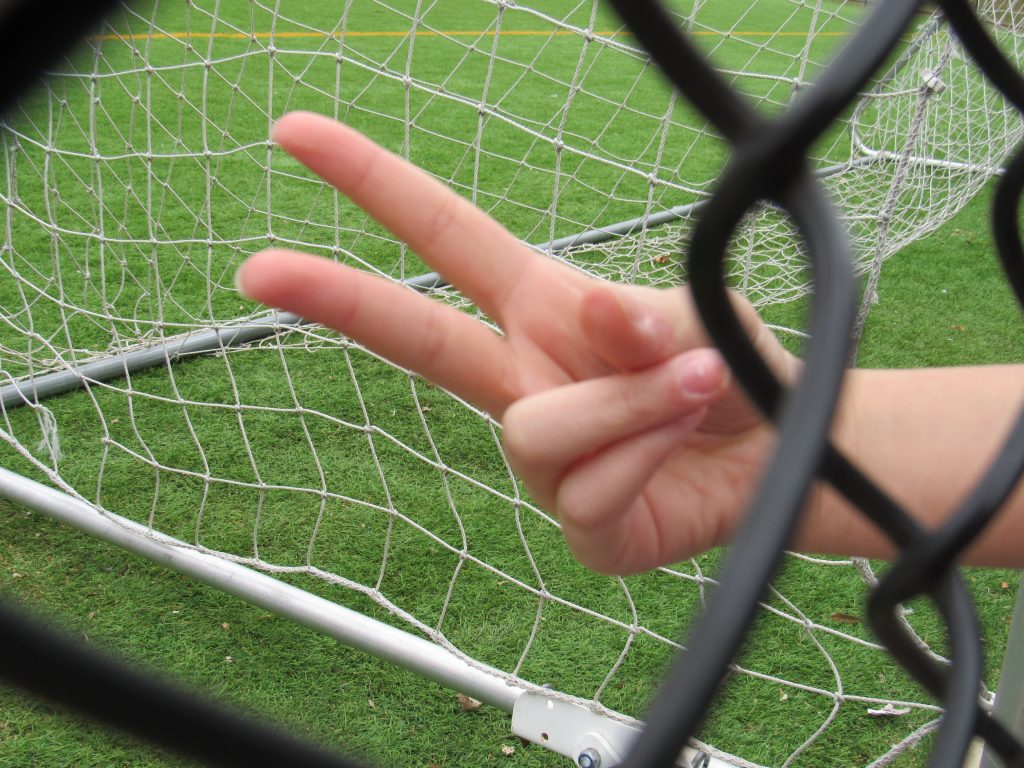
In this project, I had to find an object, and/or person and take a “zoomed in” picture of it. One thing that worked for this project is using the button that helps the camera focus. It helped because the only way for your picture to turn out good is for the picture to be focused. I did not try anything outside of what I did because what I did worked efficiently. During this project, one thing that was challenging was when I tried to avoid shadows. It was pretty hard to find subjects because you had to find ones that would look good as a “zoomed in” picture. If i could photograph anything, it would be the sun because it had so many forms of red, orange, and yellow, and the “fiery-ness” is so cool to me. Click here to view the rest of my photos.
Action Photo(s)
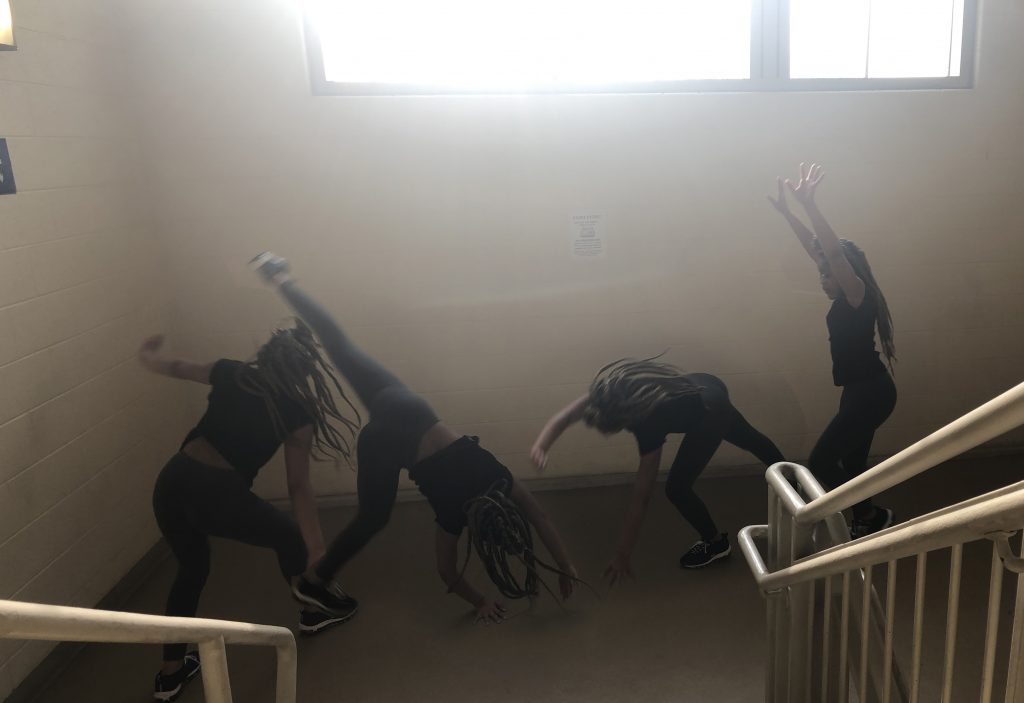
In this project, we had to basically do something that requires consistent movement, but show the entire action in one photo. One thing I did to capture this image to it’s full potential is make sure that my editing was neat and realistic. I needed to make sure that each shot came together smoothly and didn’t look “choppy”. One tip that I have for you guys if you want to take this type of picture, is to have patience. It’s sort of difficult to get the right/a good picture if you’re impatient. If I could take and action photo of one sport it would have to be track and field. Specifically hurdles. Click here to view the rest of my action photos.
Framing (r.o.t’s)

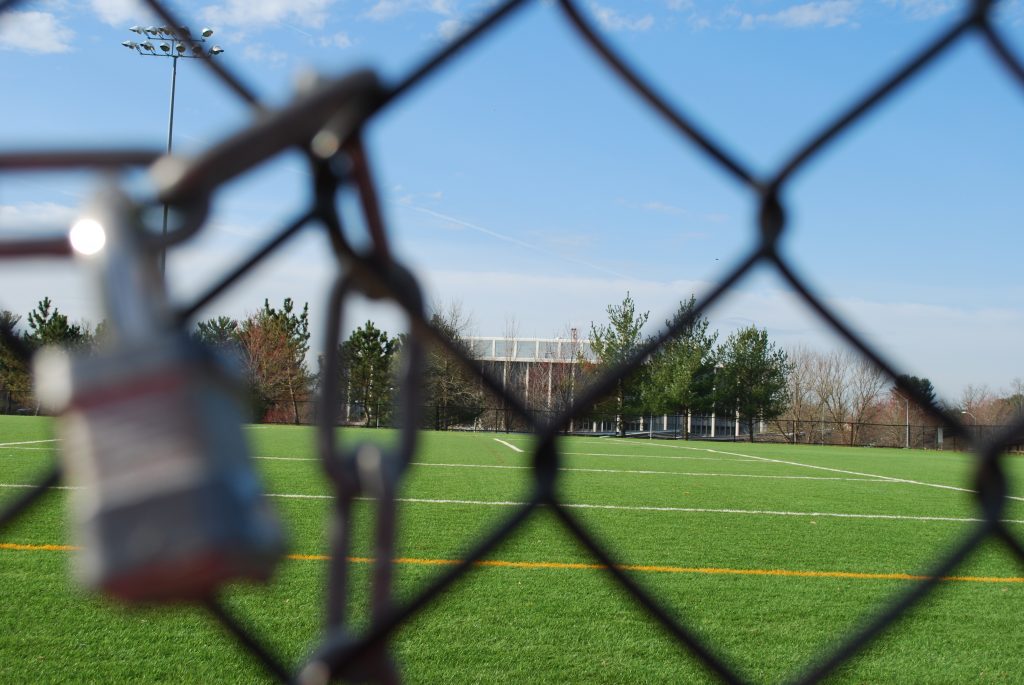
In this project, we had to take pictures while framing the main focus with objects in the environment. This project also includes the Rule of Thirds, because for you to get a good picture where the focus is obvious, you must use the Rule of Thirds. This picture is my favorite because it has my BEST FRIEND in it, and the lighting in this picture is very good, and I like how we used the bike rack as the frame. One challenge i faced when doing this was trying to find good objects to use as the frame because they were either too small, or too big, or just awkward looking in the photo. We had limited options. Click here to view the rest of my photos.
Rule of Thirds
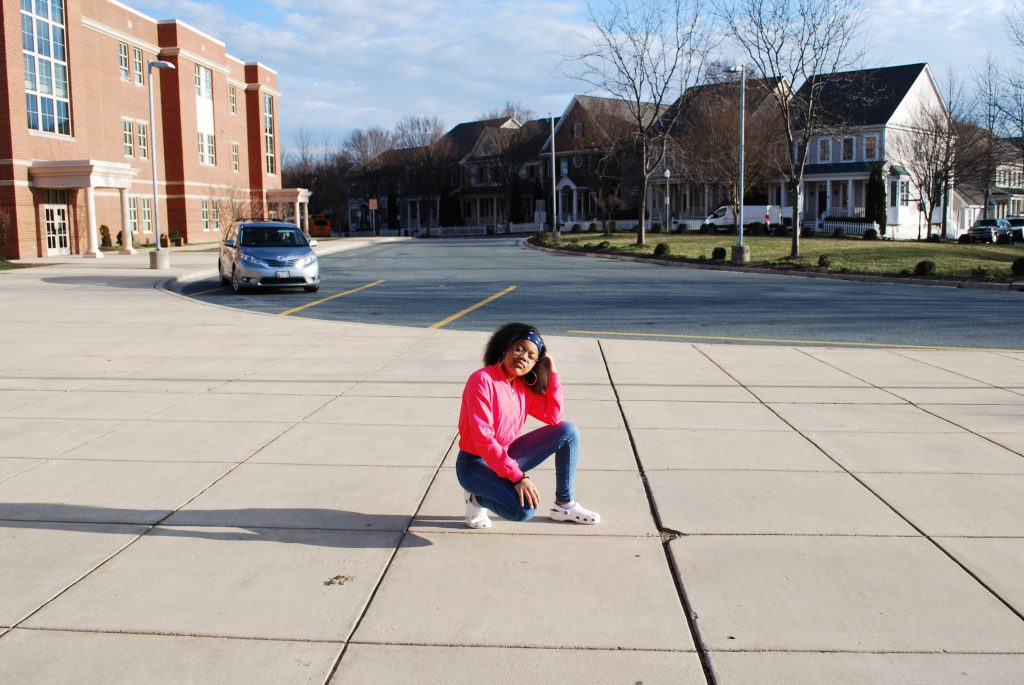
In this project, there were things that were hard, and things that were easy. One thing that worked was standing in the sunlight. It made the pictures more clear, and vibrant. One thing that was hard,and didn’t work was getting the camera to focus on a person or object that was far away from the camera. At the beginning, I thought that the Rule of Thirds was kind of stupid, and pointless, but as the project proceeded, I realized that the Rule of Thirds was very helpful to make all of your pictures look better, and more well put together. The lines we used to take pictures look like a grid of squares. We used them to line up the focus of the image along them so have an “even” picture. Click here to see the rest of my photos.
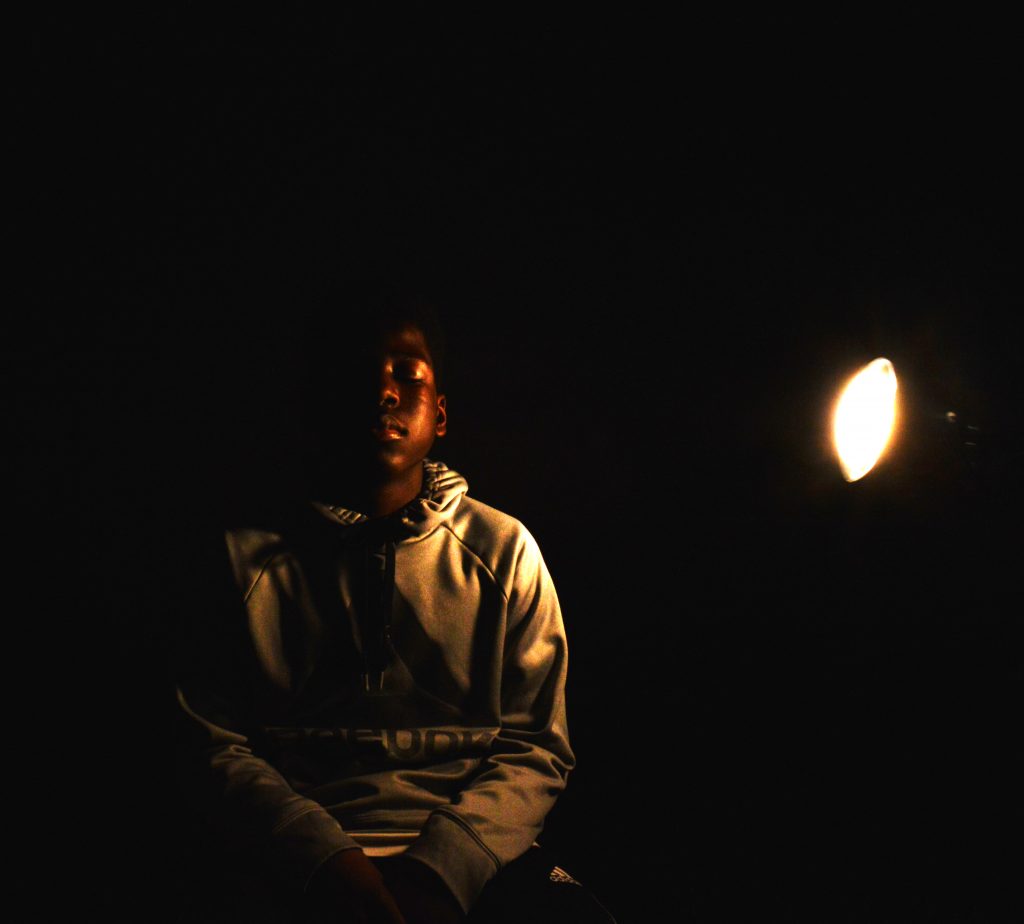
Portraits with an Infinite Background
During this project, I used photo shop to edit my photos, including this one of course. The process of taking my photos was about 3-4 days at the most, and it took a lot of patience because of the limited amount of cameras available. One thing that worked for the black background was having the light facing closer to the back wall of the person, so that you could have more of the “infinite background” effect. One thing that didn’t work for the light background was when the light was too close to the right or the left of the wall, because you would be creating a shadow that you didn’t want. Click here to see the rest of my white photos. Then click here to see the rest of my black photos.

Five Shots
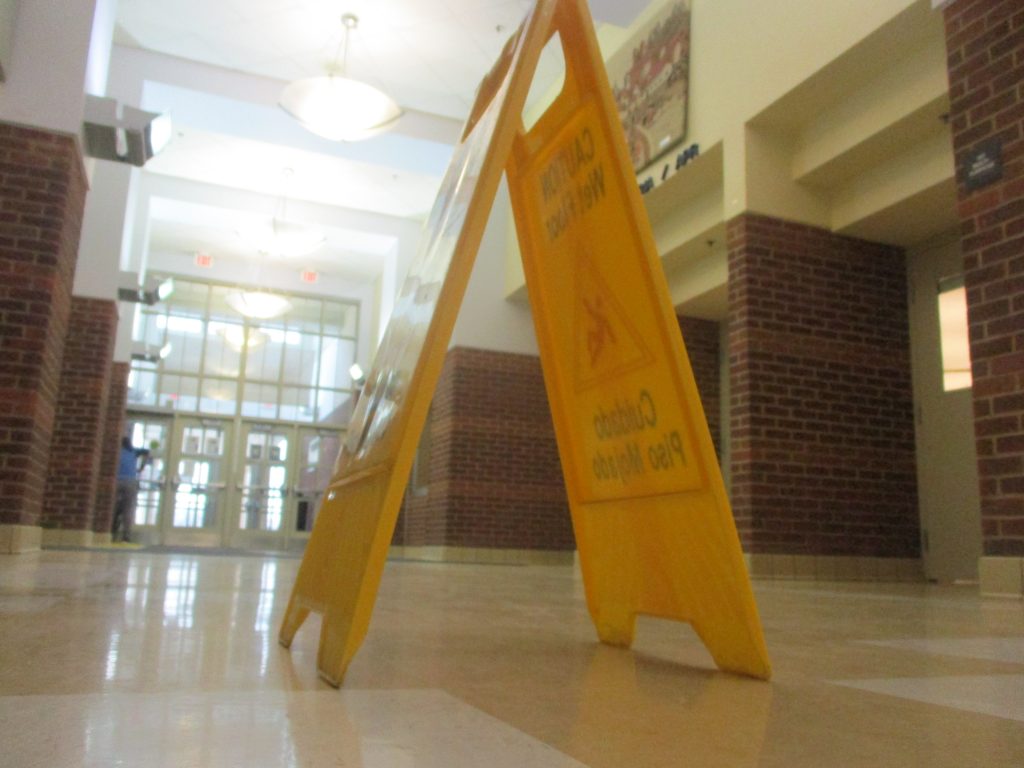
In this assignment, I had to find at least three different objects (including people) and take five pictures of them in five completely different angles. I believe that one genuine challenge in this project would be when I had to stop myself from being repetitive. For example, when I took a picture of the wet floor sign above, I would make the mistake where I would take the picture of the front angle of the sign, but then follow up by simply walking to the back of the sign and taking the picture in the same angle, just a different spot. I believe the object hardest object to photograph was the fork, because it’s hard to get certain angles when the object is a nearly flat object. This project helped me to get better at knowing what angles work for what object. For example, while I was getting pictures taken of me and taking pictures of others, I realized that the lower angles look kind of funny, and don’t really look that great with actual people. Click here to see the rest of my photos.
24 Colors
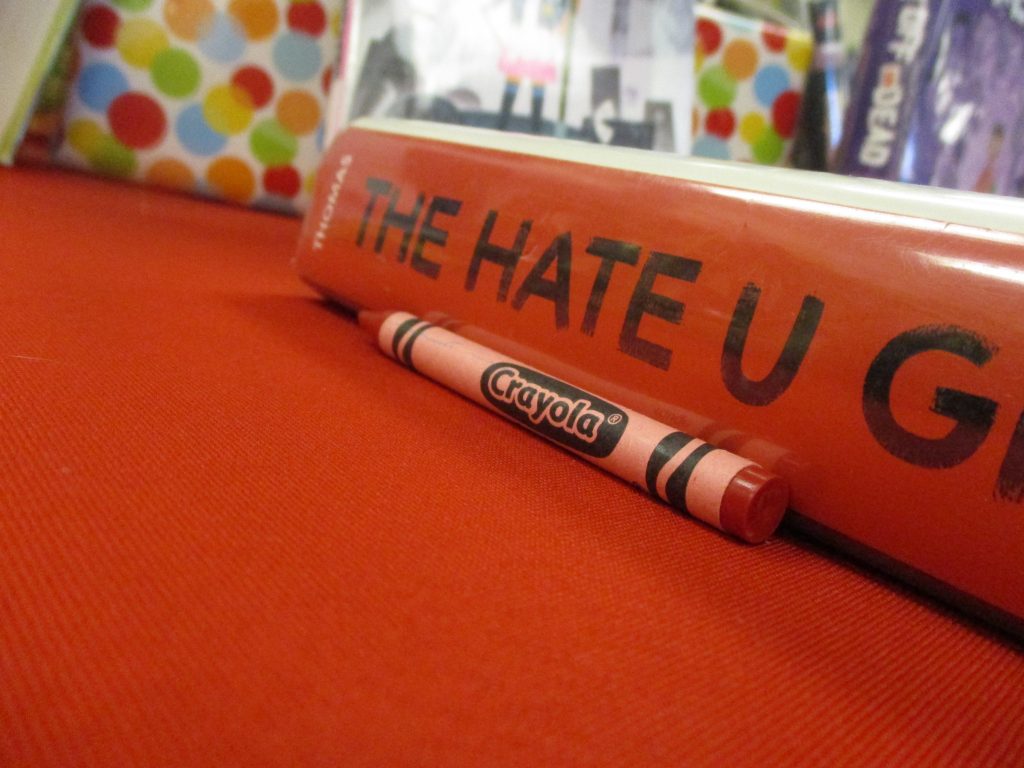
During this project, I went through a lot of trials and tribulations. Some of the challenges I experienced were finding a matching background for my crayons, and getting my camera to focus on really bland areas. Another challenge that I went through was trying to balance the crayons so you can see their labels. On the other hand, I also experienced a lot of easy moments. For example, one easy thing was when we had to actually take the pictures. Therefore, this was a good beginning project, and it was a good way to transition us into the rest of the semester. I learned that taking pictures is not as easy as photographers make it look. The picture I put above is my personal favorite out of all of my other pictures, which you can view by clicking here.
My Logo
I almost always get my photos from google images. Therefore, I don’t really feel the need to contact the owner of the photo because if I had to do that, taking the images wouldn’t be allowed most of the time. I don’t always give credit to the owner because, I don’t believe it’s that necessary to begin with. I would expect them to do absolutely nothing, because I did the same thing as them, I used someone else’s photo. my logo has colorful flowers that represent my love for liveliness, and I used my middle name, Alexis, because I like my middle name more than my first. The most difficult part of making my logo figuring out what colors matched and stood out from each other in a good way.