Light Graffiti

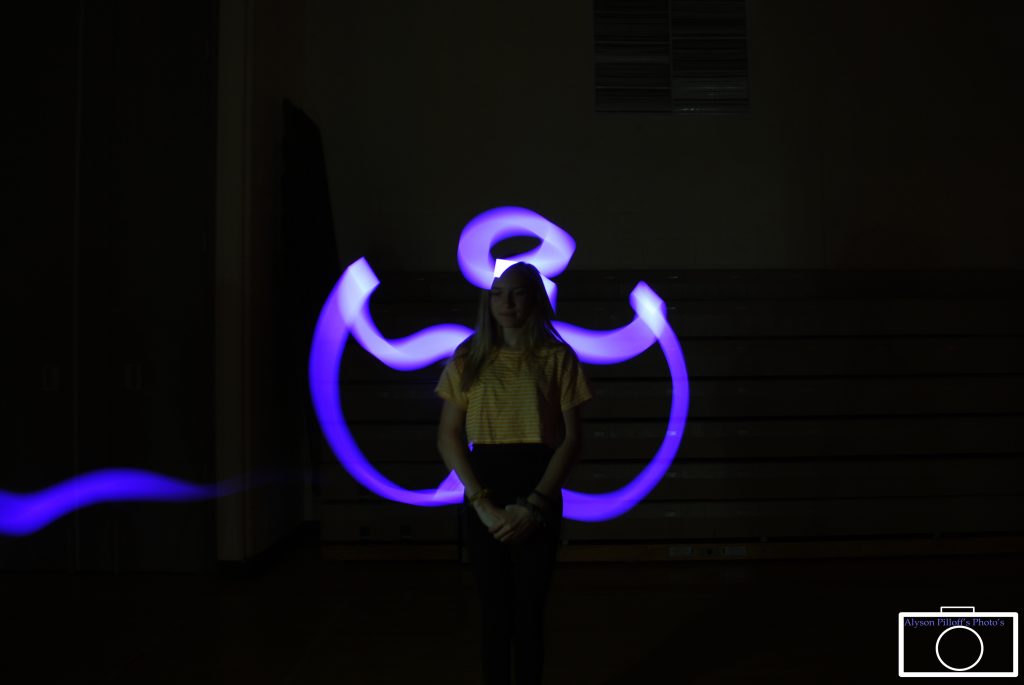
For this assignment, we had to use lights or our phones to make designs in the dark and take pictures. The way we took our pictures was holding done the off button until the person was done with the drawing. What worked is making sure no ones light was on when they left the photo. It was frustrating when outside light was in the picture. To take the picture the next level I would use lights not phones.

click here for my other photos
Lego Stories

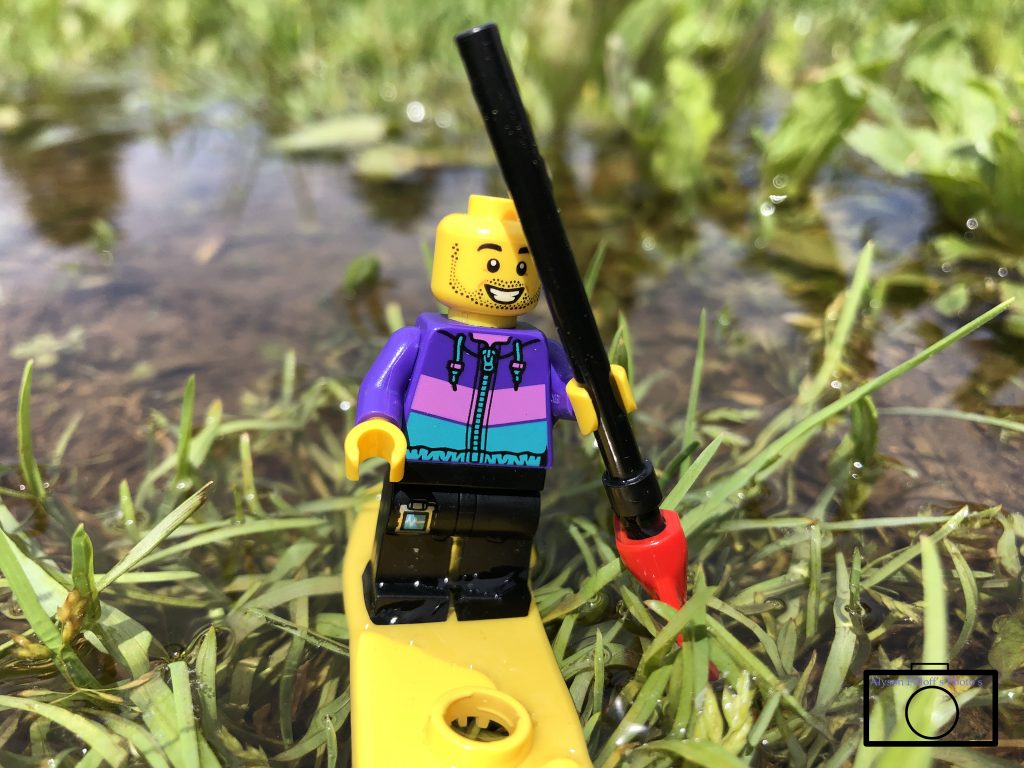
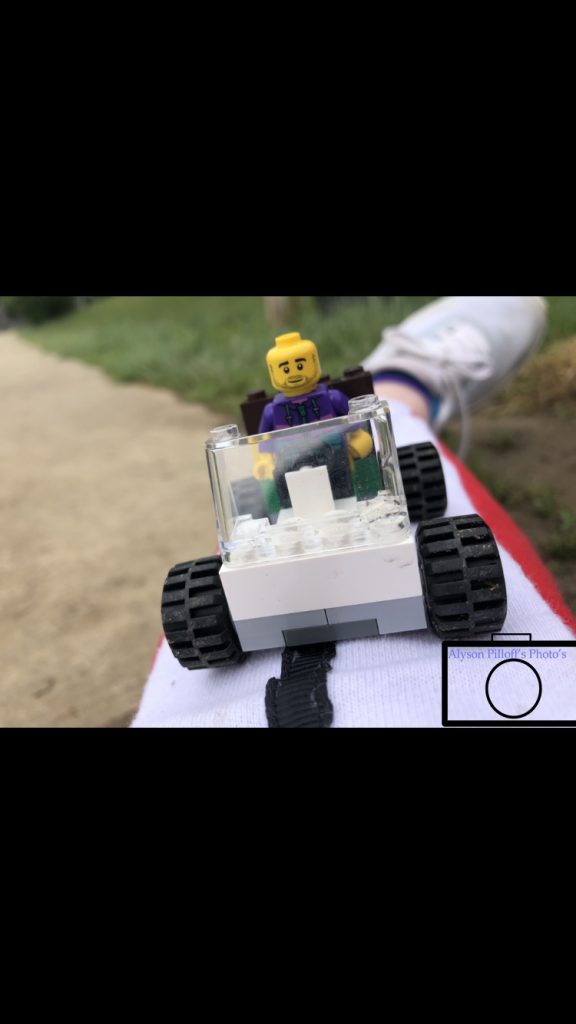
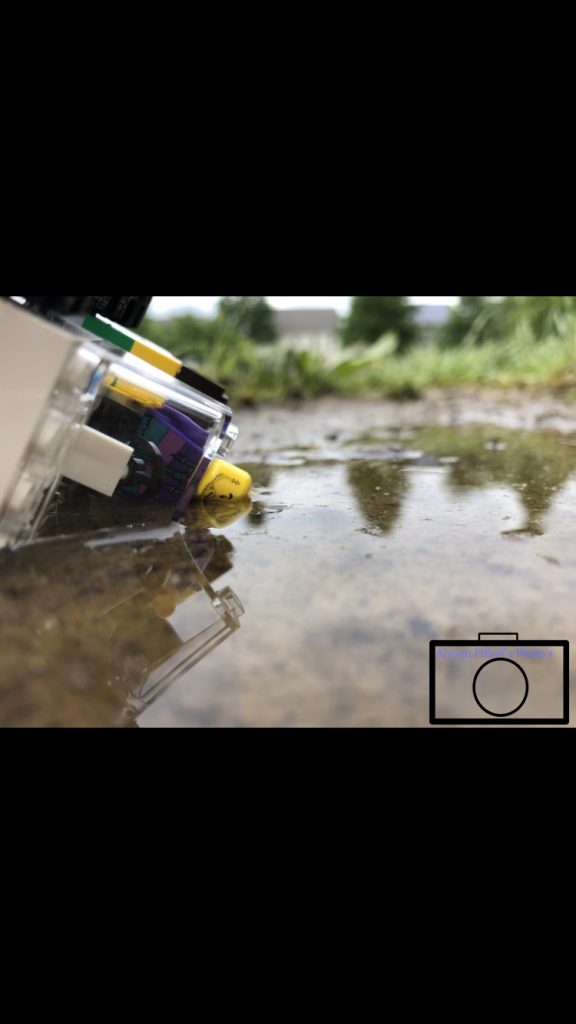
For this assignment, we had to take pictures of a Lego person doing something but it had down to there size. We also had to make sure it didn’t look like they were in are world. the skills I used for this project were macro and making sure it wasn’t blurry. I also used black and white portraits for lighting and rule of thirds. If I had to take 5 more pictures I would of taken pictures of someone at a movie theater. I also would done more action pictures. The parts that challenged me the most were finding a spot to take the picture because it had to be in there size world.

Went boating.
Went for a nice drive.
I drowned.

Catch The Action

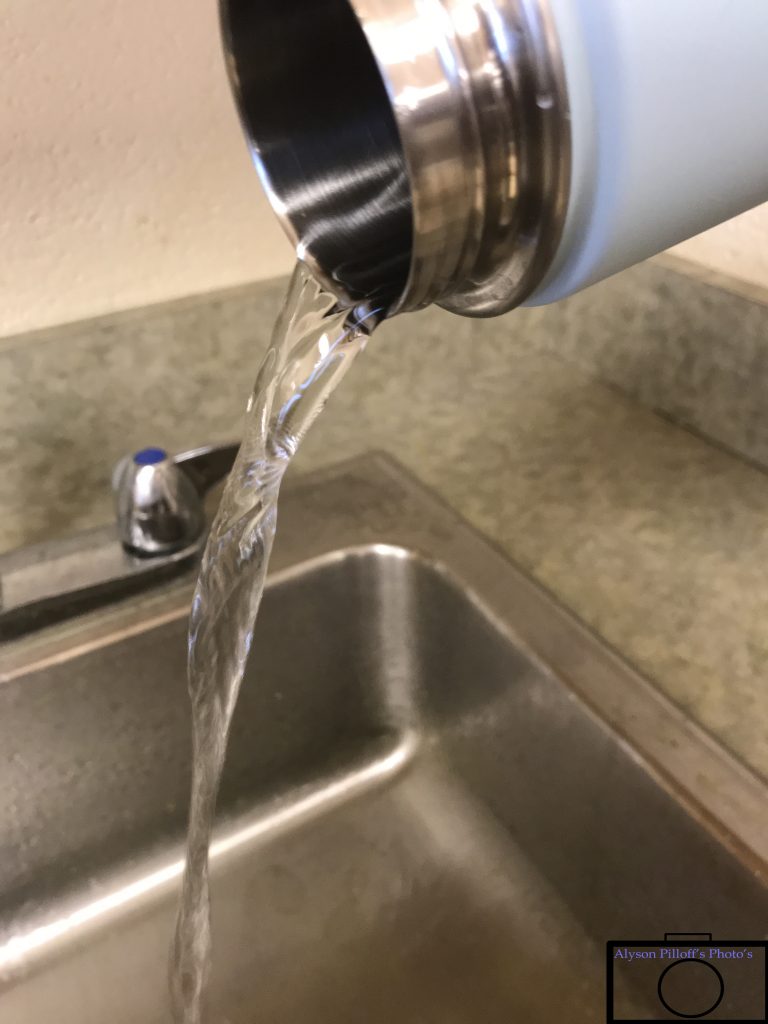
For this assignment, we had to take a picture of someone doing something that you could’t pose. For example someone jumping or running. You were not aloud to move the camera they had to come in and out of frame. I used burst so that I could get the right picture. The tip I have is never move the camera. I would take a picture of water falling off something.

click here for the rest of my photos.

Close Up Pictures

For this assignment, we had to take close up pictures of an object. What worked well was holding the camera close to the object. I tried taking pictures with different and interesting angles. What was hard about this project was making sure the pictures wouldn’t be blurry. It was difficult to find things that would work well because a lot things were not interesting. I didn’t have any issues with the camera. I would like to get raindrops up close.

click here for my other photos
Framing

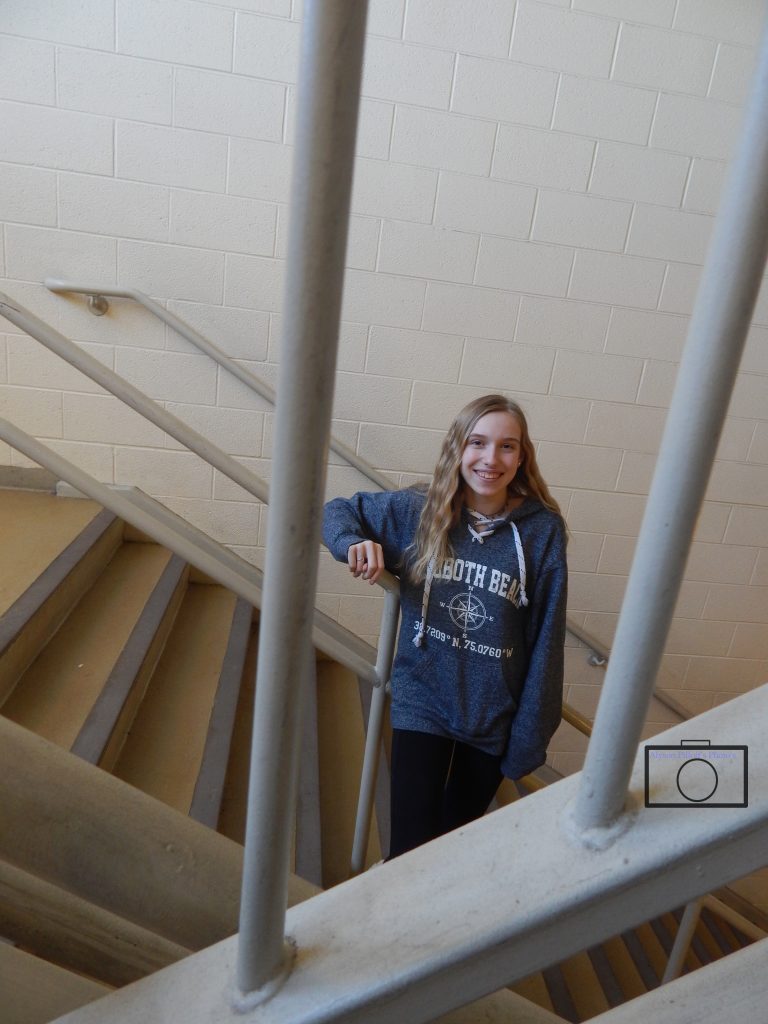
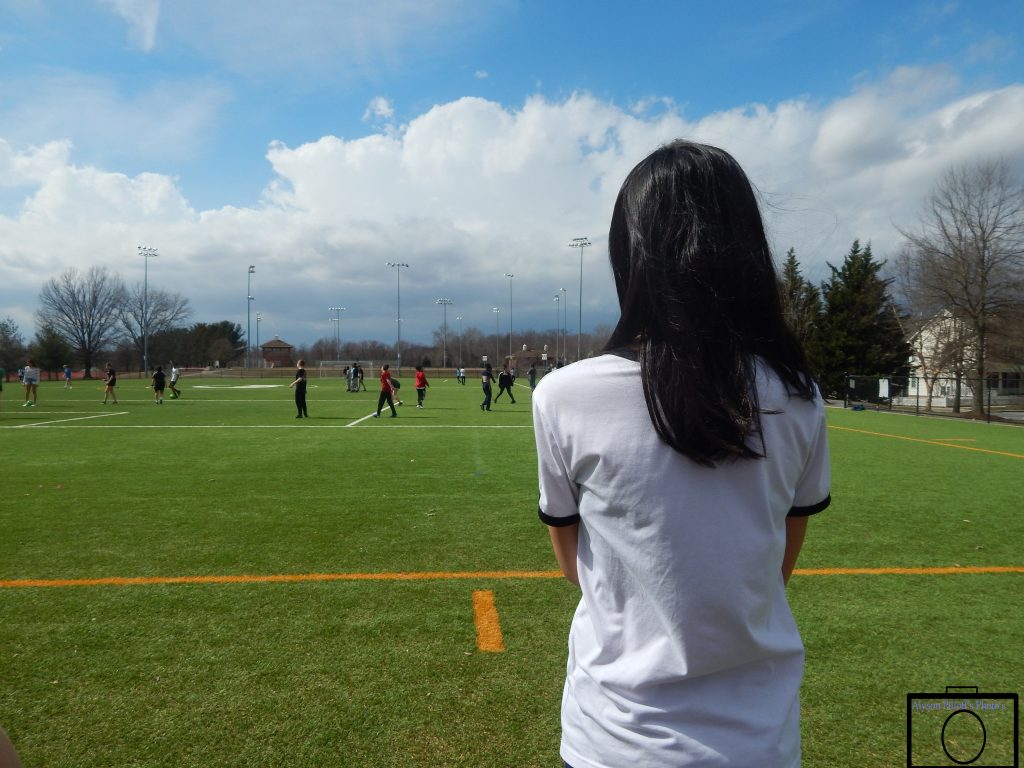
For this assignment, we had to find different frames outside or inside the building. we had to take pictures if in a person in a frame for example a door way or a fence. For rule of thirds we used invisible lines for framing we used viable lines.Both projects forced you to pick a focal point focus your picture on that. The challenges of this project was lighting because there were many frames around the building but lighting was very hard. The lighting inside is very hard to work with because there are only so many angles you can take a picture. My favorite picture is the one of Judi because the way she is standing. I also like the angle of the picture. The way the stairway frames her makes the picture look very good.

click here to see my other photos

Rule Of Thirds

For this assignment, we had to use the skill rule of thirds. This skill is used when you want someone to focus on an object in the picture. What worked for this assignment was making sure the person or object was lined up with the intersections. My thoughts of the rule of thirds is, I like it because it has the pictures turn out better. When someone looks at your photo they will be able to see the main focus. I thought this project would be hard but it was not and now I can take better pictures. What didn’t work for this assignment was having things in the background. the lines in this assignment are like a tic tac board. When you take the picture you want to have the object lined up with the intersections or the dots.

click here to see my other photos

Black Portraits

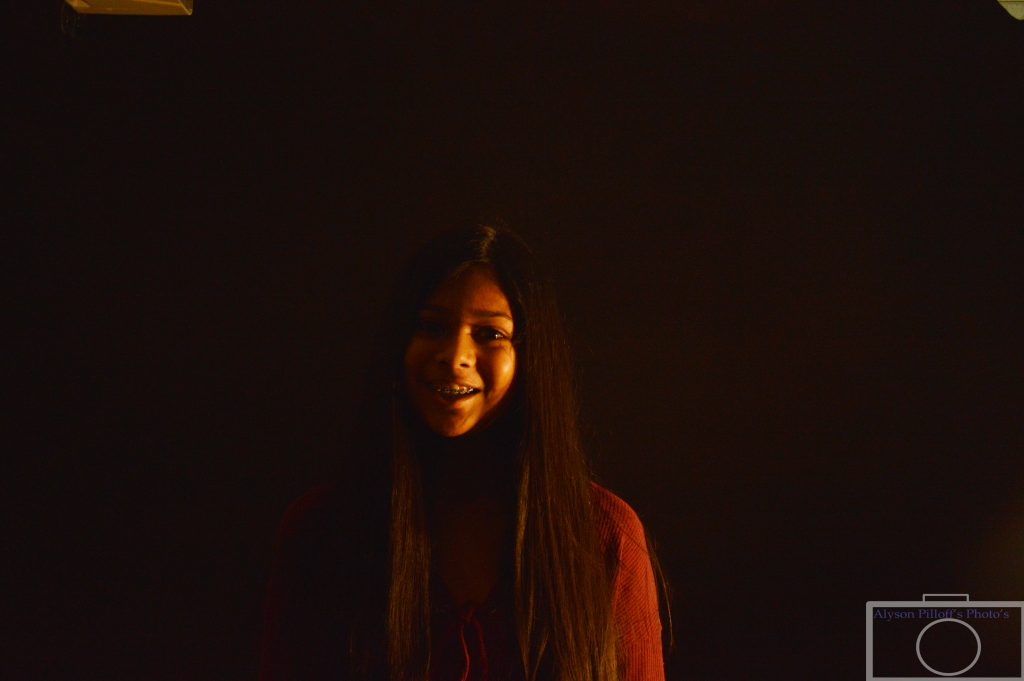
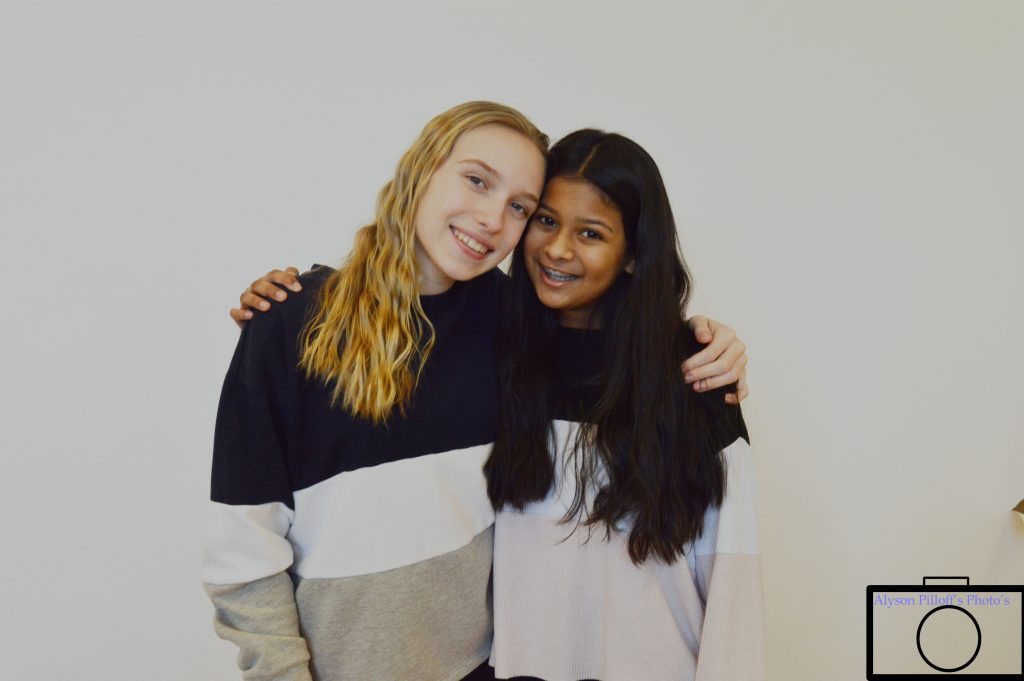
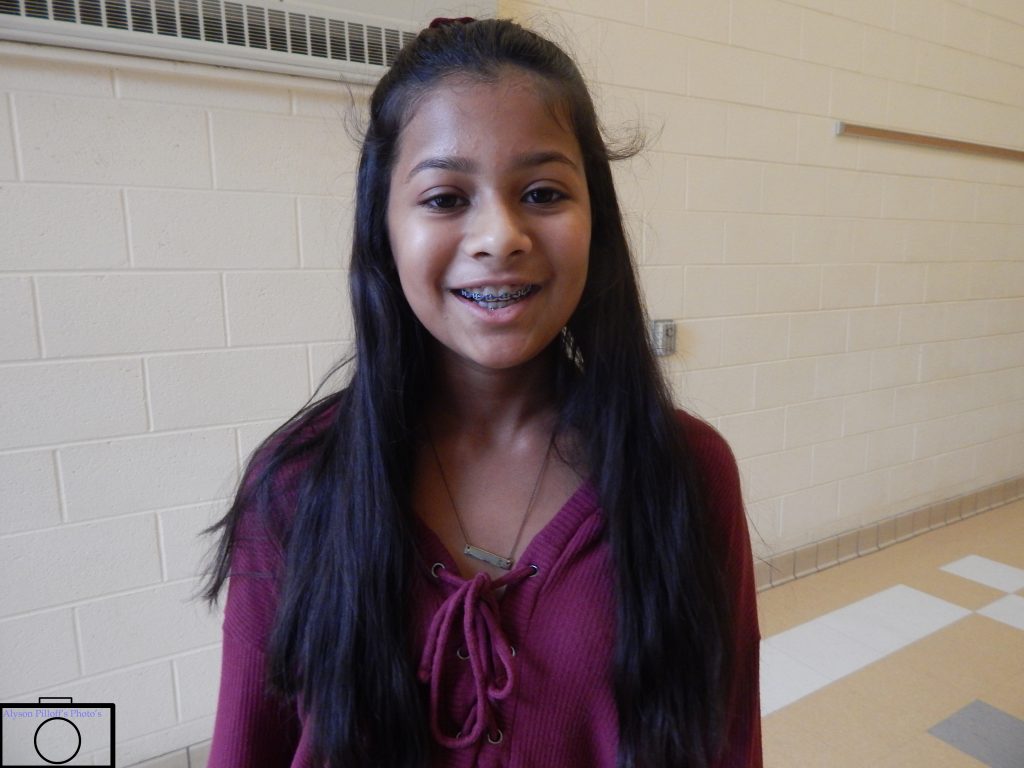
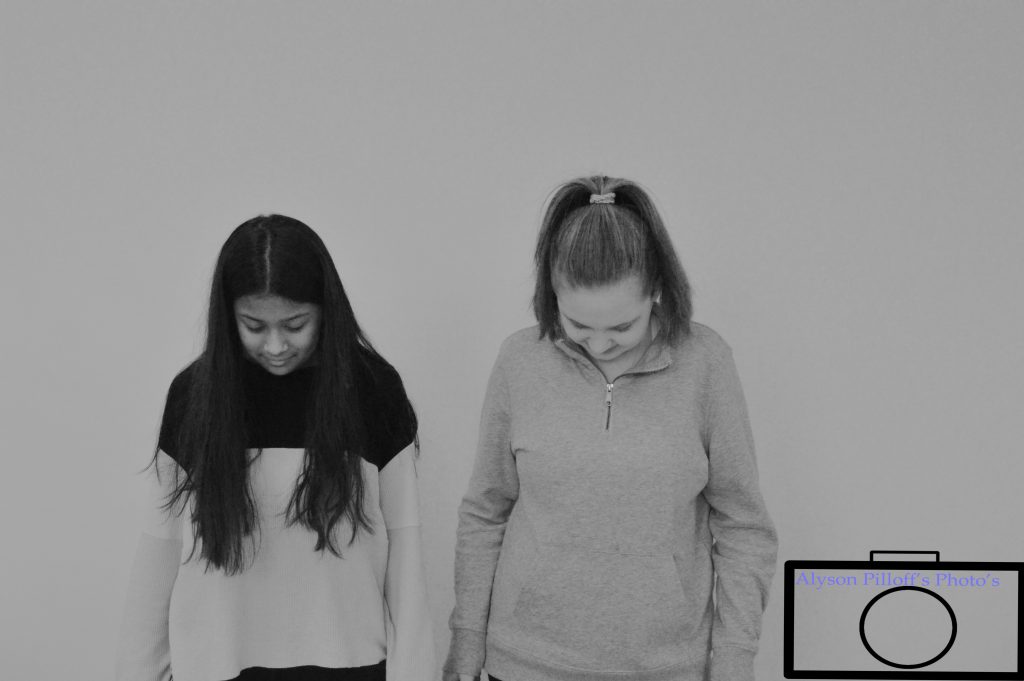
Black portraits are much harder then white portraits because of the lighting. When taking black portraits we had a light that we used so you could see the person in front of the background. we were not aloud to have shadows so lighting was hard. When editing it was easy to make the picture brighter. What worked for taking black portraits was having the person stand a little in front of the background. The light diagonal to the person.

click here to see my other photos

White Portraits

These are the challenges and easy parts of taking pictures with a white background. The way we took are photos was we made sure the camera was in focus. We also had to make sure the person was in frame.What worked was having the person stand in the middle of the background and a little in front. That way there was no shadow and nothing extra on the side. What didn’t work was when the person was up against the background that would cause a shadow. One of the Easiest things we had to do was editing.

Click here to see all my photo’s.

1 Object, 5 Shots

For this assignment you had to pick 3 objects take 5 different angle pictures. One of them had to be a person. The challenge during this was figuring out the angles to take the pictures.you could not repeat any angle for an object. The hardest object to take pictures of was my water bottle because I had to have someone hold it up to take a picture under it. This helped learn to take different types of pictures.

Click here for my other photos
24 Colors

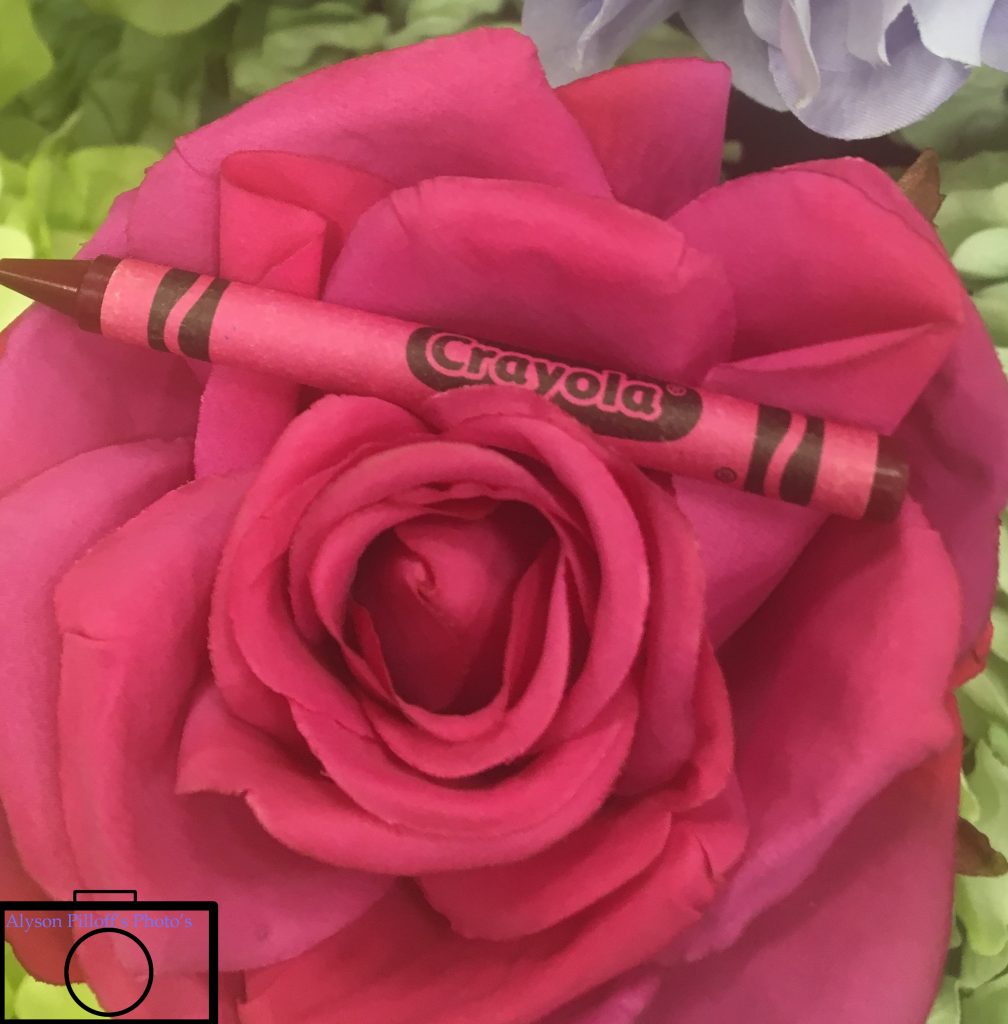
The assignment was to match 24 colors with 24 crayons and take a picture. The challenge was finding a color that matches the crayon. This was hard because there were not many colors that look the same. The easiest part was taking the picture because you already had the crayon lined up. Once you found the color and got the crayon lined up all you had to do was click a button.

Link to my other photos.