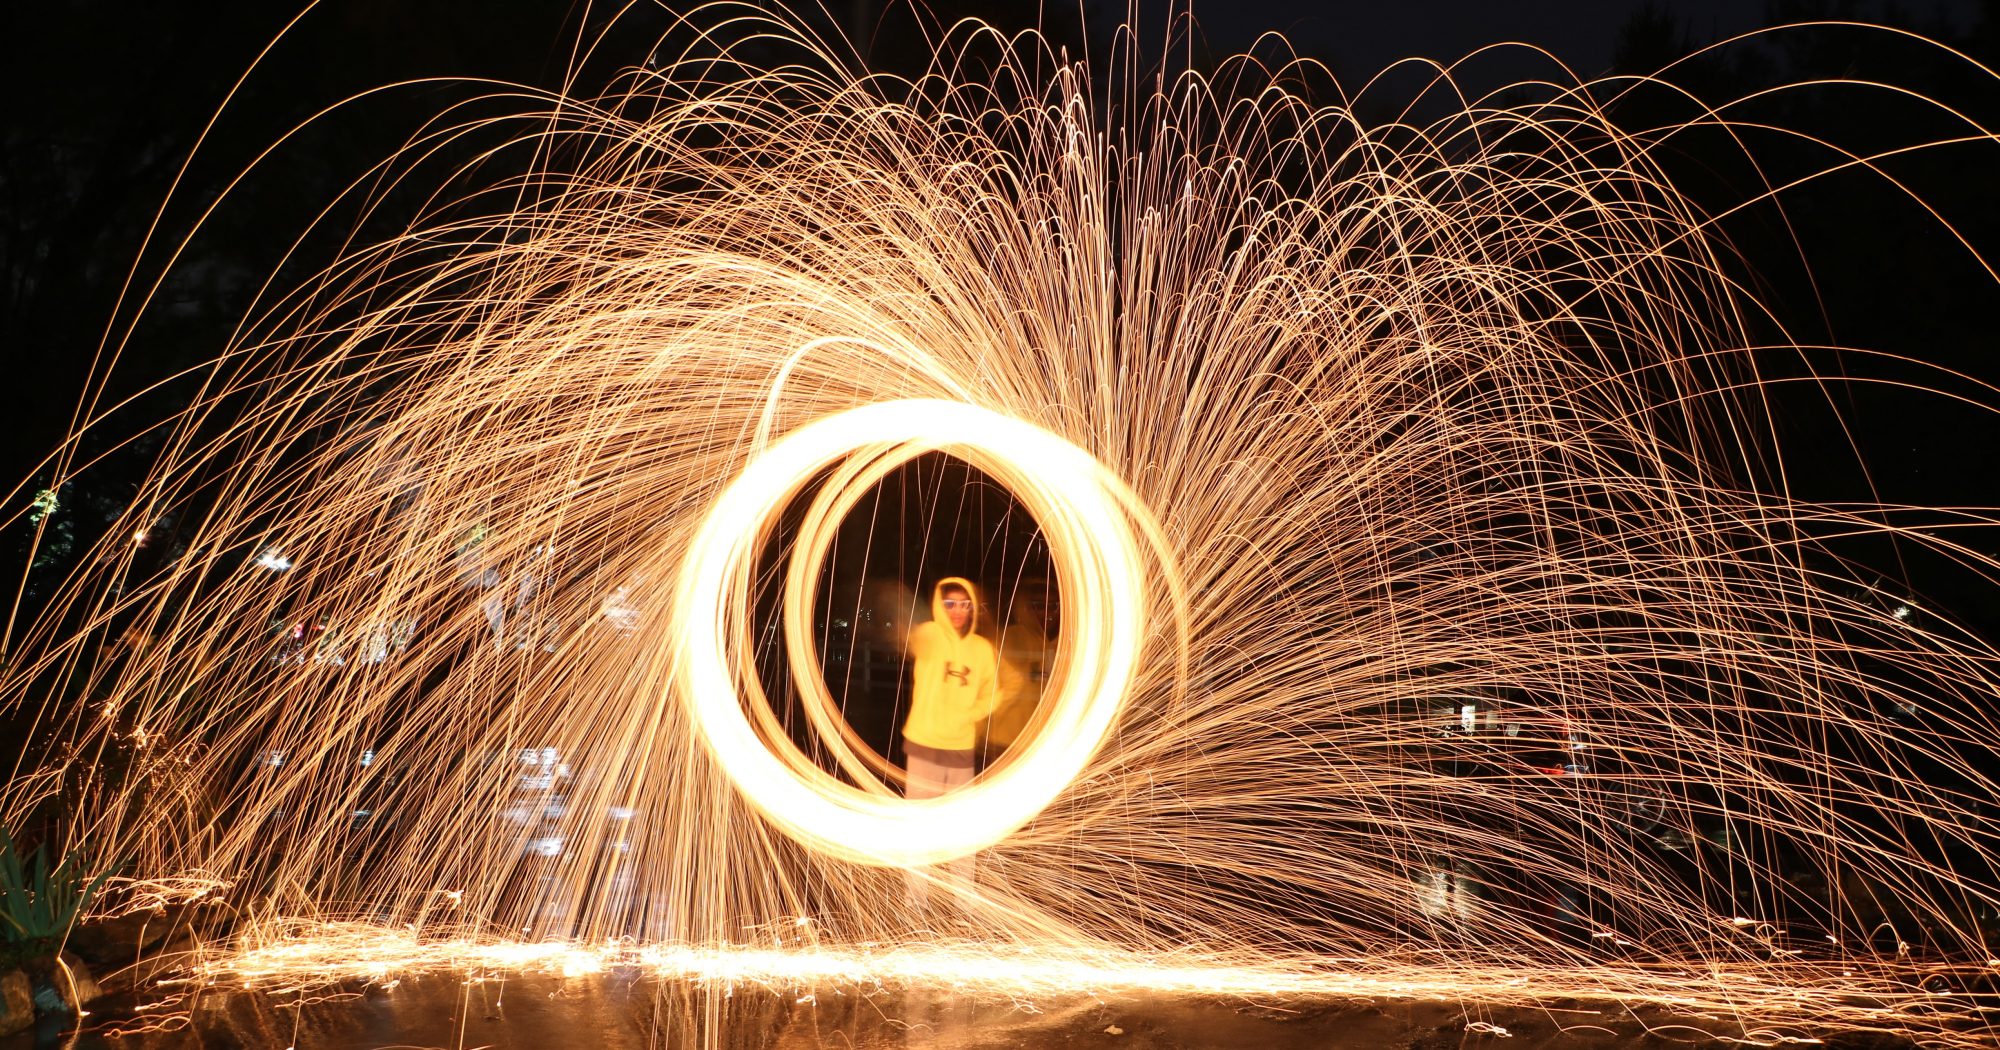
2020 has caused a lot of changes and now the yearbook is another one of these changes. We have to take our own yearbook photos. We have experimented with lighting in an earlier project, now we are going to practice using traditional lighting techniques. The goal is for you to have your yearbook photo at the end of this project.
Day 1: Learning and Prepping
Below is a video that you need to watch that show 5 of the most popular lighting techniques:
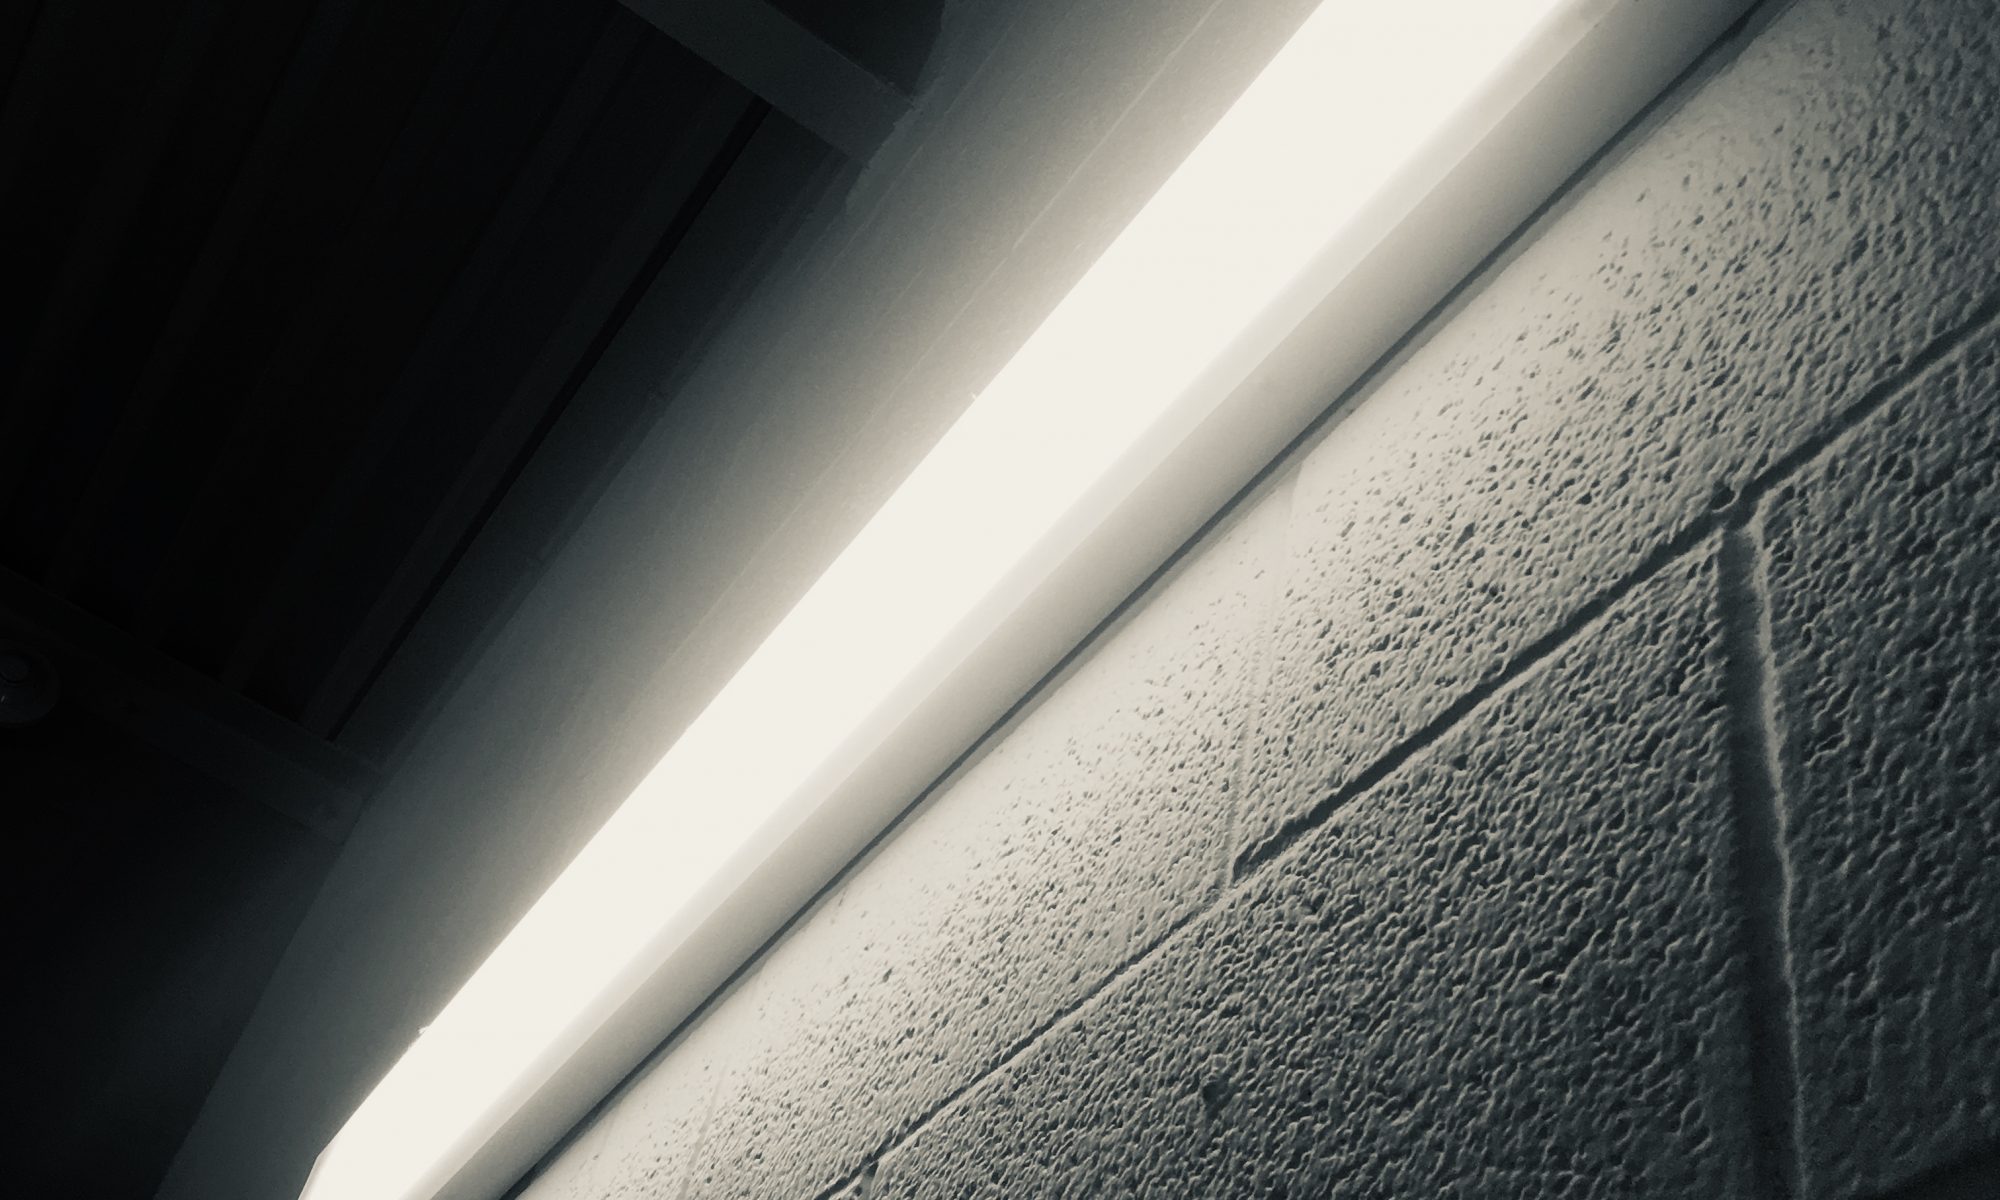
This week you are going to be experimenting with light. Lighting can very quickly change the mood or tone of an image. This is a quick project that will give you the chance to demonstrate the ways that light can be used in photography.
You need:
+ Subject- The object you are taking photos of.
+ External light- flashlight, cell phone light, table light, etc.
+ Camera – phone, tablet, point and shoot, DSLR, etc.
+ Items from the Light Hacks video below. Required to watch and include one of the “hacks”.
+ A place to shoot. Make sure we will be able to see the difference when you add light to your subject.
Here is my video for this project. It includes my 4 examples.
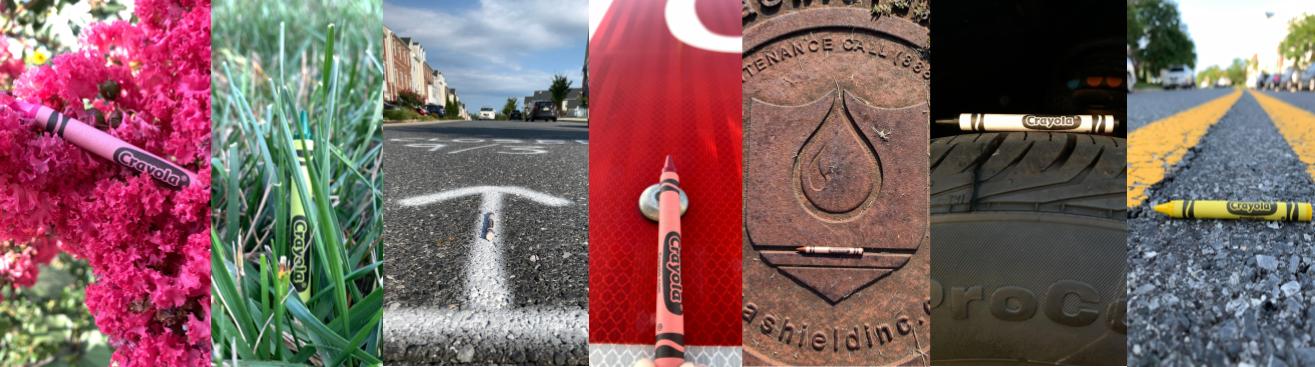
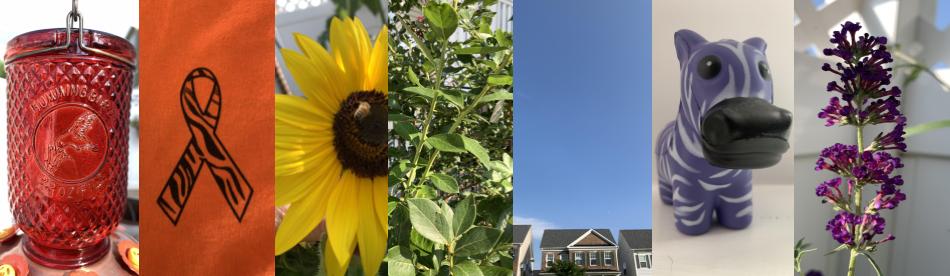
It’s time to get our photography skills going. The purpose of this first project is to get you looking around where you are everyday. Like the title implies, you are going to be going on a color hunt. If we were in the classroom under normal circumstances you would be looking around LPMS for colors that match crayons. Yup, crayons. Because we are doing online learning and you all are in different places, you will have some options for this project. MY (don’t copy them) examples are below. You can hunt for the colors of the rainbow. Remember ROY G. BIV. You can also hunt for a color gradient, different shades of the color. The third option you have is to match 7 colored pencils, crayons, or markers with colors around you.
Here are the colors of the rainbow for reference.
I want you to think about lighting, camera angles, and finding creative items that show the colors you are looking for. We will have projects that will target camera angles and lighting later this semester.
How do you turn in your images? You have a couple of options. You can put them all in a Google folder and turn in your photo link through Canvas or you can upload all 7 images in Canvas. If you make a Google folder, you will get to keep your photos after this class is over. You can also use apps on your phone to create a collage of your photos.
Make sure you join into our second class session so you can see how to turn in your work. I will record it with Zoom. PLEASE do not turn anything in until we meet on Thursday or Friday!
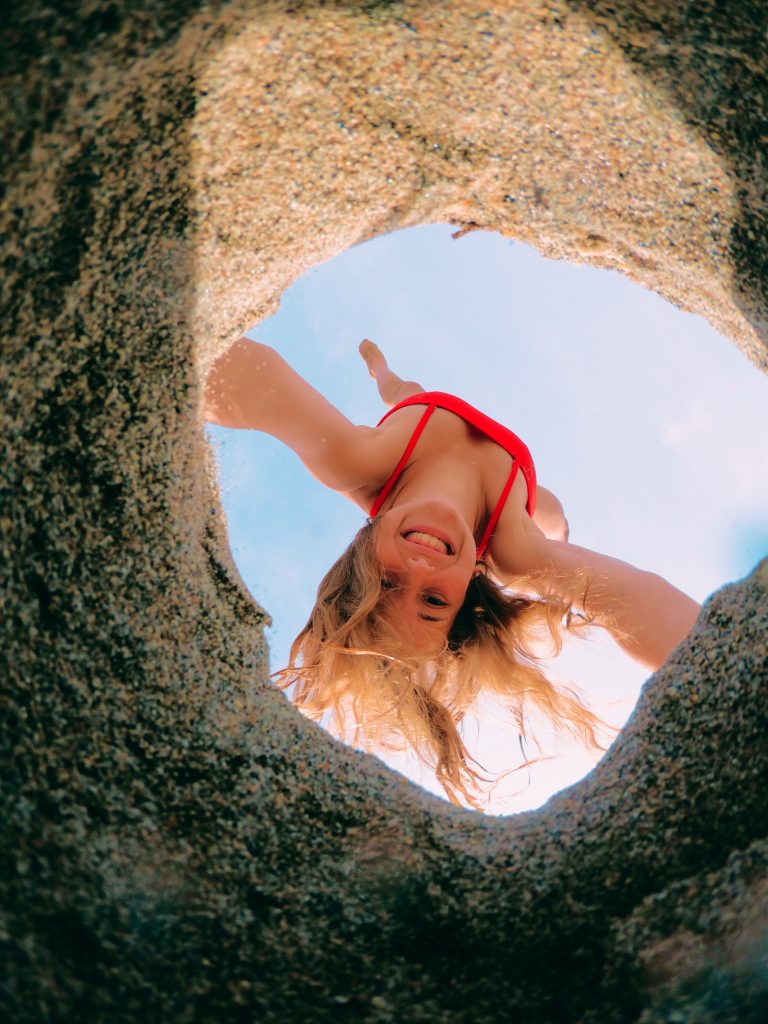
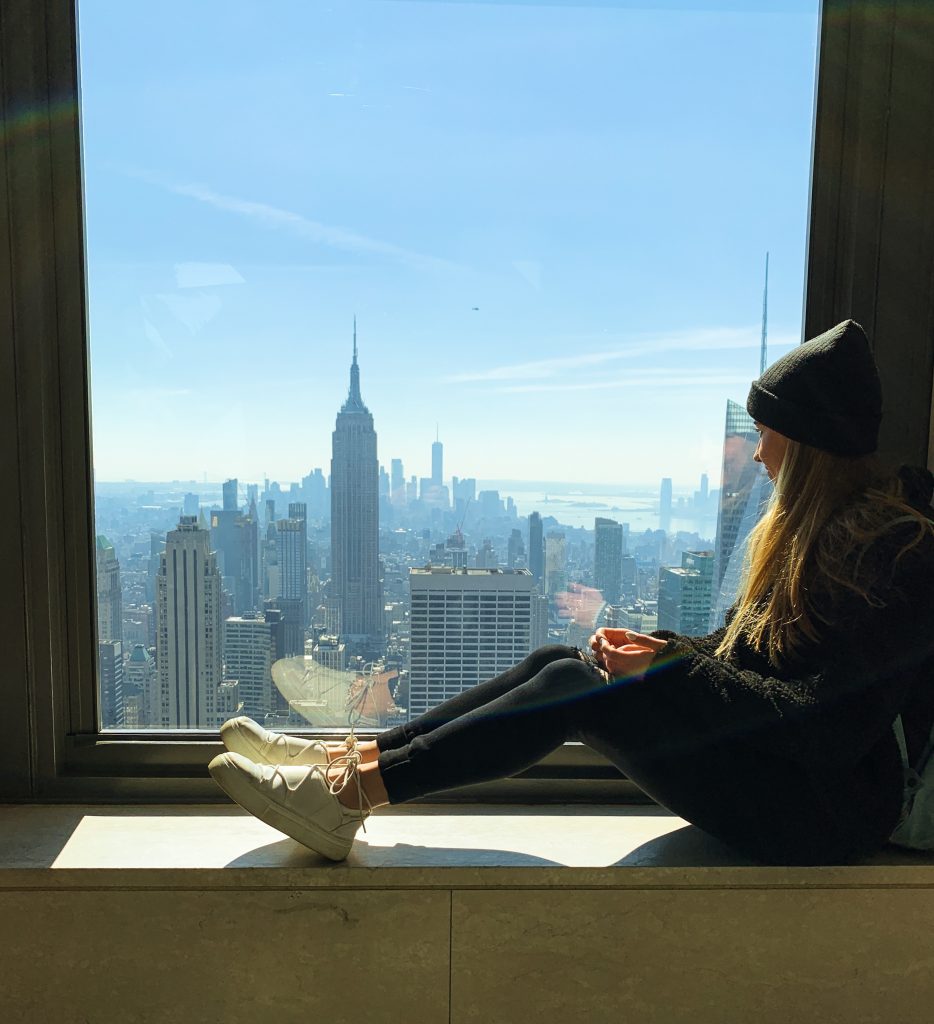
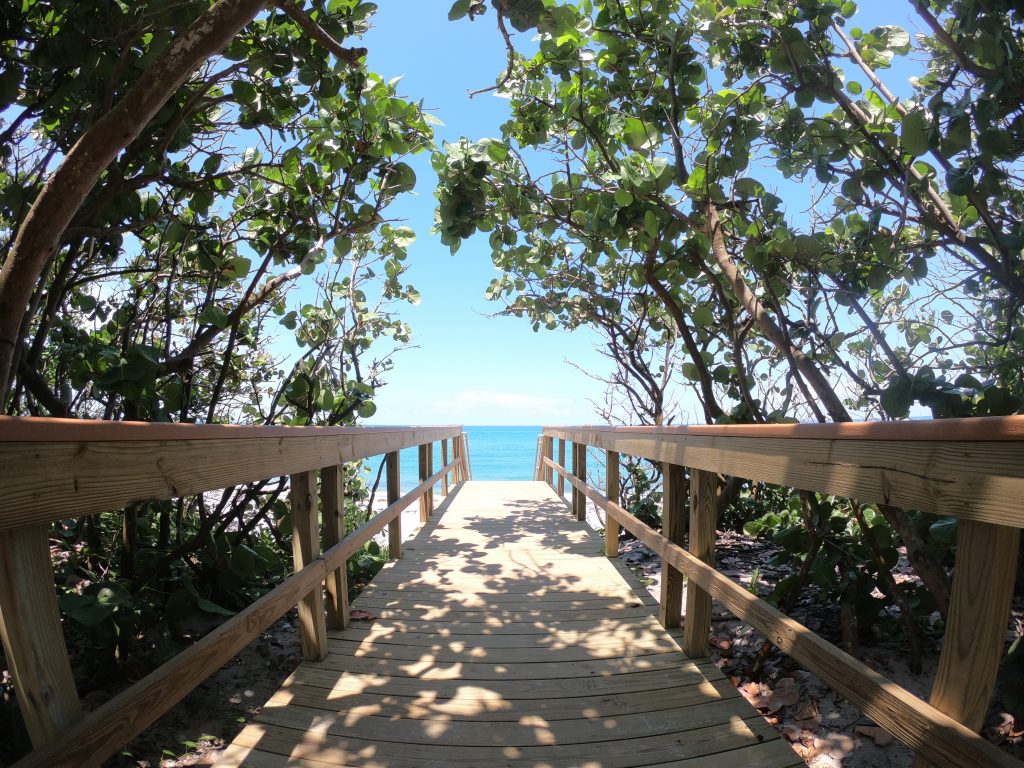
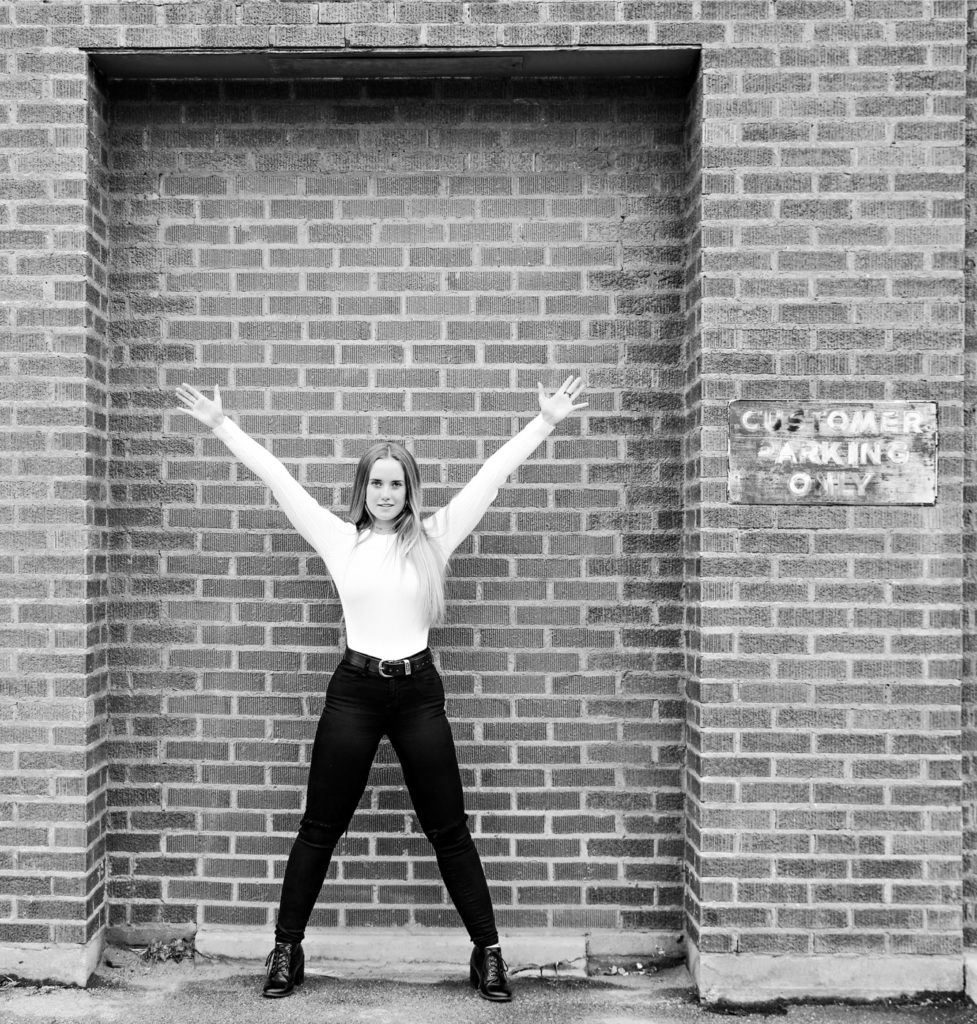
This project, hopefully, will continue to help you with composition. You’ve seen the rule of thirds, now let’s talk about using the environment you are taking photos in to help you frame your subject. Our school, even the inside, is a great place for this project. This a great project to show off your creativity. Just because you found something to frame your subject doesn’t mean that you will succeed with this project. Your subject is also part of this photo, make sure you have them involved in the shot (pose, activity, expression). I have been using the Lightroom CC App on my phone a lot lately for editing my photos. It has just about everything that Photoshop has. Below is the icon you will find in your App Store. VSCO is also a great app for this project, especially for those of you that don’t have portrait mode on your phones.
After having a class go through the entire semester of this class, I
Anyone with a sister or daughter (in my case) can understand this guys day…..
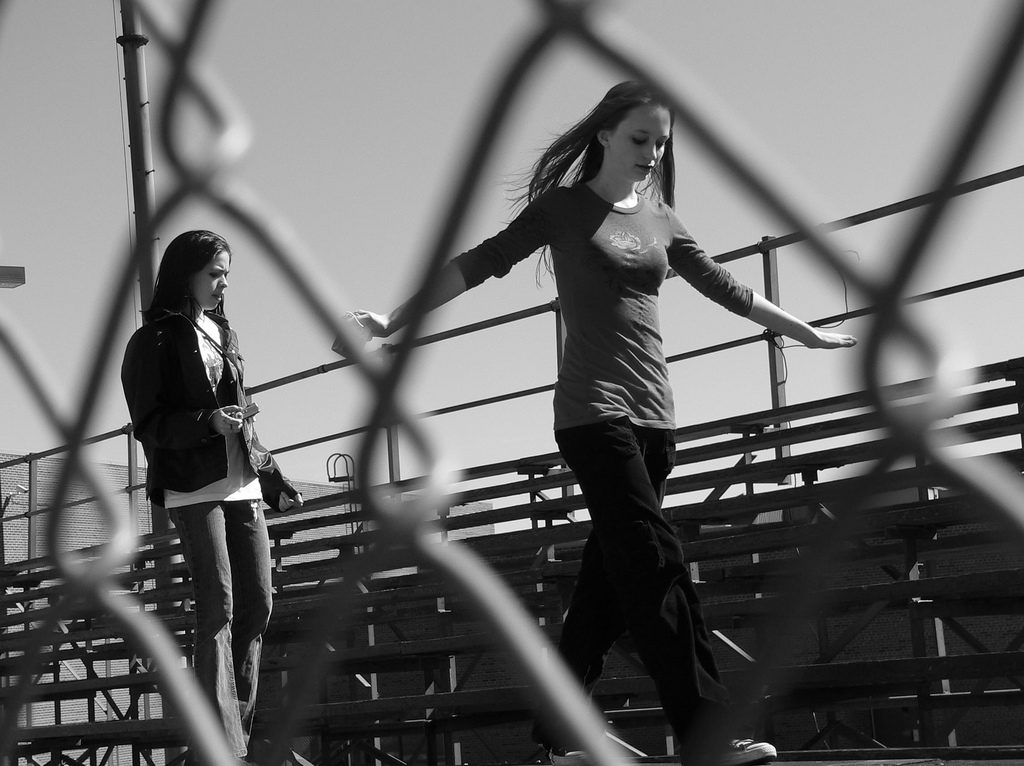
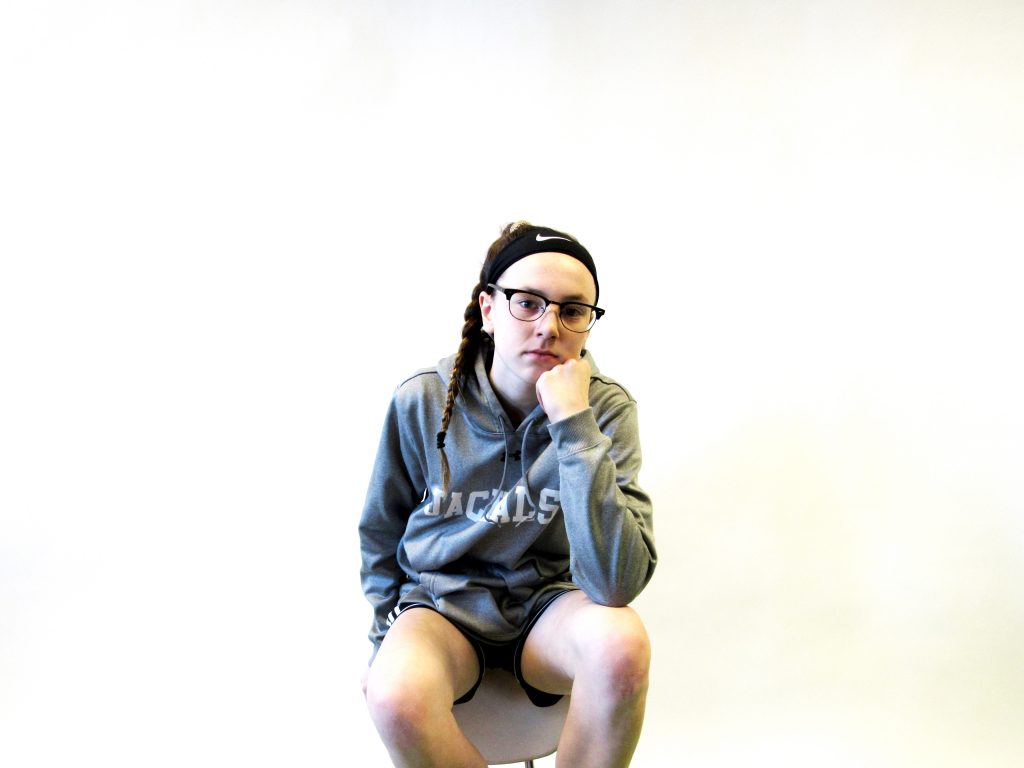
realized that I needed an assignment that makes you, the photographer, move. My goal for this course is to help you create great shots through composition, camera position, and color. Camera position seems to be something that is a challenge. In this project I want you to pick 3 objects, 1 must be a person, and take 5 photos of the same object without moving it. Before you take your first picture plan out all 5 pictures. Each photo should be taken from a different camera angle (perspective). You can shoot up, down, from the right, from the side, from the back, and from any other angle you can pull off. Be thoughtful about what is in your background as well. This is a chance for you to be creative and look for interesting angles that will get people want to look at your work.
Your post should include:
An overview of the assignment (what you had to do)
What was a challenge during this project?
Which object was the hardest to photograph? Why?
What did this project help you do?
An active link to all 15 of your photos.
Your favorite photo of the 15(with your logo)
Check out the shots created by your classmates by clicking here.
The RULE OF THIRDS! I’ll be honest, I thought I was
better at this than I actually am. I have continued to work on this skill and I have found that I have to think about doing it less now.. I have made a video and included 2 other videos below that will help explain this using actually images.
This week you need to submit 4 photos. At least one of the photos needs to use leading lines and at least one picture needs to have a person as the subject.
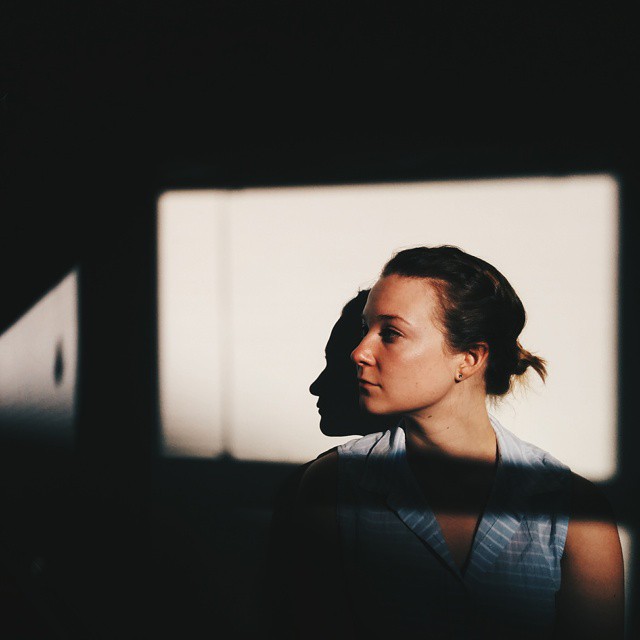
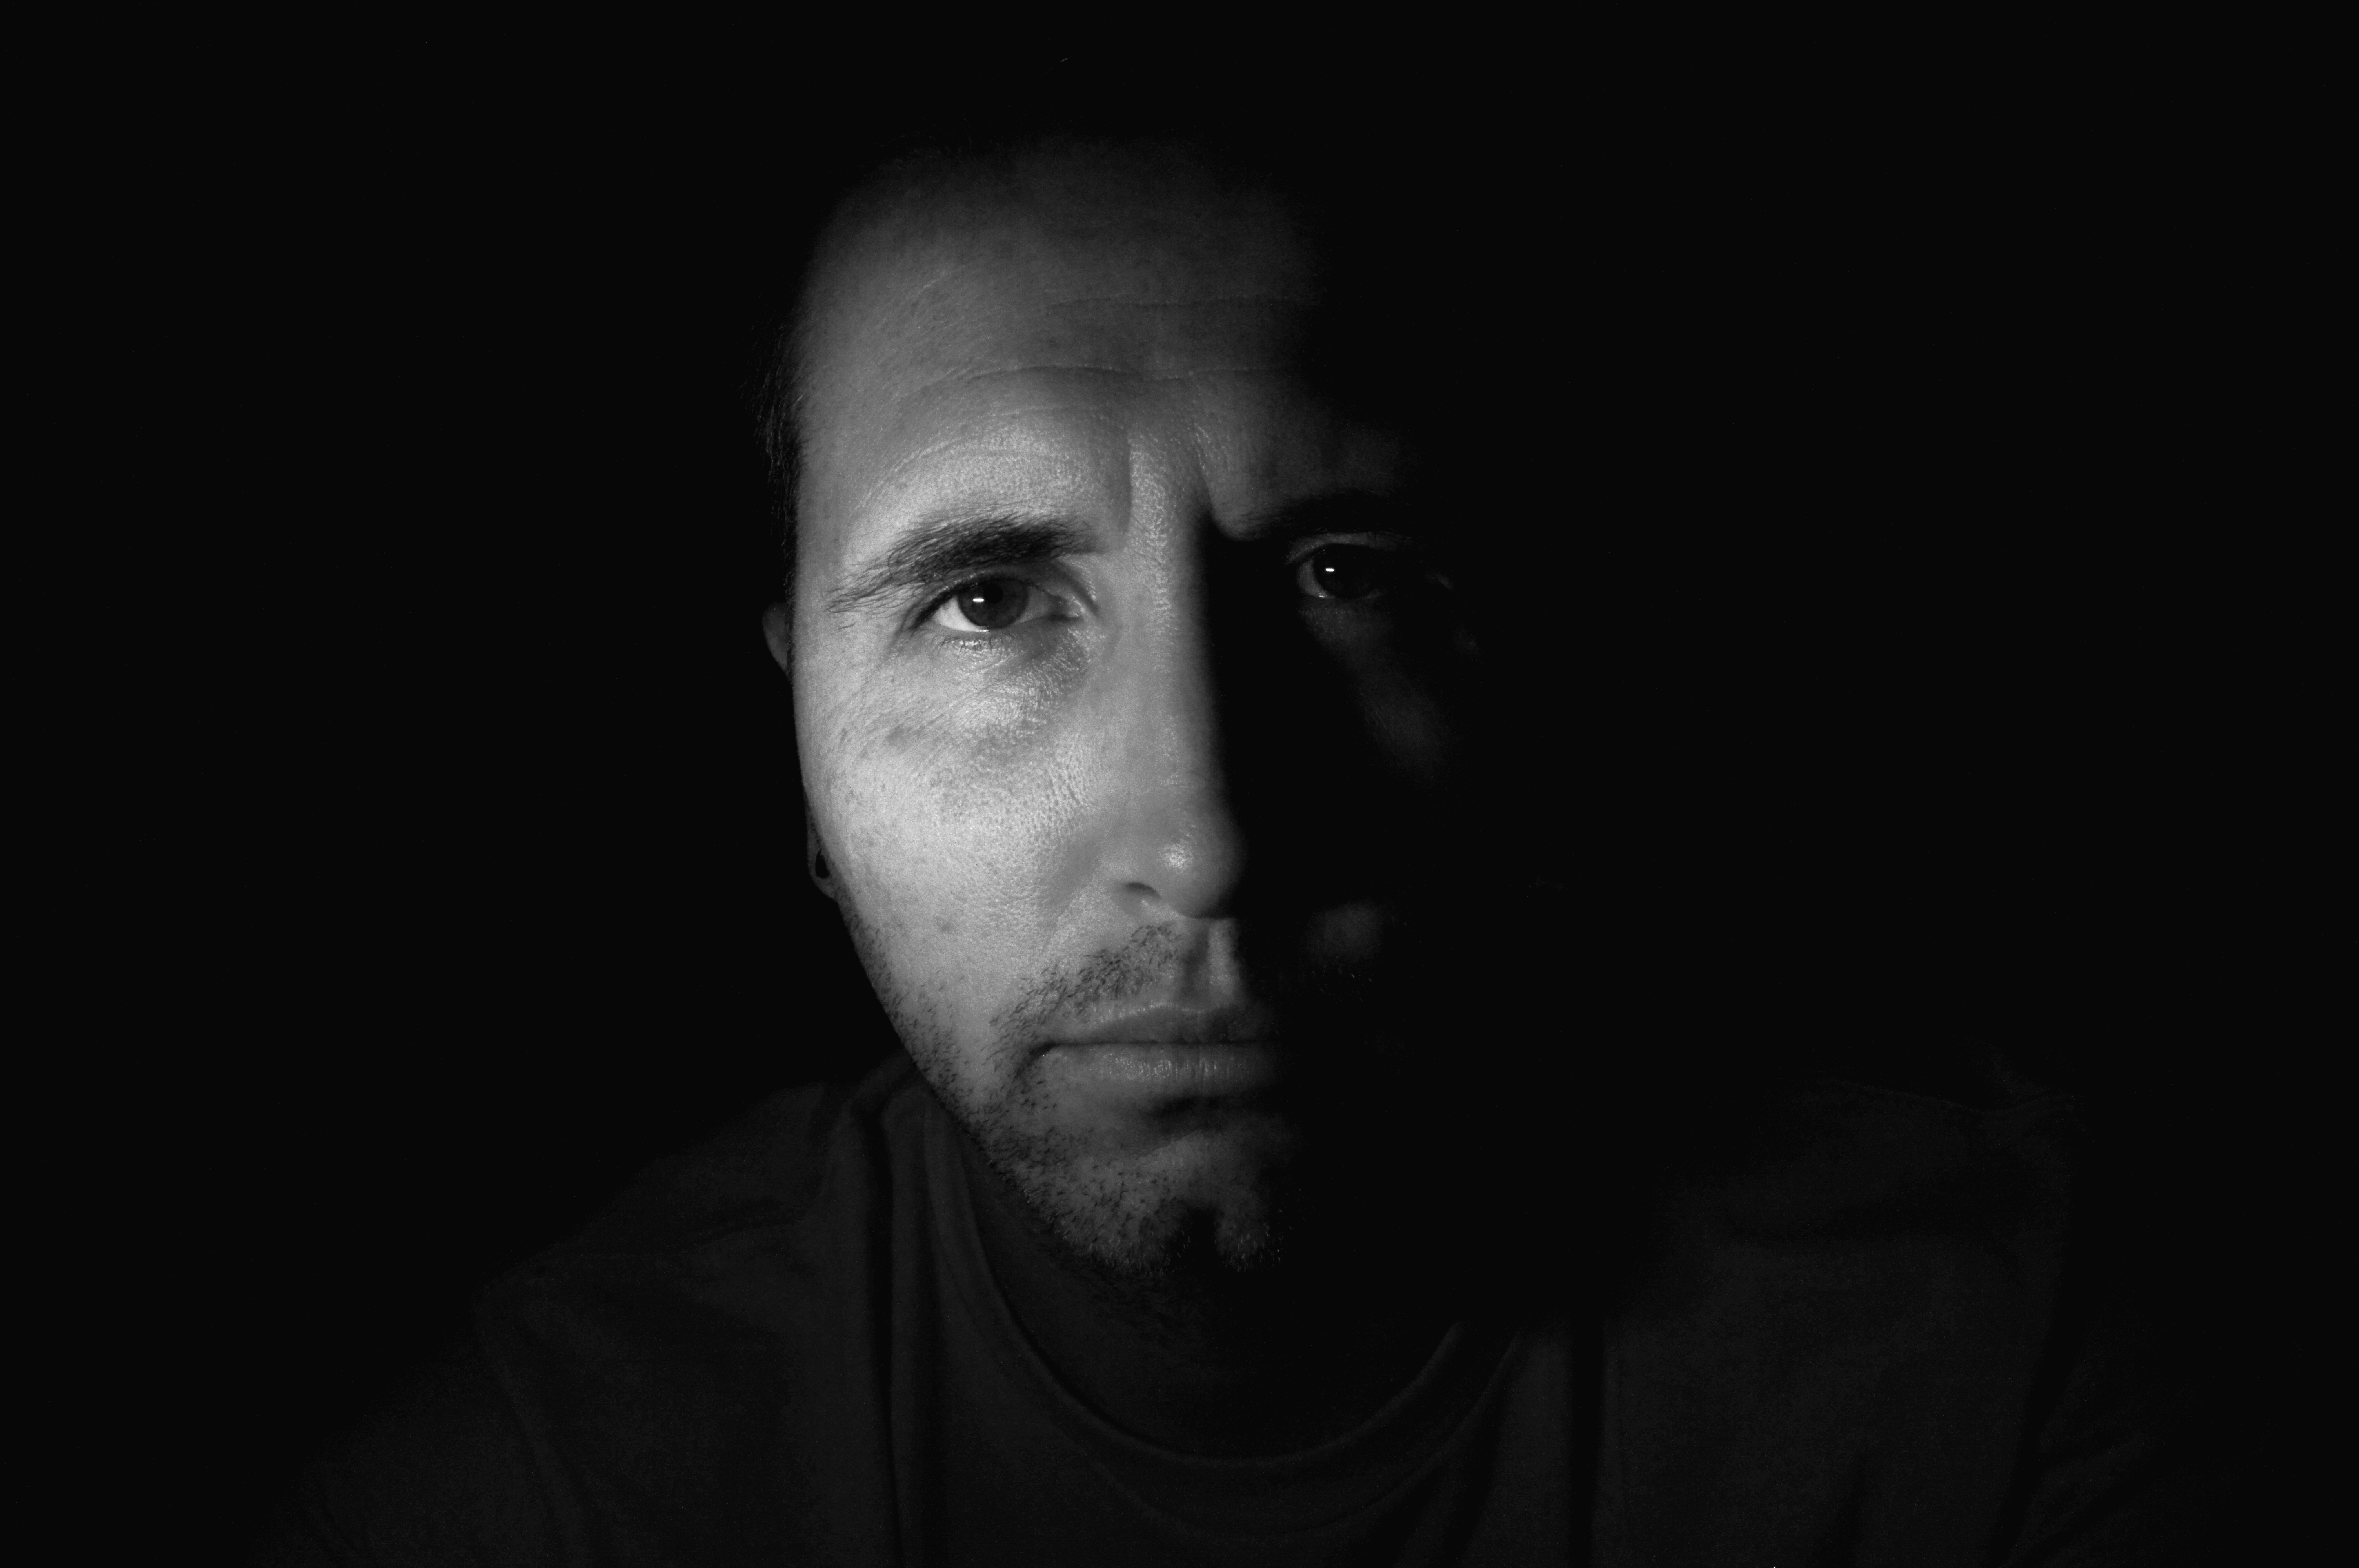
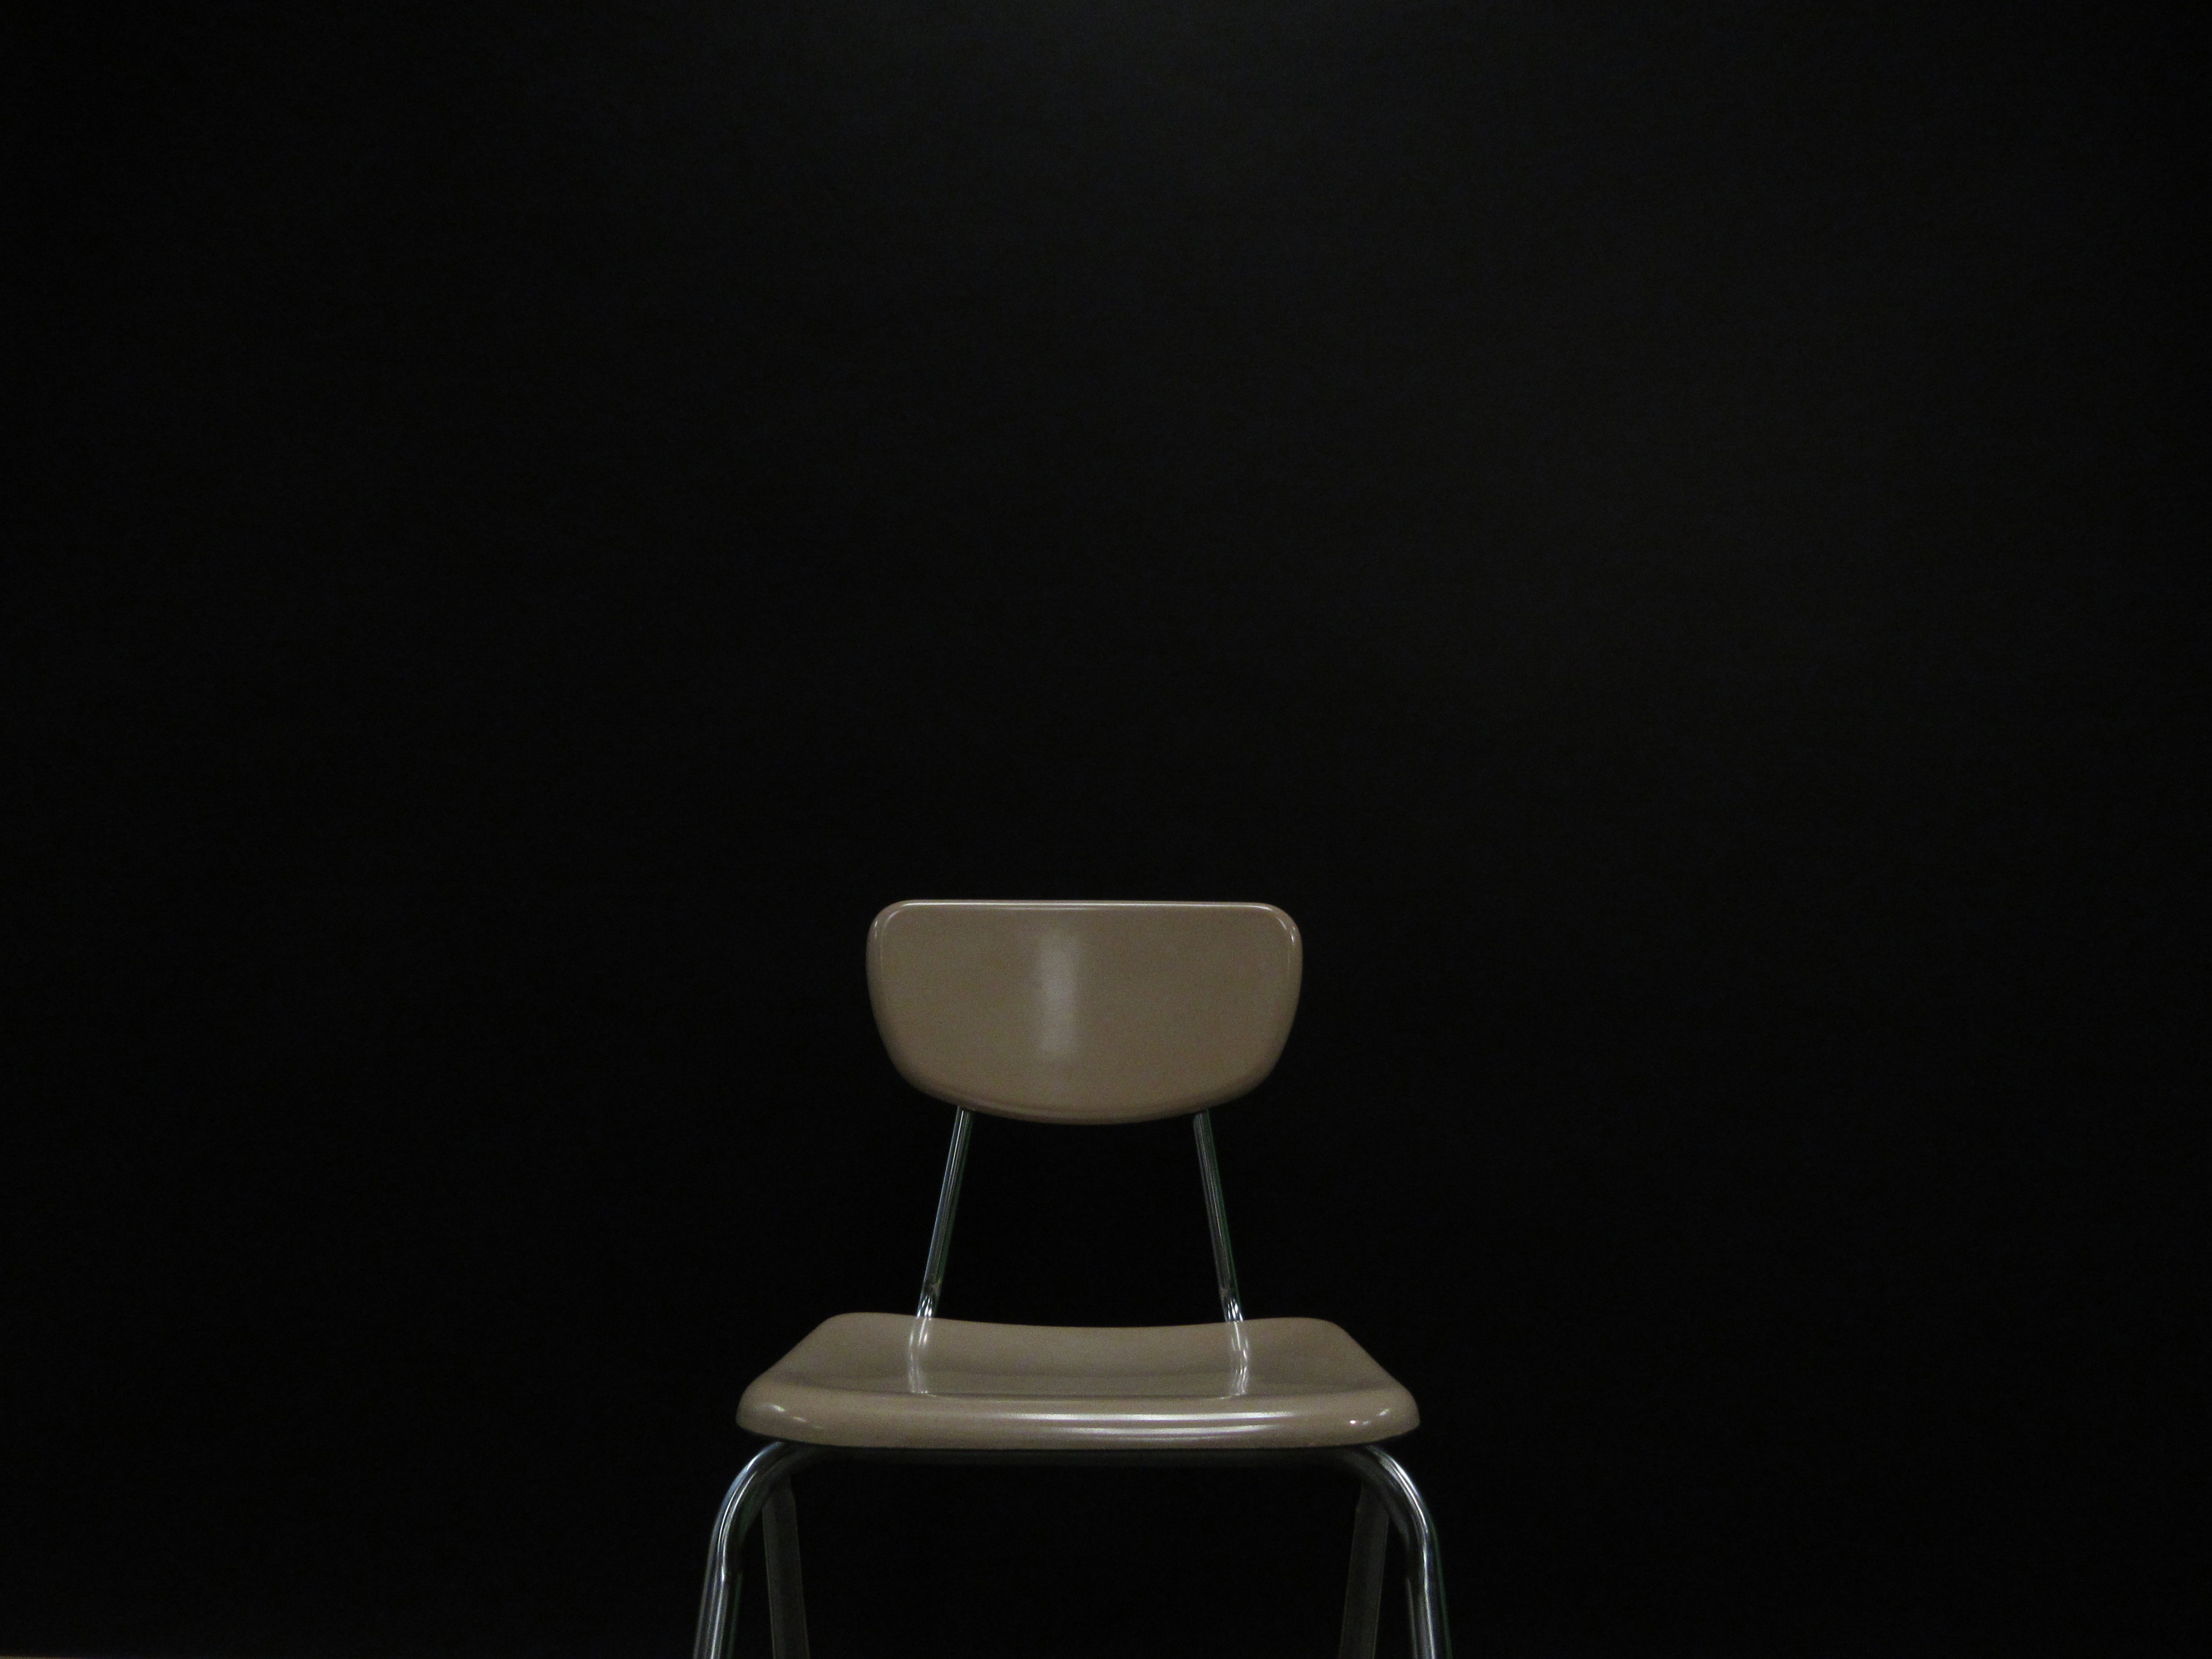
When I stated planning this class over the summer, I really wanted to have you take portraits with an infinite background. We have a couple of challenges…. The first being that we are at a middle school and not a professional studio. The second, we have cameras that have manual settings, but we don’t have professional lighting. After a lot of playing around and doing some (some = a lot) of youtube watching, I think I have it figured out.
There a few terms that you will need to become familiar with before you can start this project. The terms are ISO, Shutter Speed, and F-Stop. These are the 3 settings that we can control on the cameras we have available to us.
Use the link HEREto define the terms I listed above.
I will give you a quick tutorial on how I took my photos based on my research, but I want most of this to be trial and error by you. This will be a “team” effort for sure.
Your post needs to include:
Explain the process you used to take your photos and edit your photos. Camera settings, lighting direction, distance from background.
What worked?
What didn’t?
A photo of you (with logo)
A photo you took (with logo)
An active link to a Google Photos Album that includes a photo of each person in your group.
The post category will be “Portraits“.
Below are some of the pictures I messed around with while working through this. I am still learning and want to continue to learn during this project. Be serious, be artsy, goof around, and just keep trying.
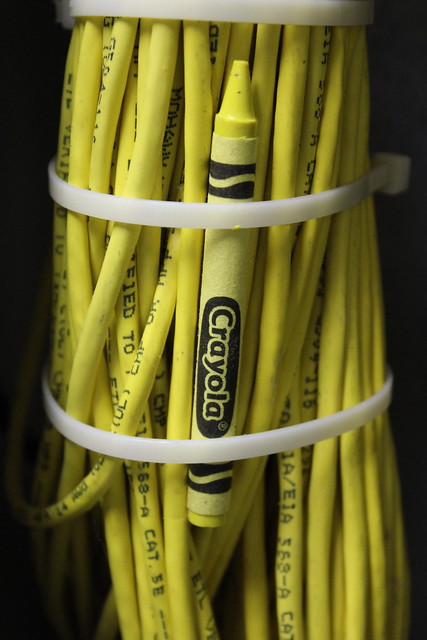
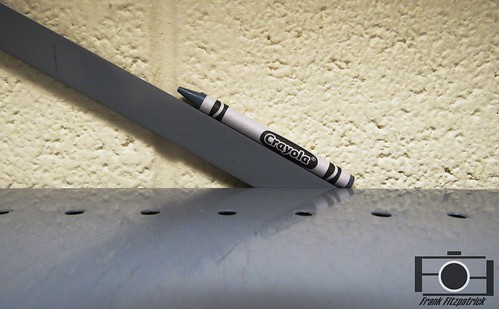
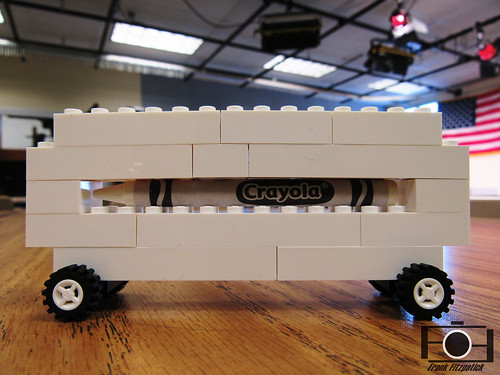
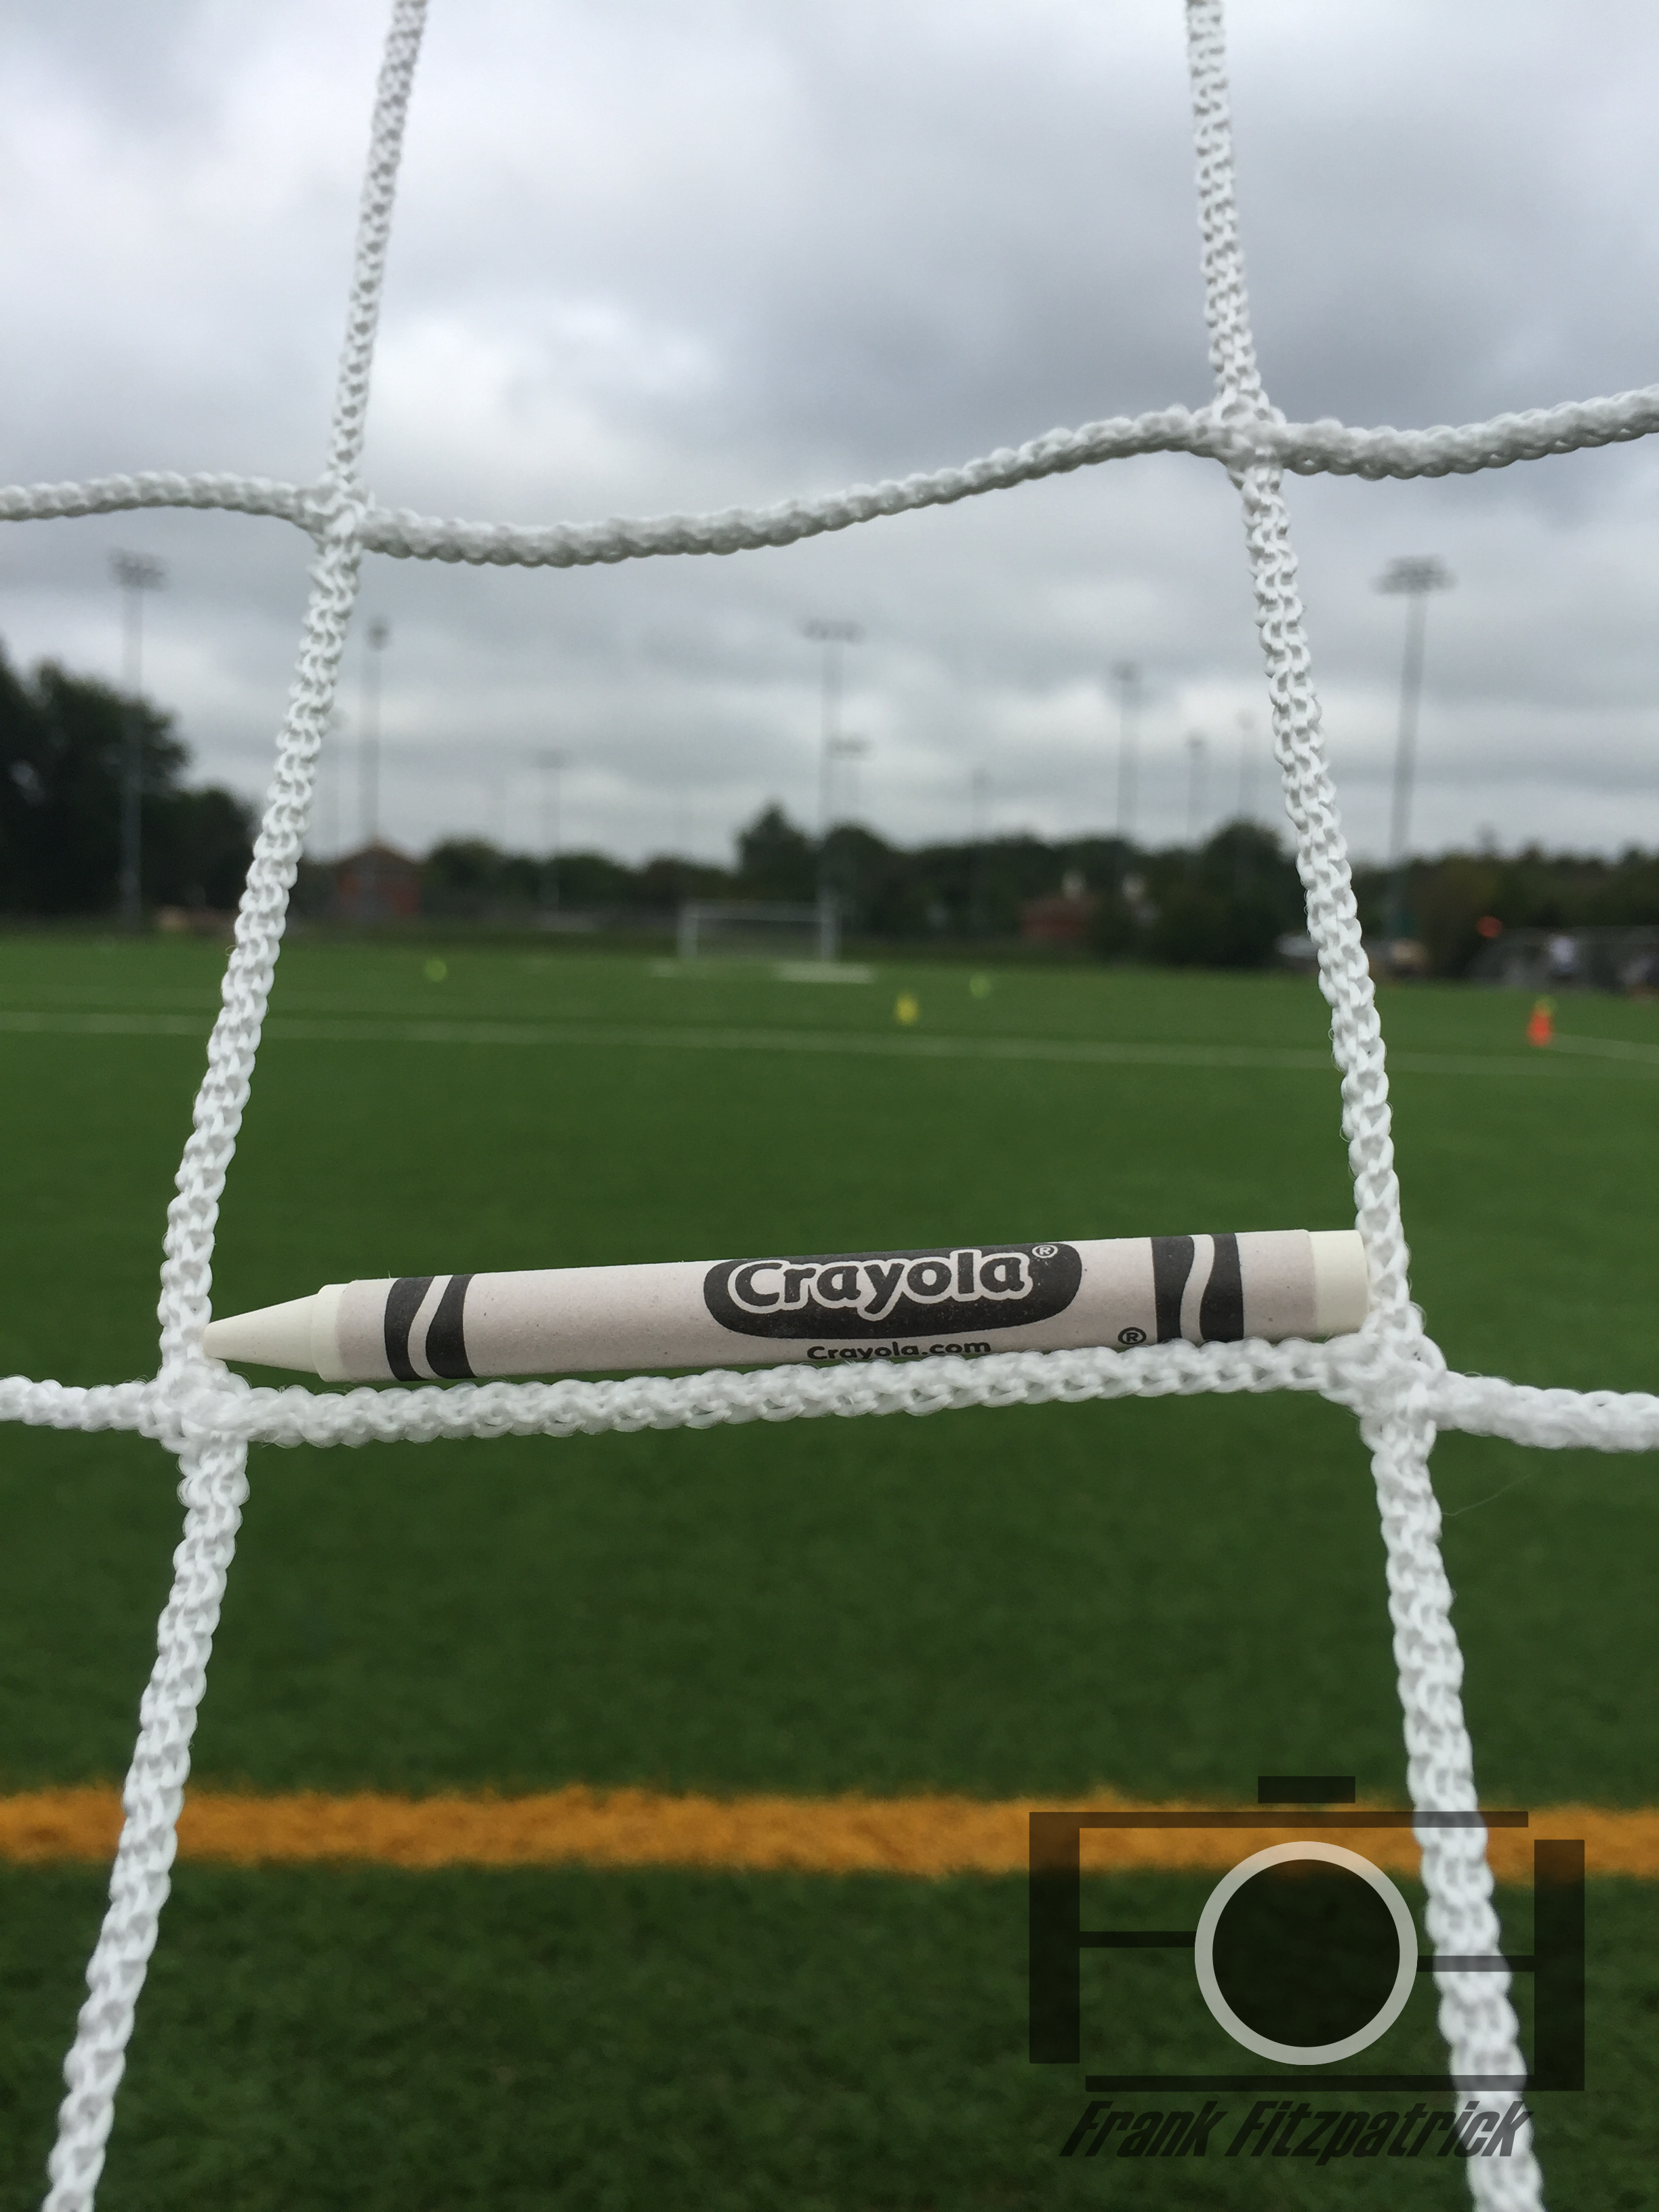
Welcome to your first photography project. I am really looking forward to seeing the photos you take. You are going to be choose 15 crayons and finding those colors in the world around you. This will be a challenge, but it should make you start to notice the colors that we see everyday. I would like this to be more than just taking pictures of crayons with a color that matches them. I would like to see you be creative with how you place and photograph the crayons. I have left some examples below for you to look at below.
When writing your post you must include:
An overview of the assignment
The challenges of the project
What you found to be easy
Favorite (displayed like mine below)
A link to your Google Drive folder.
When you are ready to post, you will be making a new page on your website.
I know you are creative, now is a great time to show it.
You will be creating a “logo” for your photography brand. This image will be added to each of your photos that is embedded in your website. Adding logos to your digital property helps people recognize your work and protects your work from being claimed by others as their work.
Your logo should:
reflect who you are
be original
created for a blackground and a white background with a transparent background
exported as a .png from Fireworks
Your written post should include answers to the following:
Make a new page on your site and answer the following questions.
Where do you get photos that you need for your classes (slideshows, technology projects, etc)?
Do you contact the owner of the photo?
Do you always give credit to the photographer or owner?
If someone was using your images for a class project, what you expect from them as the owner of the image?
Explain your logo.
What was easy and difficult about designing a logo for “your brand”?
Your logo should be embedded in your post like mine below.
Here is the logo that I came up with for myself this
summer. I used my initials , “FF”, to create my logo. I am still not 100% happy with the font under the camera, but I can modify that at a later time.
Here are links to some of my other favorites that I found online:
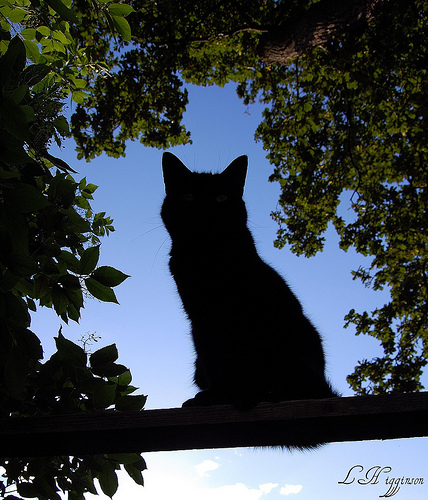
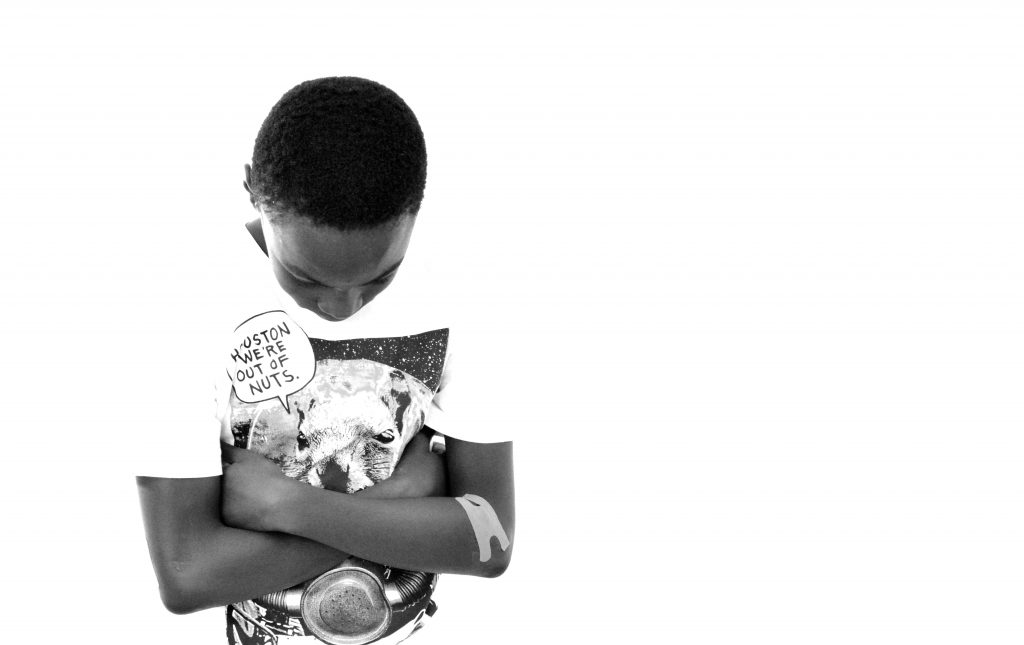
This project will be used as an introduction to portraits. We will be focusing on headshots to help keep this simple. We have used different types of lighting in a previous project and there is an expectation that you will use some of that practice in this project as well. I will include the “9 Lighting Hacks” video below. In fact, you should use at least one of the hacks used in the video just to get some practice and have some fun.
Tips and Requirements:
You will need 4 photos. Not 4 different people, although that would be better, but 4 photos. You must be one of the “models”.
Think about your backgrounds. Keep them simple and not distracting.
Feeling/mood/vibe. Capture your subjects personality. I know they are masked, but there’s still ways to show personality. Use the eyes, the angle, an expression. Is their mask wild and crazy, make them match their mask.
Lighting. Find smooth, even lighting so your model doesn’t end up with shadows on their face. Near a window is good, but not in direct sunlight. Don’t forget to include one of the 9 lighting hacks from below.
Cropping. This is a headshot. Photos should be cropped in closely to the models face. Chest up, no hands.
Mix it up. This is practice. Do not shoot all 4 of your pictures in the same place. Try different places inside and outside of your home.
Taking photos in color is probably the only way you’ve ever taken photos. For this project, we are going to switch it up. We will be shooting black and white photos. We are going to be dividing up 6 categories over 2 weeks. Each category will need to have 2 photos for each for a total of 12 photos over the 2 weeks. There are some new things you need to think about when you are shooting in black and white. The categories you will be shooting pictures in are; lines, texture, portrait, shadow, nature and man made. I would consider this project a scavenger hunt.
This is also our first project where editing is expected. If you are using your phone, then you have everything you need without the need to download any new apps. Of course, you can use your favorite app for editing. If you are using a computer or camera for photos you can use websites like polarr to edit your photos.
The videos below will give you some tips for shooting black and white and teach you how to edit photos in your phone.
+ What did you have to do in this project? (Include the categories.)
+ How did you take your pictures? In B&W or color and edit later?
+ What did you do differently? Shooting? Planning?
+ What did you enjoy about taking photos in black and white?
+ What did you find frustrating? What was the hardest category to capture? Why?
+ Add your photos to Google Drive and post a live link on your website.
+ Choose your favorite 2 photos and post them on your site and label them with the category they are representing.
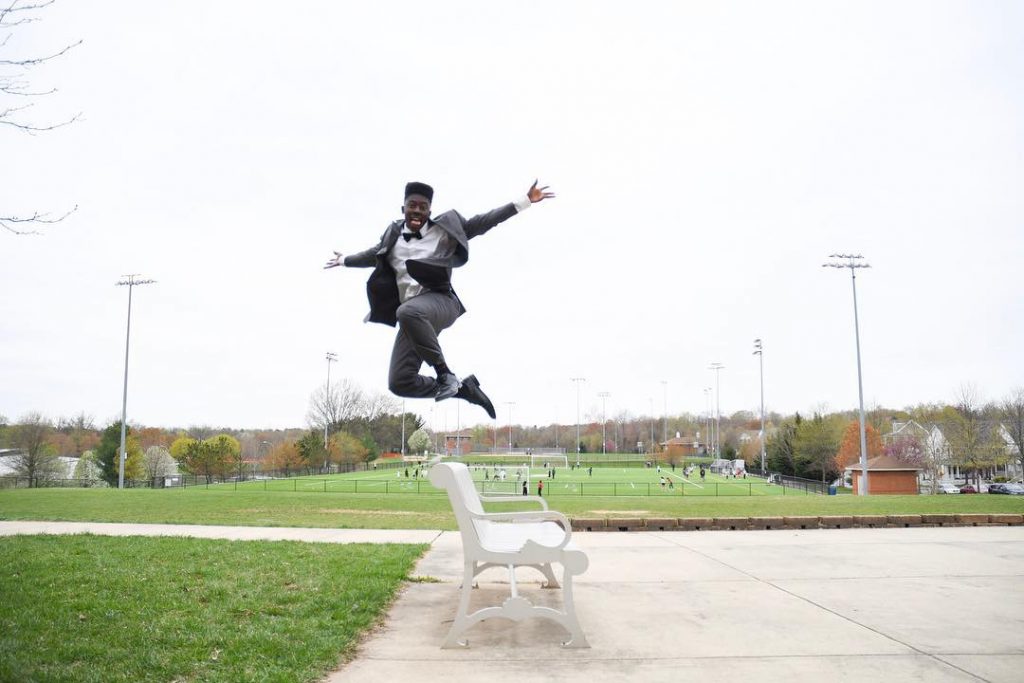
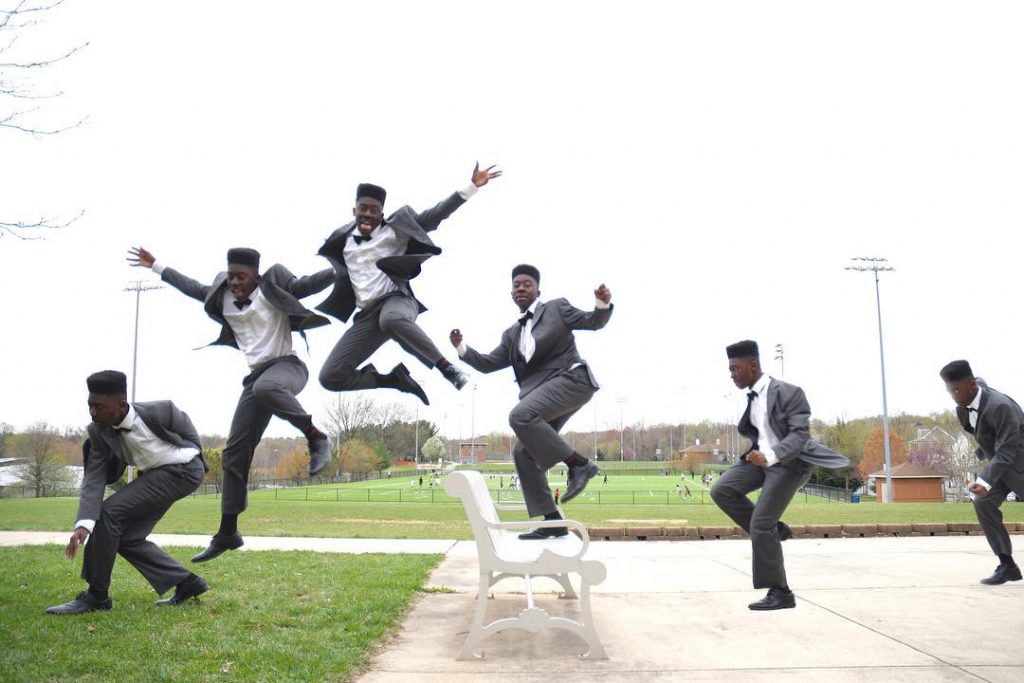
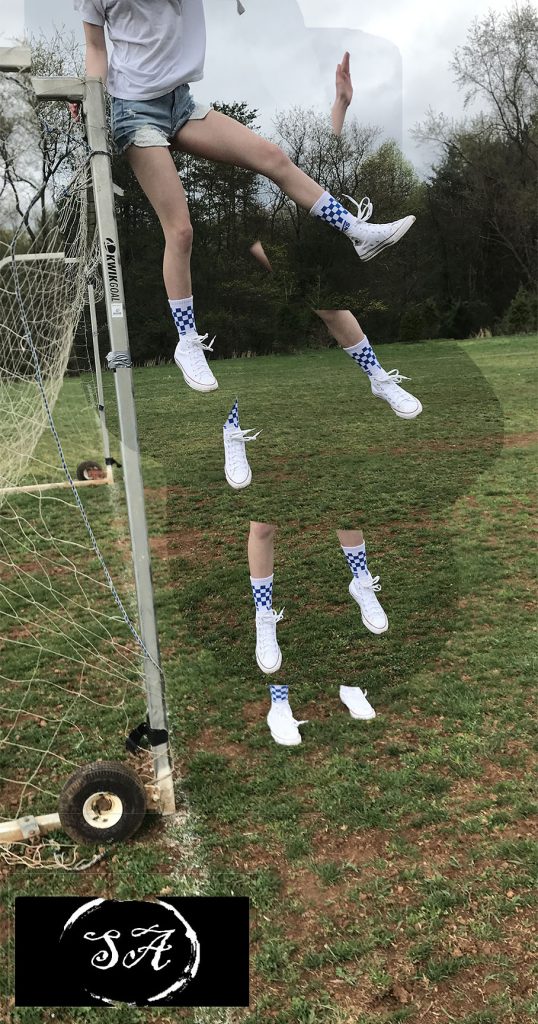
Stacking photos is a technique that can be used to create an “impossible” shot or a way to show a sequence of events. We will be using it to show a sequence of events. This requires planning and the use of Photoshop. Photos used below are from my friend John Burns.
Cliff jump photos to edit can be found here and the basketball photos to stack can be found here.
This is a new post….
+ What did you have to do?
+ Explain the process of capturing your shot.
+ Explain the process of editing your final stack.
+ Share the link to the YouTube video above so others can watch it.
+ Include both of your stacks in your post. Make sure they are as large as possible in your post.
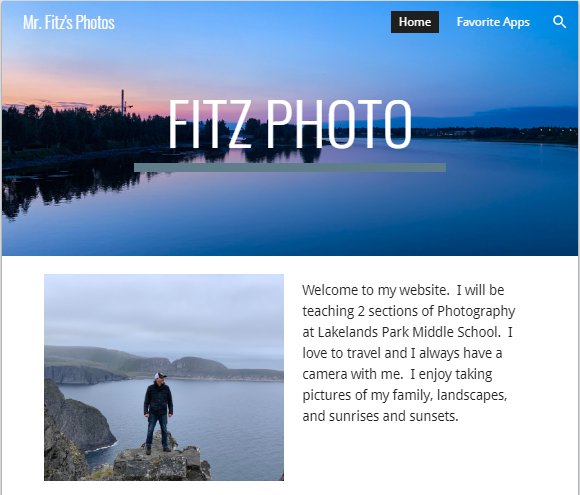
Building a professional web presence in an important part of being a photographer. During this semester you will be managing and building a website that can be used for getting in to high school classes. Your assignments will be posted to your website along with a short written piece describing the process you used during each project to produce your final photos.
Site must include:
+ Opening page: Header image (your image)
+ Page title (must include name)
+ Photo of you
+ Quick Bio
+ 2nd Page (favorite apps for pictures include logos)
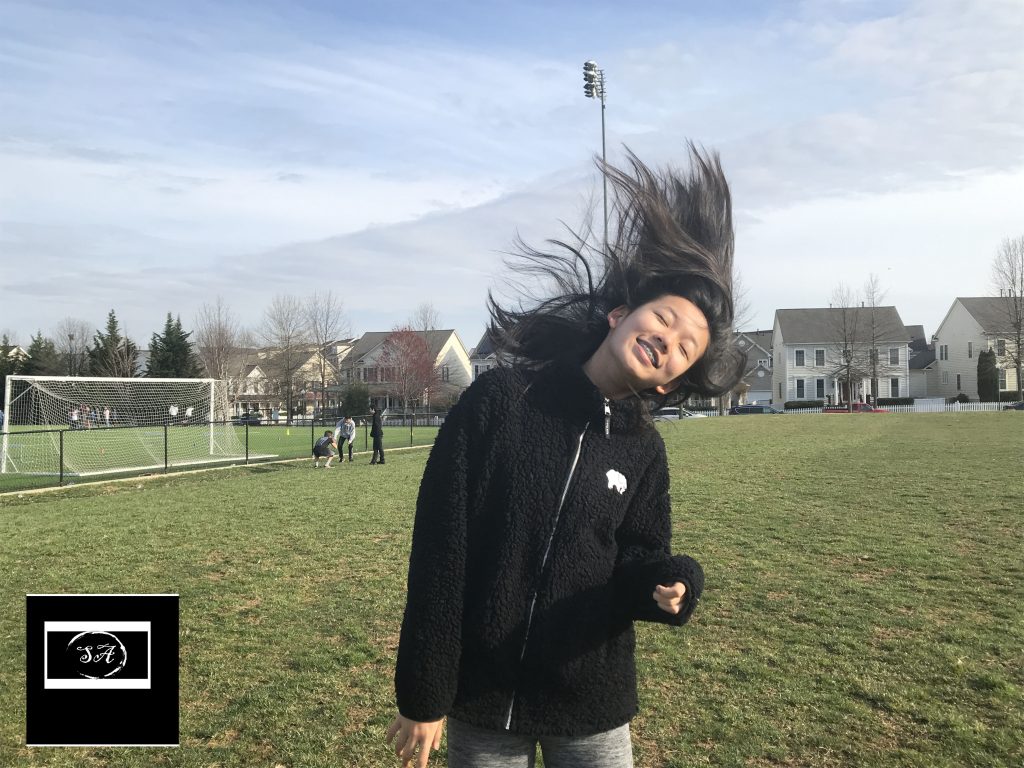
In this project, we had to capture people and objects in movement. I found if you take a picture in different angles it helps capture the movement better in the photo. If you’re trying to take action photos make sure that your picture doesn’t come out blurry and make sure you can actually see the movement of the person or object. In the future I would like to capture photos of BMX bikers. I think it’d be very fun to do that in the future.
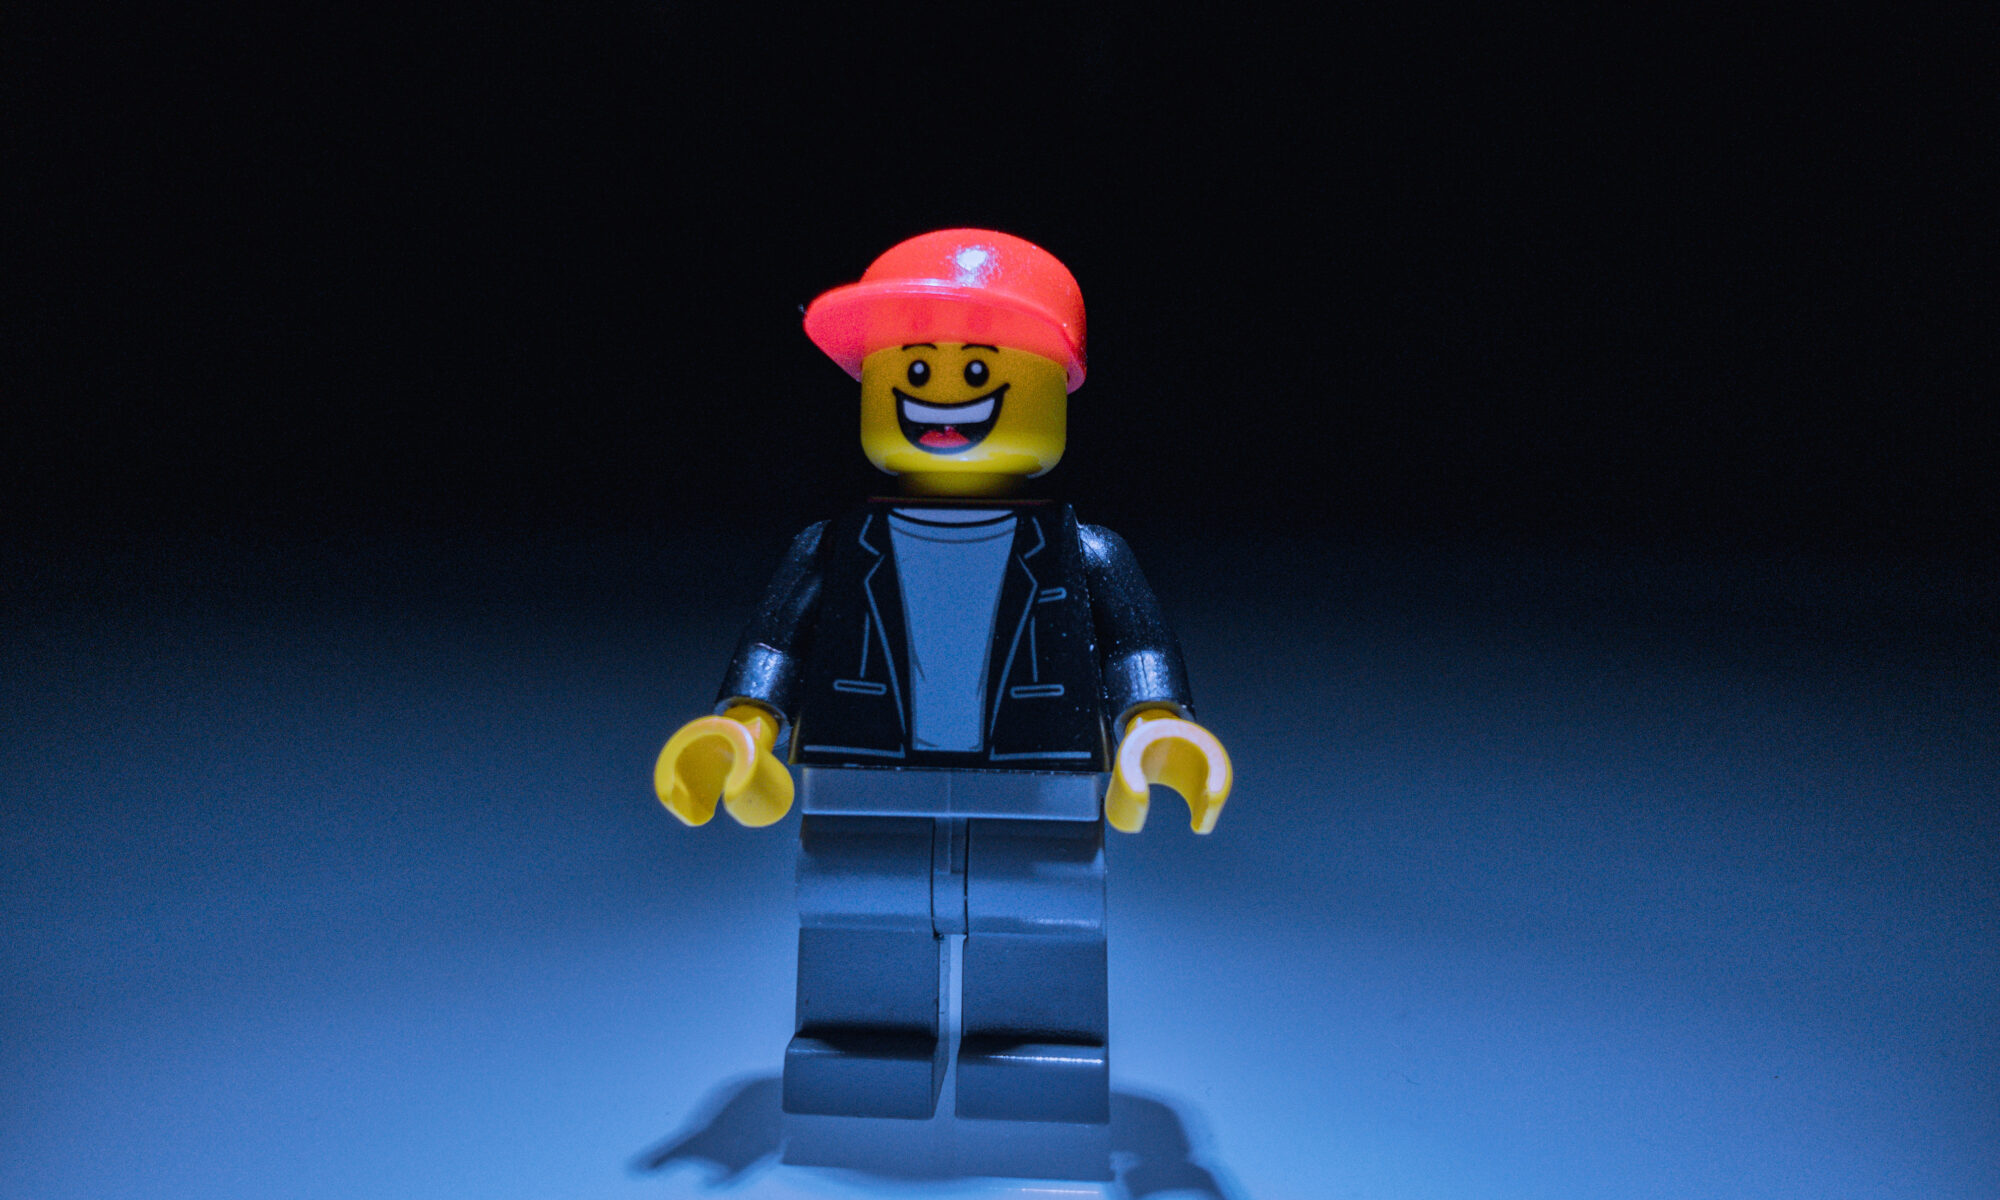
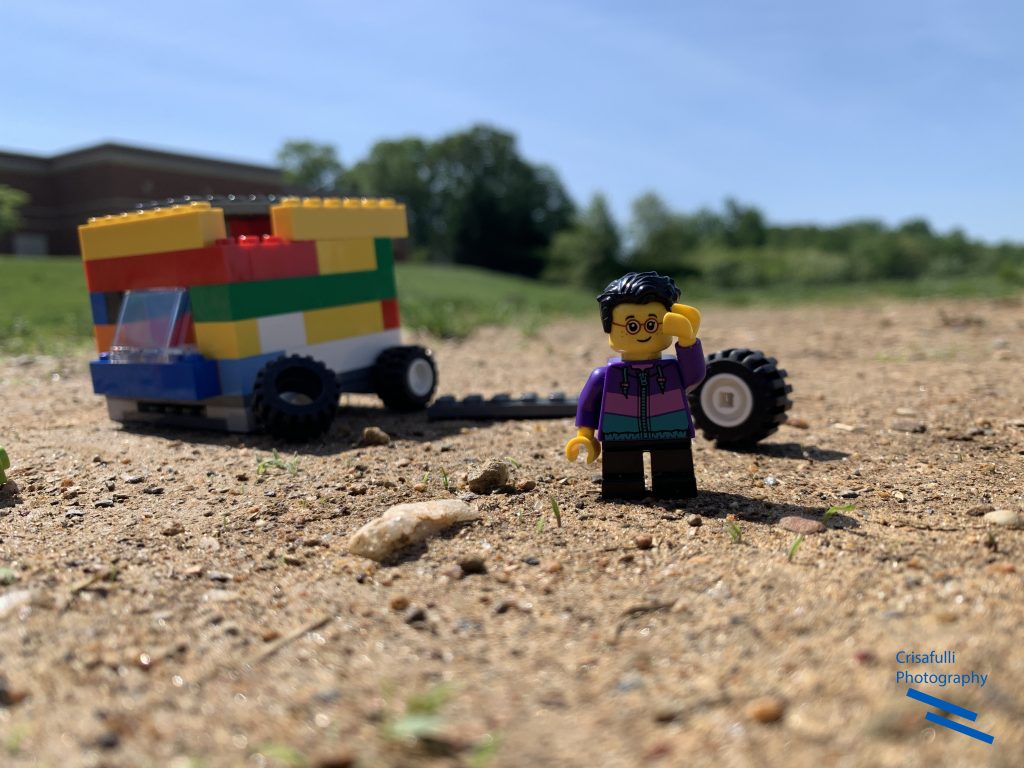
For this project, we had to “play” with Legos. This means that the subject of our photos was the Legos. I had to have the surroundings of the Legos to scale with the Legos. This means that it was not a Lego in a big world, it was a Lego in a small world, his world. I used techniques from my rule of thirds project, my getting close project, and my different angles project. Some parts of the project that were difficult to me was making sure that we were close enough to our Lego because if we weren’t, it would look like a Lego in a big world, not a small one. If I could, I would like to take a bunch of Legos, have them next to the barre, and make them dance. I would also love to take a picture of a Lego next to bugs, since the two are close in size. It would be like a massive bug! All in all, I didn’t really like this project that much because I am not the biggest toy person, but if you are, this project is for you!
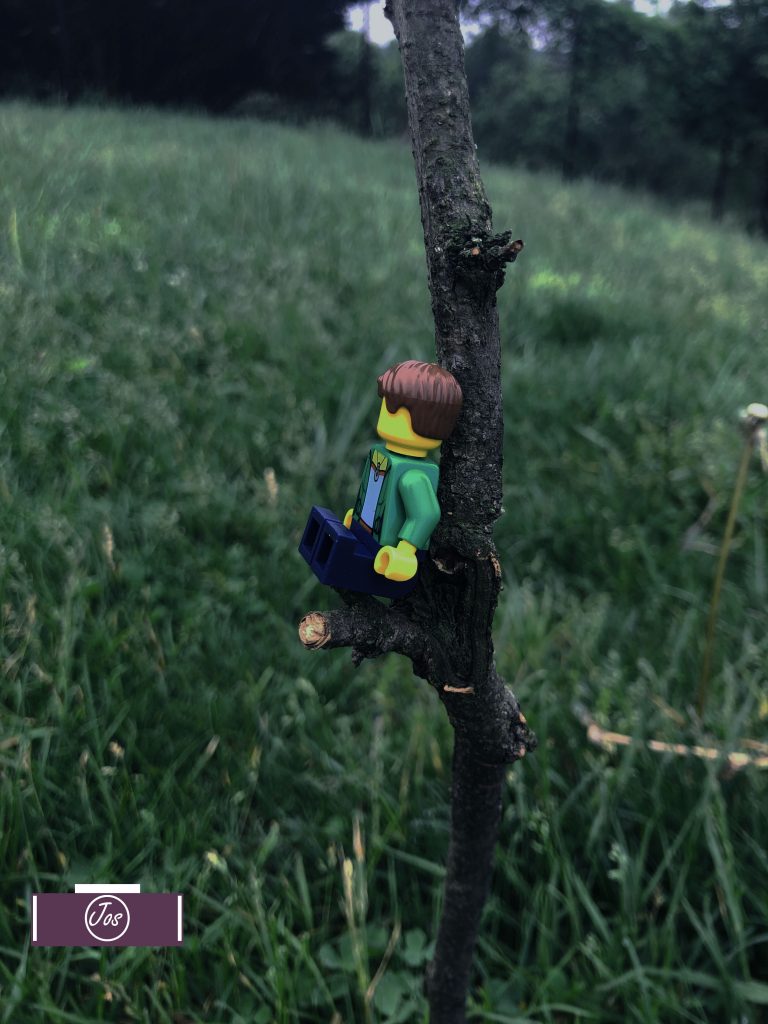
The assignment was to take pictures of lego people in there own miniature worlds. The pictures needed to be taken like another lego person could’ve taken the shot. The easy part was setting up the shots. The hard part was positioning the camera so that it looked natural.