White Background

I don’t have a picture of myself because I didn’t make the cut?!?!?

First to take the photos I changed the manual setting on the camera to make the back ground invisible. I also clipped external lights to objects around the background to make sure that that the background was fully white and infinite. I used adobe Photoshop to edit these white background photos. I changed the curves and changed the hue and saturation. As you can see, the background is infinite and you cant see it. Some challenges of this project were to make sure there were no shadows on the white background.

https://photos.app.goo.gl/ZLhv33oL1xEOP83W2

White Background

The White background is basically the Black background project, but with a white background. For this project the iso and shutter speed had to be adjusted more frequently depending on each model. Which was a kind of difficult. What was easy though after the adjustments there wasn’t much to do, but take photos.

No one did a photo of me I don’t think,

https://photos.app.goo.gl/YH80XY1GiIK40Edt1


Portraits

The process to take the white background photos was a little harder than the black backgrounds. It was hard to find the right angles because of shadows. You couldn’t be too close up because of shadows. To edit my photos I used the curves tool in Photoshop and adjusted the brightness and saturation and black and white tool. 


https://photos.app.goo.gl/Ng0PsNlJX1UpSpnB2

White photo project


https://photos.app.goo.gl/PRFh1b9xp0LnwRid2

In class this week we have been working on a project. In this project we were told to take pictures on white backgrounds. While taking the pictures we had to shine 2-3 lights on the background to make it an actual white background instead of white or yellow.  We also had to adjust the ISO, F-stop, and shutter speed in order to take this kind of picture. After taking the pictures we were told to download them onto our computers from google drive. We then were told to use the editing software Adobe Photoshop. On Adobe Photoshop we had to make the photo black and white so we lowered the saturation down to -100. After that we adjusted the picture to our liking using curves which is a way to change the lighting on Adobe Photoshop. The final step was to add our logo so that no one steals our pictures. We then uploaded it to google photos. During the process of taking photos I figured out that you need to have a ton of light on the background to make sure it’s white and not yellow or gray.

Black Background

When taking the photos I wanted the “models” to be themselves where modeling. Whatever pose they wanted. What was difficult was trying to make the background black, so we had to mess around with the settings a lot. By we I meant Mr. Fitz. What worked was the black background we used which made it easy to have a black background except for Kenneth’s Picture

https://photos.app.goo.gl/YH80XY1GiIK40Edt1

Portraits-White Background

In this project we attempted to fill a photo with light and create an infinite background. I edited the shutter speed so that it would capture just enough light to capture my subject. I isolated the subject of the photo and then edited the curves to create am infinite background.

https://photos.app.goo.gl/RWHrGaVCXSjOVXdI3

White Background

For this project I took the pictures on a manual camera. I put the ISO at around 800 to make it look good. I also put the F-Stop at 4.0 and shutter speed at around 1/60. You want the shutter speed at around this because it lets in a lot of light so the background looks infinite. To edit I messed with the curves to make the colors the way I wanted. I also changed the brightness and contrast to make a big difference between Antony and the background. It didn’t work however when you didn’t have people lighting up the background.

The link to the rest of my photos are here: https://photos.app.goo.gl/XpPpMuXHNne04Jzp2

My favorite photo taken of me was by Antony and was this:

Light Graffiti

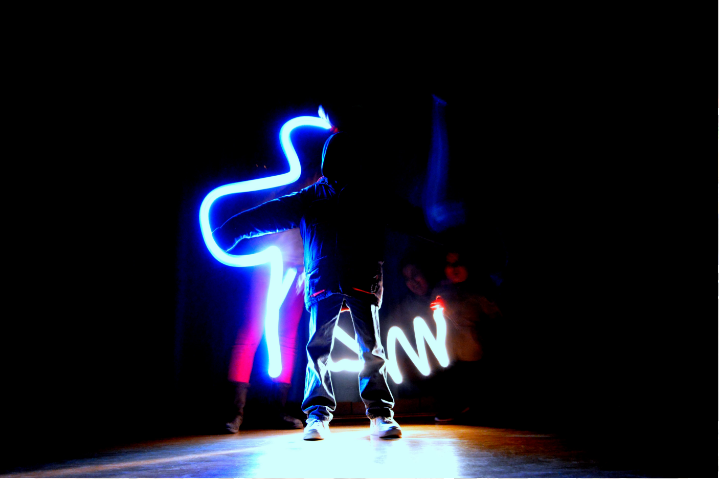
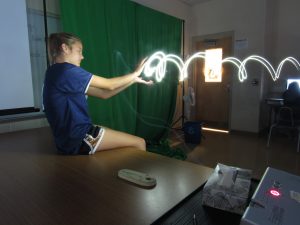
We are going to continue to use the manual settings on our cameras to paint with light or do light graffiti.  We’ve used the ISO and F-Stops (aperture) setting when we took out portraits with the black backgrounds.  For this project, shutter speed will be really important.  In order for you to “paint”, you will need to leave the shutter open as long as possible.  This will allow light to hit the sensor, but it will also give you and your teammates the chance to work.

I have left examples and tutorials at the bottom of this post to give you a place to start with settings and give you some ideas.

It’s going to be frustrating.  You’re going to run out of time to paint, your painting will take practice, the settings won’t be right, the camera will move…..  But, have fun and keep trying.

Here’s what you will need at the end:

+ 5-10 final graffiti images (per group)

+ How did you take your pictures? Settings? Steps?

+ What worked? What didn’t?

+ Frustrations

+ Ideas for taking this project to the next level

+ 1 photo in your post, must have logo

+ An active link to your Google Photo Album

+ Post must be in the “Light Graffiti” category


White Backgrounds

Our project was to take pictures of three or more students in our class with an infinite background. You had to play around with the camera settings- F-Stop, ISO, and Shutter Speed to make the background completely white and have no shadows. It was hard to make the background white and took multiple tries to make it an infinite background with no shadows. Then we had to edit the photos we took on Photoshop. You could make them black and white, which is what I did to make the photo look cool or just leave the color how it was and you had to edit the curves.  I learned lots on how to balance the 3 settings to make the photo have an infinite background. Below is my favorite photo I edited and the link to all my photos.

https://photos.app.goo.gl/TRTgaps1T8kS0Txr1