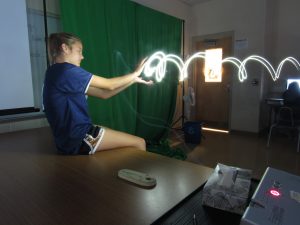
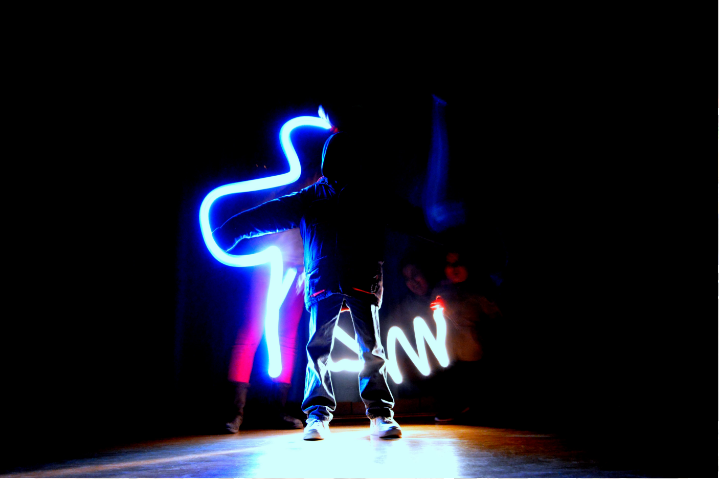
We are going to continue to use the manual settings on our cameras to paint with light or do light graffiti. We’ve  used the ISO and F-Stops (aperture) setting when we took out portraits with the black backgrounds. For this project, shutter speed will be really important. In order for you to “paint”, you will need to leave the shutter open as long as possible. This will allow light to hit the sensor, but it will also give you and your teammates the chance to work.
I have left examples and tutorials at the bottom of this post to give you a place to start with settings and give you some ideas.
It’s going to be frustrating. You’re going to run out of time to paint, your painting will take practice, the settings won’t be right, the camera will move….. But, have fun and keep trying.
Here’s what you will need at the end:
+ 5-10 final graffiti images (per group)
+ How did you take your pictures? Settings? Steps?
+ What worked? What didn’t?
+ Frustrations
+ Ideas for taking this project to the next level
+ 1 photo in your post, must have logo
+ An active link to your Google Photo Album
+ Post must be in the “Light Graffiti” category

