Black Blackground

For this project we used the manual settings (full control of settings) with digital cameras. we had to change the shutter speed and that all i did. i changed it to 1/125 or 1/250 because it was a great shot for the GoPro. that worked well and it made all of the photos we took look good. what didn’t work was that we had to change our location on our second day because the lighting was weird because of the other groups light. Here are some pictures.


Black Background


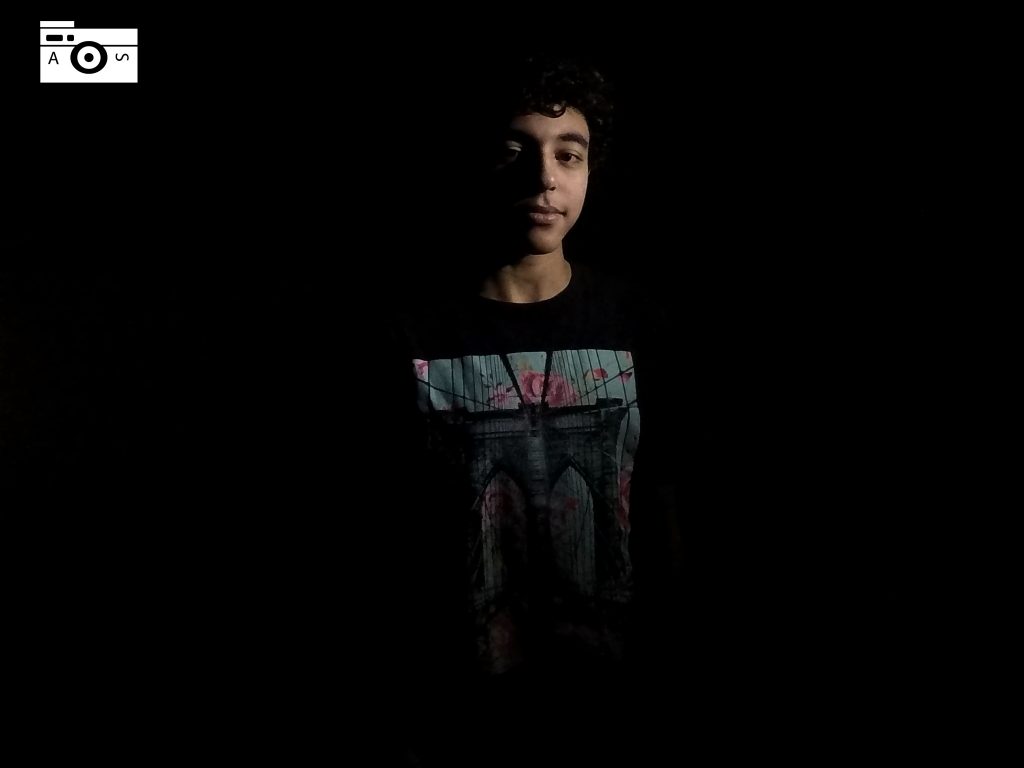
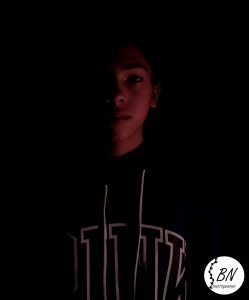
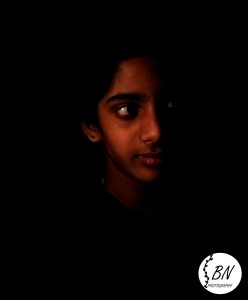
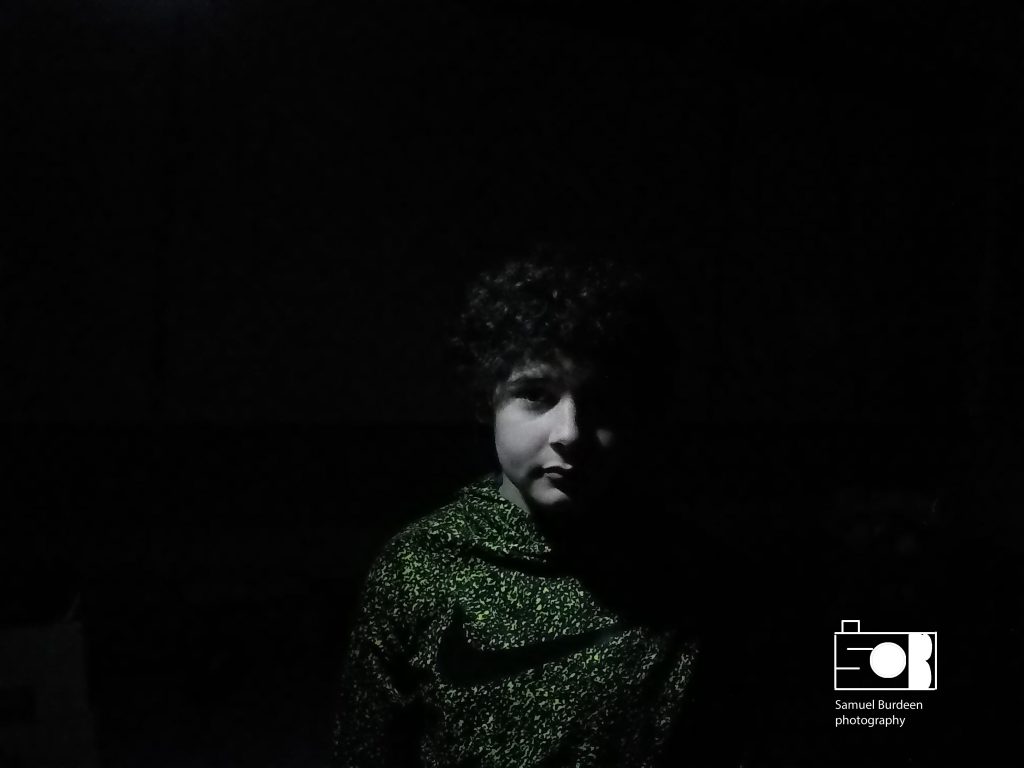
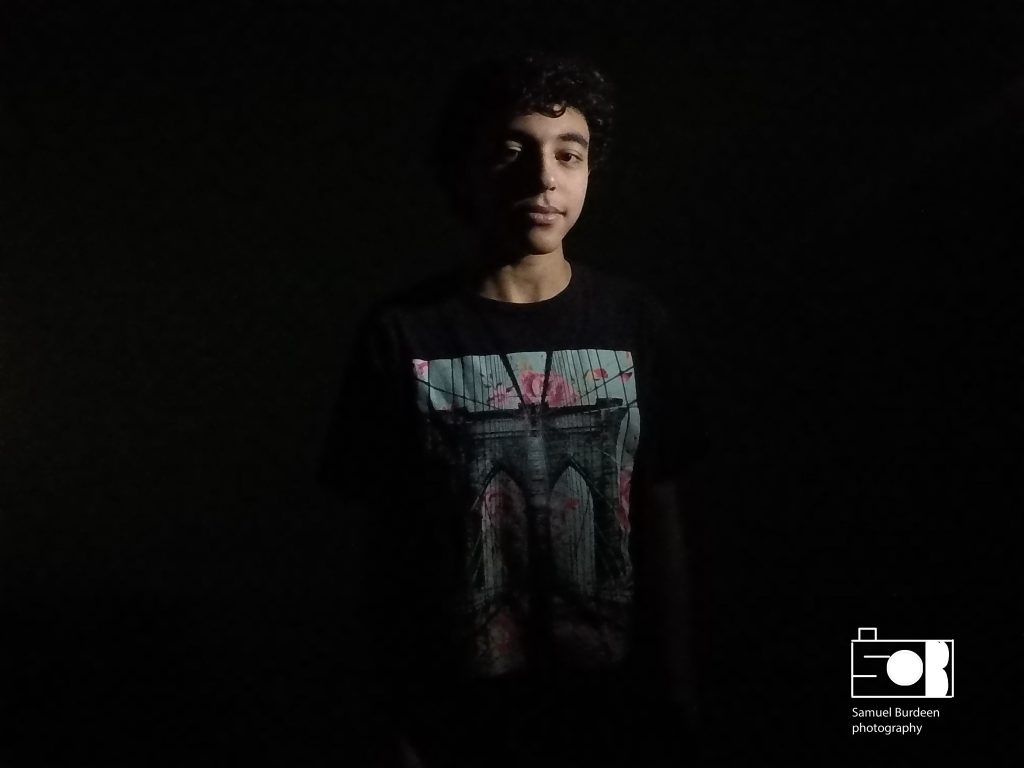
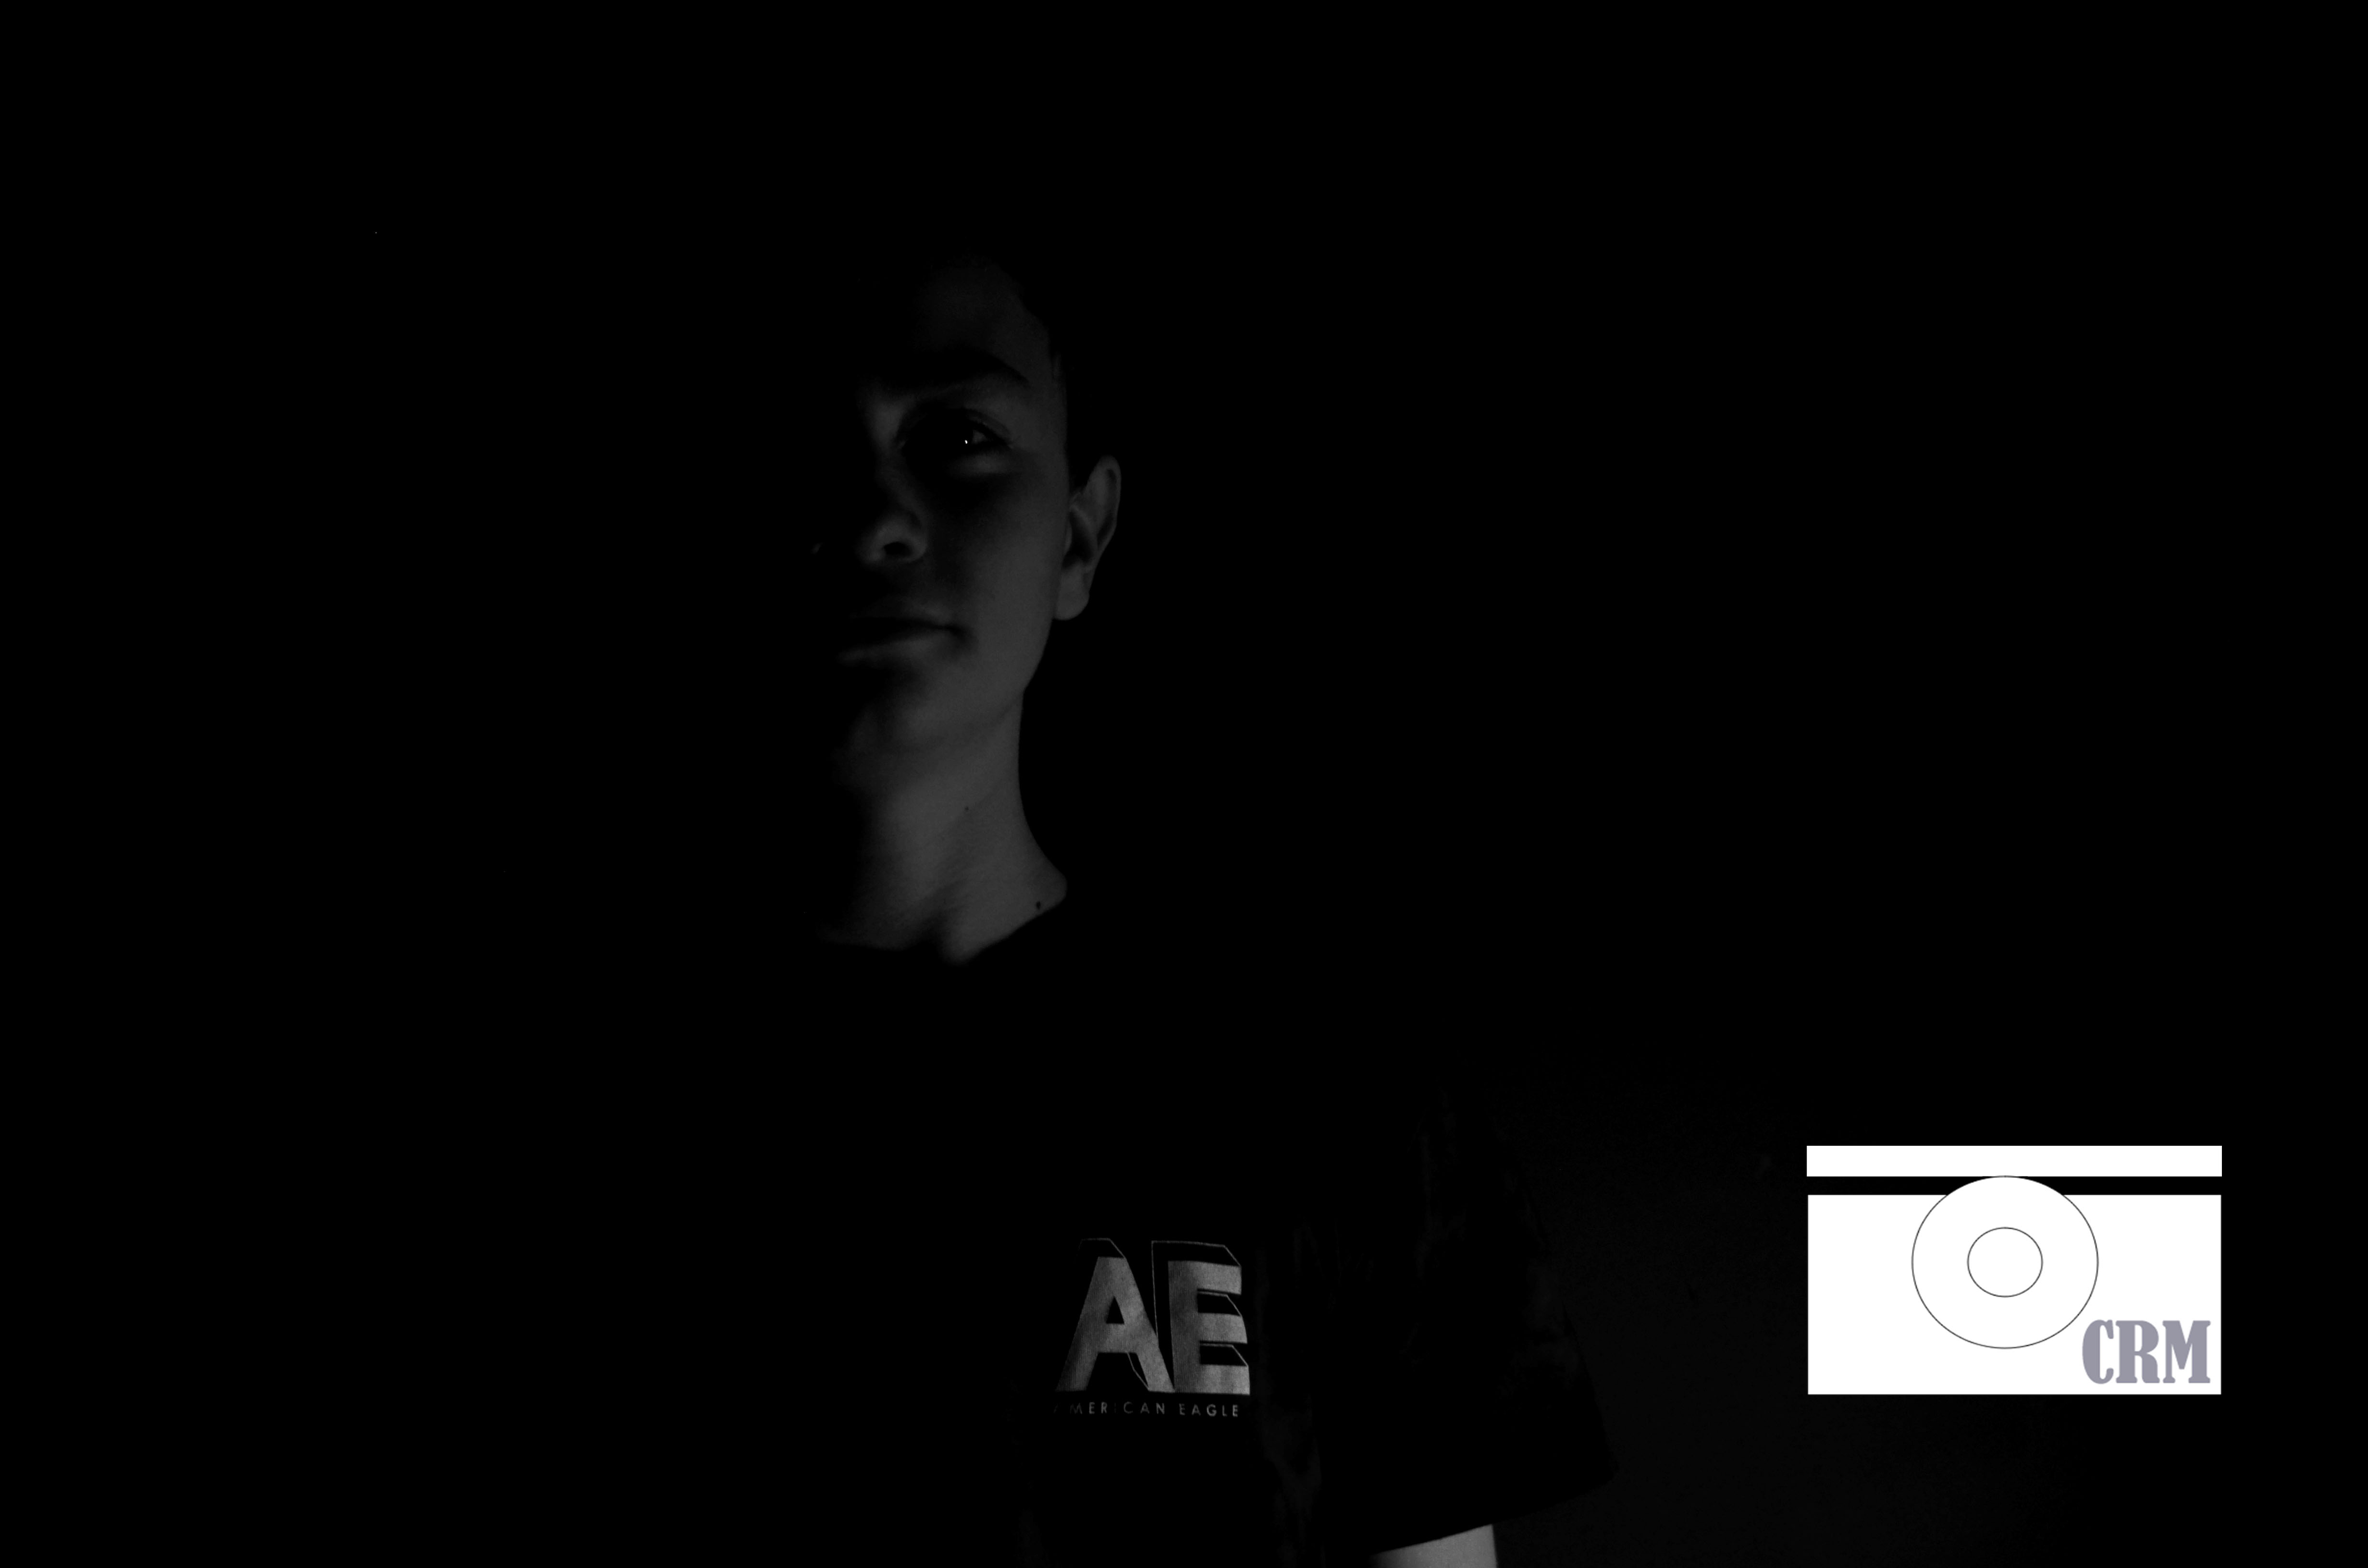
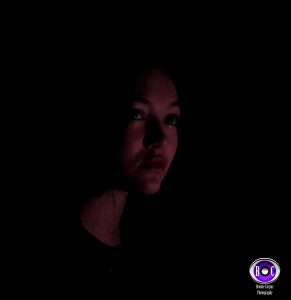
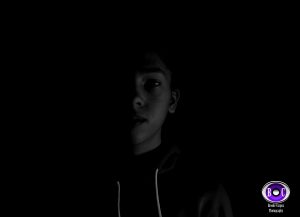
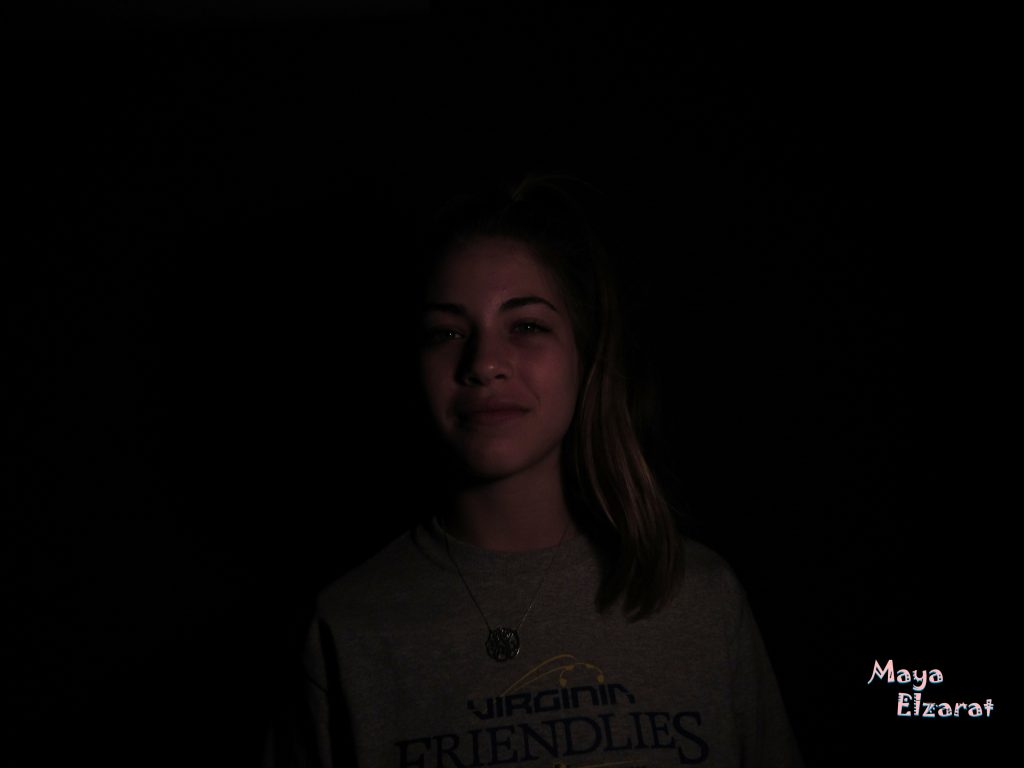
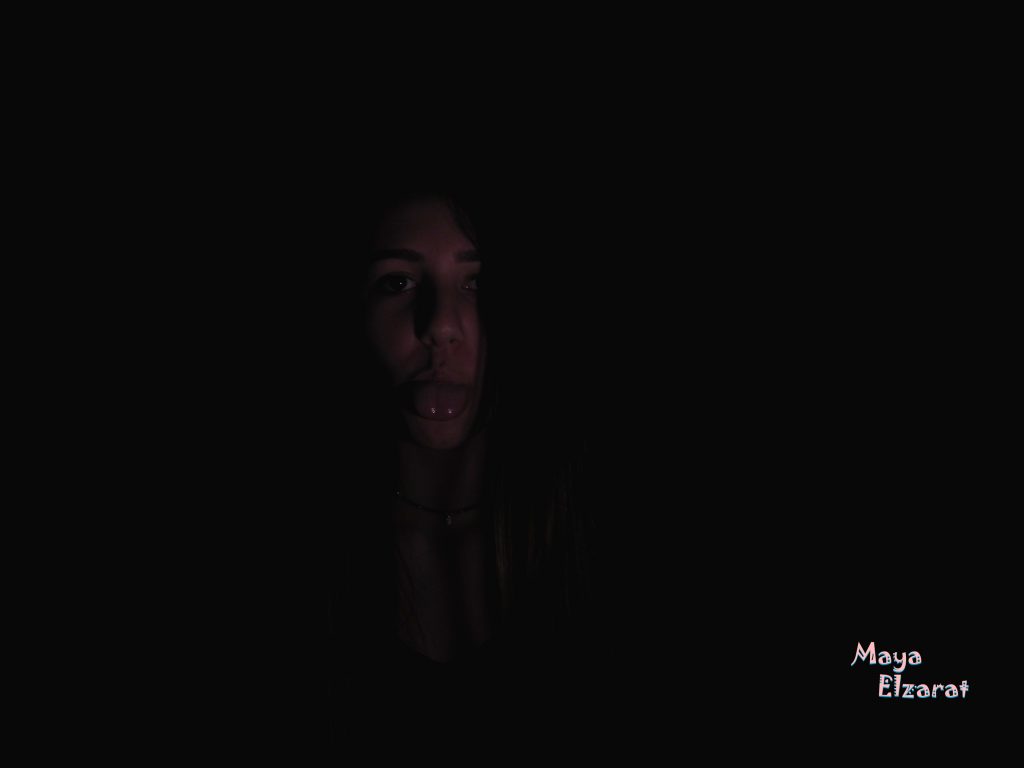
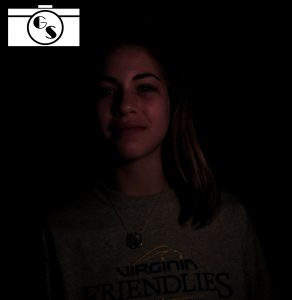
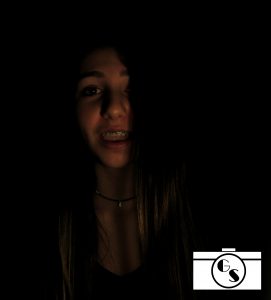
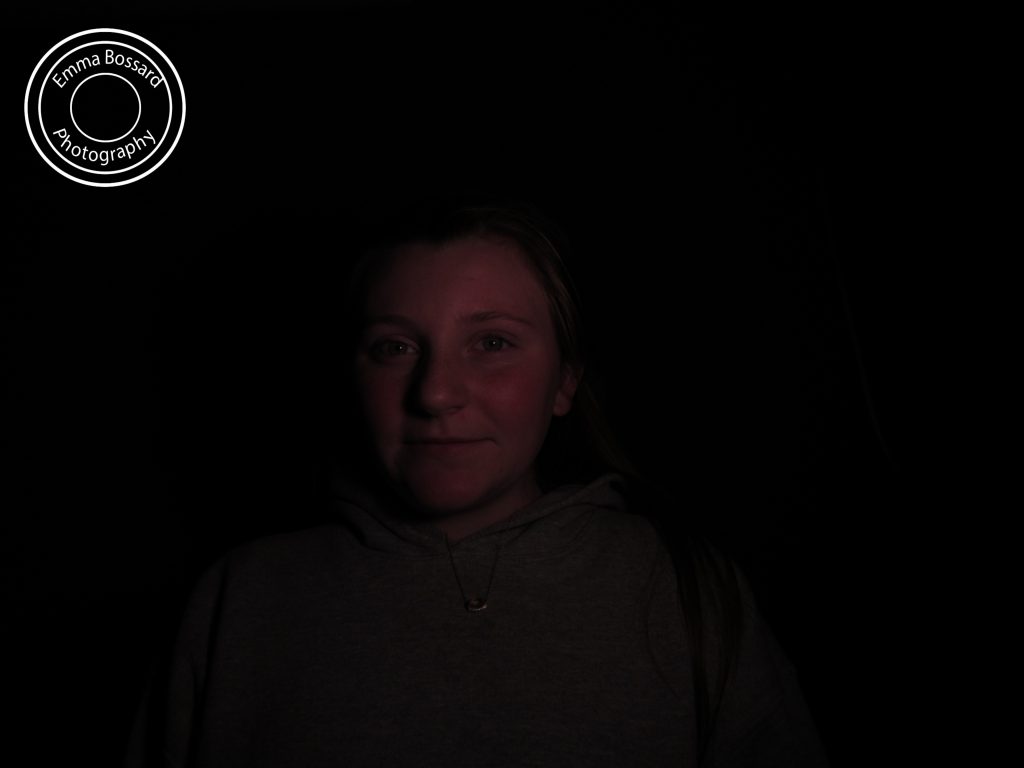
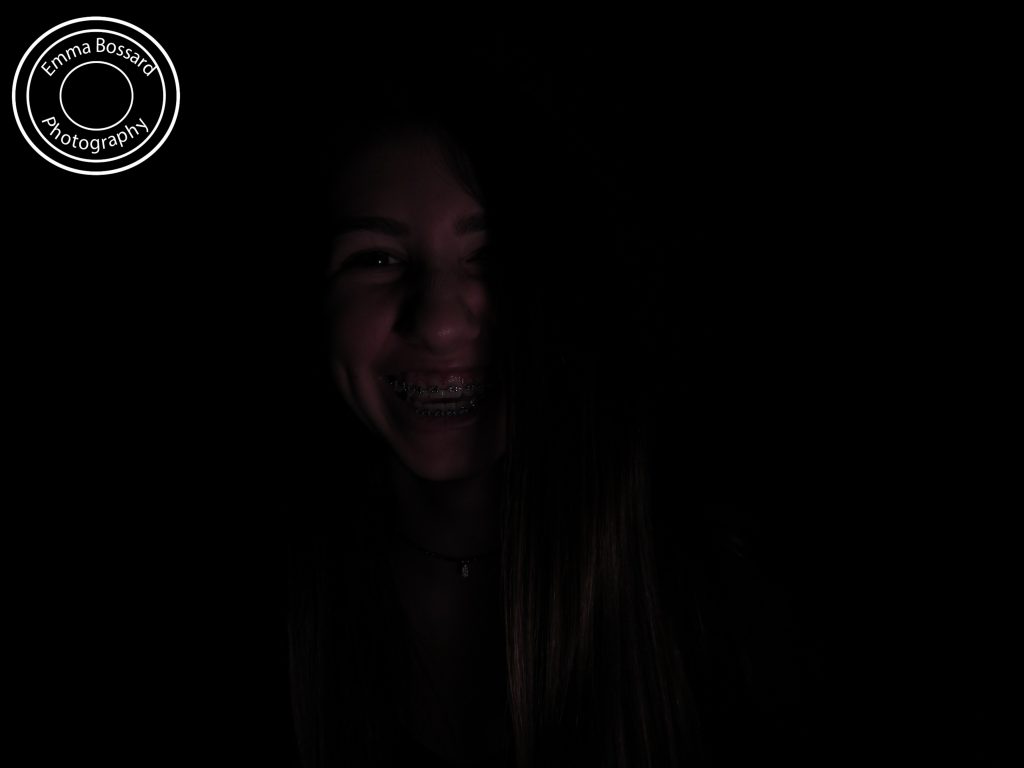
For this project, we posed in front of a backdrop with the lights off. One person in the group adjusted the camera, to make the  For this project, we turned off the lights in the room so it would be pitch dark. Then we would have one person in the group work with the light. They would have to find the right angle so the light would only hit the persons face. This way the background would seem darker. We also had someone taking the picture.  The camera person had to adjust the ISO which controlled the amount of light being let in and they had to adjust the shutter which was to see how fast the photo was to be taken. Then in Photoshop, we were to edit the color to make sure there are no shadows that you can see and we were able to turn the picture black or white or keep it colored. One thing that didn’t work was being to close to the wall if we were then we could see shadows. One thing that did work was holding the camera close to the person. This worked because it got rid of the shadows and the picture came out a lot brighter.


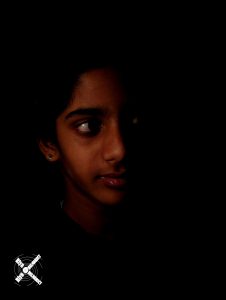
Photo credits go to Briana Niles


The link below has other pictures my group took.

https://photos.app.goo.gl/GrxR0B6p21z0LrW43 

Portraits

We had to adjust the amount of light that entered before the picture to make sure it wasn’t too dark or light. Adjusting the light on the camera and settings worked, but adjusting the position of the lamp didn’t always work.


Black Background

Some of the photos we took did not need to be edited. The others we used Photo Shop to make the background a bit darker because the F stop, ISO, and Shutter speed did not do a good job. A dark room with 1 camera light worked the best to help take these photos. What didn’t work was a super bright light and the person standing close to the wall because we could see the shadow.

Active link to the rest of the photos: https://photos.app.goo.gl/fCBkfx9jZEz8i1We2


Black Background

In order to make the pictures work, we have to change the ISO and adjust the shutter speed. The pictures ended up working better in front of the black background and they were easier to take. It was hard to pose and edit the pictures so you couldn’t see the green background or any shadows. Click here to see all of my pictures: https://photos.app.goo.gl/ajBI9G211mdSPolx1

Portraits

The purpose of this project was to make it look as though the subject of the photo had been Photoshoped into the picture.  To make this happen we first had to change the settings on our camera.  Once this was completed, all the lights were turned off except for a single hand held lamp.  It takes at least three people to take one photo;one person to take the photo, one person to be in the photo, and another to hold the light and angle it.  Once the picture was taken, you had to edit it in Photoshop using the curve tool.  This allows you to control what part of the photo darkens and which part becomes lighter.  You might also need to crop the photo to get rid of any excess background.  My group found it challenging to find the right lighting without making there be too much background.  We had to angle it so the person’s shadow was out of the shot.  It also helped to be farther away from the wall.  

Here’s a link to all the photos!https://photos.app.goo.gl/8I70LxFeeOLpLUIa2

Black background

https://photos.app.goo.gl/eOk5qZj3b1ZVQOc73

What I did was take pictures on manual and edited them on Photoshop. We used the curve tool to adjust the brightness of our picture. We had to step away from the wall to make sure there is no shadow. Having all pictures with a black background worked. What didn’t work was us being able to complete it without any help because it was pretty hard. 

Black Background!

This project we had  to take photos and adjust the settings (ISO and shutter speed) to make it look like there is no background or just in all black. As you can see, the background is all black and we used spotlights to show just the face in the picture. When editing the photos, I cropped out some of the background and adjusted the photo with the setting curves. I made the lighting change and adjusted the amount of light coming into the photo. It was challenging to take the photo and have the settings at the right spot. But once I got the settings right, it was easy to put the spotlight where it needed to be and take the correct photo.

To see the rest of my link go to this link: https://photos.app.goo.gl/yu5KCYHjZF4GPhTr1


Black Background

During this project, I got to change the settings on my camera with ISO and shutter speed to make the background black. The settings on the camera worked most of the time to create a mice picture which was good. Sometimes, it was hard to change the settings for each person to add more or less light.

https://photos.app.goo.gl/JOuHXdeIjSdTjNBq1