Set in the Street is a mini set where the camera only captures that set area and not anywhere else. You could be in the streets and make a set that looks like an ordinary home. Then we had to show something was happening in the photo like the tone or mood or situation. Then we edited the photos and made the scene black and white also editing the shadowing in the camera. Like above the light should be darker since the light is facing down. My 4 photos are below.
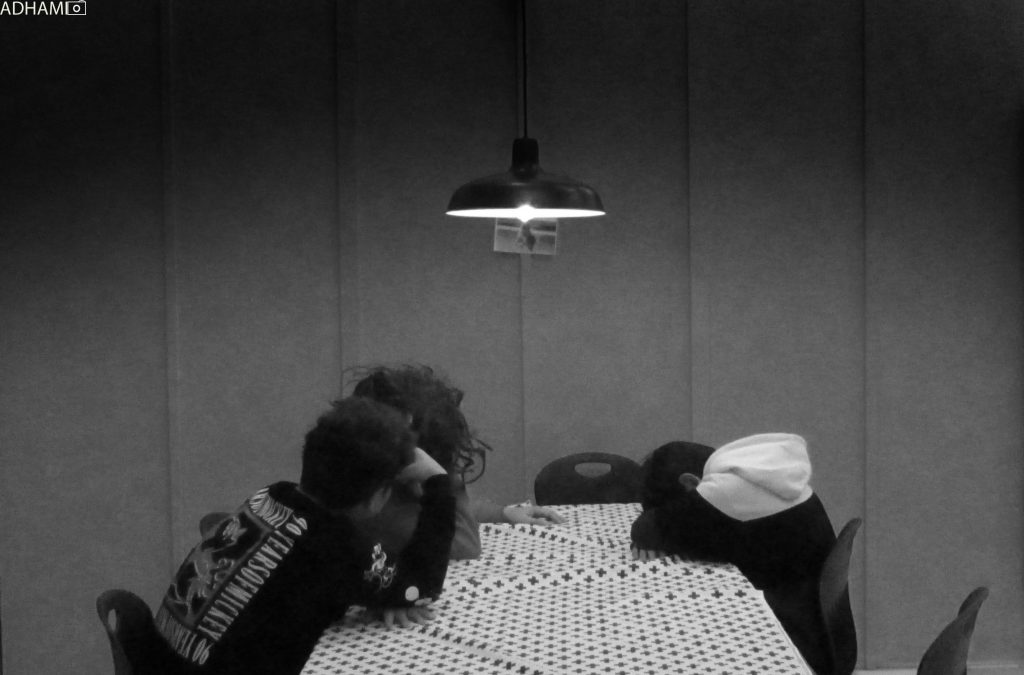
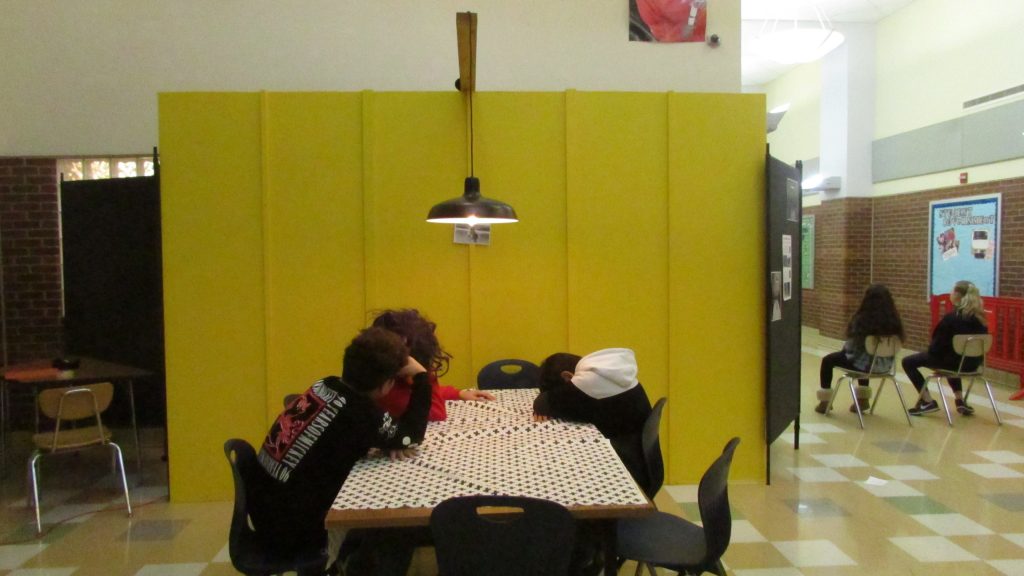
In our project “kitchen table,” we had to tell a story at a kitchen table, but the kitchen table was not in a kitchen, but it was actually in the main lobby, with only a small makeshift wall and a light at the top of the wall for decoration. This project was inspired by Justin Bettman and Carrie Mae Weems. Justin’s project was about setting a scene in the street that nothing to do with the street, and Carrie’s project was about telling a story just at her kitchen table, so we combined these. I used Photoshop to edit my photo, and the tools were black and white, eclipse tool, and the curves tool. If I were to choose a scene to tell my family’s story, it would be our living room, and the pictures may include watching a movie during movie night.
“Set in the Street” is a photography project that is inspired by New York based photographer Justin Bettman. The idea behind “Set in the Street” is to create a photography set in a public space that doesn’t really have anything to do with the set that is being used for the project. In the fall of 2018 the set was inspired by the work of Carrie Mae Weems and her Kitchen Table Project. You can see the previous posts and “sets” we have built in this class by clicking on the category Set in the Street.
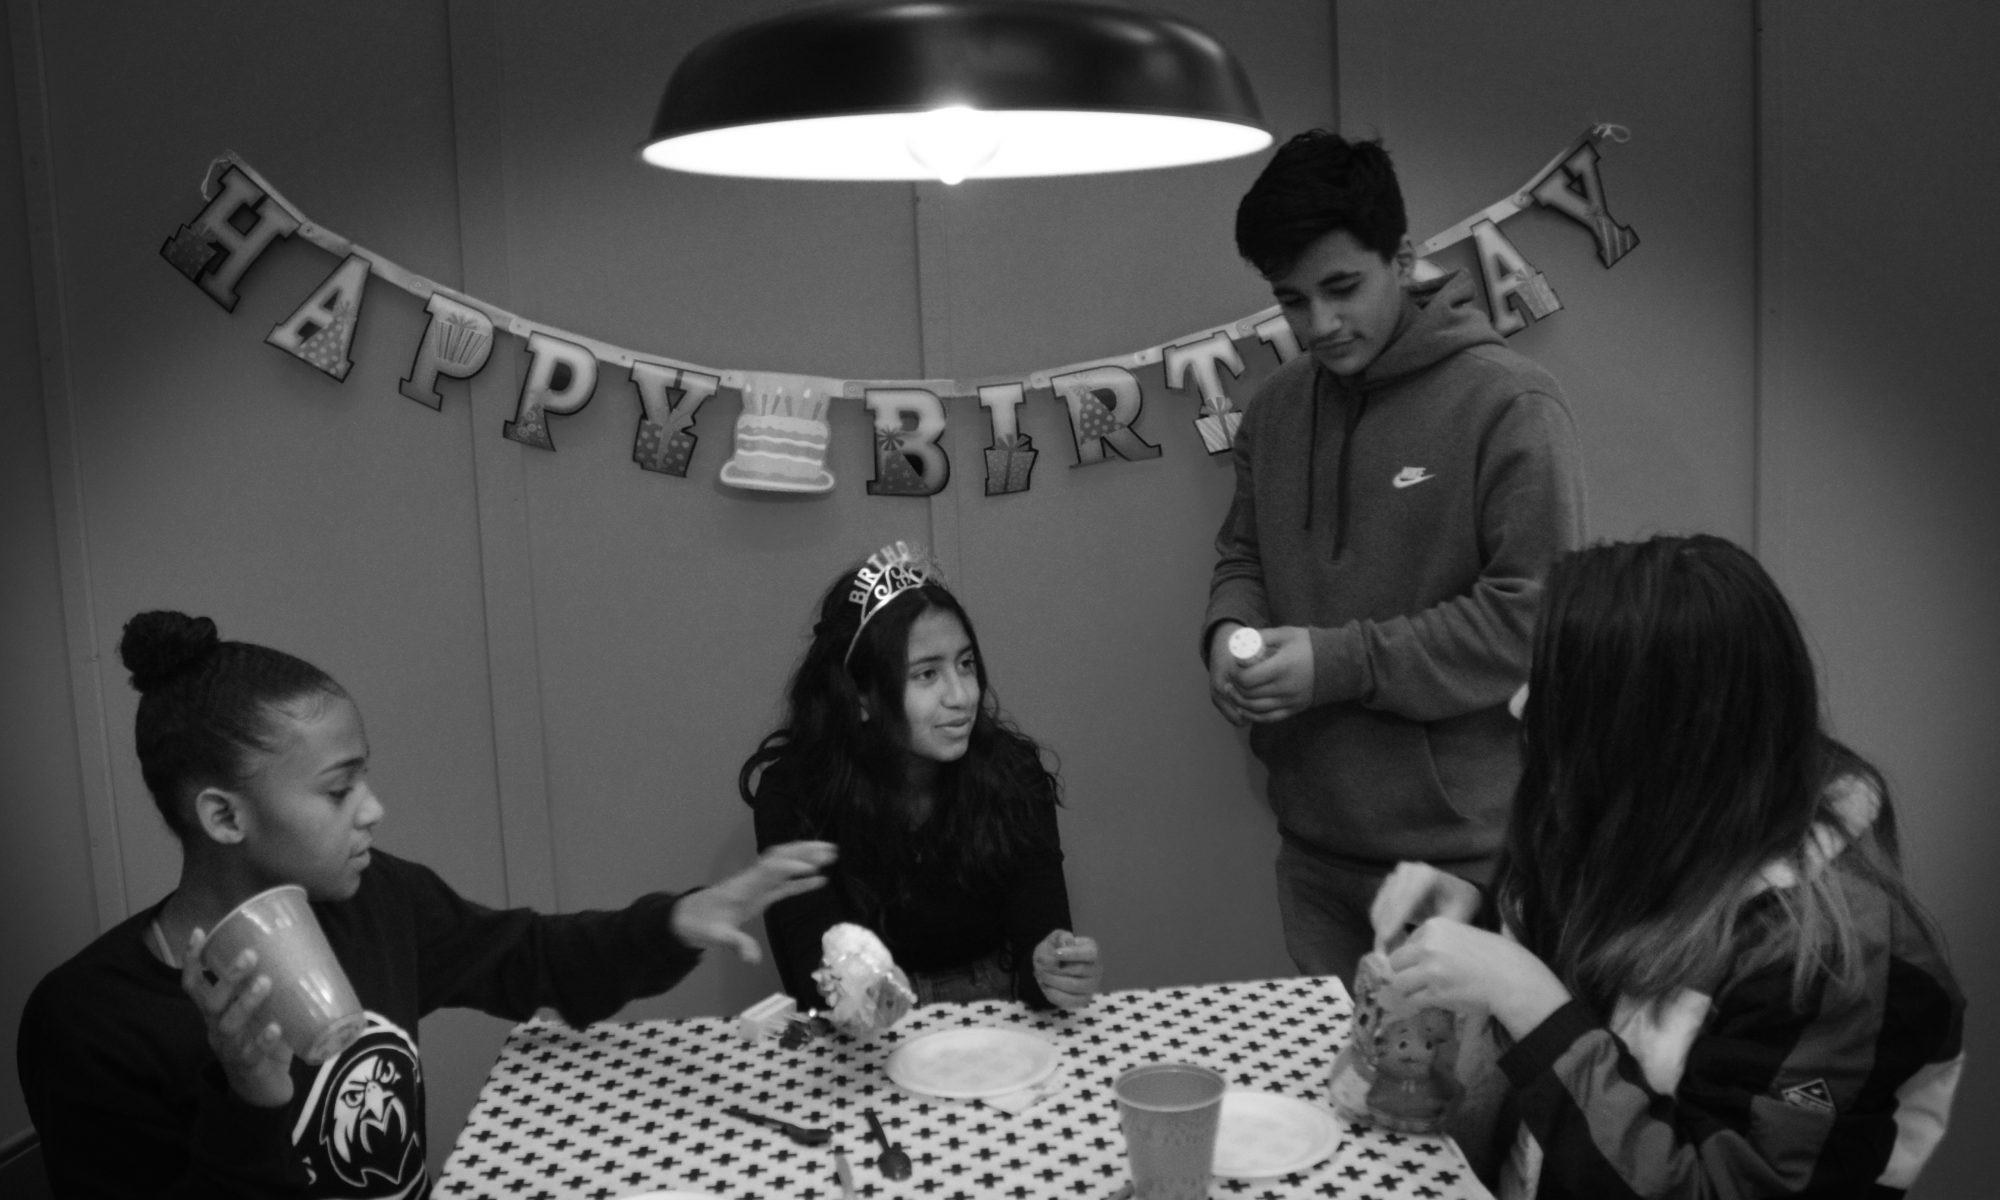
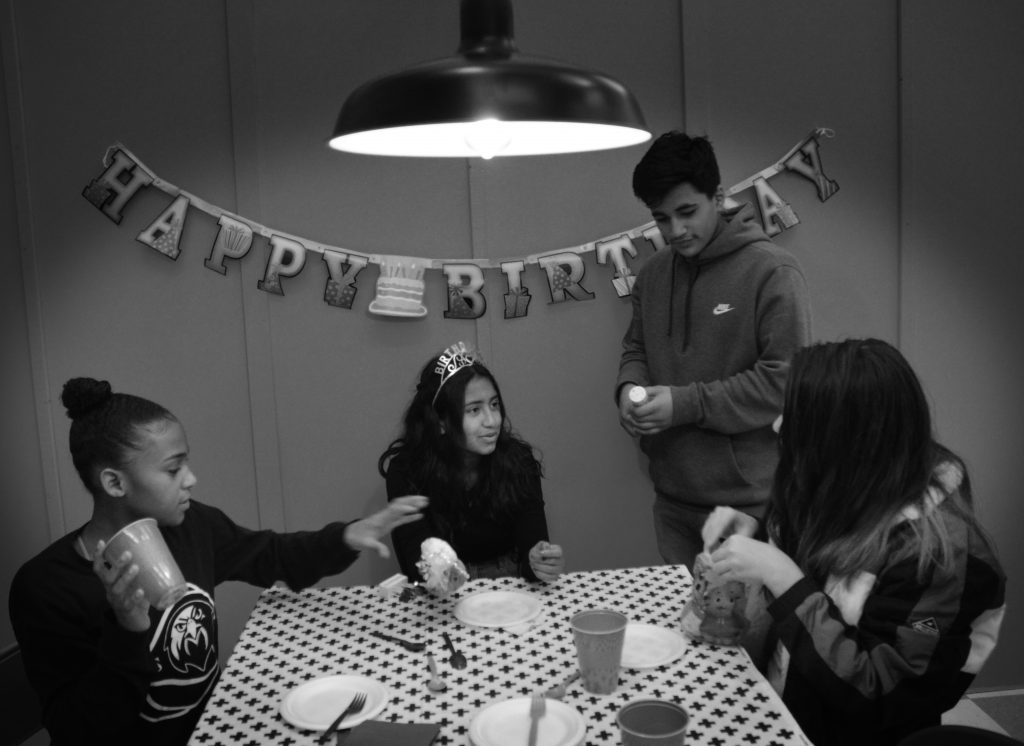
The Fall of 2018 Set in the Street for Arts Night December 12, 2018.A birthday party (and actually Emely’s birthday) using our street and using the photographs of Carrie Mae Weems as inspiration.
Your assignment:
+Plan, assemble props, and take photographs using our “Set in the Street”
+ Edit 4 photos using the color values found in the photos by Carrie Mae Weems
+ Add the vignette look to your photos using the elliptical marquee tool in PhotoShop
Your post should include:
+ Introduction to the project
+ Explanation of the photographers used for this project. Their names must be included as live links to their websites like mine above.
+ What PhotoShop tools did you use to edit your photos?
Answer the following: If you had to choose a place to tell your family’s story, where would you take your photos? What photos would we see? (even better, include a picture of this place)
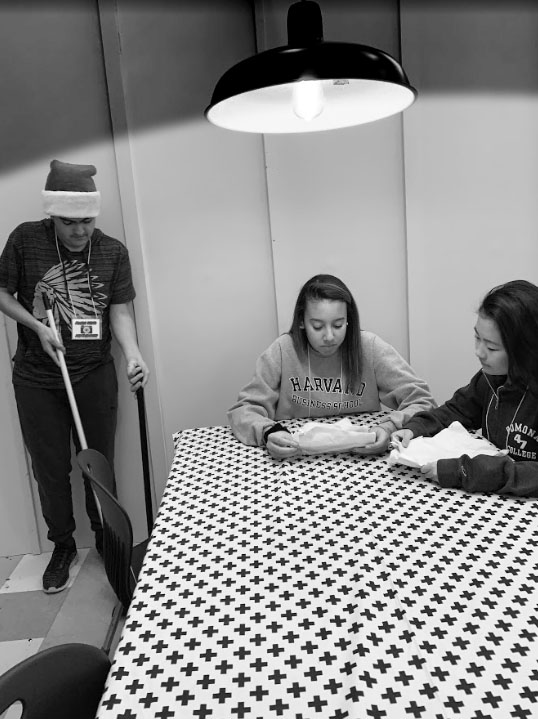
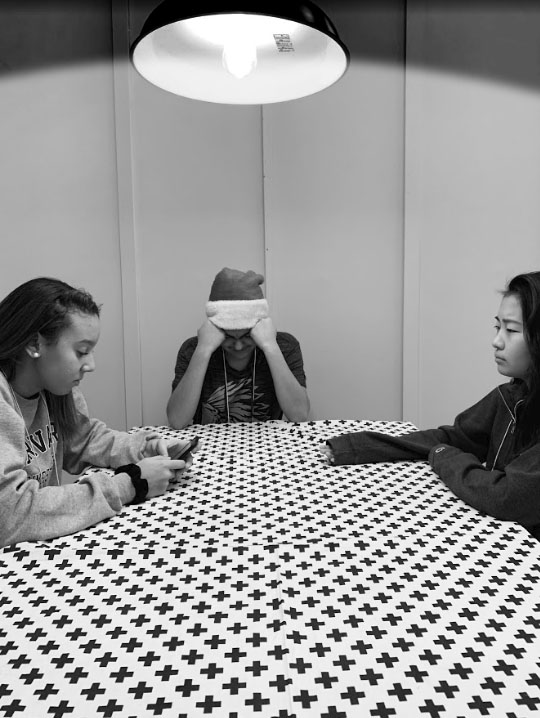
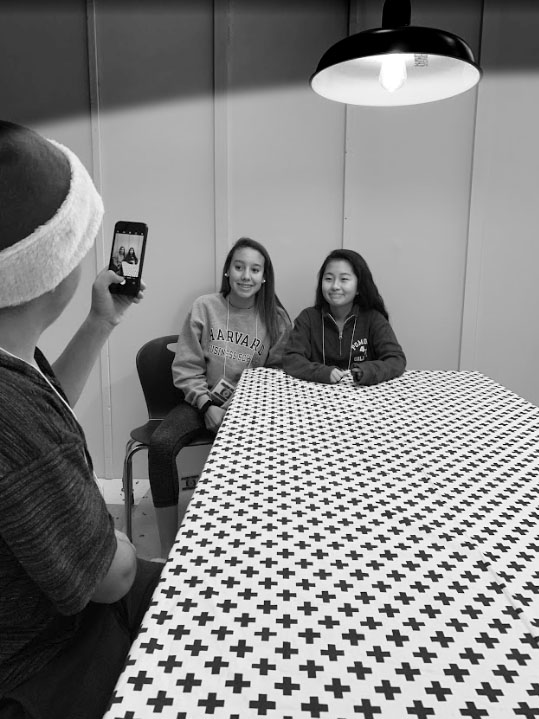
+ 1 edited photo, 1 “zoomed out” photo (you can use mine here)
+ Post needs to be in the category Set in the Street
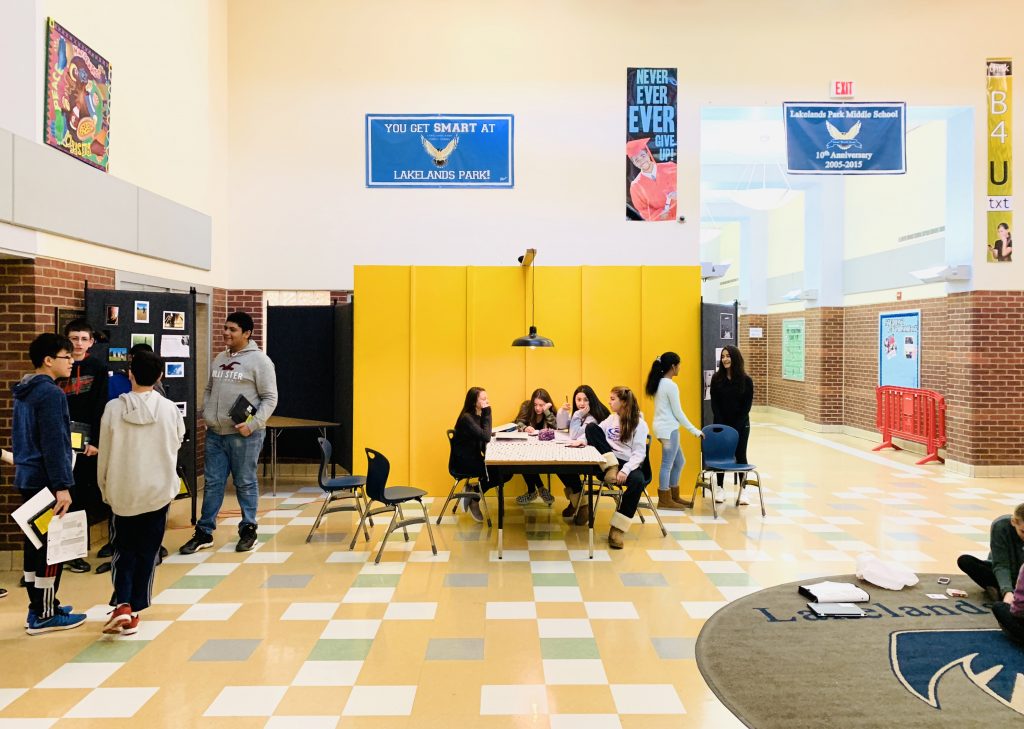
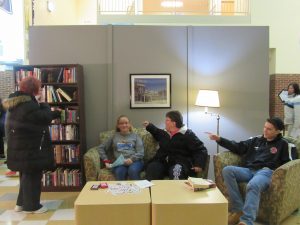
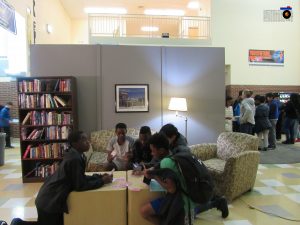
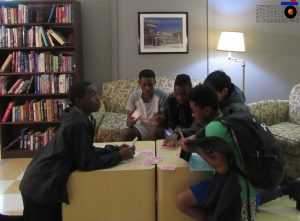
This project, set in the street, was a challenge. First, we started to build the sides with 2 by 4 pieces of wood to make the frame. Next, we took 4 by 8 pieces of dry wall to make the frame into a wall. After building the background, we painted over it and made sure that it looked good. Then we put the three sides of the wall to the atrium to put them all together. After we did that, we positioned the wall into the place we wanted our set to be. There were some difficulties but our set was outstanding. Finally, we got furniture and other items you might find in your house to make it look like a living room. Below are some pictures we took of the set at arts night. Here’s a time lapse video of the process.
Throughout the past few weeks, we worked together as a class on a project called “Set in the Street”. Inspired by photographer Justin Bettman based in New York City, the challenging yet fun task was a great learning experience. First, each of the three groups was required to cut the wood into pieces that measured 4 by 8 feet. We took turns nailing the beams of wood together in order to form the base. Next, we laid the drywall on top, attaching it by tightly screwing it into the frame with a drill. After that, we used drywall mud to conceal any unnecessary holes that were visible. Once it dried overnight, we used sandpaper to finely smooth the surface. This ensured that it wouldn’t be seen after we painted. Then, we painted two coats of gray paint onto the walls and allowed it to dry off. Next, we brought the three walls to the main lobby so that we can connect them. Finally, we brought couches, a bookshelf, and other props from the teachers’ lounge to make it look like a basic living room. As part of the hands-on activity, there were several challenges that we had to overcome along the way. It was extremely difficult for me to use the drill because you had to be gentle and use enough force at the same time. Sometimes, it would drill in crooked, meaning that we would have to redo this single step until we got it right. However, it was easy to complete the rest of the construction process with the help of my classmates. Painting the wall seemed to be the least complex step in my opinion because it was simple and only took about five minutes. Although the project was time-consuming, the final product was amazing and a great success.
Set in the Street was a very fun and educating project. We learned how to work with our hands and take creative pictures. The first thing we had to do was build the set. First, we made the frames for the walls. We cut beams of wood and then nailed them together. We had to keep the beams in place by standing on them while another person hammered in the right place. Next, we attached sheets of drywall to the frames with a drill. We had to drill in the right place,at the right speed to connect everything properly. We added support beams on the sides of one wall so that the 3 walls could be connected. After we drilled the drywall and frames together, we had to cover the holes we drilled in to the drywall with putty so that it was not visible after painting. We let the putty dry overnight. After the putty was dry, we sanded it down to make it smooth so that it was not visible after we painted. Once we sanded, we painted two coats of gray paint onto the walls. When the paint dried, the walls were complete. The next thing we did was bring the walls into the main lobby so that we could attach them. We attached the walls together and then brought down all of the couches and other props we would need. After school, we put supports on the wall and made final touches on the set. We completed the set right on time. Set in the Street was a huge success. People loved creating their own scenes. The LPMS set in the street was just like the NYC version.
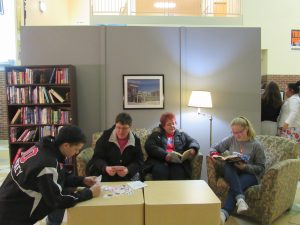
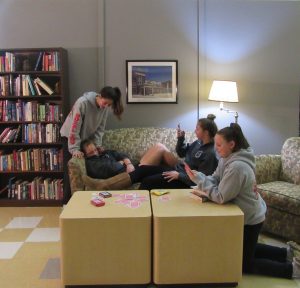
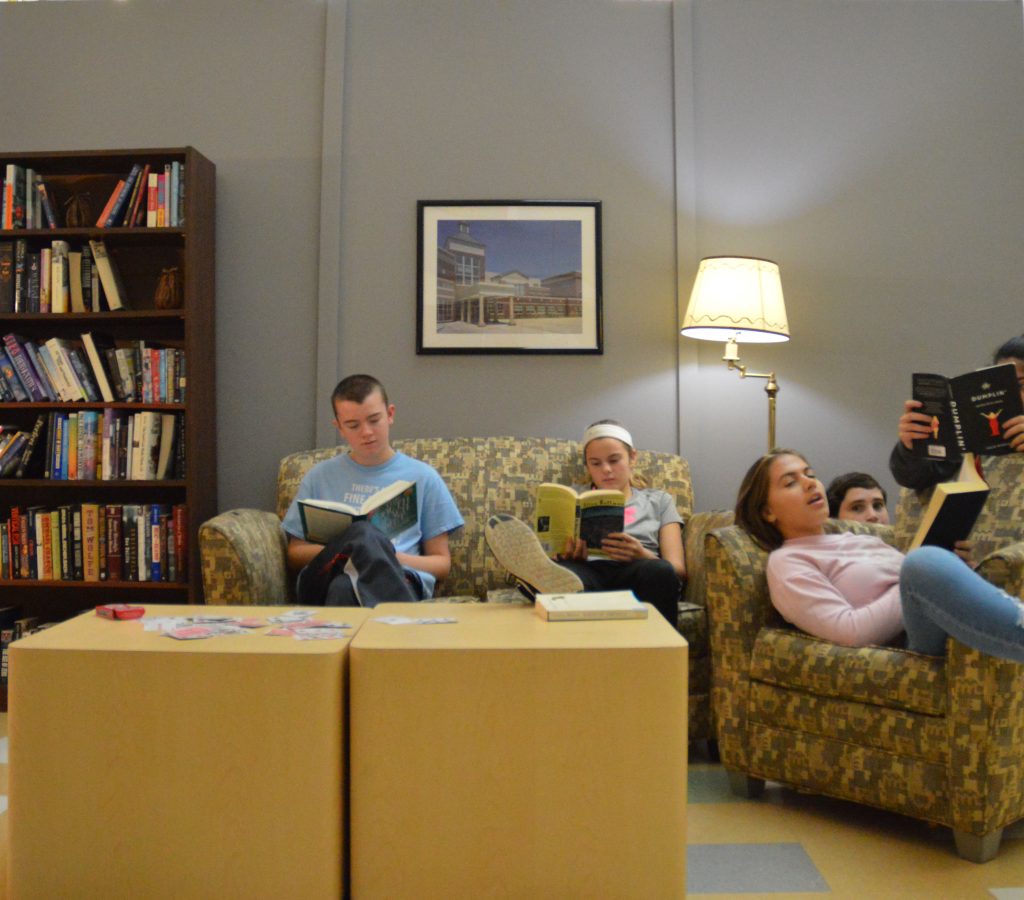
“Set in the street” took a lot of hard work and time. The first step was building the walls. We used wood and thick sheets of paper in order to be able to drill and hammer the piece together. After that we used a purple-gray color and painted the walls. Once all 3 sets of wood were finished we put them all together. Then we used a sofa and a chair from the teachers lounge to make it look more like a living room. After that we used a black framed photo of the school in it and hung it up. We also used a bookshelf from the teachers lounge with different varieties of books in it. After we used an older looking lamp to have some light. The 2 end coffee tables were put together to make it look like 1 table. MAGIC! We then took our places as someone took our photo. Down below is a sample photo of my friends in the set.
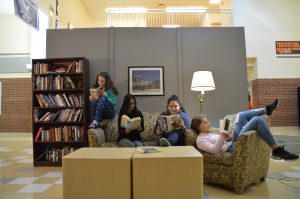
In class this week we created a set. It was made of three 4×8 panels with dry wall on top of the frame. This project was a recreation of Justin Bettman’s famous project but instead of putting the set in a middle school it was outside in random places. We started off by cutting 2×4’s to make the frame. Once we had all of the pieces cut out we made a rectangle and drilled the pieces together so we had a complete frame. We then laid drywall on top of it and had the three frames. After that we painted the dry wall grey to make it look like a real living room. Then we drilled the walls together to make it one stable wall. We then brought chairs, couches and a bookshelf from the teachers lounge. It worked when we used the props like the books in a good way and it didn’t work when we just sat there and looked at the camera.
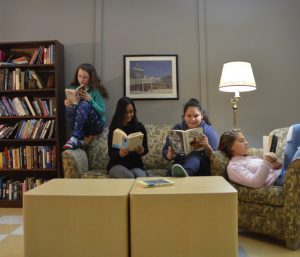
Set in street was a project were we had to build a room, but not just a room, we had to build a room in the street. We had to build 3, 12 by 8 walls that we painted and sanded. This took about 5 days to build, after that we put some furniture in the room to make it look more like a room out of the 70’s. We got 2 coffee tables, a sofa, a lamp, a painting, and a bookshelf. At art’s night we took pictures of people acting like they were just a home chilling. I really liked this project because I got to lay down and act like I was at home. It was a really fun project!
Building the set in the street wasn’t as complicated as it seemed. We built the walls first that were 8ft by 4ft then we painted each wall and put them all together to make one big wall. The hard part was putting in the nails into the wall because you had to hit it hard and straight or it would go up and out of the wood. The easier part was going to get the smaller furniture. Some were heavy but with a lot of people helping it wasn’t as bad. The walls were painted a greyish color and had a stand so it wouldn’t fall over. Next we put the couches down and got books to put into the bookshelf and got lamps and coffee tables. The process was not as bad as it seemed because everyone helped out so it was much easier and got things done faster.