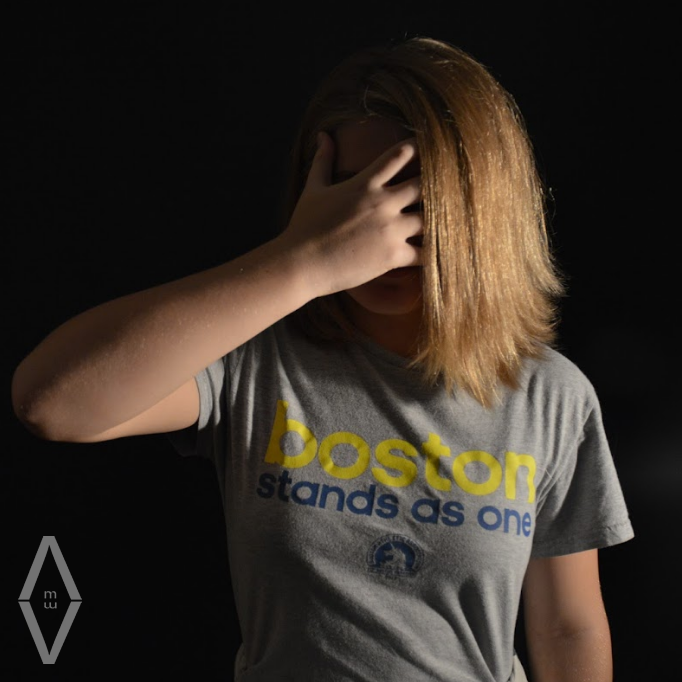
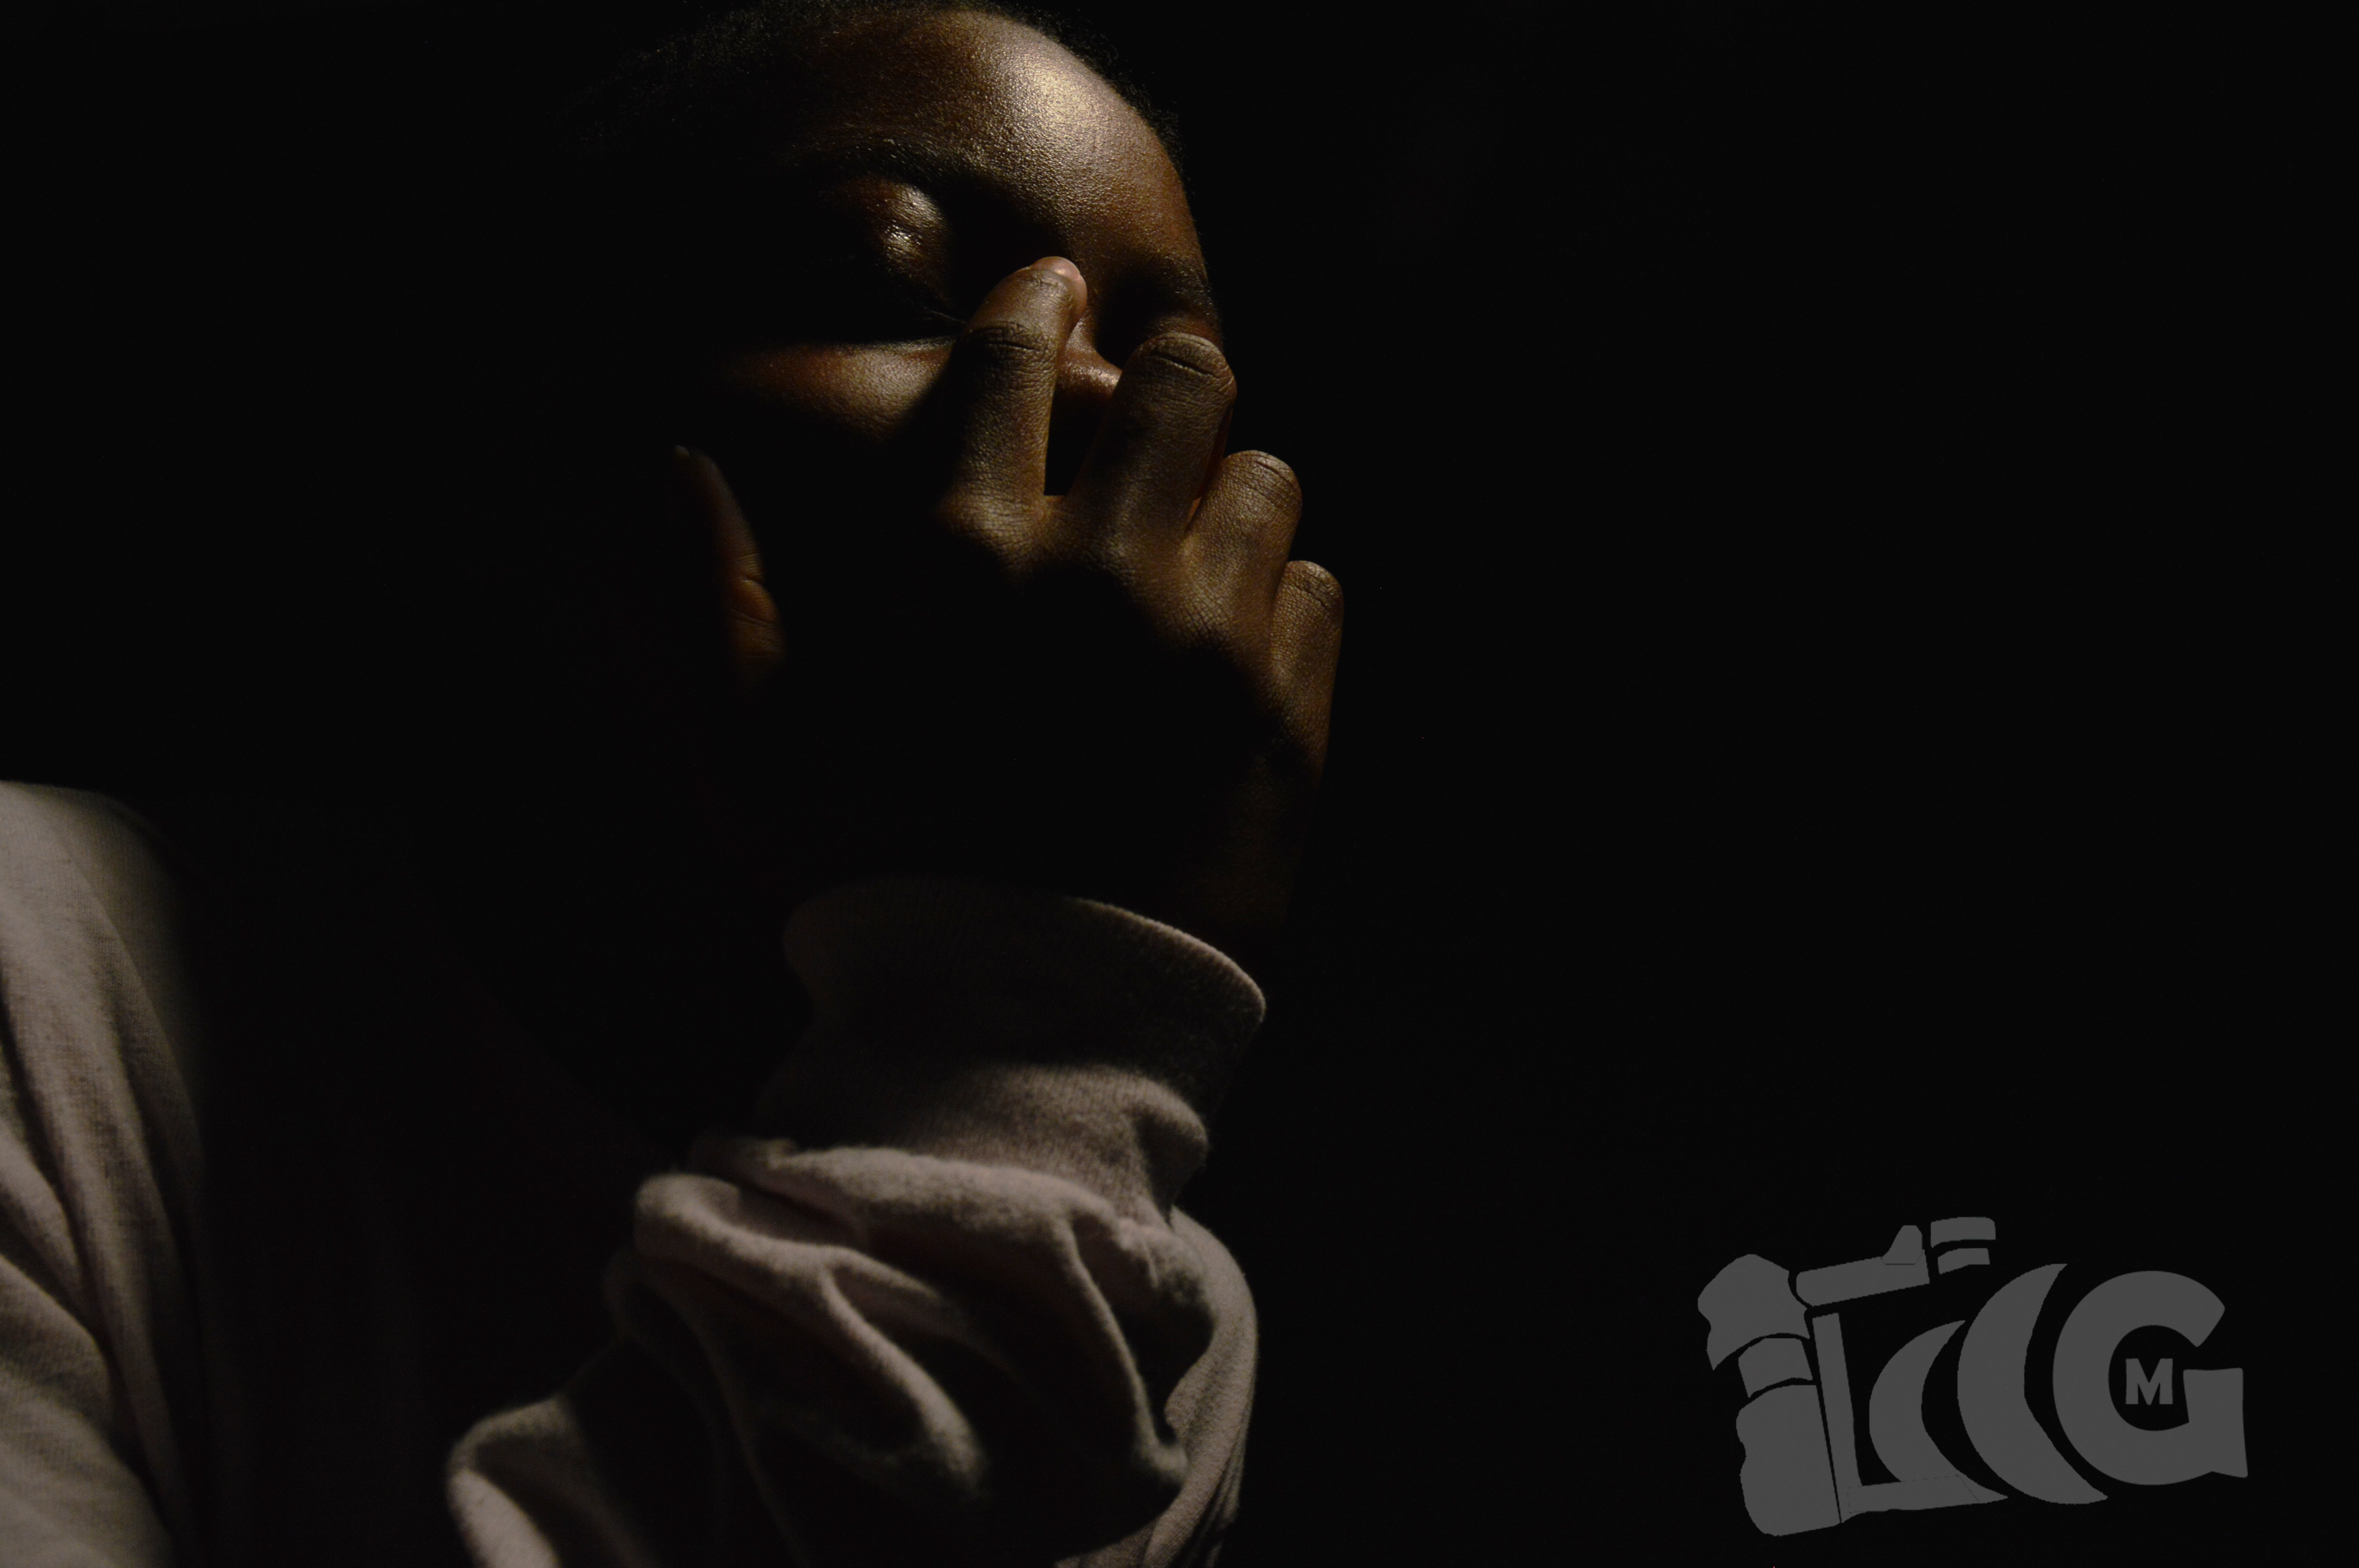
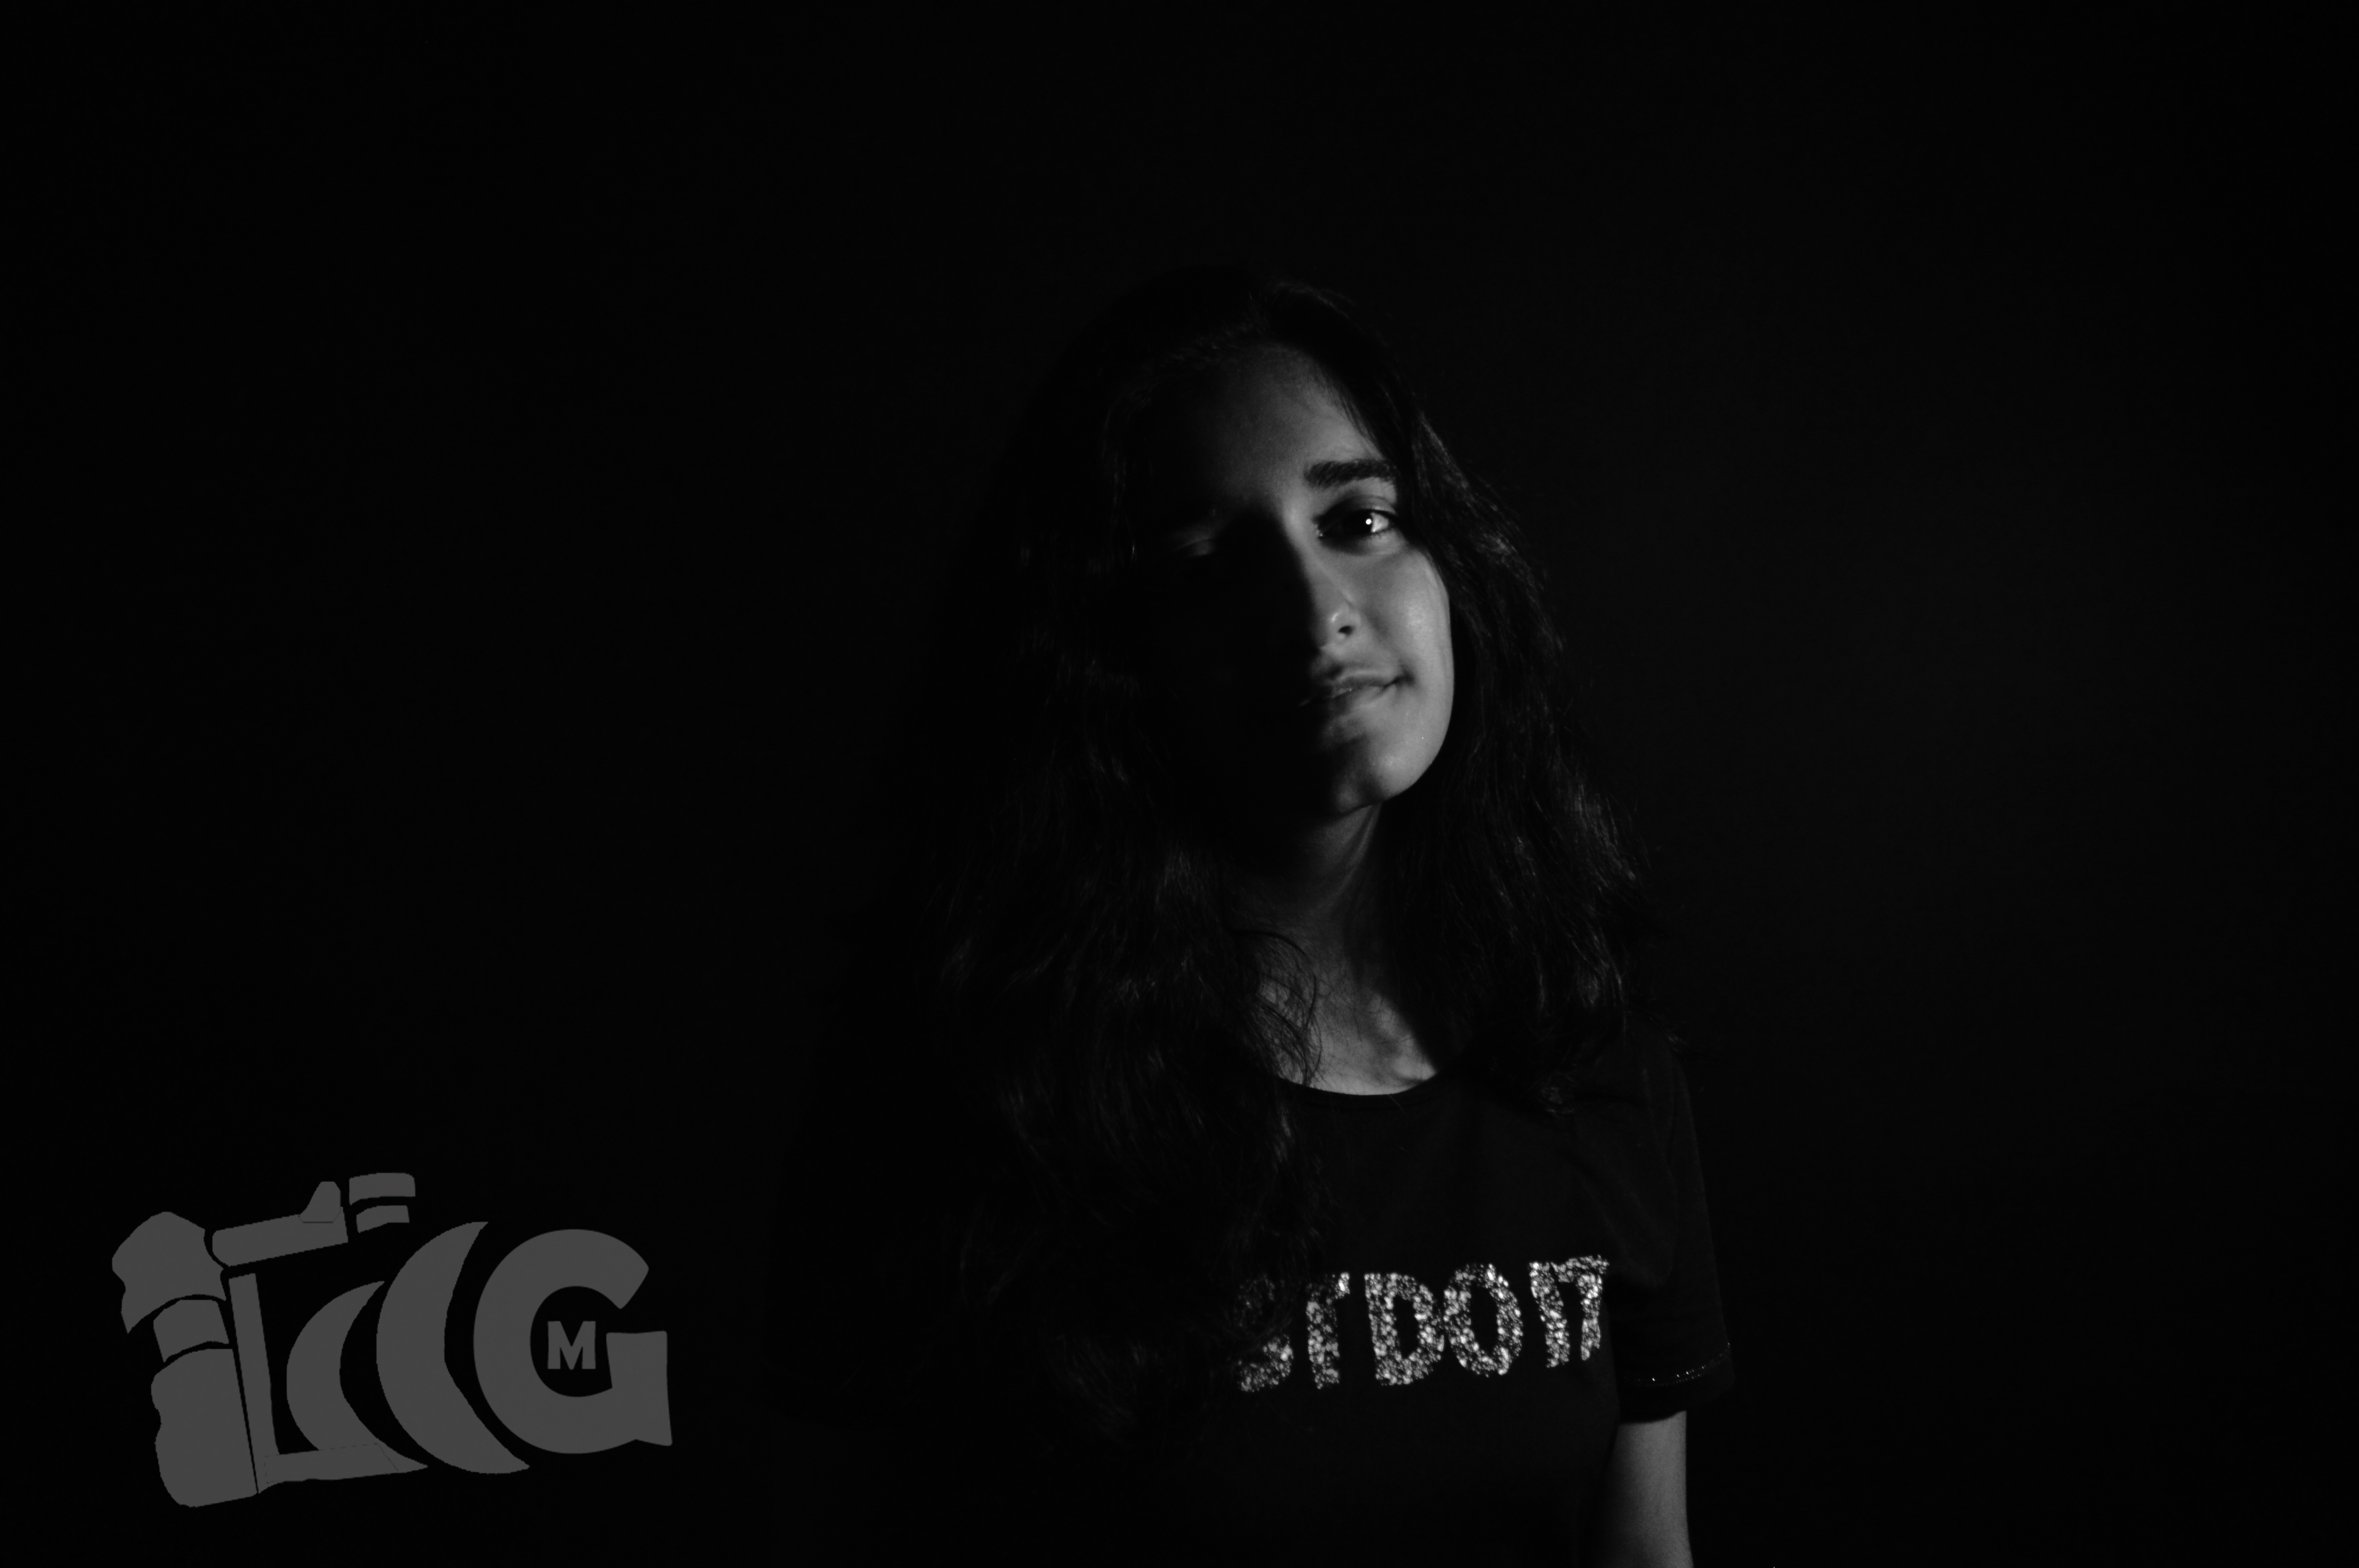
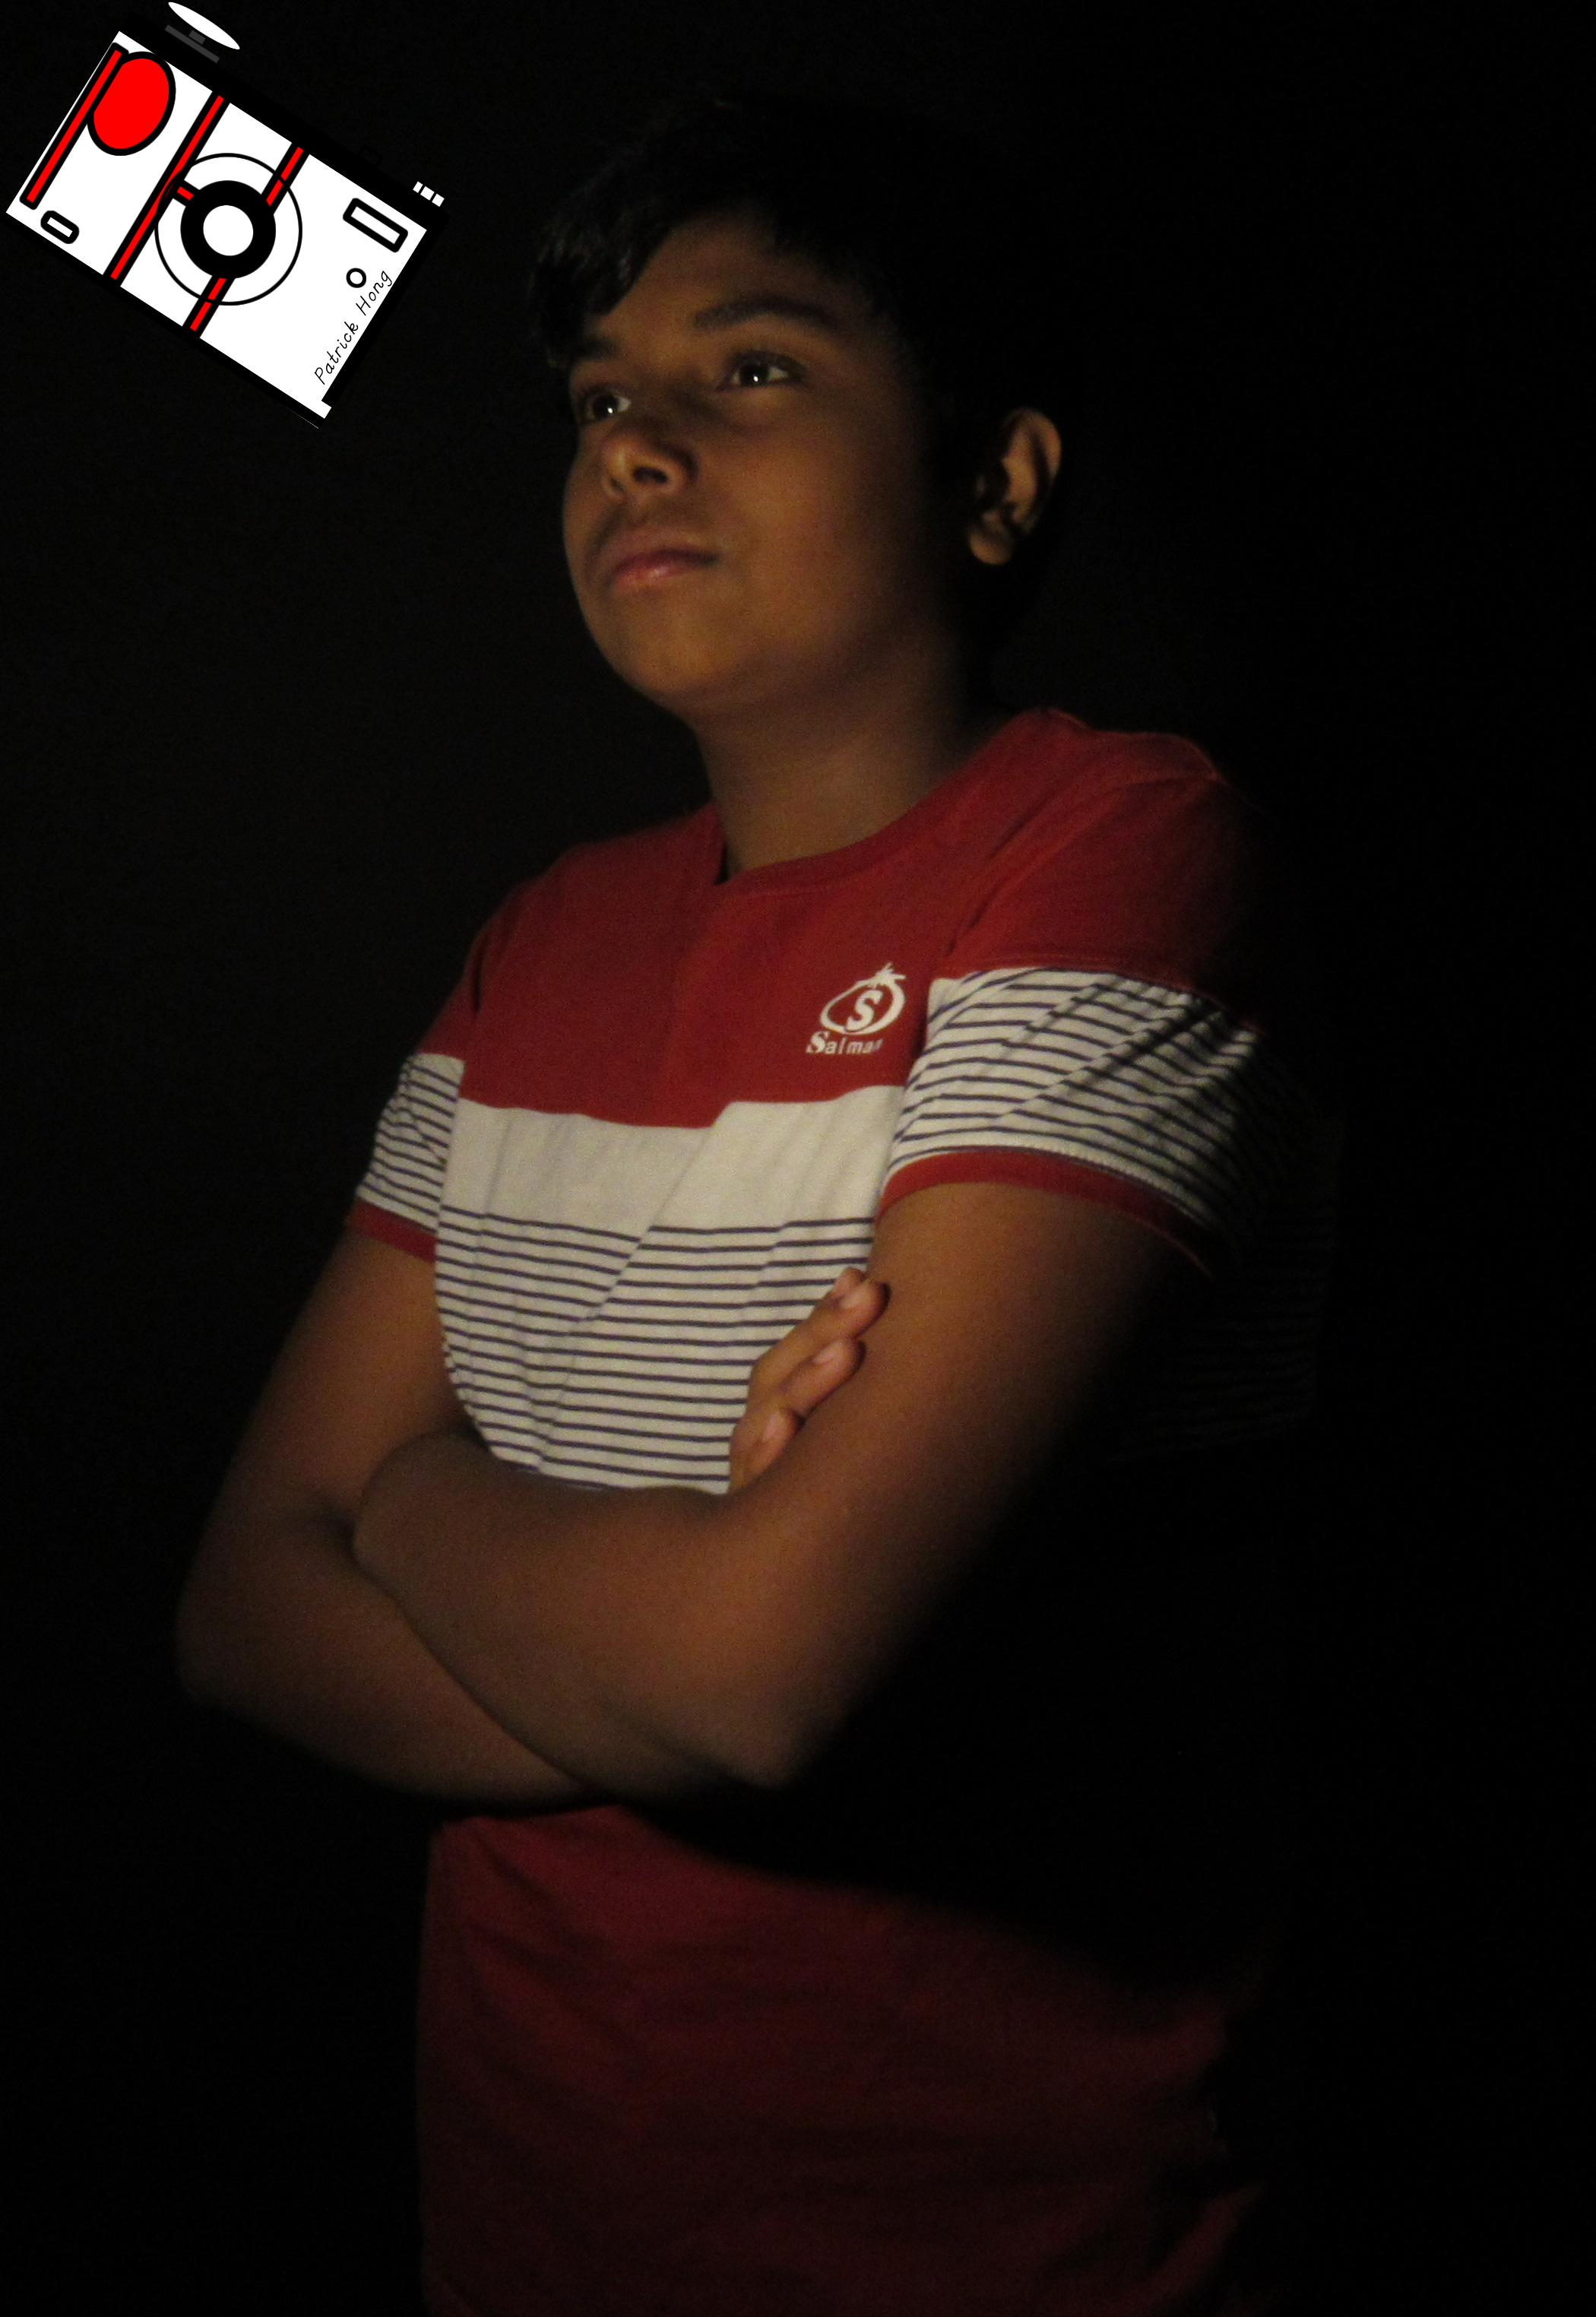
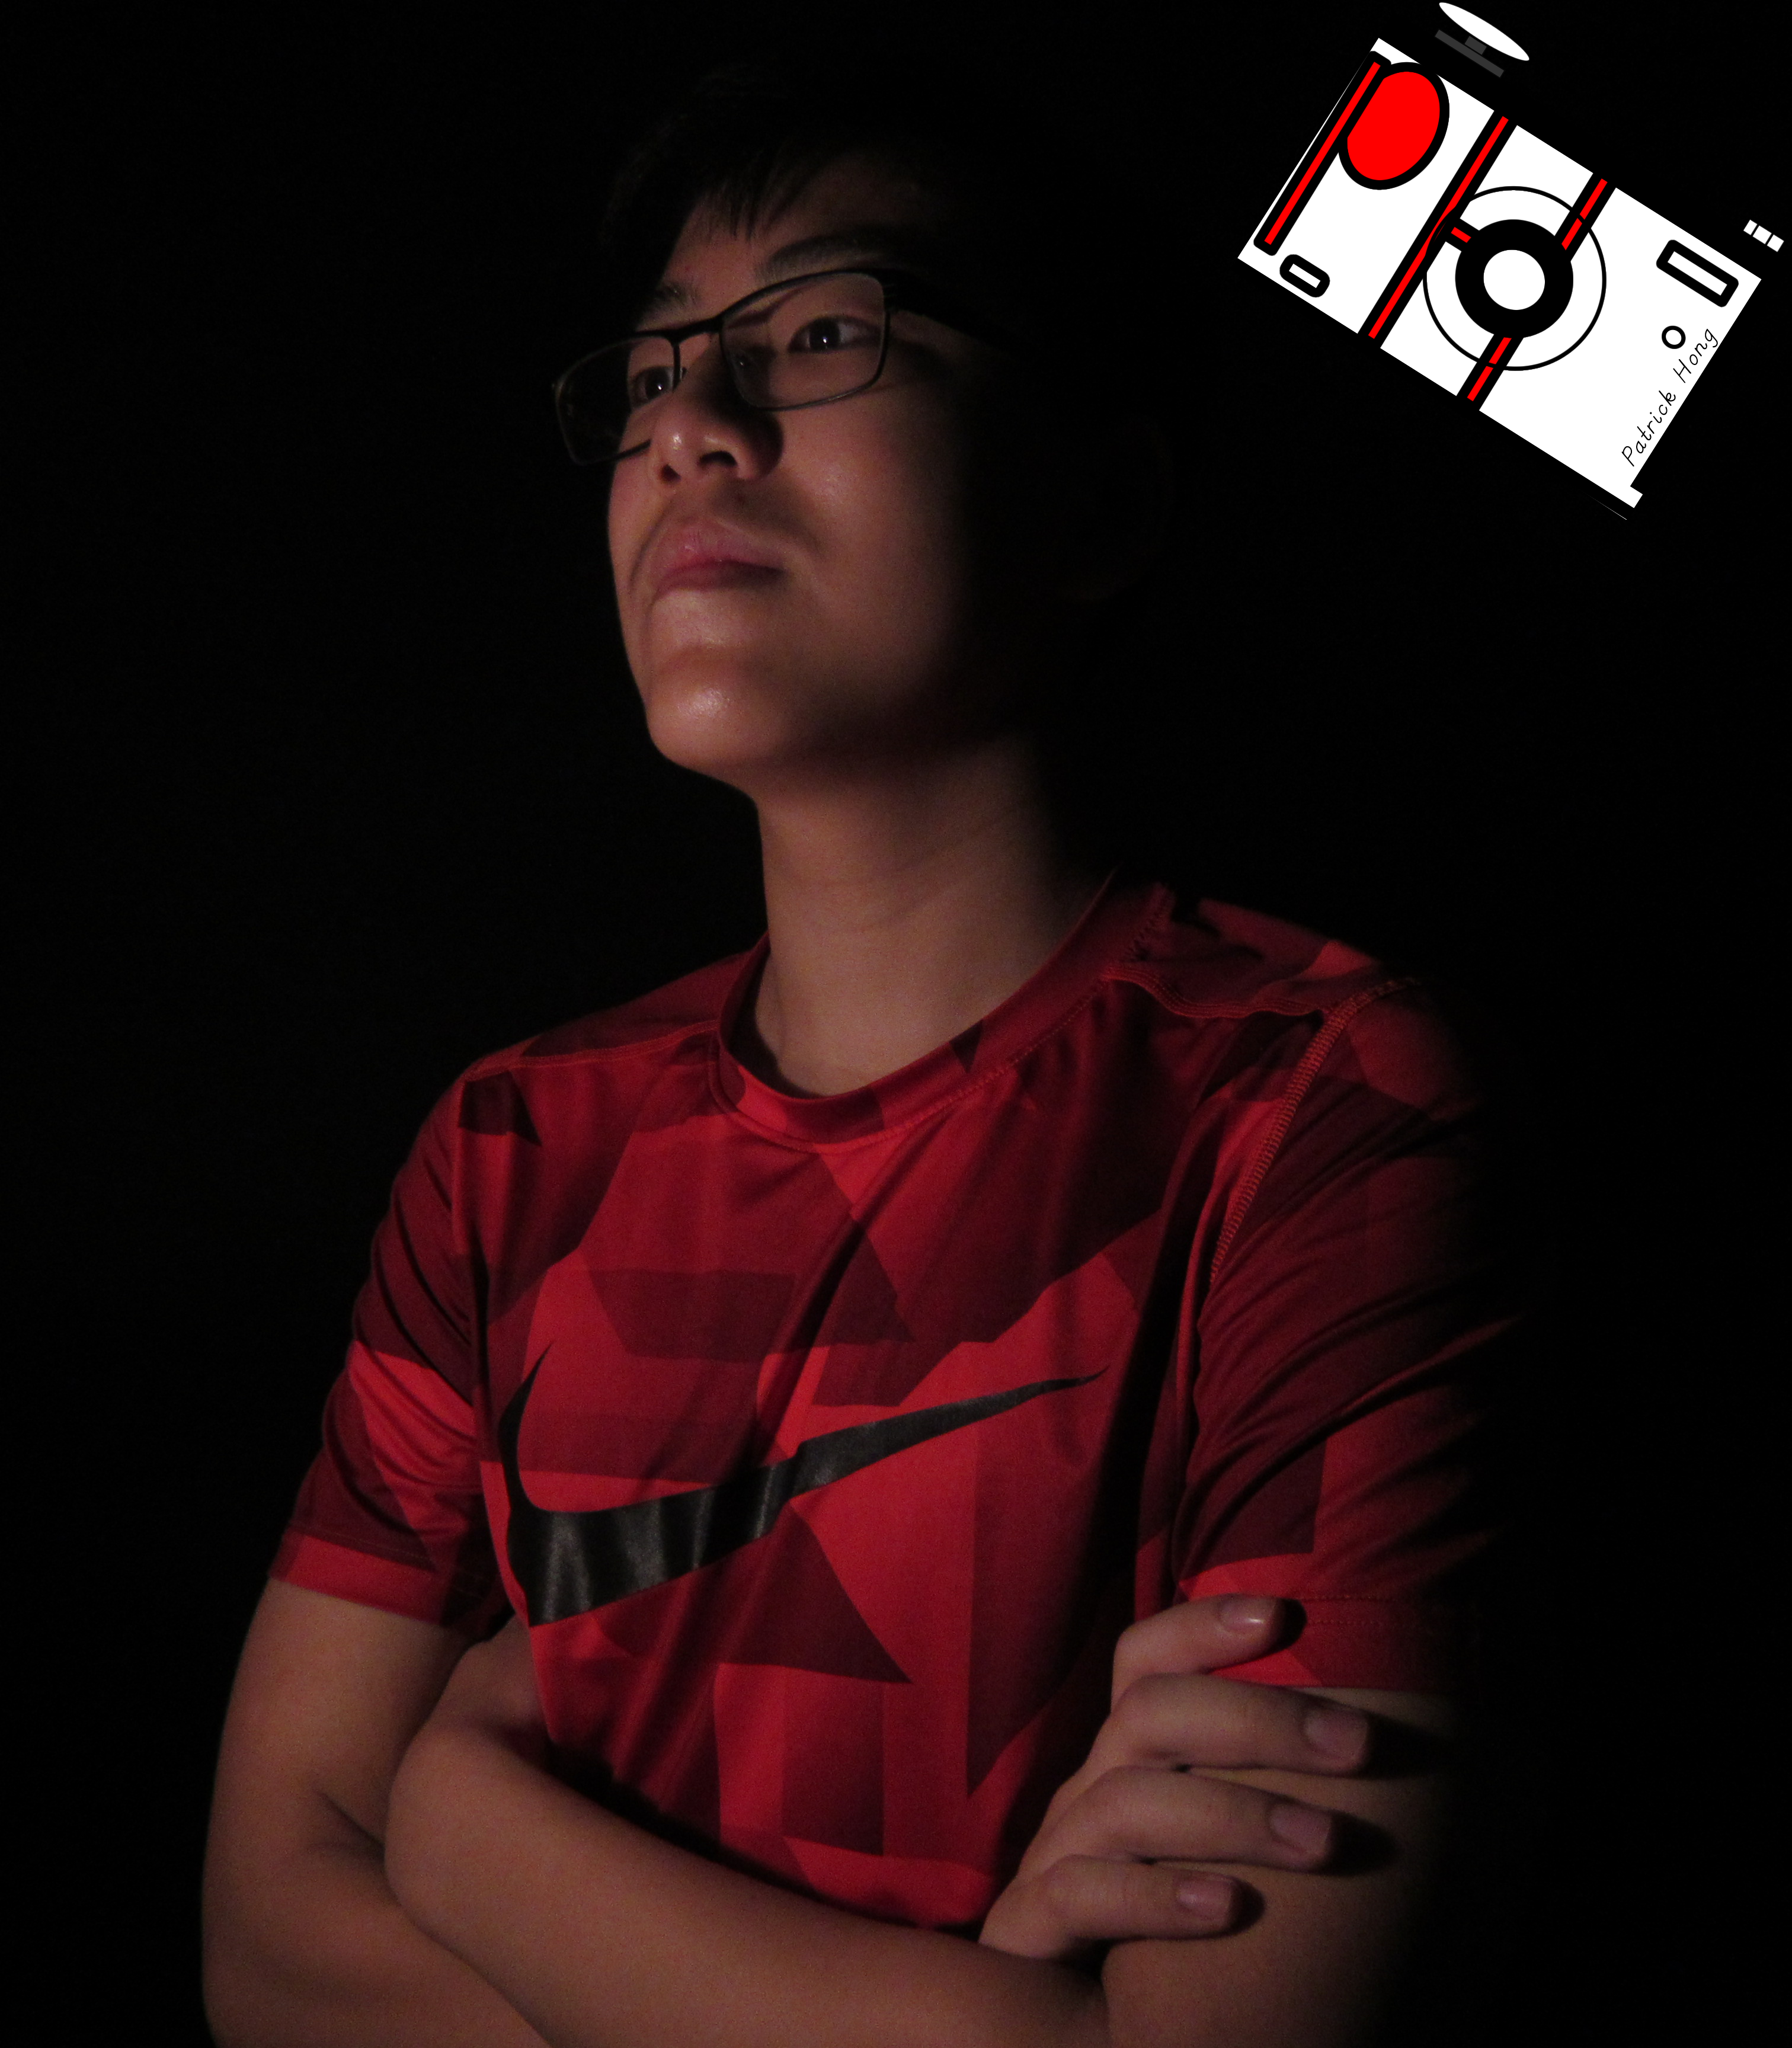
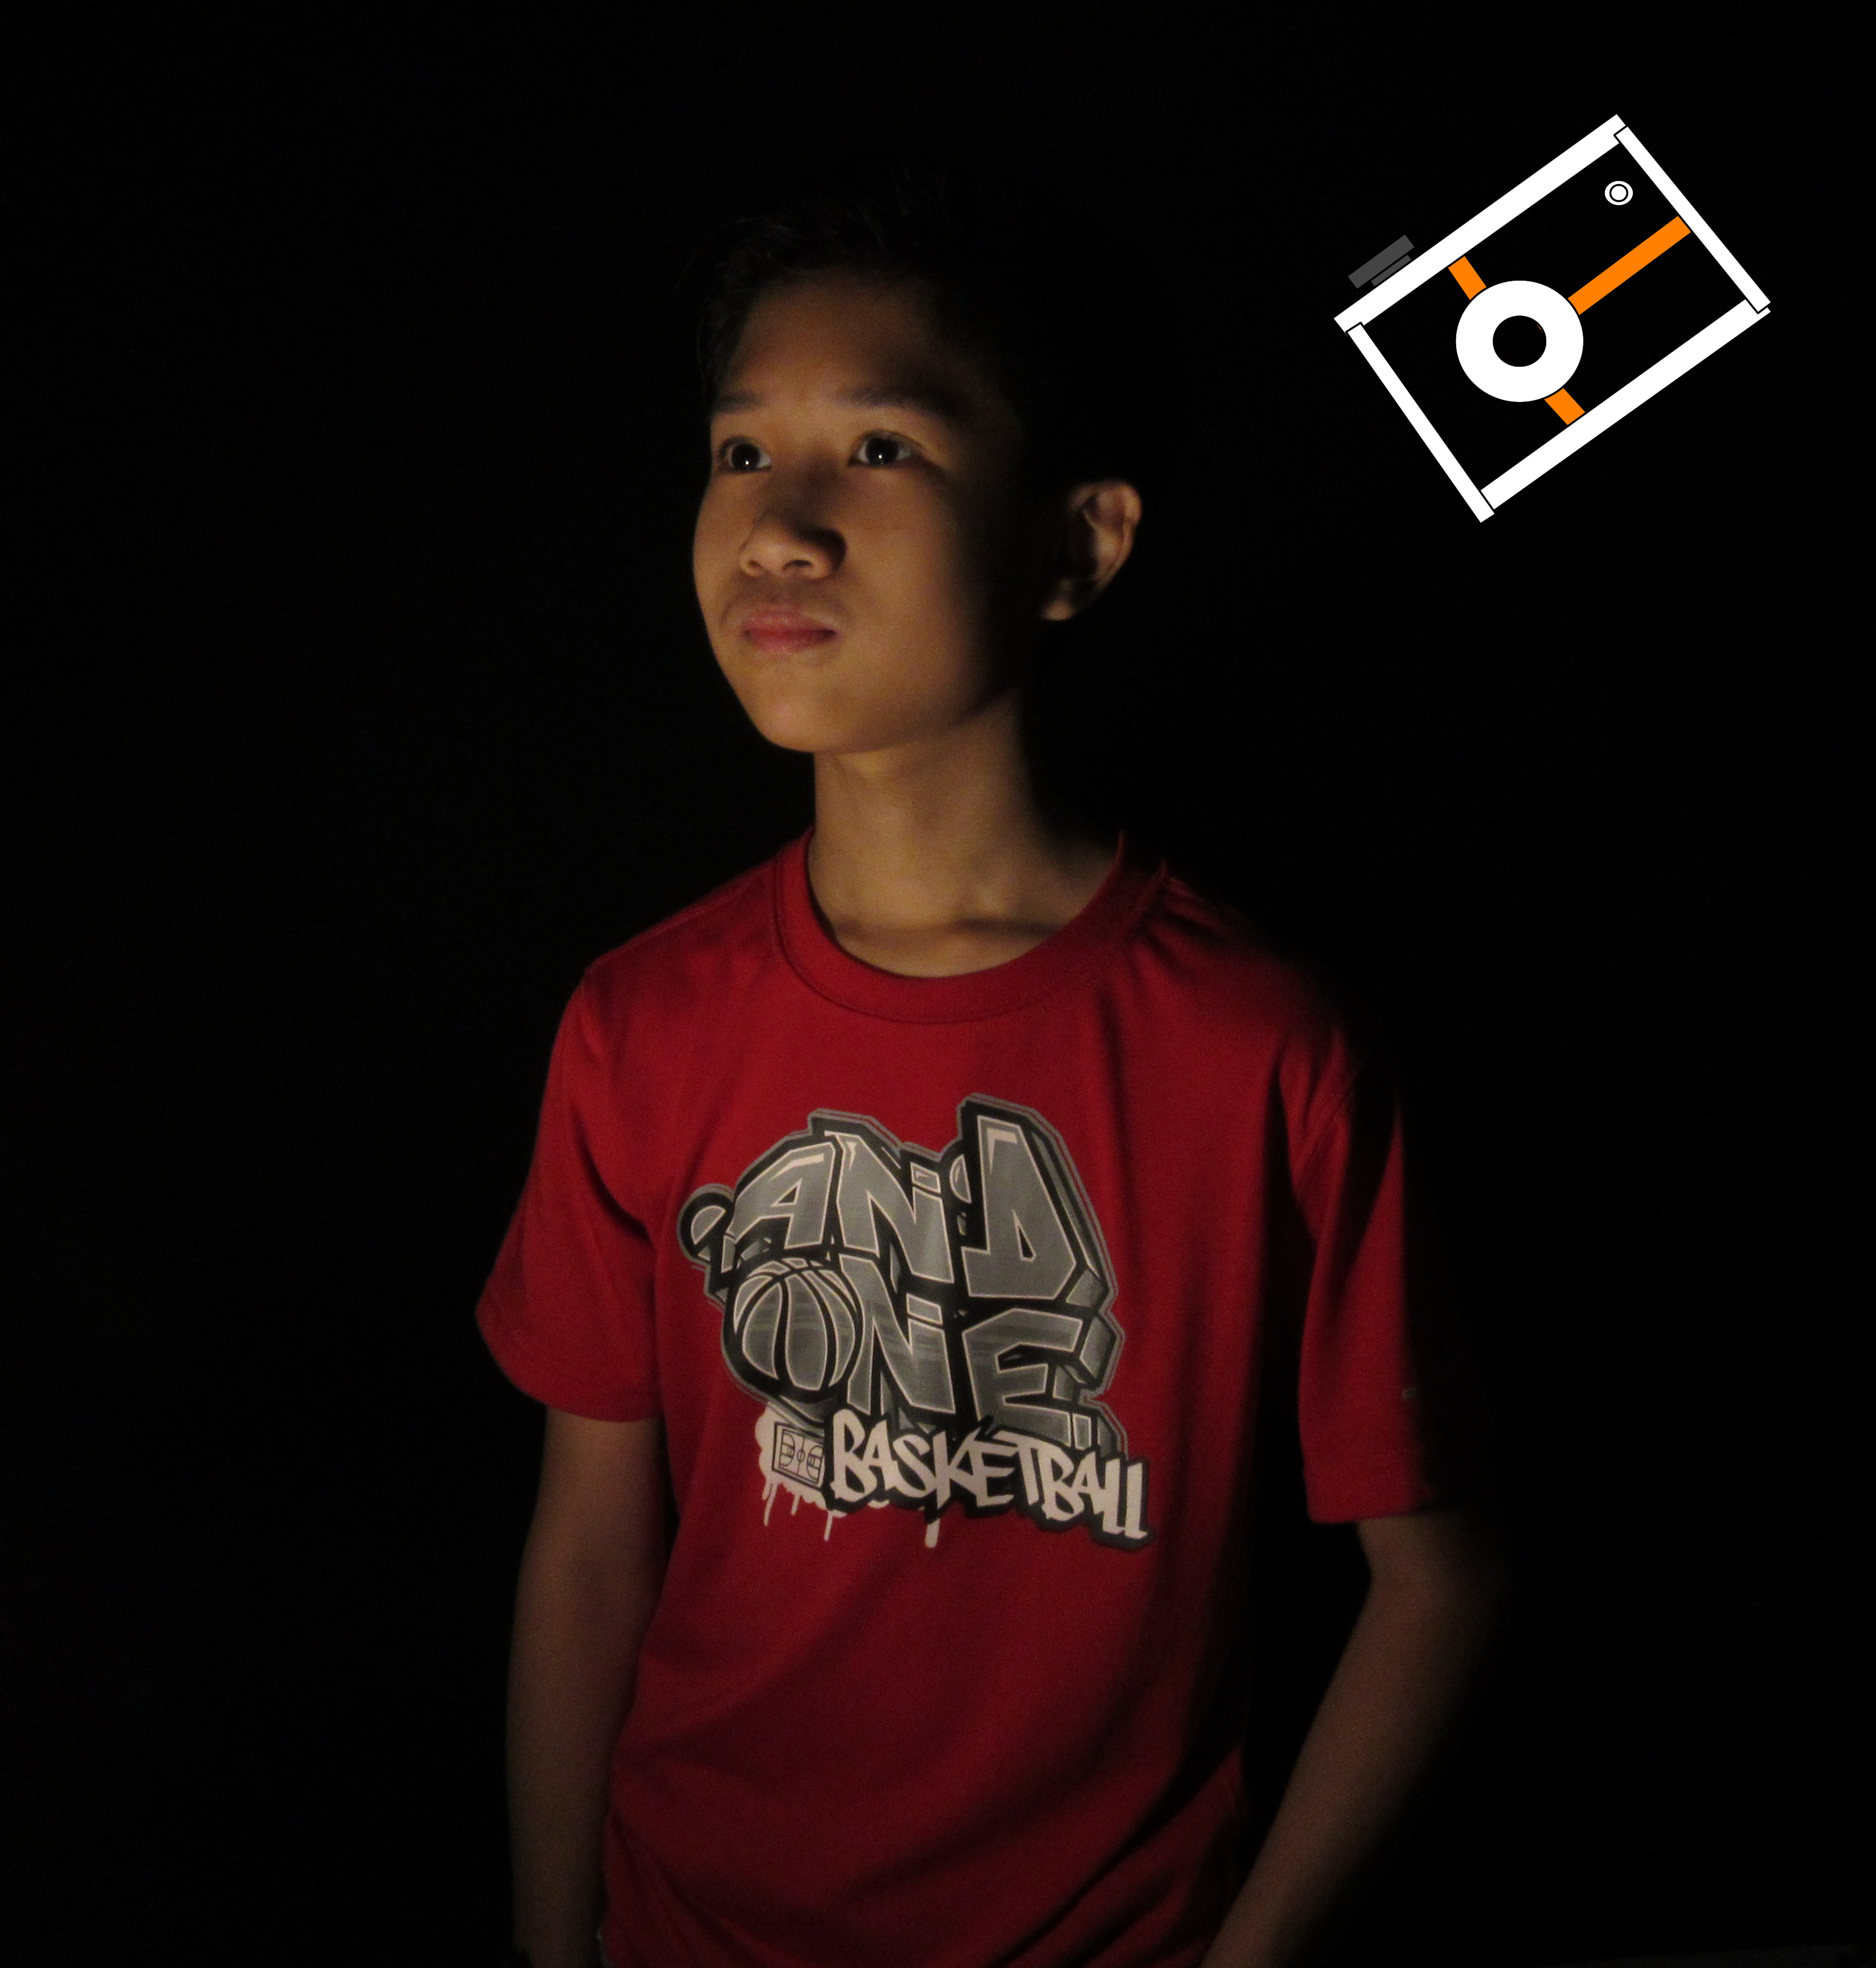
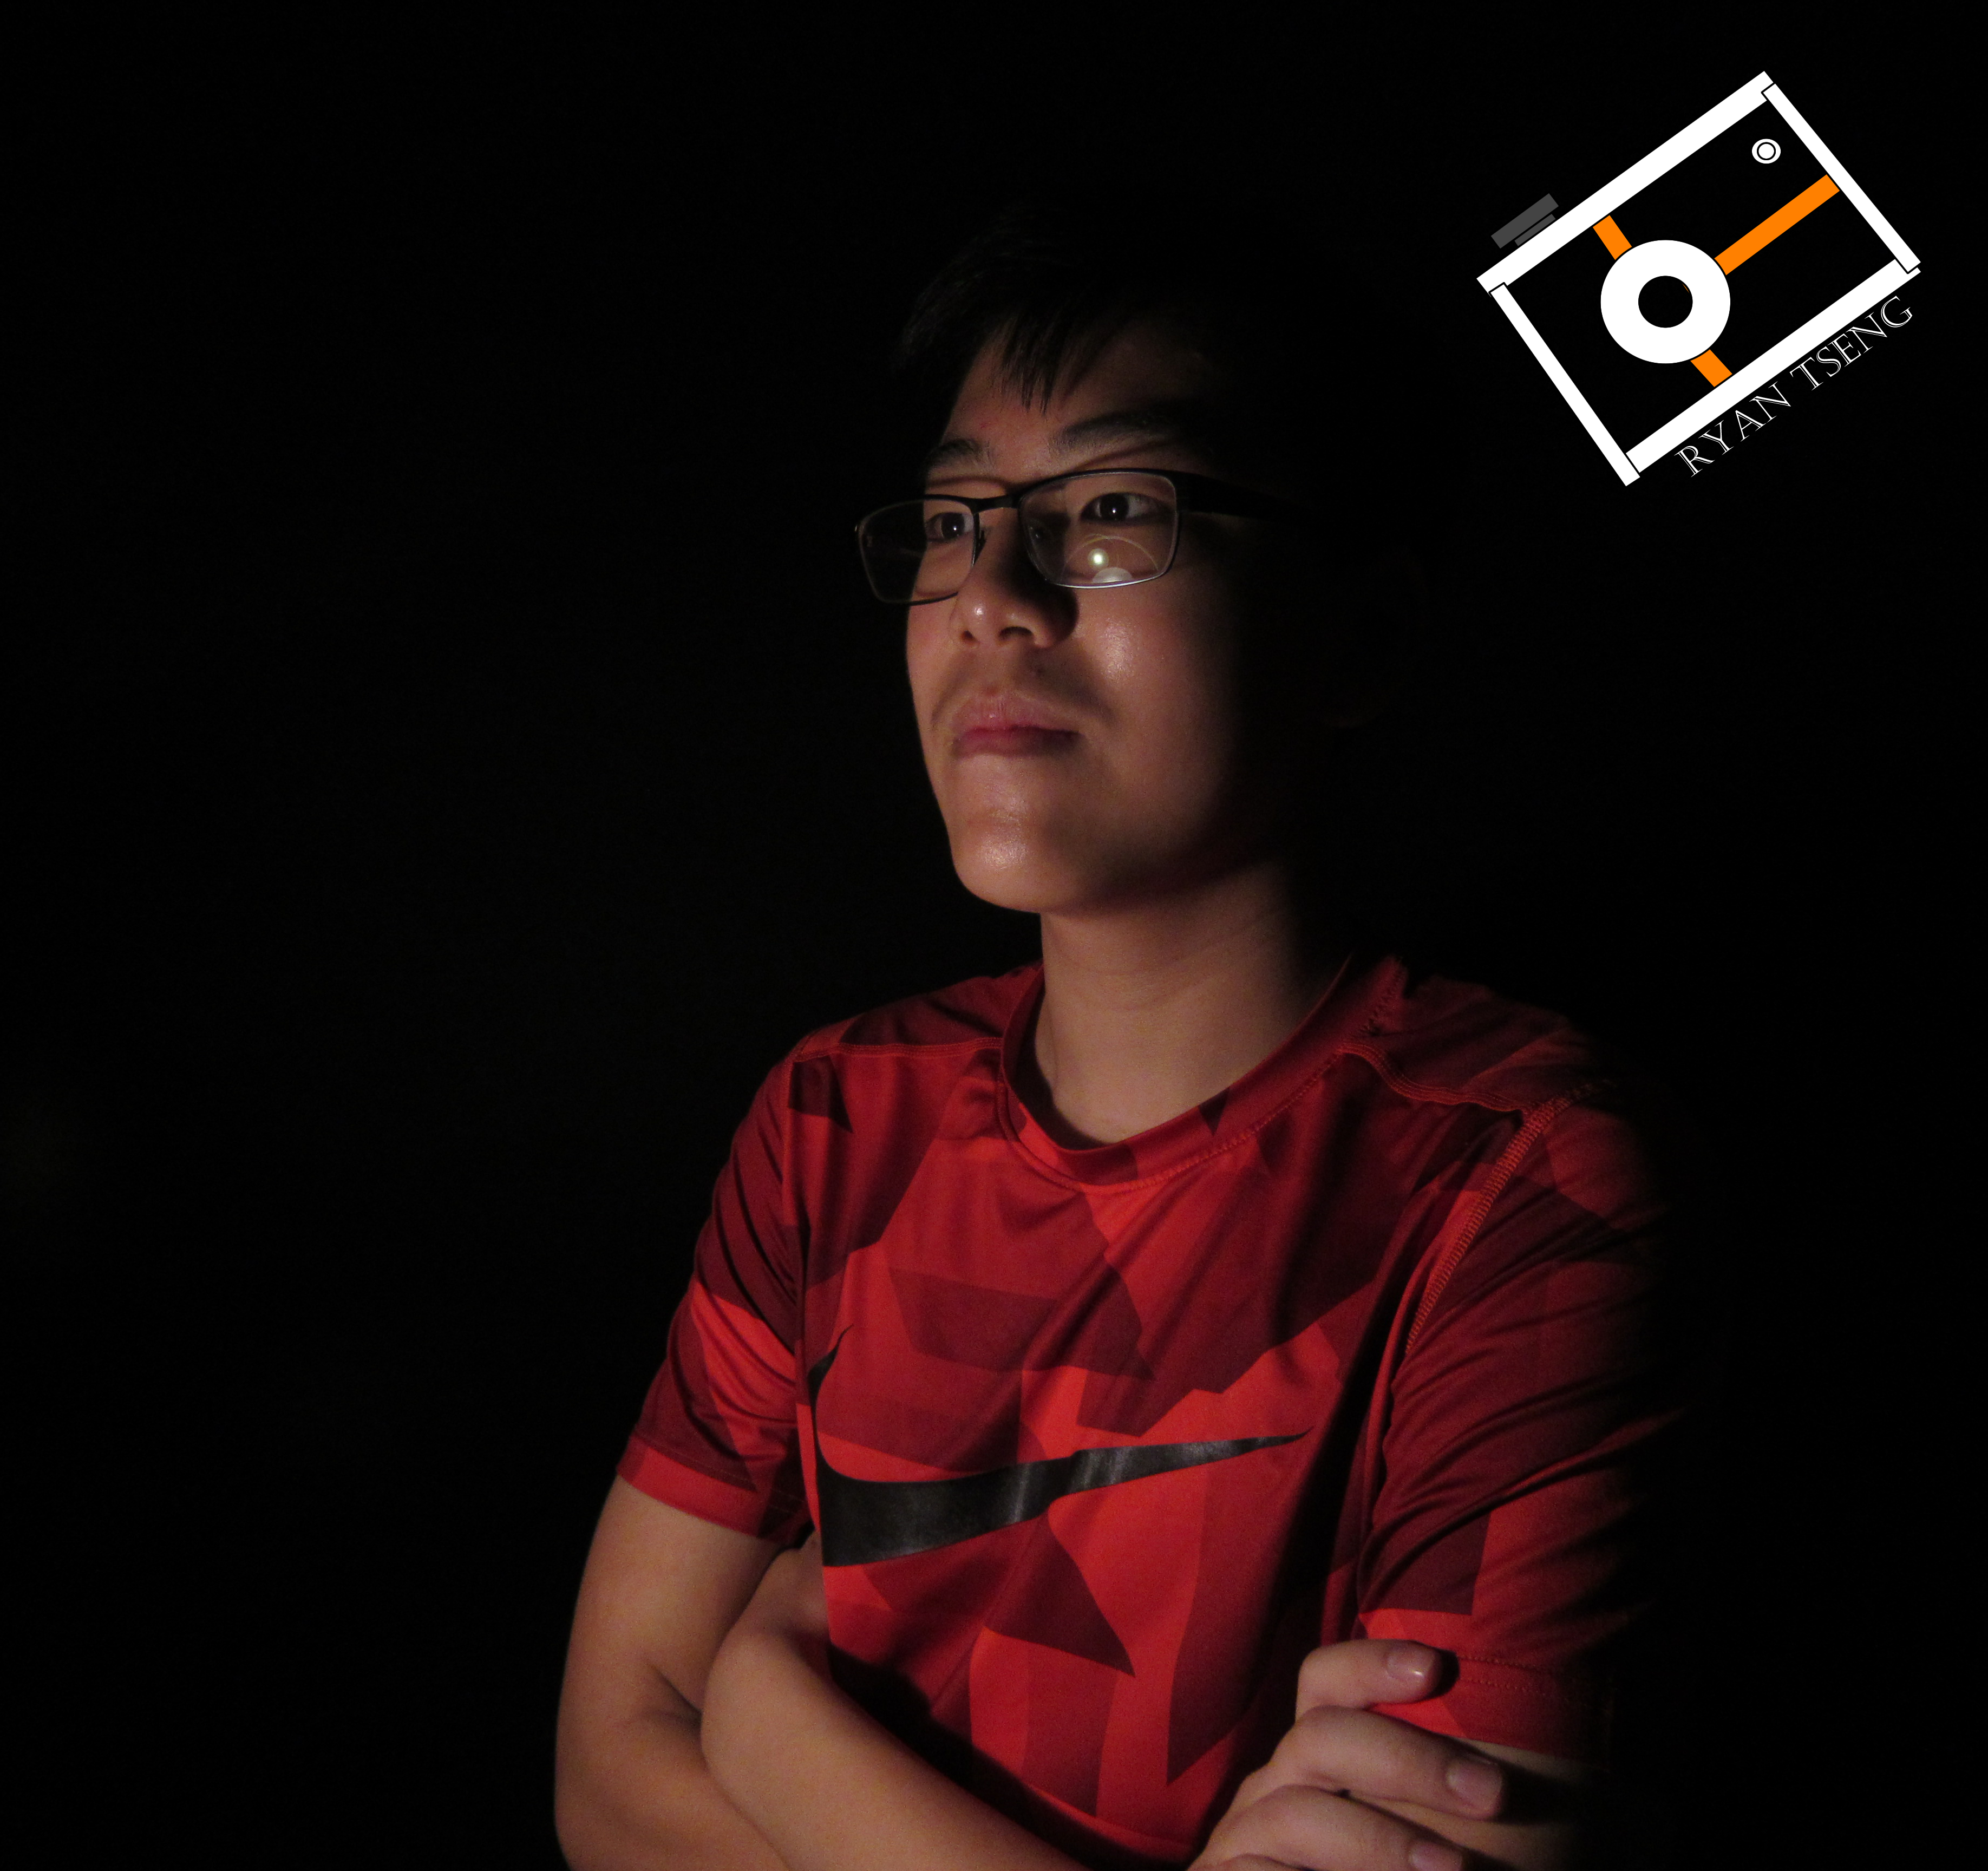
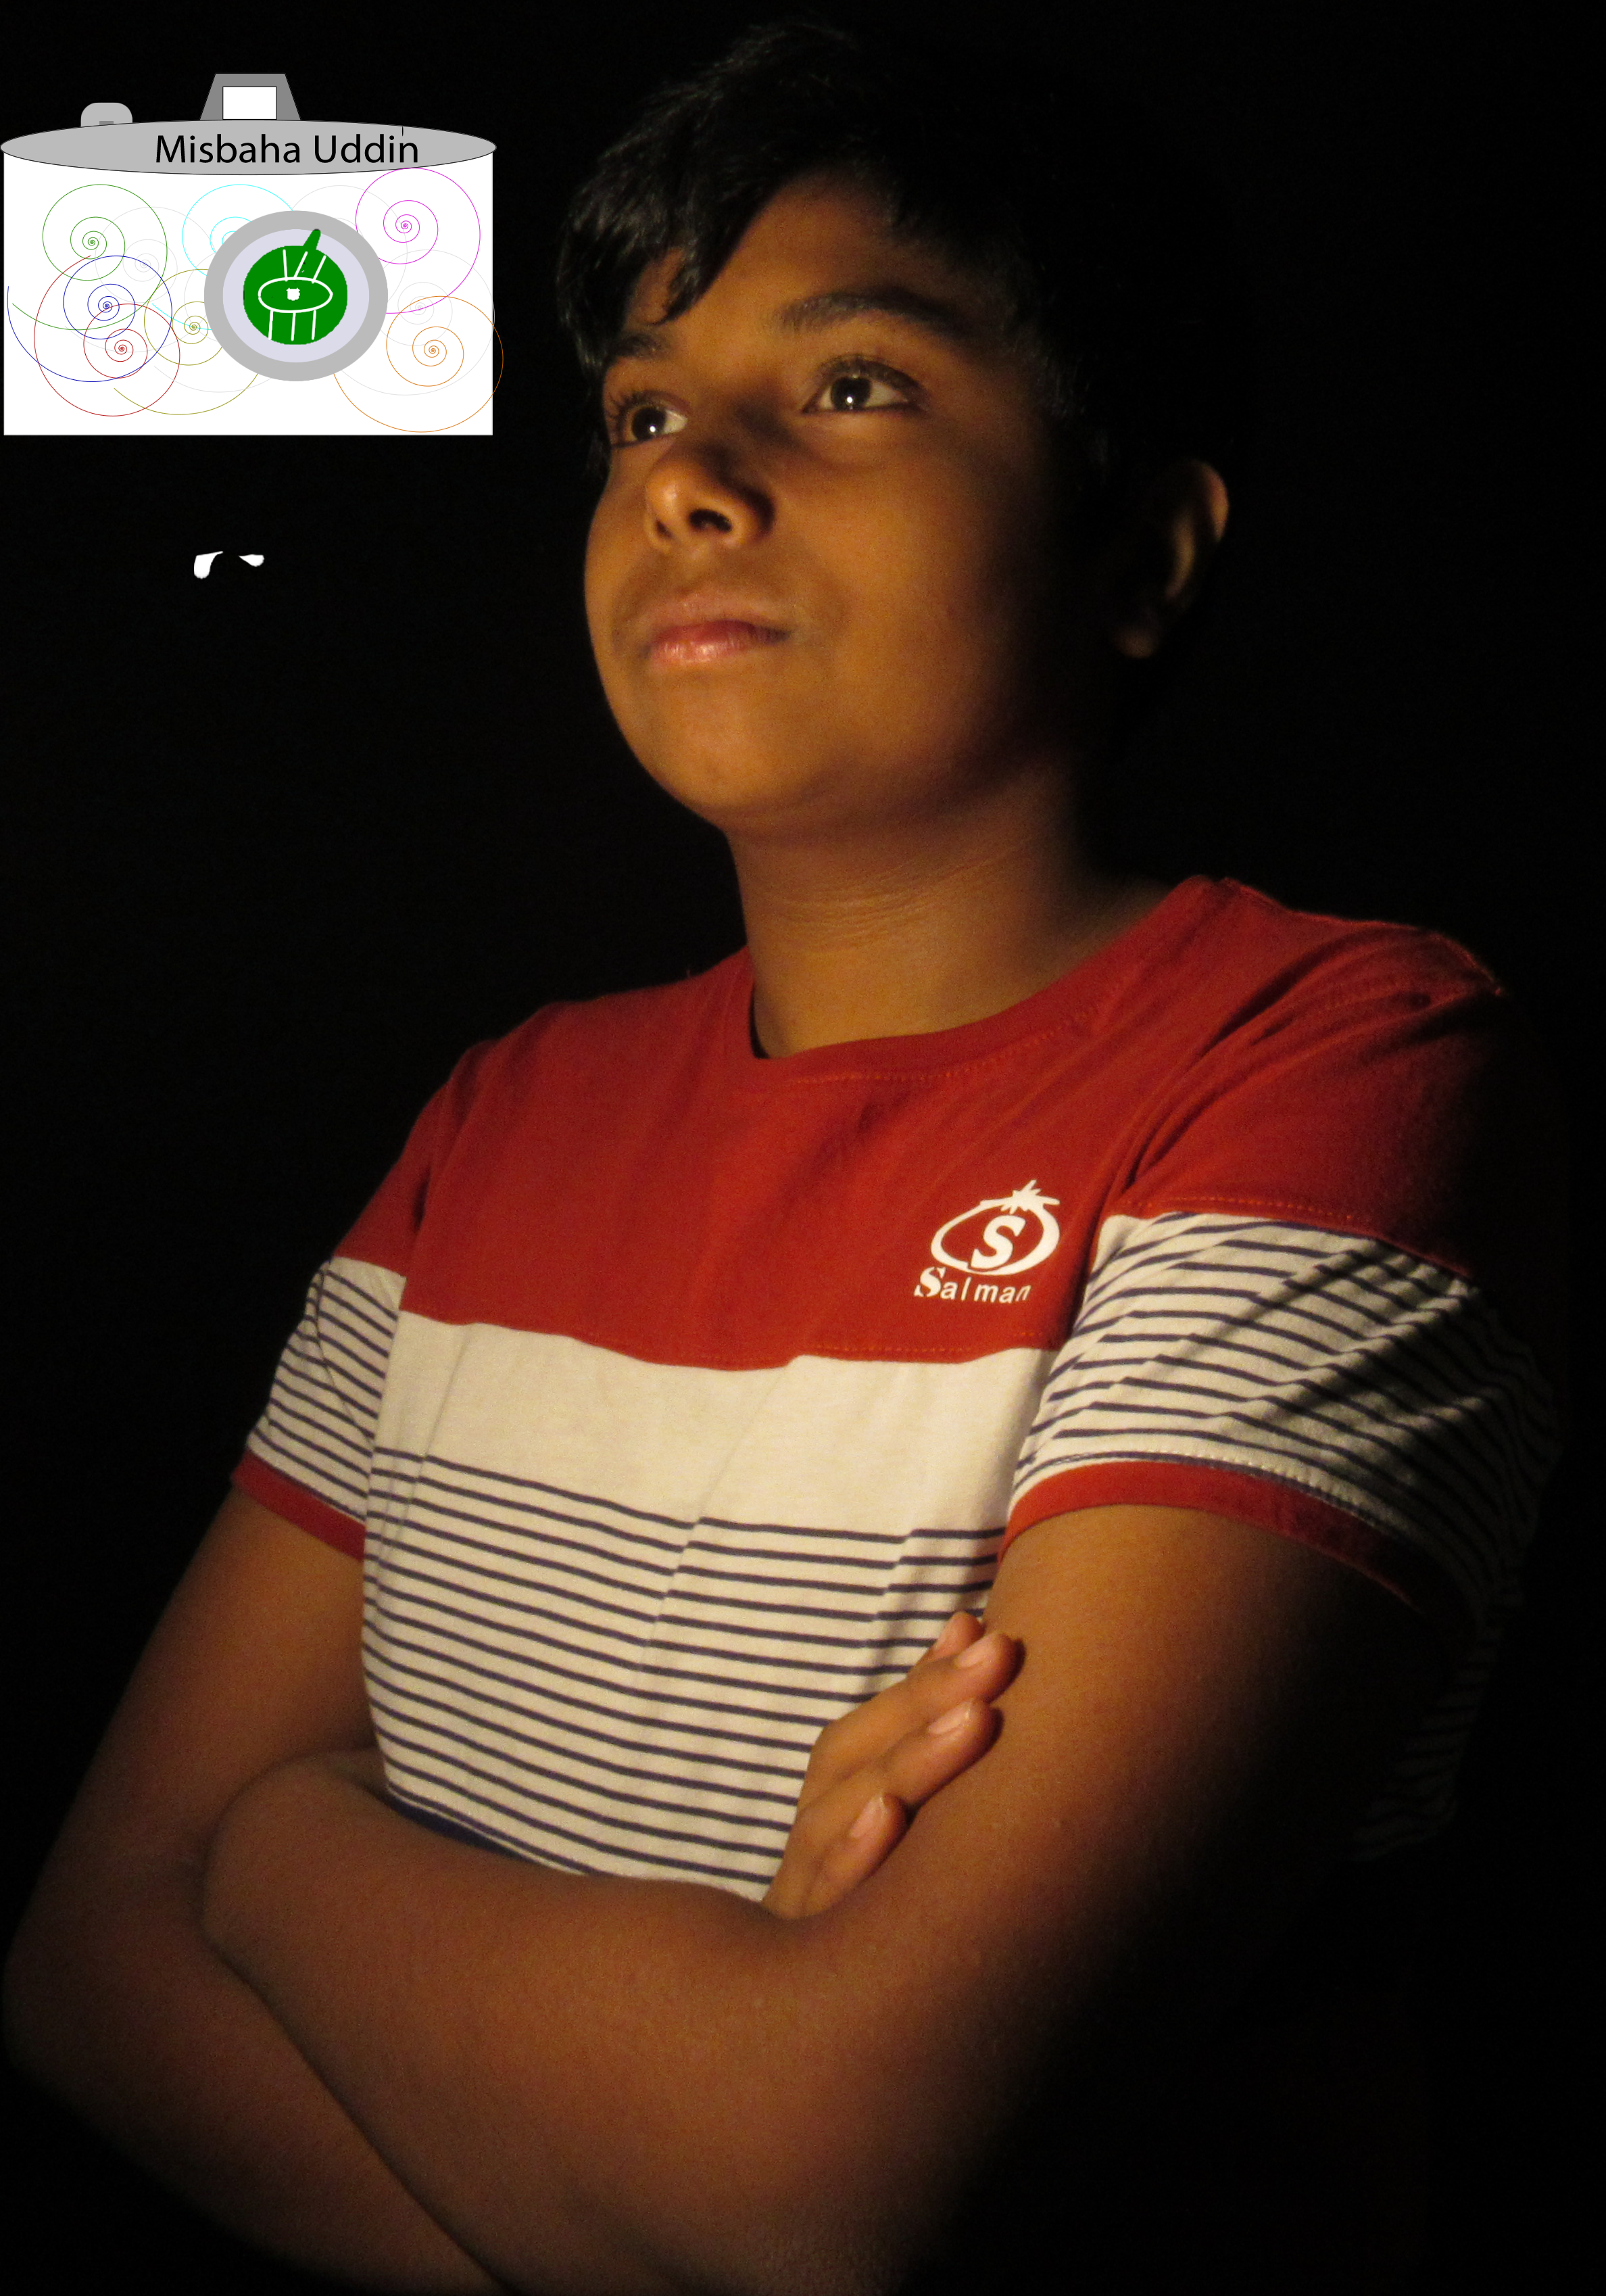
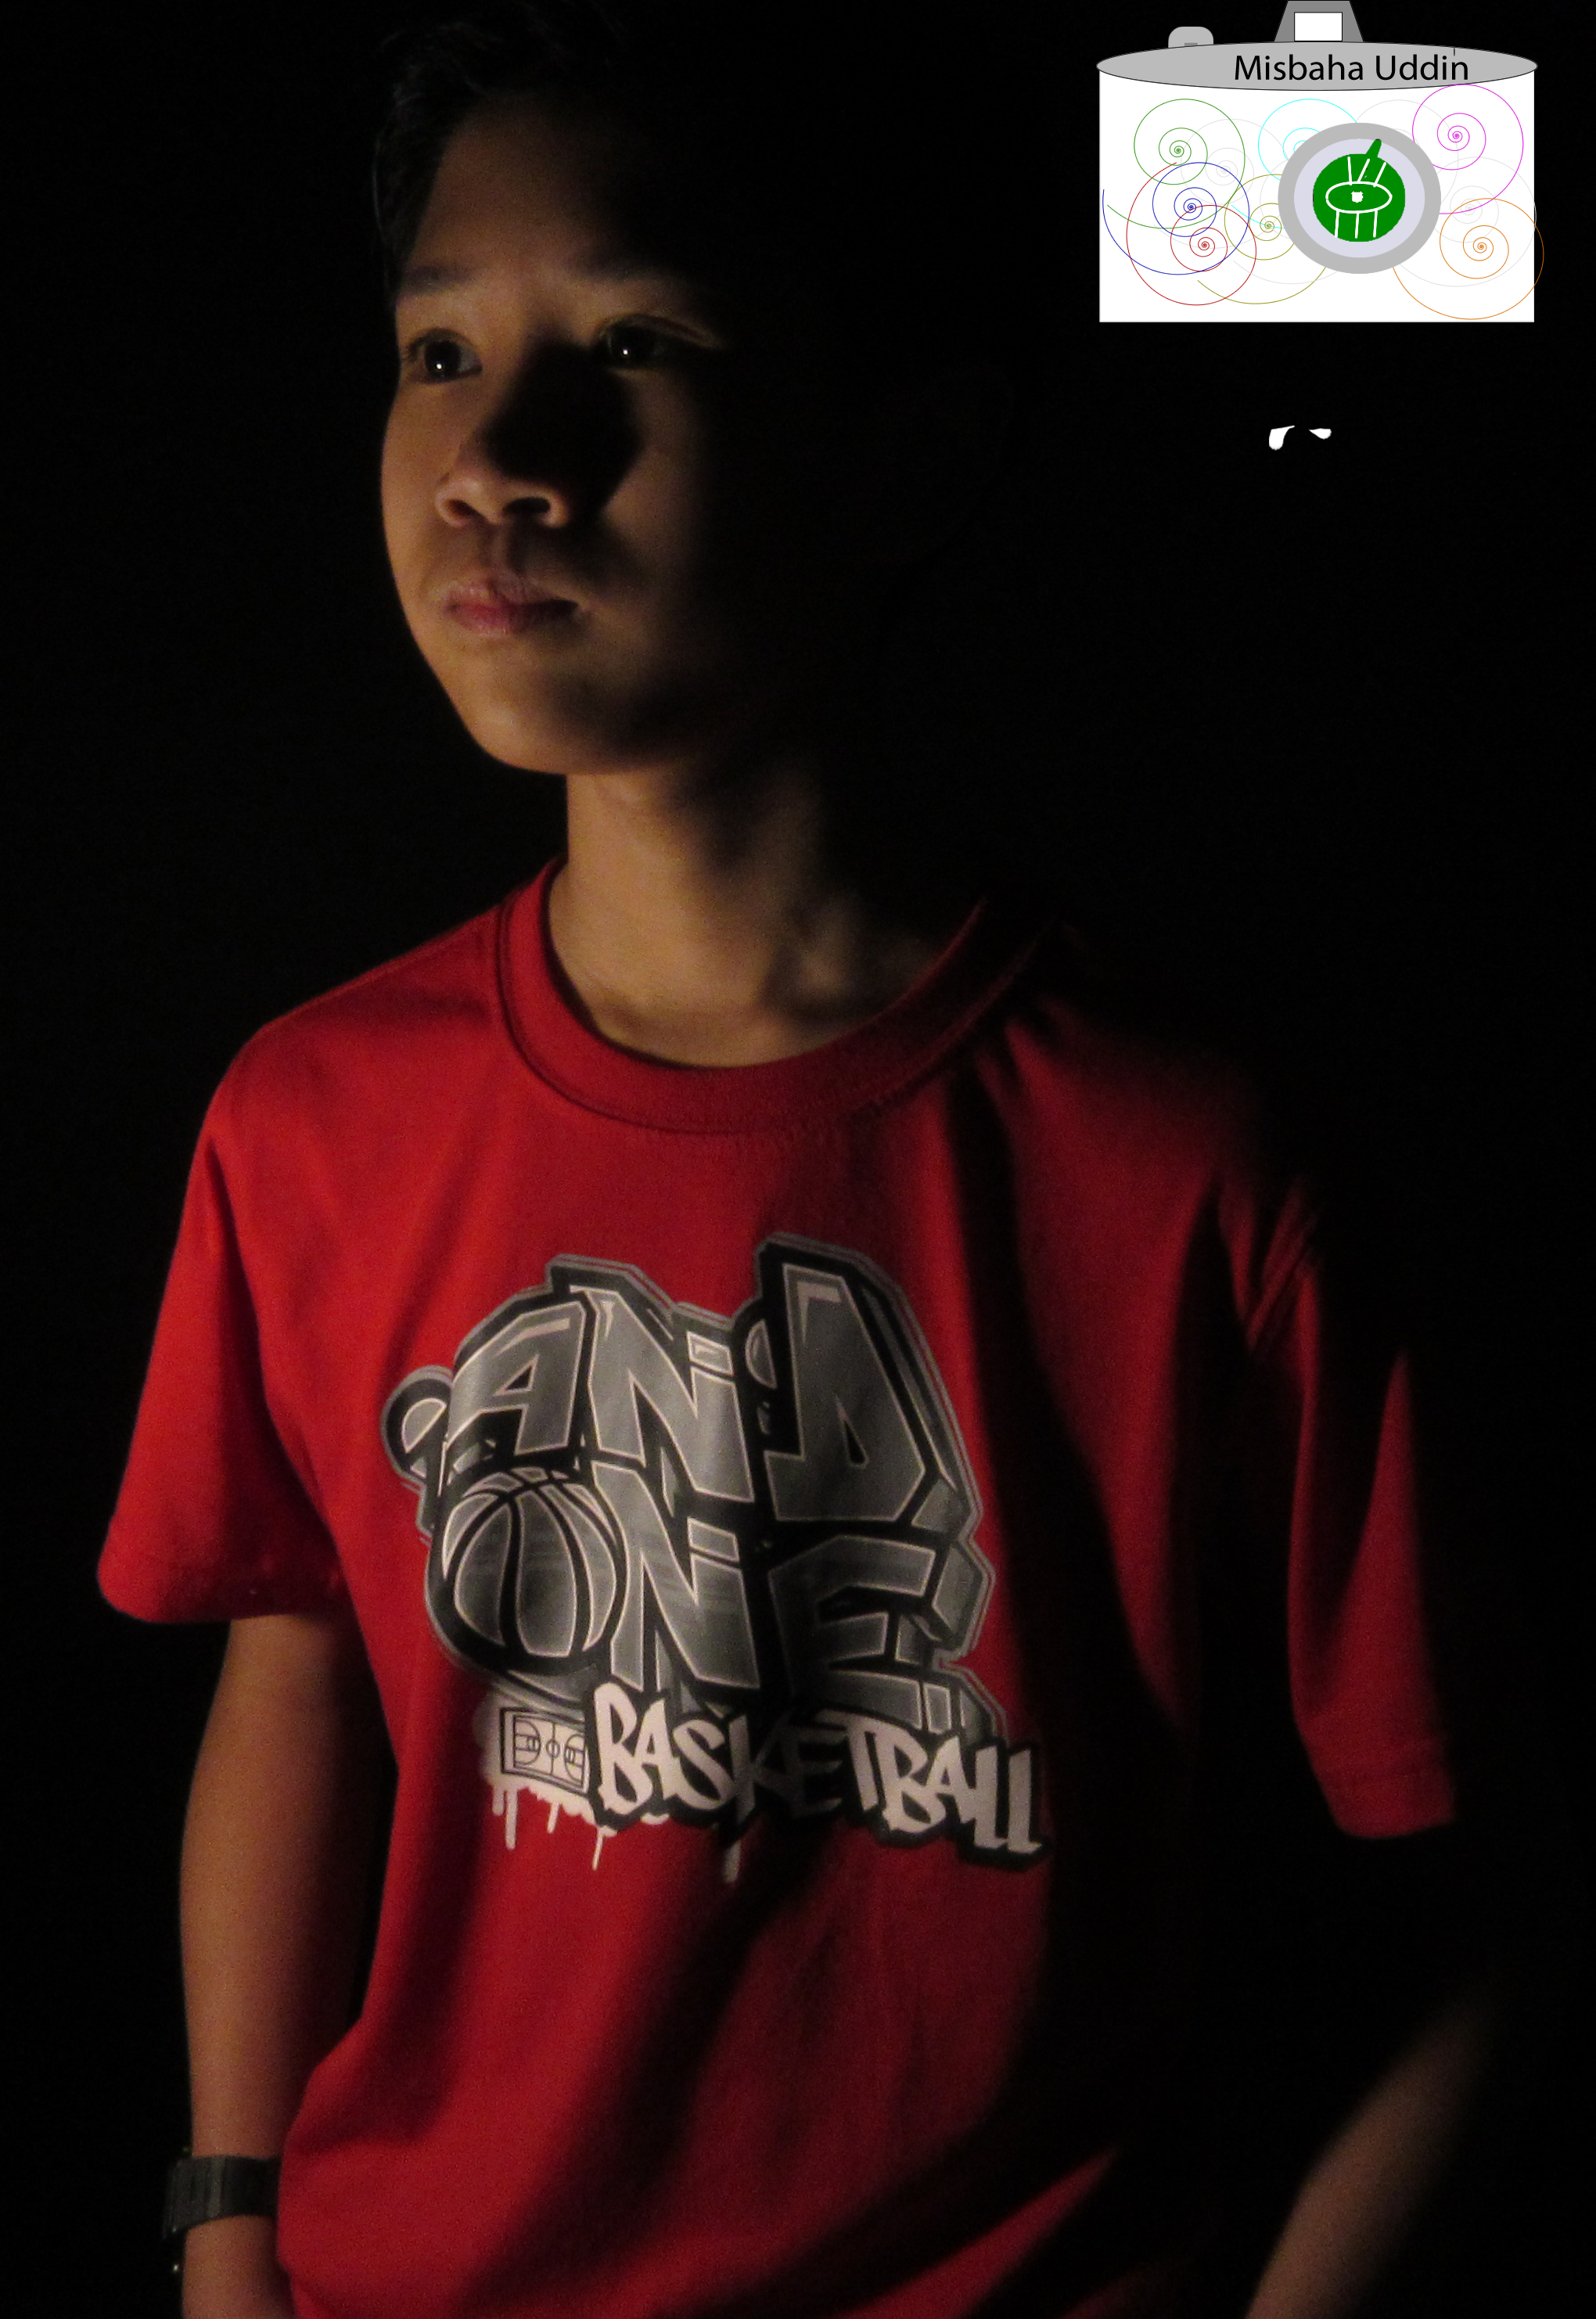
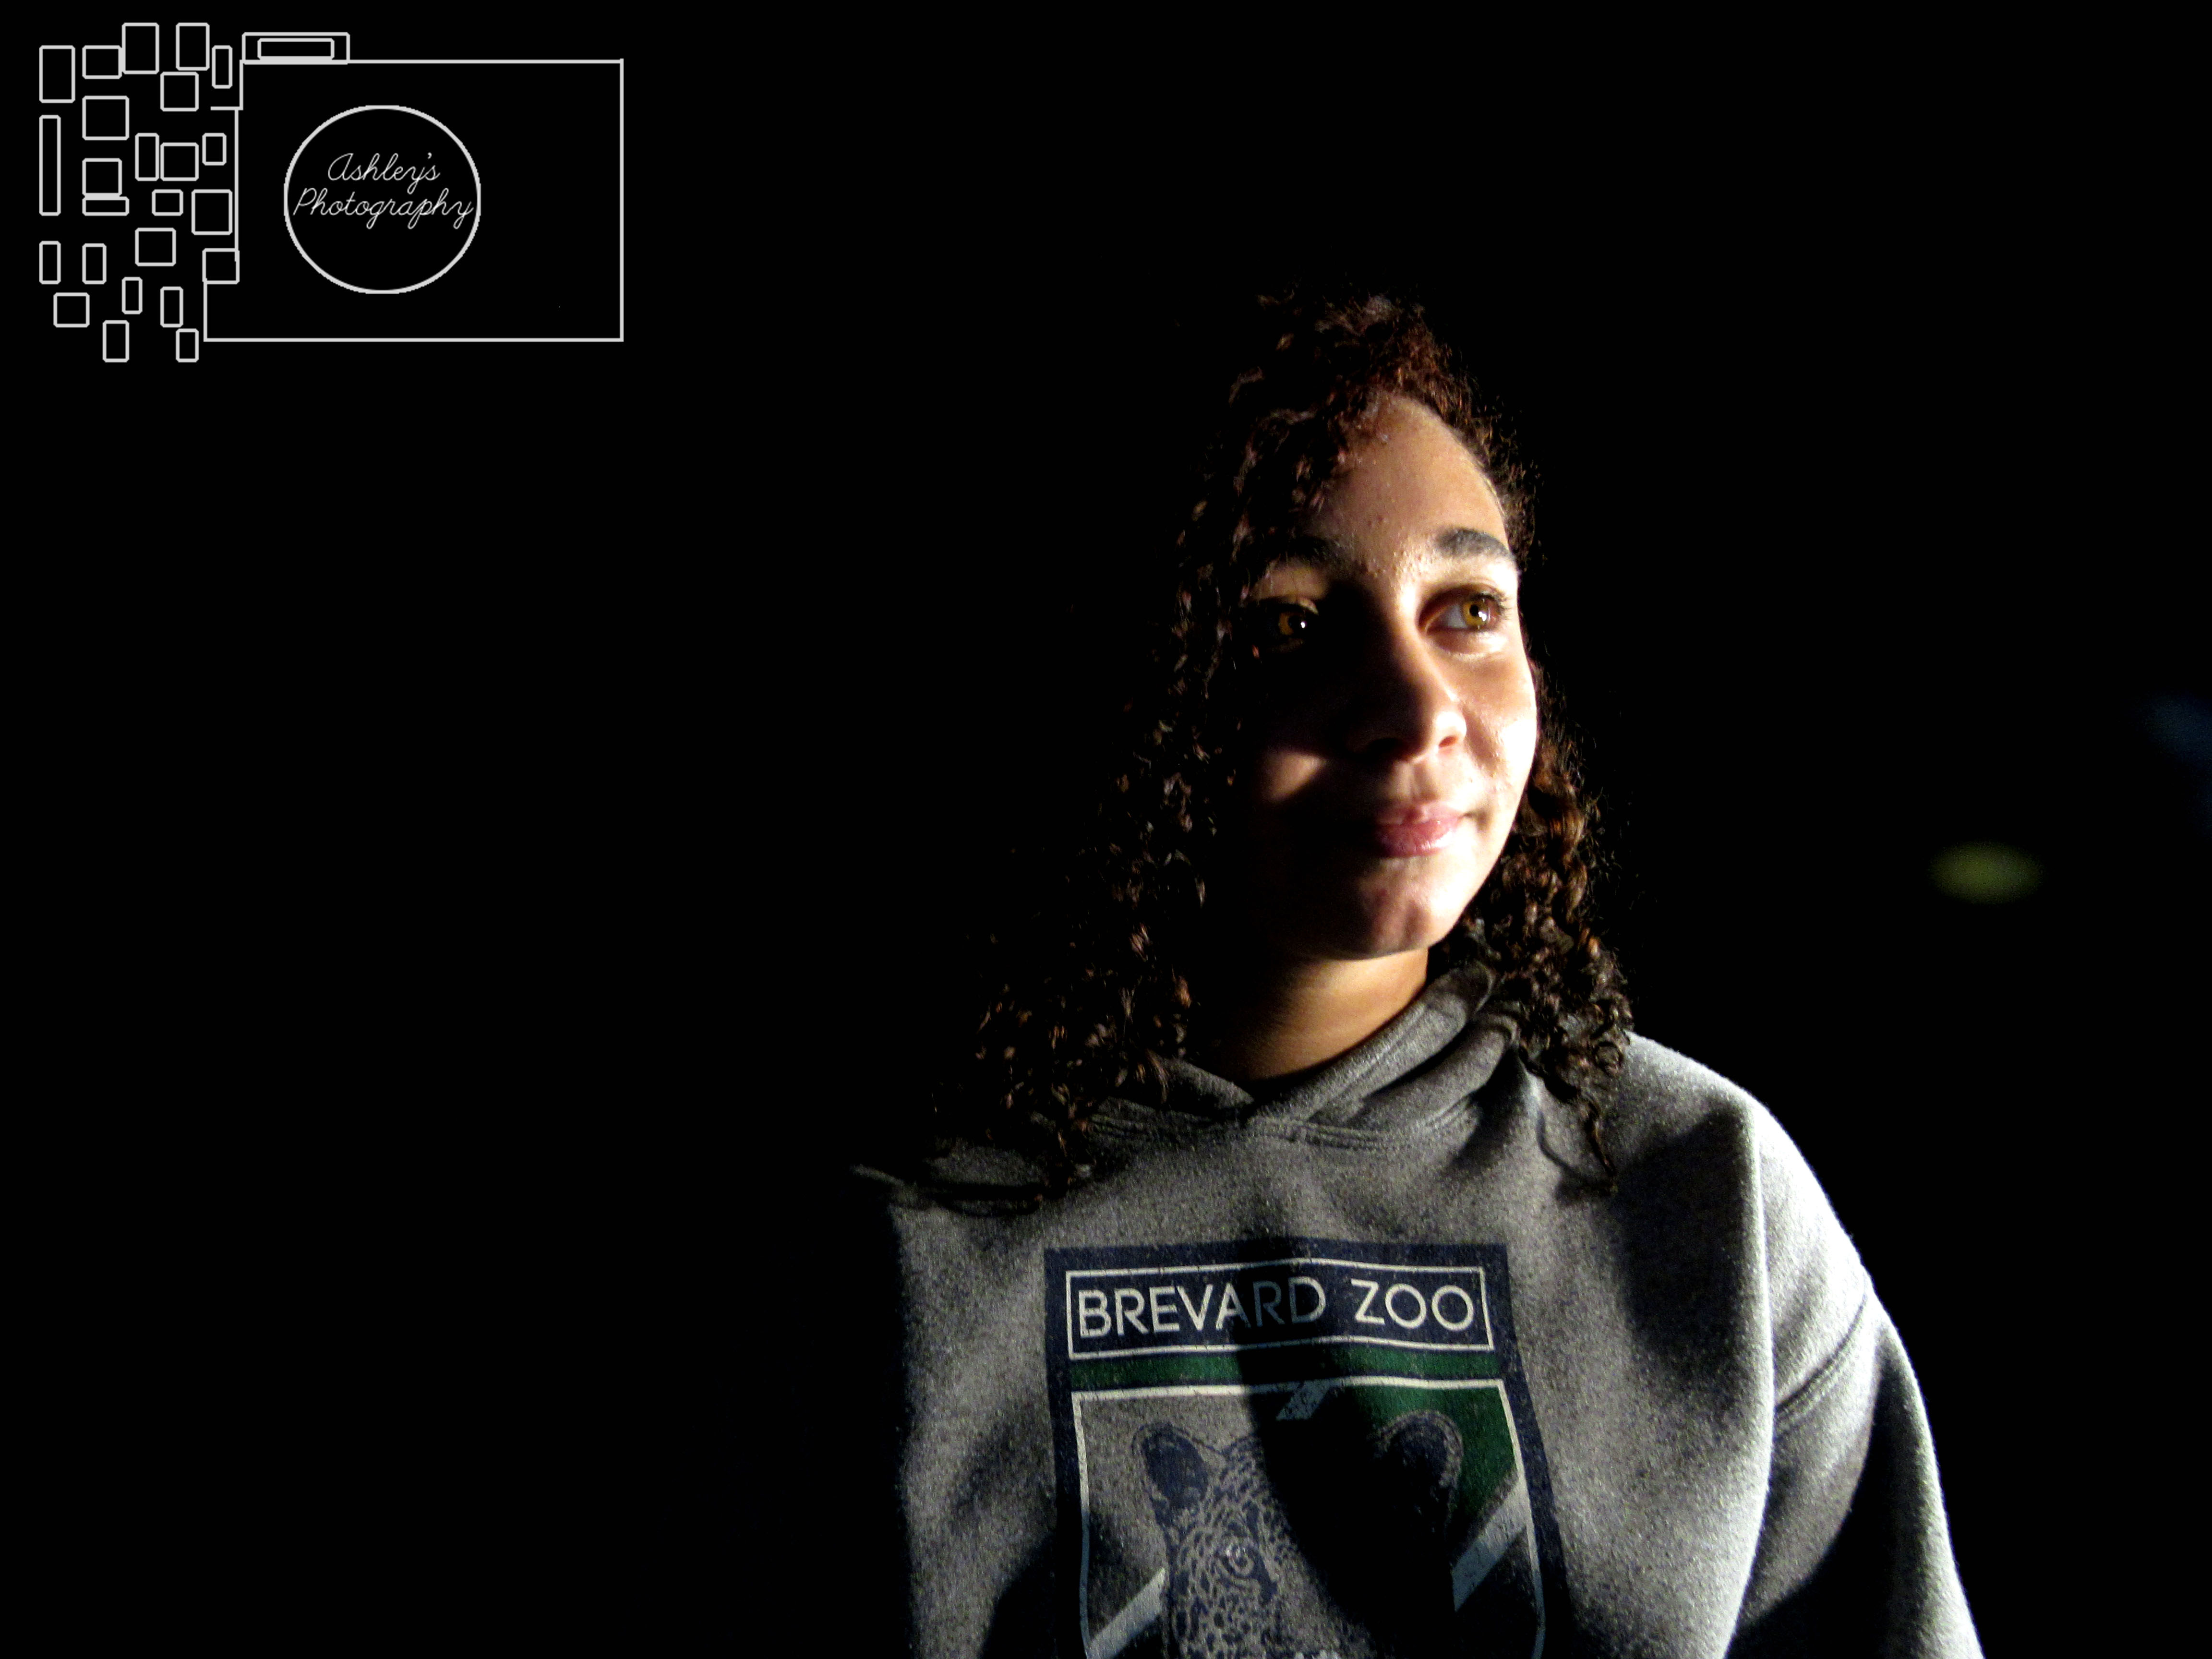
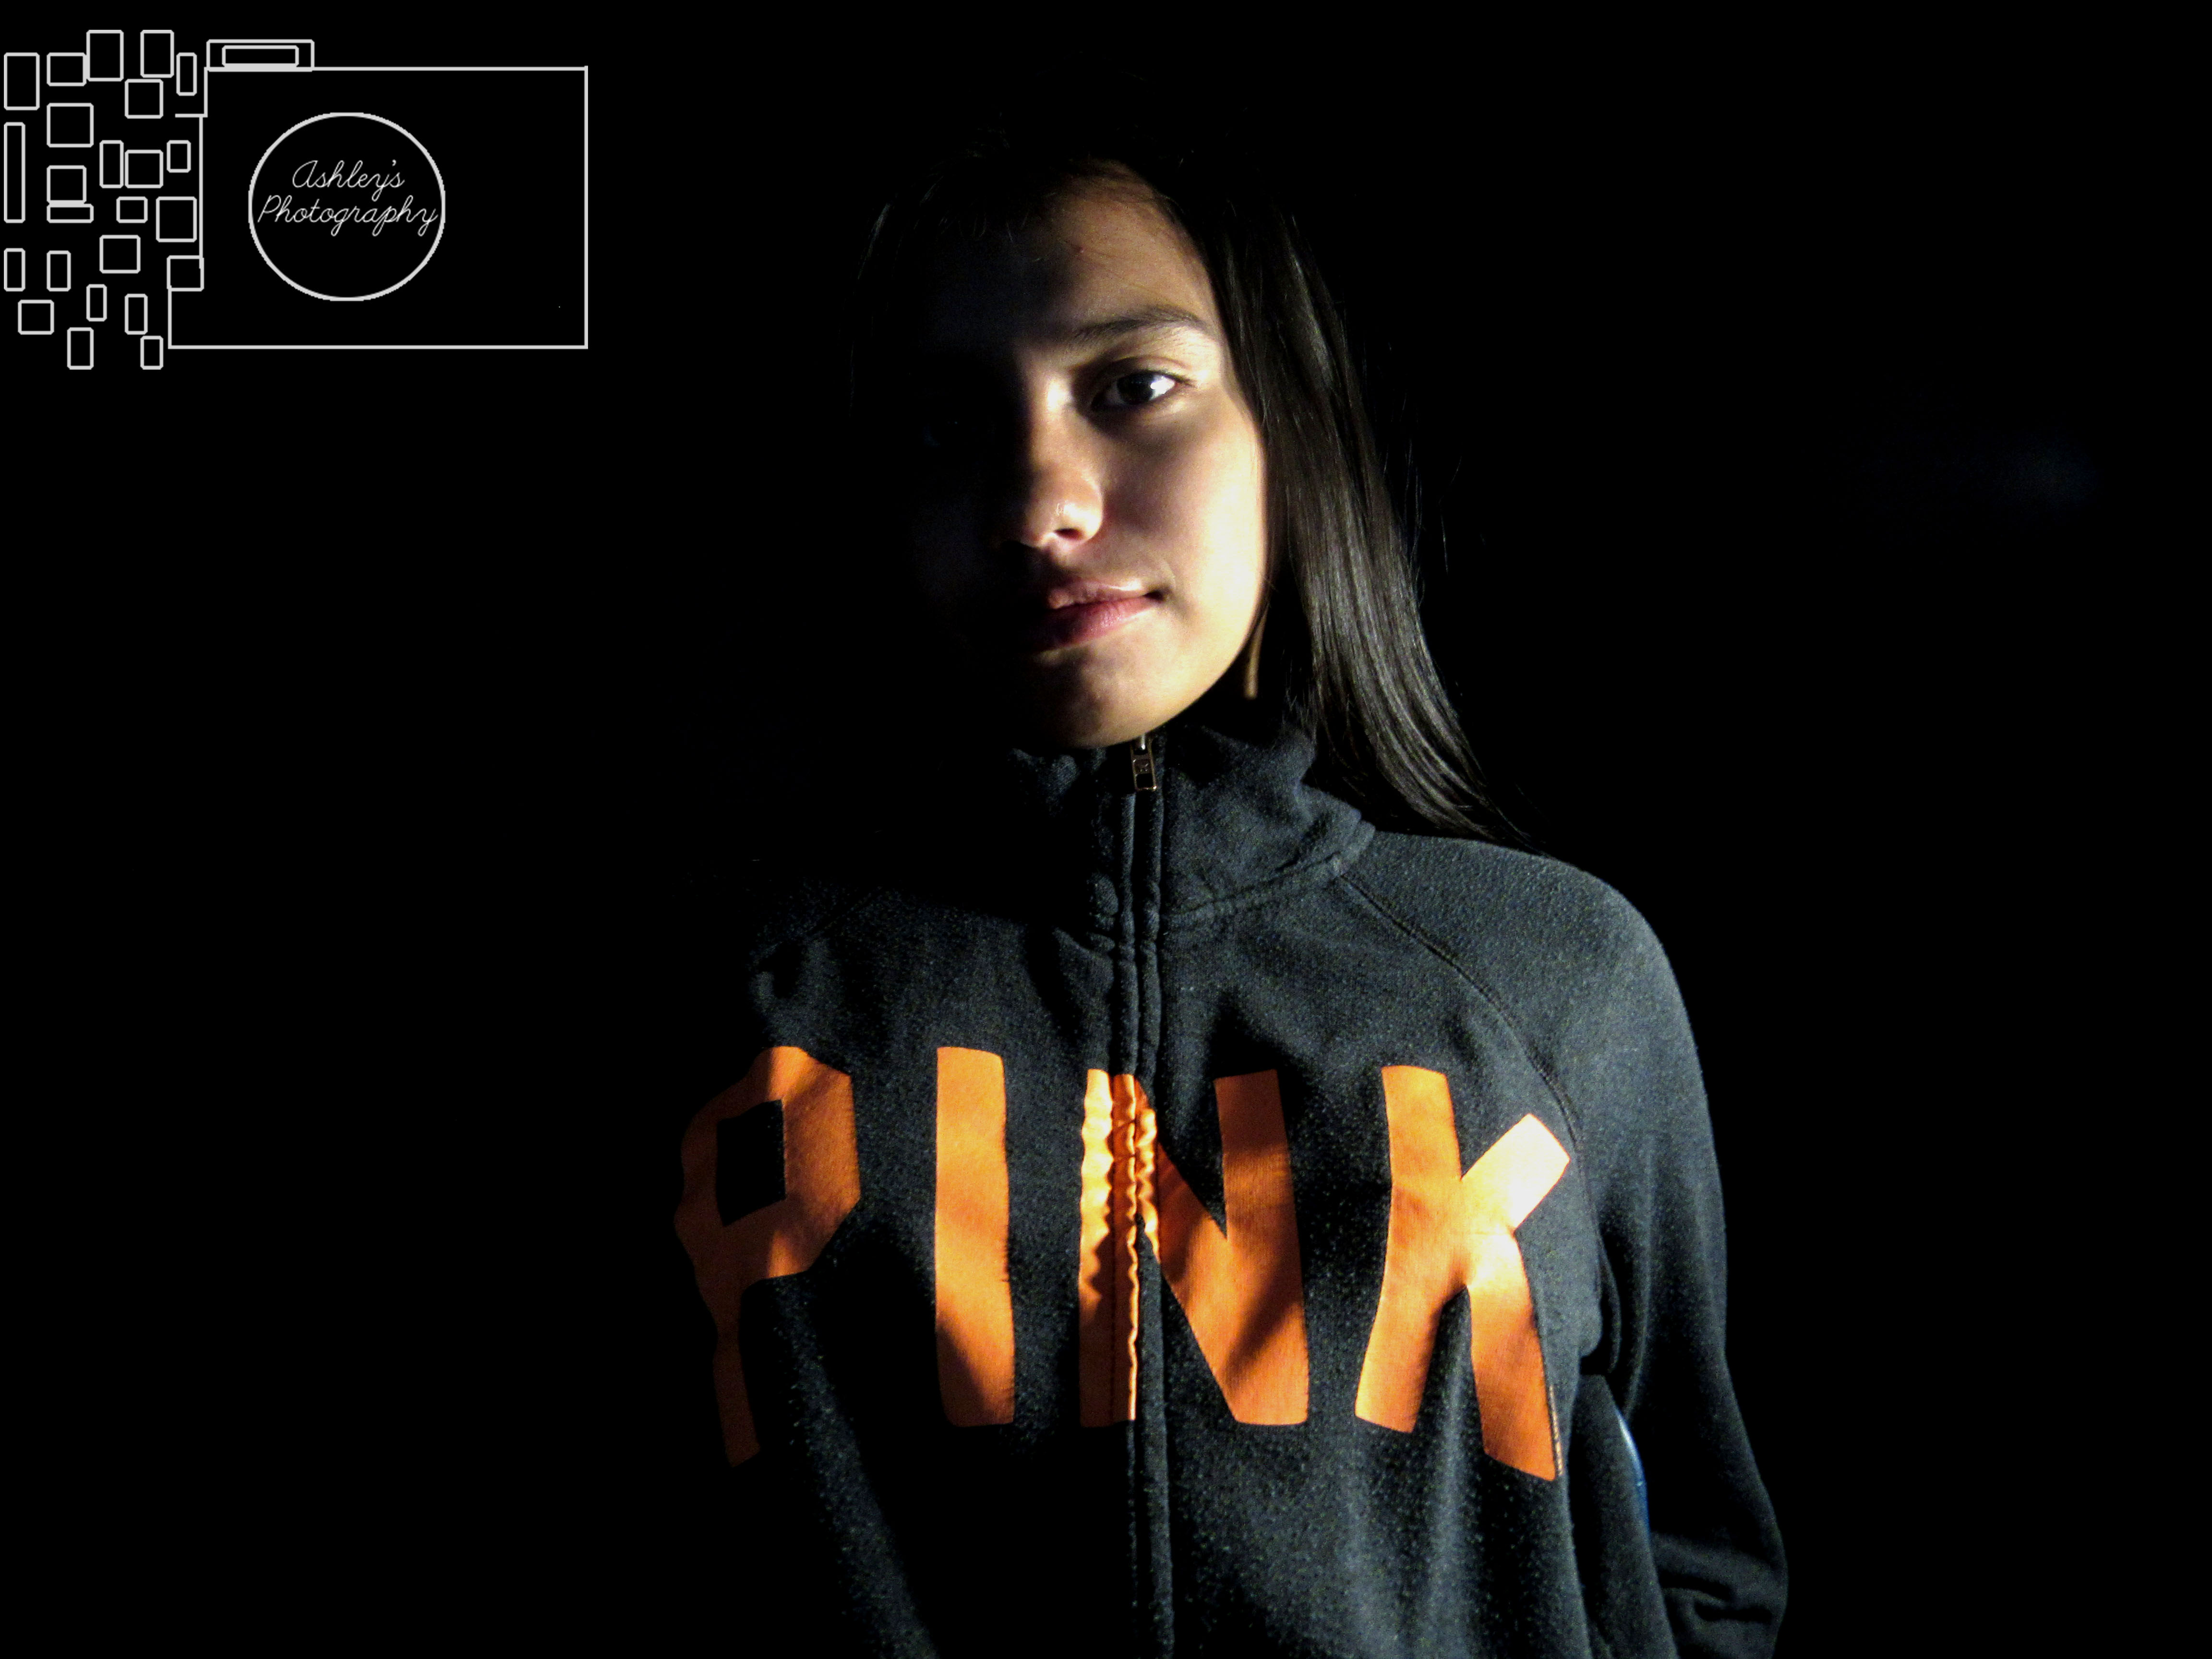
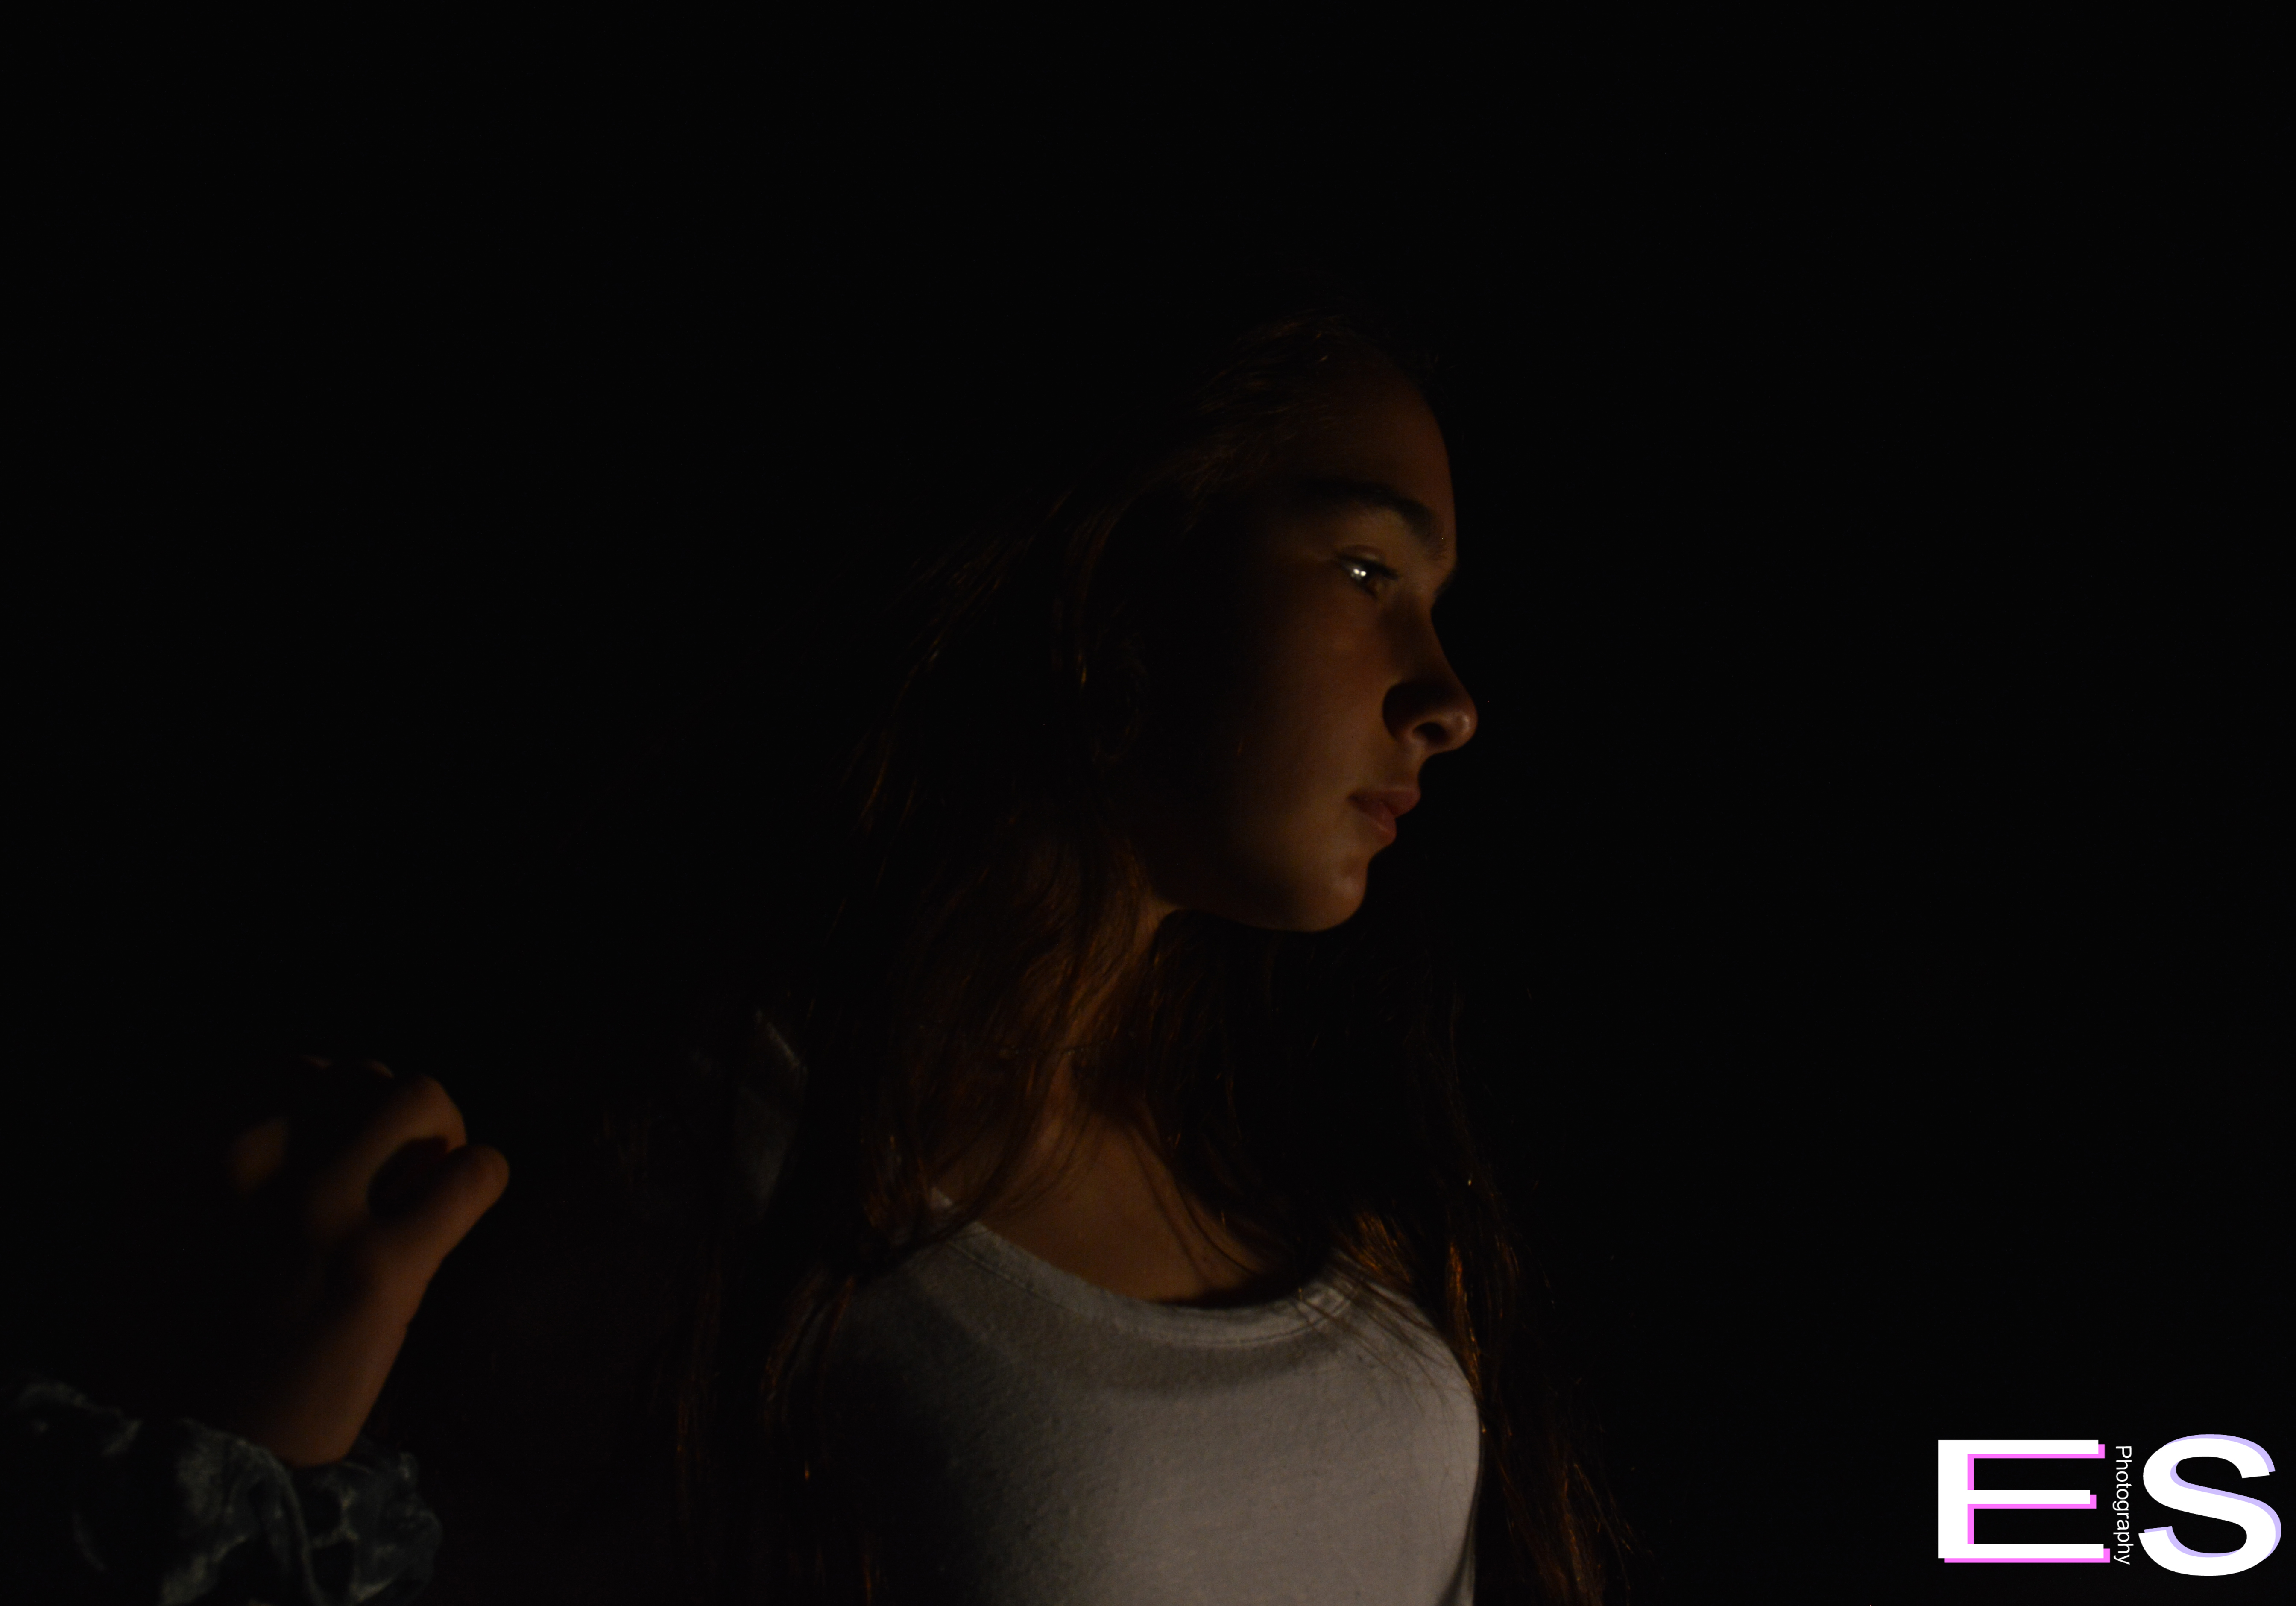
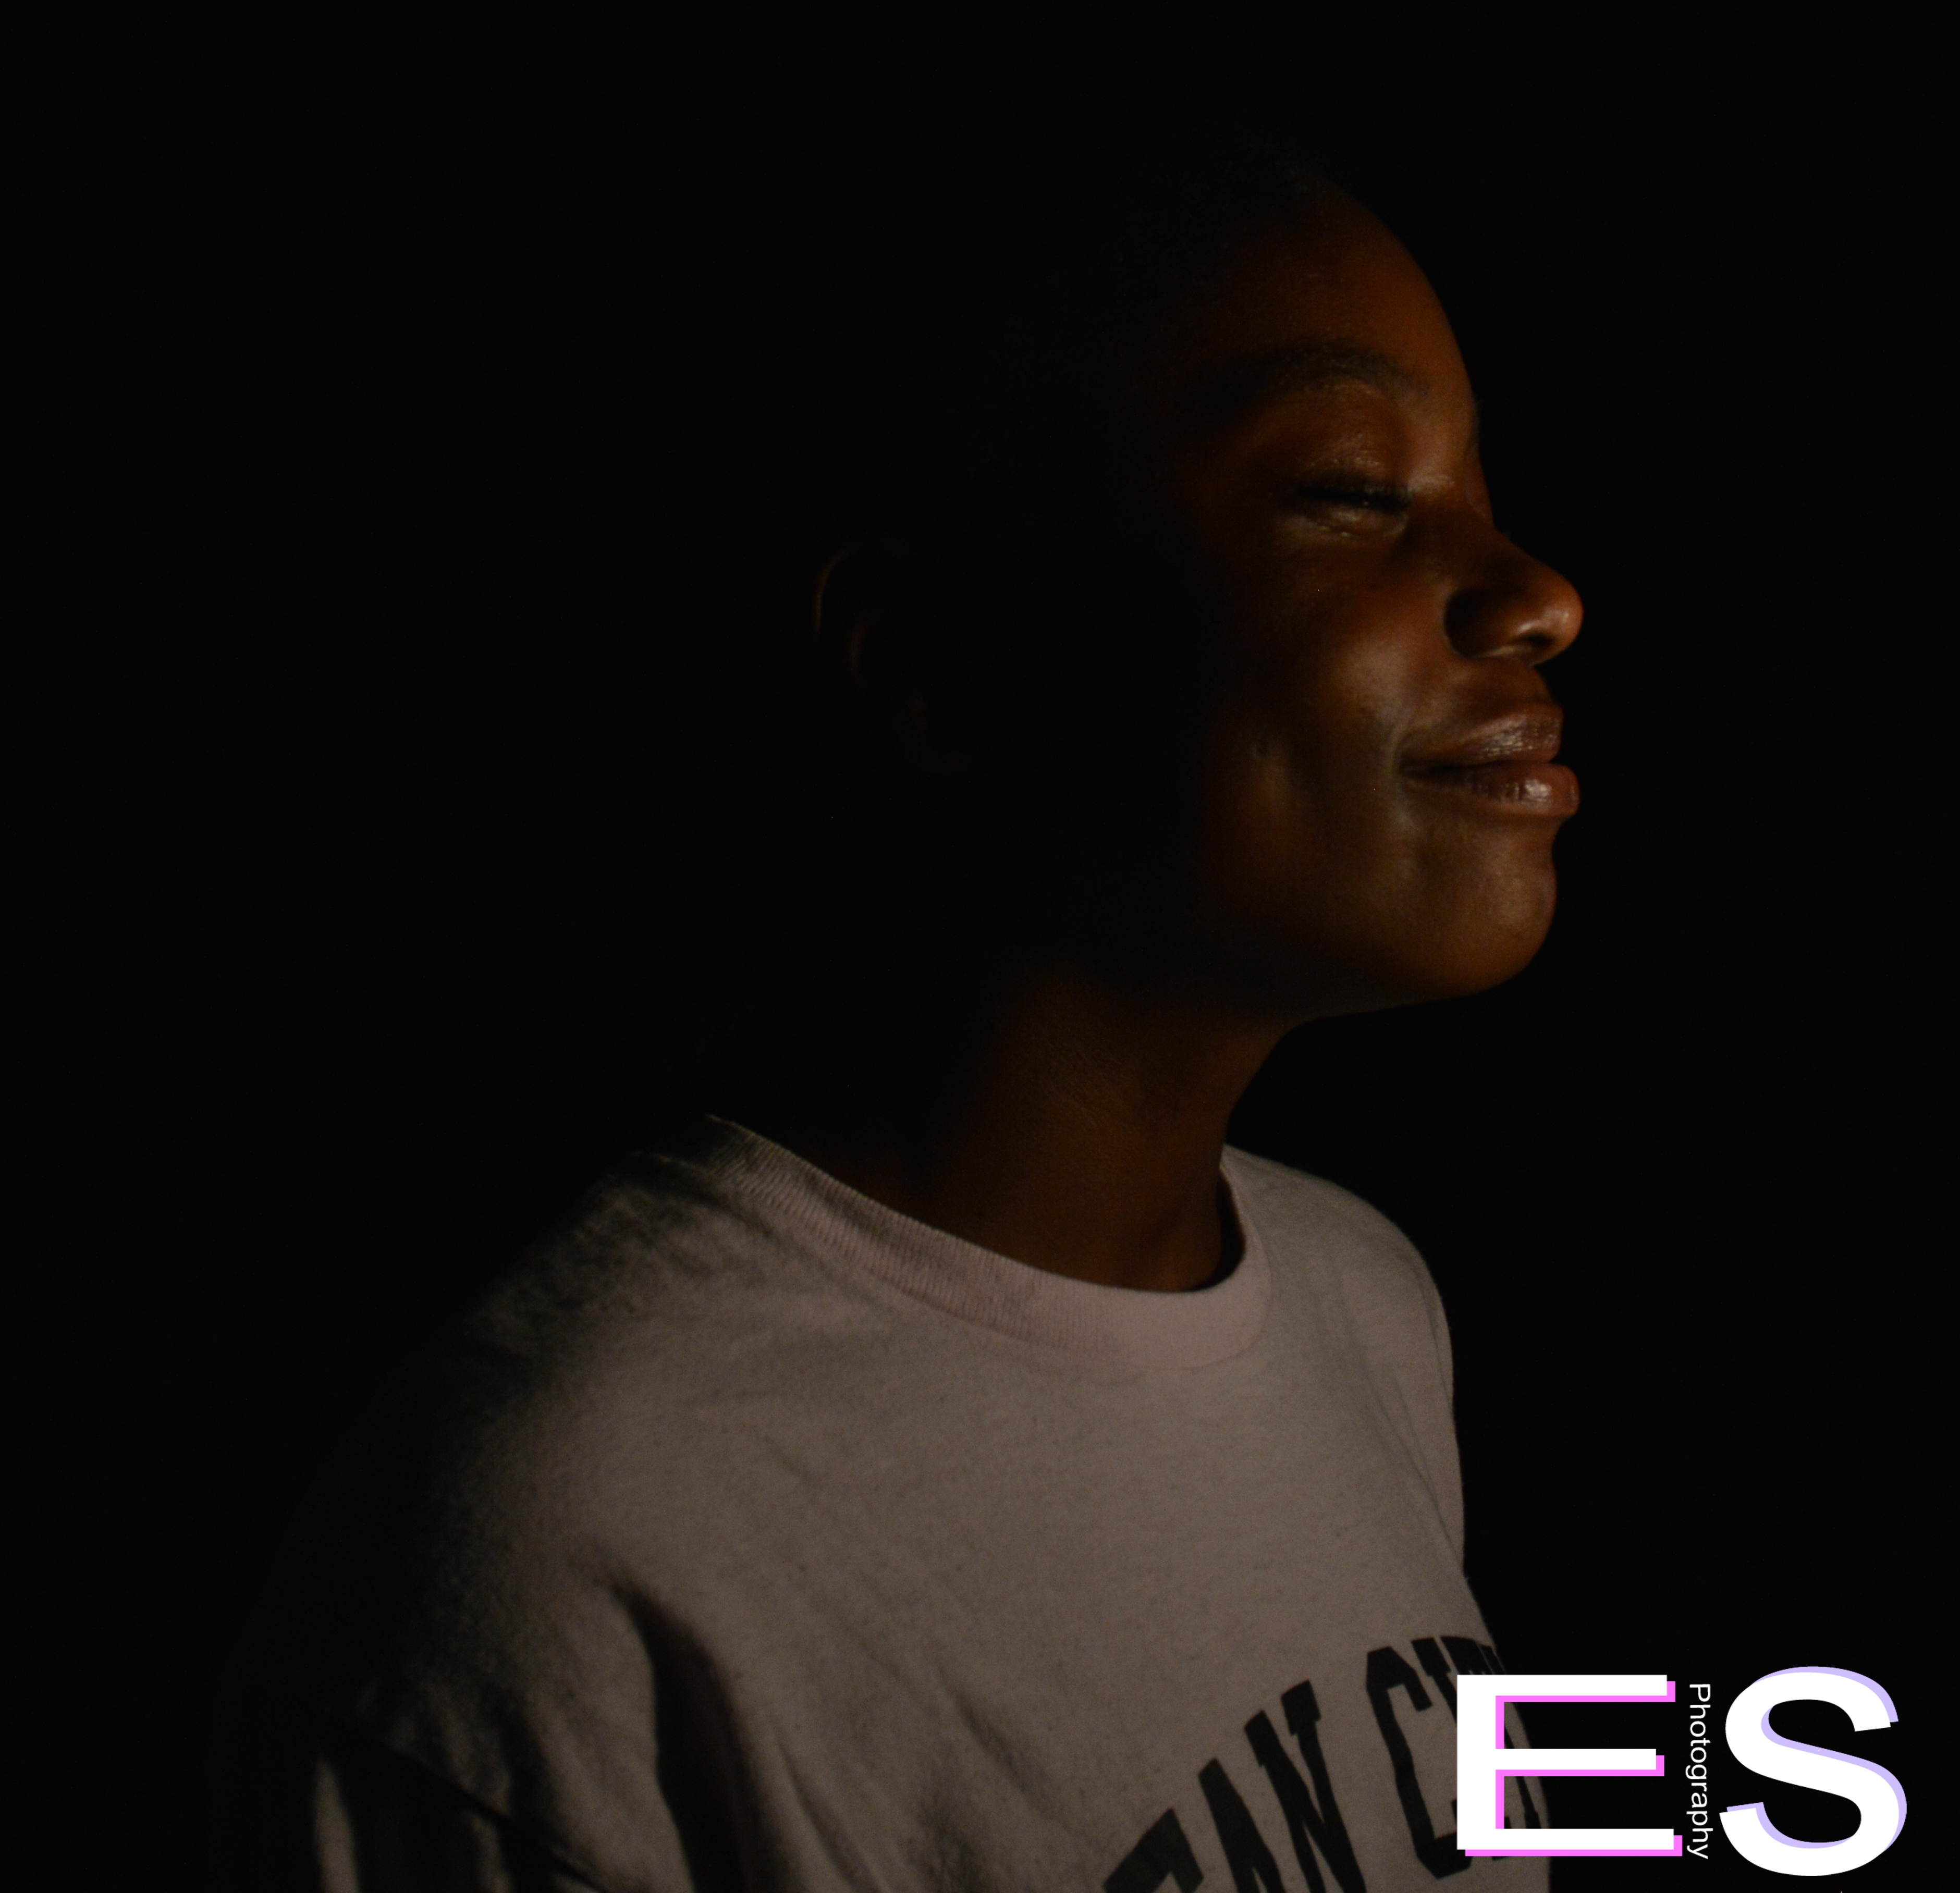
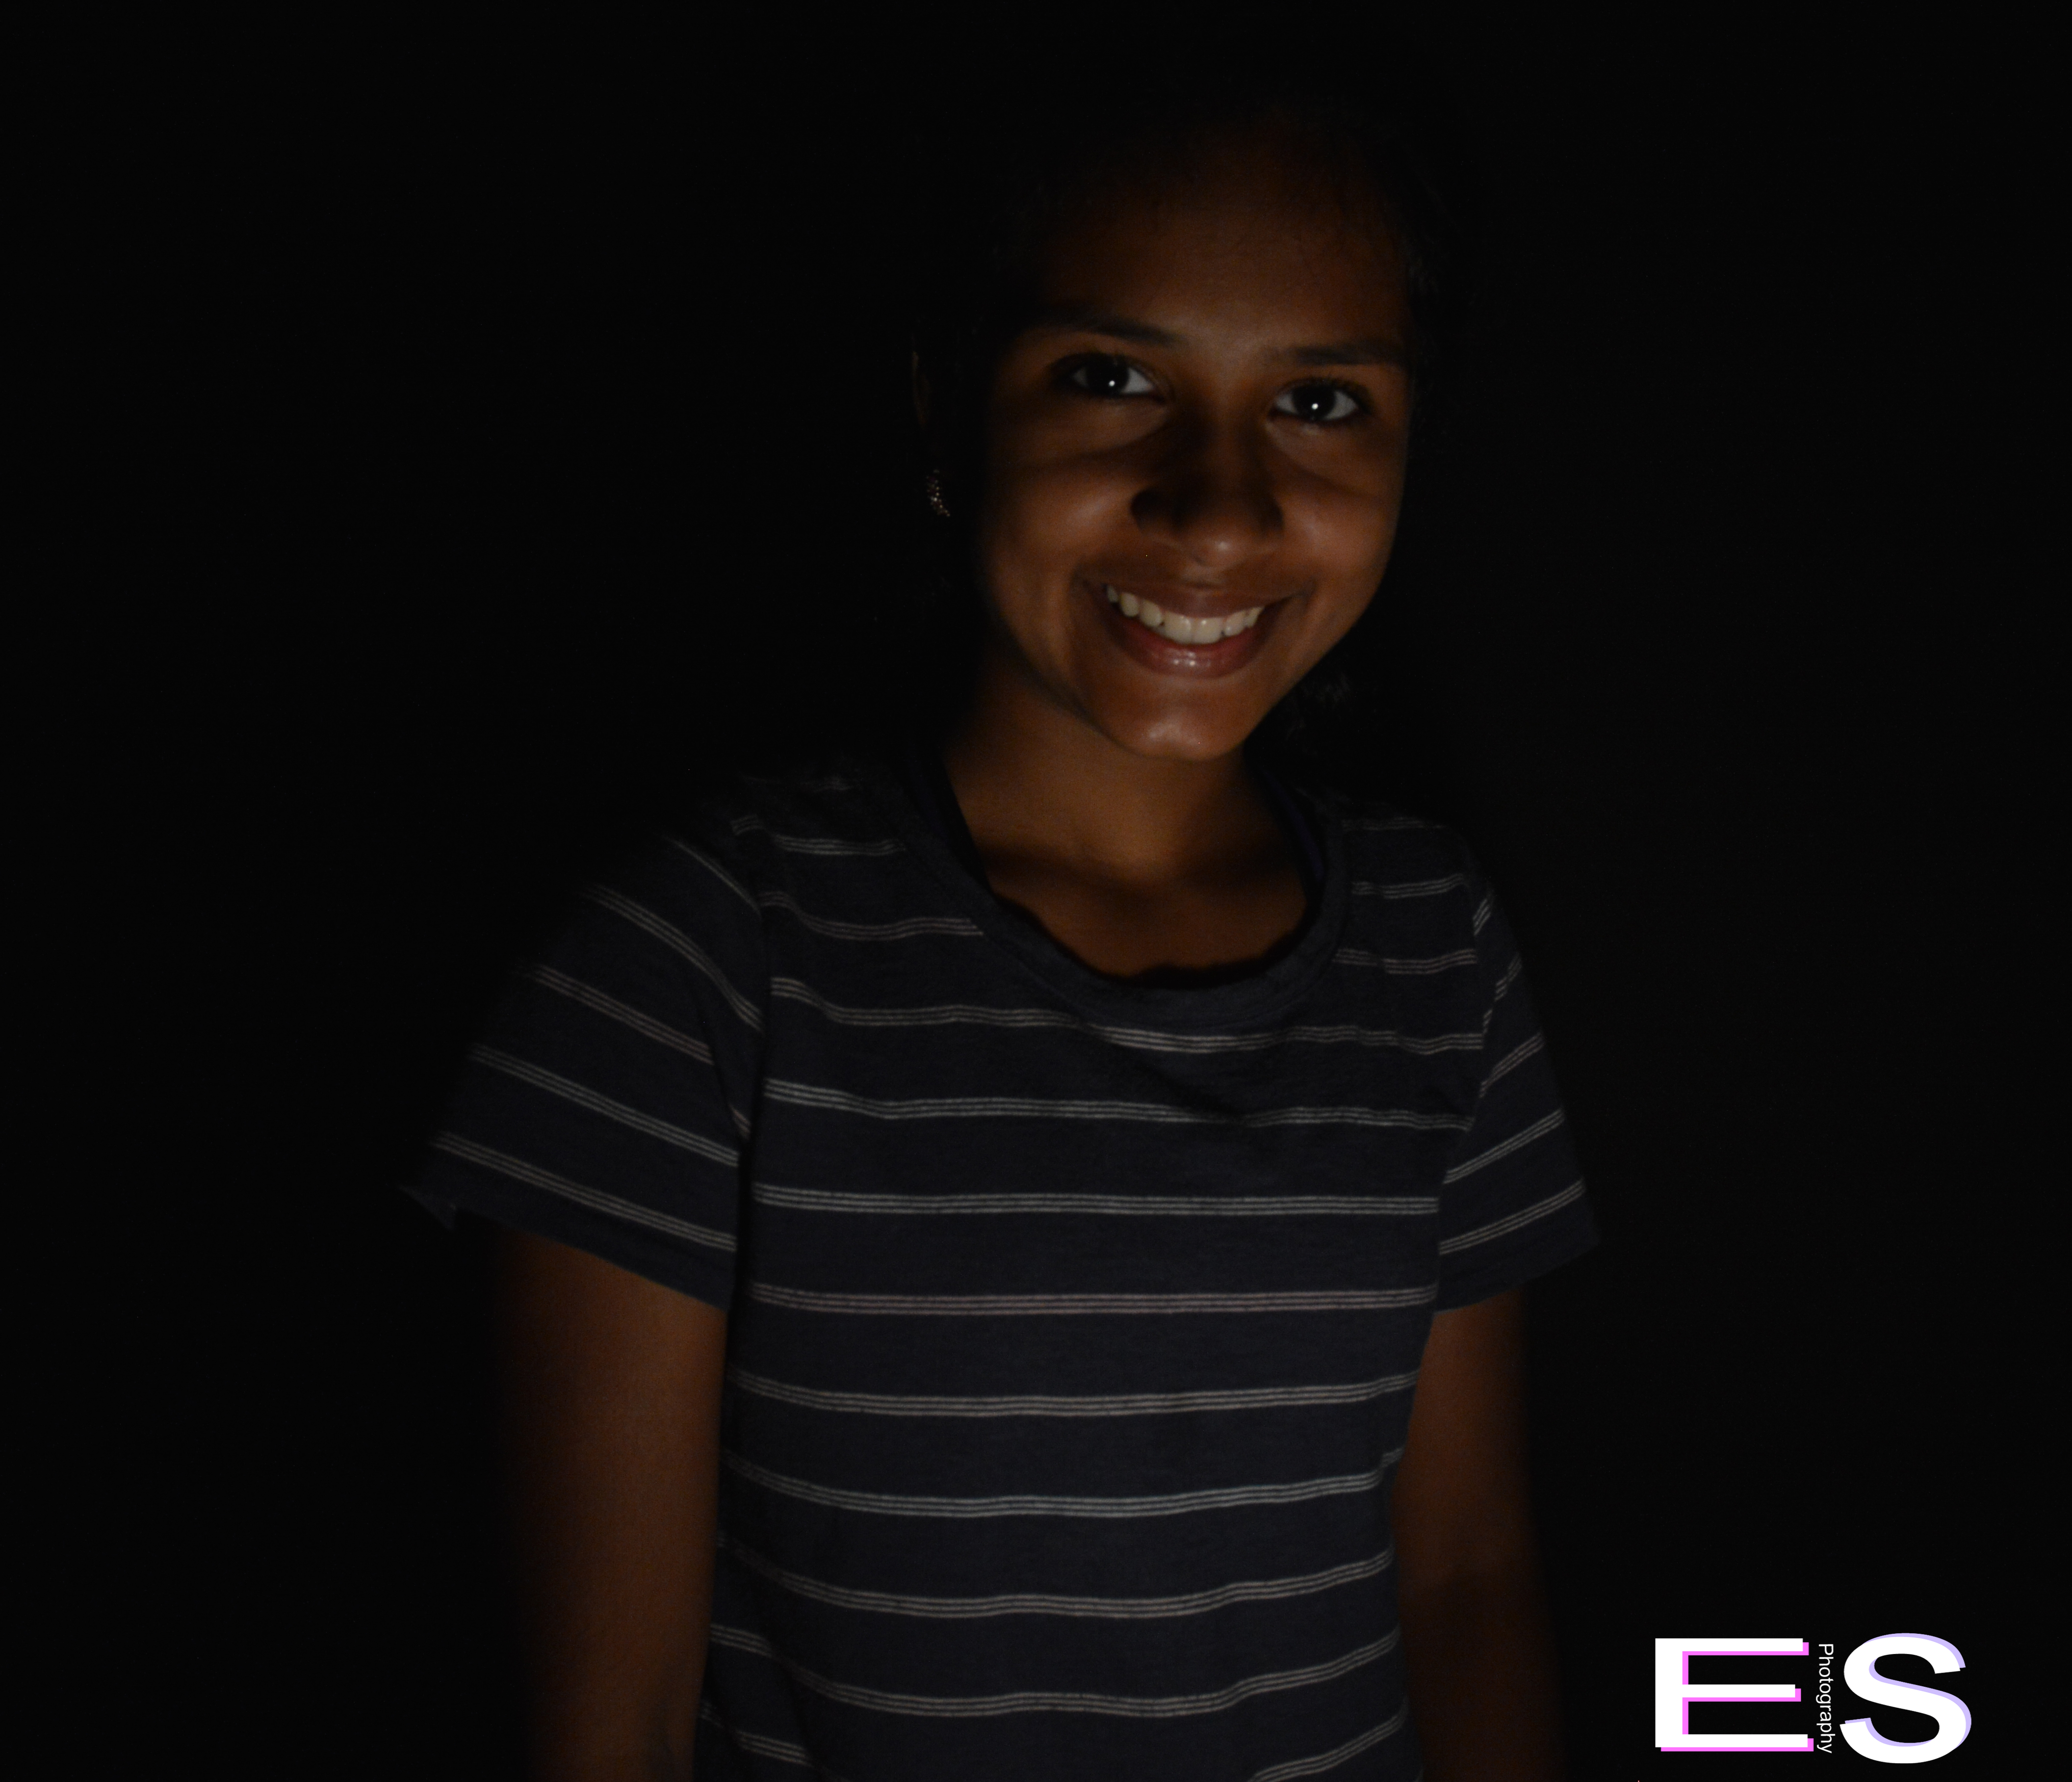
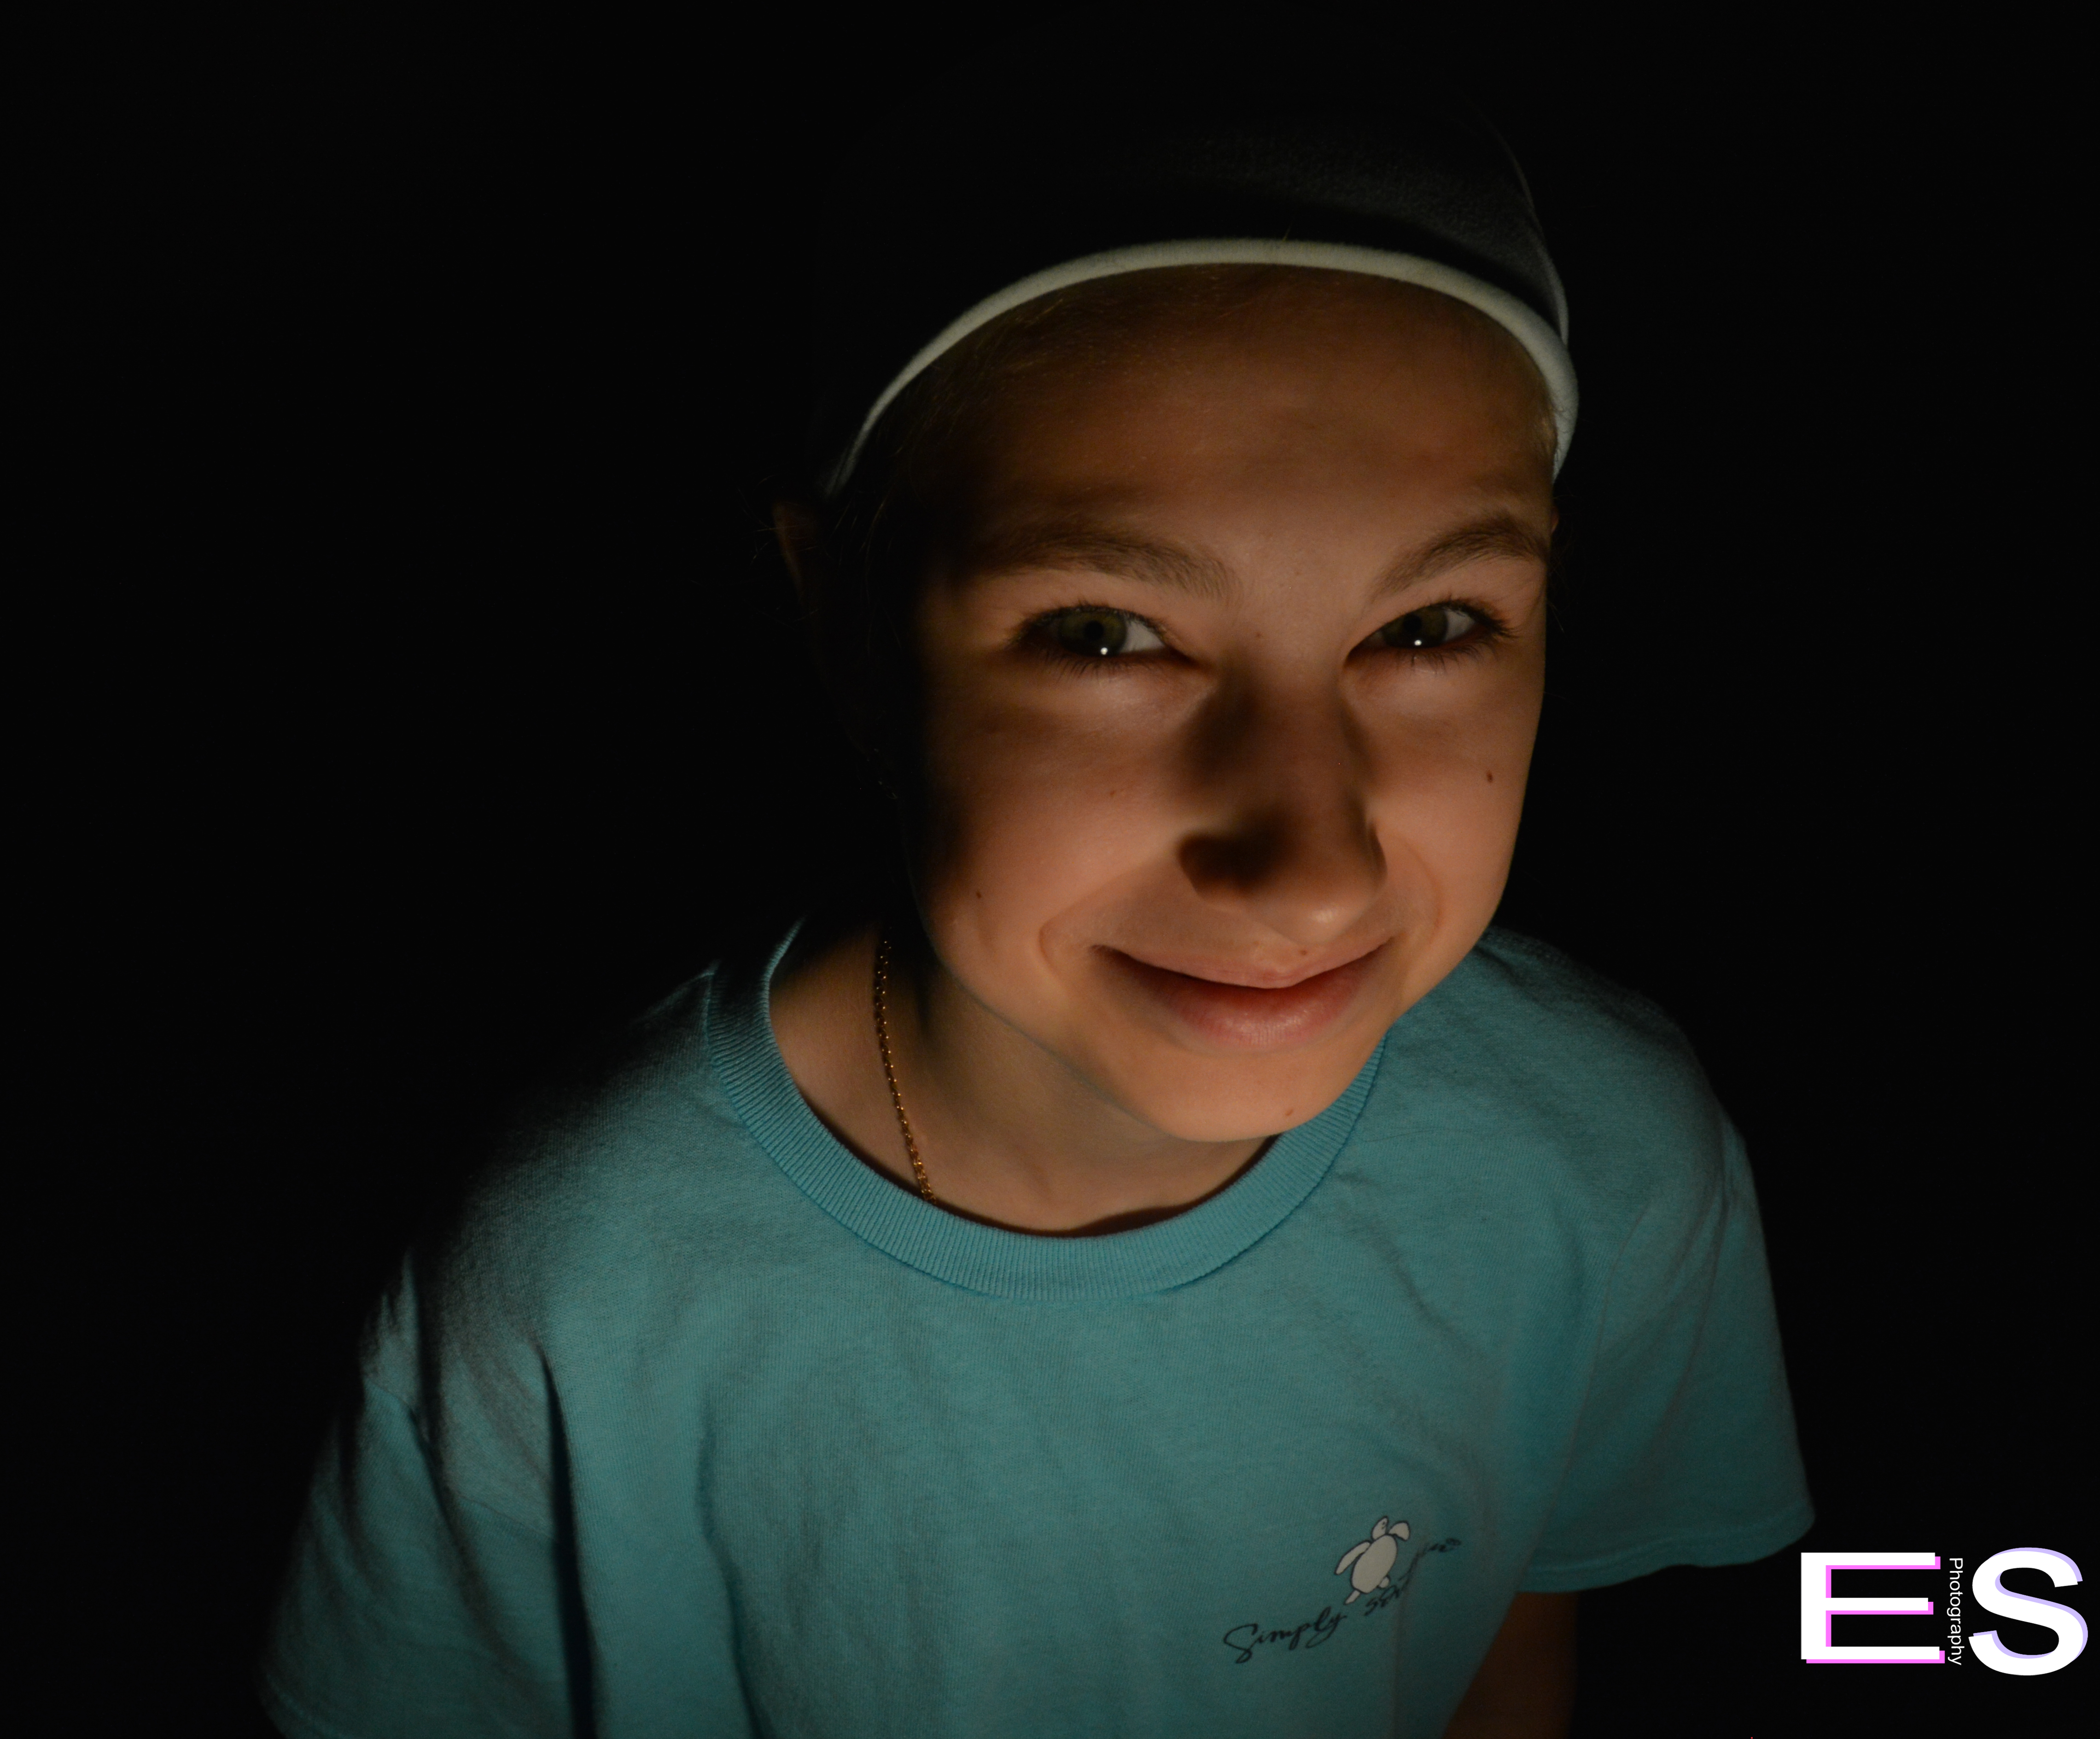
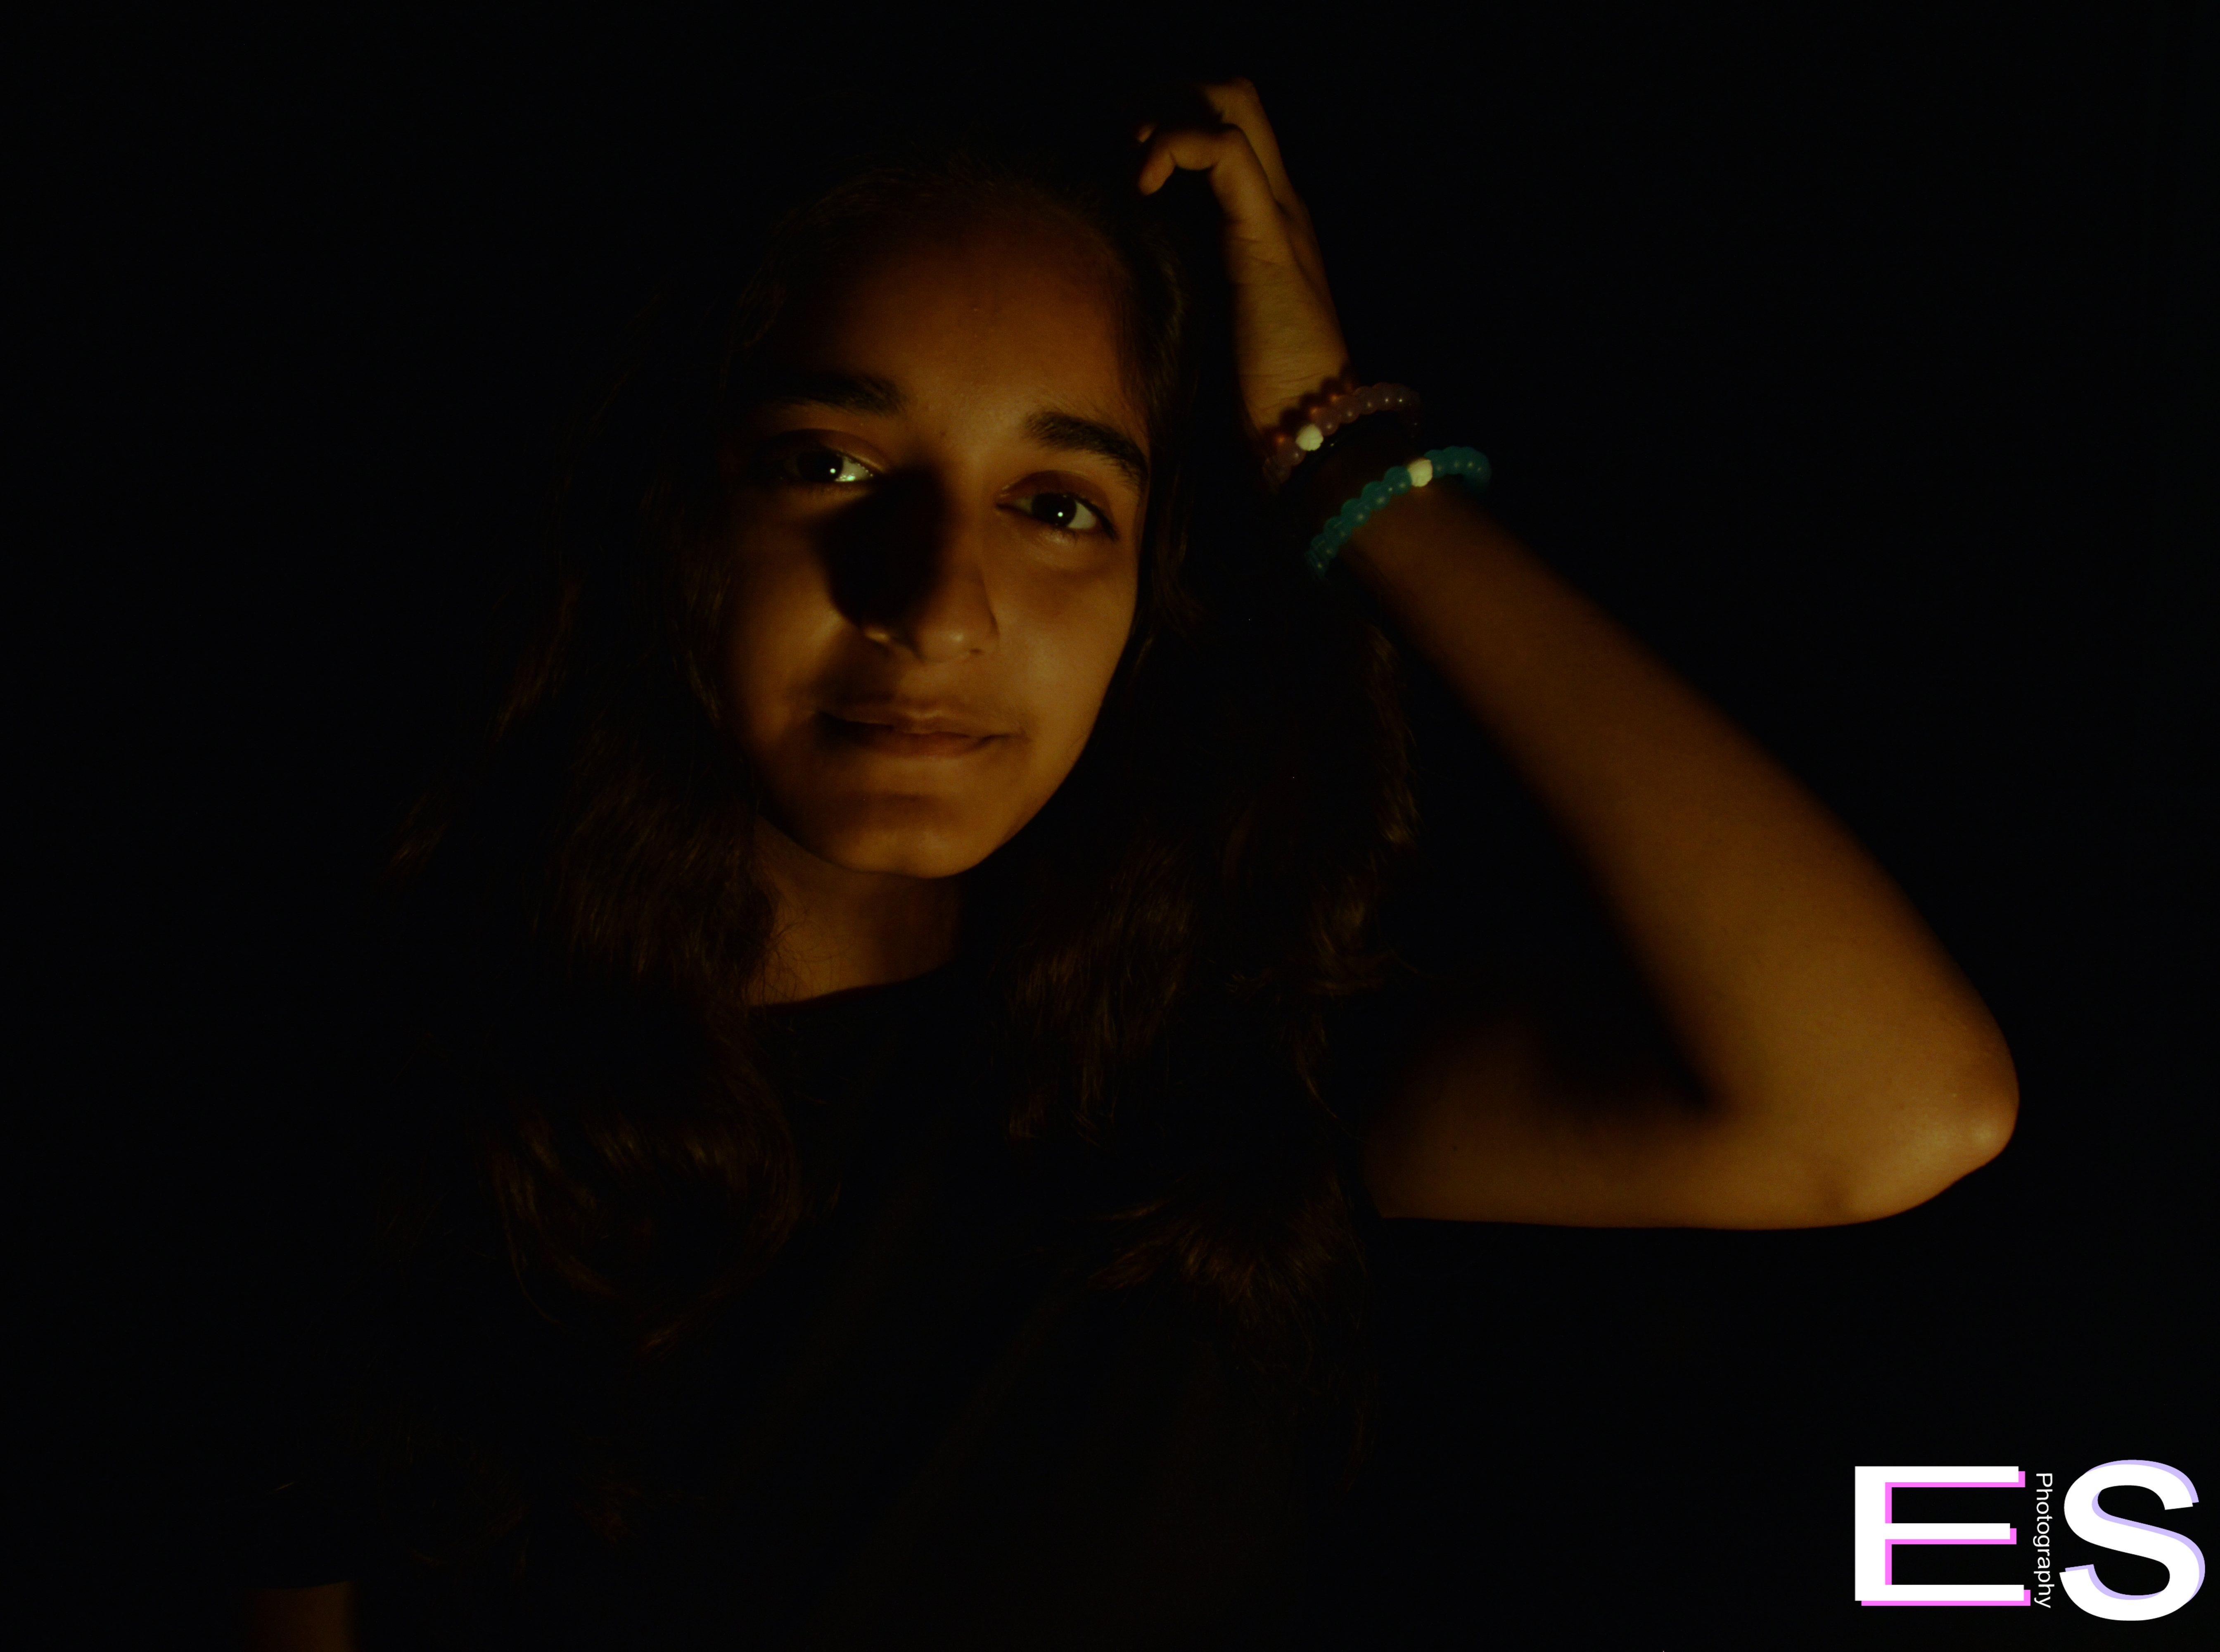
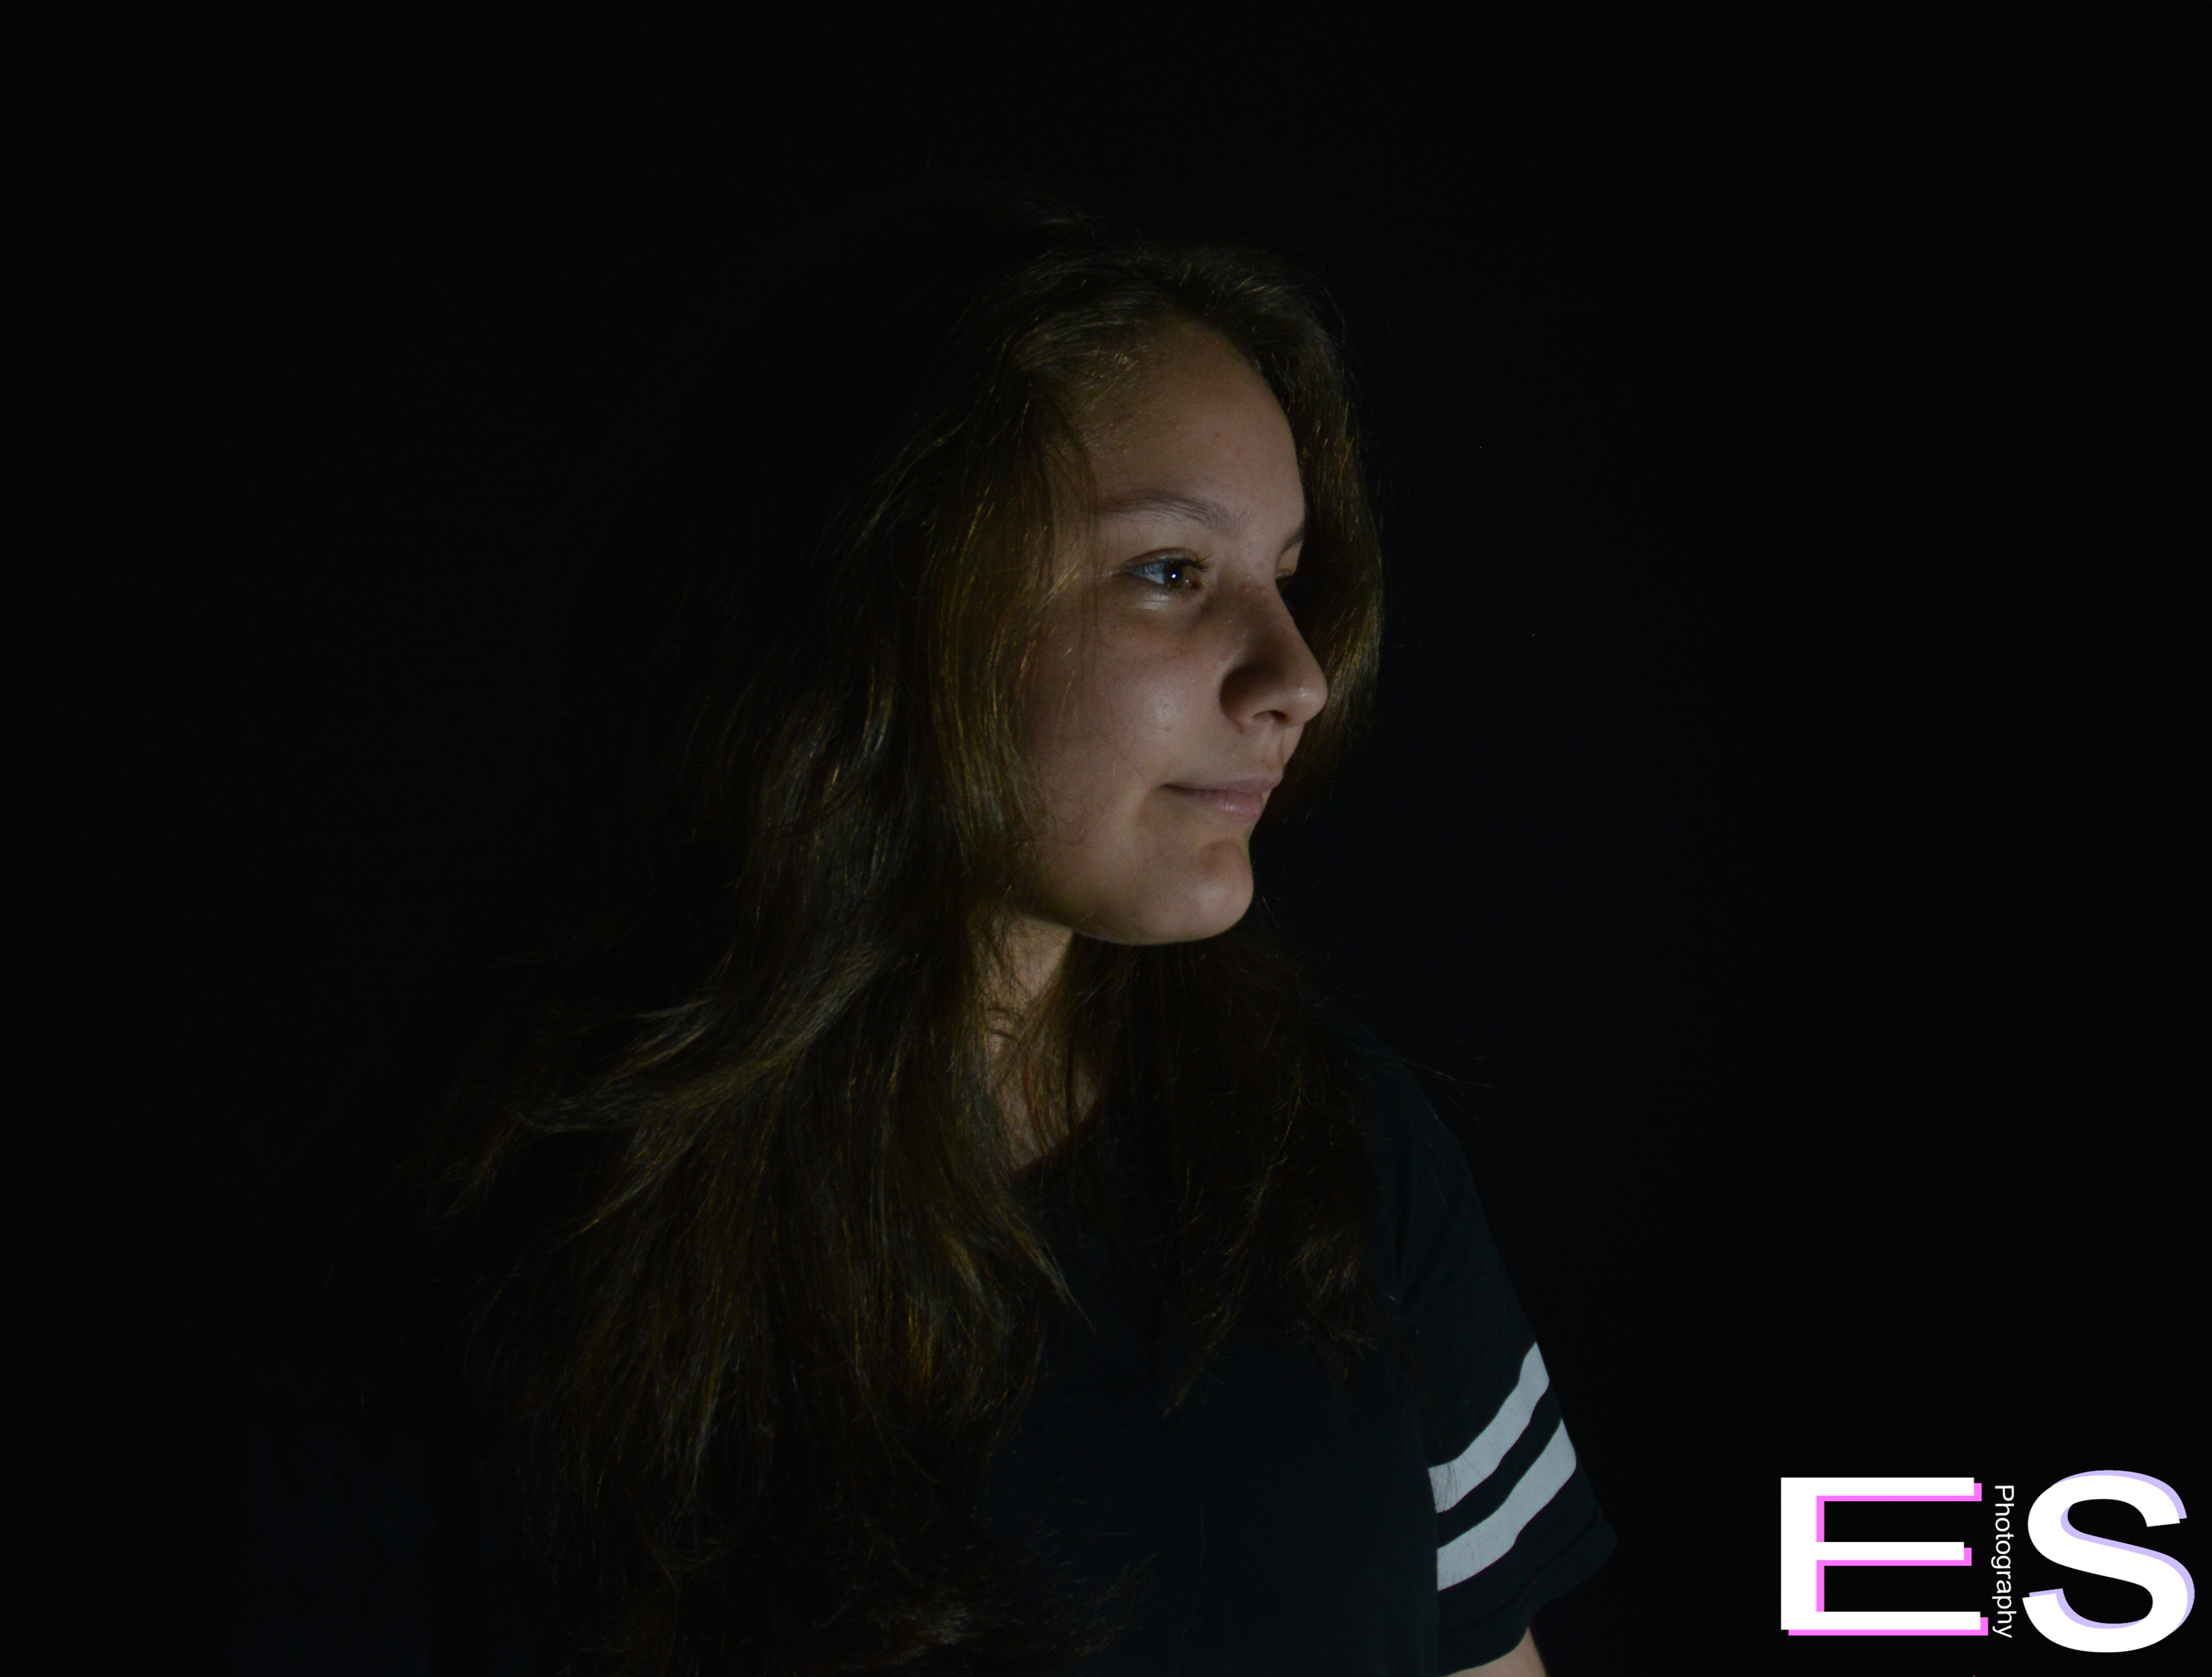
We tried different angles and poses and even used our phone flashlight so we wouldn’t get a shadow. What worked is using our own to cover some of the light so there it wasn’t so bright. The light would be so bright and before we figured out that trick the pictures turned out orange so we had to restart. Find the rest of my pictures here
For this project, we had to move the lighting and the person multiple times to make sure there were no shadows. For the white background, the person had to be right up on the background, and for the black background, the person had to be far away from the background and the light had to be right up in the persons face. If the person was right in front of the background, there would be shadows on the black background. Here is a link to all my photos.
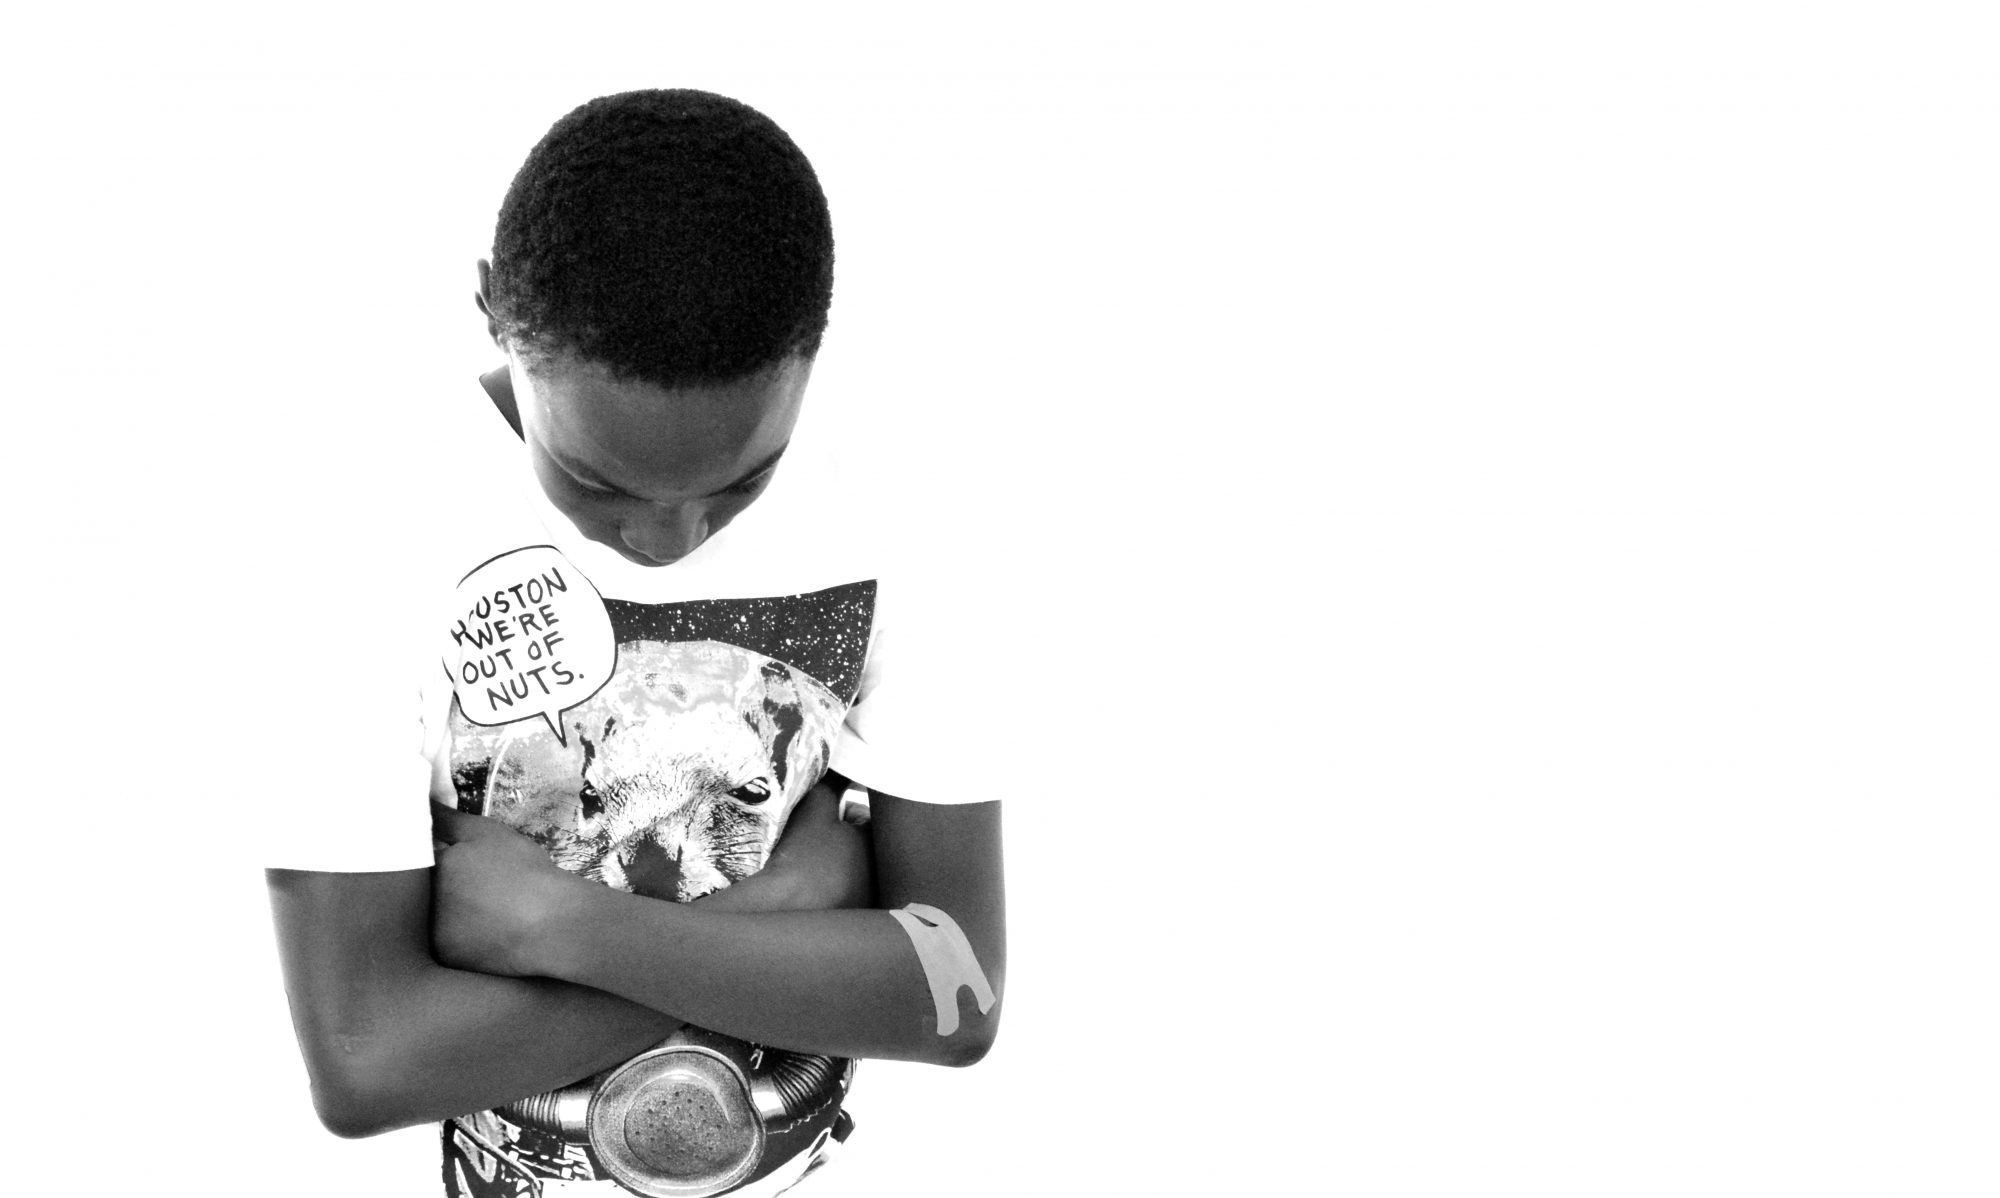
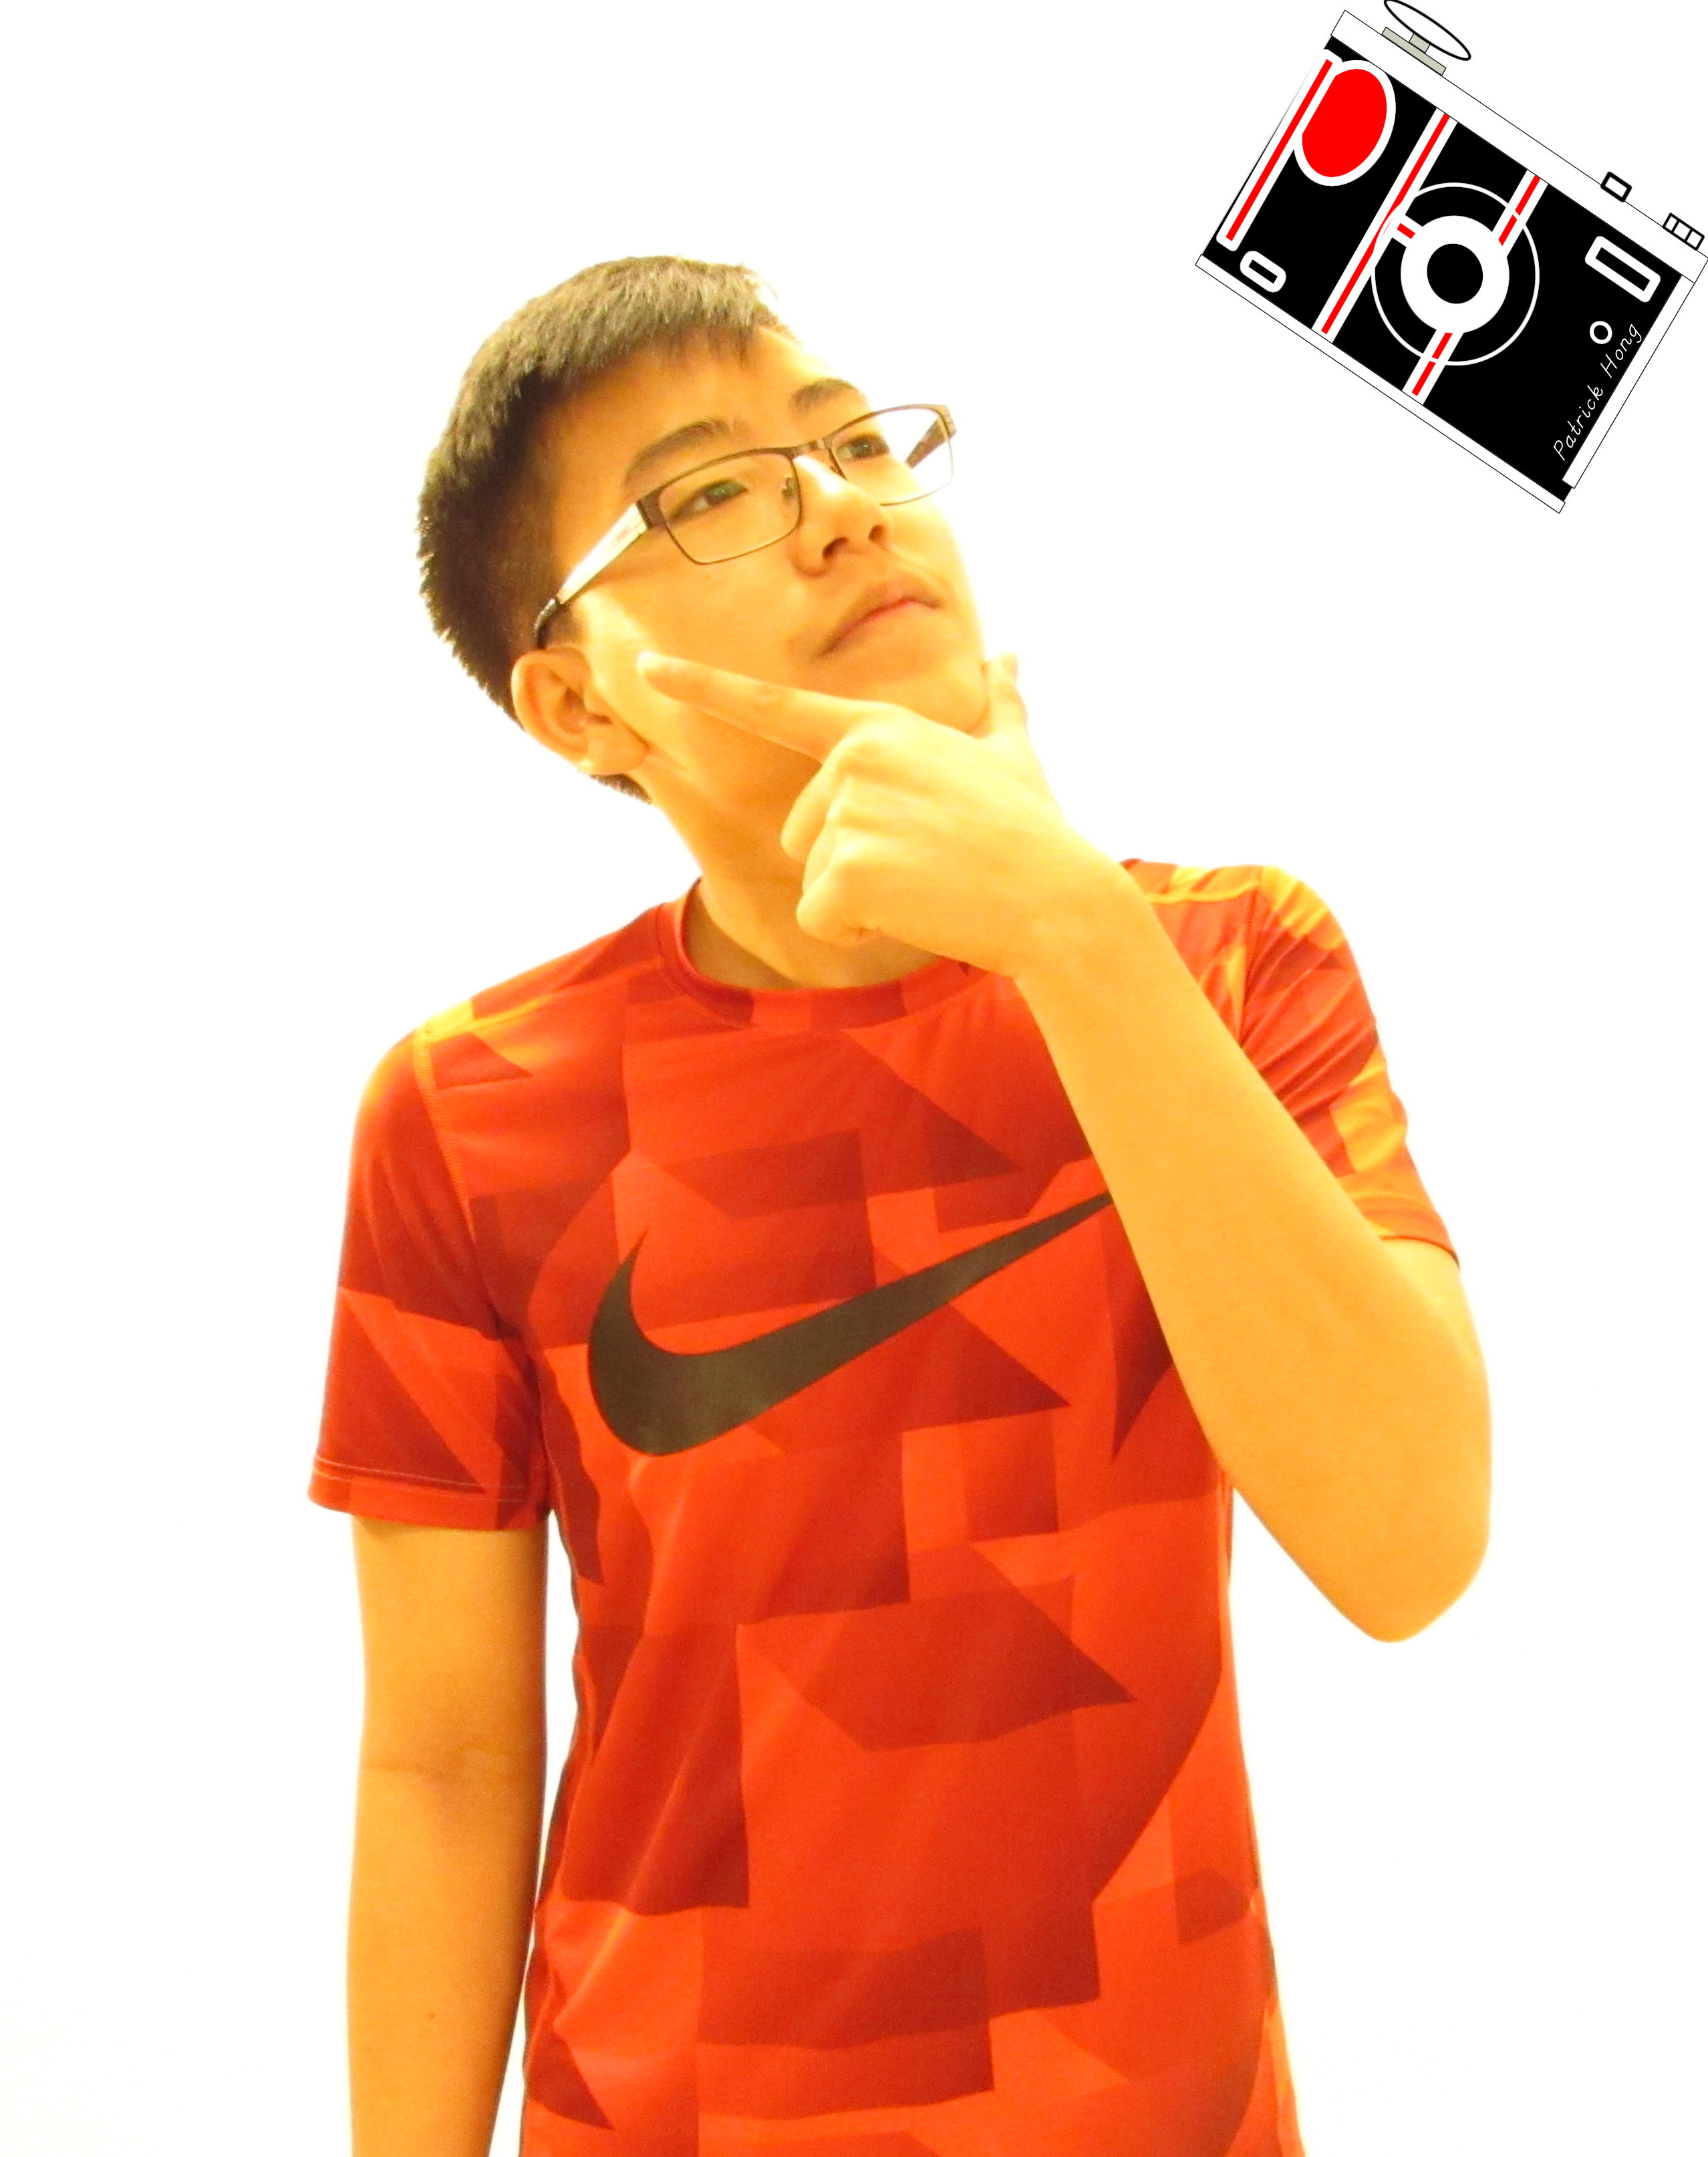
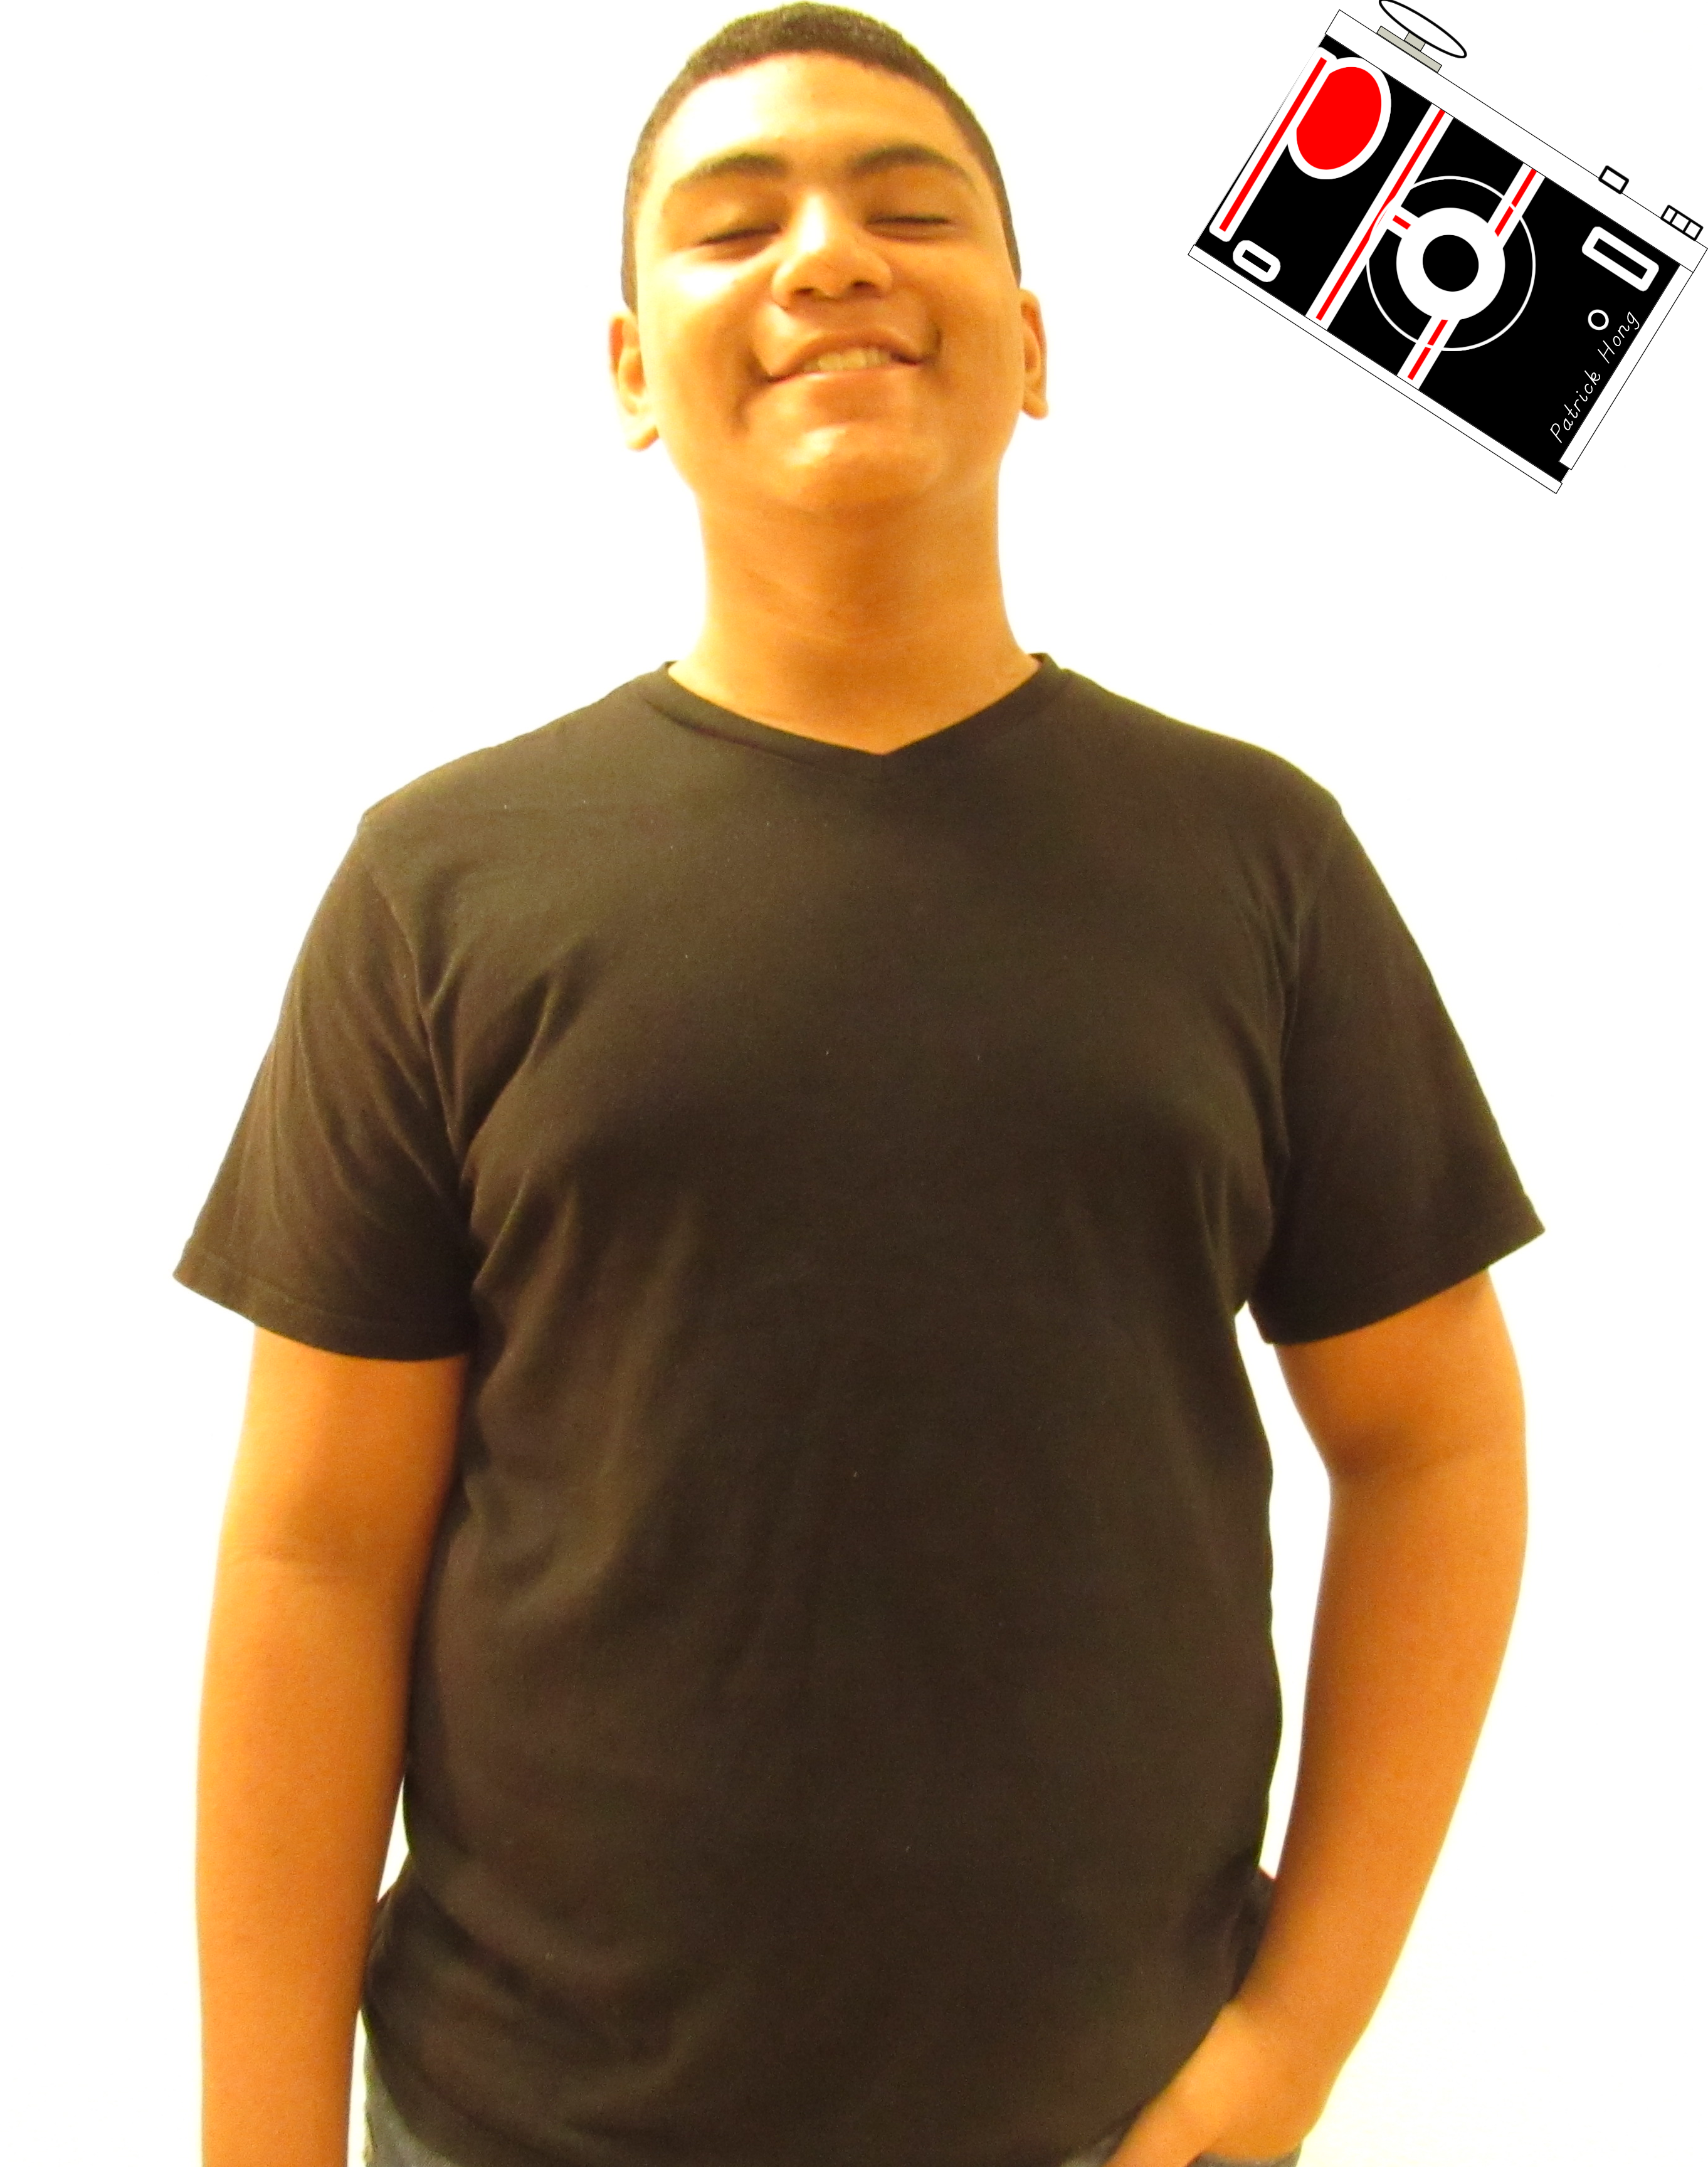
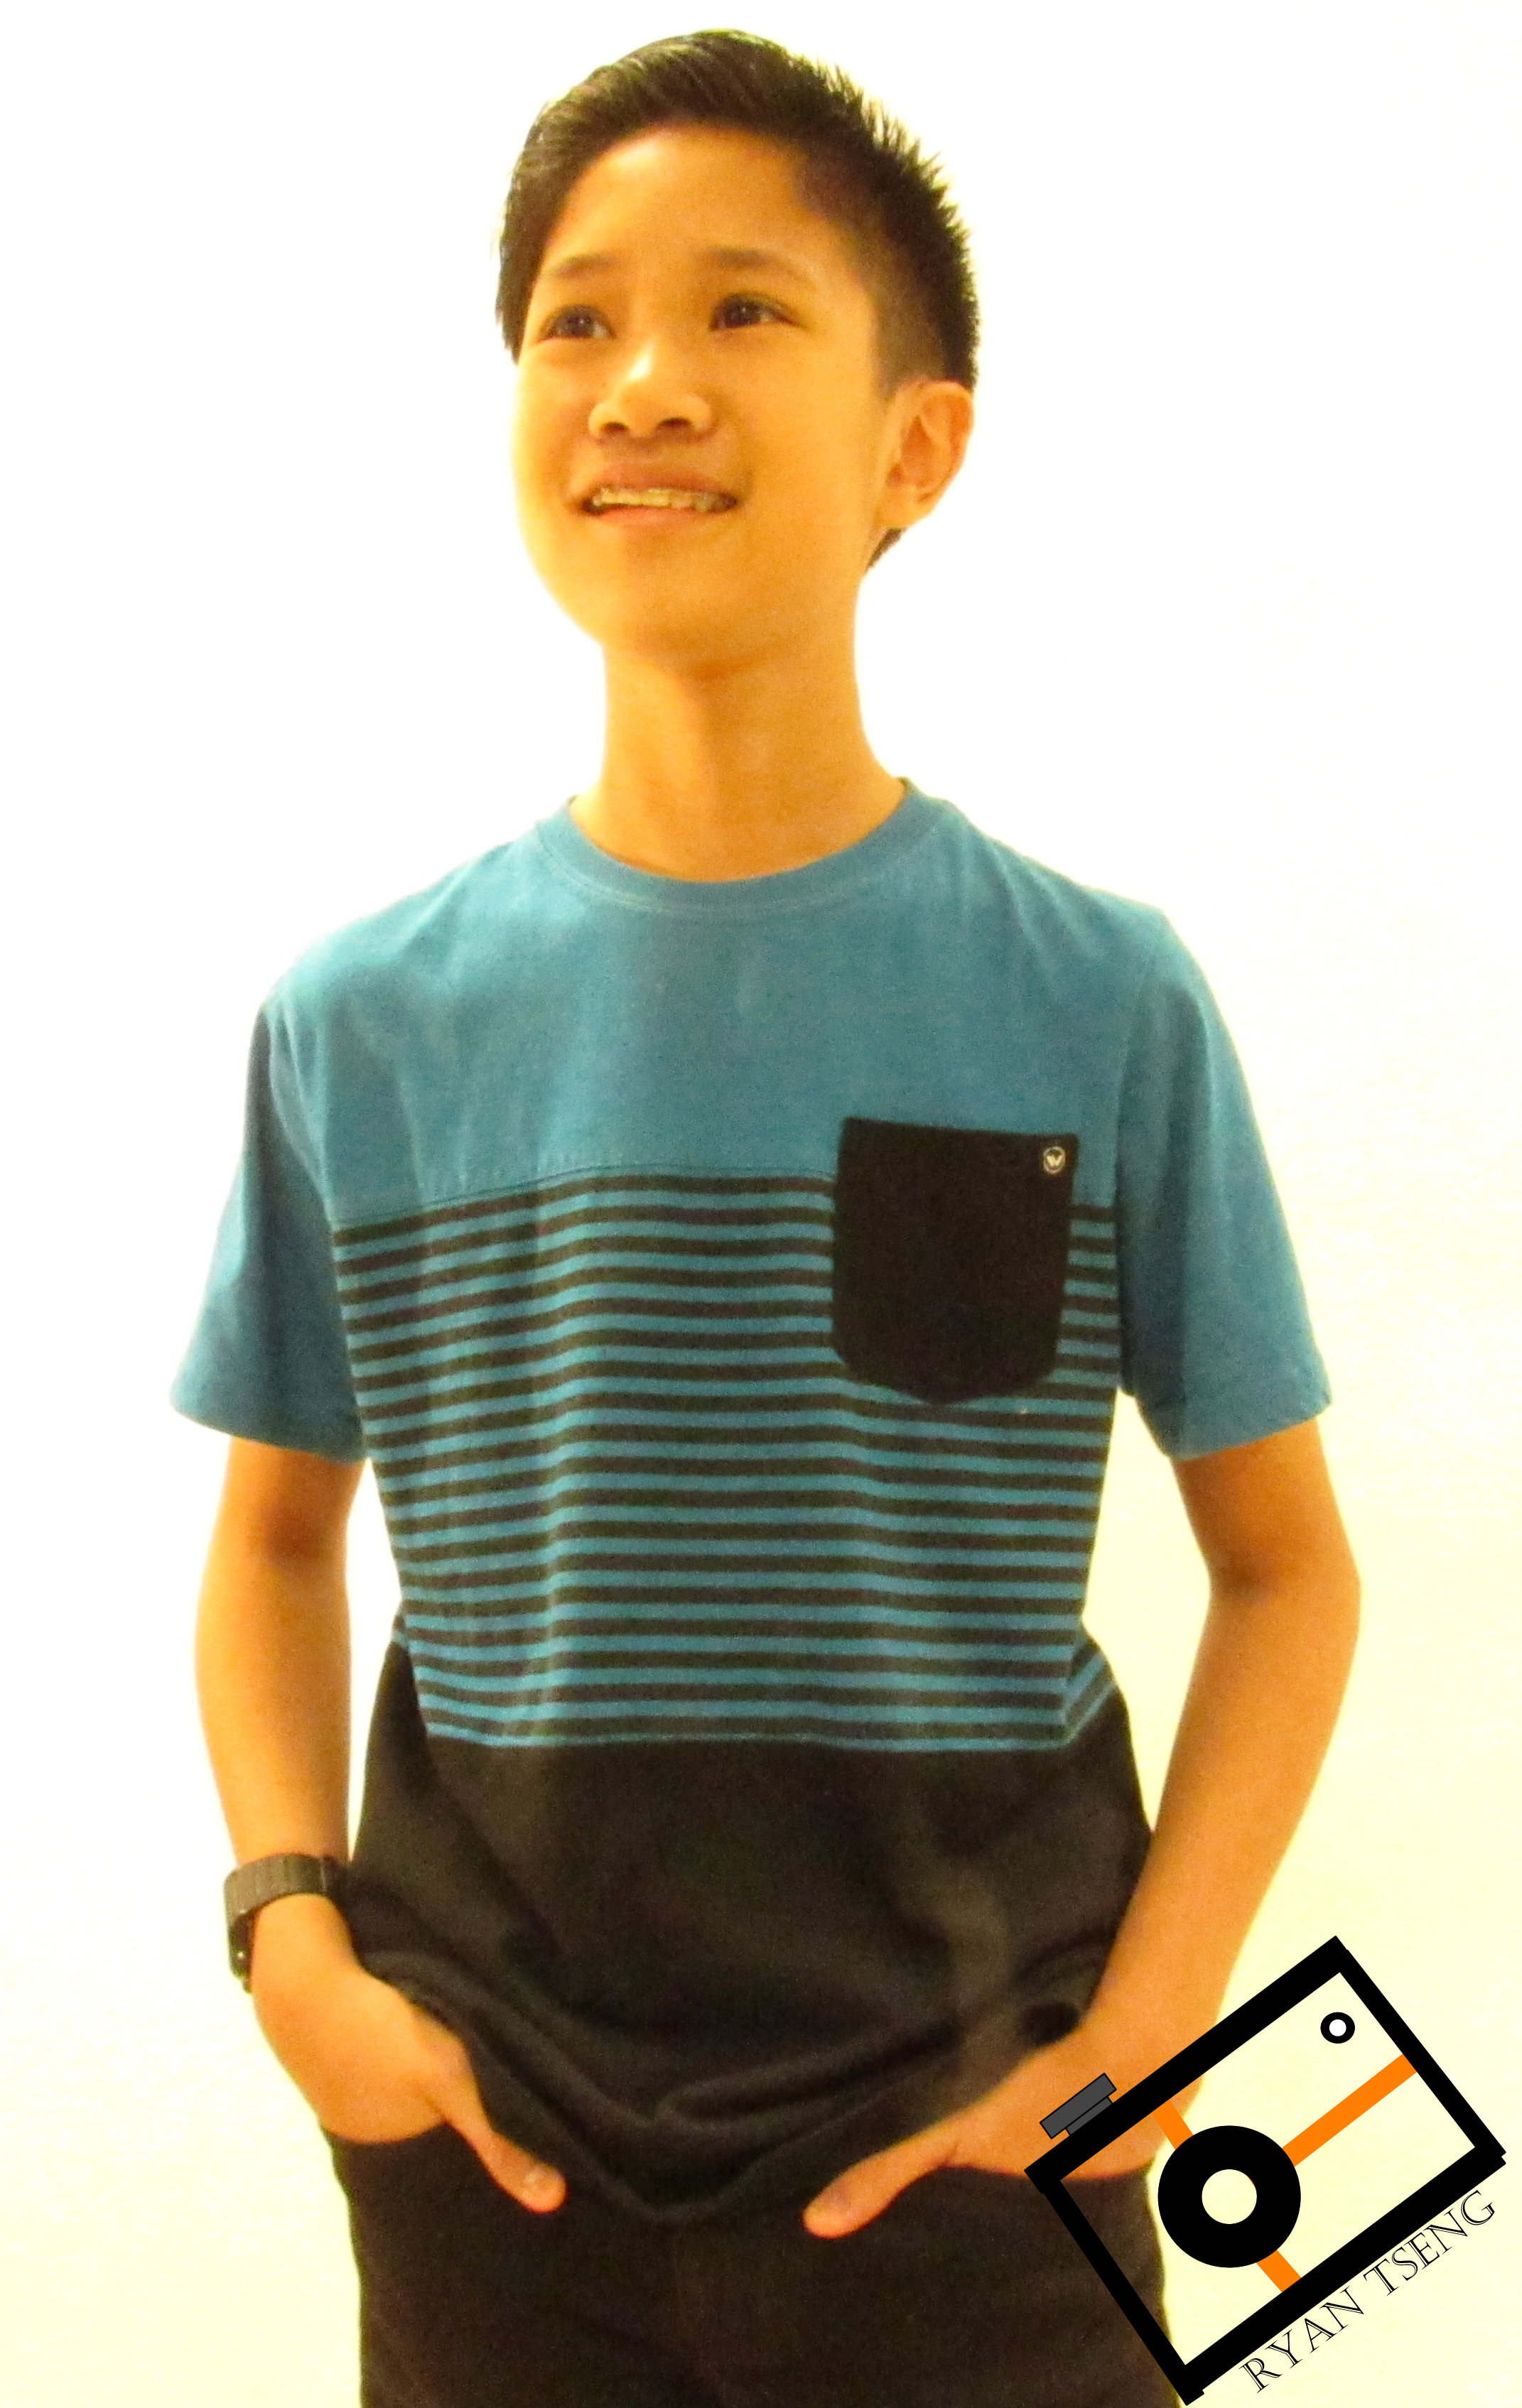
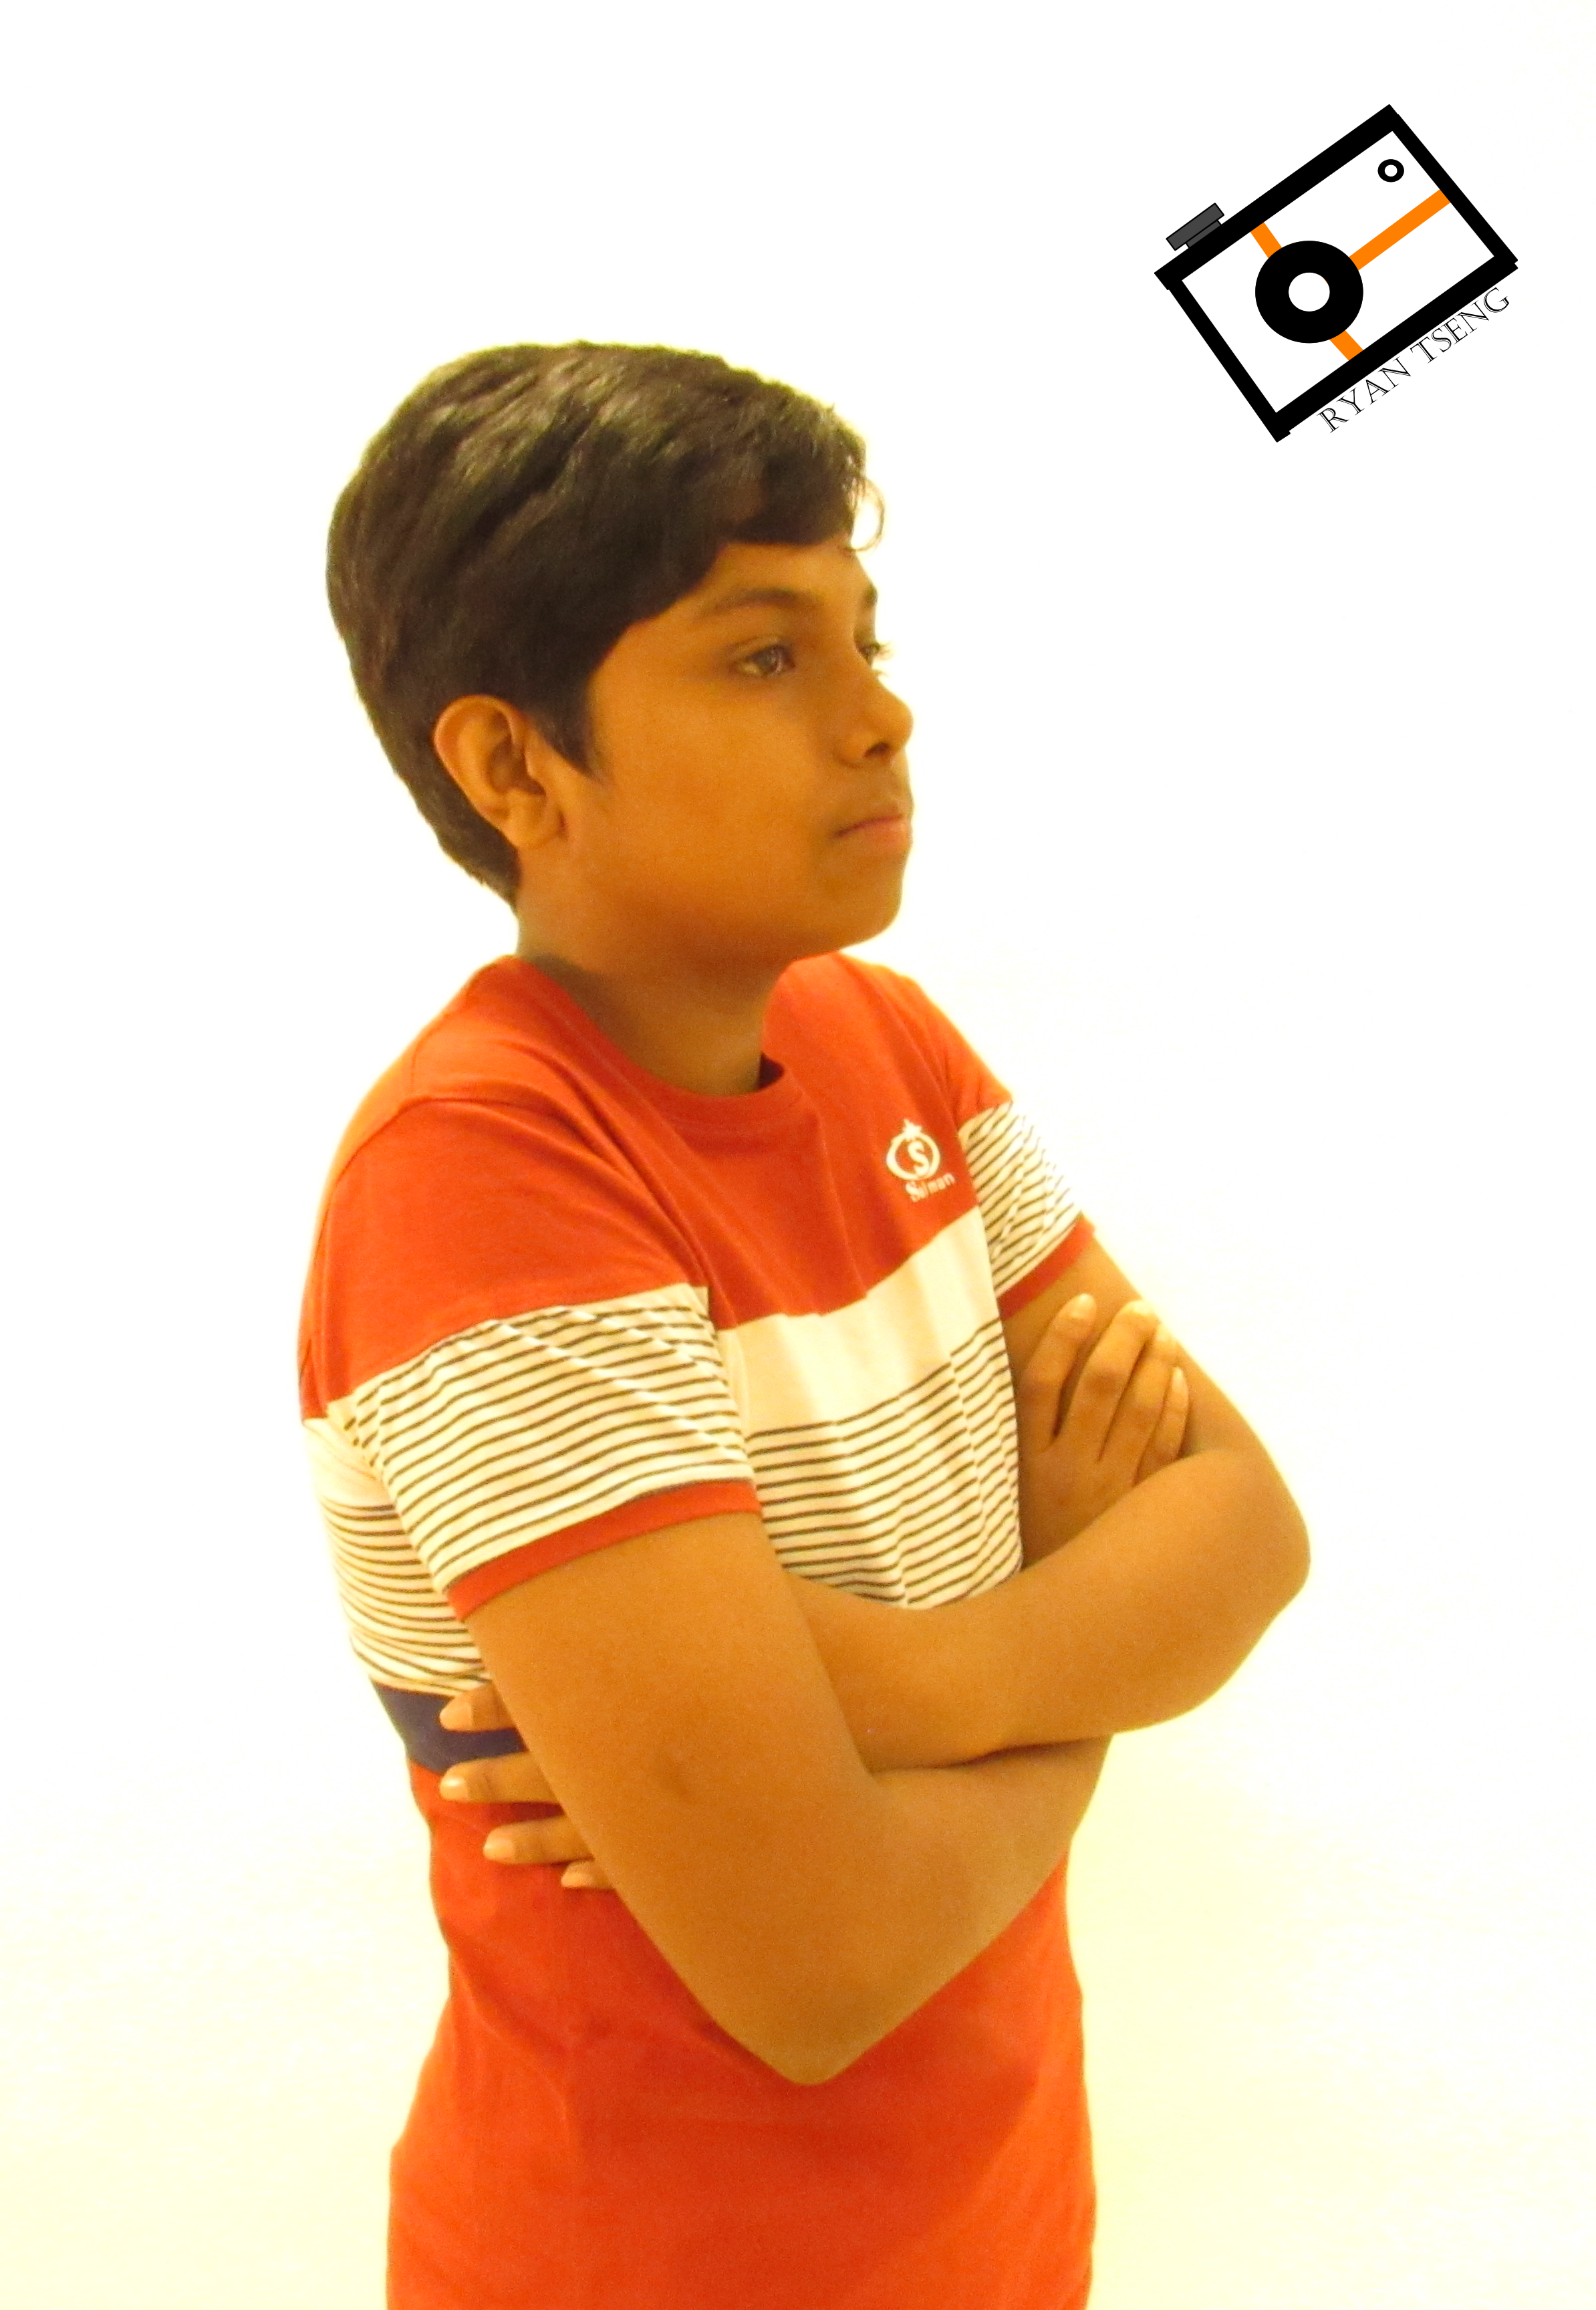
In this project we had to work together to create an infinite background with white backgrounds on manual mode. To take the pictures we had to adjust the camera settings such as, ISO, Shutter Speed, and F-Stop. These settings allowed the camera to take in more light or less light. This would create backgrounds with no shadows and the illusion of an “infinite” background. For the white backgrounds we adjusted the ISO to be around either 3200 or 1600. Then we changed the shutter speed to adjust the light setting of our photos. For most of them we put them at 1/40 or 1/30. To edit our photos we went to Photoshop and changed the light settings even more. If we still had problems we would crop the photo. For this project, taking multiple pictures with different camera settings really made things easier because it gave us many options to choose from. However, if we took photos that were too bright or too dark, we wouldn’t even be able to edit them in Photoshop. This project required us to handle the camera without it being on auto. Below is a picture that I took and a picture of me. You can find my group’s white background photos here.
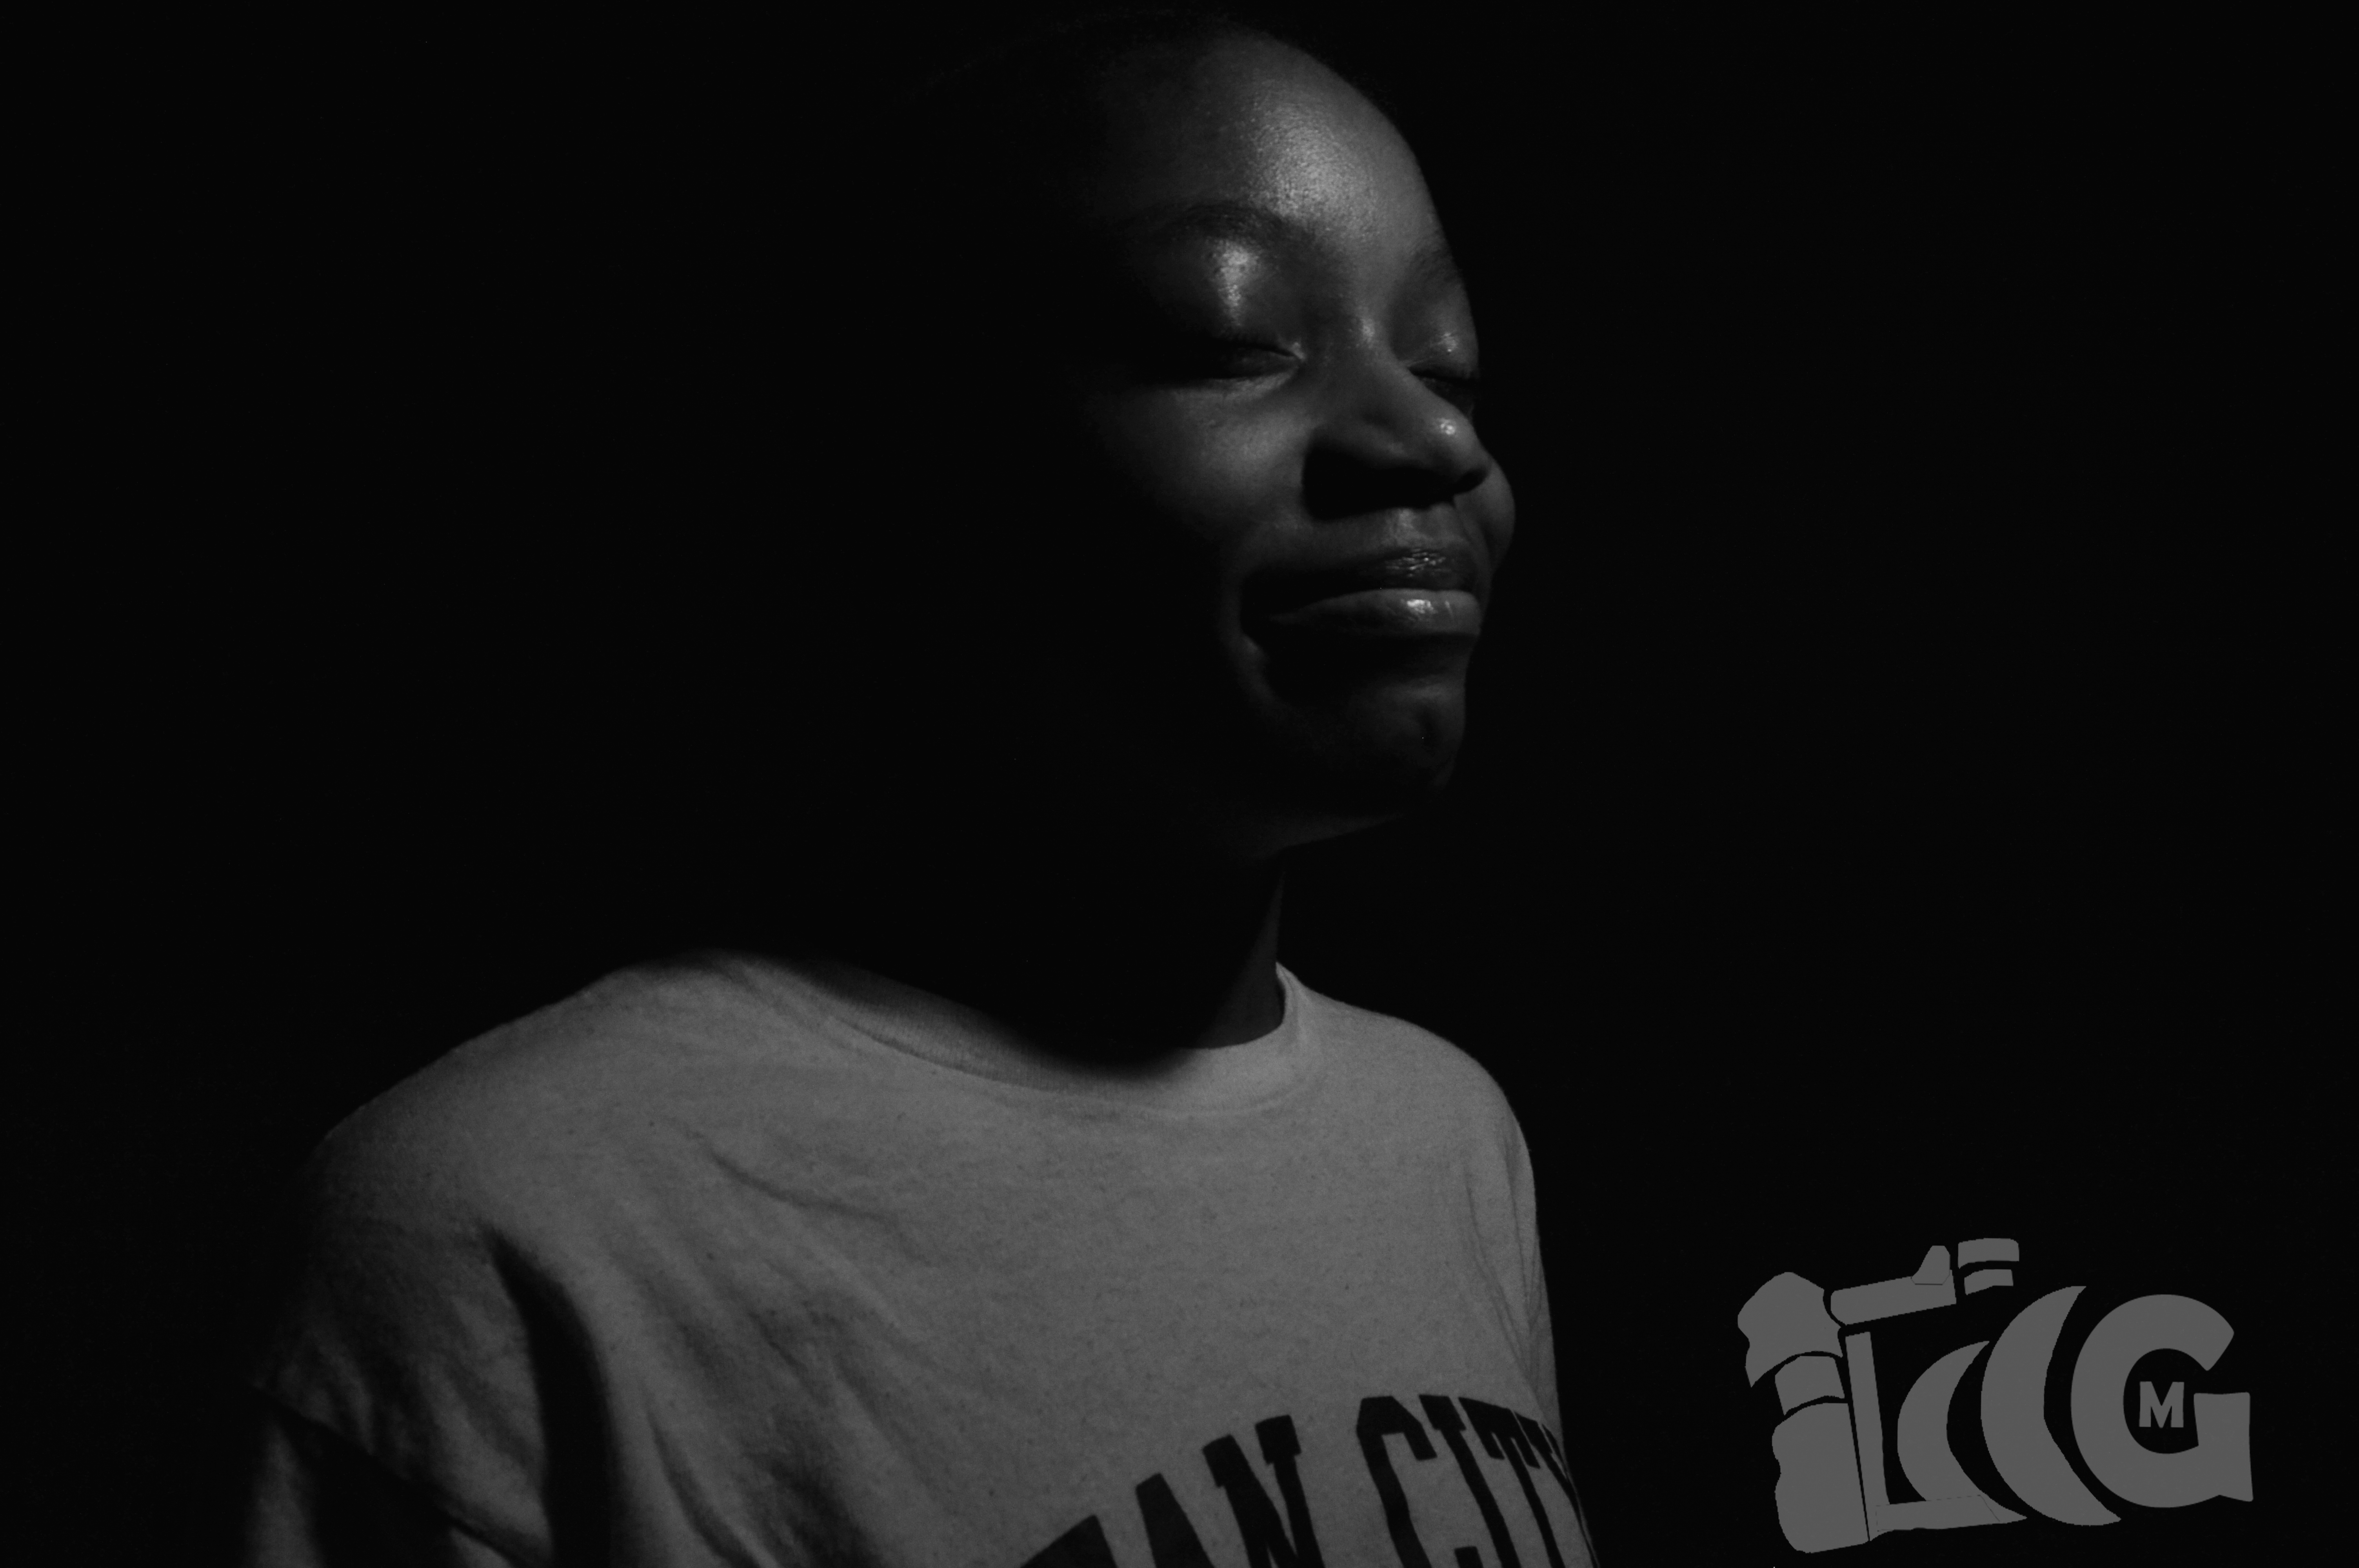
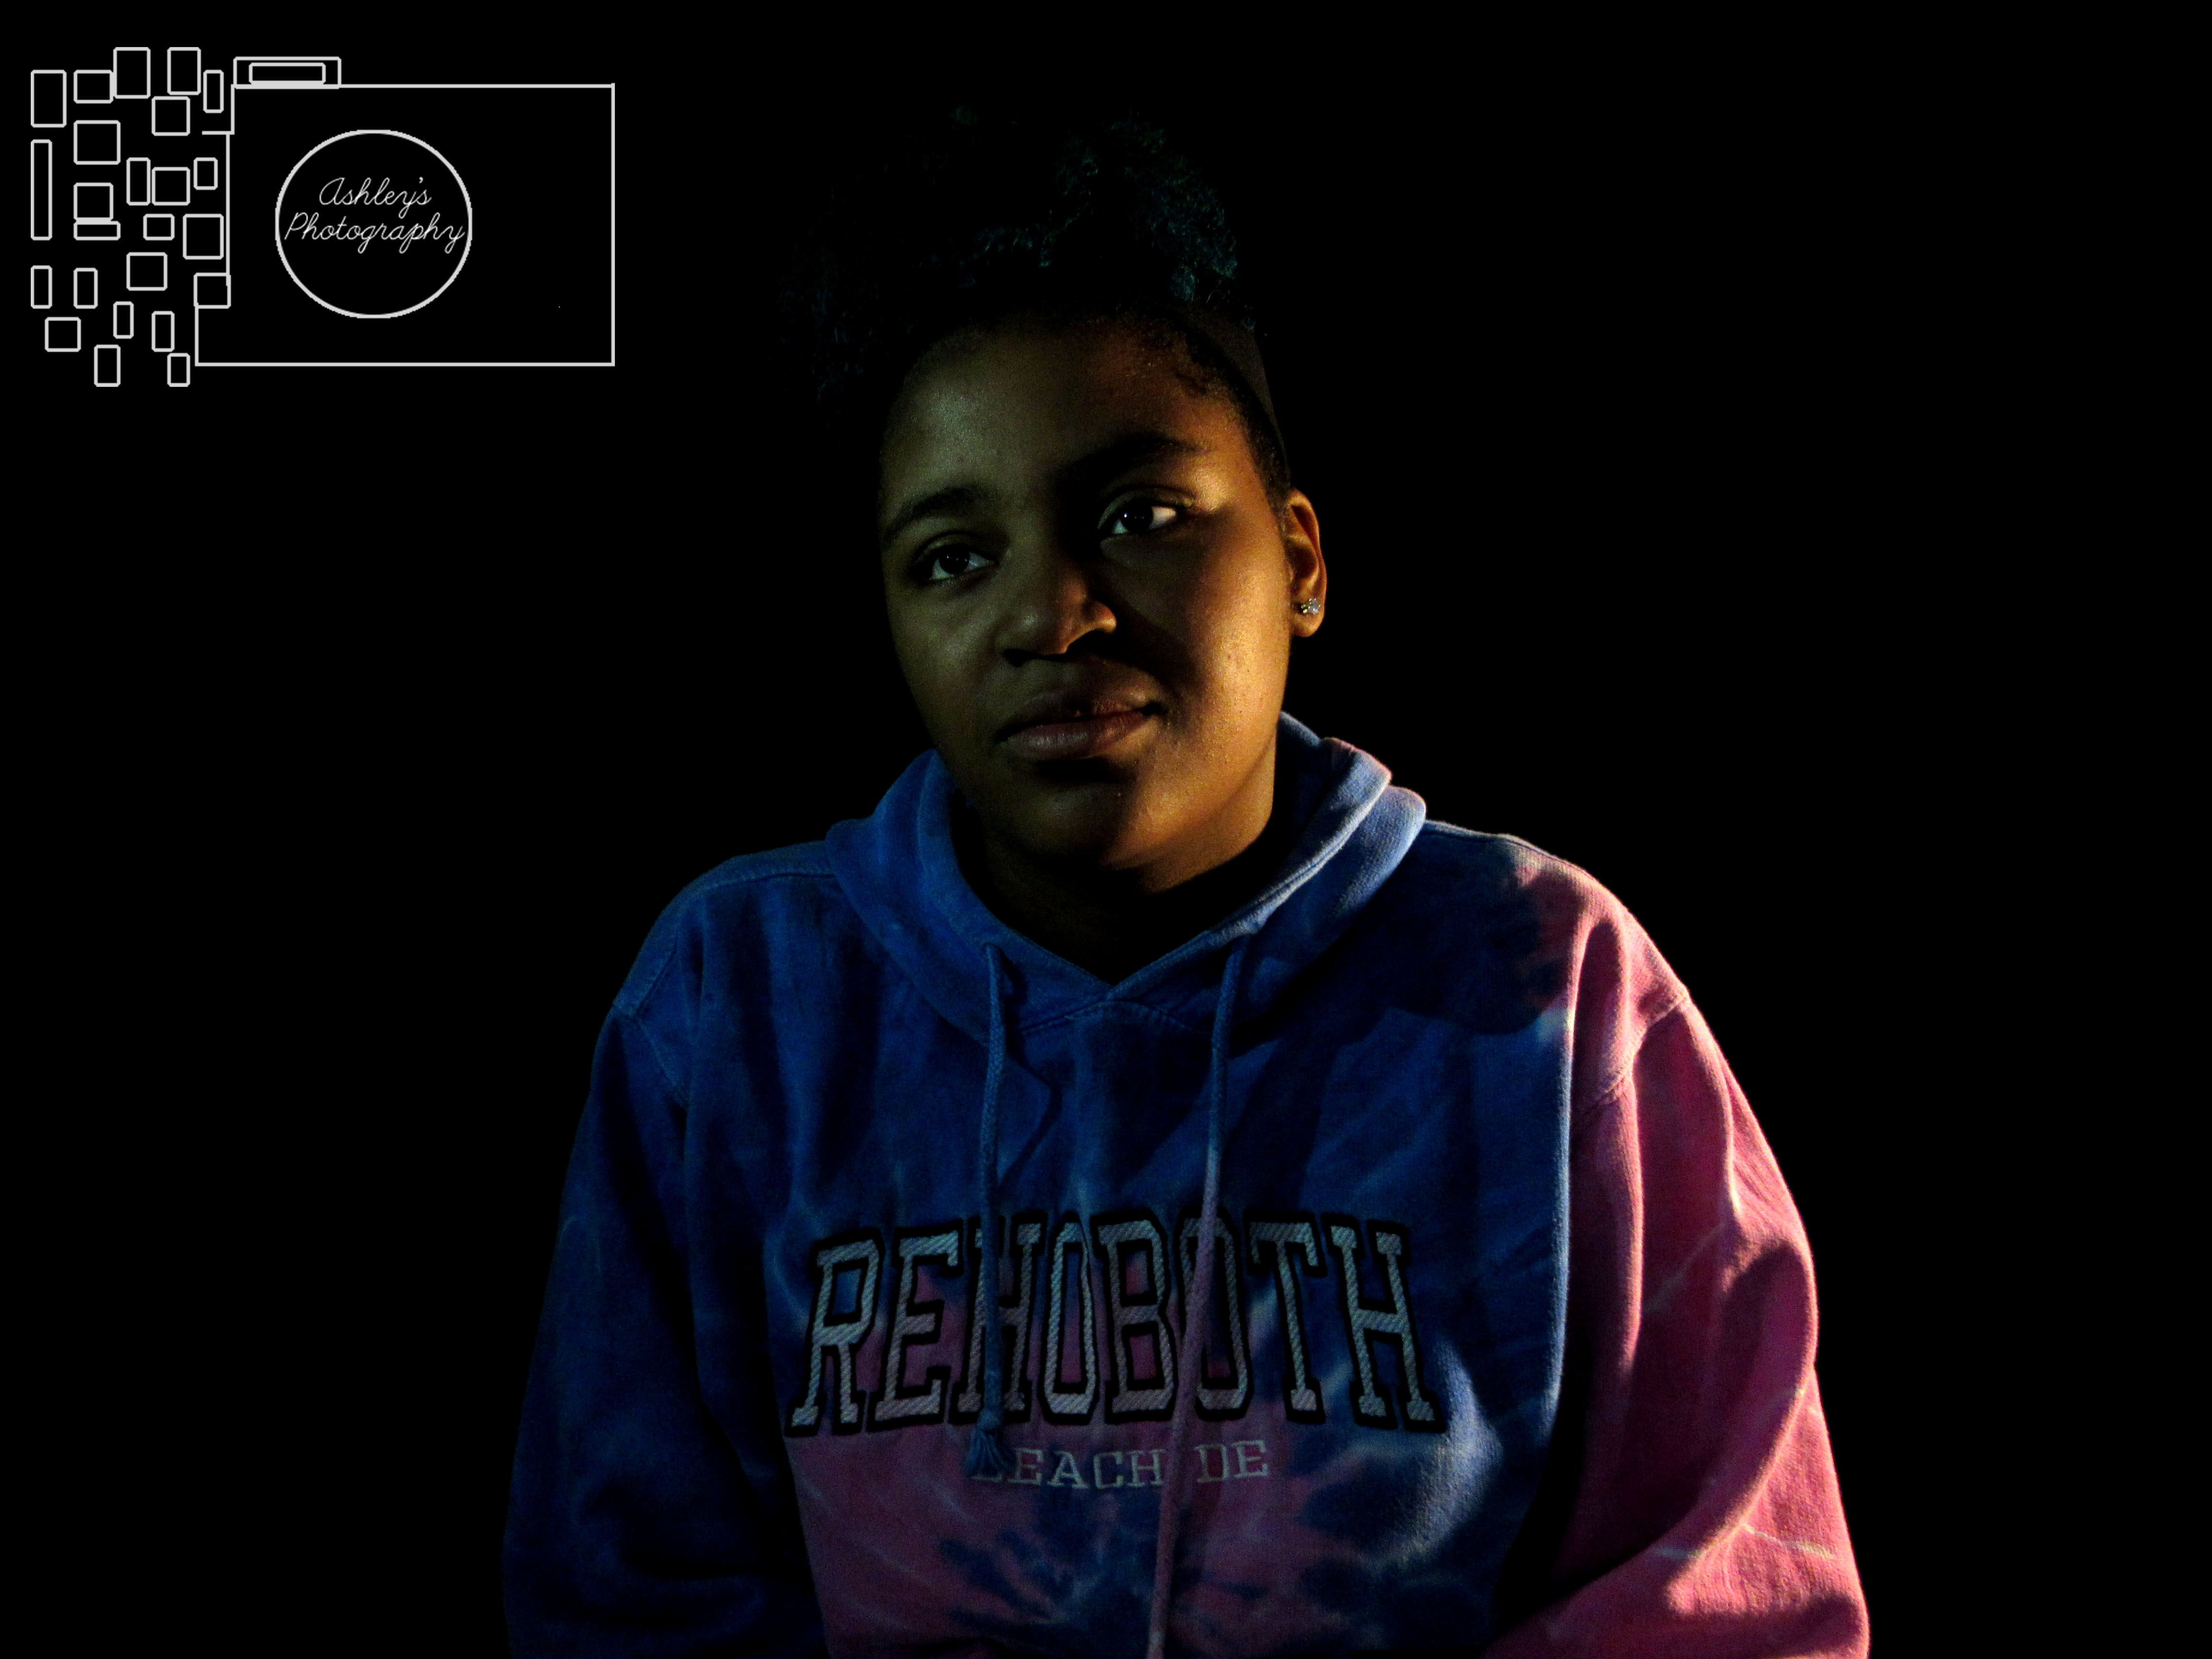
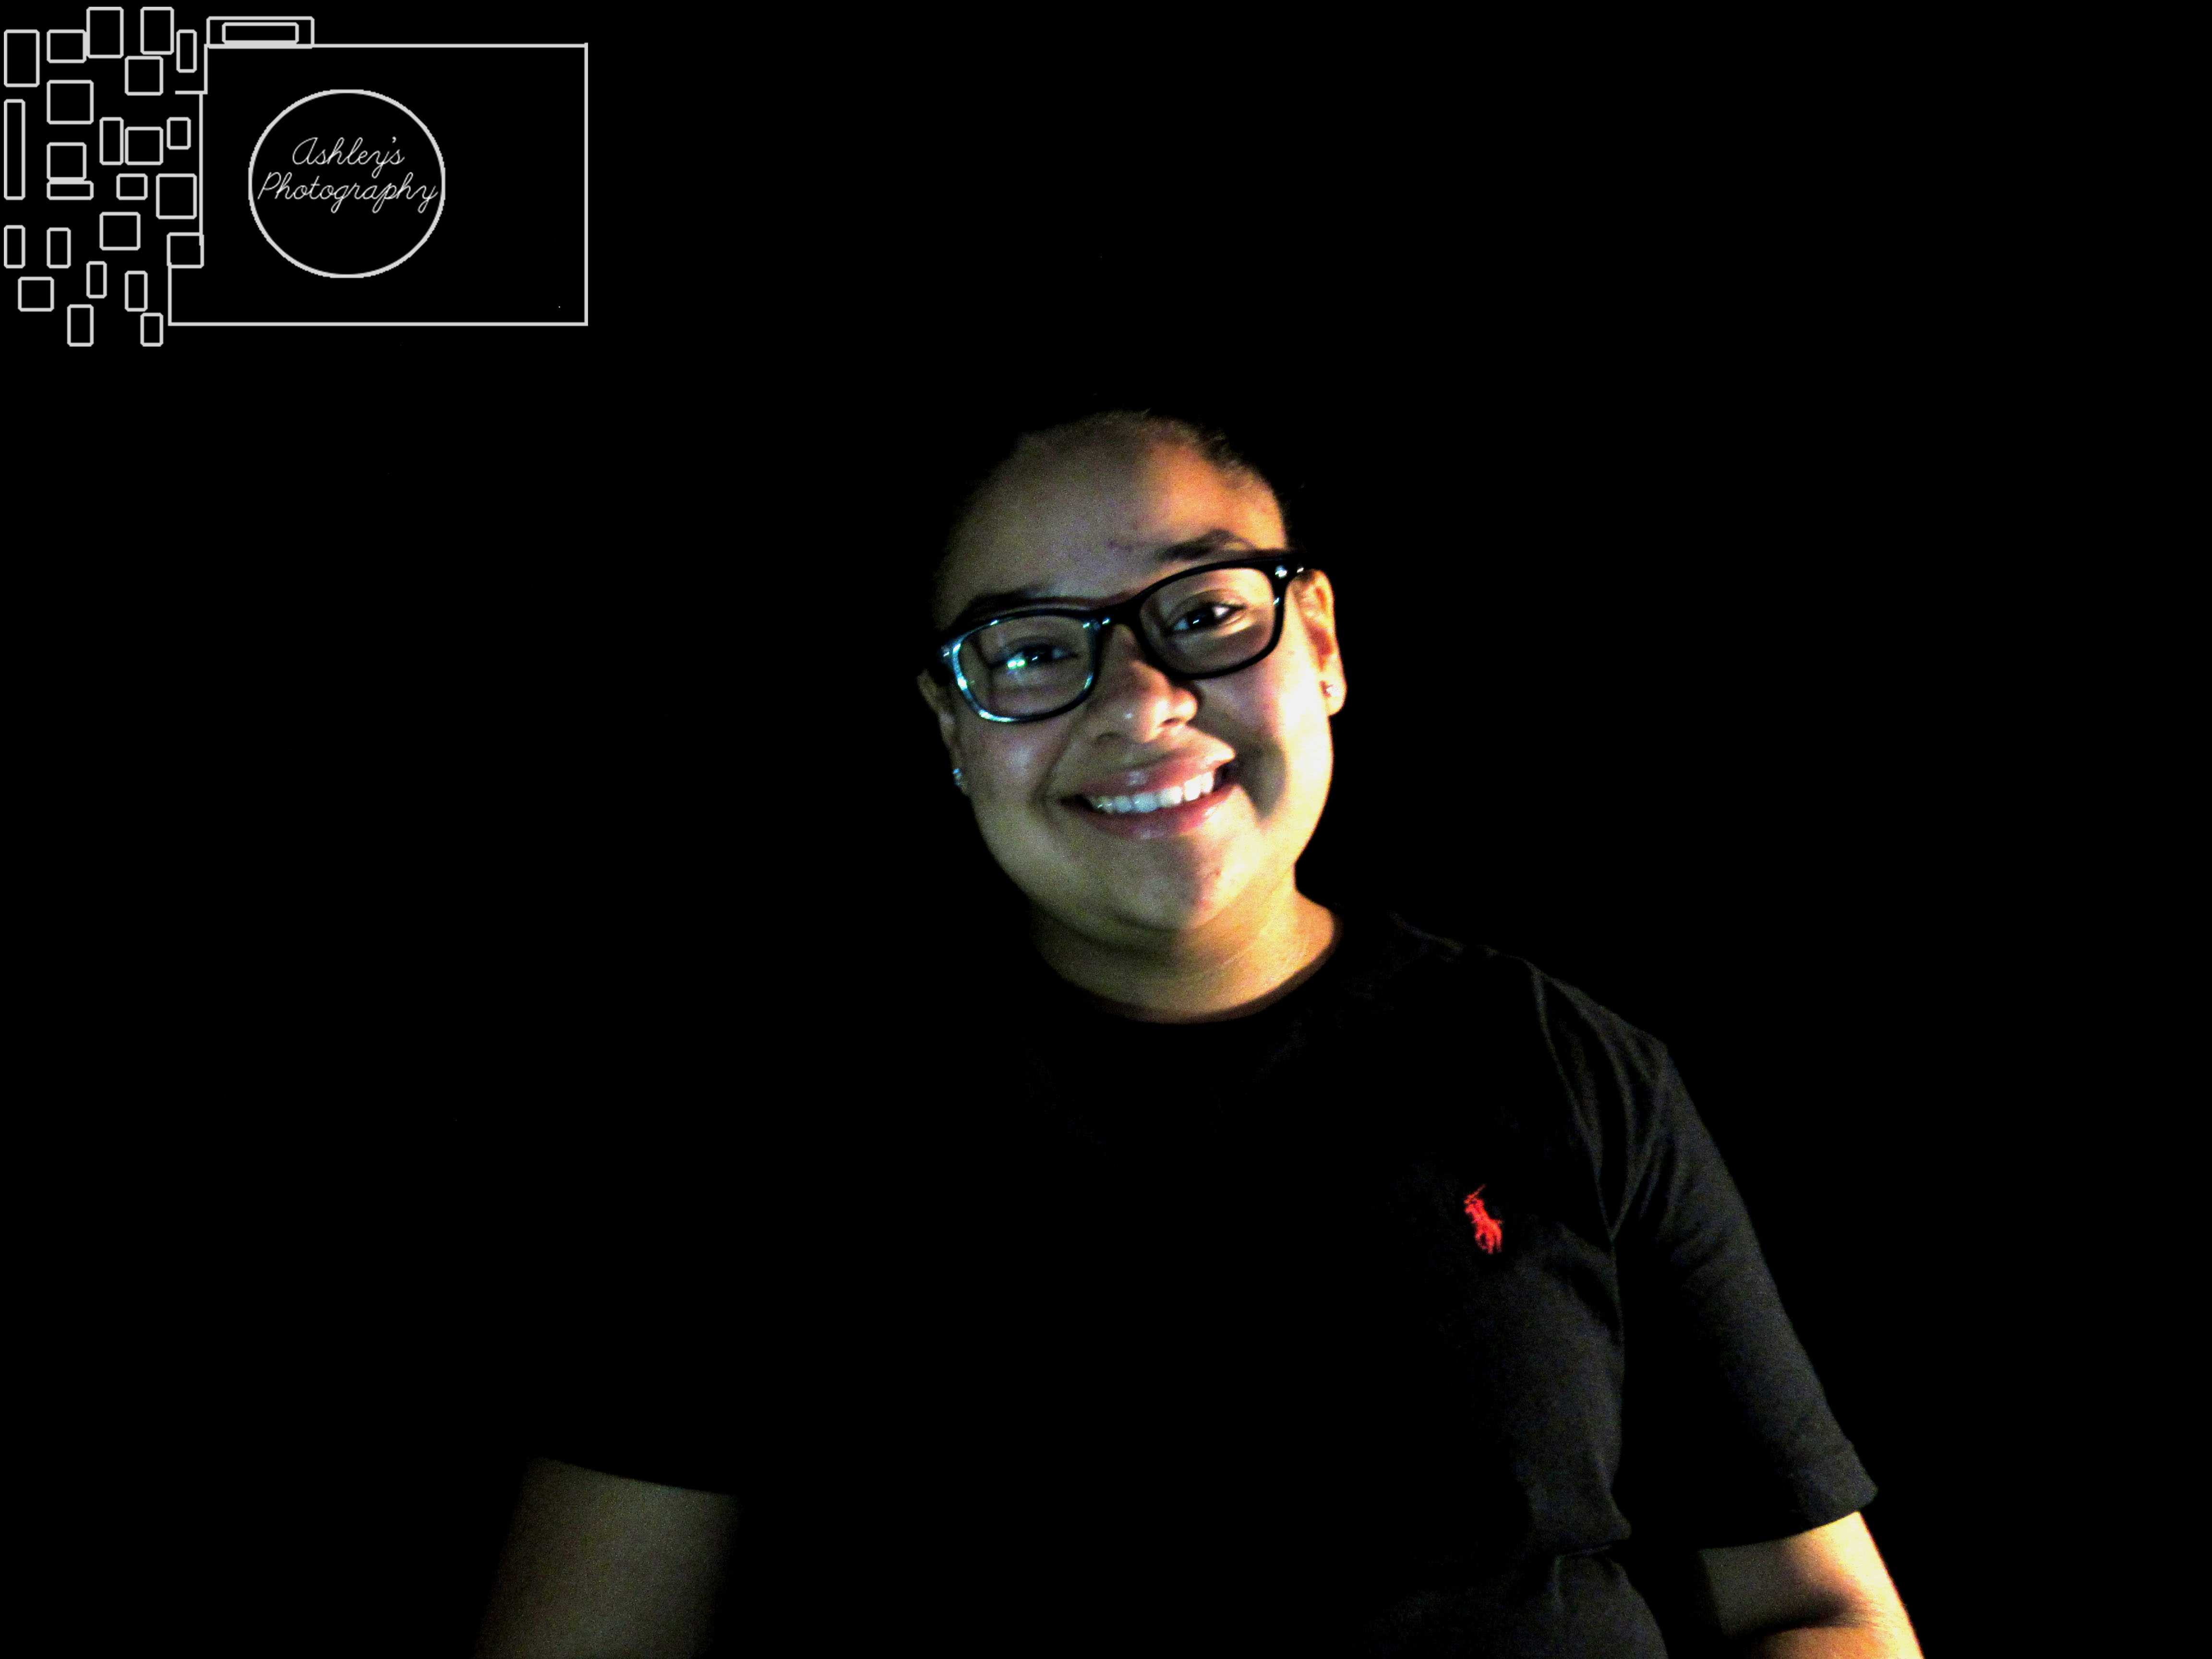
To take the pictures was a hard process but to edit them was easy. Taking the pictures needed a little amount of shutter speed so that the background stays black and not too light. Something that worked was putting the light directly on the person while something that didn’t work was putting light on the background because that would cause shadows and the point of this project is to avoid having any shadows in the picture. Down below are two photos of me and a photo I took. You can see the rest of the pictures here.
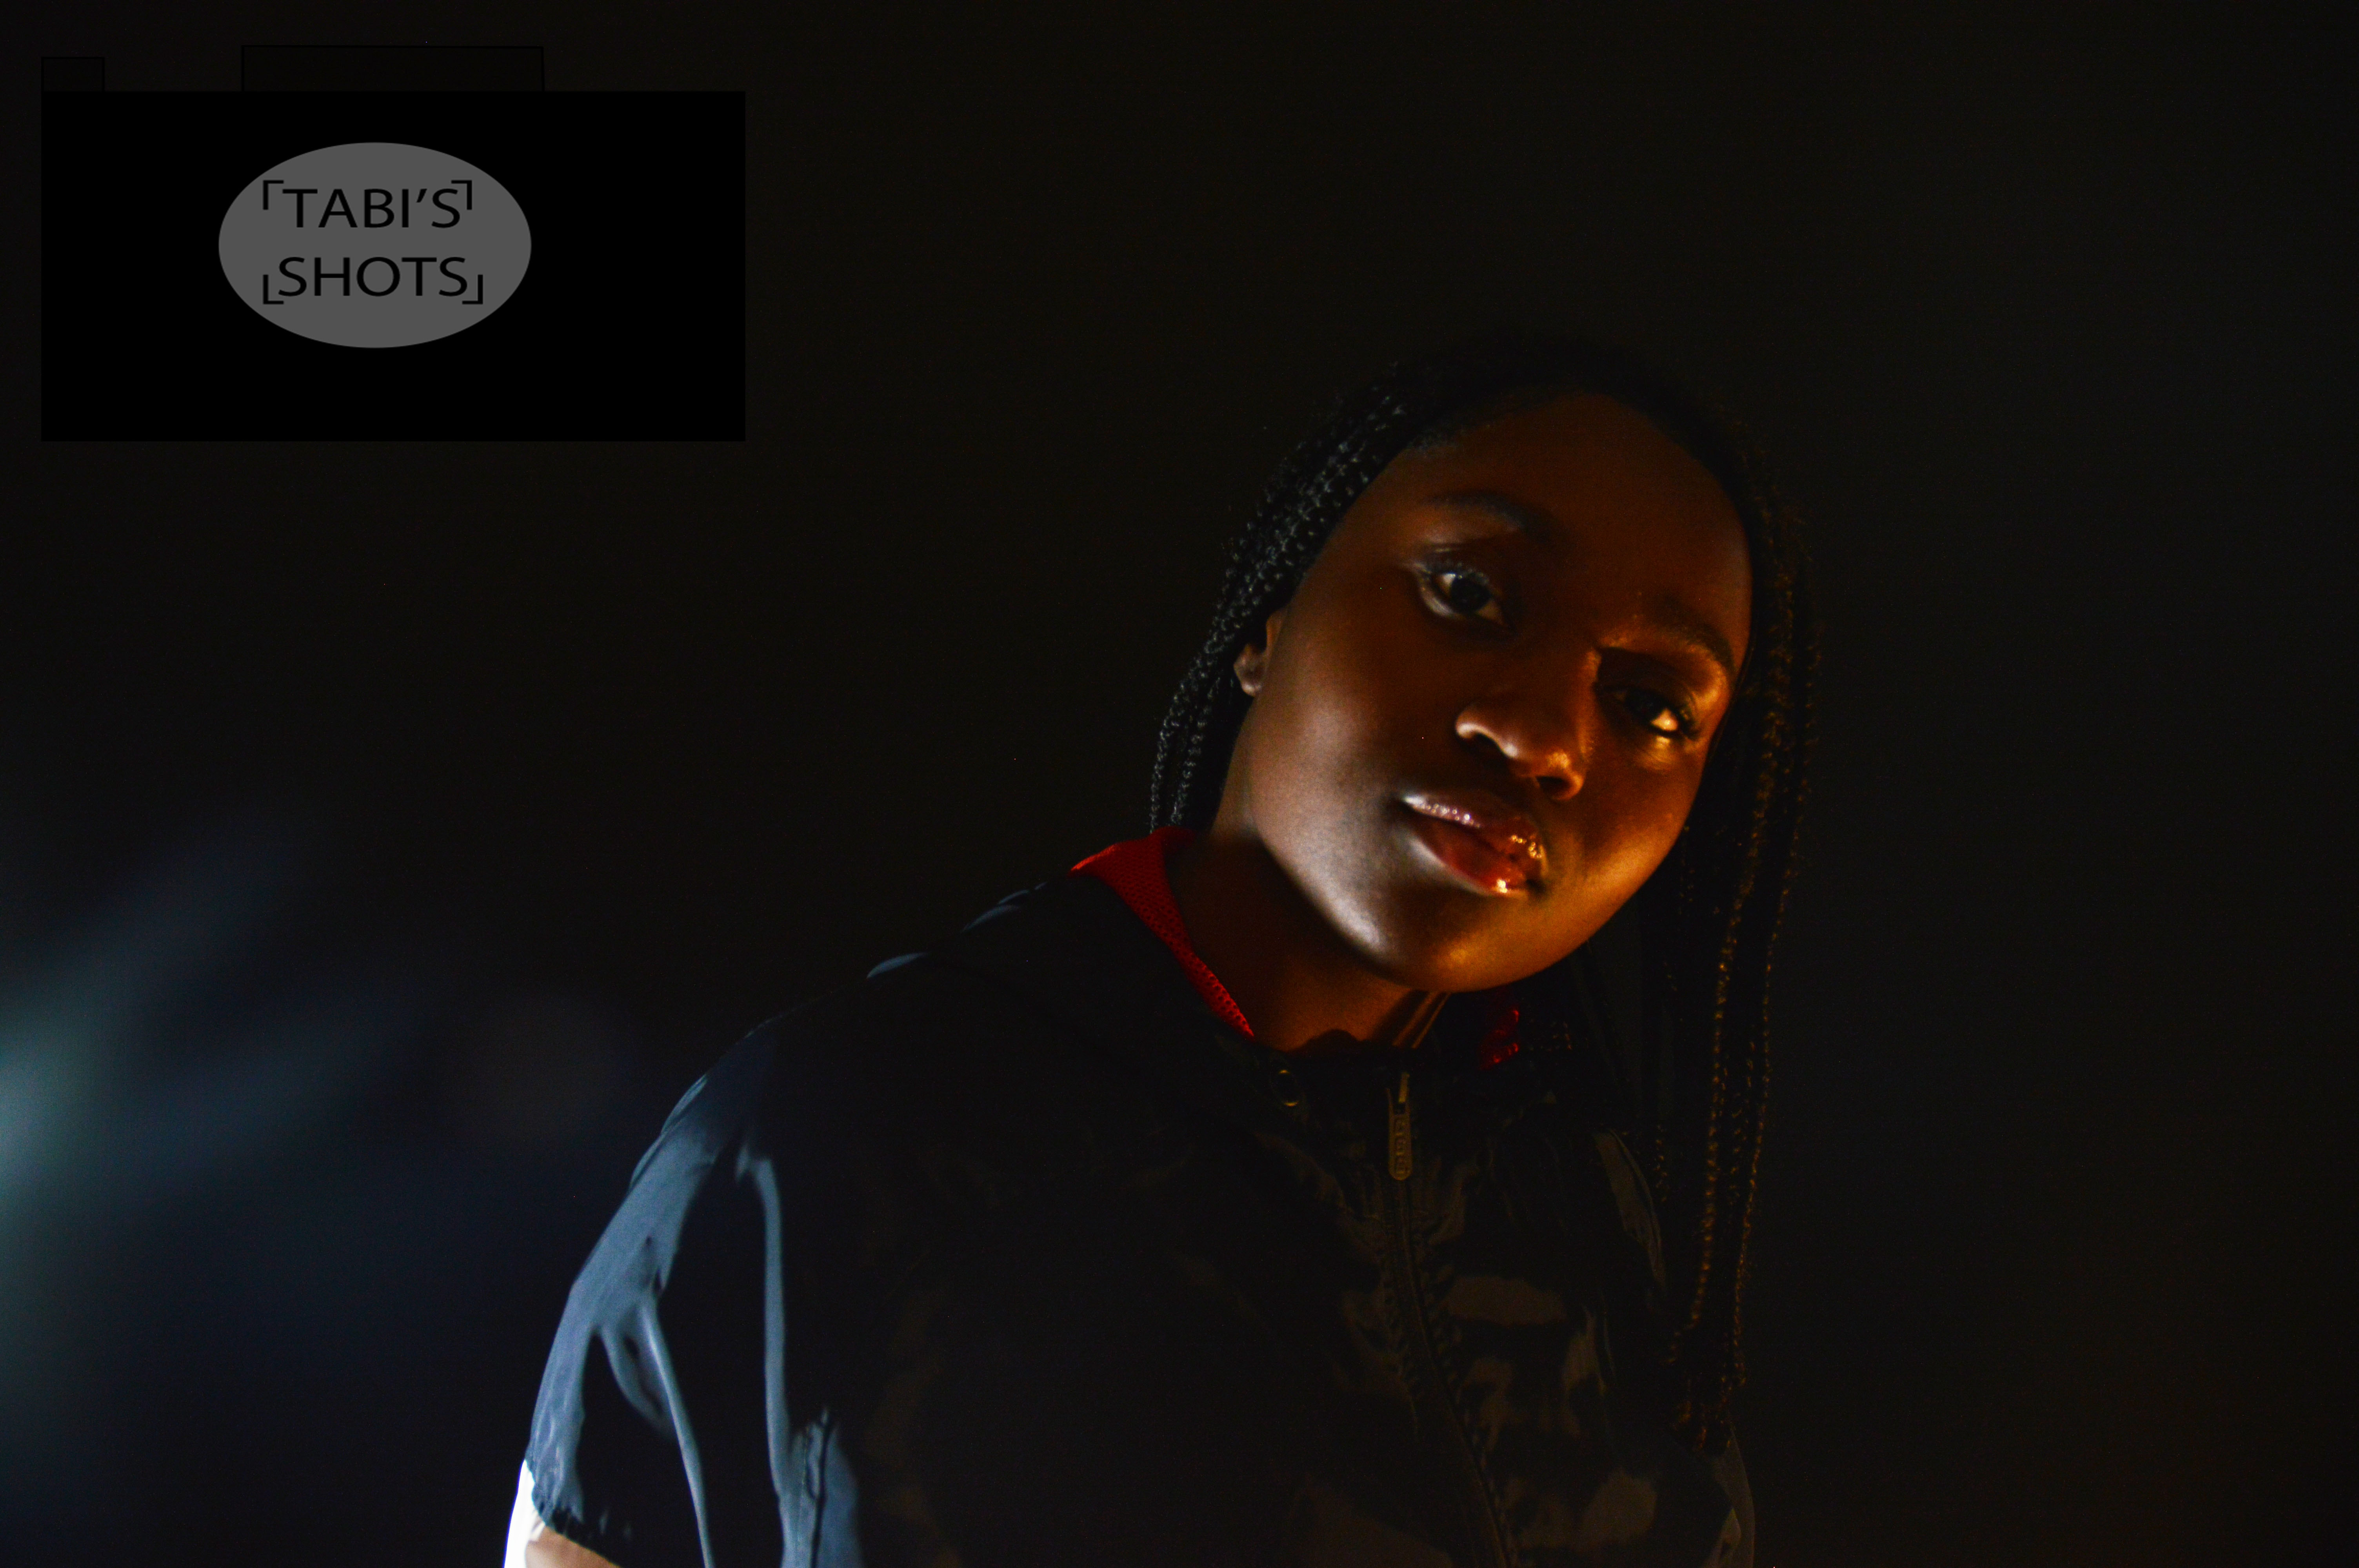
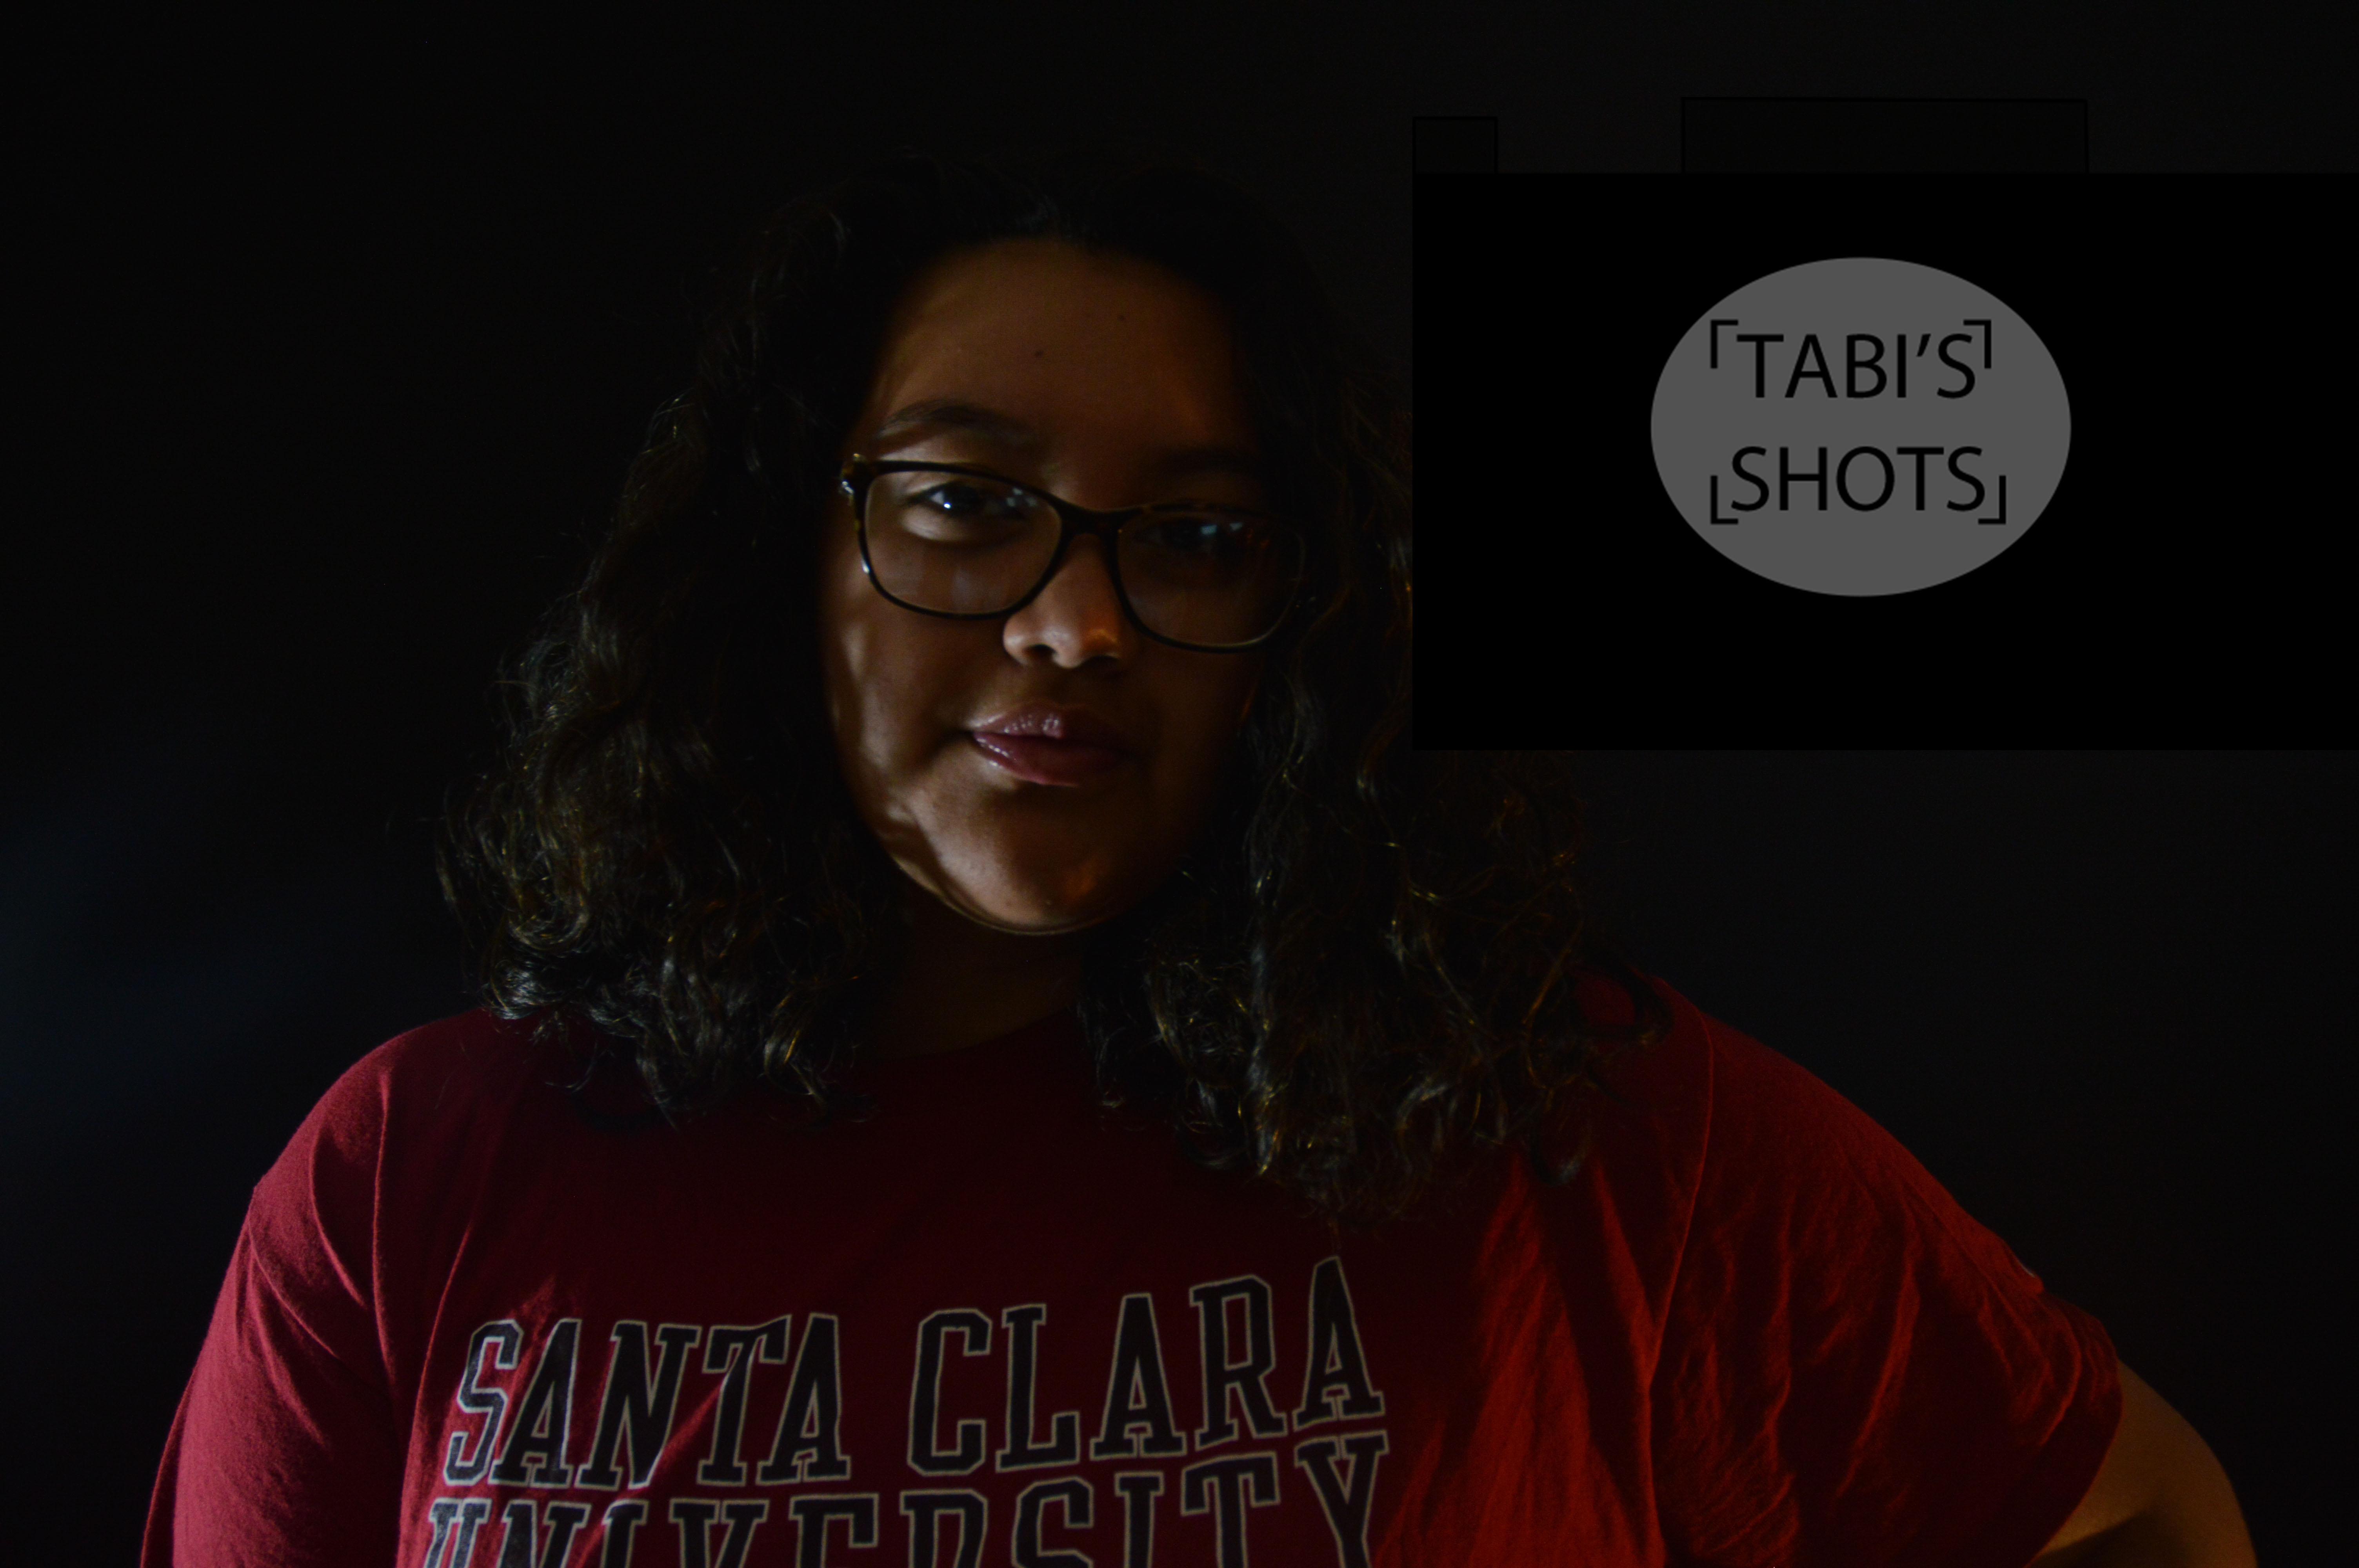
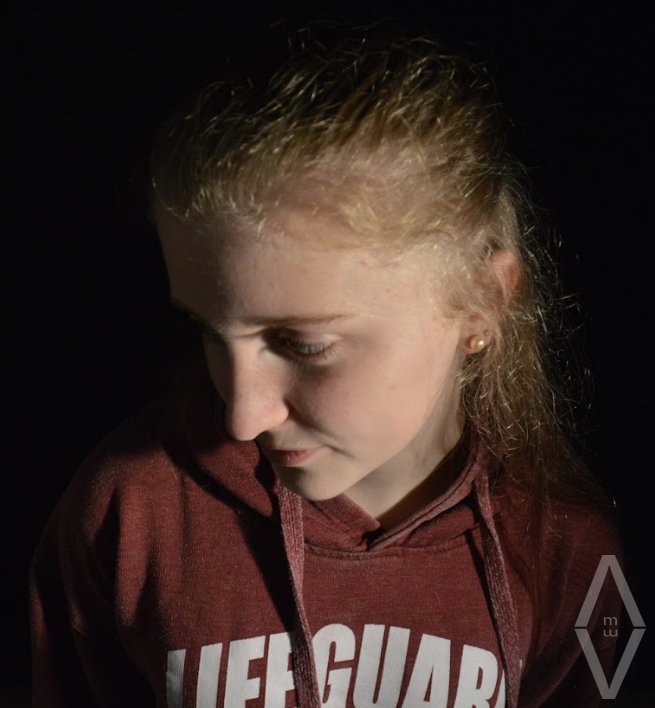
In this project we had to work together to create an infinite background with black backgrounds on manual mode. To take the pictures we had to adjust the camera settings such as, ISO, Shutter Speed, and F-Stop. These settings allowed the camera to take in more light or less light. This would create backgrounds with no shadows and the illusion of an “infinite” background. For the black backgrounds we adjusted the ISO to be around either 800 or 400, sometimes even as low as 200. We also changed the shutter speed to adjust the light setting of our photos. For the shutter speed we adjusted it based on our clothing and if there were shadows or not. The shutter settings ranged from as low as 1/30 to 1/60 (since we already adjusted the ISO). To edit our photos we went to Photoshop and changed the light settings even more. If we still had problems we would crop the photo. For the black backgrounds we would have problems with the lighting so we had to move the light to be in front of the camera. However, if we took photos that had too much or too little light, we wouldn’t even be able to edit them in Photoshop. This project required us to handle the camera without it being on auto. Below is a picture that I took and a picture of me. You can find my group’s black background photos here.
In this project, we were required to use certain settings in a camera to take the perfect photo on a black background. We had to mess with the shutter speed in order to get just the right amount of light so others can see us. The easiest part of this project was taking the photos and sometimes cropping the photo. The hardest part was not having the urge to wear something black or something dark.
In this project, we were required to take photos of yourself and others on a white and black background with some lighting. We had to use certain camera settings to get the perfect picture without and brown spots on the background. We also need to go to photo shop to try and remove any brown spots. The things that worked was taking the actual pictures. The most difficult thing was not wearing white. To see the other pictures, click here
In this project I had to mess with the iso settings and the shutter speeds. I used a dial that affects the shutter speed. Shutter speed is how long the camera lens is open. The longer the lens is open will make more light show up in the photo. If the lens was open to long then shadows would show up in the background and we can’t be having that. But if the lenses were open to short then the person would start to disappear . It was hard to find a good pose. The poses had to show the persons face. But if the person was at an angle it looked a lot better. So to combat this I took many photos with different shutter speeds and chose the best of them. If you want to see more photo’s click here
To take pictures we used the camera on manual and used a light to put it on the person, not on the background. We stood in front of the light so it won’t get on the black background. I would say what didn’t work was putting the light on the background, it made the background stay brighter then its supposed to be. What worked was turning the person lighter, so the background looks like a black hole. If you want to see all my pictures click here
In this project we had to make the background of the pictures we took pitch black. We had to keep changing the ISO so enough light would shine on our faces, but not on the background because that would give a shadow. Once, we figured out the correct way to hold the light and the correct ISO, it made the project just a little bit easier. The most challenging thing was finding a good way to hold the light so it would shine on our faces, but not on the background. This project was probably one of the hardest project because there was so many things that you had to make sure where in the right place. The rest of my photos are down below.