Rule of Thirds

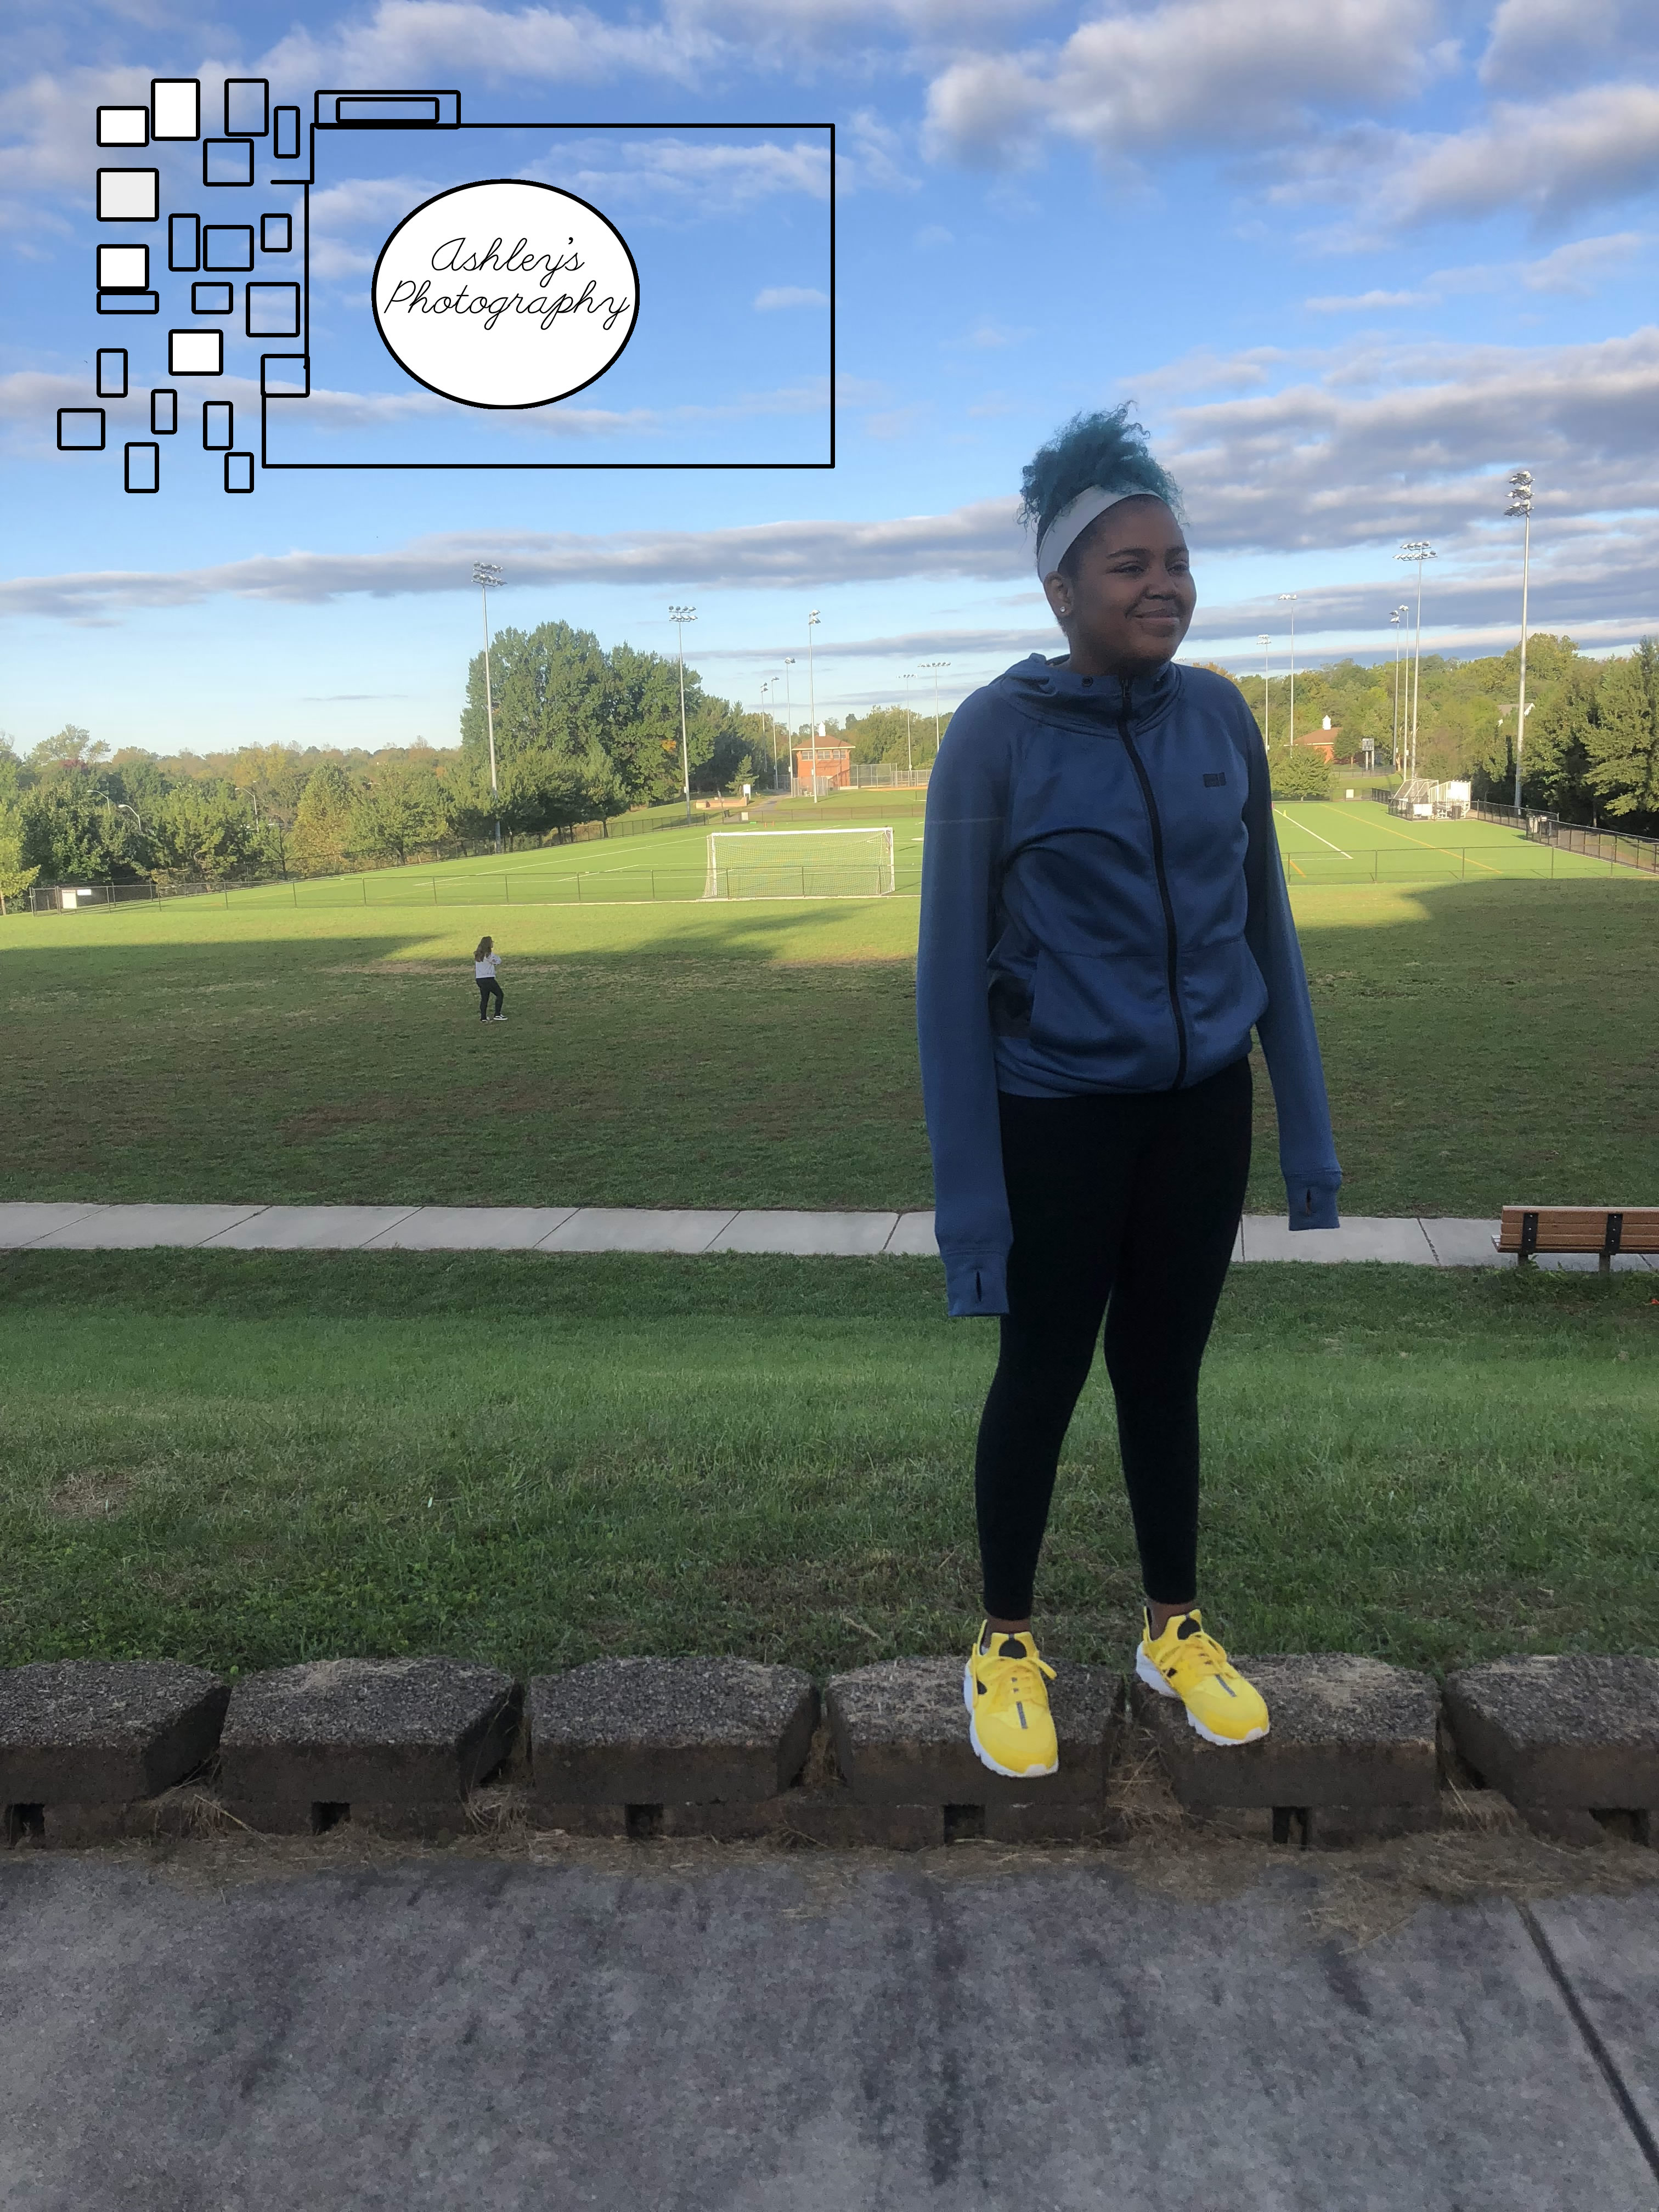
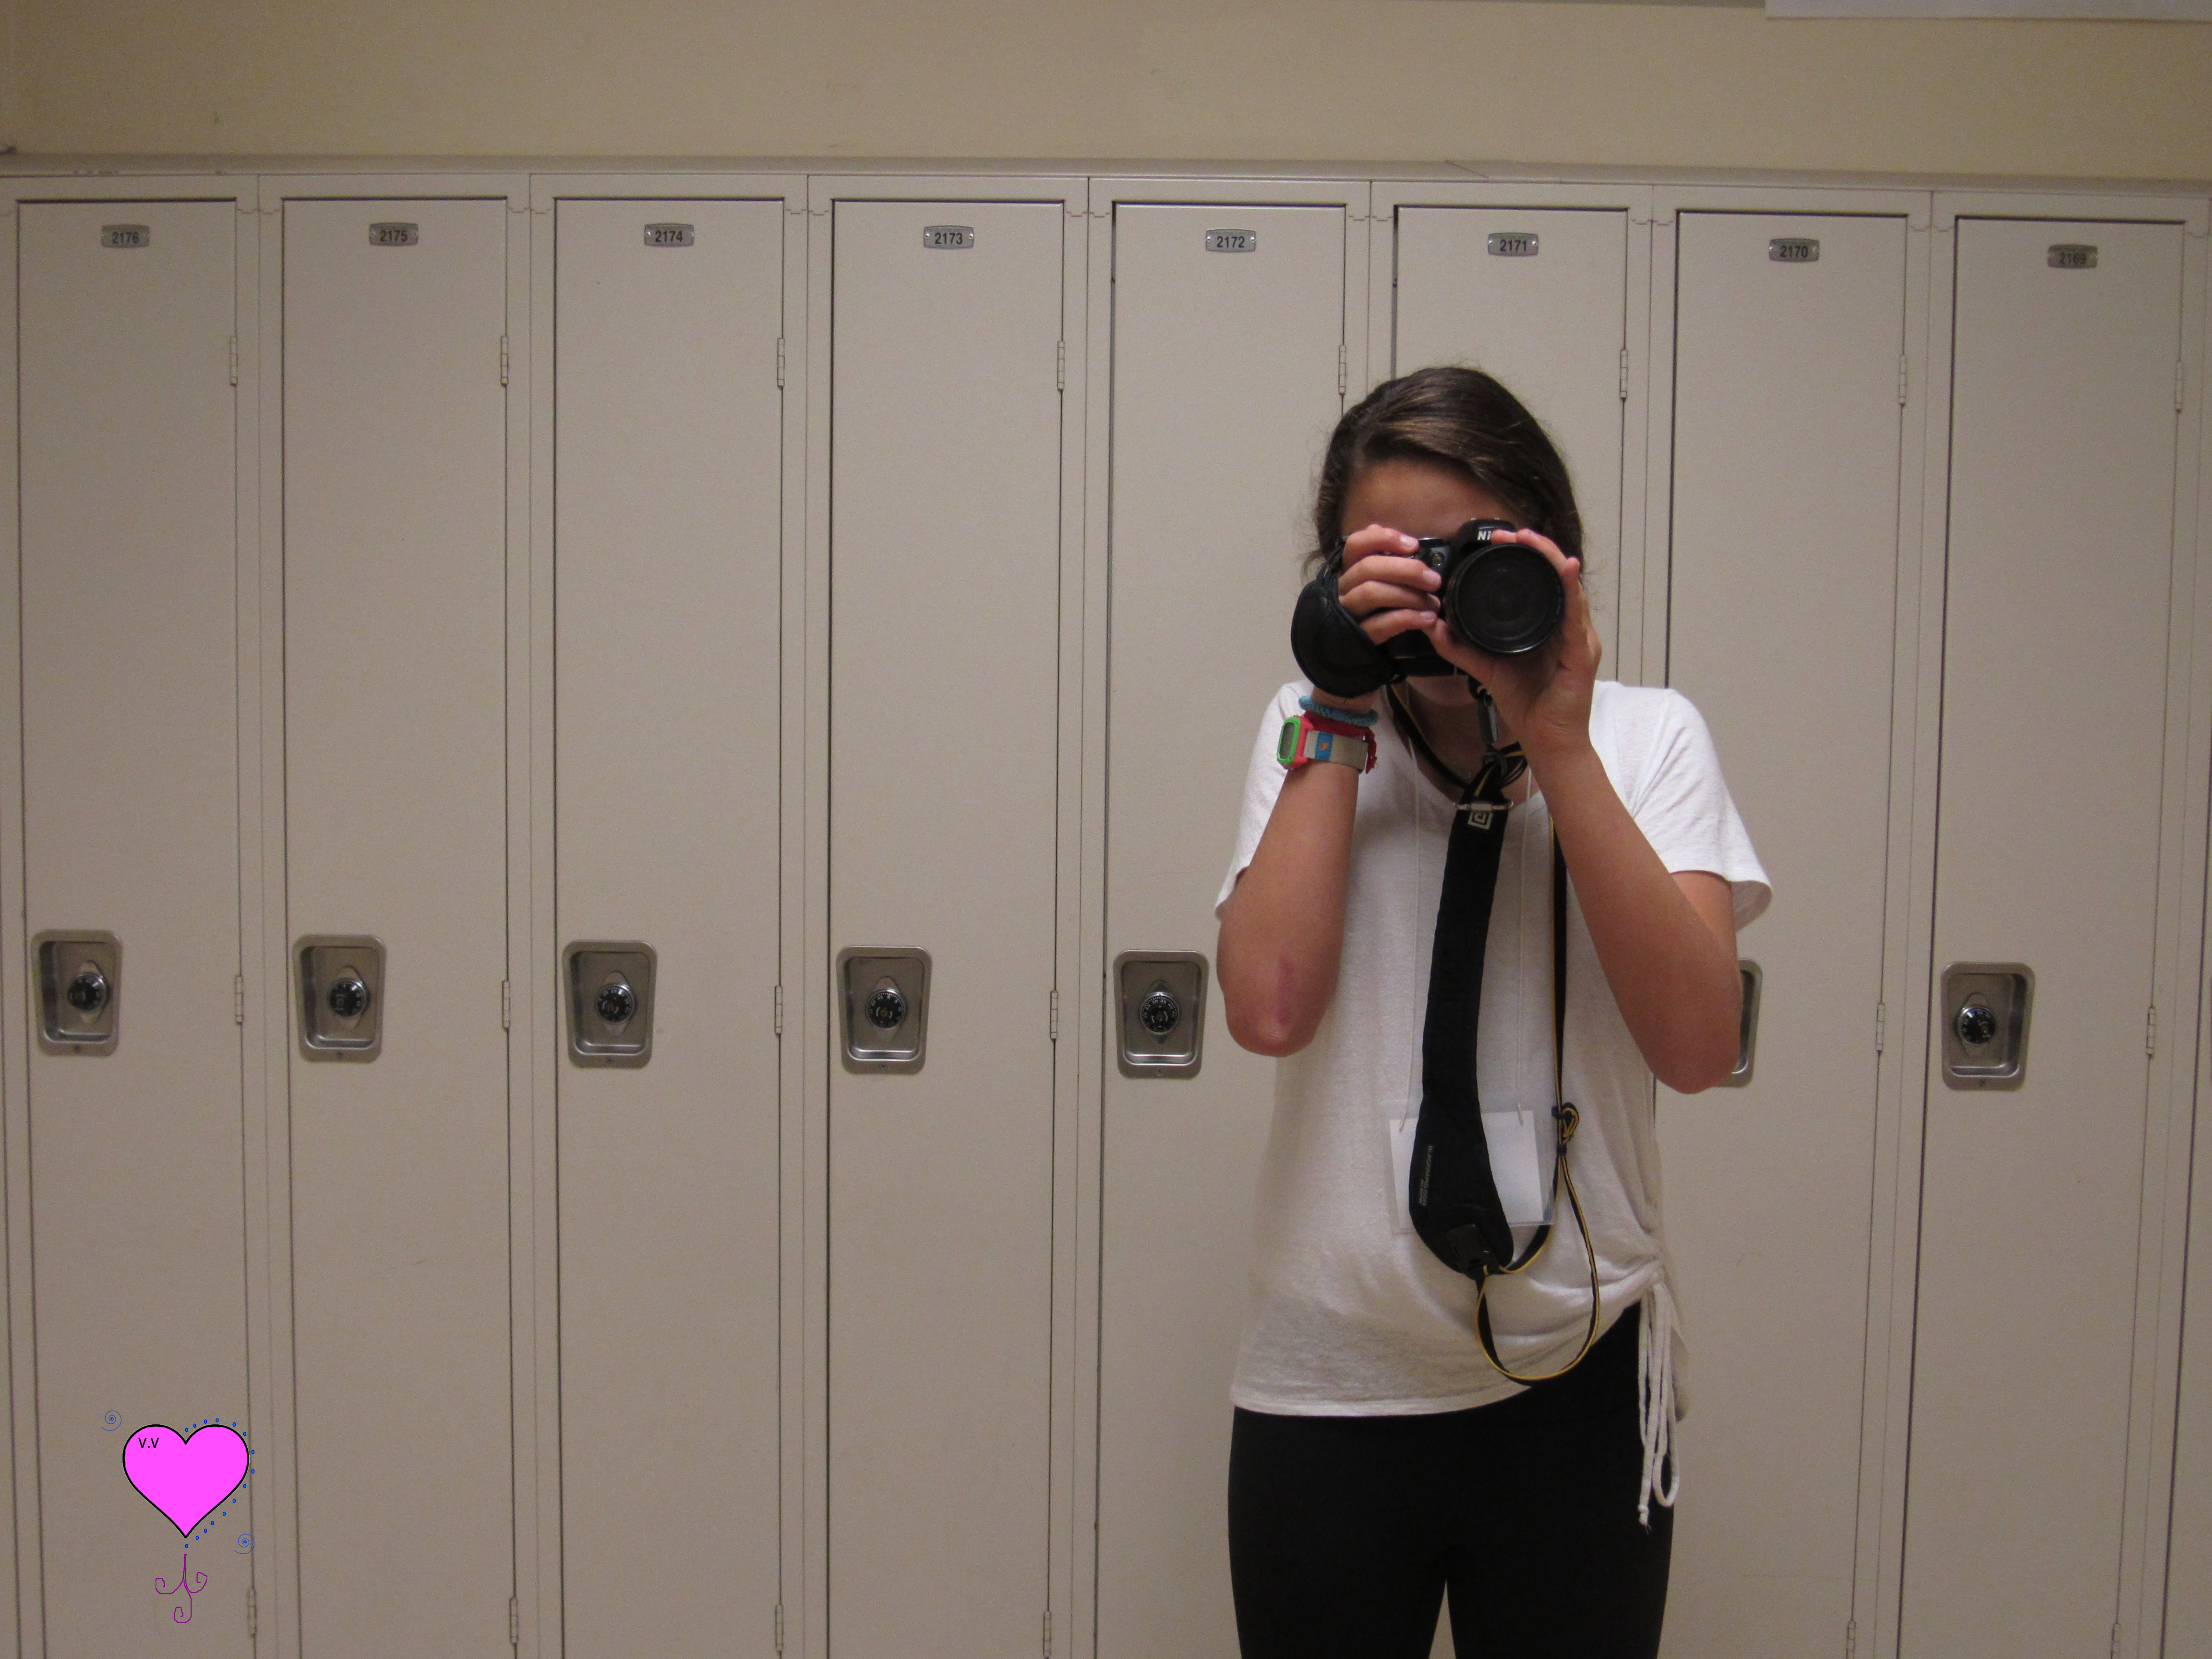
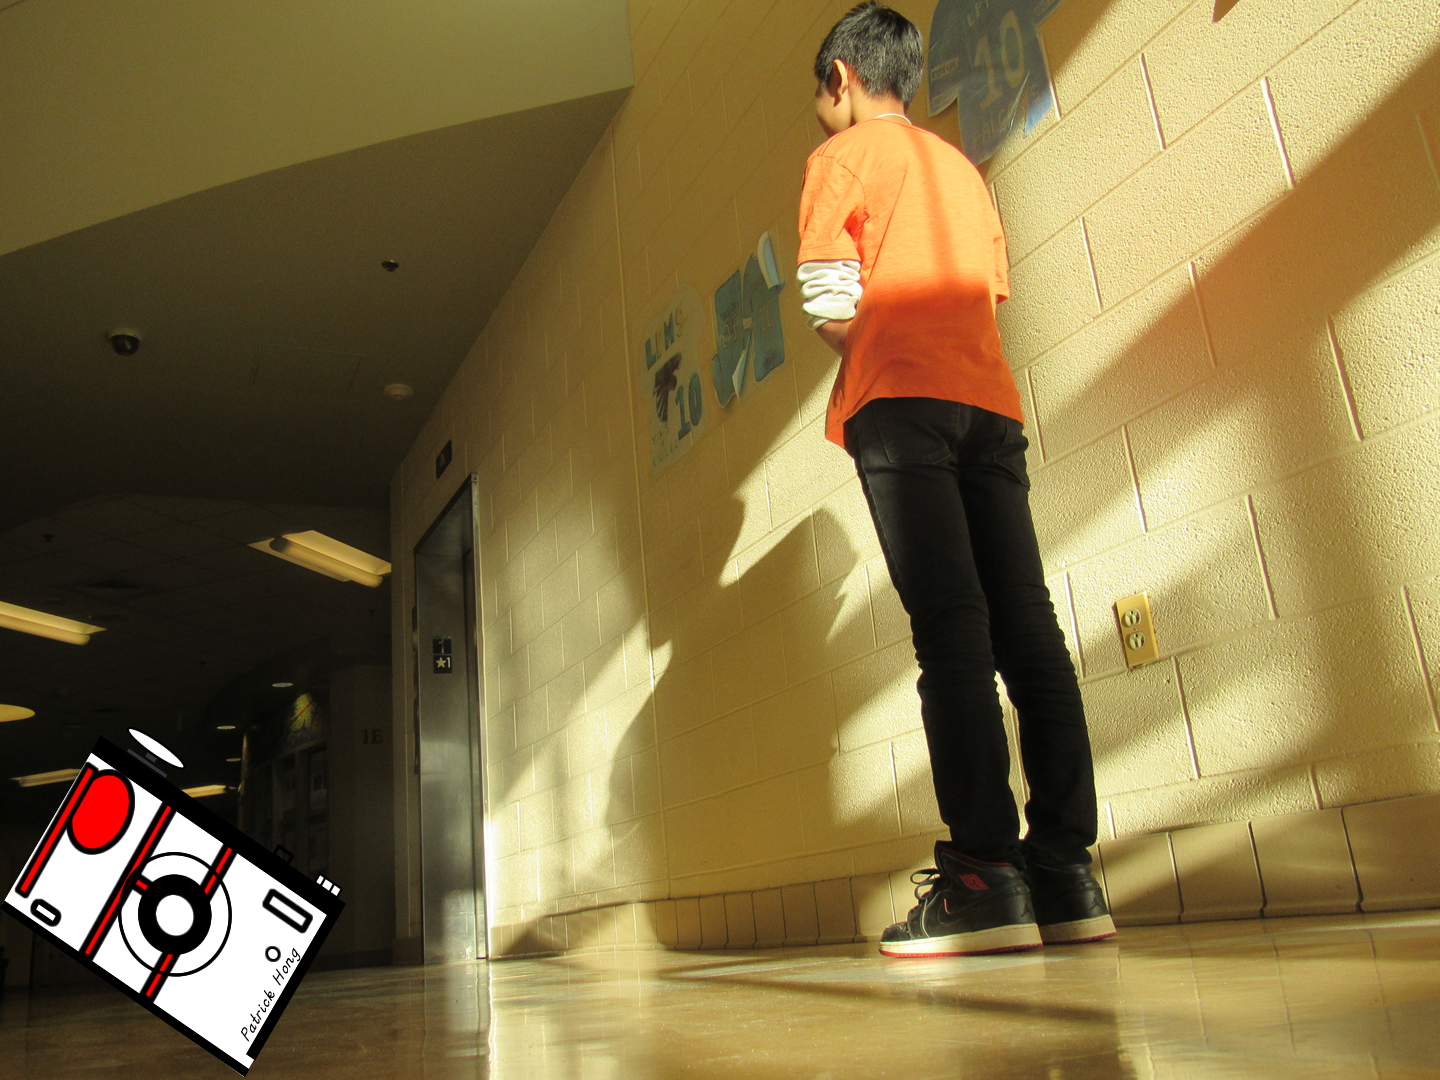
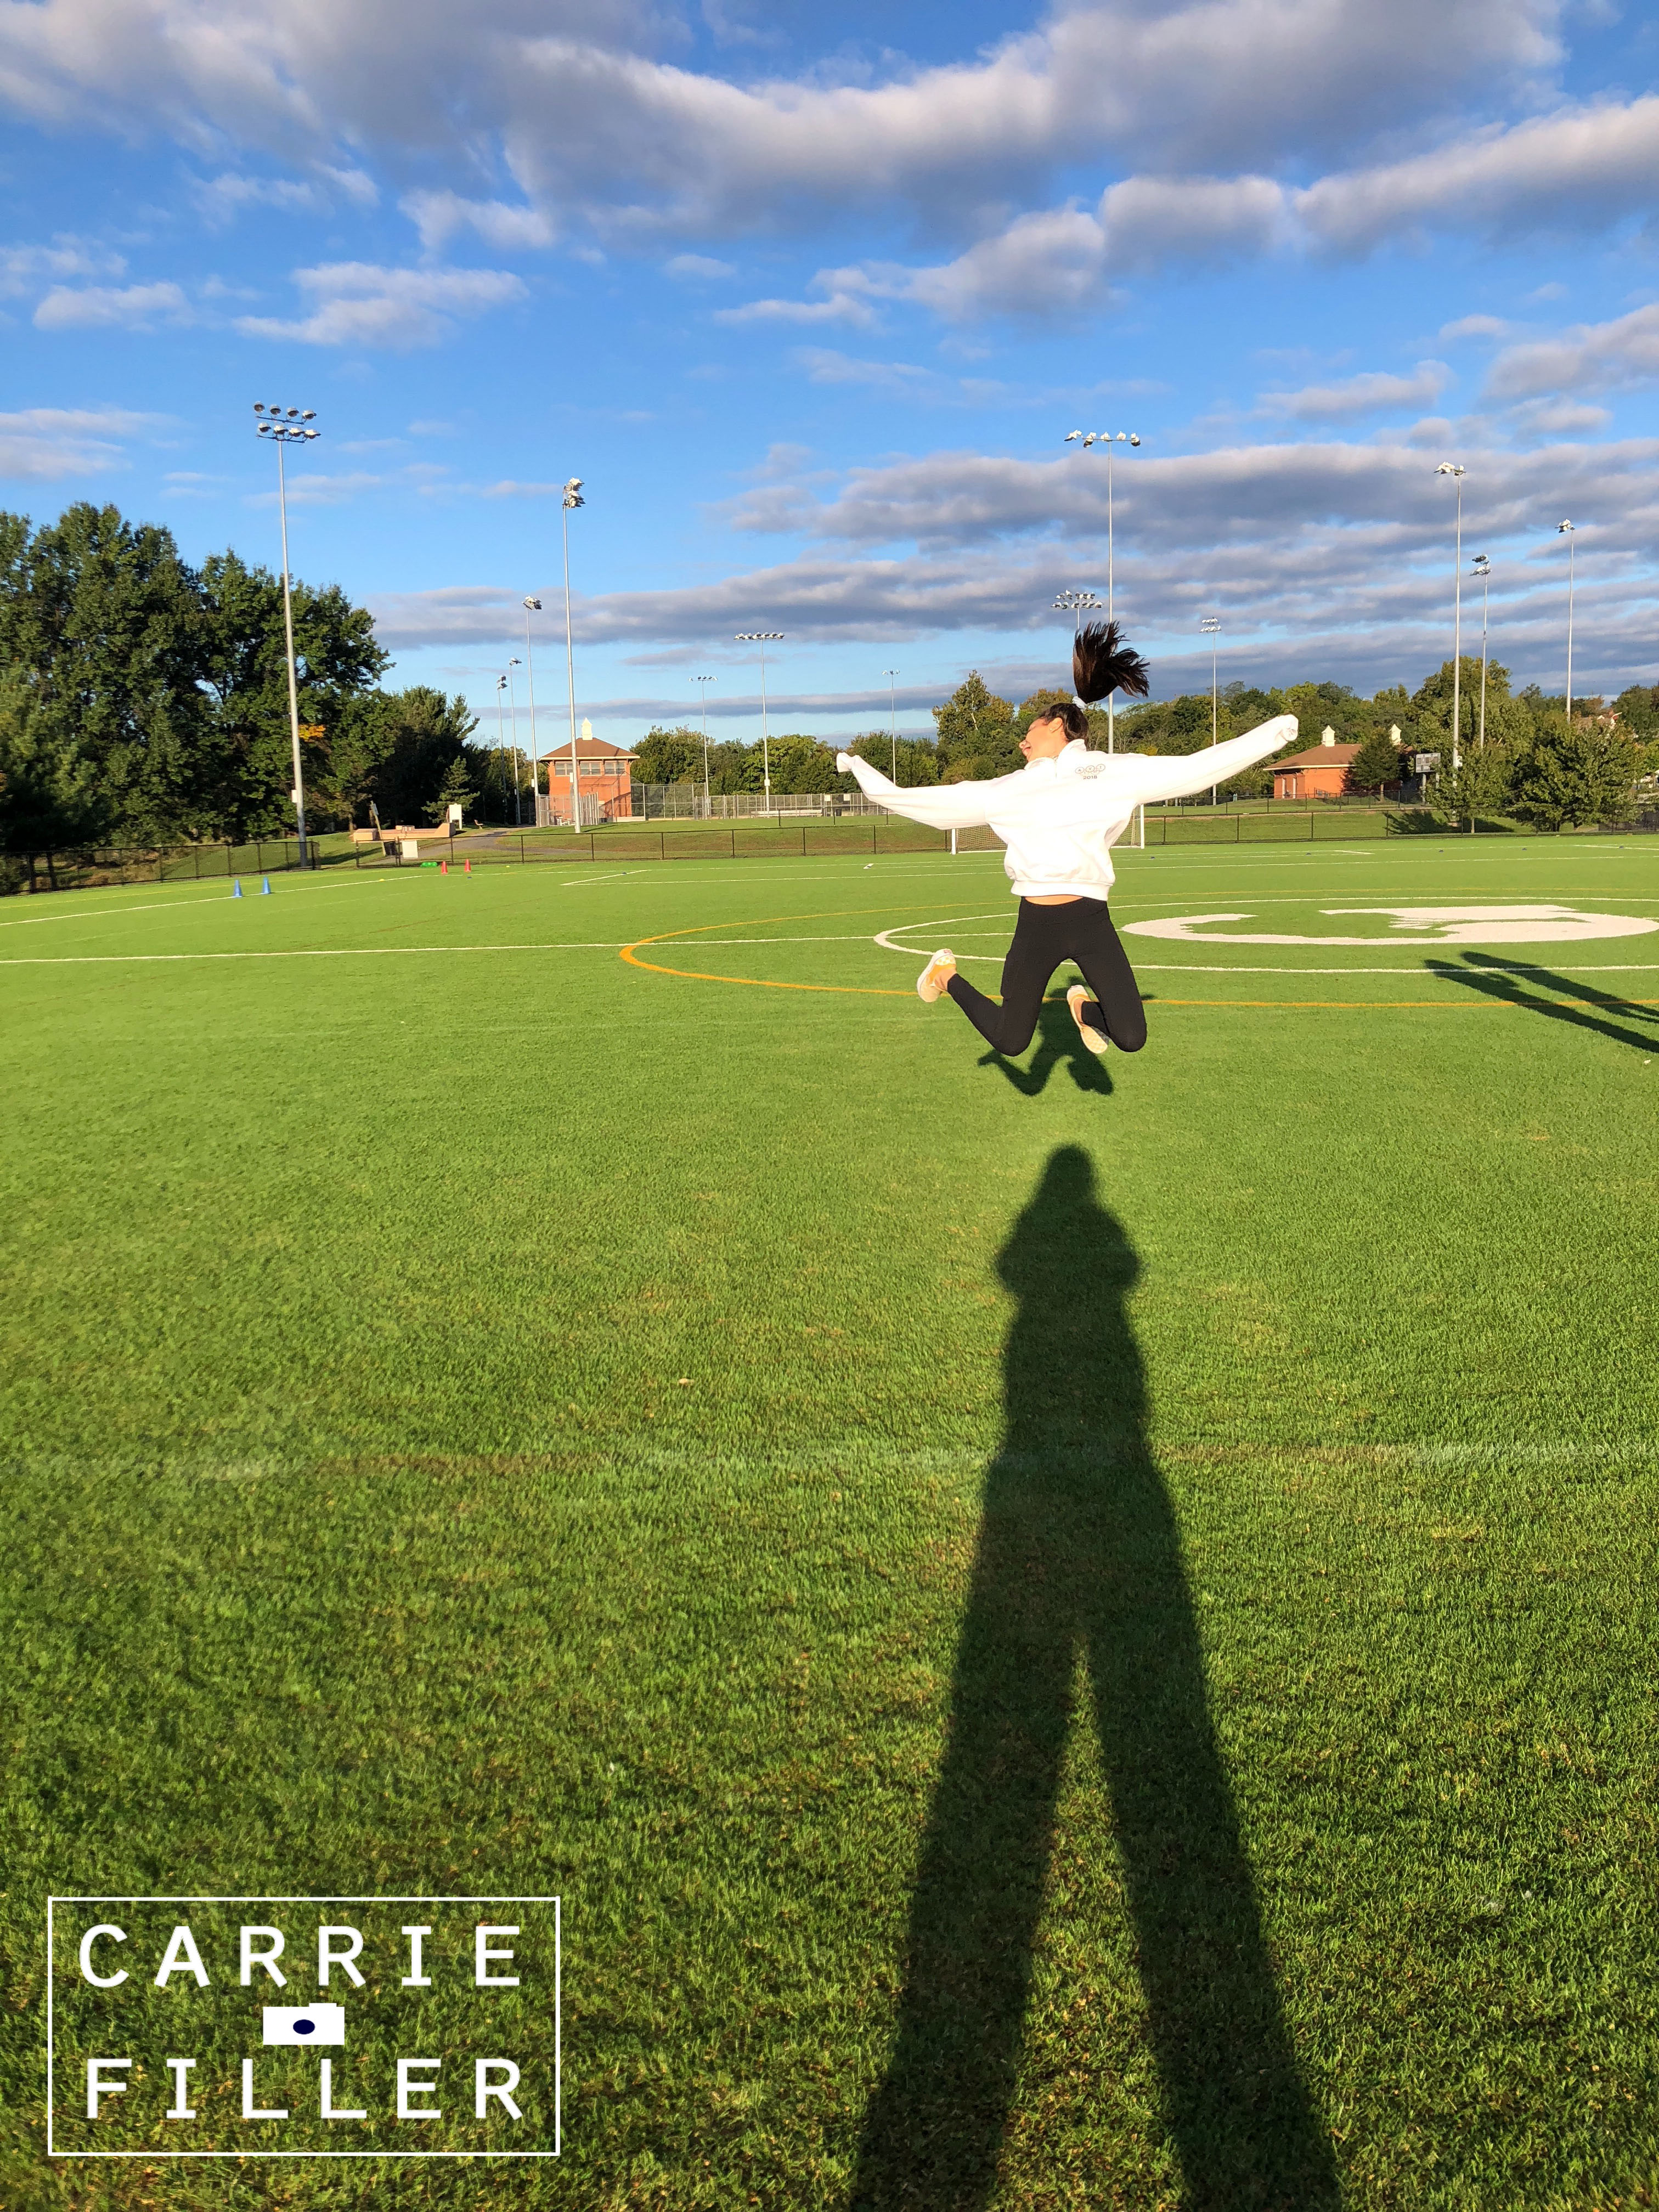
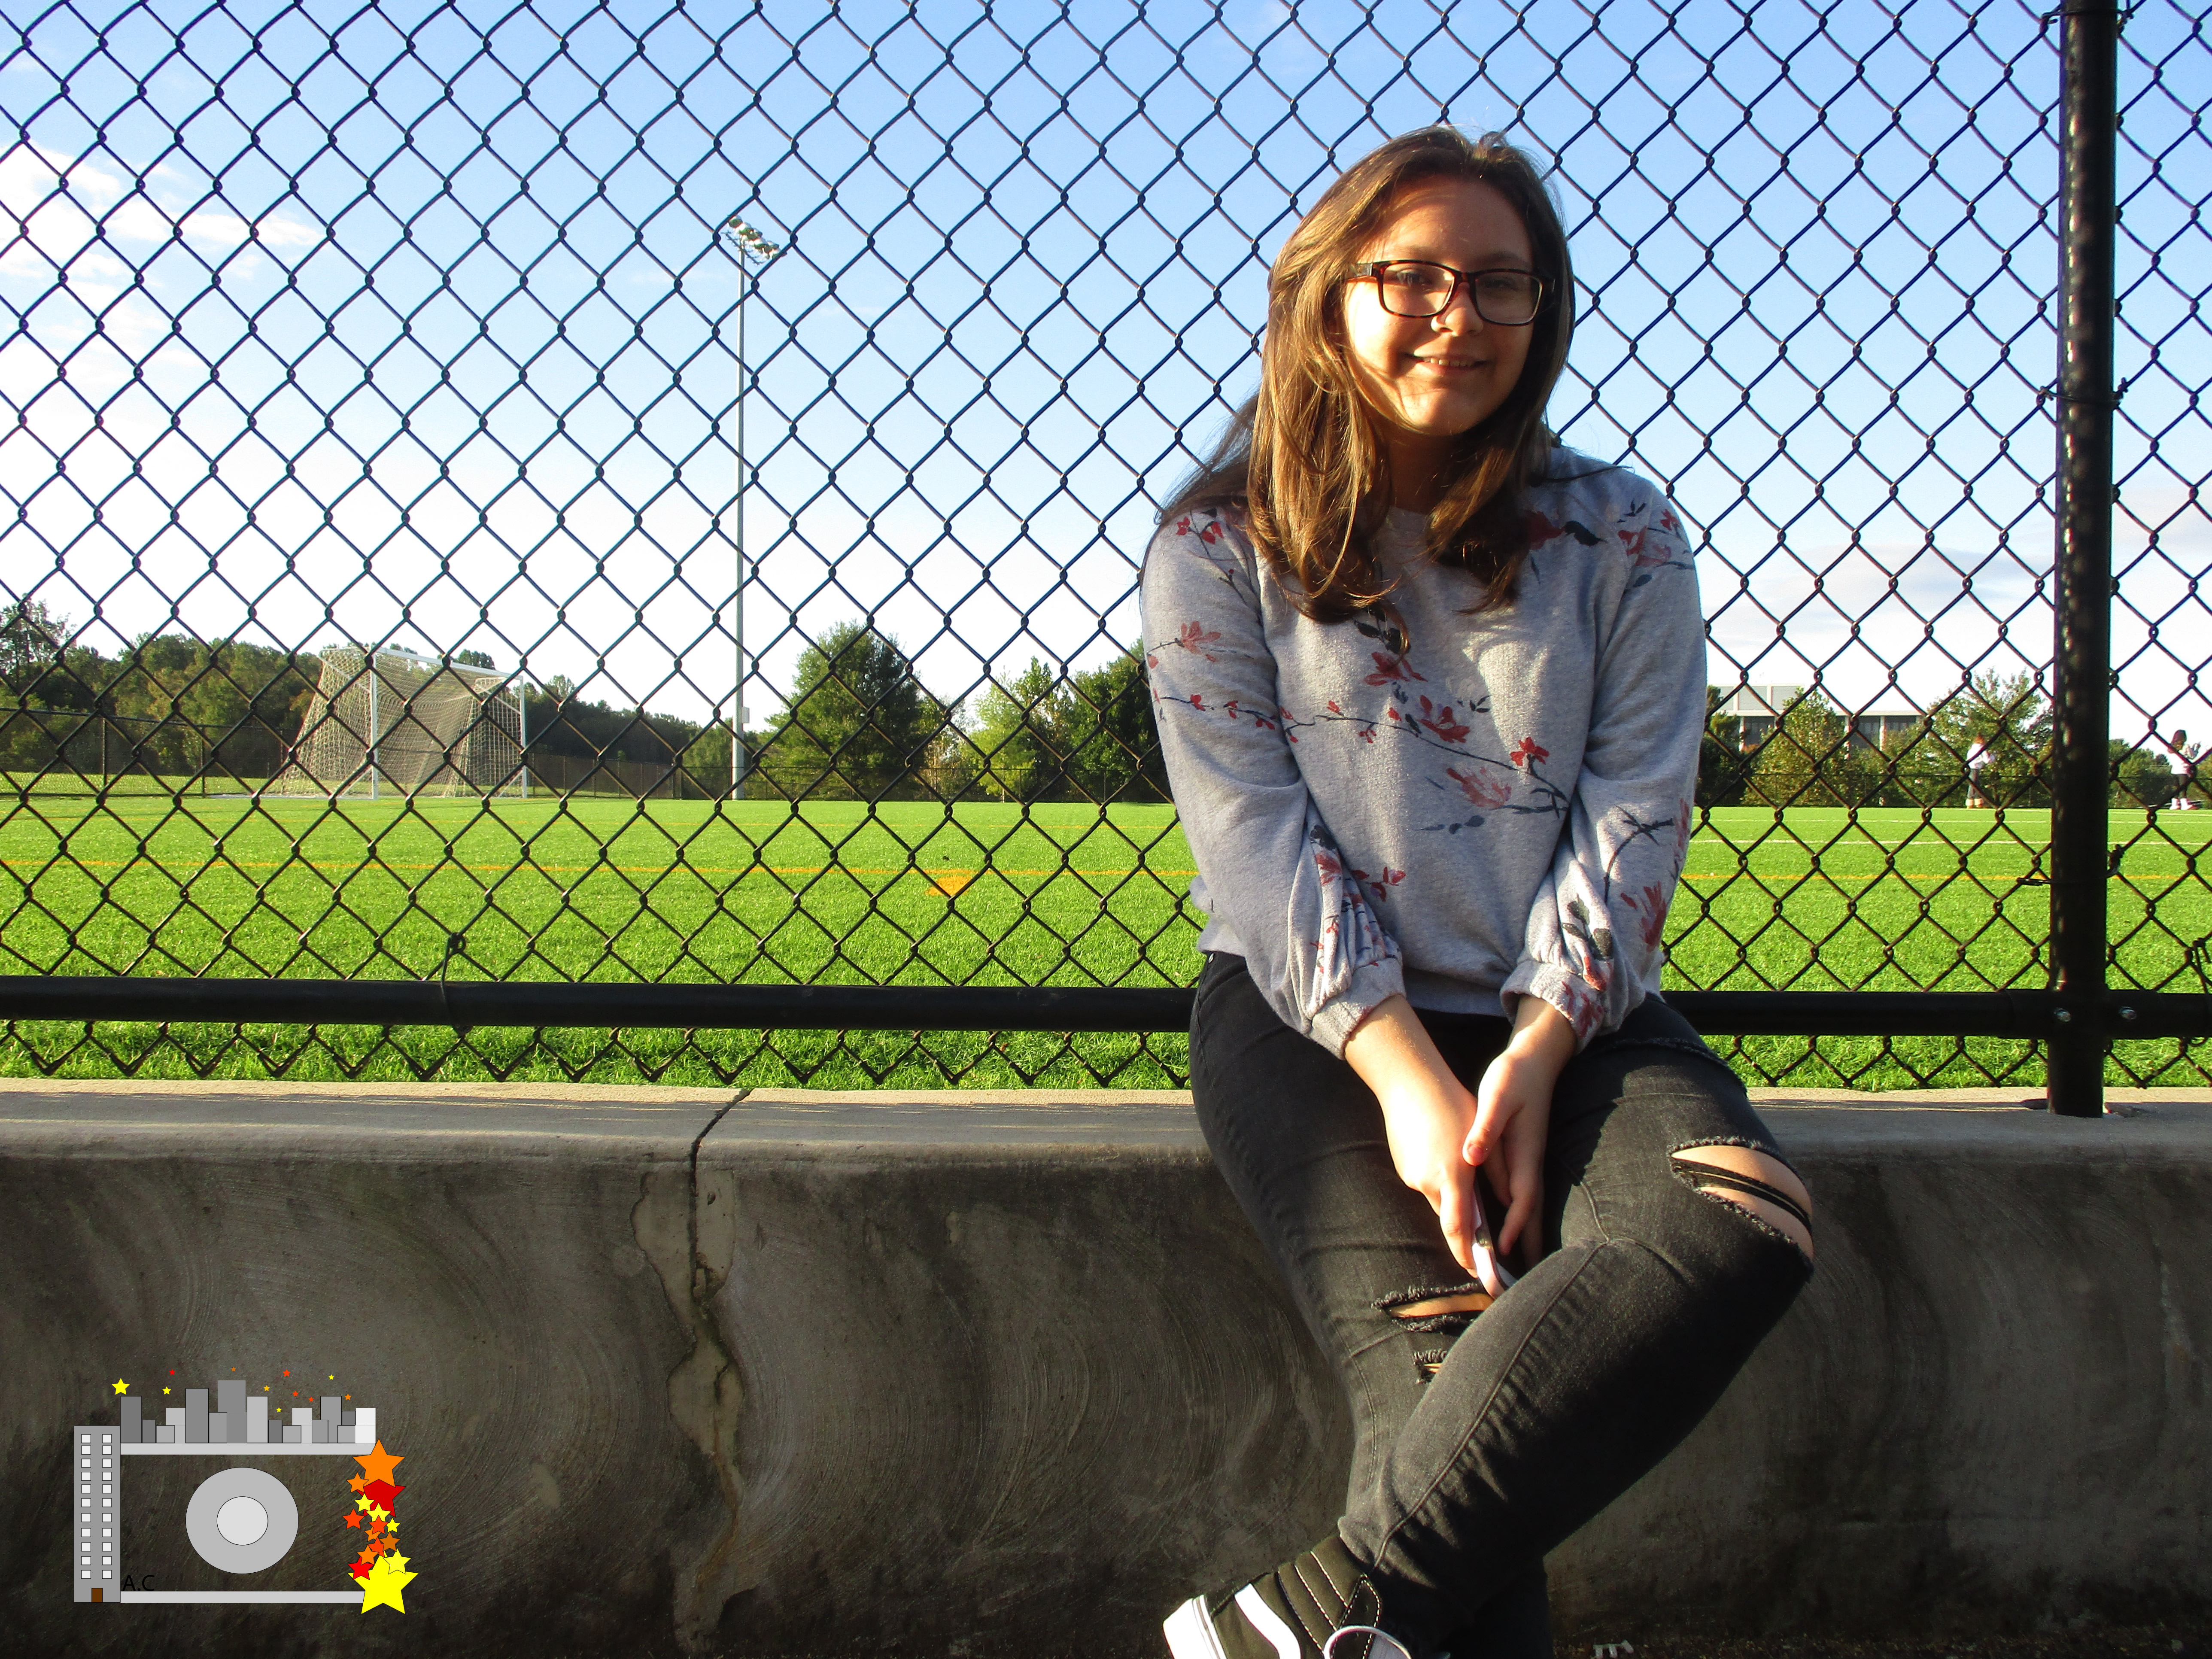
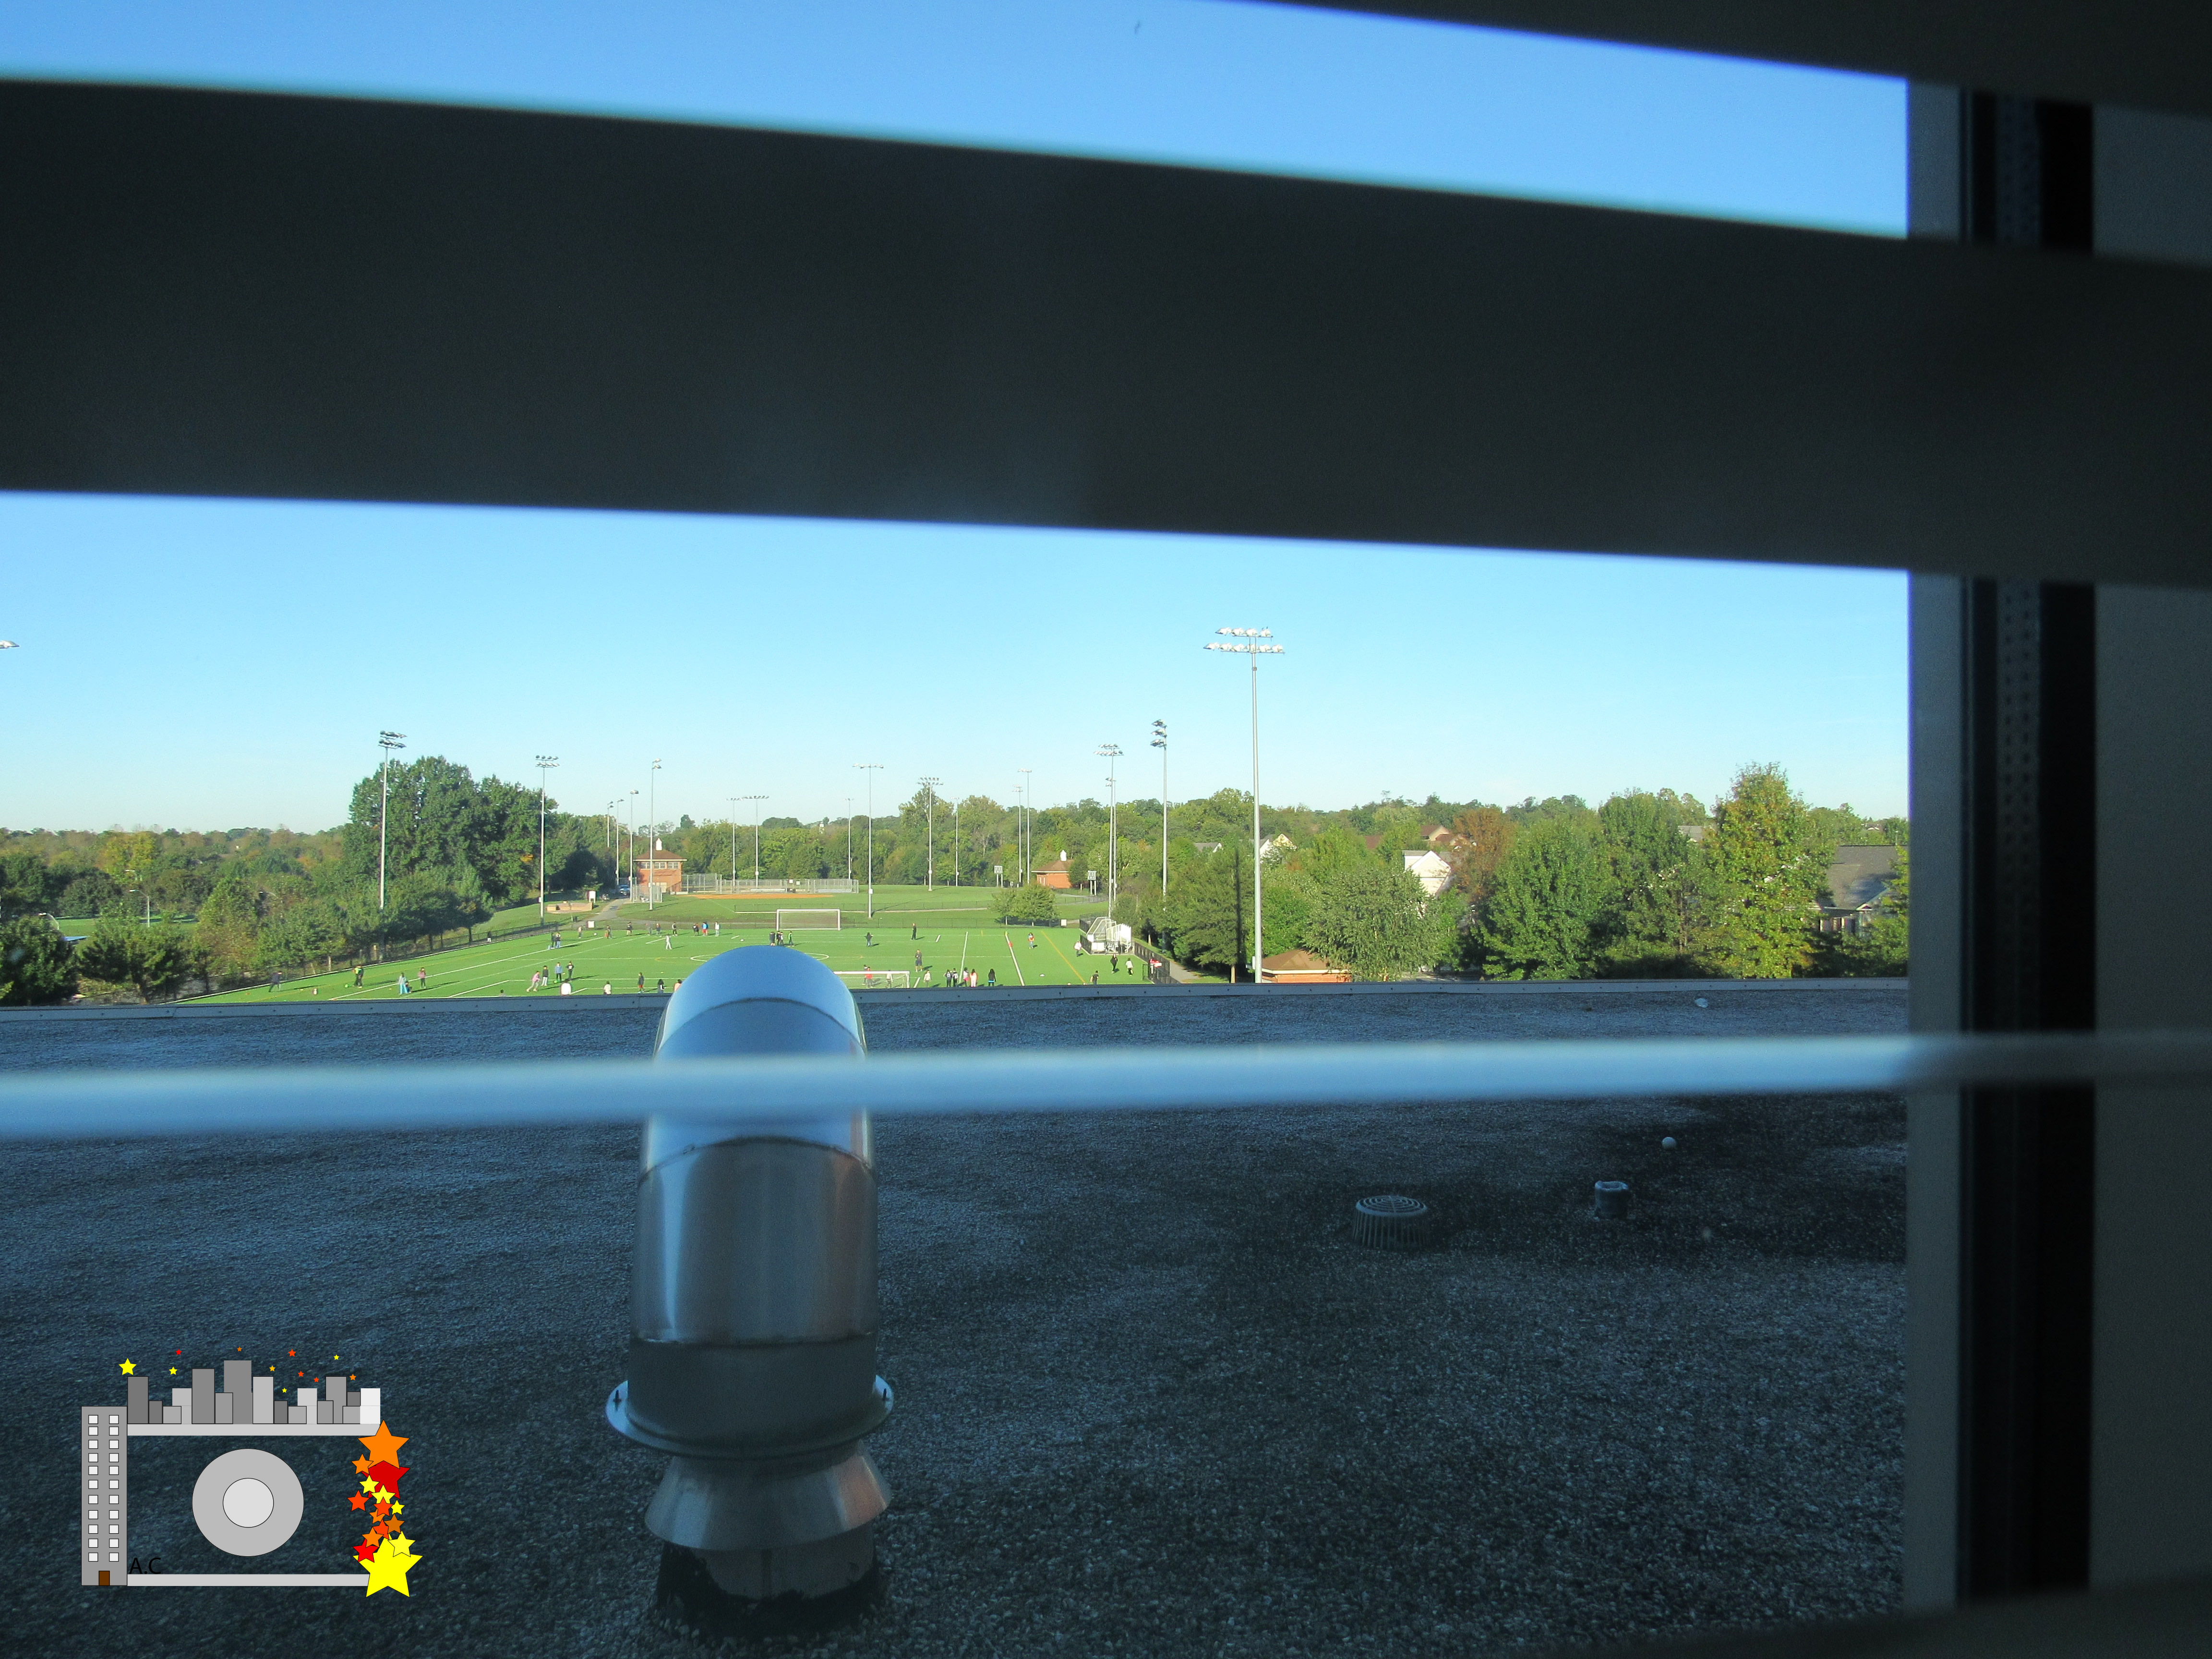
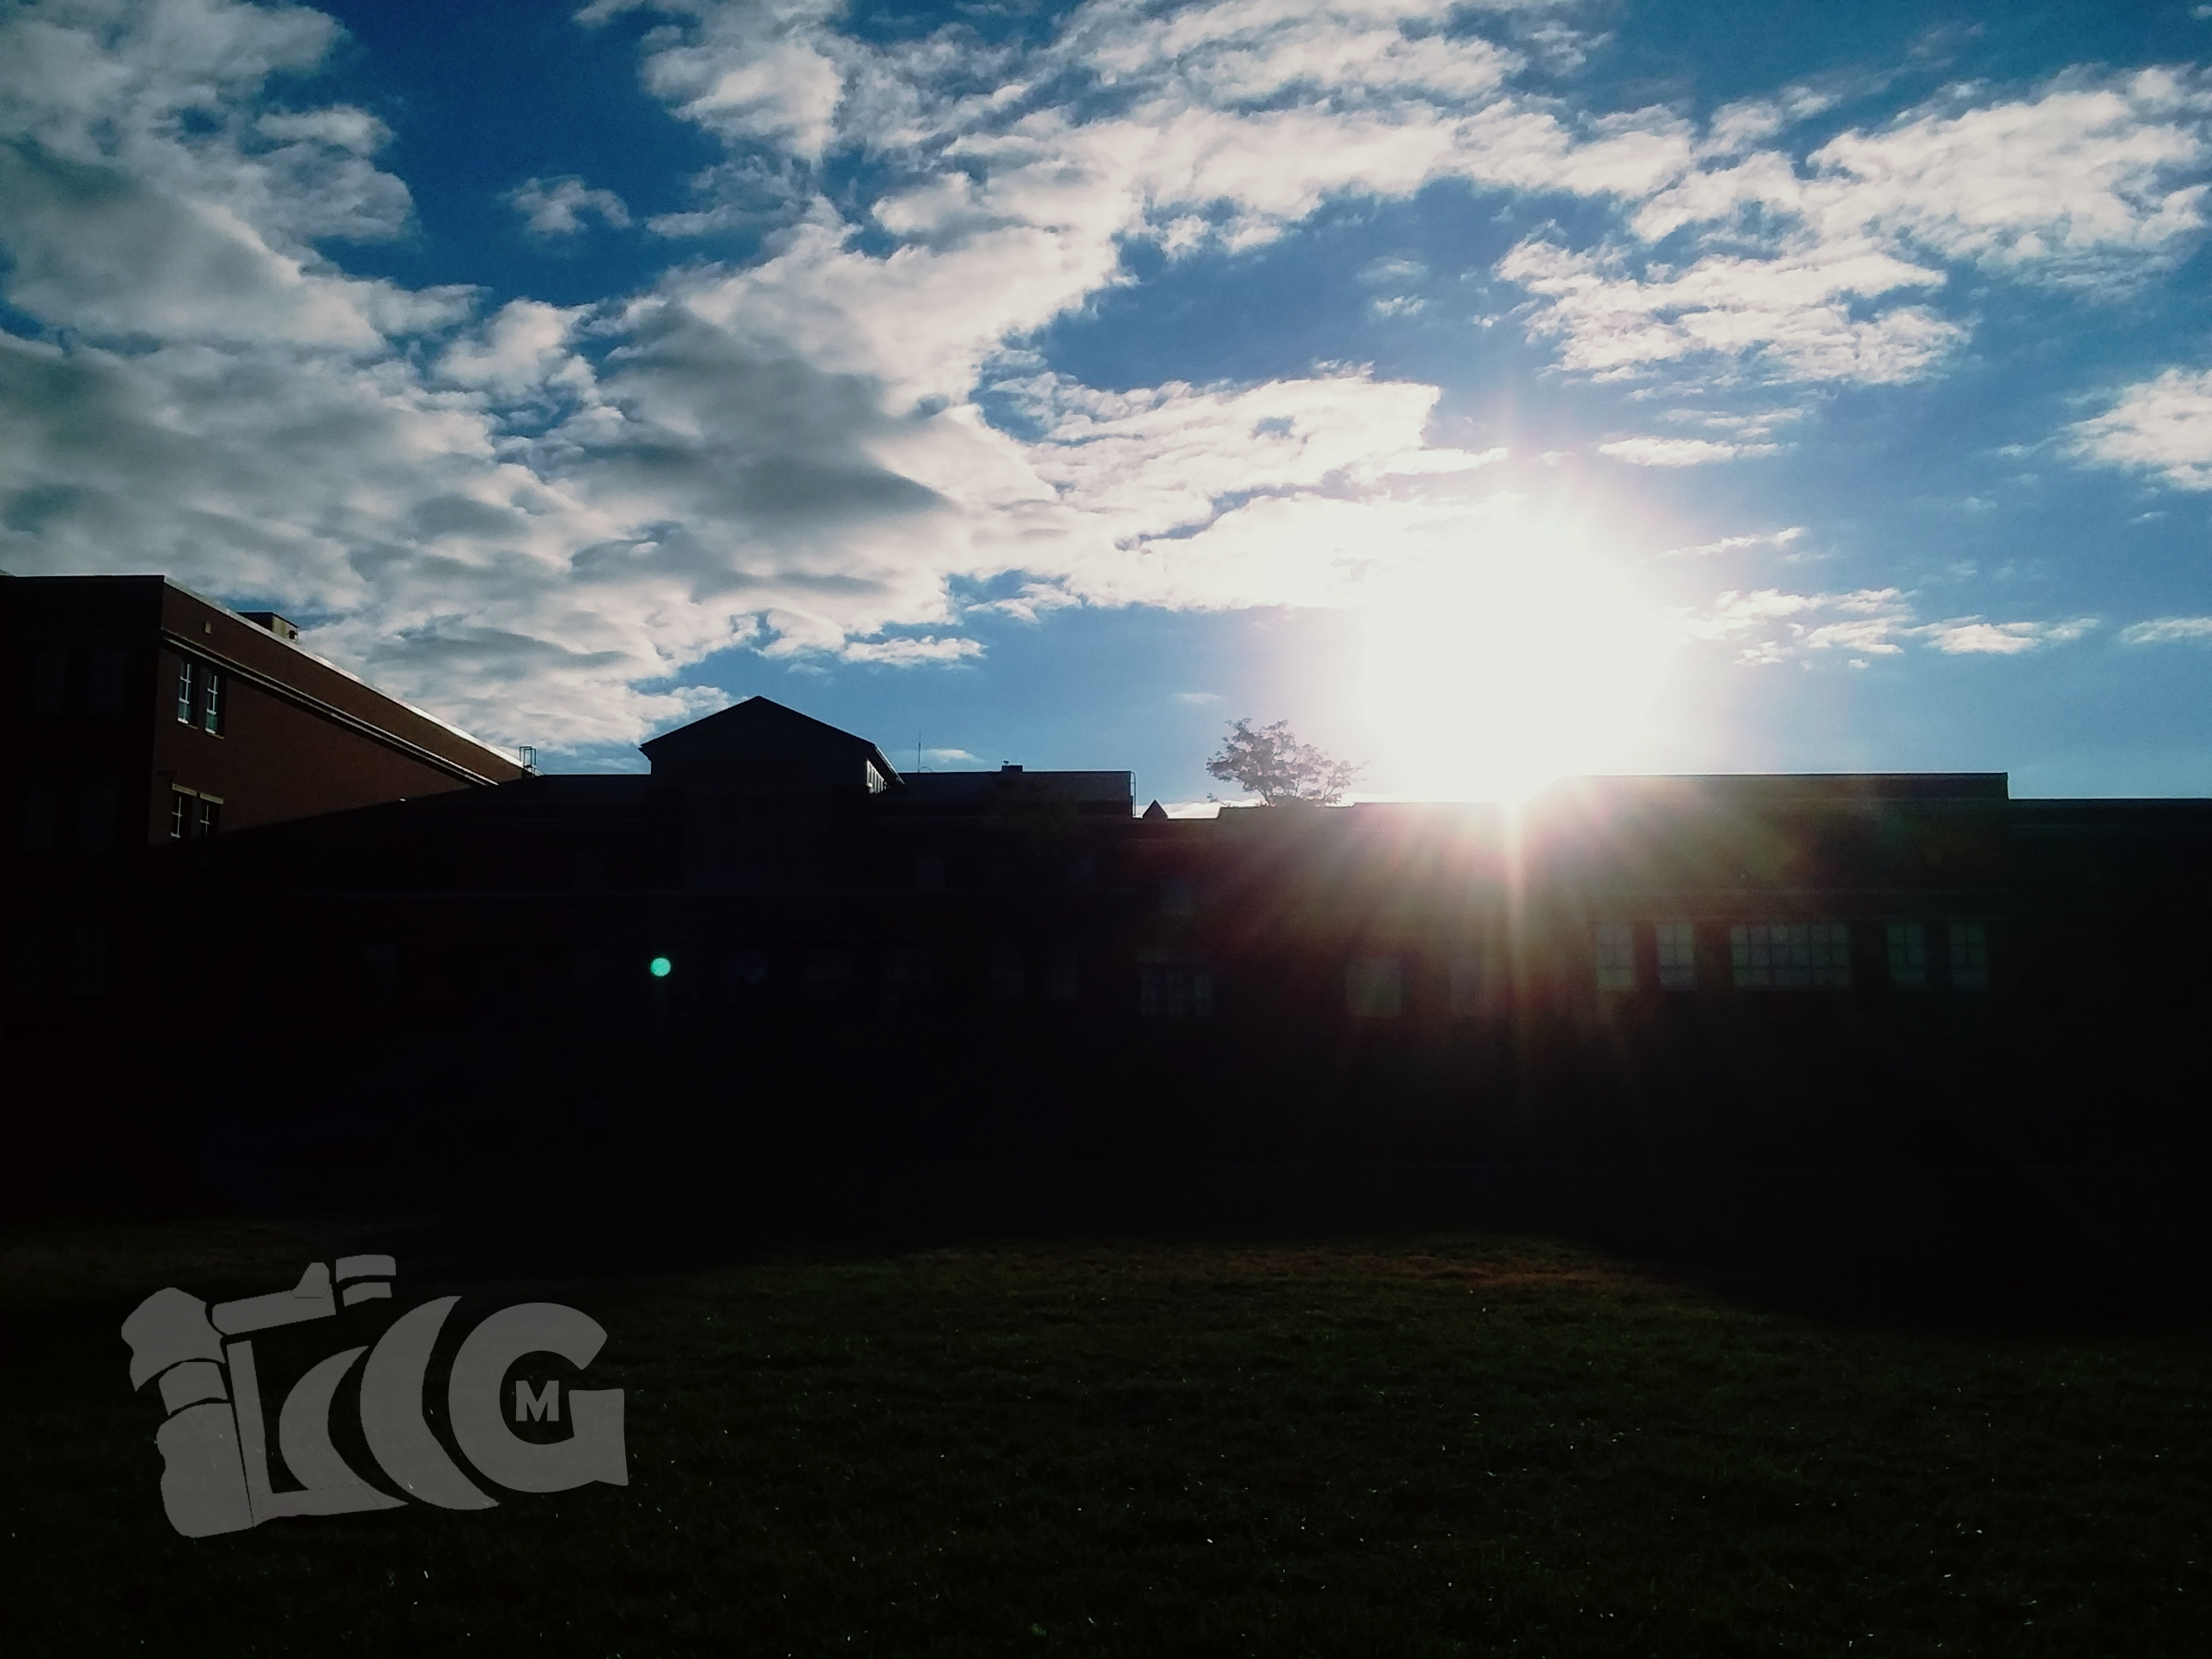
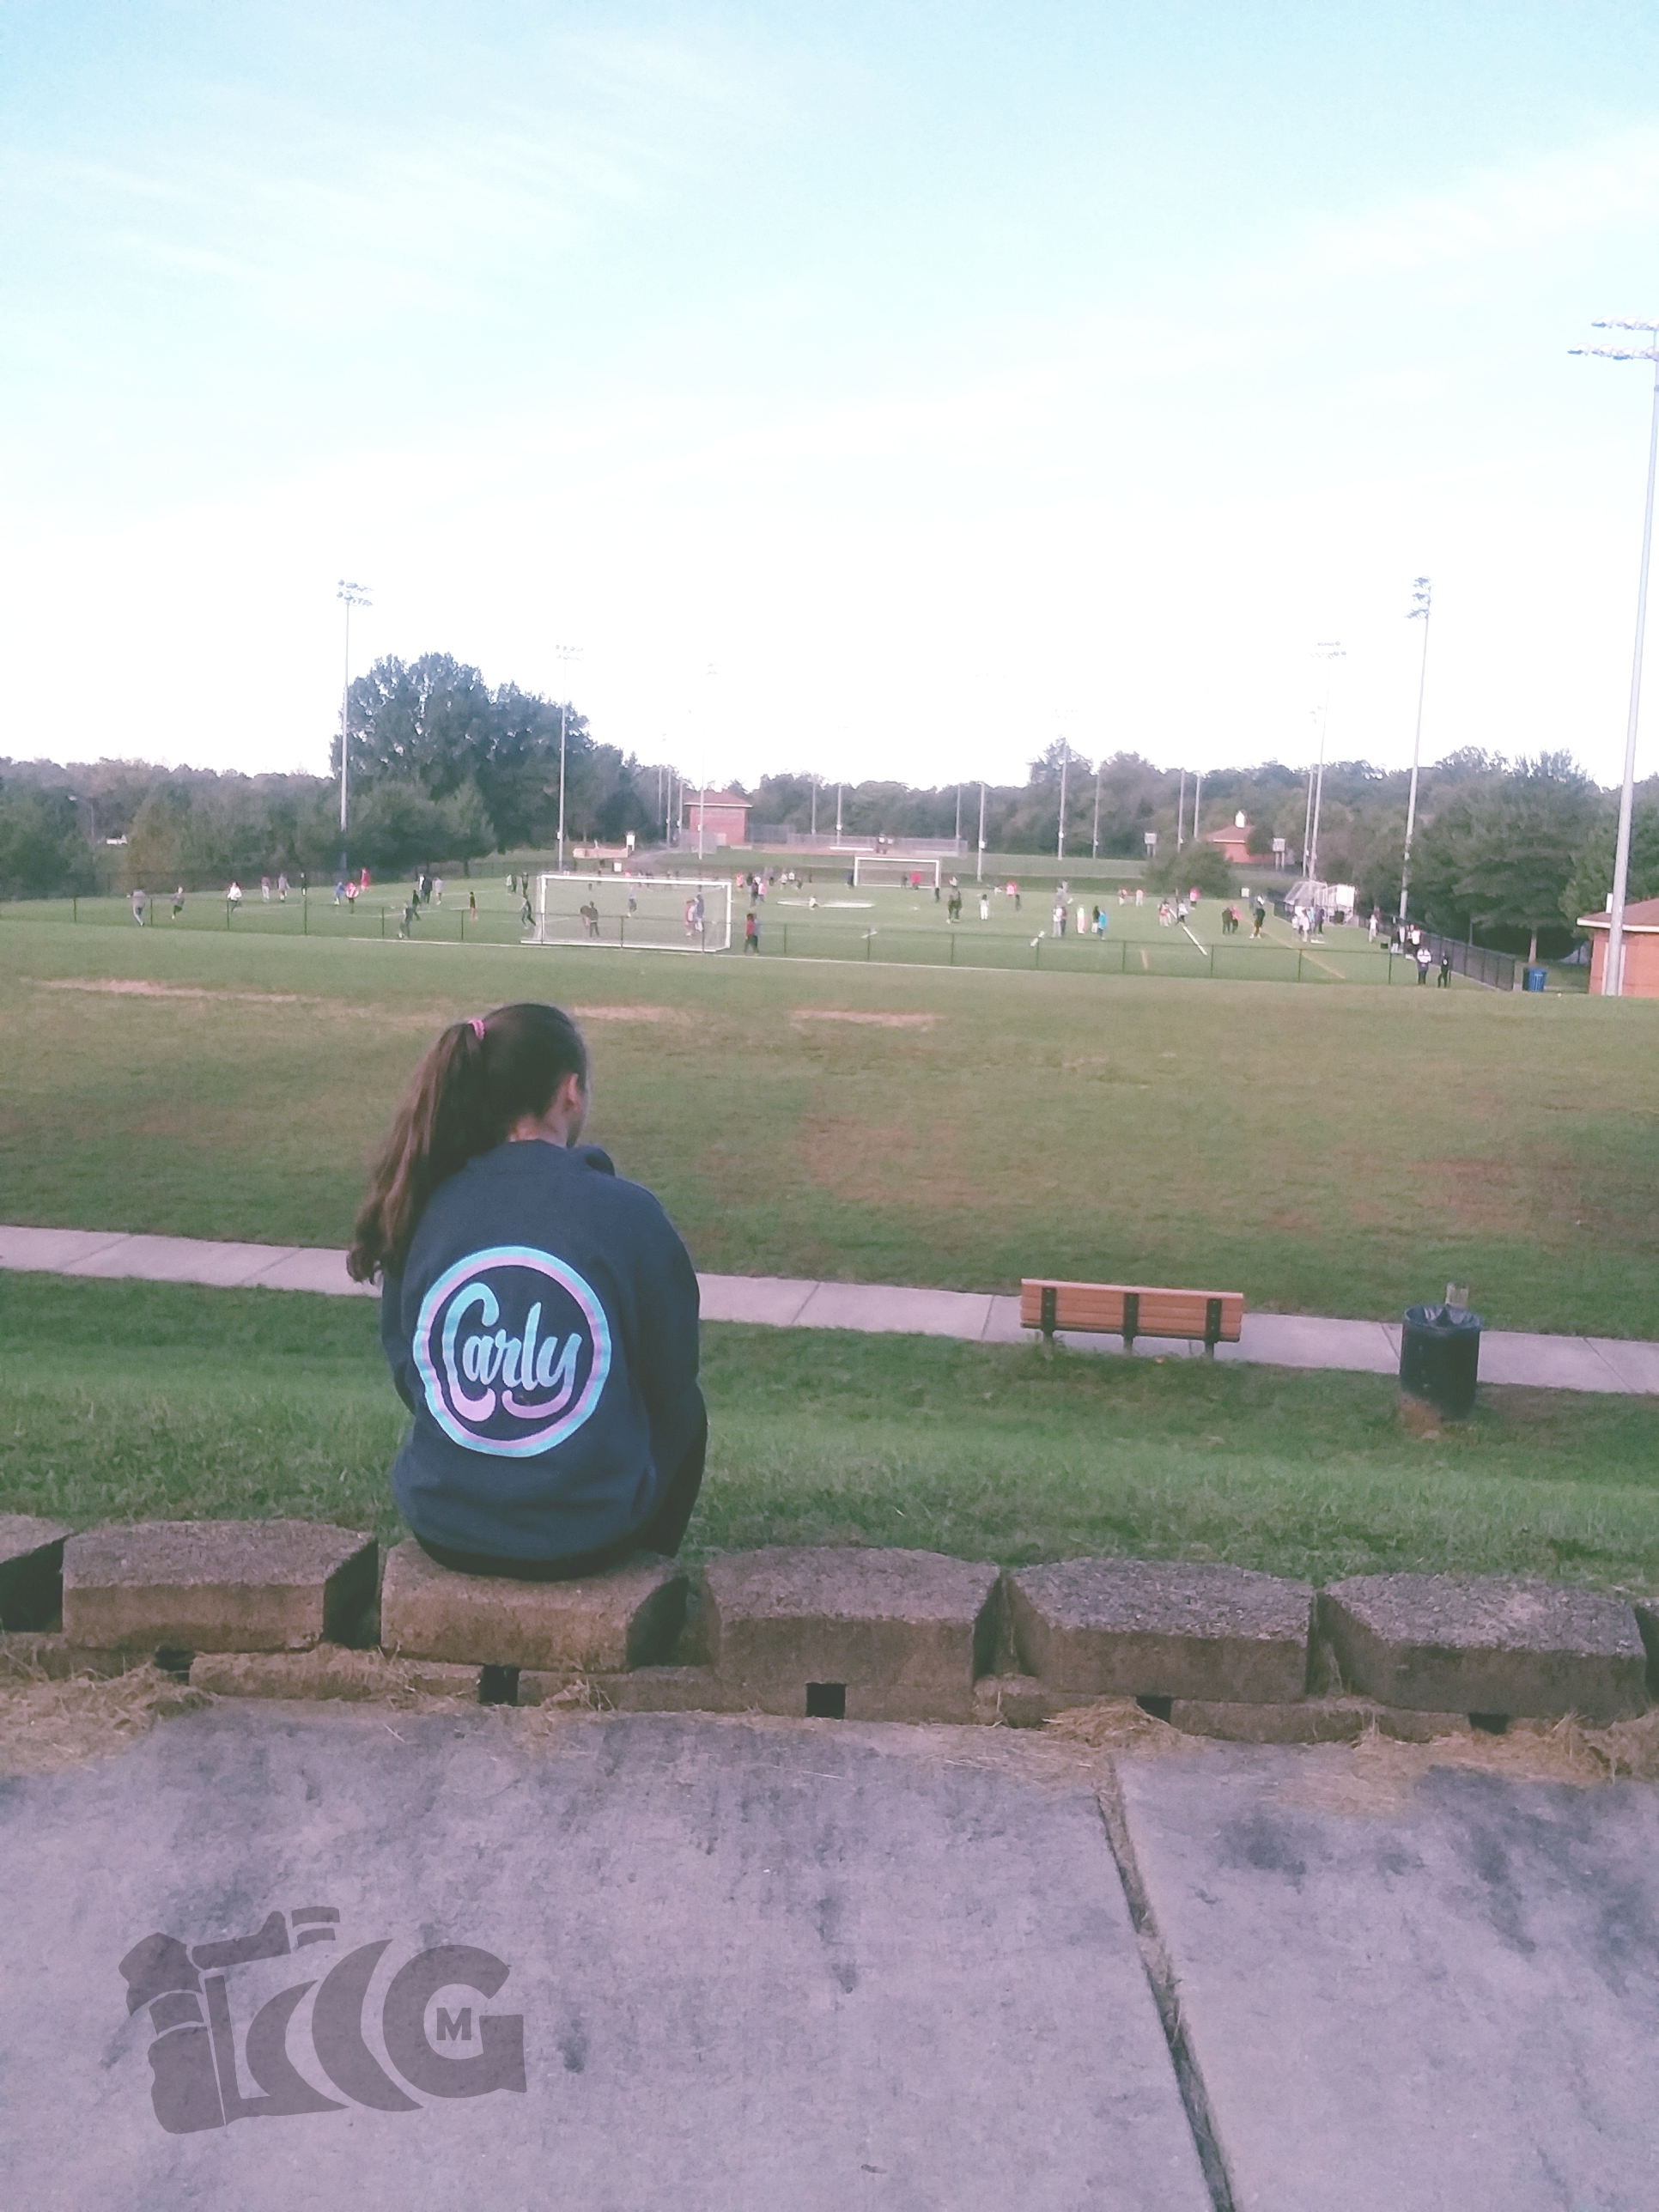
Rule of Thirds was an easy project once, we figured out what worked. What worked best for my group was taking the picture and leaving a bit of space to one side. Therefore, if we needed to crop it we wouldn’t need to retake the shot. There was a few things that didn’t work in this project. Such as, taking pictures of more than one object with the rule of thirds grid. Since, we could really figure out where to place the object or person in the frame of the camera. How I used the lines to make sure my photo was rule of third was, by having my point of interest on one of the lines. If you would like to see the rest of my photo, click here. 
Rule of Thirds

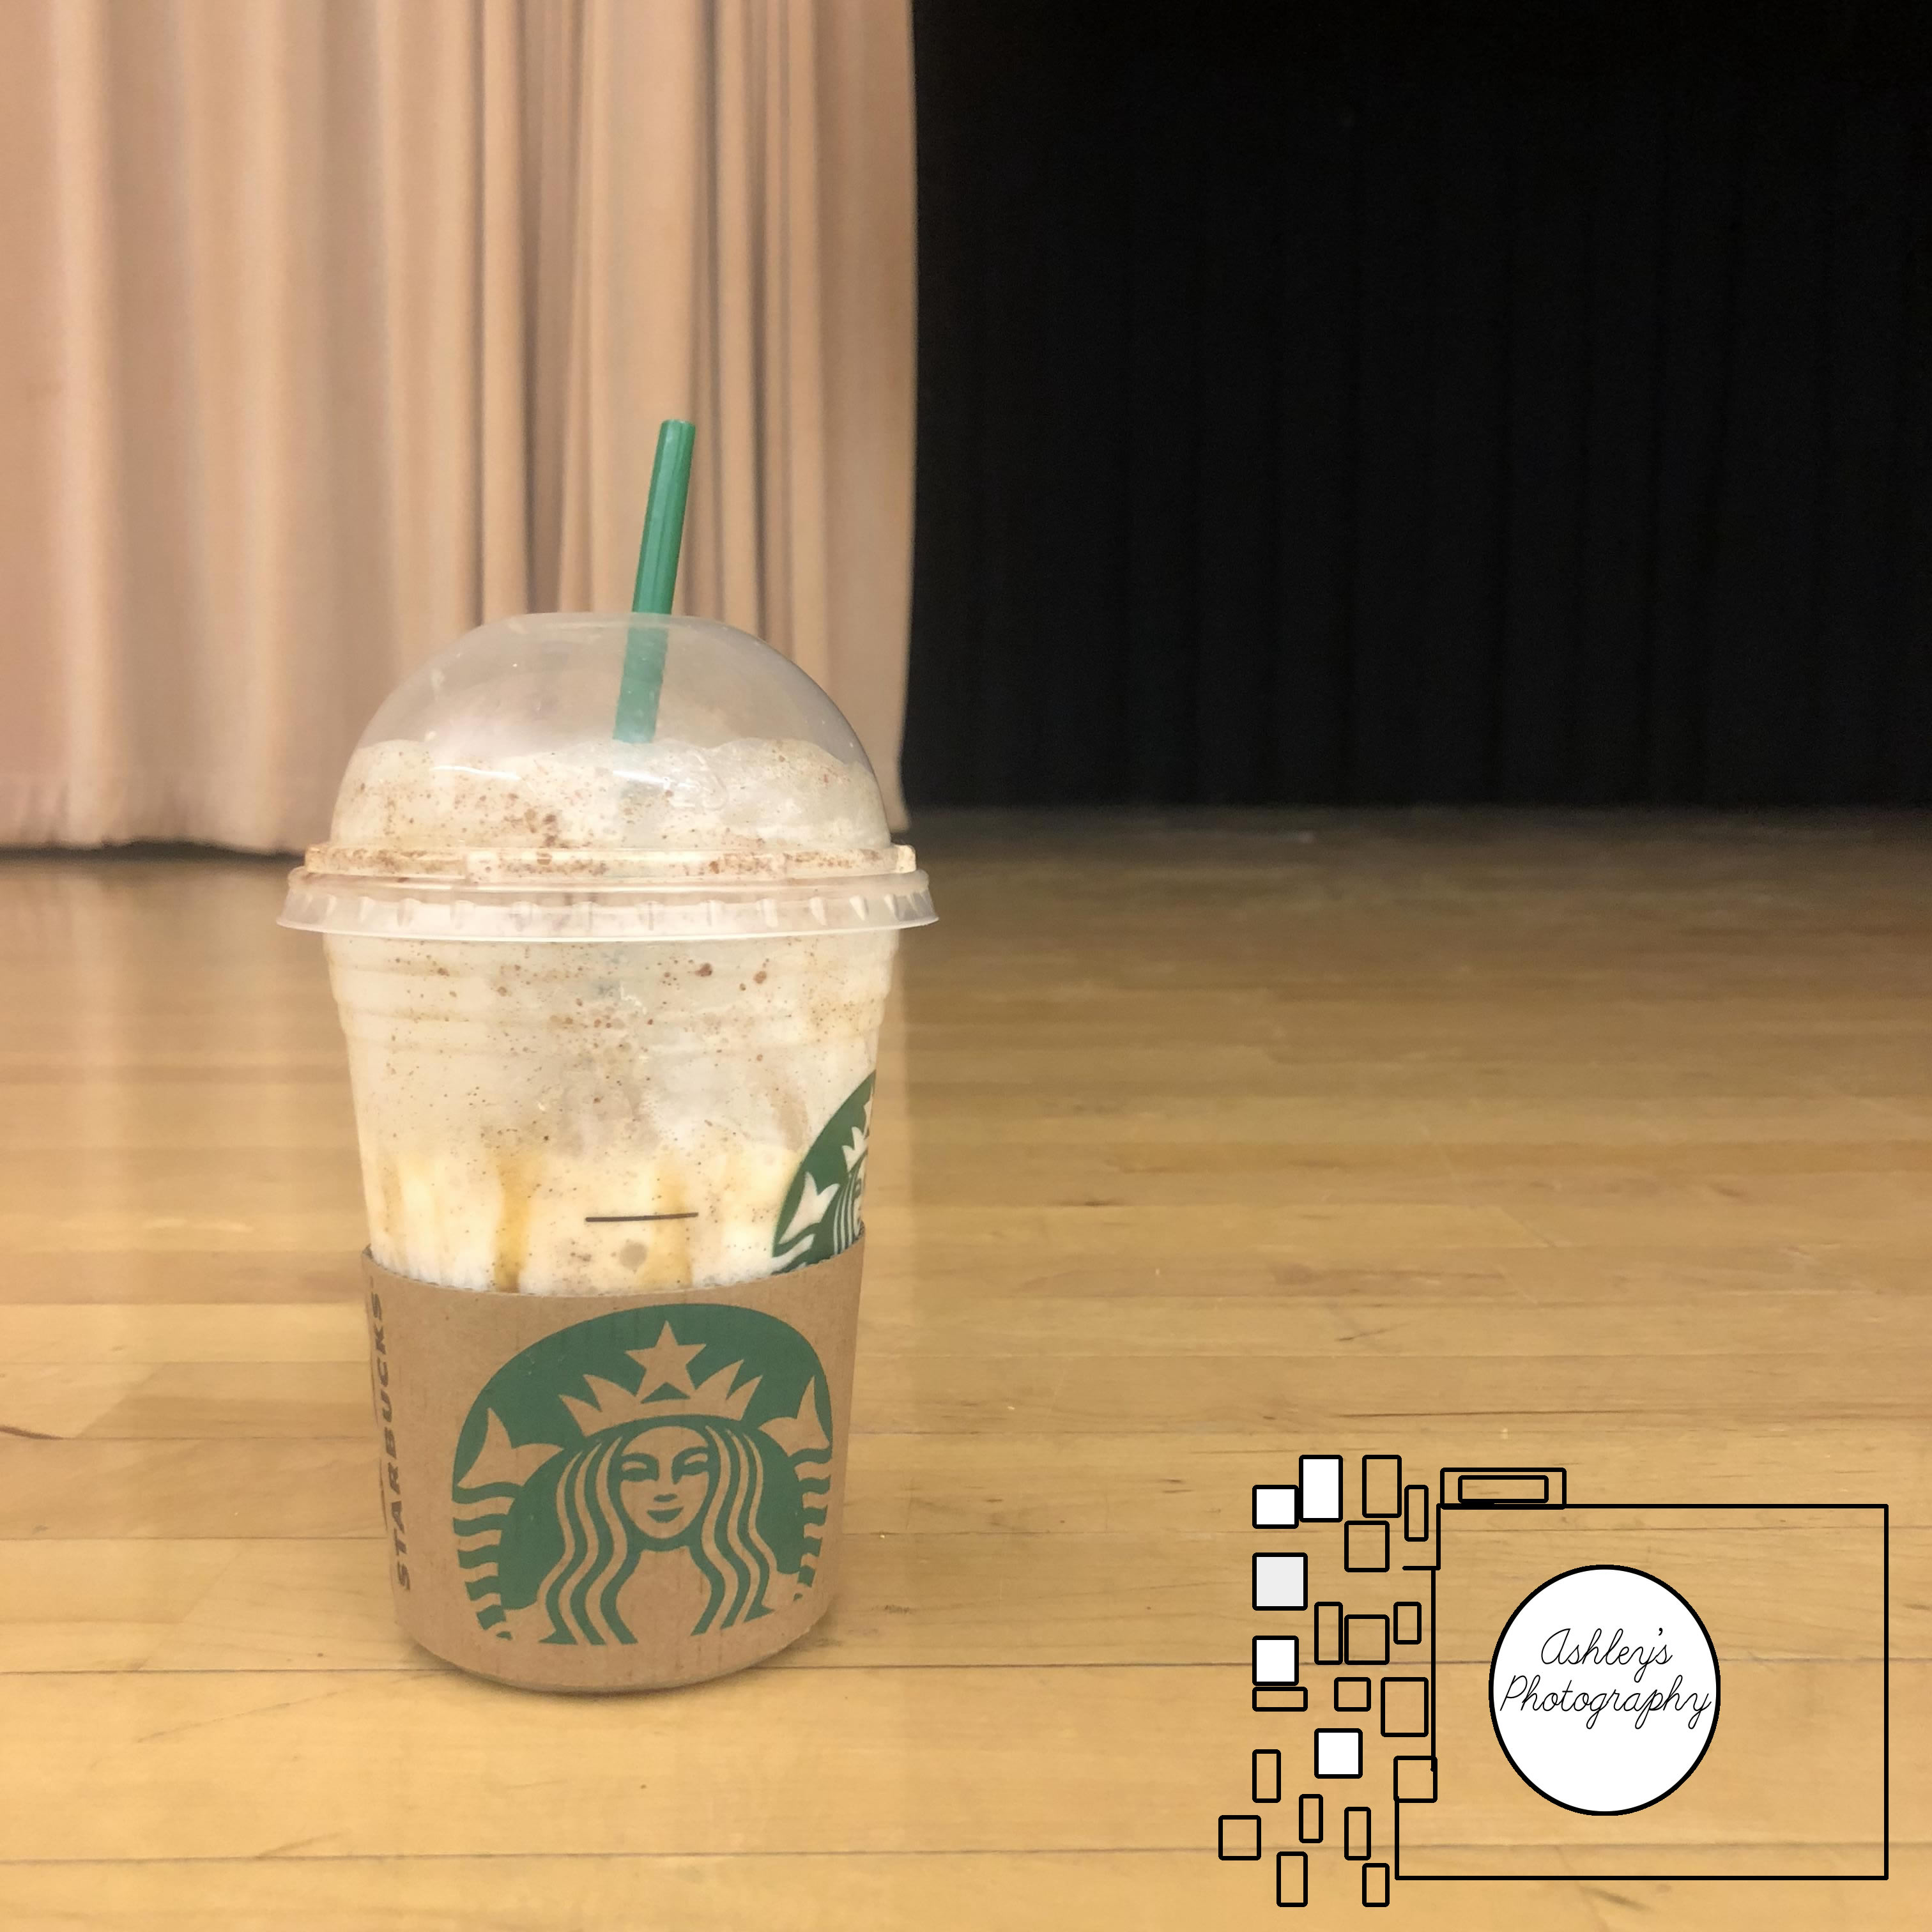
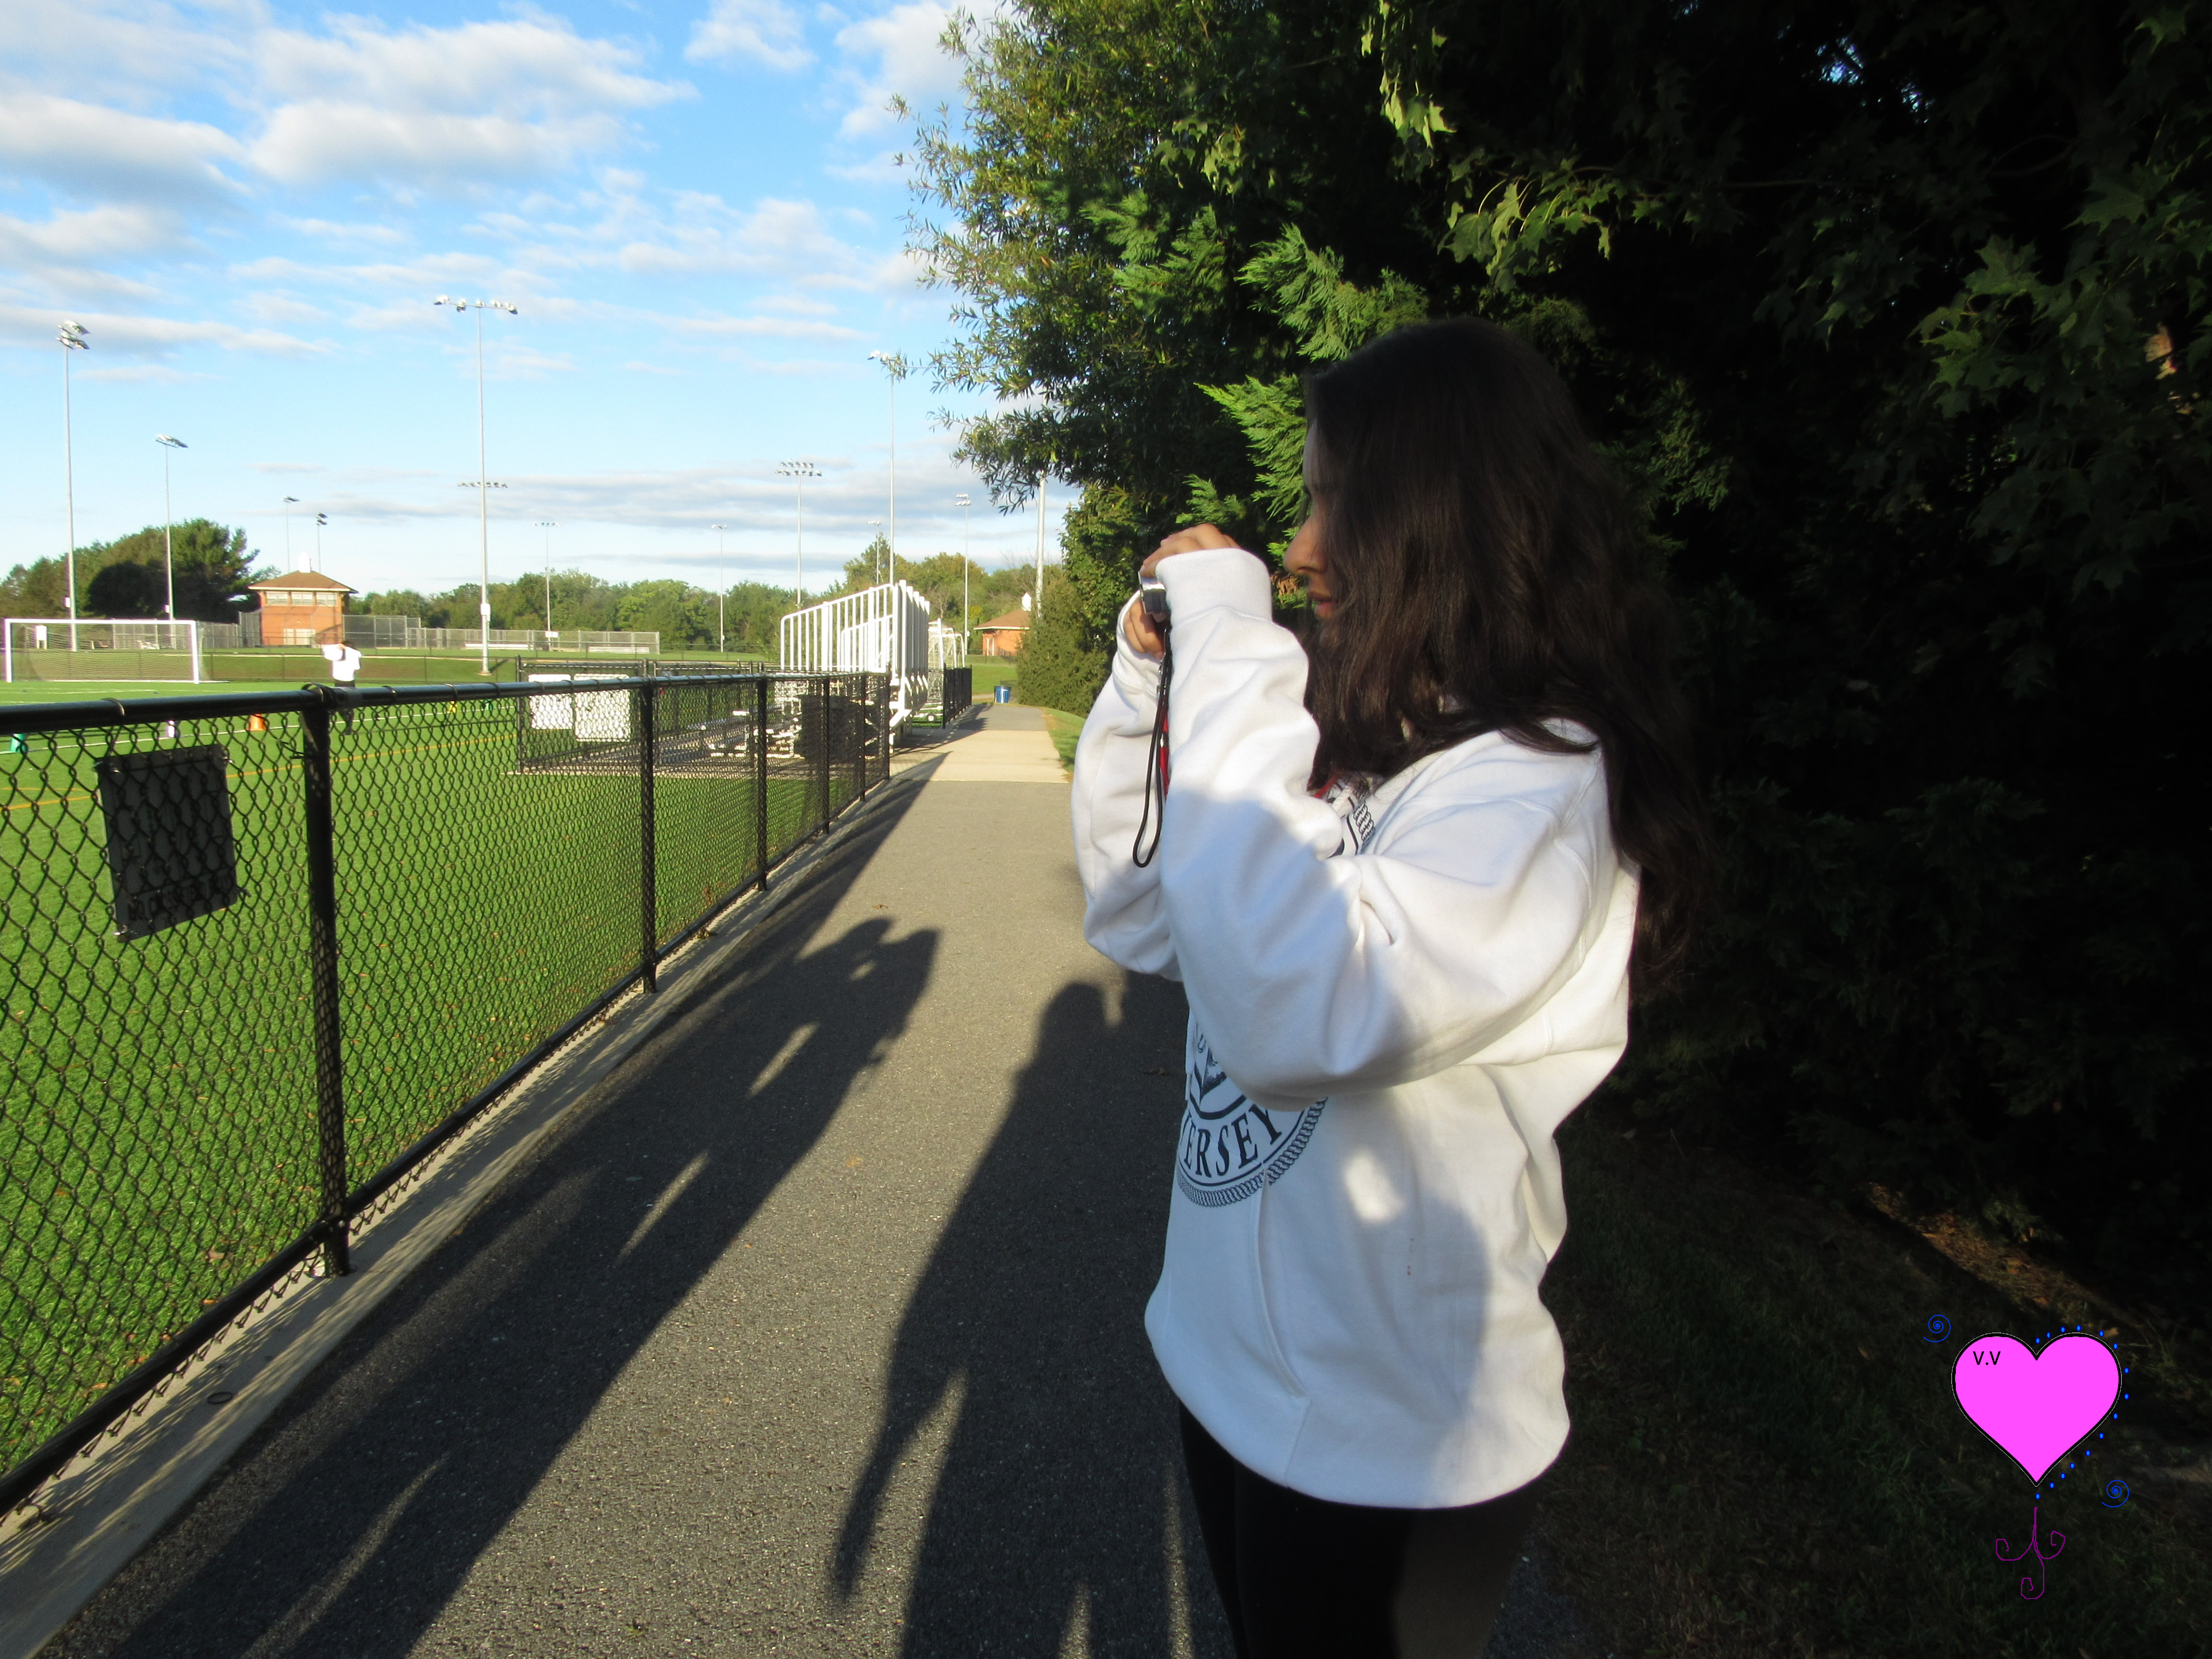
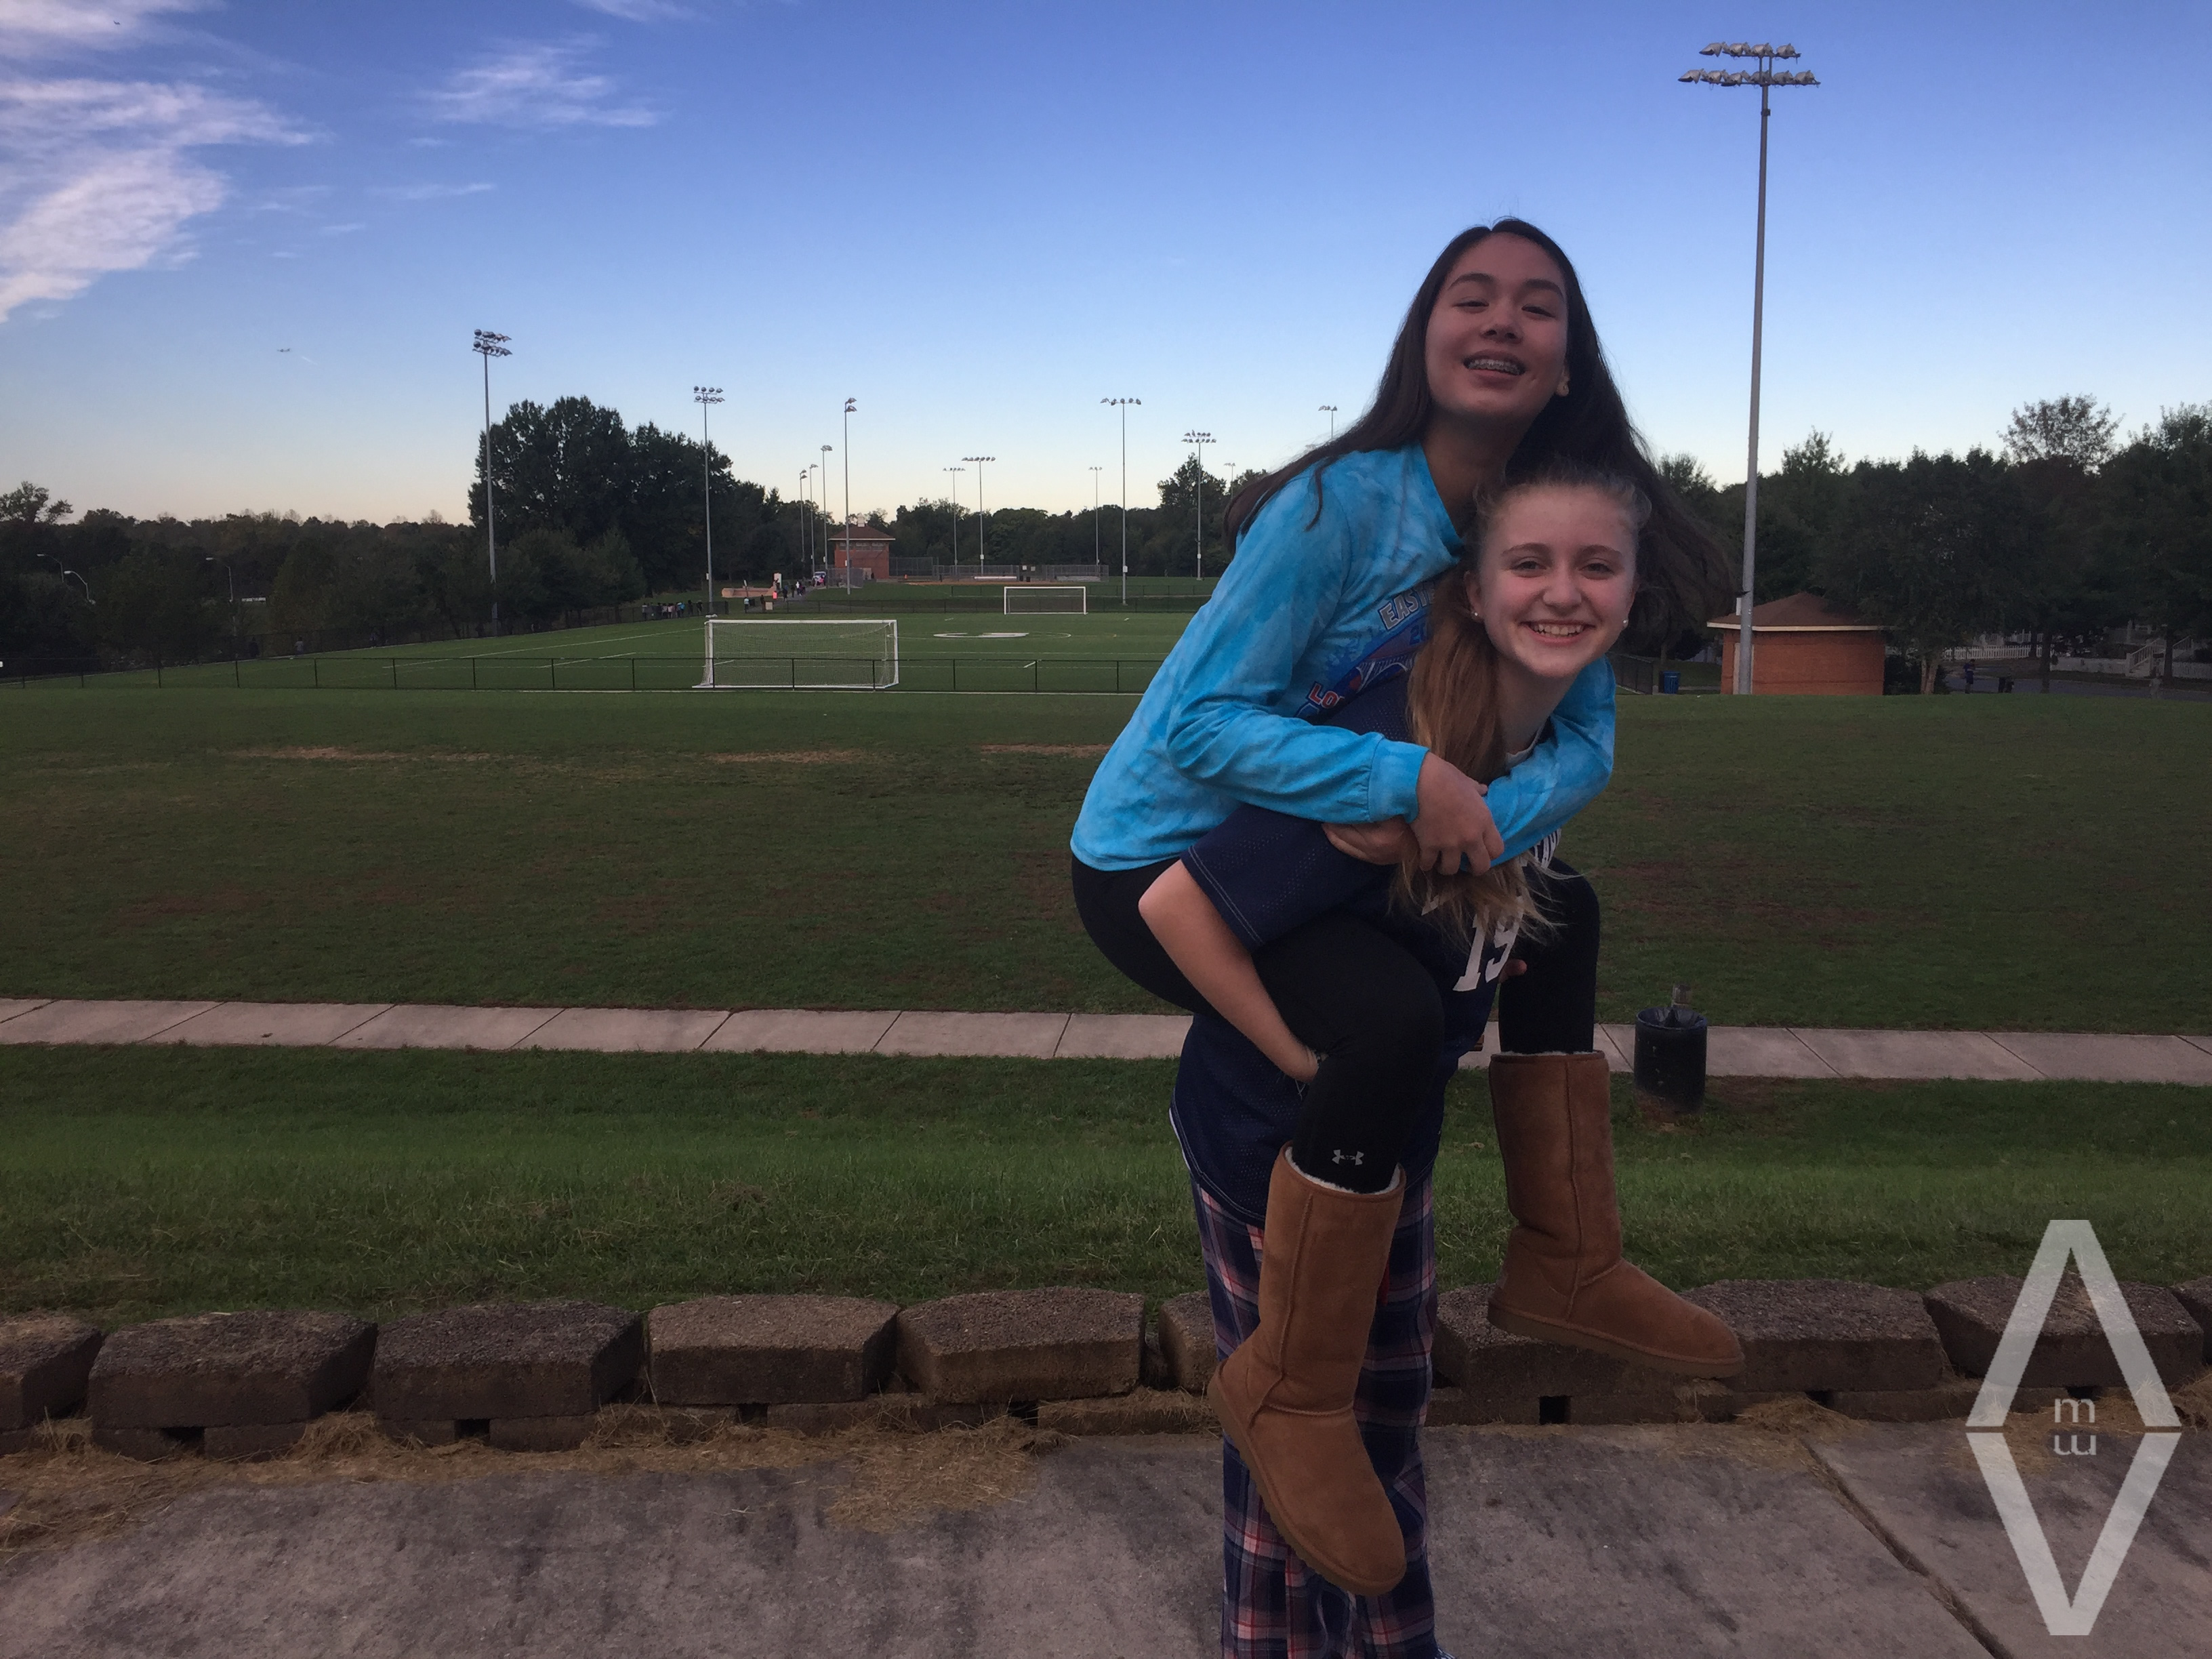
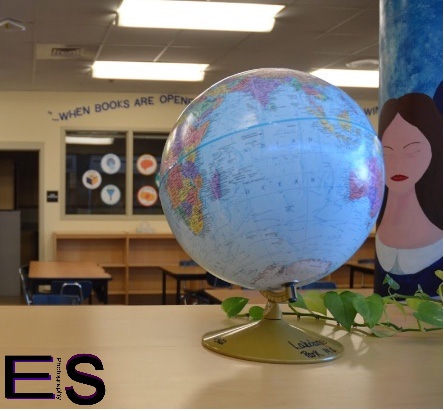
  I would say putting the grid setting worked.  What didn’t work was taking pictures of people hugging.  My thoughts on rule of thirds is that it can help to make the picture better and more interesting.  My thoughts haven’t changed really.  So there is 2 lines going vertically and 2 lines horizontal, you have to put the main thing in your picture on one of the 2 lines.  I usually put the object in one of the 2 lines.  You can see the rest of my photos here.

Rule of Thirds

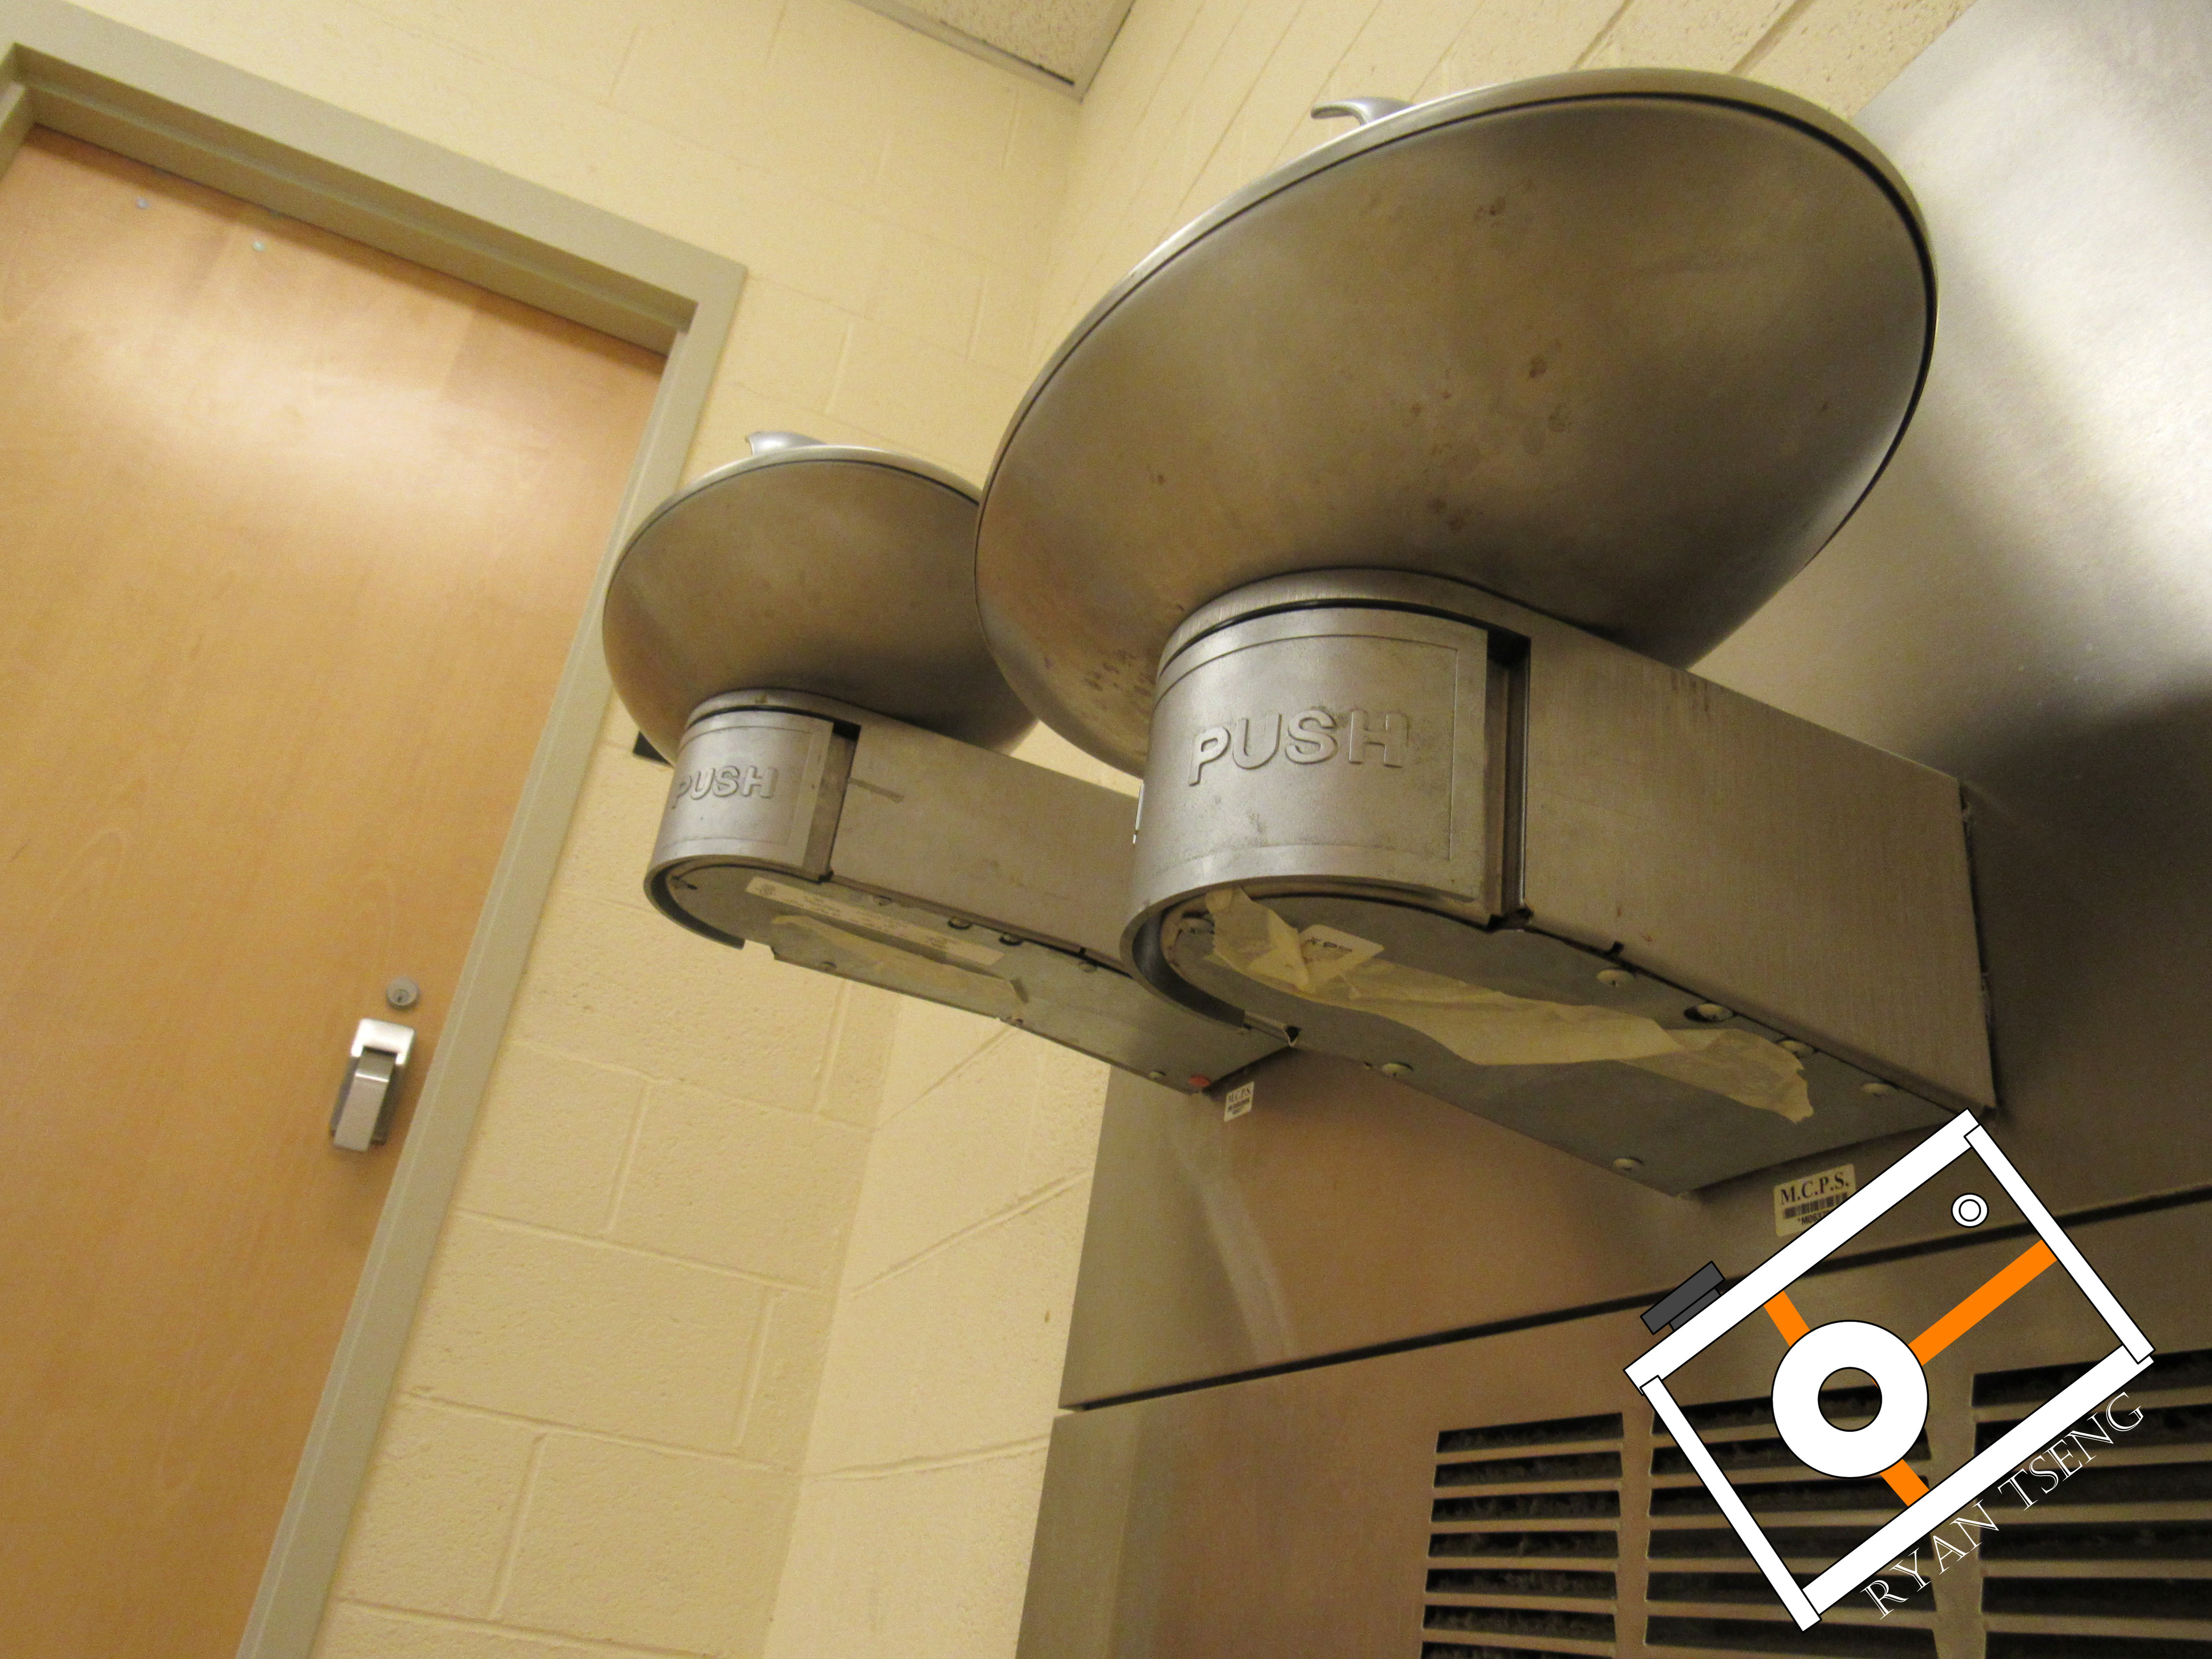
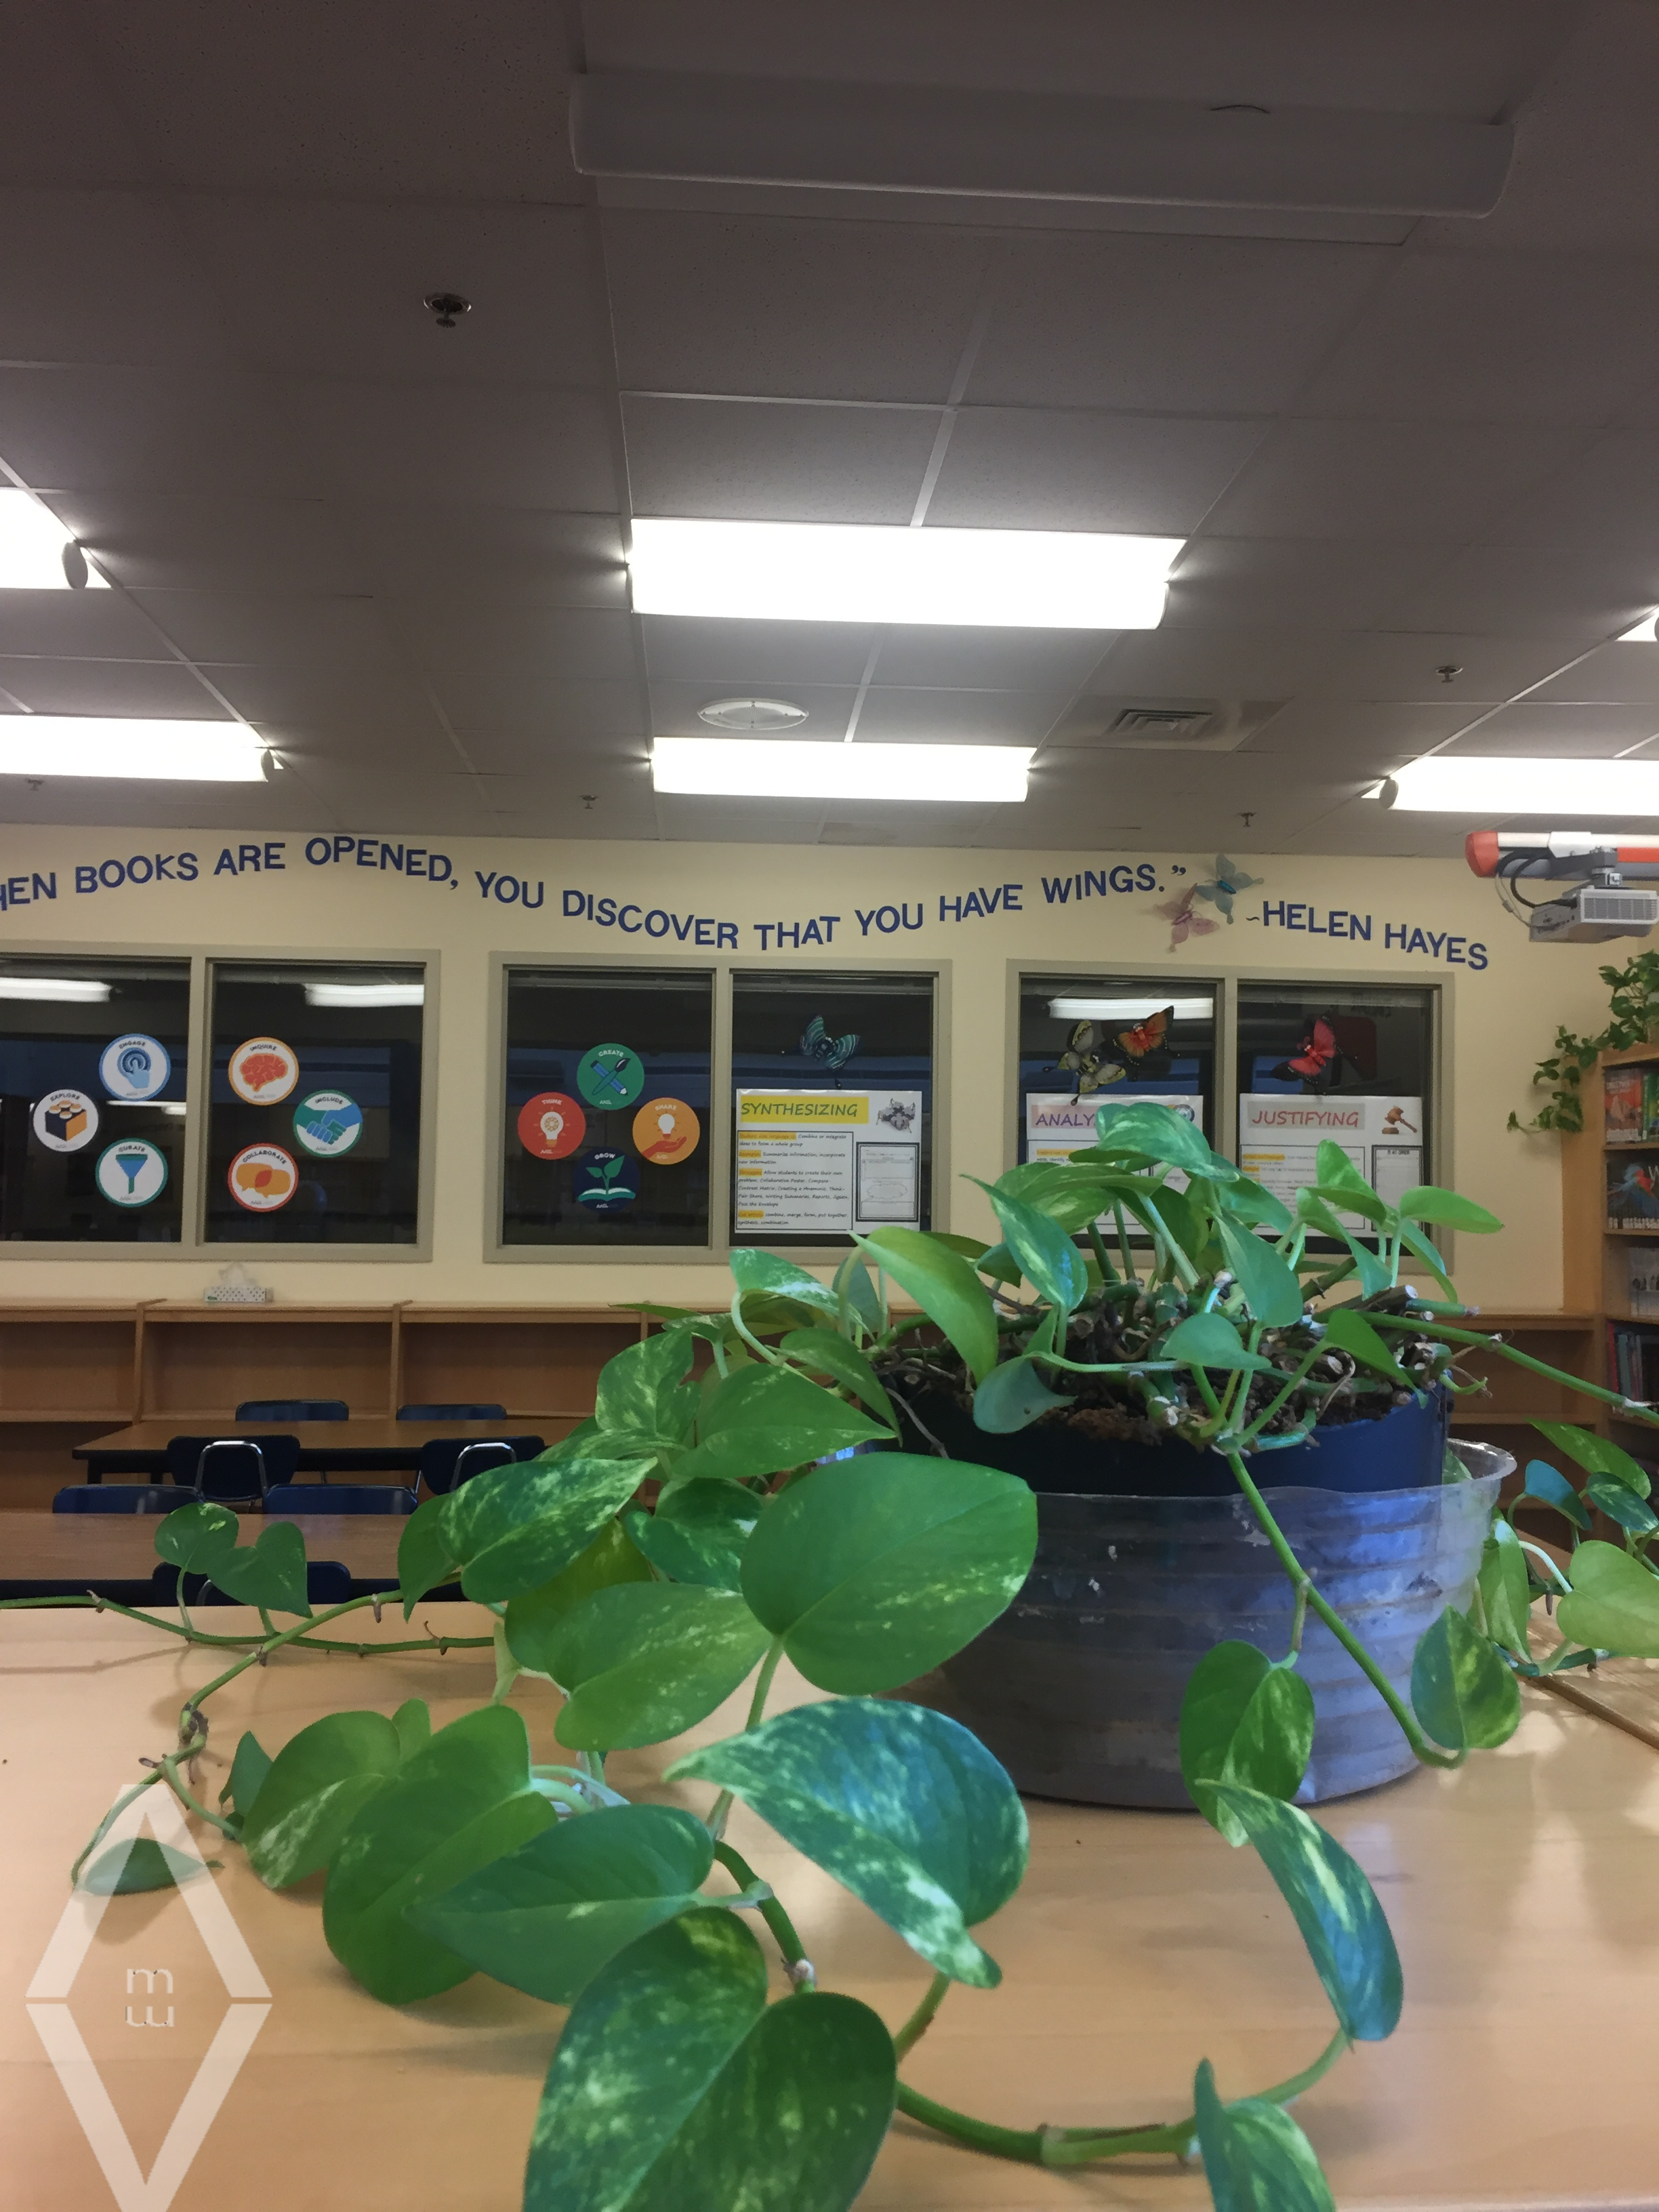
The things that worked in this project was finding the right spot to take the rule of thirds pictures. The hardest part of the project was matching the main object with the lines. In the beginning of the project, I thought that it would be easy to find somewhere to take pictures and line the object up with the lines. It started getting harder, but just slightly. The main image of the shot would be taken somewhere on the lines or where the two lines intersect.

Here are the other pictures, click here.

Rule of Thirds


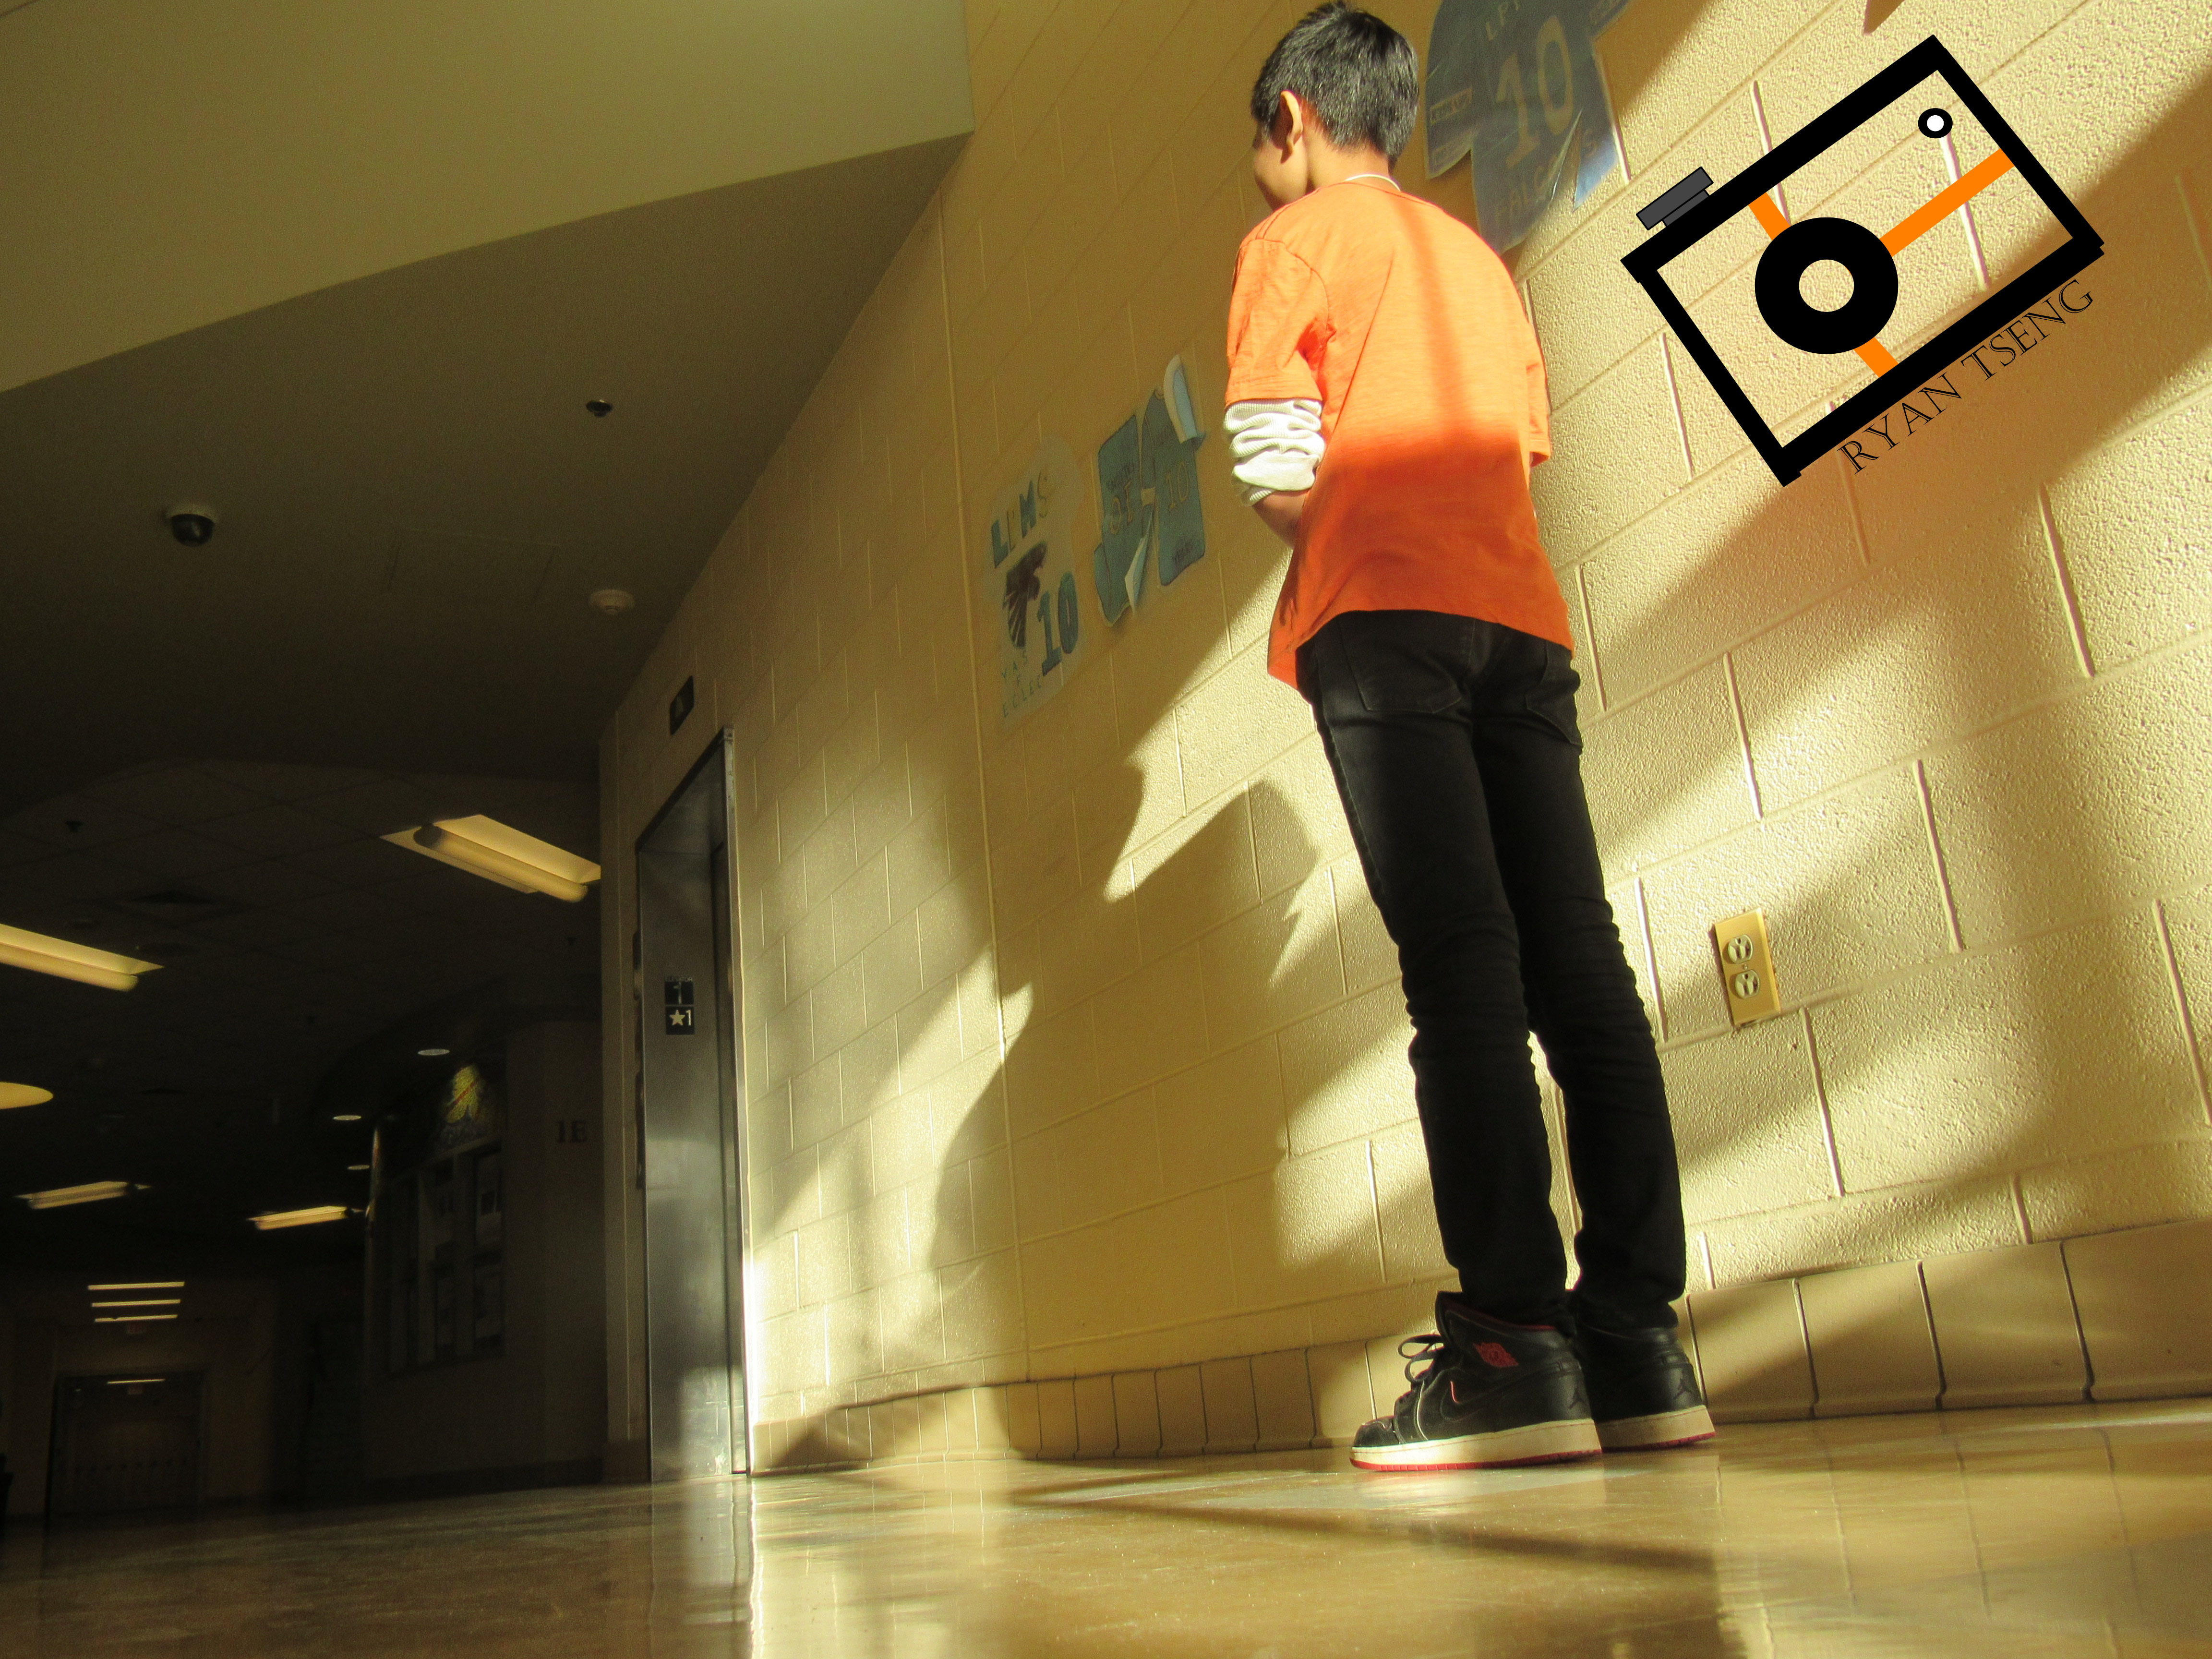
In this project, we had to take pictures with a 3 by 3 grid. It will only show up when you are taking the photo. It won’t show up on the actual photo. The easy part was lining the picture up with the grid. The hard part was finding things to take pictures of. You can see the the rest of pictures here.

Light Graffiti

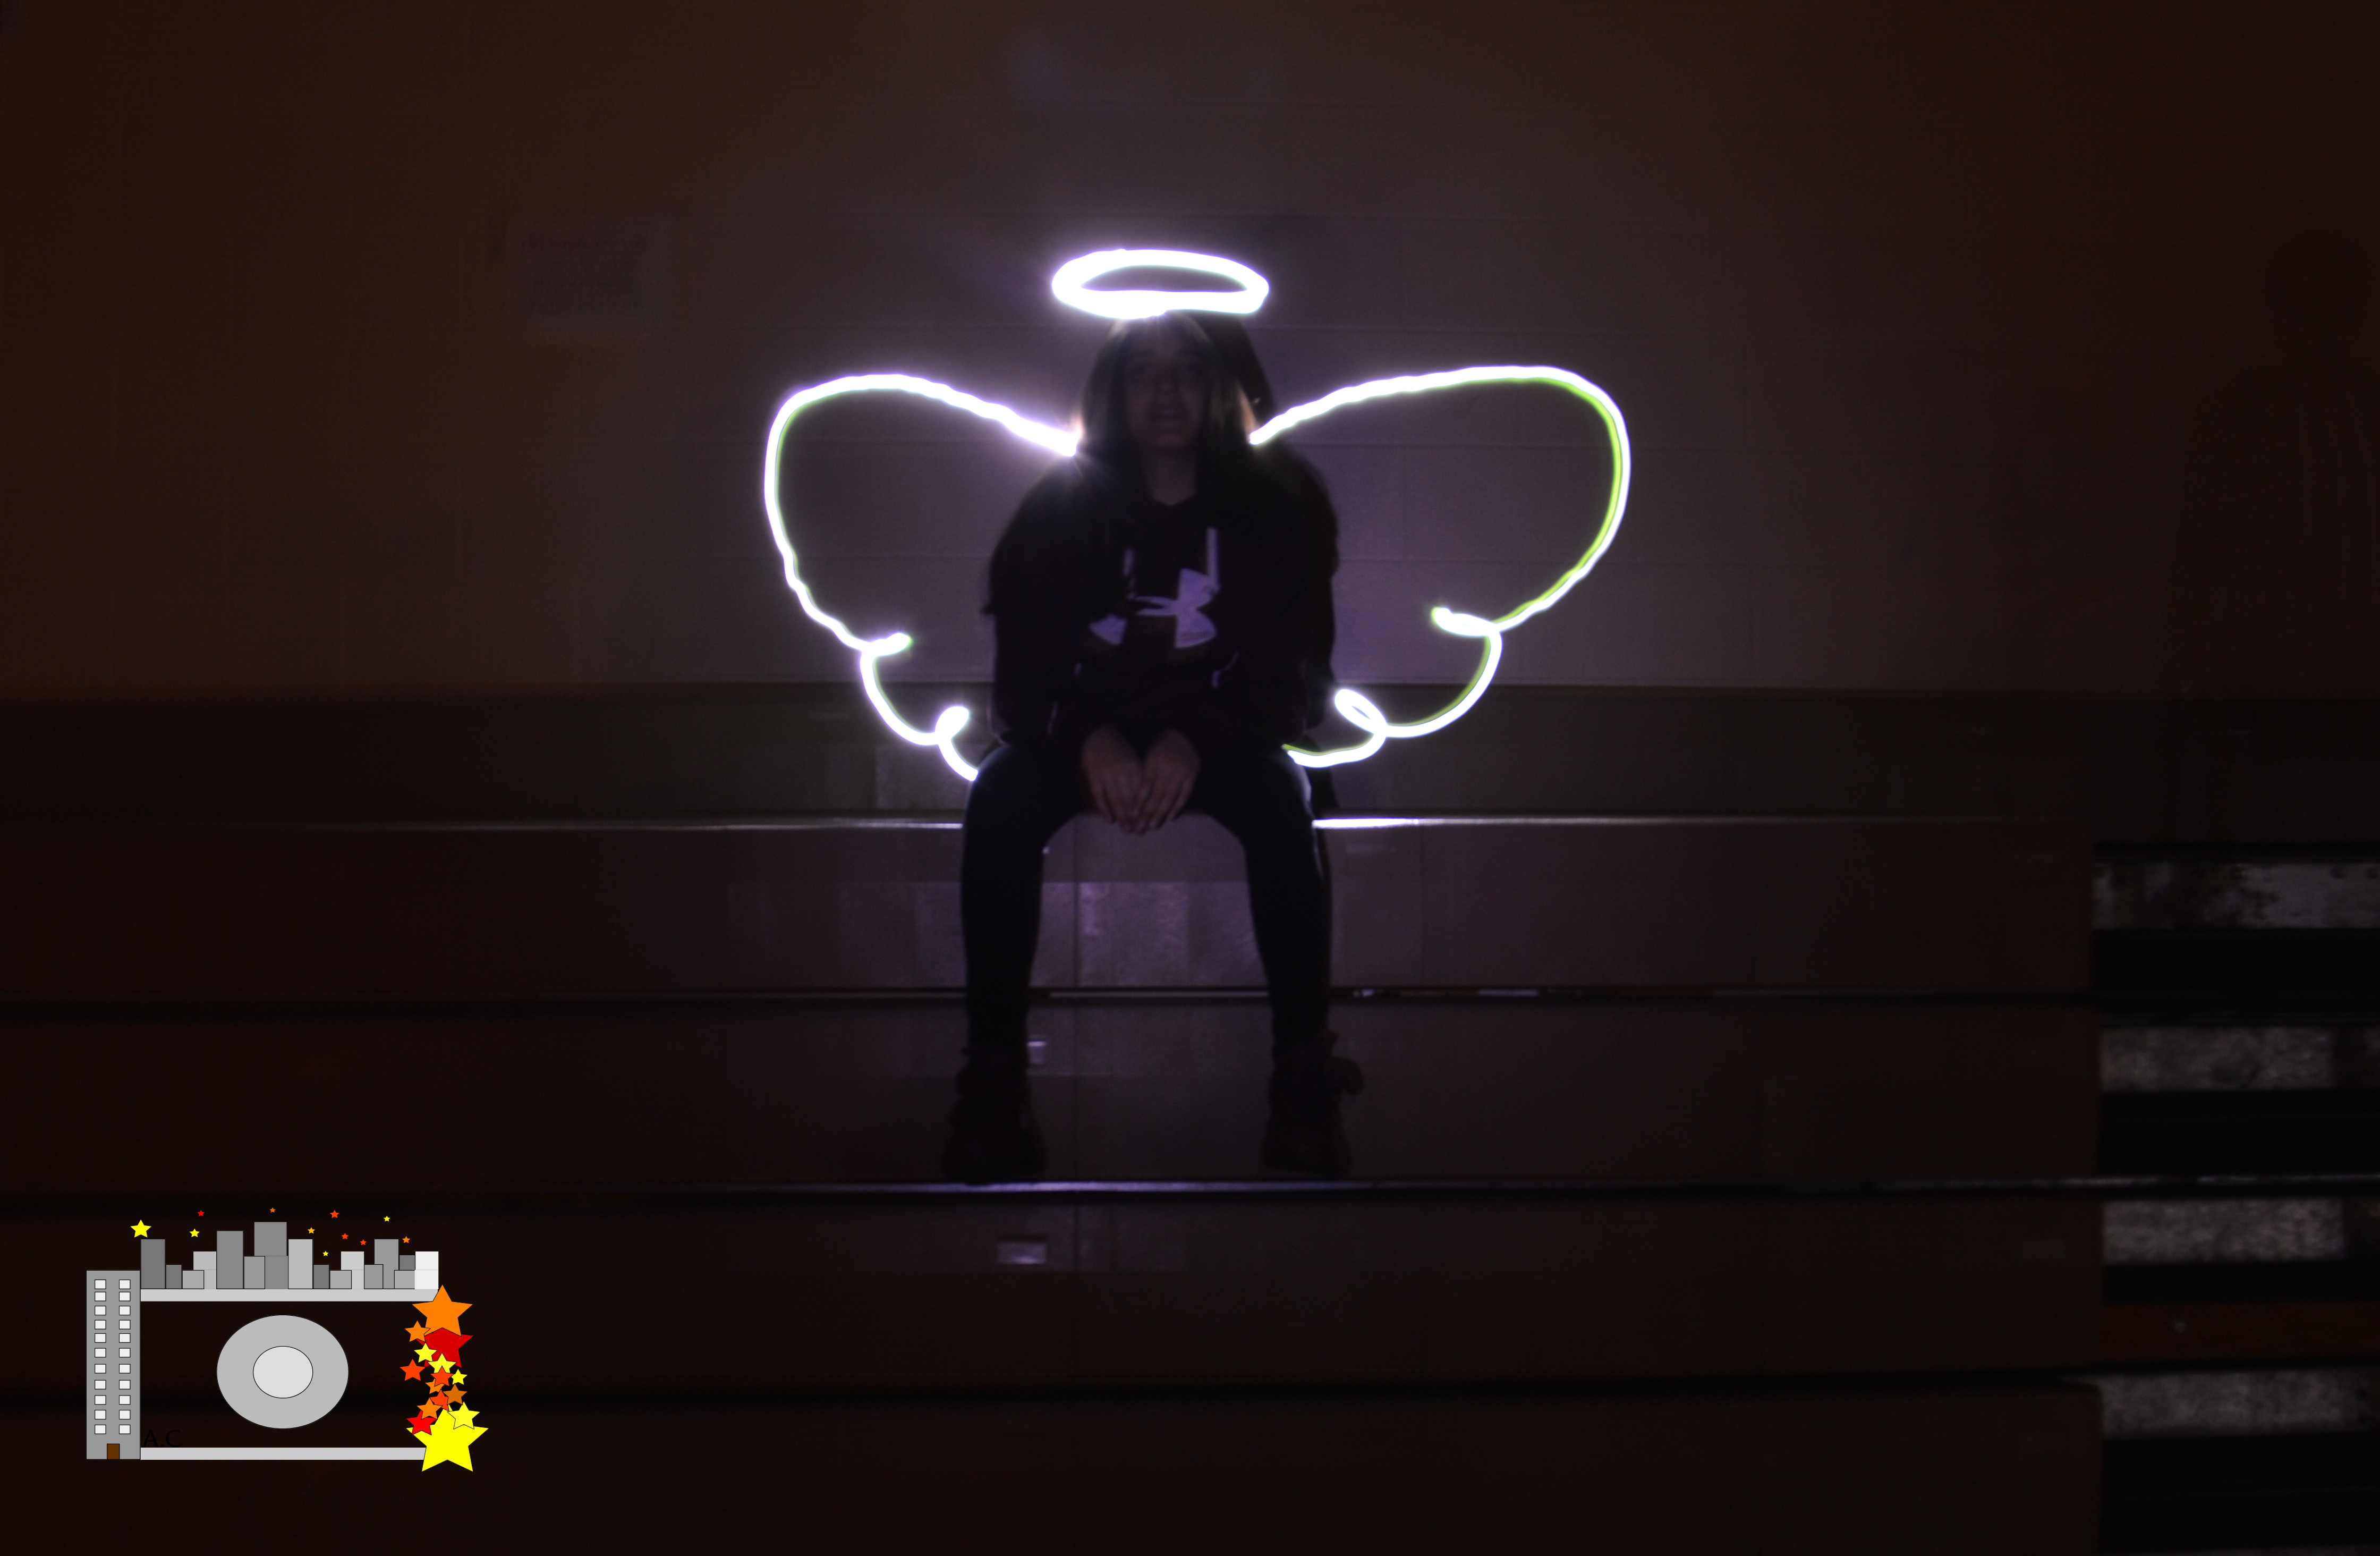
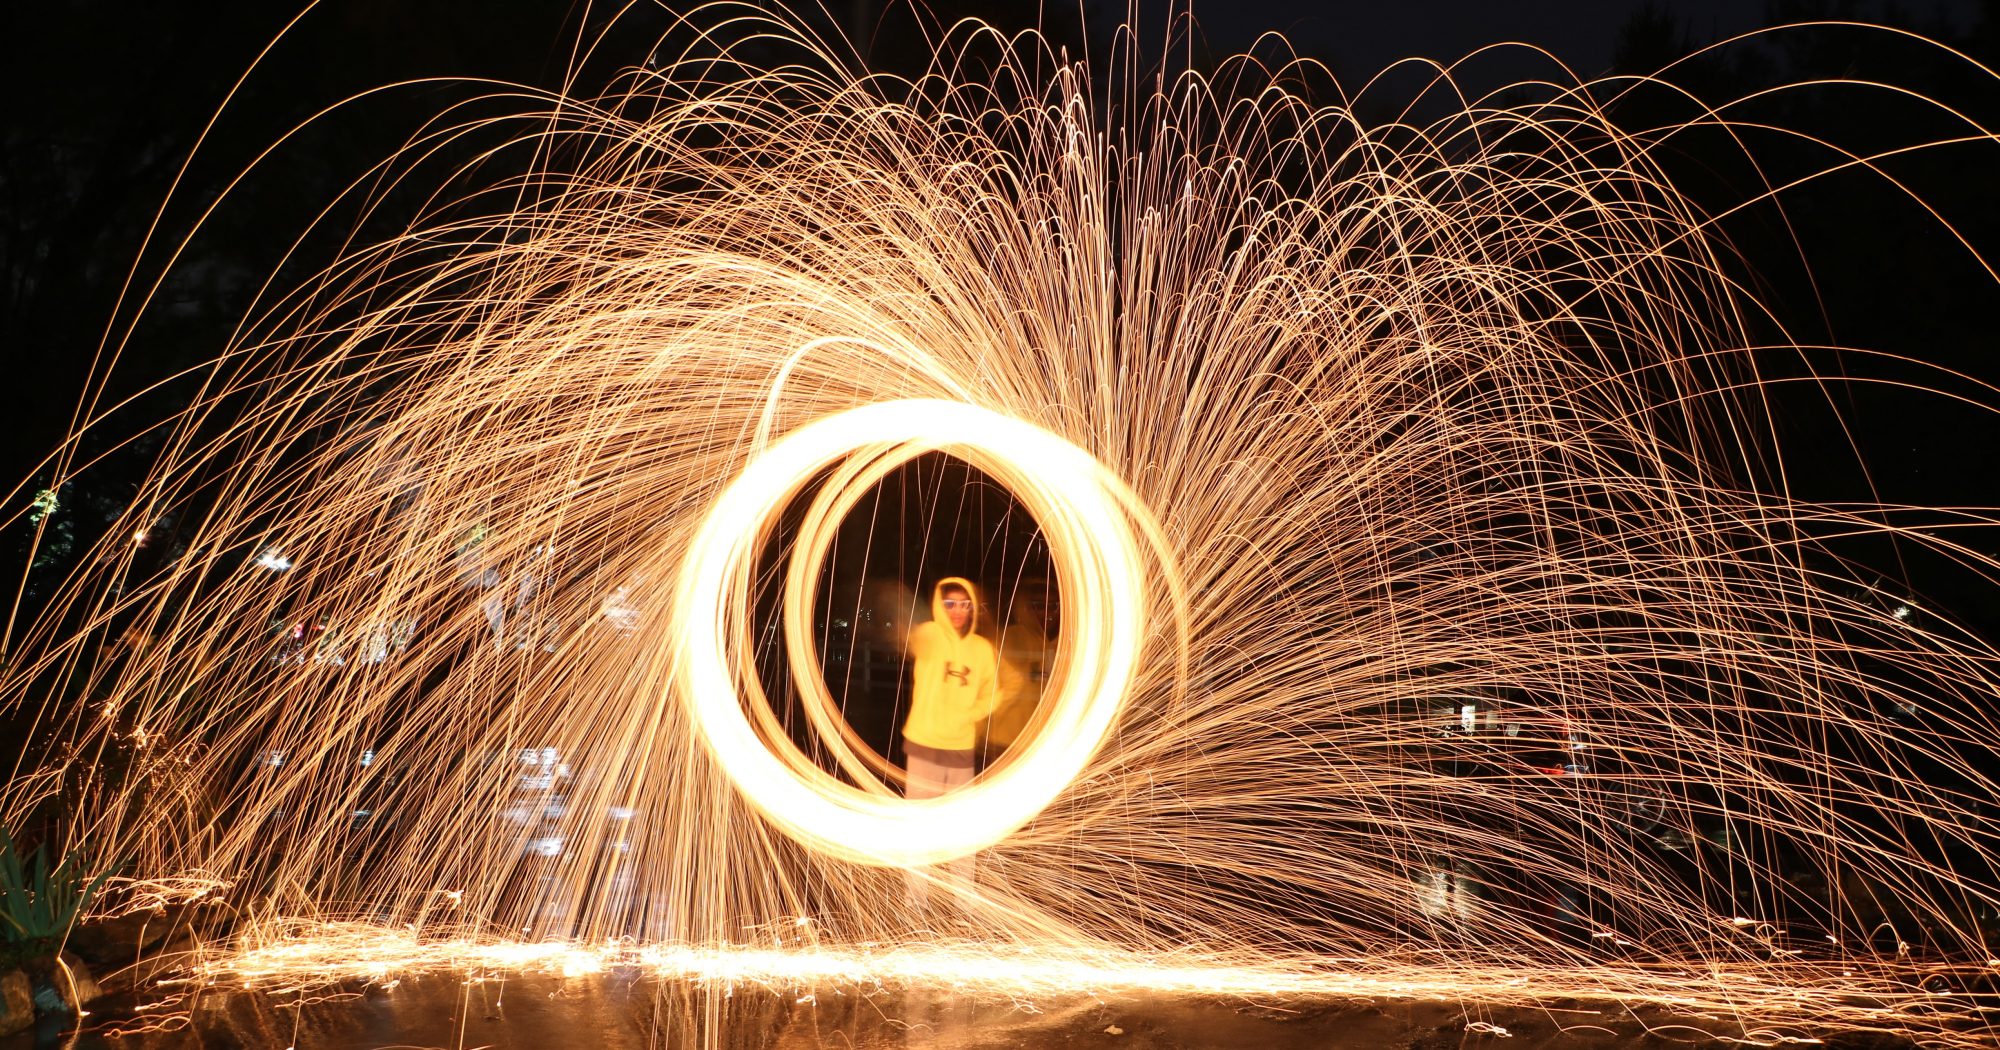
For this project we had to use lights to draw things in the dark. On the camera we used there was the bulb setting so instead of changing our shutter speed to stay on longer, we just held the button down until we were done drawing. Once we held the button down we drew things using flashlights and some LED lights. The hard part about this assignment was getting people to stay still when we “painted” them. The easy part was being able to hold down the button for however long we wanted. To take this project to the next level I would suggest taking multiple photos of the same scene and combining them to make a short stop motion film. You can see the rest of my photos Here.

Rule of Thirds

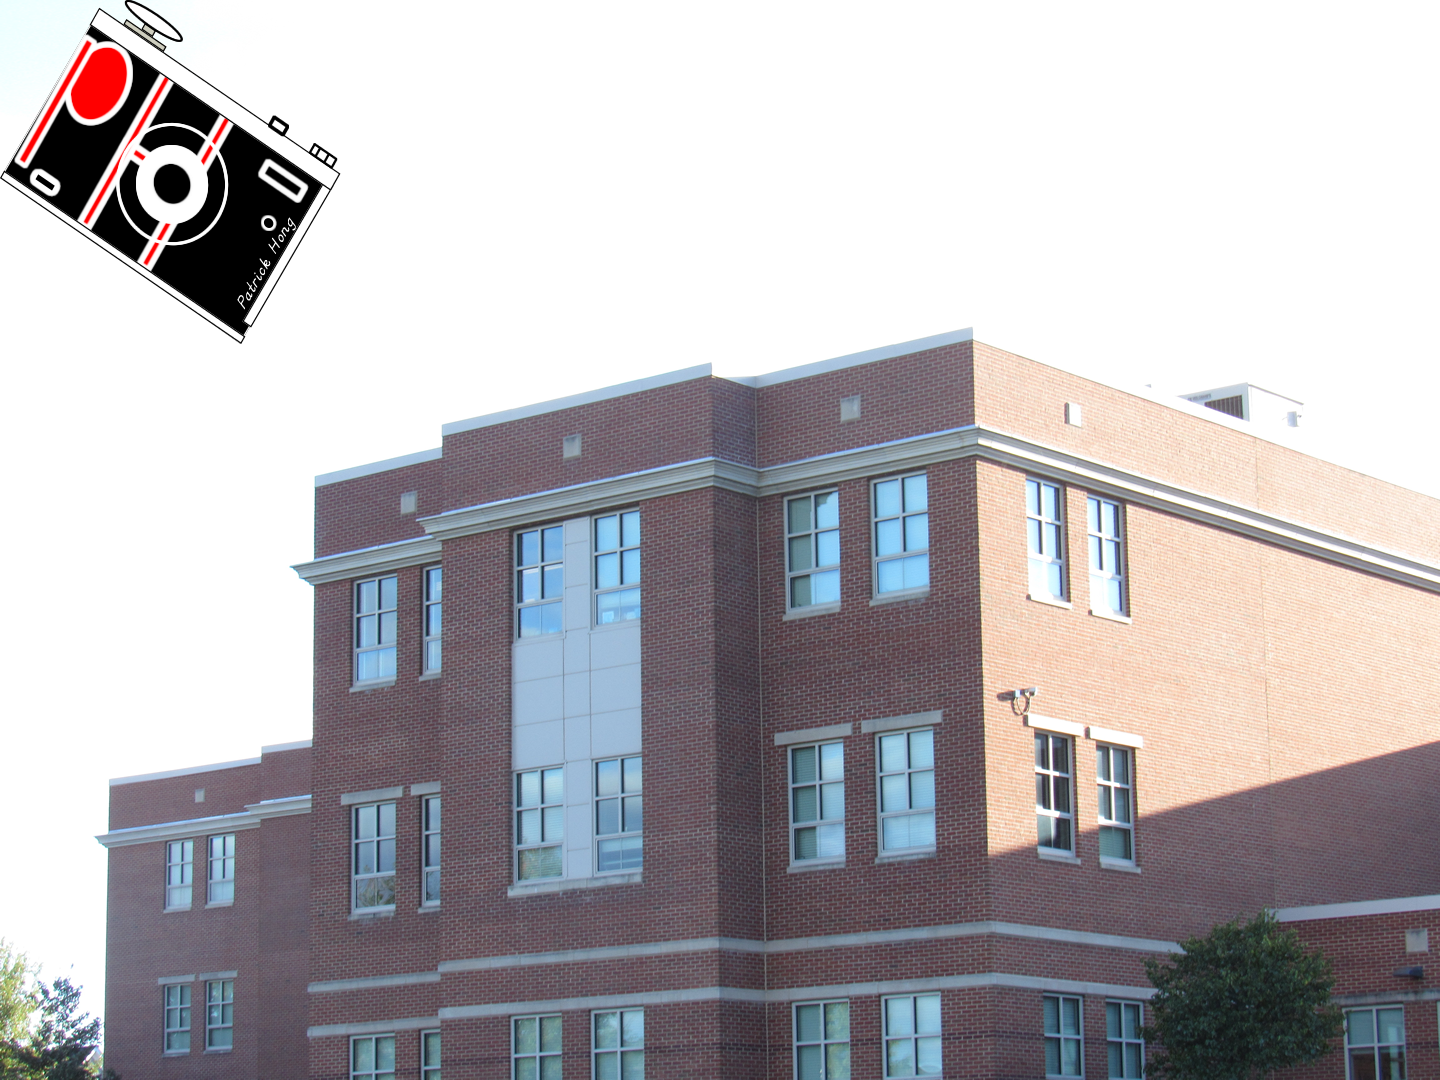
For this project we had to take photos that followed the Rule of Thirds. The Rule of Thirds is where there are 2 lines going across the screen vertically and horizontally, creating 9 boxes. For the camera we turned on the Rule of Thirds mode to help us take the pictures more easily. To follow the Rule of Thirds we centered the object along one of the lines so all our photos (if not most) follow the Rule of Thirds. In the beginning I always thought that you had to place the object in the center of the picture but now I know that that’s wrong. The Rule of Thirds creates a very focused and more developed picture rather than placing the object in the dead center. For this project we were not able to place one of the Rule of Thirds line on a thin object. We tried to place one of the lines on a goal post but it didn’t work very well because it was too small. What worked for this project was lining the Rule of Thirds lines along the edges of the object if it was too big for the screen. As showed below, I took a picture of the school building and lined the edges of the building on the Rule of Thirds lines. My favorite image with a person and without a person is shown below. The rest can be found here.

Rule of Thirds

My favorite people picture is the one of Lauren carrying me. My favorite picture of an object is the one of the plant. It worked if you lined up the object on the grid. It didn’t work when we had too many people on the line. I thought it was going to be easy to take the pictures and it was. I used the line on the far right. Here is the link to the pictures.

Rule of Thirds

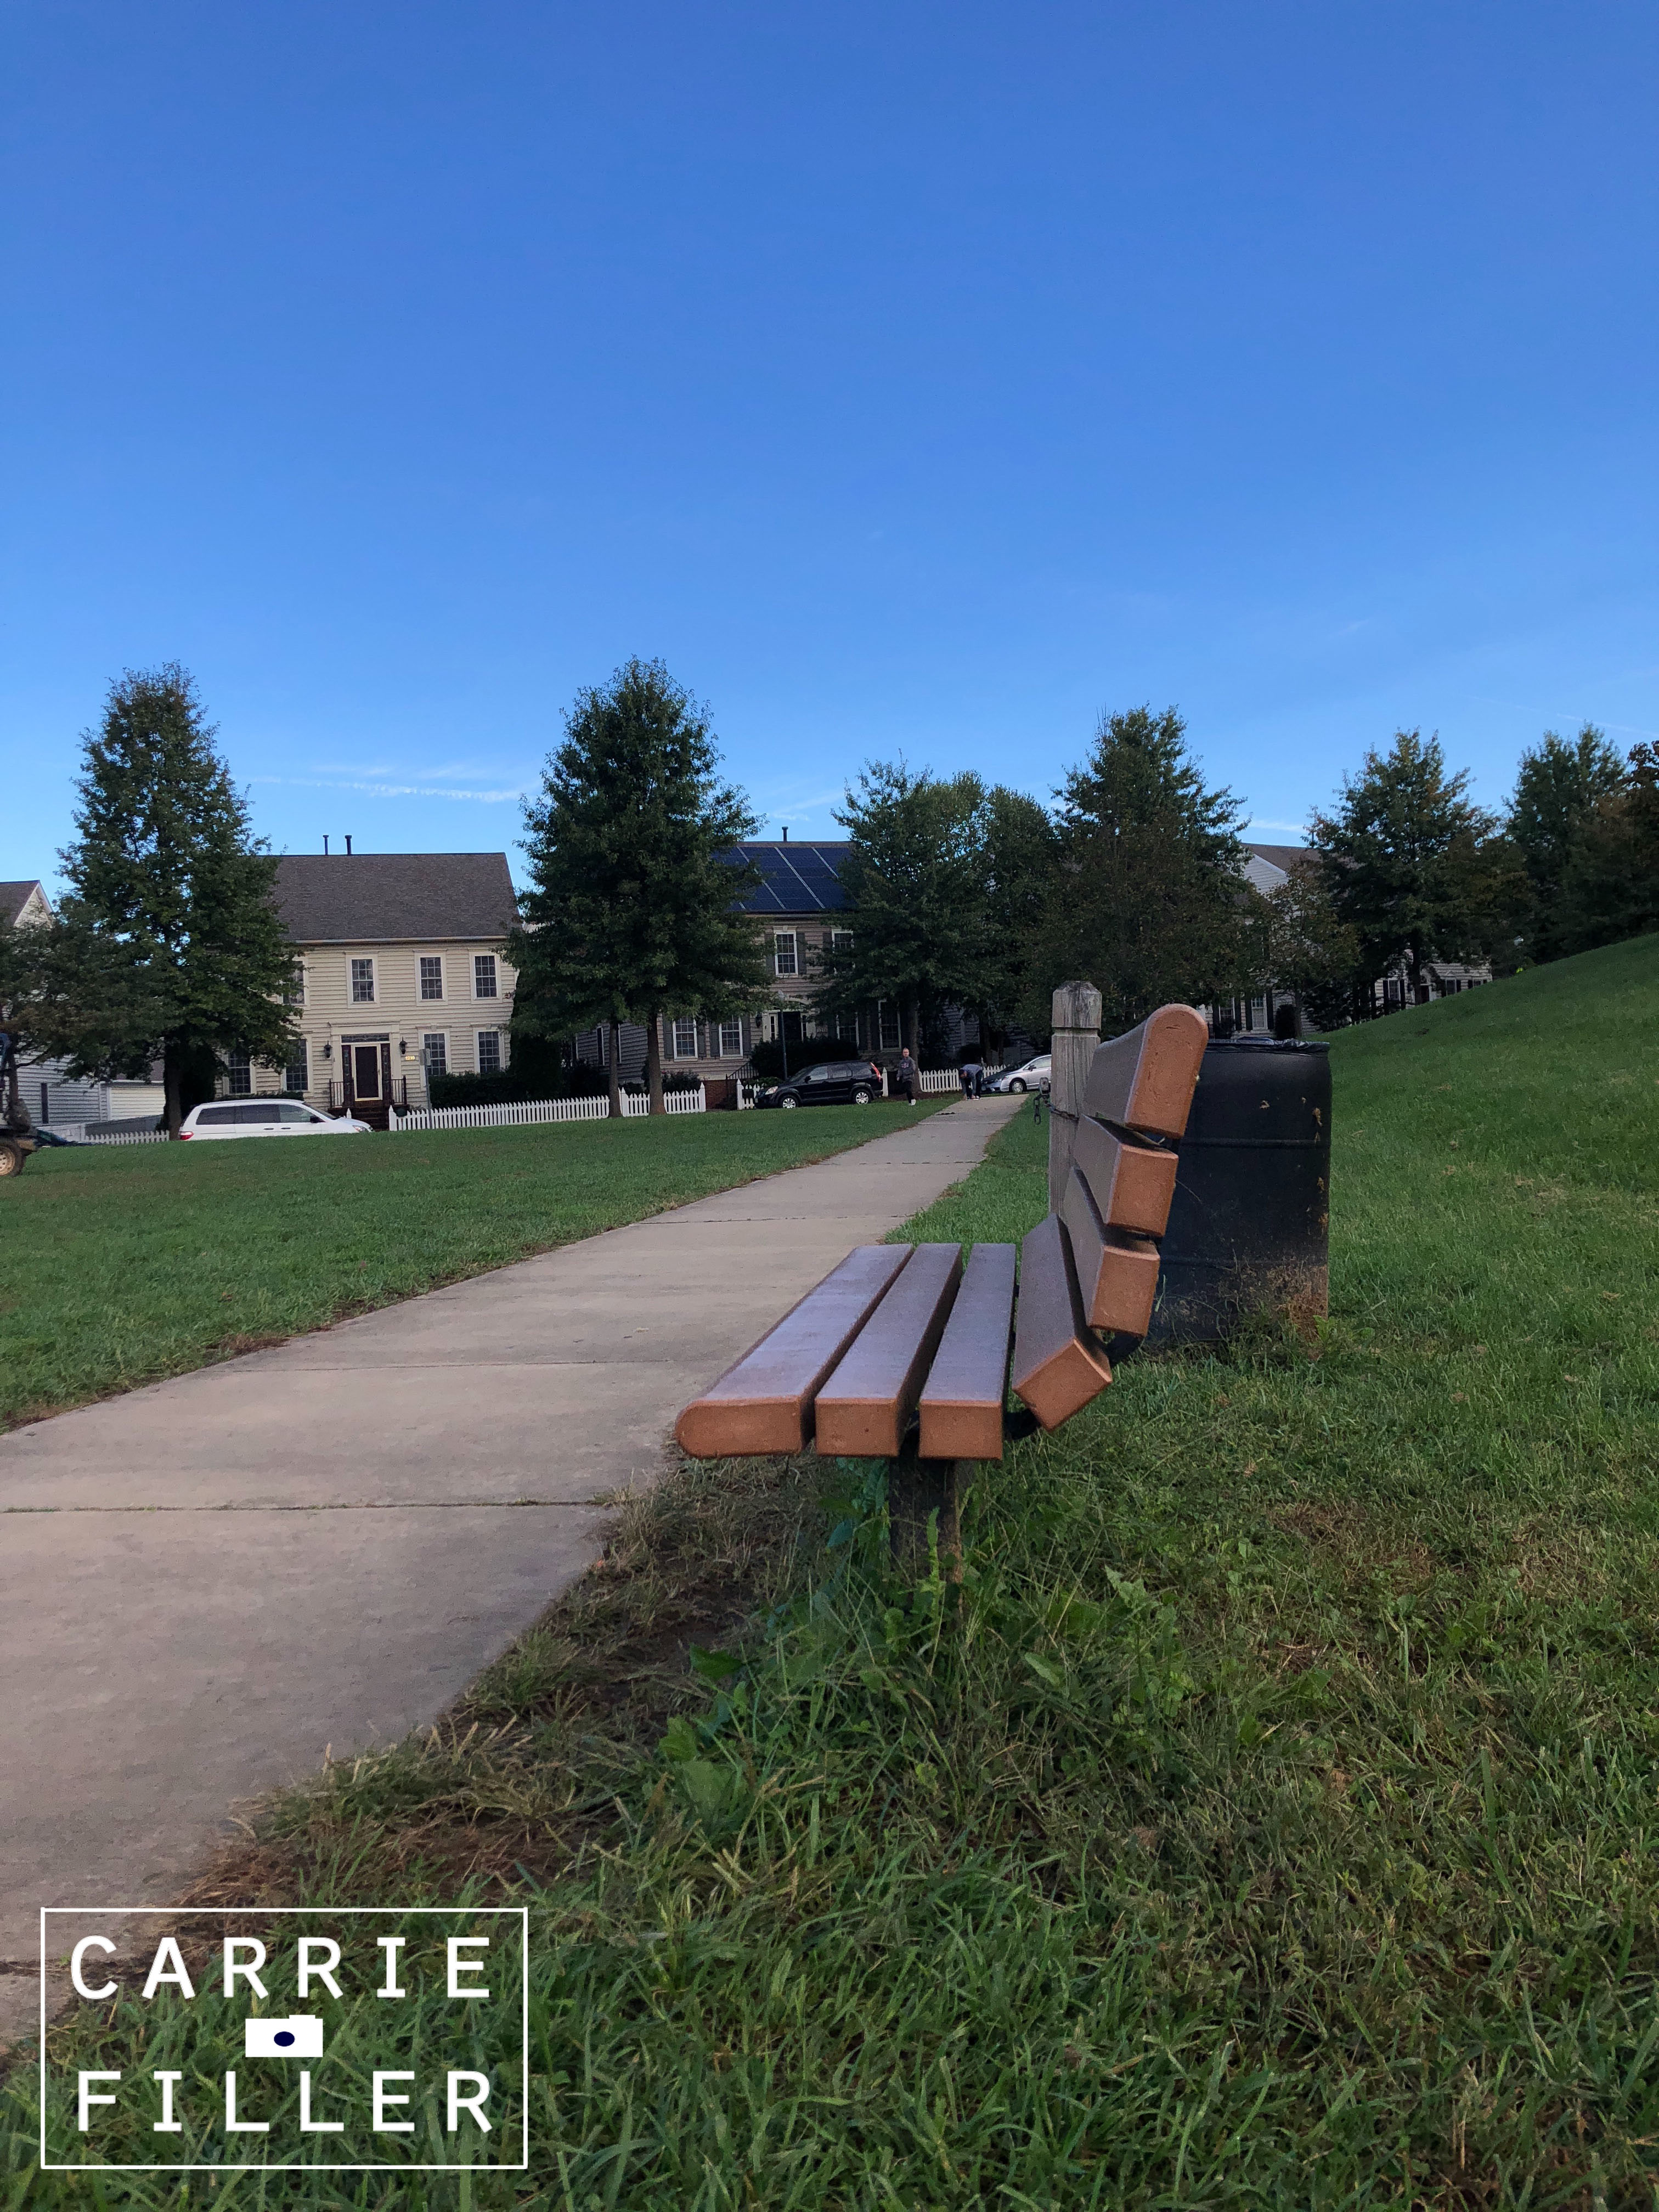
In this project, one thing that worked was when we took pictures outside. It was easier to find spots to take them. One part that was hard was when we had to take pictures inside. We had trouble finding places to take pictures. I thought this project would be easy but as the project went on, it got more difficult. The “lines” in my shot had to line up with the object in the photo. In the bench picture, one line was on the back part and the other line was where you sit. you can see the rest of my photos here

Rule of Thirds

In this project we had to use this imaginary grid to take photos. The hard part was taking pictures without people in it. The easy part was lining up the grid in the pictures. The lines we used look kind of like tic tac toe lines. the object or scene had to line up with these lines. You can see the rest of my photos Here.

Rule Of Third

Here are two of the pictures I took using the rule of third.

On this photo I used the lines on the left. I applied it on the sun to make it come out this way.
For this picture I had the girl sit on those rocks then aligned her with the line on the right. 

Something that worked during this project was using the grid on any camera because you could align the object or person to the lines to make it rule of thirds easily. While something that was hard was finding the perfect angle so that the picture comes out a specific type of way. The lighting was also a big issue because if you didn’t get a good lighting then your picture might not turn out the way you expect it to. At the beginning of the project, I thought it was going to be hard and I didn’t understand how the lines worked or how you could make an object fit on one of the lines. But now I think pictures look better with the rule of thirds applied to it because there is no main focus anywhere causing the audience’s eyes to travel around the picture. You could find the rest of my pictures here.