The photography home of the Lakelands Park Falcons.
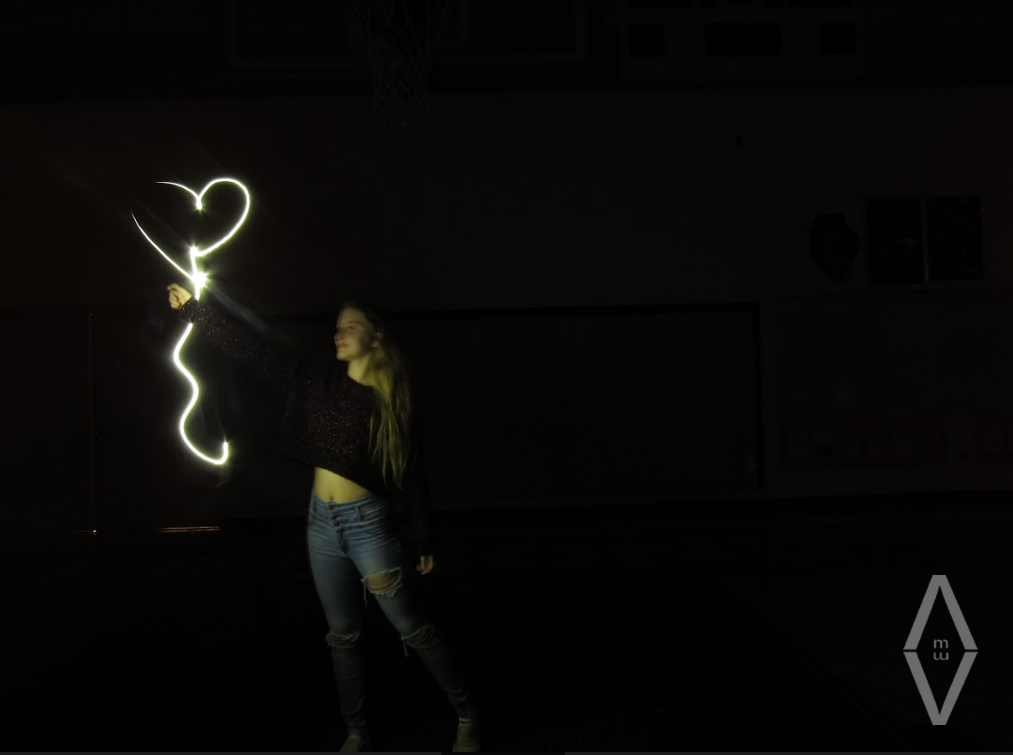
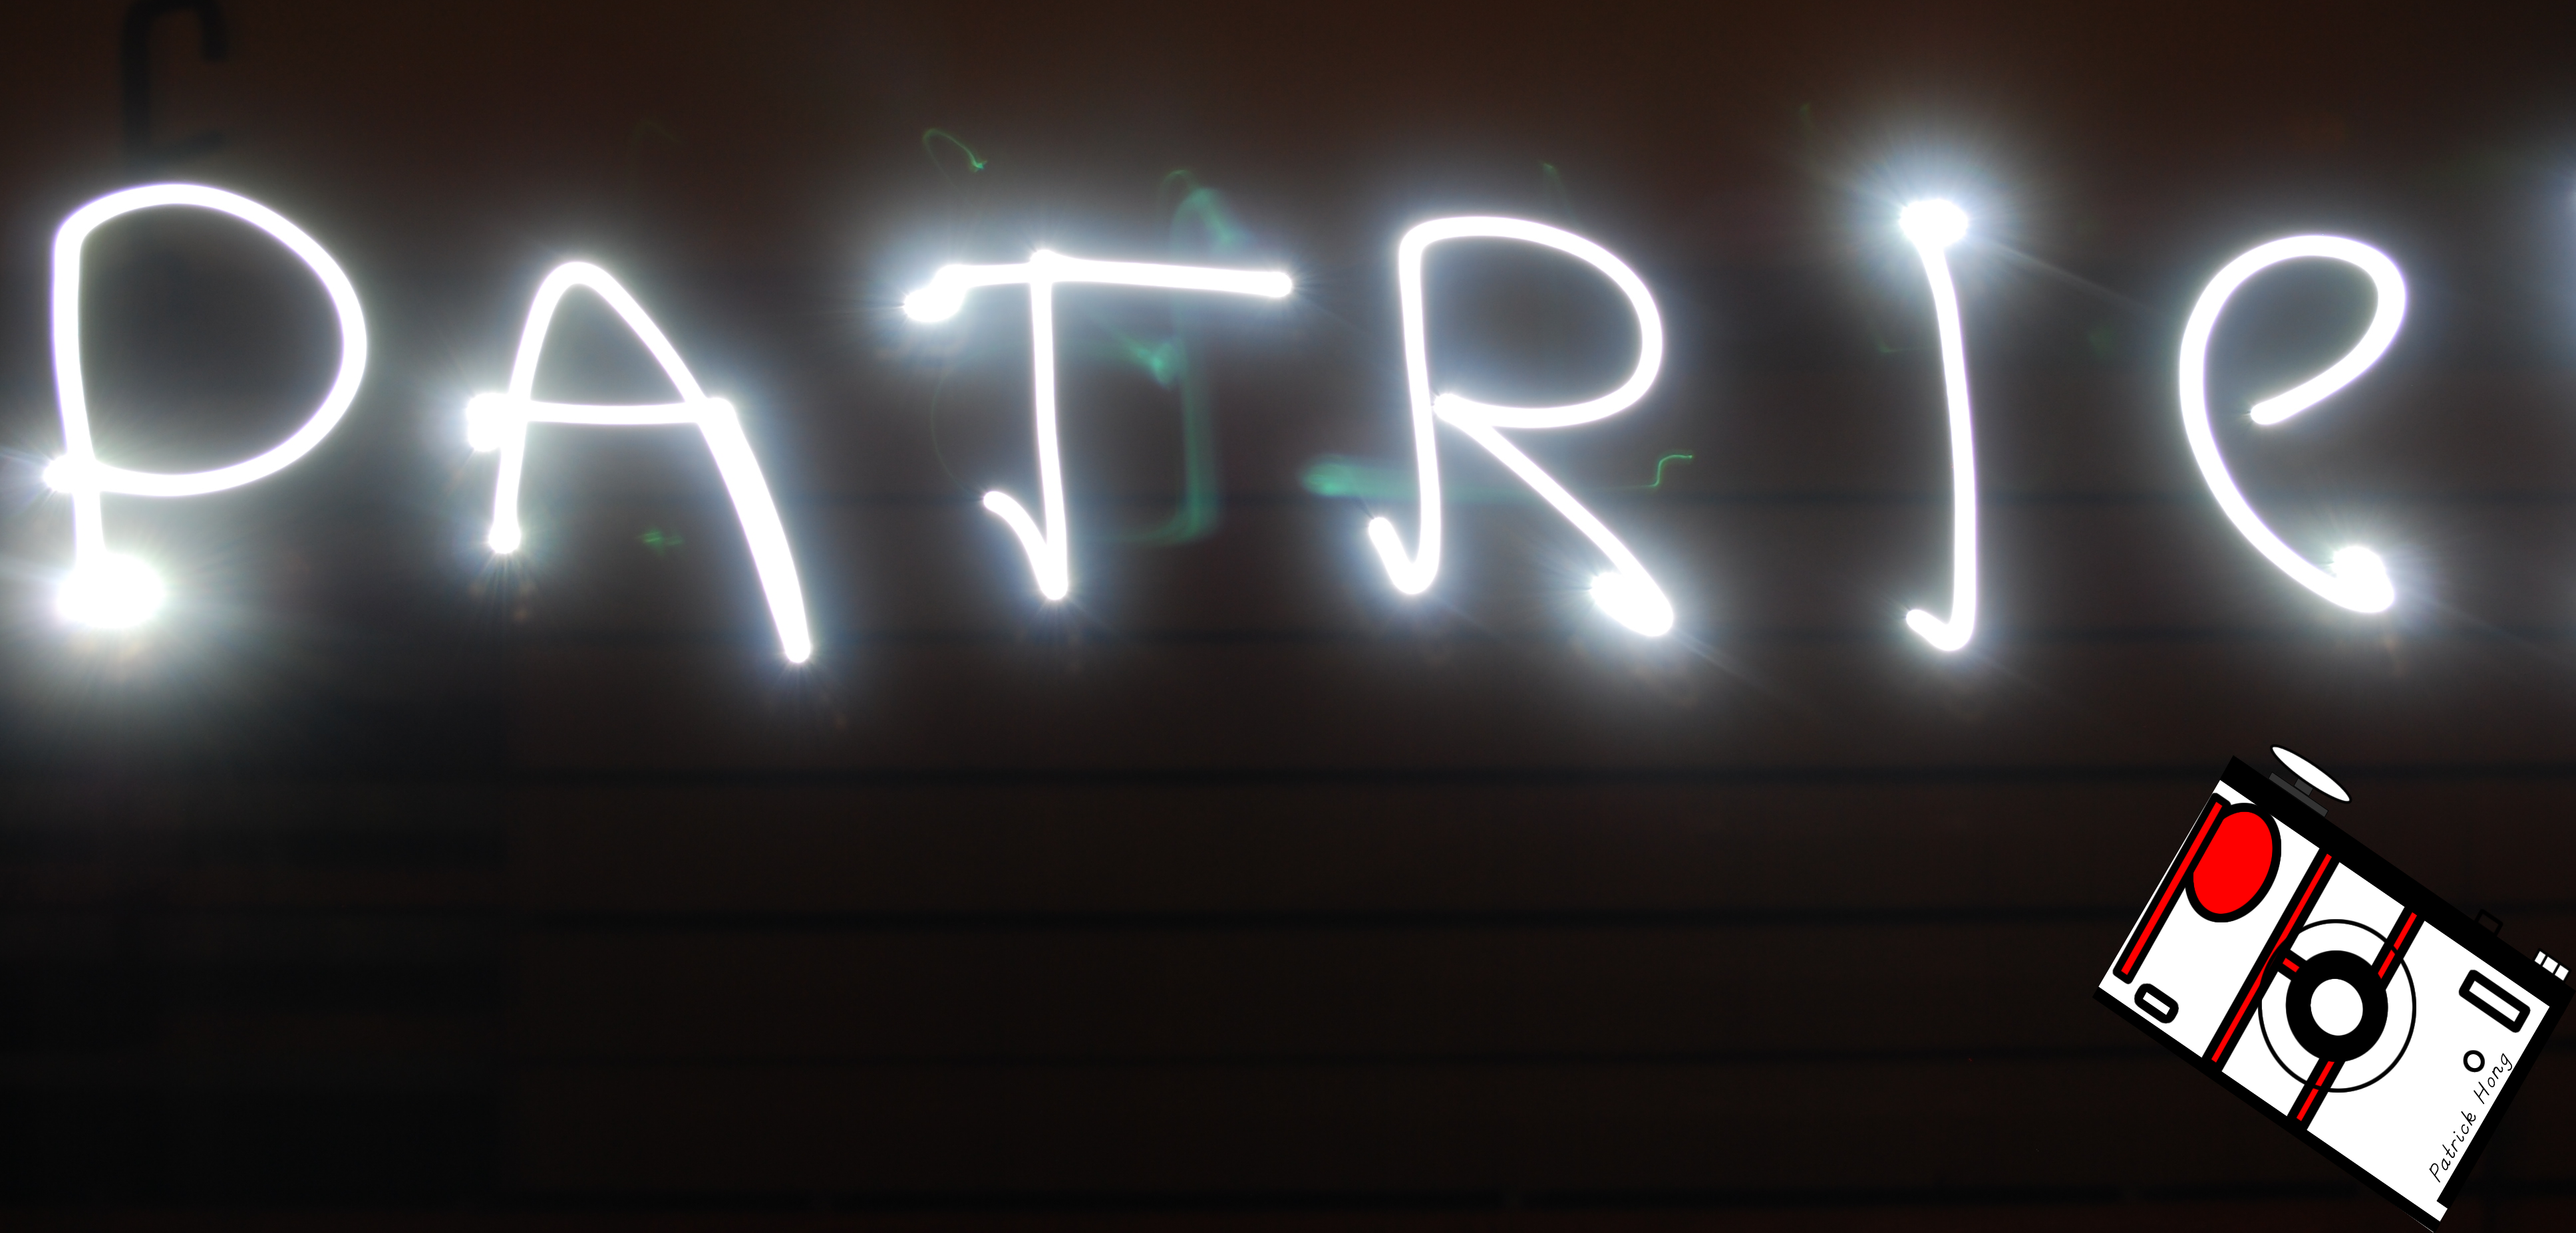
For this project we went to the gym to create light graffiti in the dark. We first had to turn off all the lights and set up the camera. To take these types of photos we had to change the shutter speed so that the camera would stay open for a long time to take in the light while we draw the image we wanted to create using light from our phones or other light producing object. The camera we used had the bulb setting which allows us to keep the camera open for as long as we wanted to which allows us an infinite amount of time to draw our images. All we had to do was hold the button that takes pictures until we finished, then the light graffiti image will be created. If we wanted light to show up we would shine the light towards the camera. If we wanted to highlight an object we would shine it away from the camera, while “highlighting” the object. What didn’t work for this project was drawing “perfectly”. It was difficult to remember where we already shined the camera at and how big the camera’s range was. What was easy was that we had the bulb setting which allowed us to draw as long as we wanted, unlike other cameras that only gave you several seconds. I was frustrated at my group sometimes because they would fool around or they couldn’t draw very well. Also at some times the camera would act weird and if we didn’t draw the picture fast enough, the light in one area would be much brighter than the rest of the picture. I think that this project would be even better if we had several people drawing at the same time with many different lights. We could draw a forest or a city which would be cool. One of my favorite pictures is shown below. It is a picture of my name, but the k was cut off due to the lack of room. The rest can be found here.
In this project, we created light graffiti’s using light. We had to change the camera setting to bulb. We then had to hold down the button on the camera that takes the photos. This will make the camera track the light until we let go of the button. What worked in this project was setting up the camera setting and taking the picture. The hardest part of this project was drawing something with light towards the camera without knowing where you have already drawn with your light. We could use a a mirror to reflect light towards the camera.
Click here to see the other photos
Light graffiti was probably the best project so far. Although, it was hard to set up, once we had the correct setting it was so easy. We set our camera to bulb. That allowed us to have as much time as we needed to create the picture. There was many things that worked in this project. Such as setting it to bulb because it allowed us to have the most time to take the picture. There was definitely so challenges with this project. We had to figure out how to make the shot clean and easy to see. The most frustrating thing was when our group had such a good idea, but it didn’t work no matter how many times we tried. We could take this project to the next level by adding objects to light up and a ton of people. If you would like to see the rest of my photos click here.
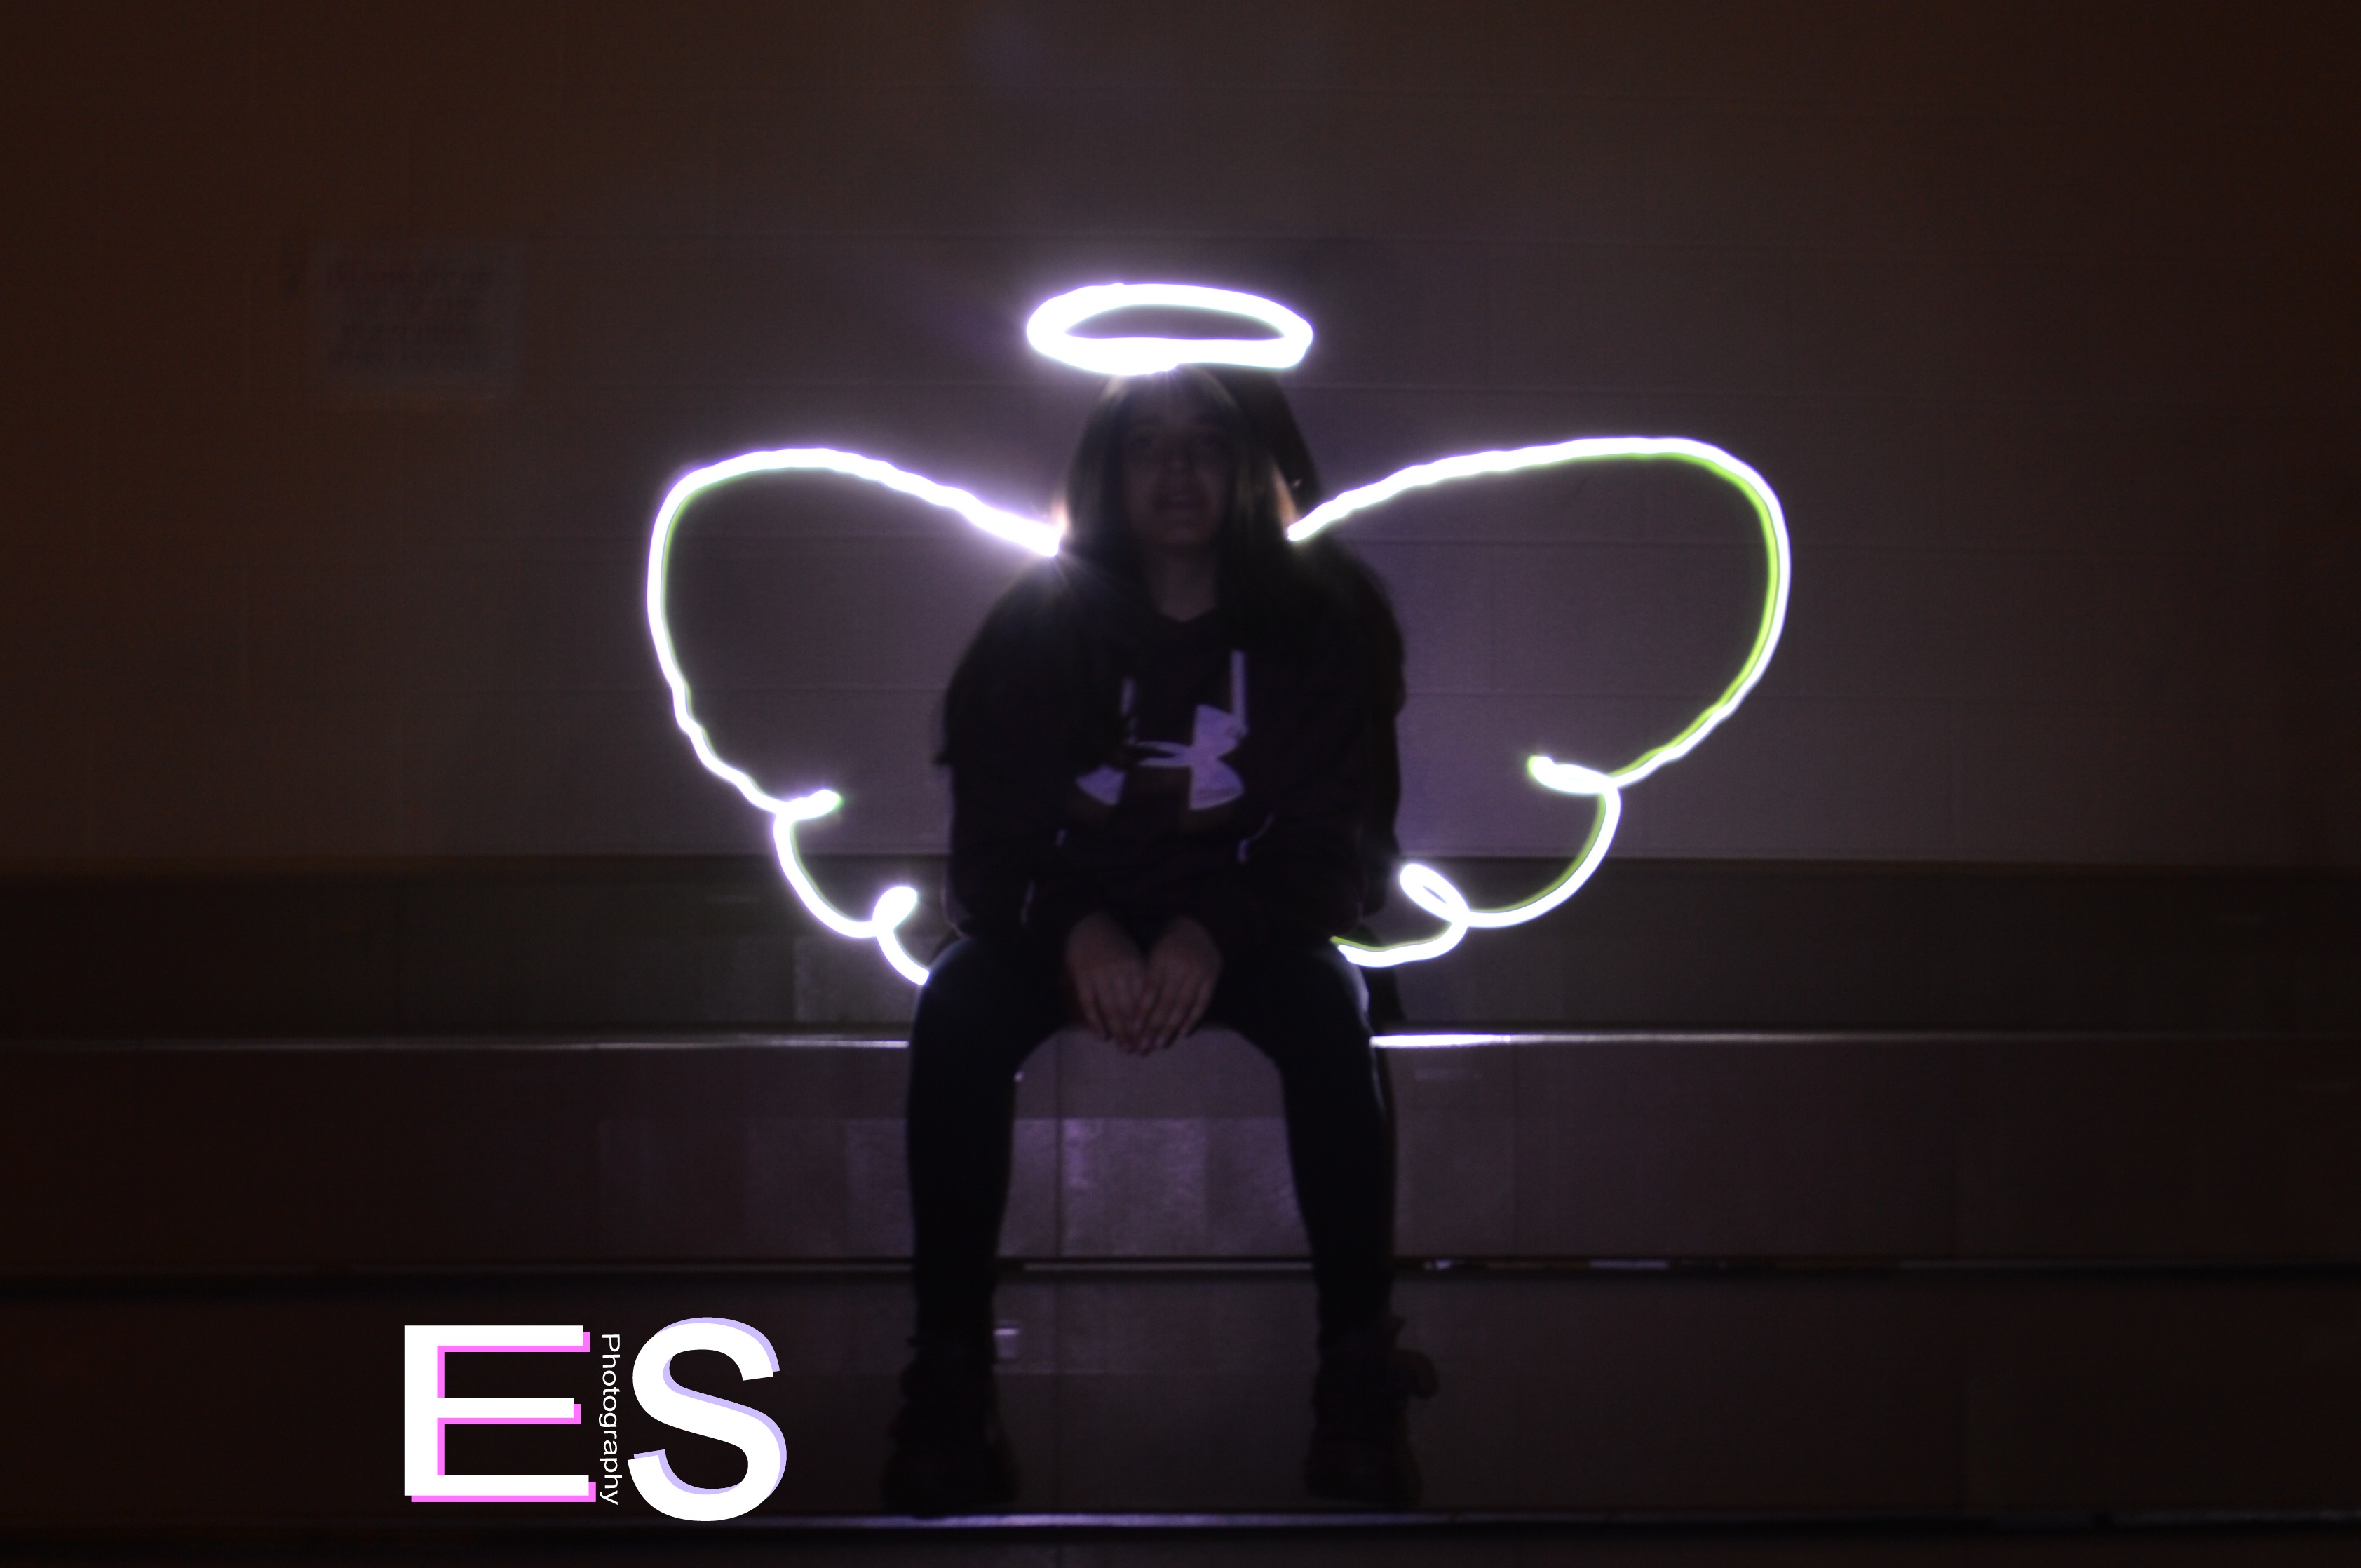
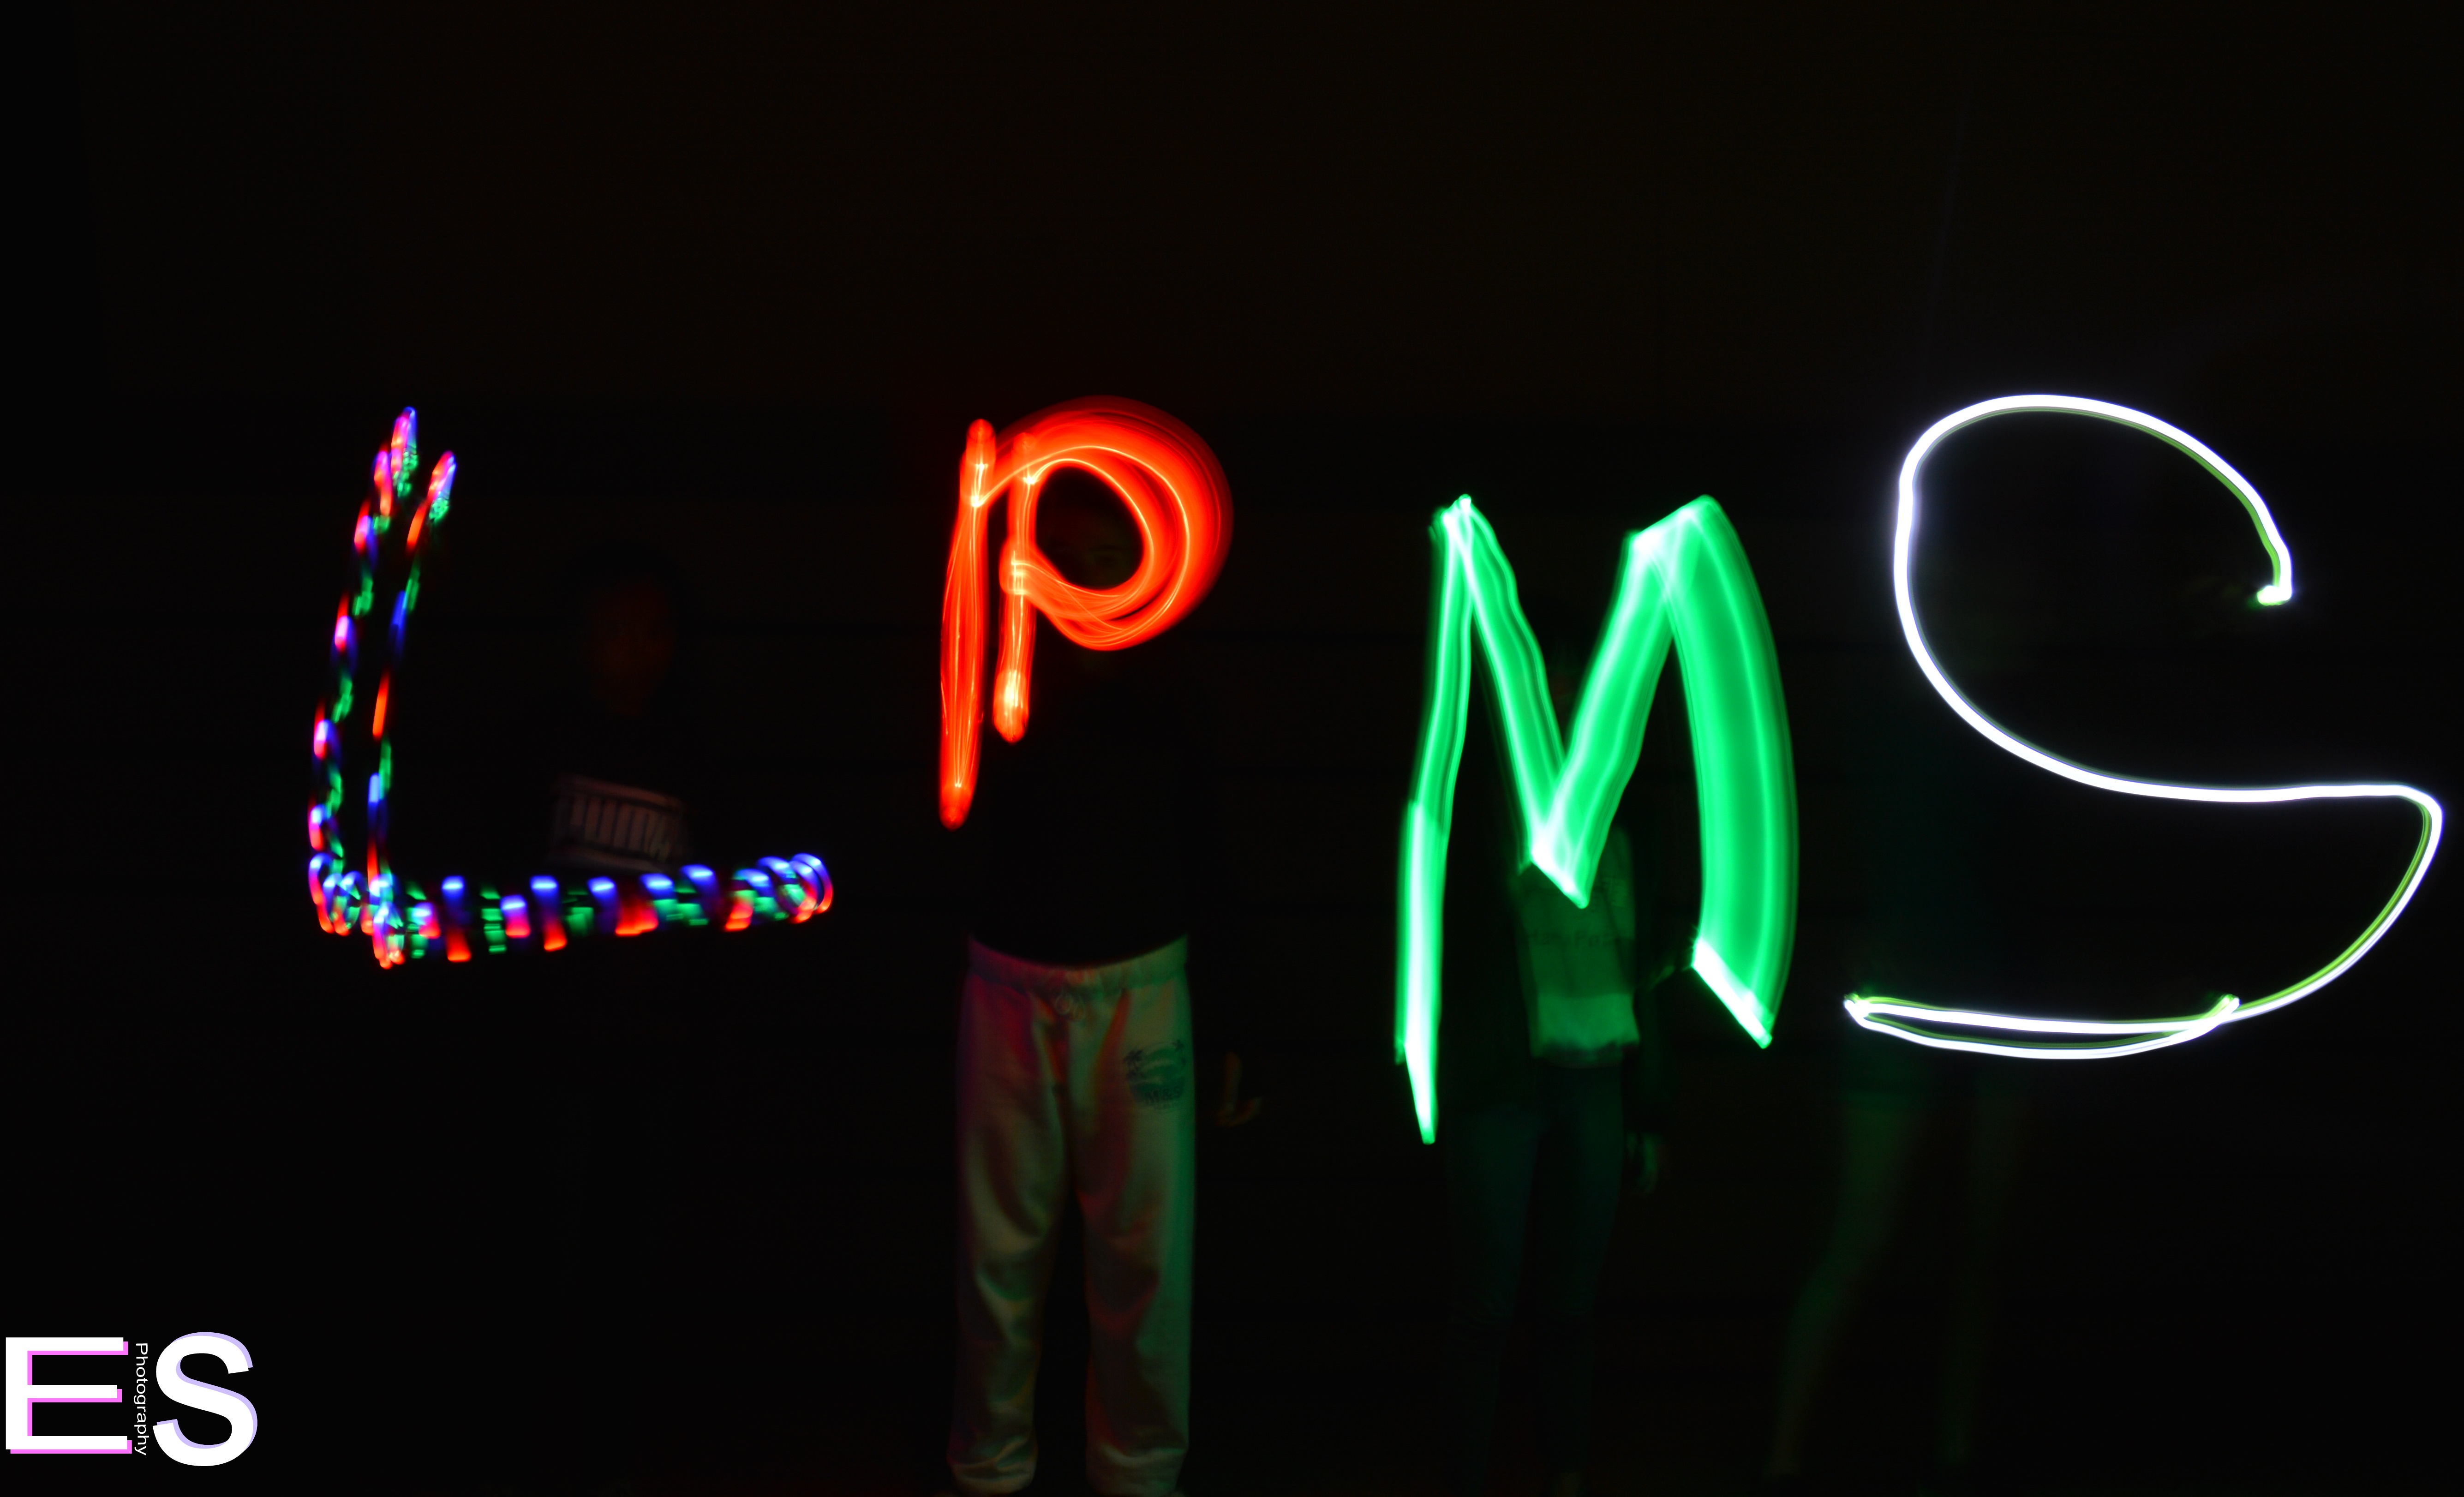
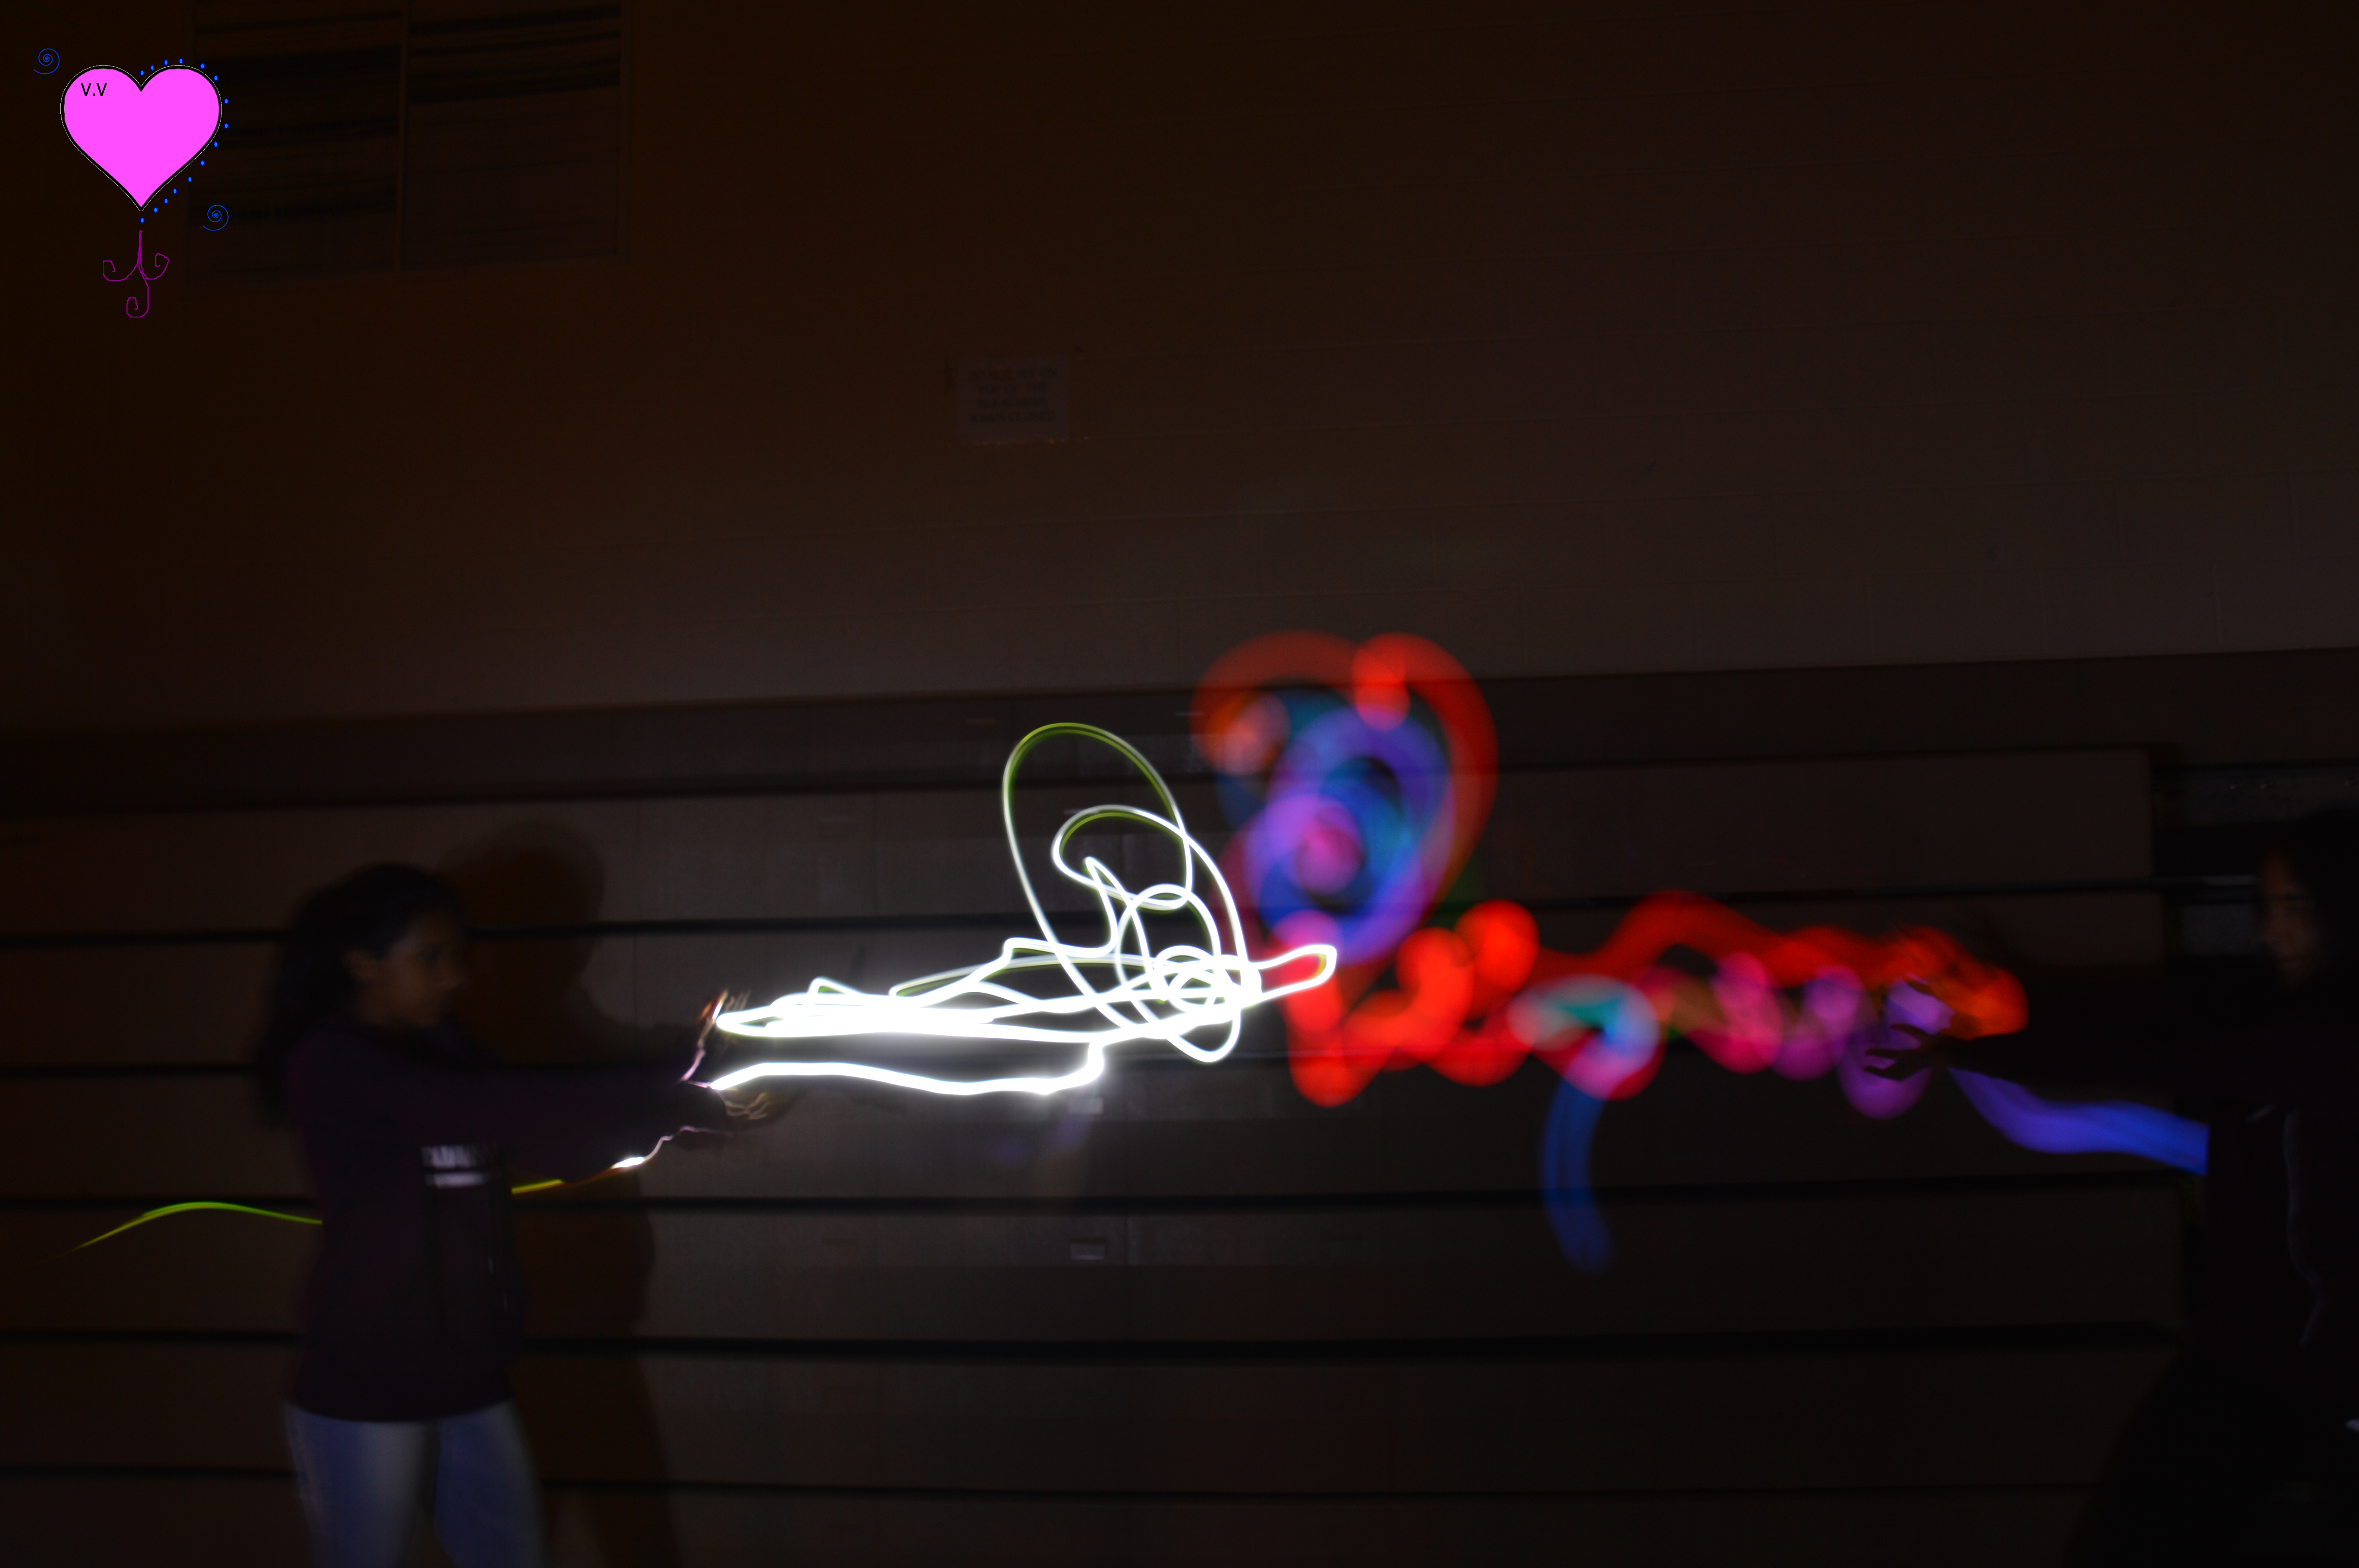
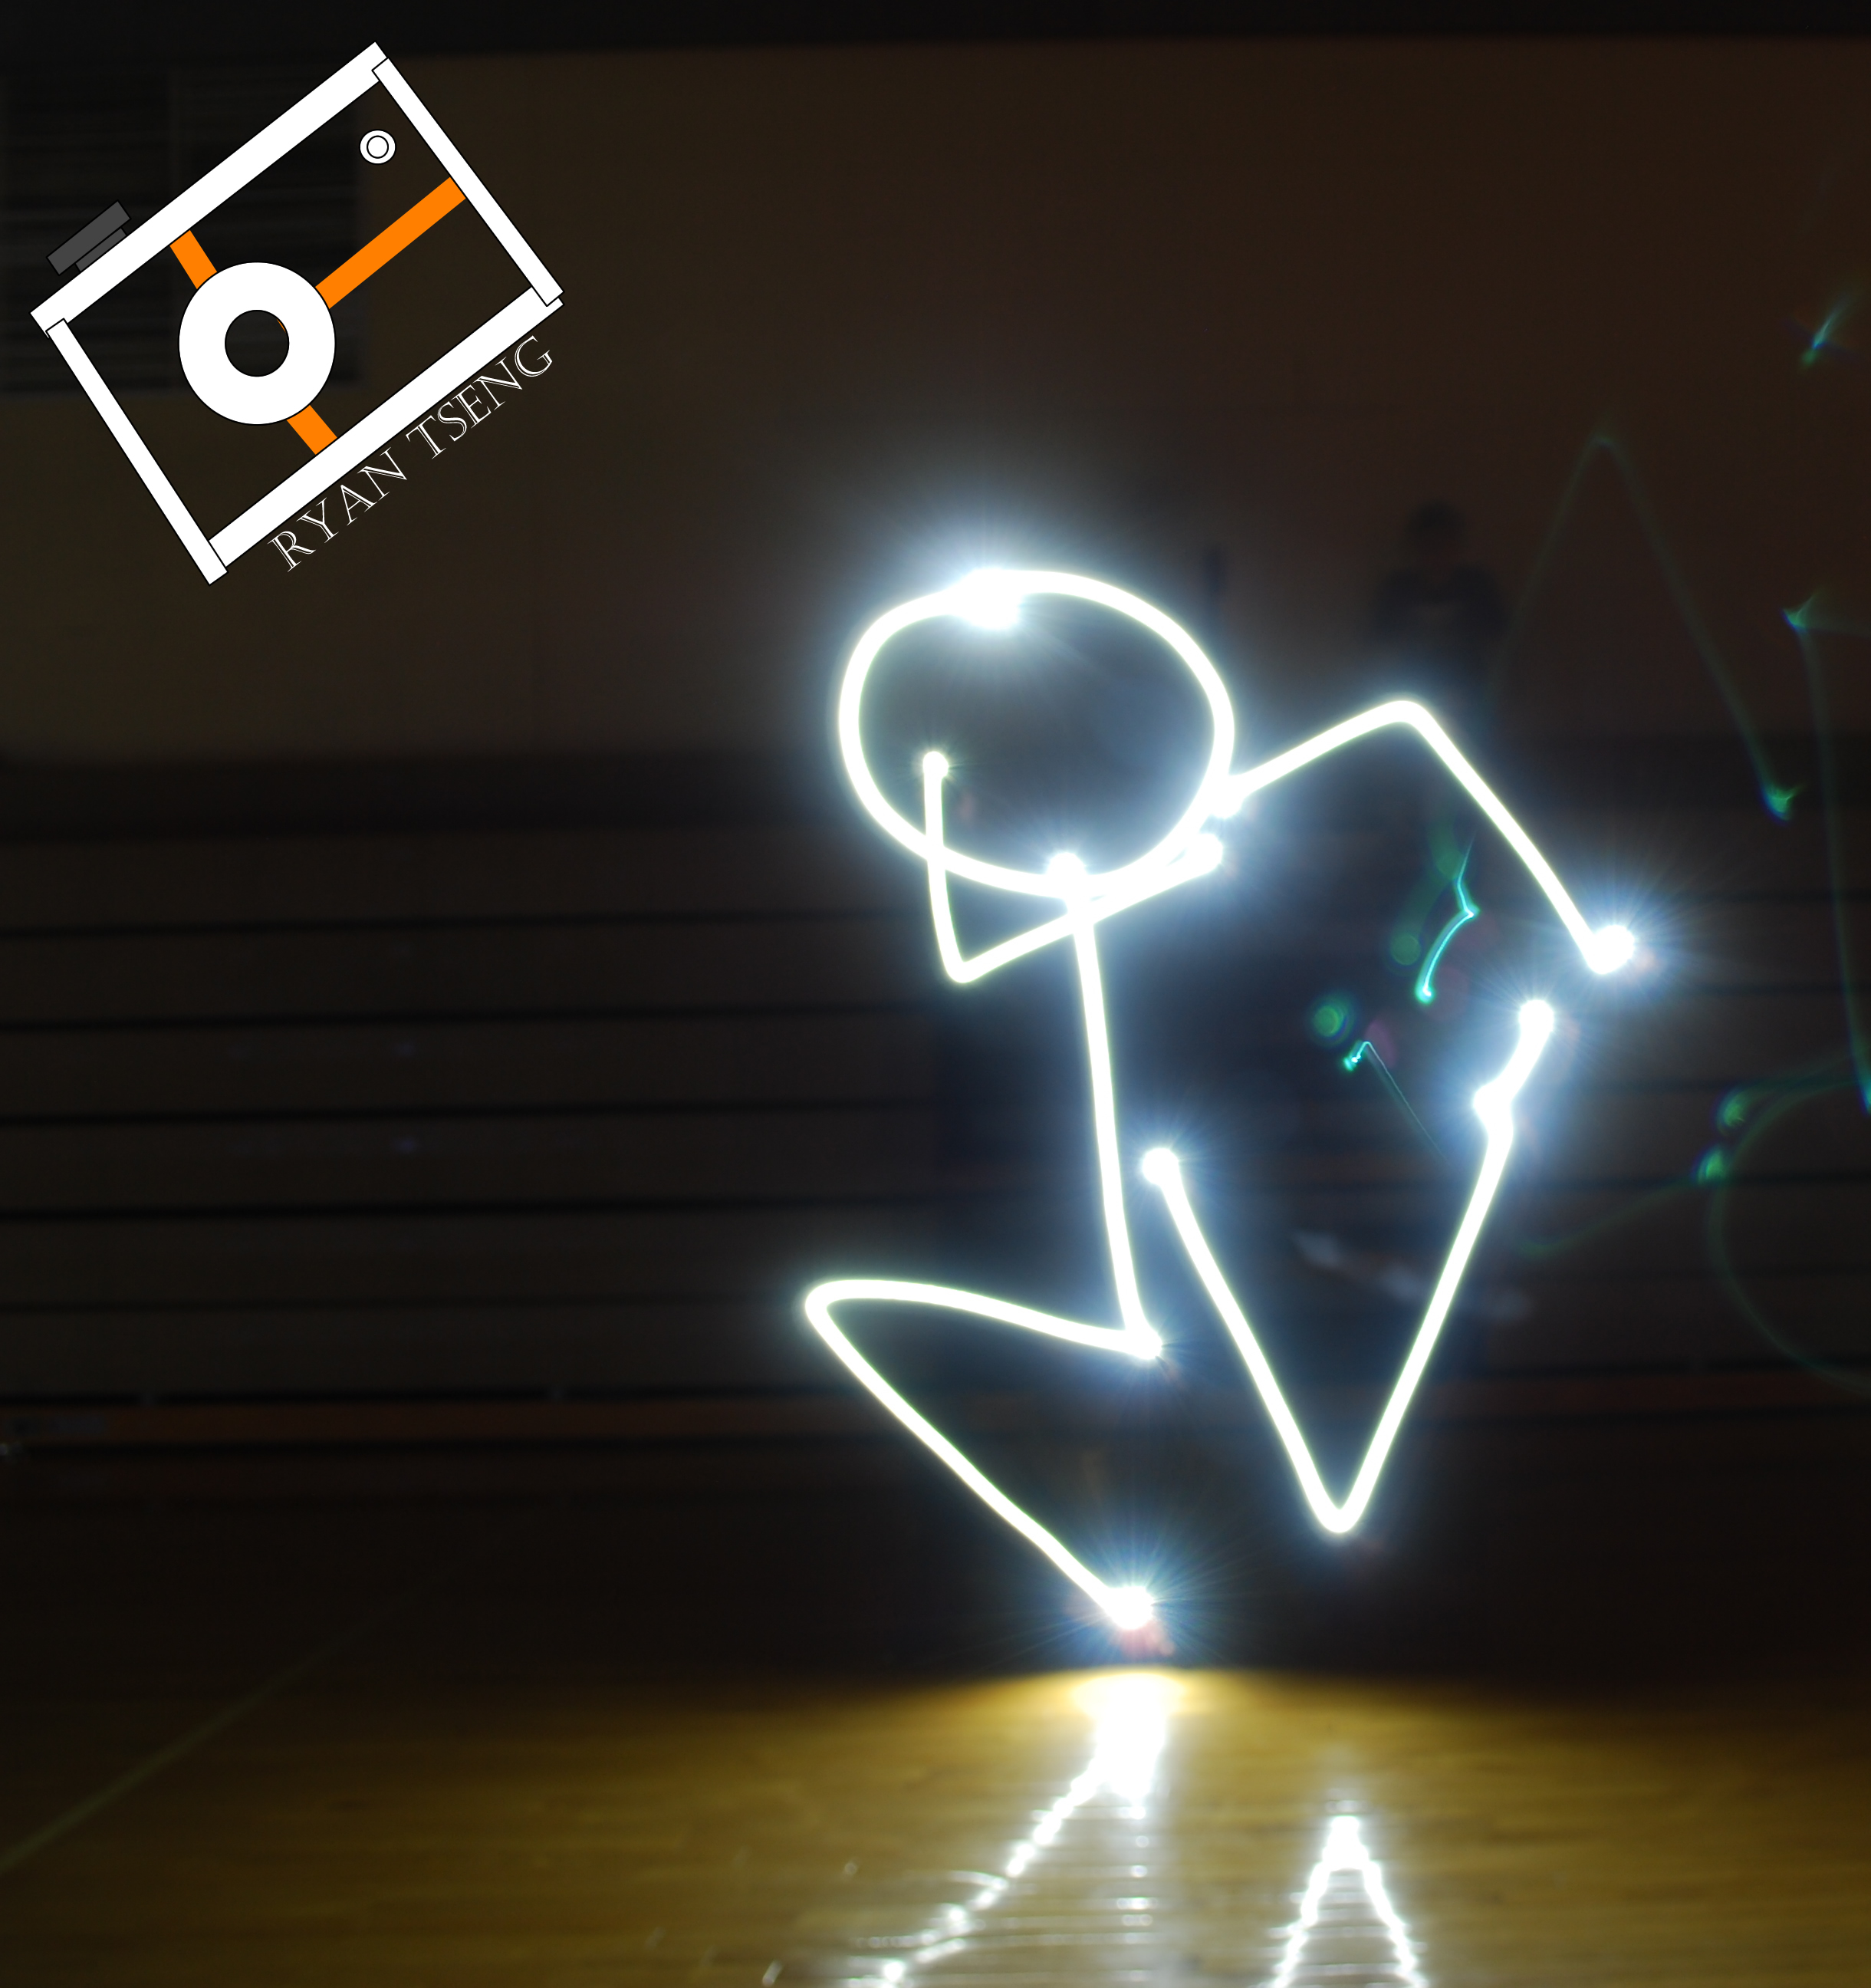
In this project, we had to make the shutter speed bulb so we had time to draw with the torch. First, we painted the person with light. Then another person cam in and drew with the torch. The easy part was taking the picture because once you got the hang of it, it was easy. The hard part was drawing with the light because you can’t see what you are drawing. It was frustrating when you draw something and the final outcome was nowhere close to the idea. You can see the rest of my pictures here.
We took our pictures by putting the camera to manual, used F-Stops ISO setting. We had to put the shutter speed to 10 seconds and during those 10 seconds we used our light to make a design. What worked was using a flashlight. What didn’t work was using the light from your phone. What frustrated me during the project was getting everybody to do their design on time and finding backgrounds to do. To look at the rest of my photos click here.
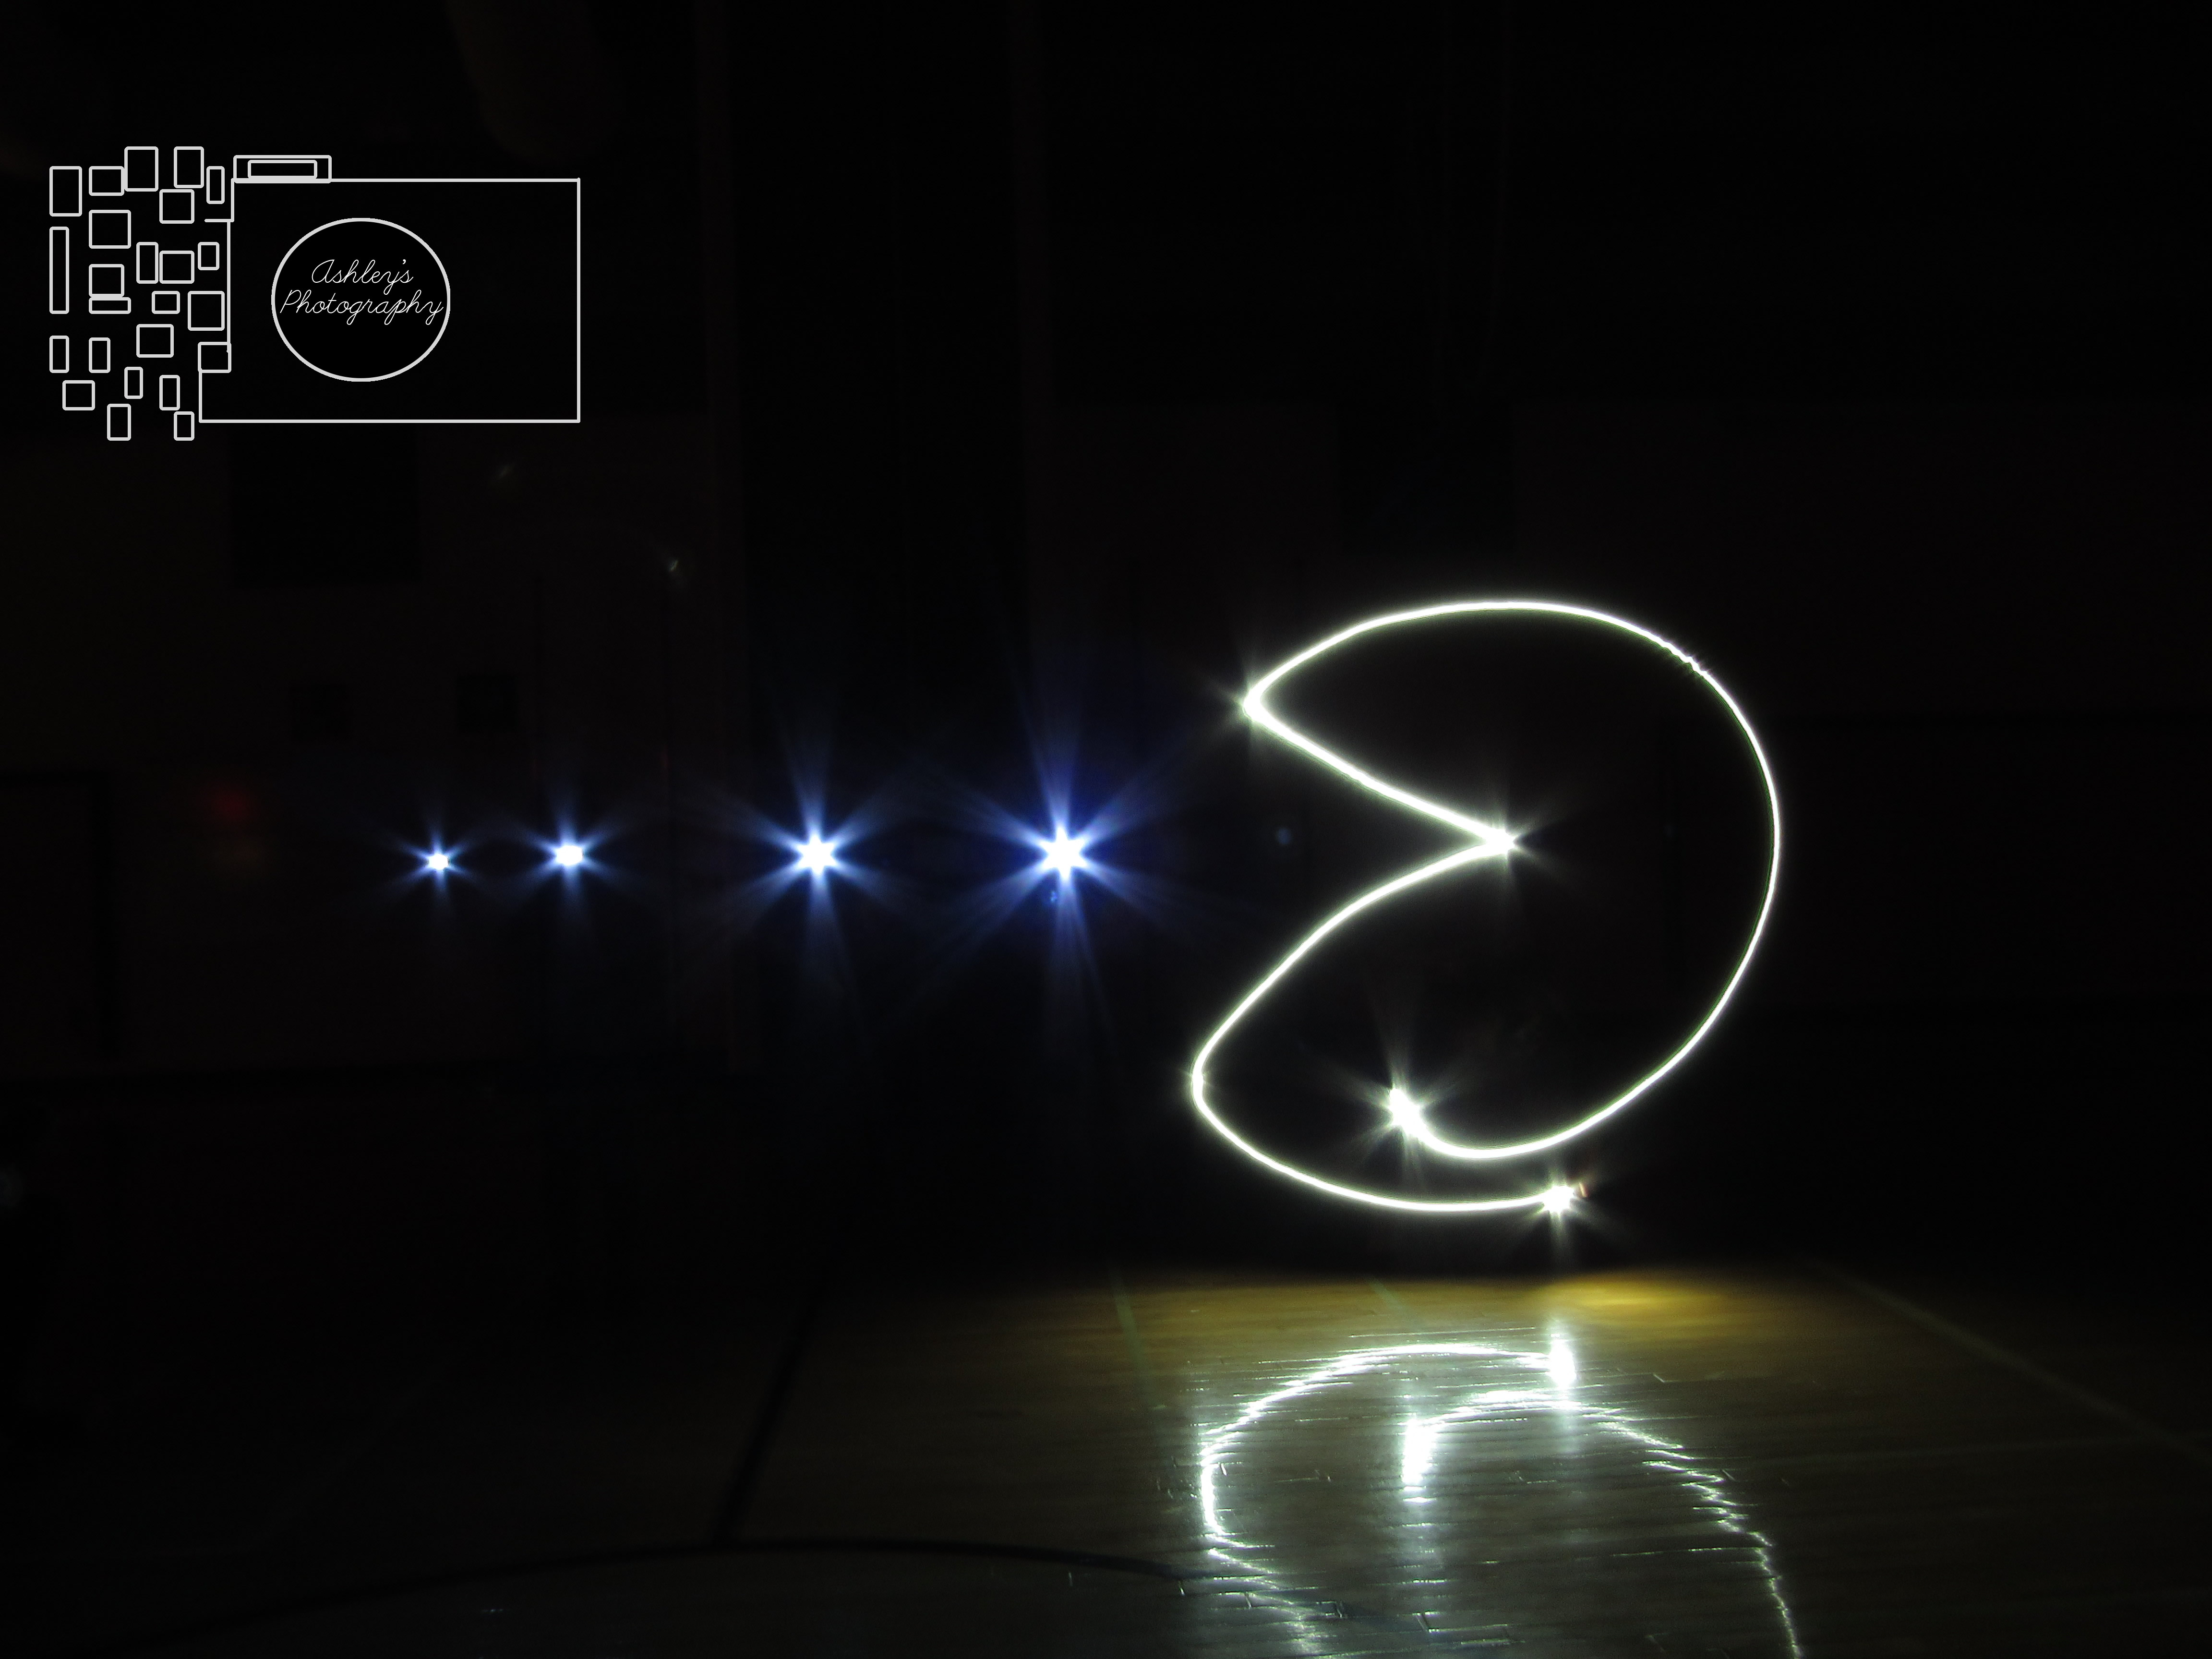
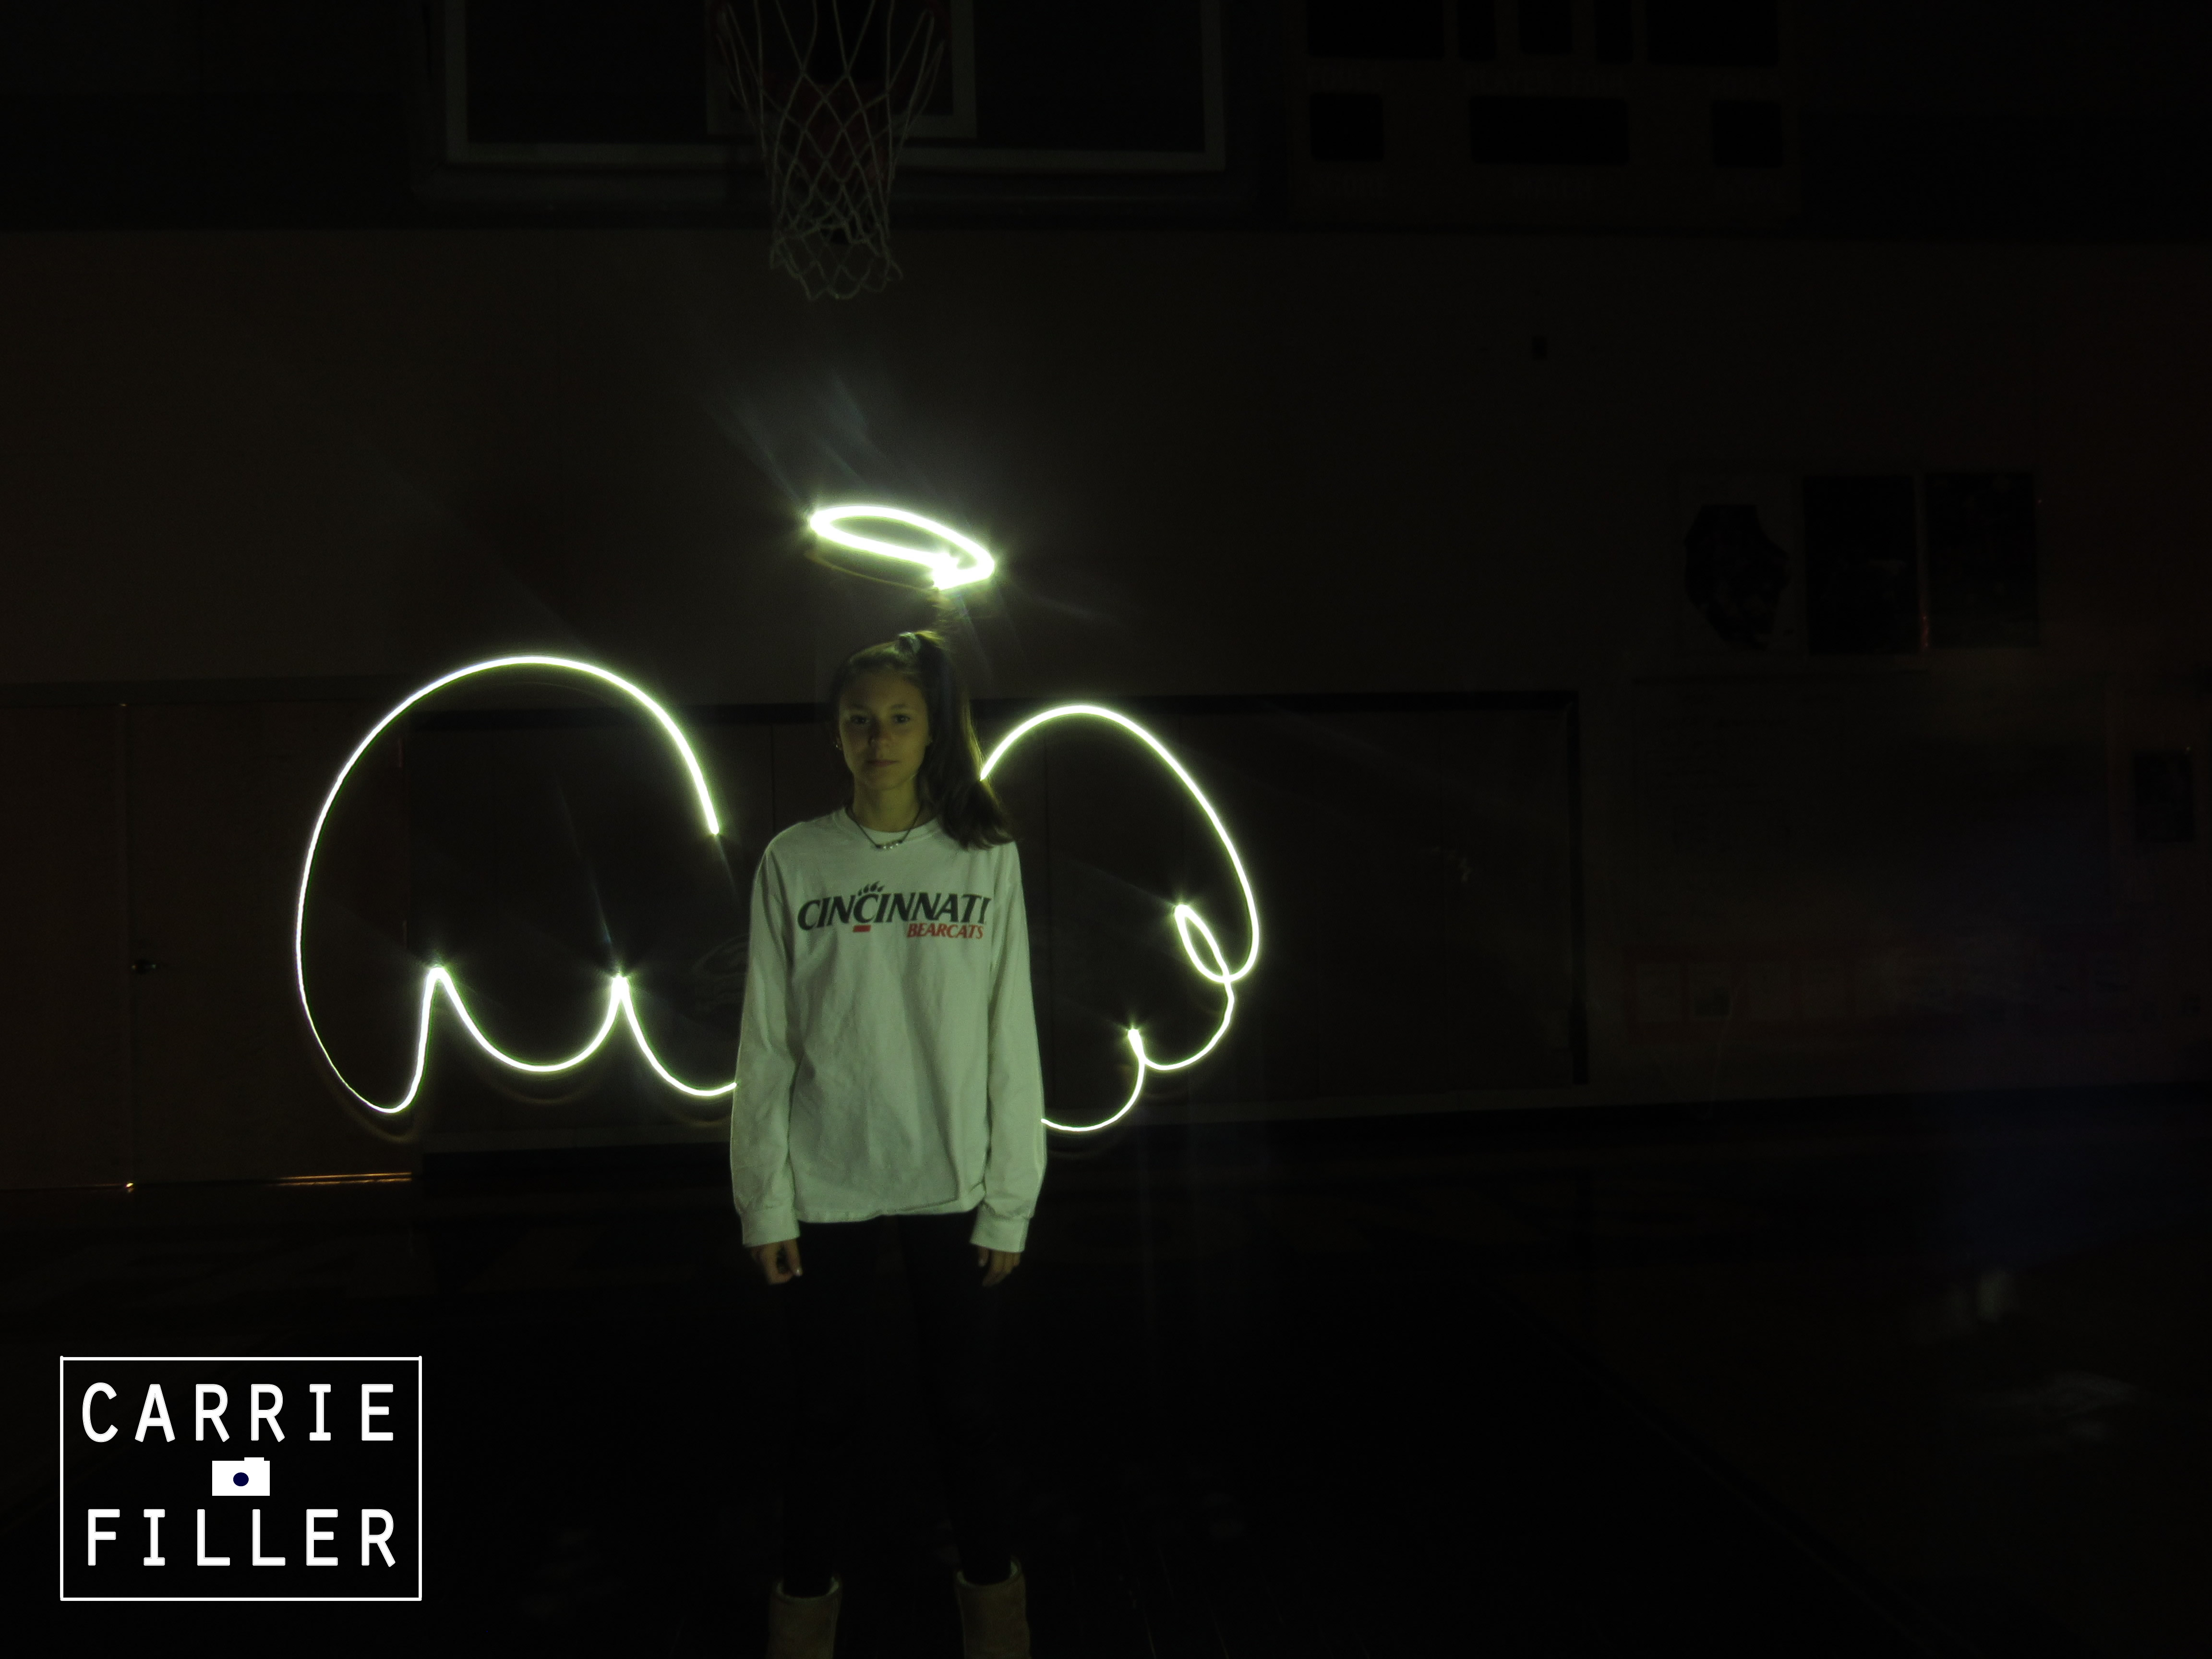
To take these pictures, we had to go into a dark room and keep the camera lens open for about 10-15 seconds. The part that worked was figuring out the settings but one difficulty we faced was doing the design correctly. It was frustrating when we ran out of time to finish the picture. To take this project to the next level, we can get more colorful lights and a better camera so we can leave the lens open longer. You can find my pictures here
To be able to take my pictures I had to change the shutter speed to bulb so that we may be able to take the picture for the amount of time that we needed. The amount of time had to be enough because if it wasn’t then we would have to hurry up so that the timer doesn’t finish before we finish doing the graffiti. Something that worked was turning off all lights in the room and avoiding background lights as well. Something that didn’t work was if someone moved while we tried to take a shot of them then the picture would be blurry. Something that was very frustrating for me during this project was finding ideas as a team and being ready when it’s our turns to be taken a picture of. To take this project to the next level we could make harder and bigger scenes using light graffiti. Down below are two pictures my group took and if you want to check out the rest you welcome to click here.
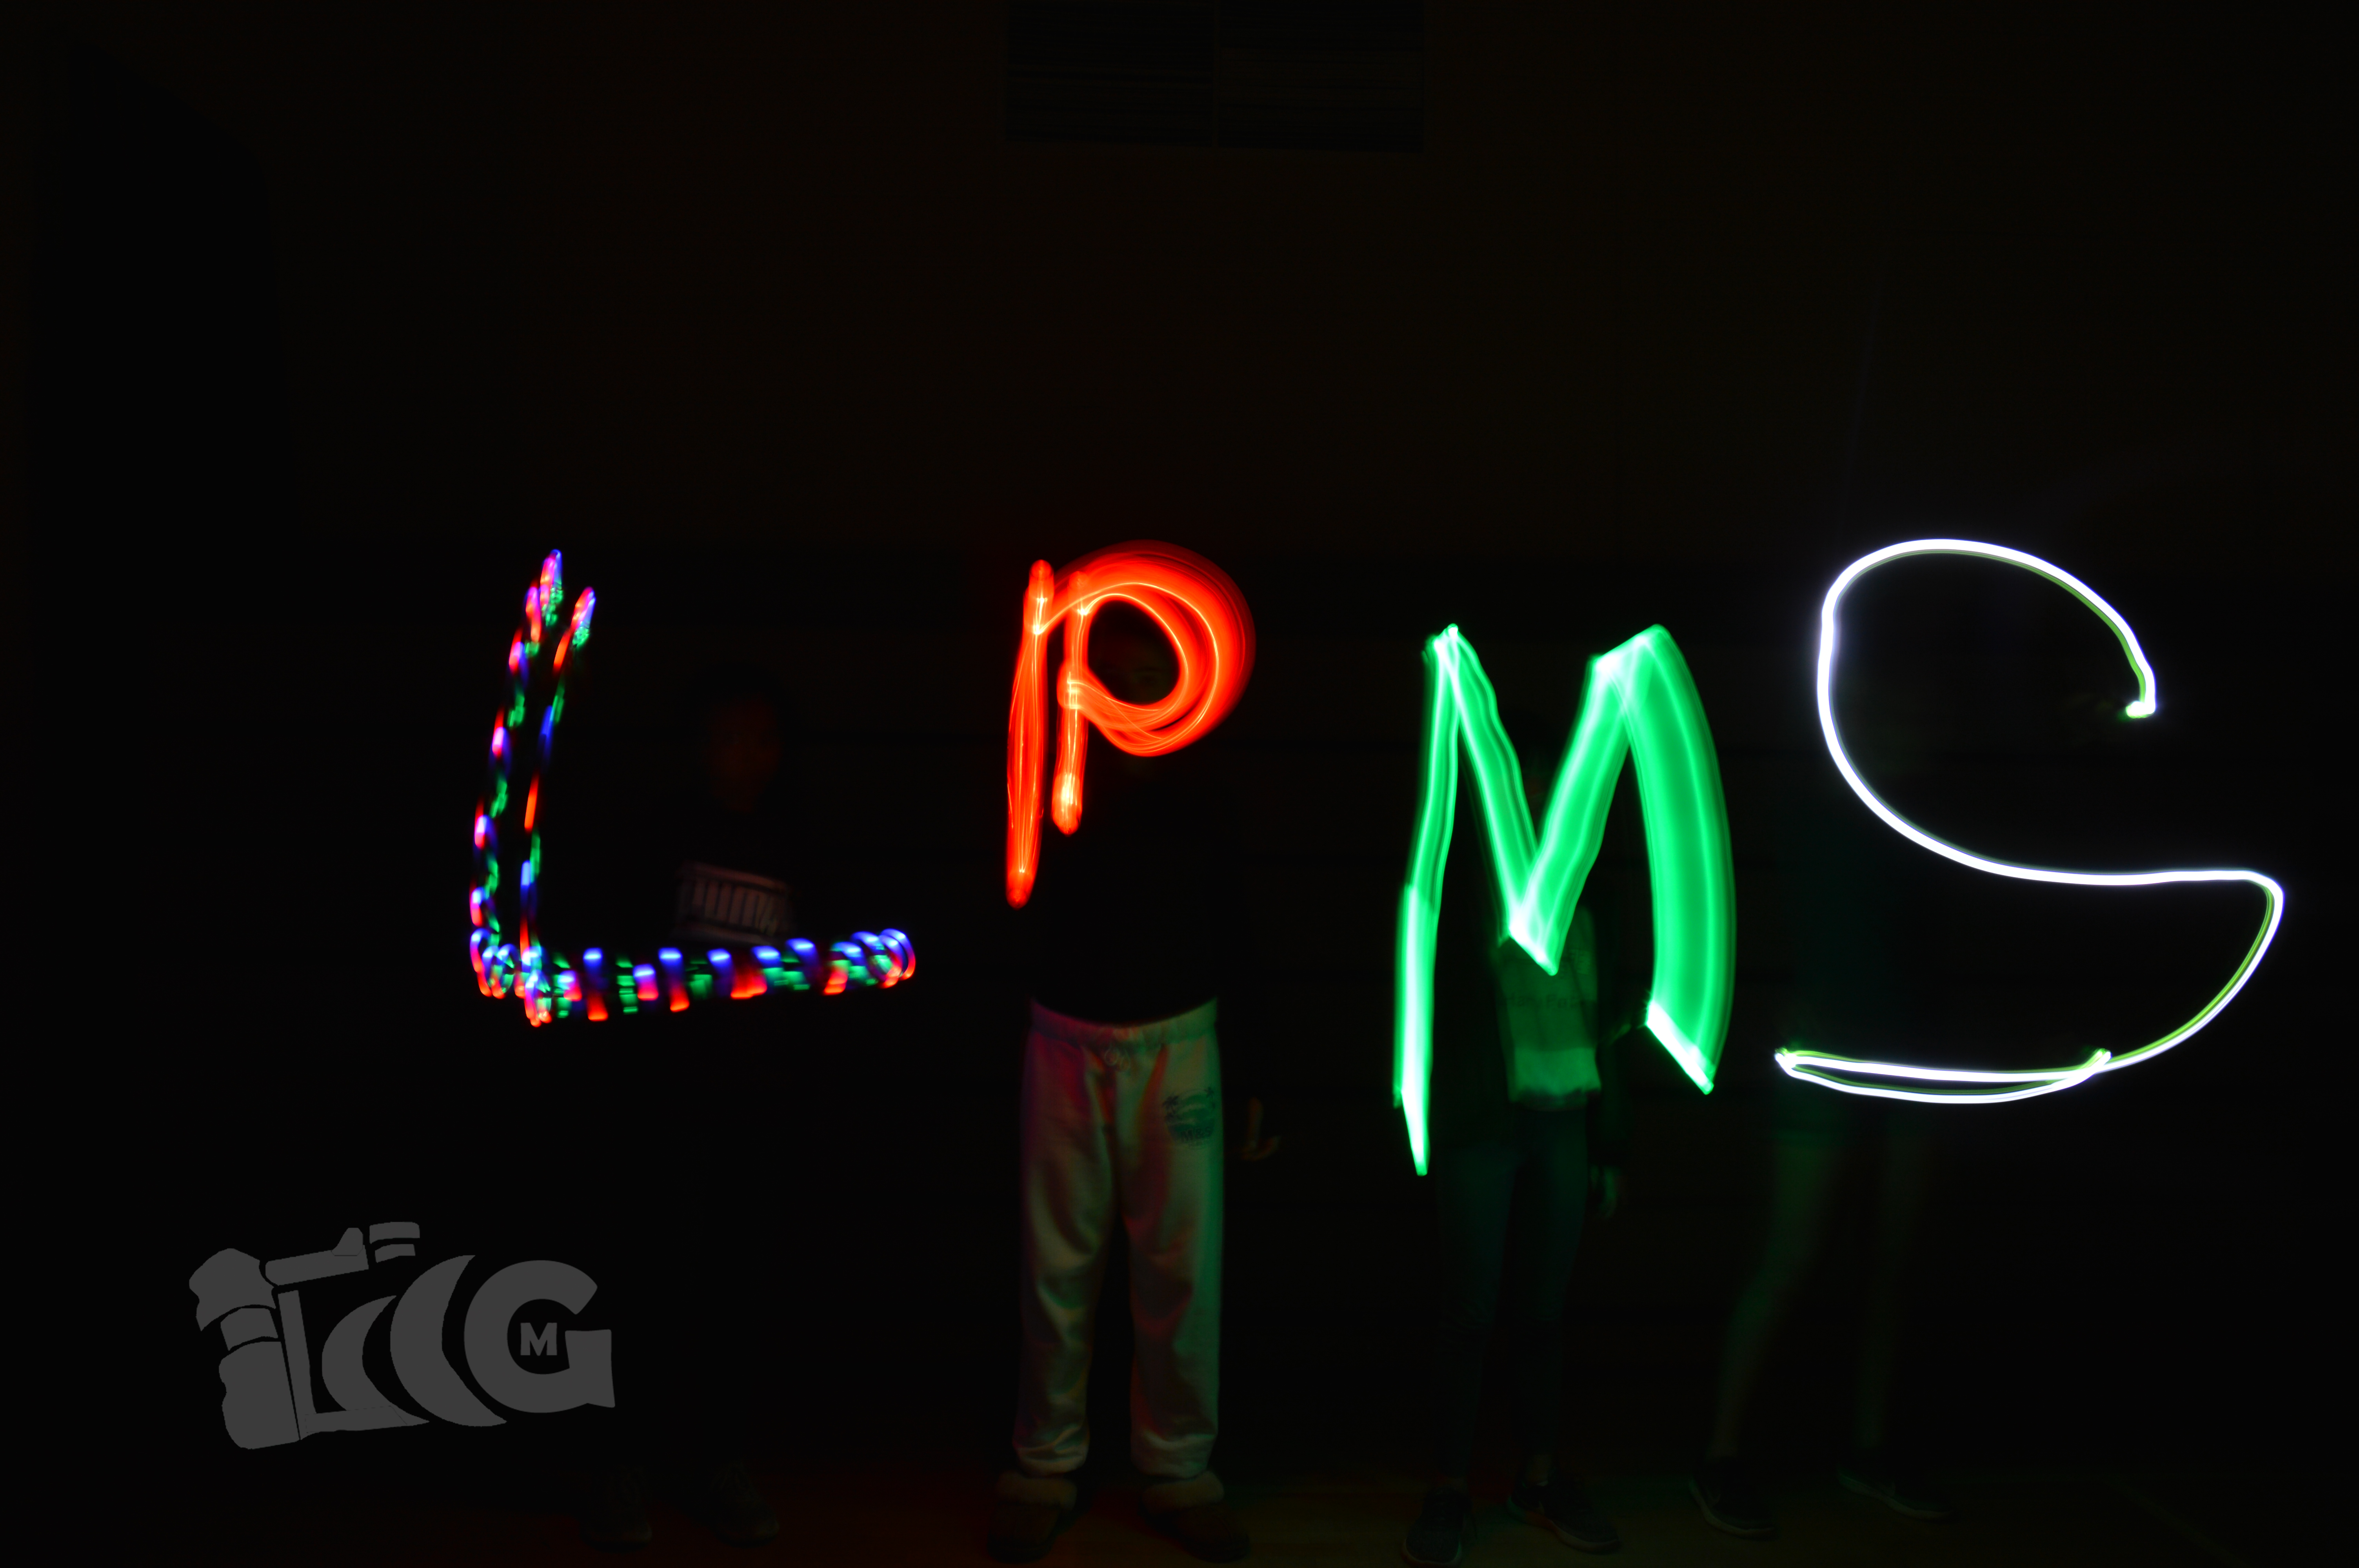
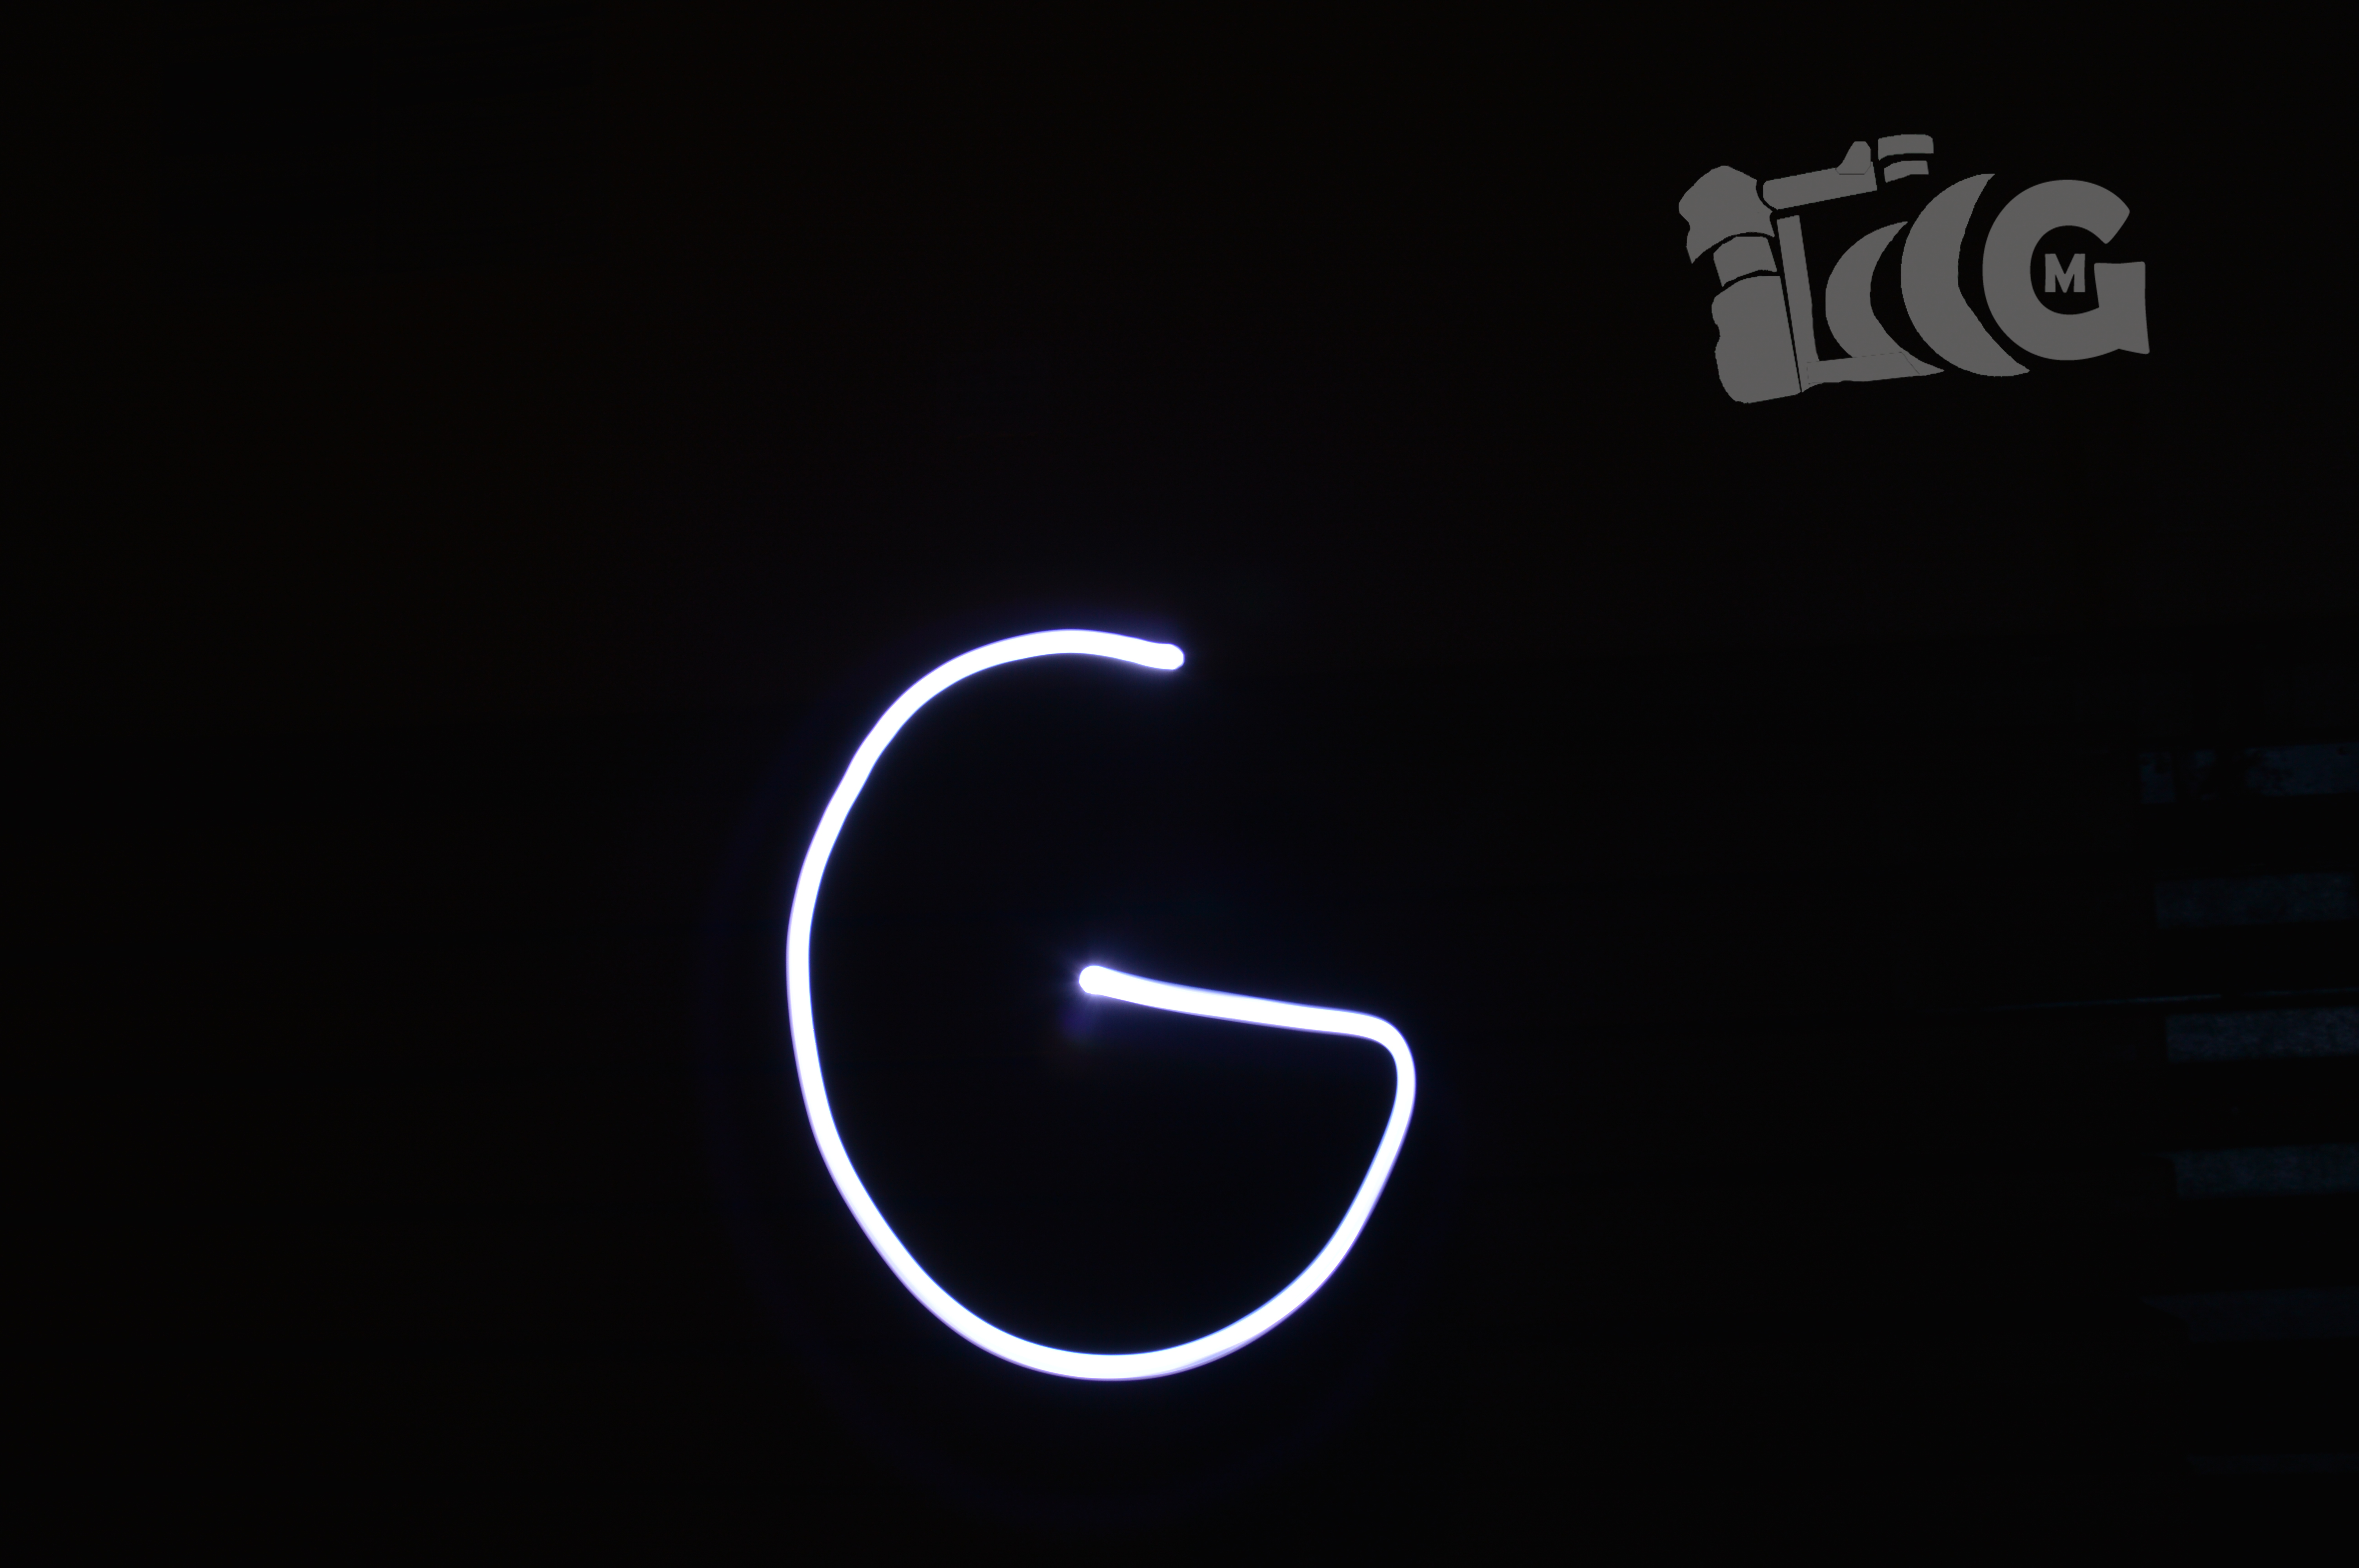
We took pictures by sometimes painting the background or the people in the image. Sometimes it wouldn’t work to take the pictures because we didn’t have enough time to do everything we wanted.A frustration for us was that we would never know exactly where we were placing the light. We had people standing on chairs so some of the light graffiti would look like its actually high up in the air (for example, a cloud). Here is the link to our photo’s.