Things that worked were the was plain outlining and lighting up and drawing light bulbs. changing to shutter speed and ISO so we could have longer time and more lighting for the background. One thing that did not work was the magic harry potter wand that we used to trace each other. One thing that Frustrated me was when Bryan would point the flashlight at my face .

Light Graffiti
During this project I was very frustrated because the shutter speed was either to long or to short. Just plain outlining them or lighting them up and drawing above them. While changing the shutter speed and ISO helped adapt the camera to the lighting around and focus on the impotent details. I could have used the timing better or the way that I set the lights in order to help the back round.

Light Graffiti

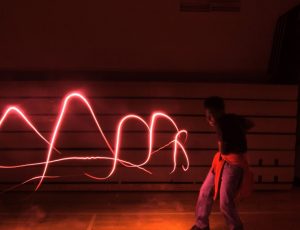
This week in class we made light graffiti. We achieved this by making the shutter-speed on our camera longer and moving lights from our phones to make shapes. We used different shutter-speeds for different shots, changing it from five seconds to ten seconds to fifteen seconds, which was the longest our camera could do. In the picture above we had Ansh lay down and not move, while one of us took the lantern that was there and carried around the circle to make a new circle out of light. I edited this picture and my other pictures on Adobe Photoshop to get the most satisfying picture.
The rest of my photos: https://photos.app.goo.gl/9J6bLzzfyNIHGH3C3
Light Graffiti
For this project we made light graffiti. We worked with the shutter speed setting of the camera. We let more or less light in to get different effects. The pictures with shorter shutter speeds were darker and the ones with longer shutter speeds were lighter. We had many difficulties. It was difficult to draw something with light without seeing what you are drawing. We had to use lights with the same brightness so that the picture was legible. Lastly, it was difficult to get the perfect amount of light in the photo. Overall, it was very fun to draw and create with light.
Link to album: https://photos.app.goo.gl/JmkU8CJxQPwlNSBY2

Lit Graffiti
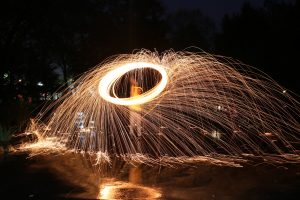
This project was very fun but very challenging. To make sure the light was drawn we had to make sure that the light was facing the camera and make sure to not drag the light around. If we did then there would be light streaks in the photo. We had to change the shutter speed to be very long so it could take in all of the light. For the picture above I light steel wool on fire and spun it. All the sparks would be taken into the camera which made it look very cool. I also edited some of these pictures in Adobe photo shop. I changed the exposure, curves and many other things.
Glow In The Dark Graffiti
What worked was that if someone stayed really still and another person will paint on you but you had to put the flash light facing the camera.What didn’t was that you would move or the person would not go so fast that he/she will stay in the camera / picture.One of my frustration was that my group would not listen to me and I almost died.
To look at more of my pictures check the link!
https://photos.app.goo.gl/bImtyukp2J8A0Pb22
Light Graffiti
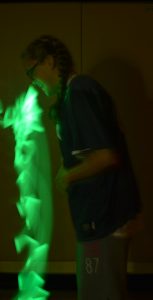 in this project we where supposed to make a design with light in a dark area so make it visible in the picture, we needed to highlight the character with a flashlight then point the light towards the camera to draw. We messed with the f stop on the camera and used a green glow stick to make it look like a predigested edible light saber that was a few weeks old took us a while to get right
Light Graffiti
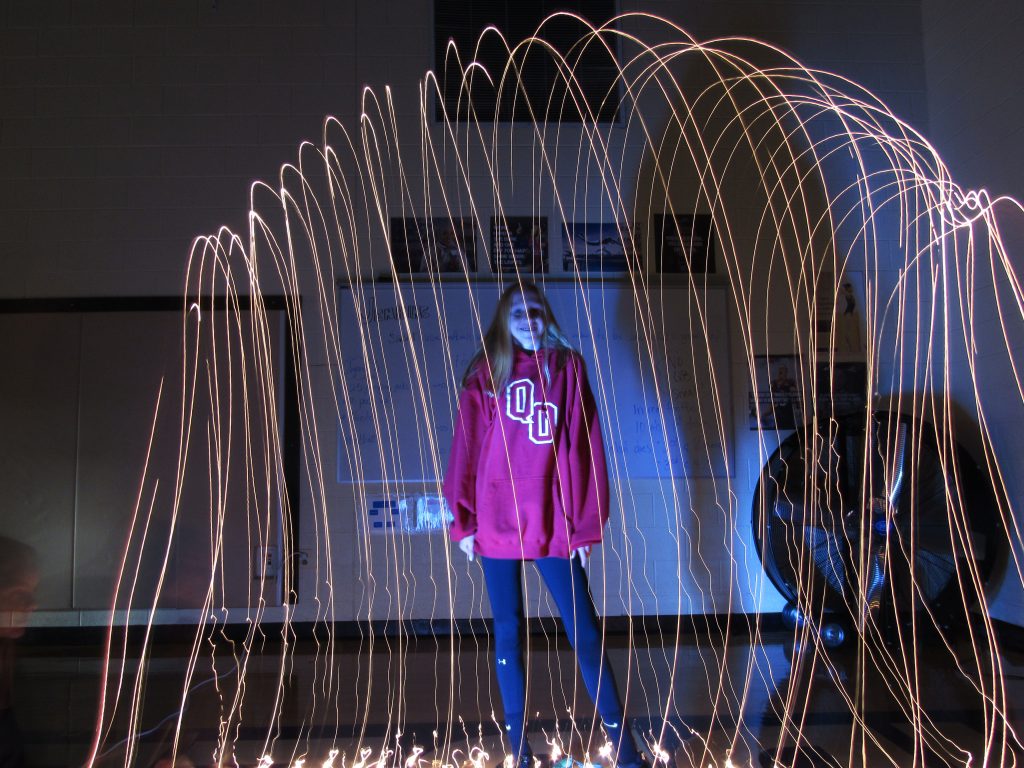
Our camera expert Ashley handled all the settings. The ISO was turned down low to not grab as much light, and the shutter speed was opened for 15 seconds so we can draw the design onto the model. And I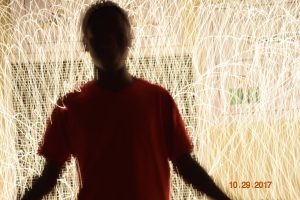 have no idea what we did with the F-stop. Using phone lights worked really work to make beams or out lines, but in the picture we used Christmas lights and swung it around for the back ground. Using the light sticks did not show up in our earlier photos because they weren’t bright enough. Well if we were to take it to the next level, we would have to go out and buy some colored light bulbs, so it will show up better and be able to make more creative projects. We would also have to extend the shutter speed to attempt to make more complex photos.
Light Graffiti
The light graffiti project was a very interesting and fun project. Some struggles in the project was focusing the camera and shinning the light carefully. For the string lights it was really cool how it turned out. Another level I would do for next time is try the umbrella with the string lights.
Light Graffiti
link to photos: https://photos.app.goo.gl/ilgris8BLucXhJnD3
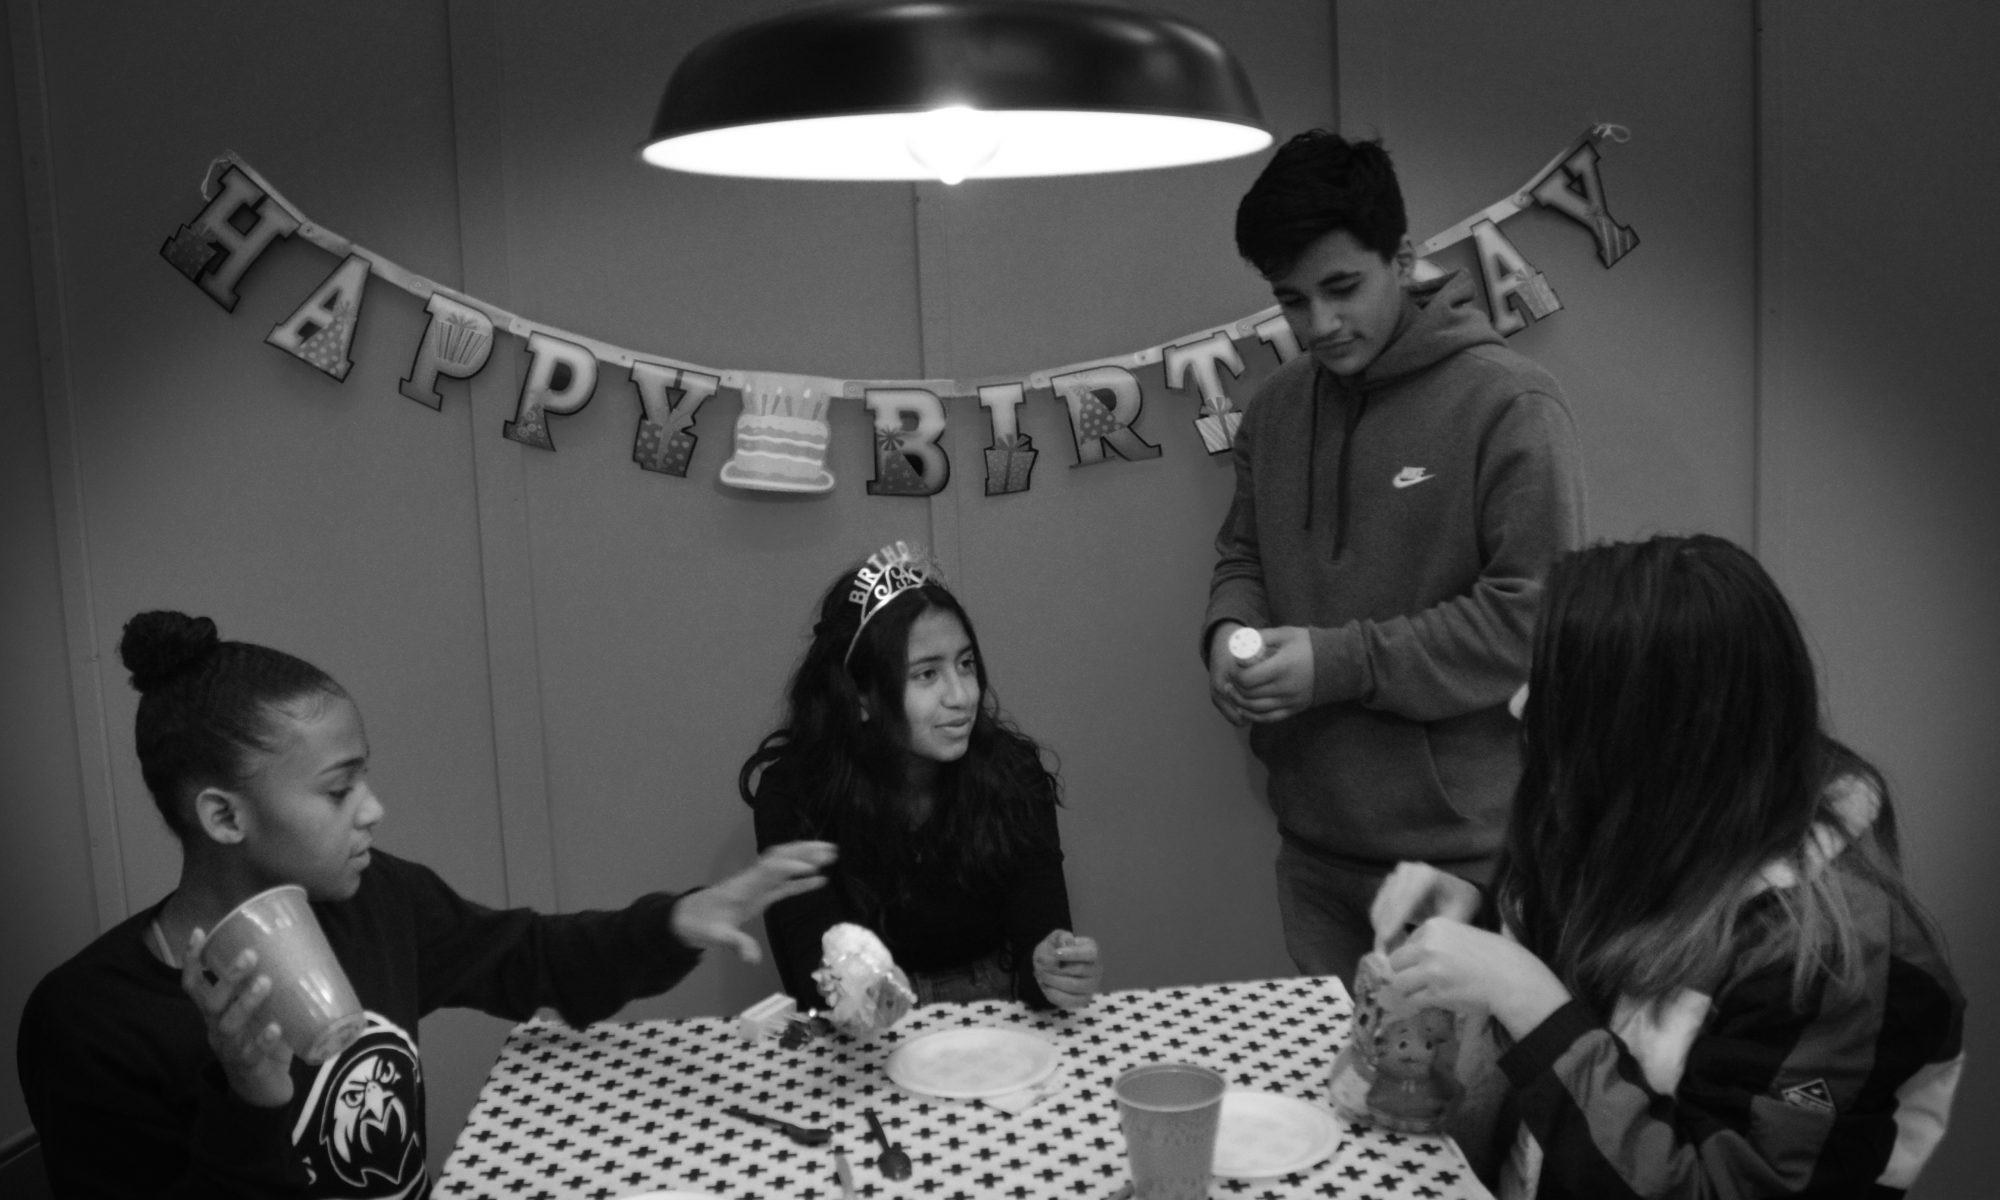
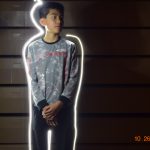
This week in class we are working on a project called light graffiti. To complete this project we were told to first take a camera and change the shutter speed to a longer time. We choose to do 15 seconds so we had enough time to complete the entire picture. During this project, we got many lights to shine on the people and the camera. When you shine a light on a person it makes them light up and when you shine it at the camera it causes whatever lines that you drew to show up. This only happens because the shutter speed is at a pretty high number. After we took all of our pictures we edited them on Adobe Photoshop and then uploaded them to google photos in order to share our pictures with our entire class. During this project, I found it hard to make sure that the person stood still so it wasn’t blurry and that there was no glare on someone’s face. However it was easy to change the shutter speed in order to take a good picture.