Rule of Thirds

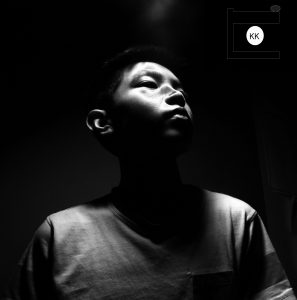
Throughout this past week, I was required to take pictures following the rule of thirds. The rule of thirds is applied when lining up your subject on the guide lines and intersections. I did this by setting up a grid on my phone camera, in settings. The difficulties in this project were finding things to take pictures of inside, without people. I enjoyed taking pictures of the horizon, and outdoor landscapes. I took many pictures, applying the rule of thirds, but my favorite was this one…

In this picture, the bottom horizontal line lines up with the edge of the horizon (the top of the trees). This picture is my favorite because the sky is very bright, and vivid. To see more of my pictures go to…

https://photos.app.goo.gl/jn7Zni5ta2yt2yeb2

Light Graffiti

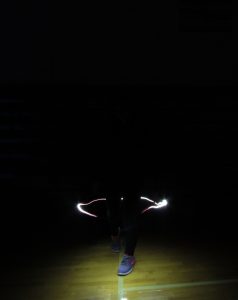
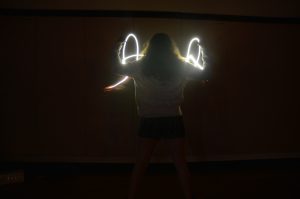
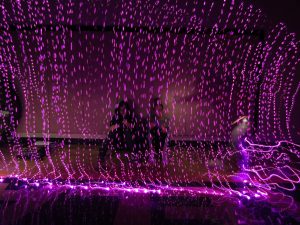
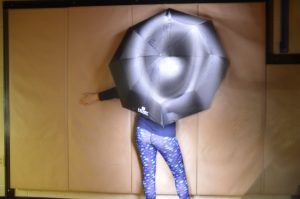
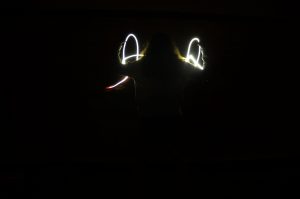
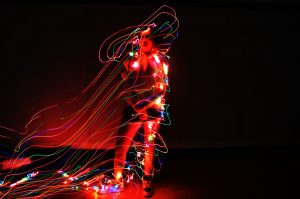
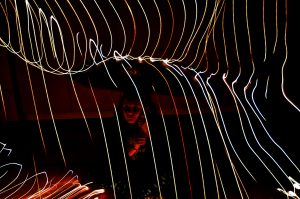
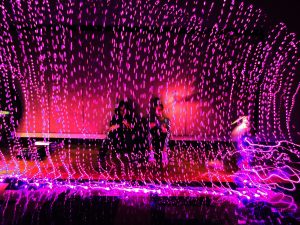
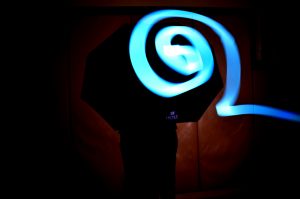
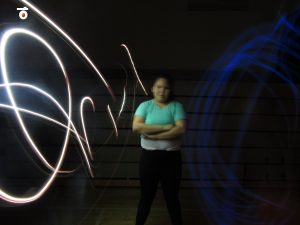
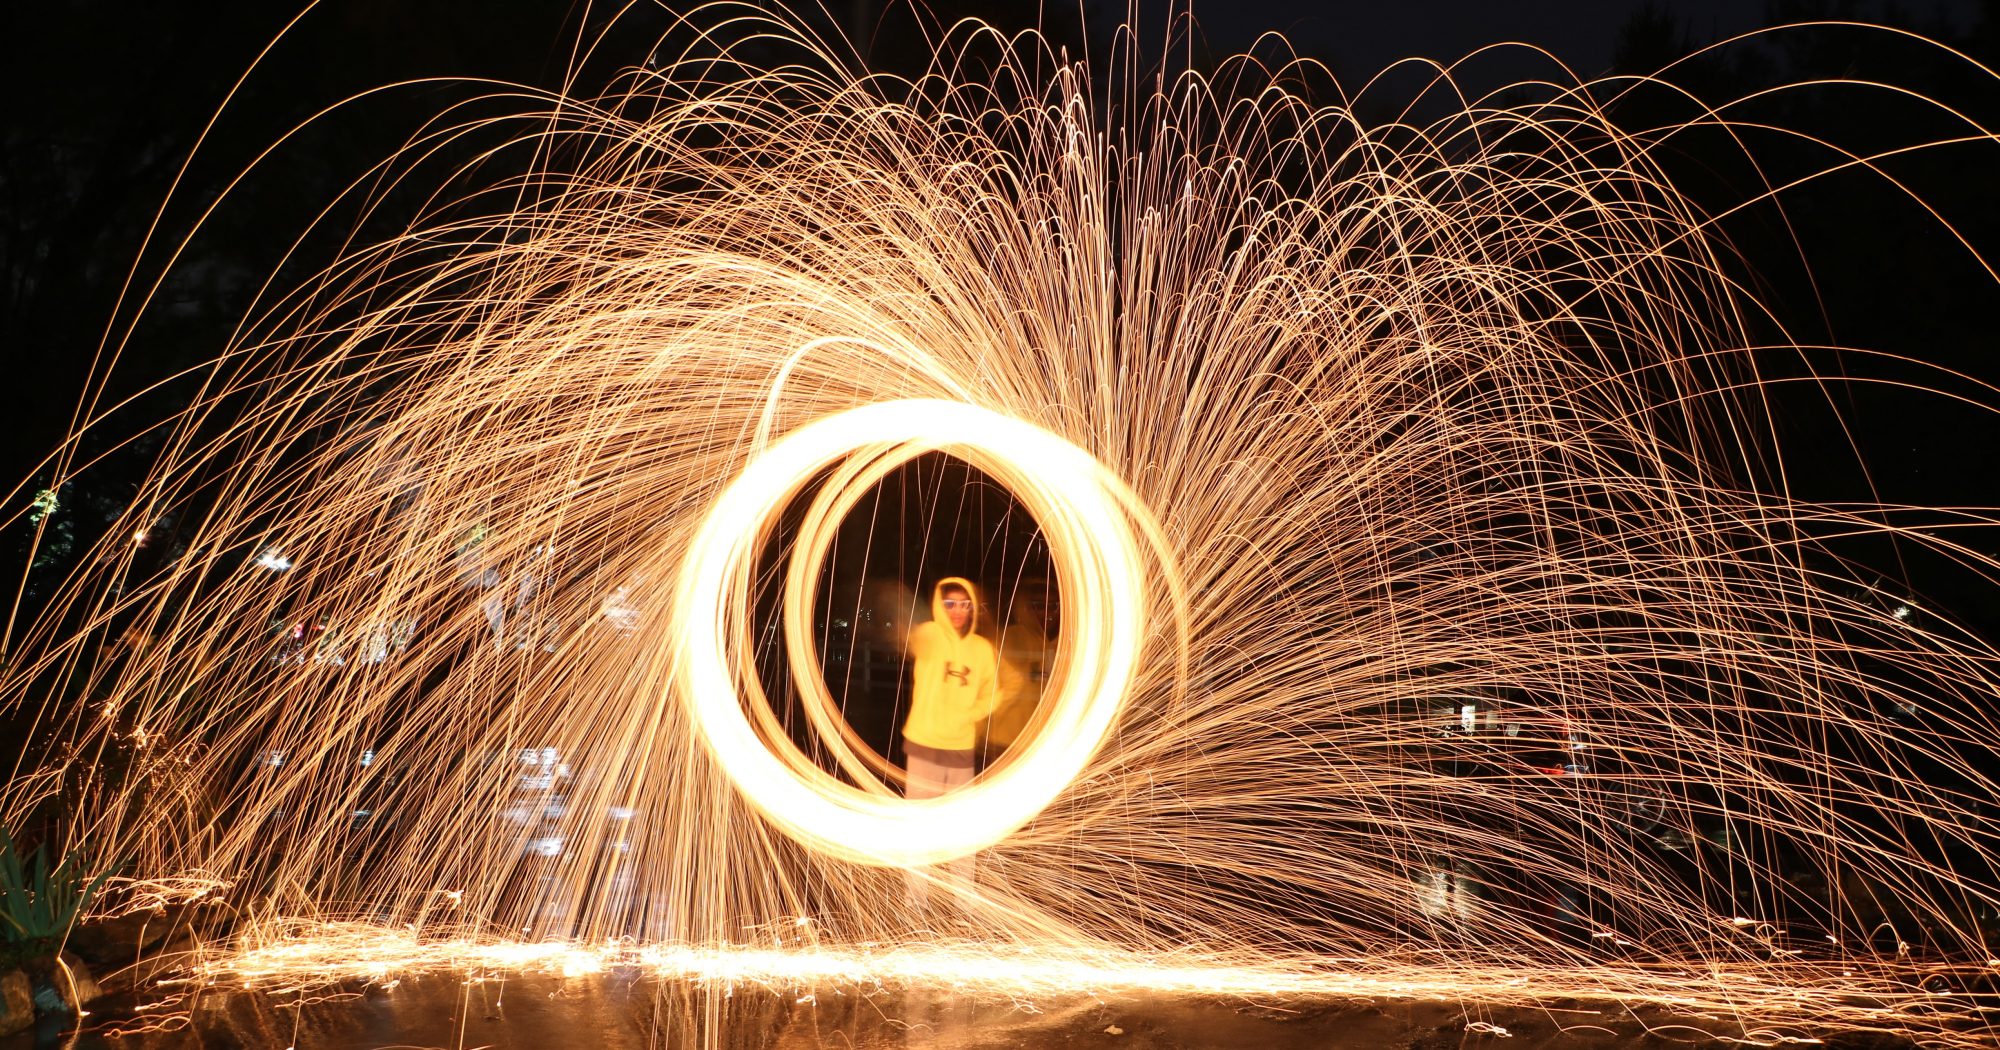
Our goal for this project was to take pictures that achieved a “light graffiti” effect. We would do this by setting the shutter speed to 15 seconds so that the lens would absorb enough light that we were flashing from our phones, Christmas lights, and/or glow sticks. Throughout the project, our group had to overcome some obstacles. For example, whenever we set the shutter speed too low, we wouldn’t have enough time to paint. Whenever we set it too high, an excessive amount of light would hit the sensor. Other times, we just needed to redo the process because we needed more practice to “paint” the subject. Also, the subject would have to stay completely still. Even the slightest movement from the person or camera would cause the picture to appear blurry! However, something that worked was editing them on Adobe Photoshop. It was easy to enhance our photos using curves and other effects.

https://photos.app.goo.gl/mSQYgXHK2bpgKwCr1

Light Graiffiti

These are just some of the pictures that my group and i took. These are just some of my favorite pictures. The camera went smoothly with no mess ups. The people that were lighting everyone up messed up a couple times, they would either keep the light on to long, or turn the light off to early and the camera would say that the subject is to dark.


https://photos.app.goo.gl/CrhkehhbyPzTiFG13


Light Graffiti

For this project, we had to add ” Light Graffiti” to a person in a picture. To do this, we had to set the camera so the shutter would stay open for however many seconds we needed to make our light design. We had to take all of our photos in the dark, so before we took the pictures, we had to shine the lights on the person while the camera was focusing so the person could be in the picture. Then we did our light design. This process was a challenge but I had a lot of fun doing it. While the shutter was open when we were taking pictures, we couldn’t move or else we would be blurry in the photo. Here are our groups photos;


Here are the rest of our light graffiti photos my group took;

https://photos.app.goo.gl/zzu74rcC6h1Ngdoj1

White Background

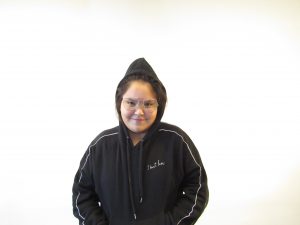
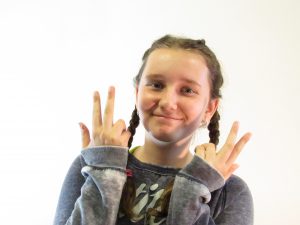
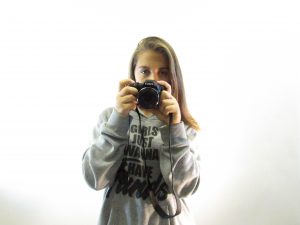
I used Adobe Photoshop on my process to change the colors, Before that i took pictures using the shutter speed, ISO and manual too my advantage.  The poses worked because they looked good against the white background.  The white background didn’t work very well because of the shadows and took multiple pictures/times. And it was hard to find the right angle of the light.  Below is my favorite photo and link to all my photos.

https://photos.app.goo.gl/Kb7bGQX1heKjHRay1 

White Portraits

For this project, we had to take photos of people with white backgrounds. The process was easy and simple.  We had to change the camera settings and mess with the ISO so the pictures would come out with a pure white background. The people had to stand away from the walls so there would be no shadows from the lights we used. Everything worked just fine and went smoothly. Here are some photos I took;


Here is a photo of me someone else took;

Here is the link to the rest of the photos I took;

https://photos.app.goo.gl/htM3bORfLnXAws442

White background

Things that did  not work were the ISO because the background was white that it would bring out more light in the background and made the picture brighter. Things that did work was the shutter because we had made the time spanned short to like 5 seconds for the person to choose there pose for them to stand in.      

https://photos.app.goo.gl/1V9cuS22PU9E3e6g1

Light Graffiti

Light Graffiti was arguably my favorite project. We had to use flash lights to light up people in a dark room. The thing that worked well was lighting up the people so you could clearly see them in the dark room. The hardest thing to do was staying still while the people were lighting me up. My Shutter Speed setting was at 8 seconds, not to long, but enough time to create the objects. If you’re trying to take the project to the next level I think you should get more flashlights and glow sticks.


https://photos.app.goo.gl/rLdNwzhCKo01IX7l2