White Background

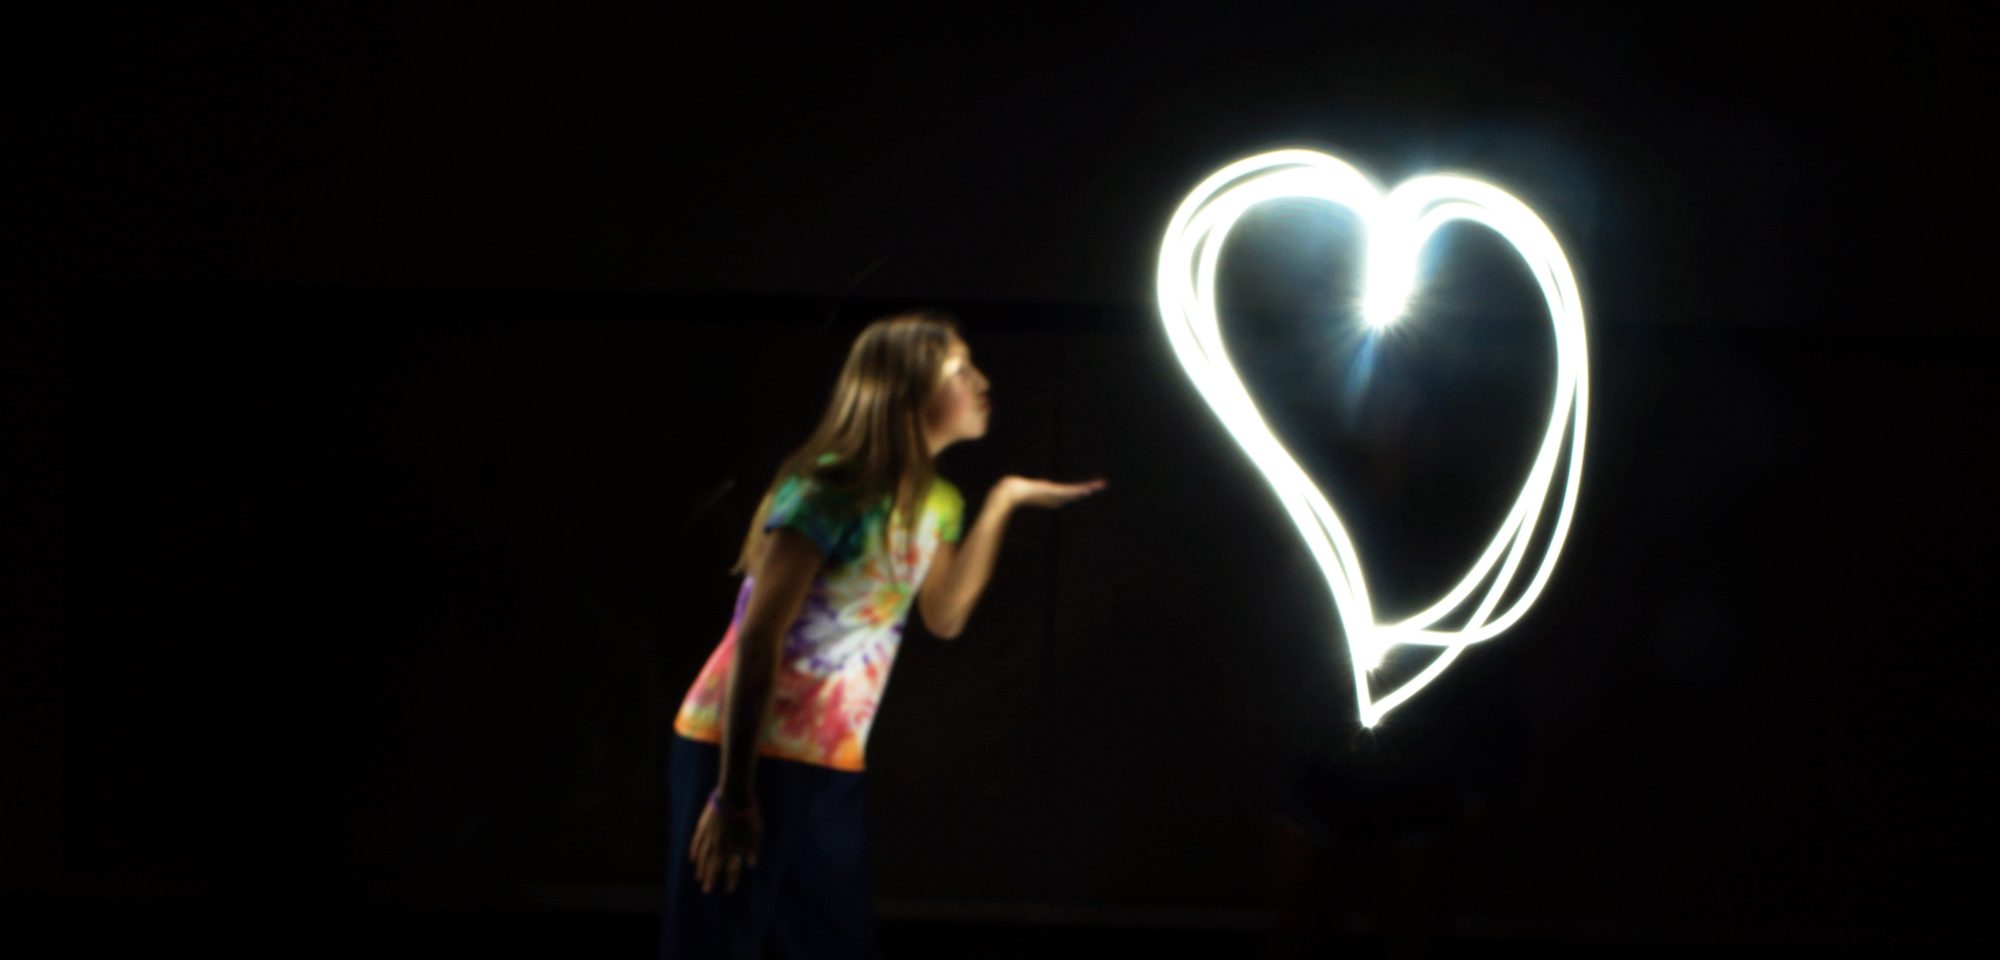
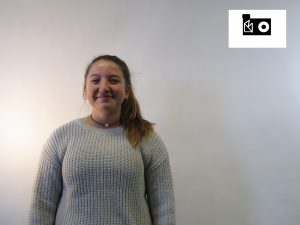
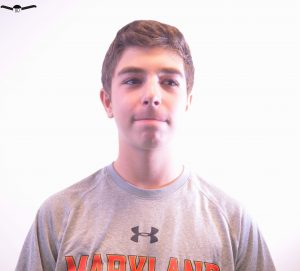
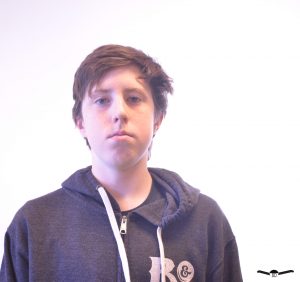
The process I used to take the photos and edit was fairly simple. All you have to do is have the light shine on the background, the person close to the camera. The settings on the camera have to on manual. Then you need to change the ISO to about 800. This will help allow how much light will be let in. Then you need to change the shutter speed witch will determine the amount of time it will take the photo. What worked was having the light shine at the background so there was no extra light on the person. What did not work was having the person to close to the wall/paper cause then a shadow would appear.


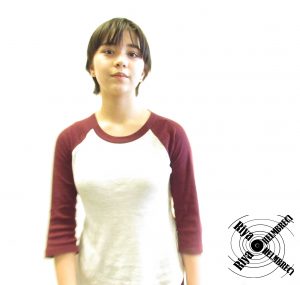
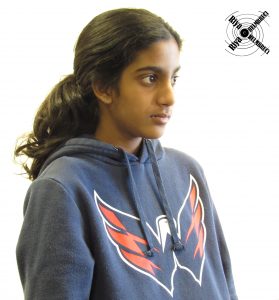
Photo credits got to Briana.

Here are more pictures of my group.

https://photos.app.goo.gl/ktXRky9nyOtNy8g93 

White Background

We had take pictures of each other with a white background shining the light on the background not the person.what worked was making sure the shutter speed and ISO were at the right setting/place. what didn’t work was trying to make sure that there was no shadow but we figured it out.

link to the rest of the photos.

https://photos.app.goo.gl/RVYI5Wtg8R1dx5JD3


White background

https://photos.app.goo.gl/eN4o0H1BToMXBze92

During this project we had to take photos using a white background without a shadow. We had to change lights from an orange one to a silver because it was making the background look orange. We figured out that being closer to the camera would make it focus on you and blur out the background, which made it look whiter.


White Background

When we did this project we had to light the background so it looks like there is no background at all. A few things that worked were shining a lot of light on the background and adjusting the shutter speed so it was open for a while. Some things that didn’t work were shining the light on the person and keeping the shutter open for a little.

https://photos.app.goo.gl/sYCsksgBIFZeu7WB3


White Backgrounds

First we set the ISO to 640. We set the F stop to 5 which controls how big the lens gets to let light in.  We changed the shutter speed to 1/20 of a second. This was much easier than the black background because I didn’t have to do as much editing and we could get more pictures taken in less time. What worked was the lighting of the background because we didn’t have to be as concerned about it. What was hard was that we had such a big group to take pictures of.

Here’s where you can find the rest of my group: https://photos.app.goo.gl/QKOSHp6RG2Ih1Qq02


White Background Portrait

In this project, we placed a subject against a back-lit white background and adjusted the ISO and shutter speed on the camera. Then we edited and cropped them in Adobe Photoshop. Leaving the ISO and shutter speed as it was didn’t work and the photos didn’t turn out. We found that the further we held the light from the person the better the photos were.

link to album: https://photos.app.goo.gl/2QJwzhQlyGFqfEQJ2

White Background

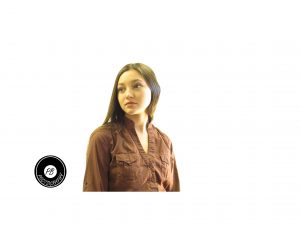
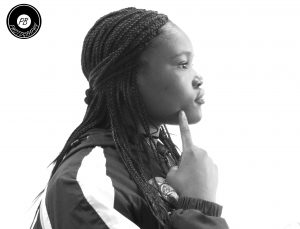
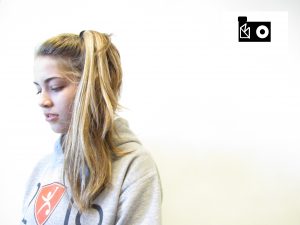
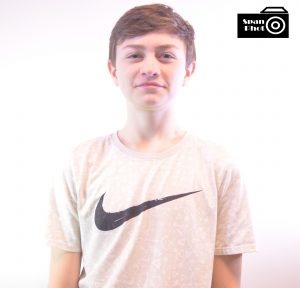
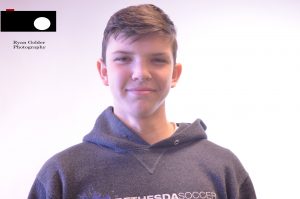
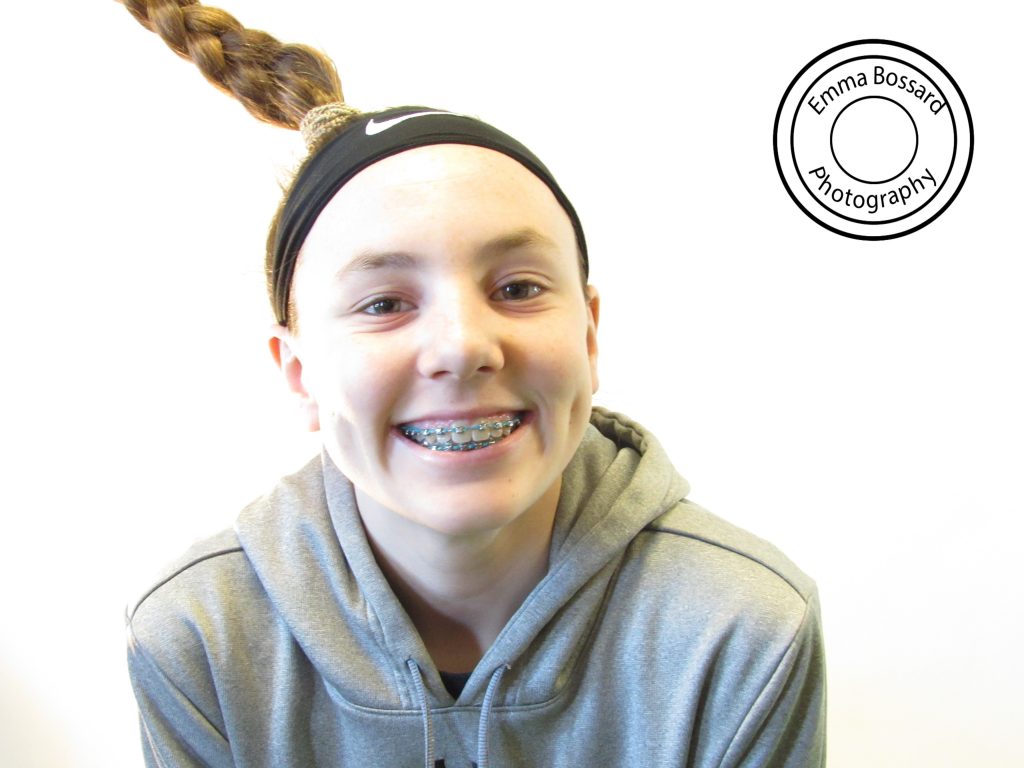
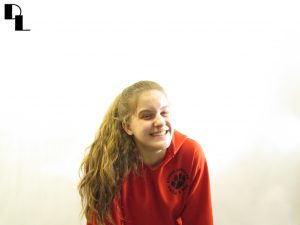
In this project, I made the shutter speed very slow and let in as much light as possible by adjusting the settings on the camera. The modeling and poses worked. Megan was modeling in most of the pictures and it made them extremely interesting. It was hard to get the backgrounds perfectly white, but we did it in a few pictures.
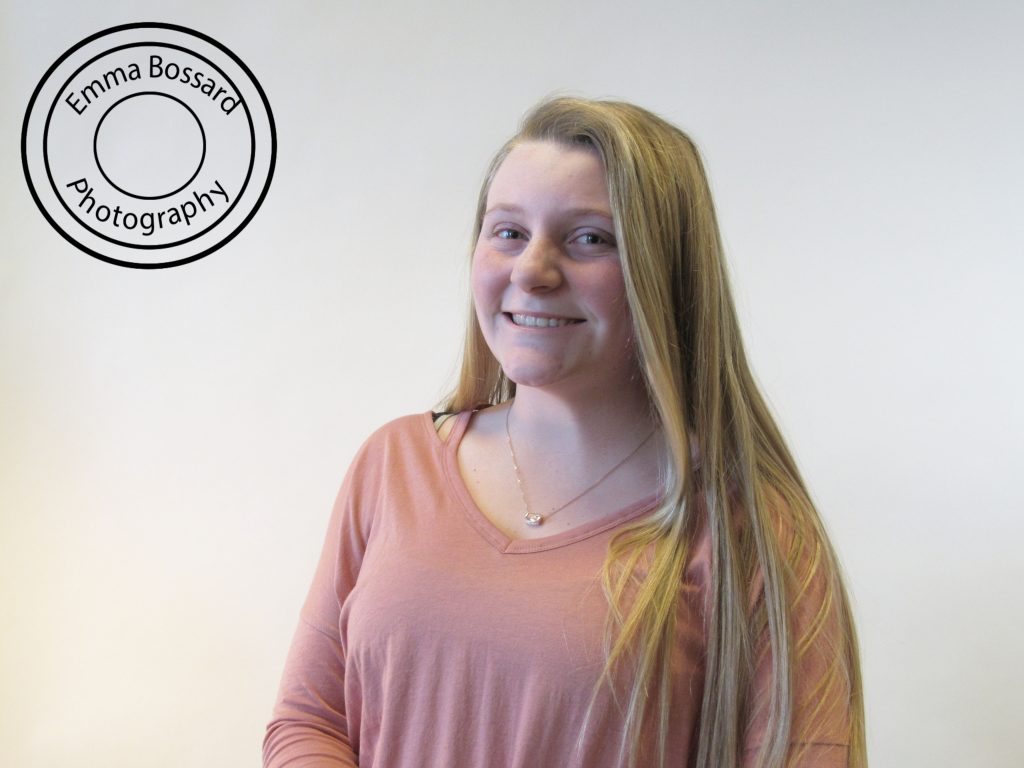
 

https://photos.app.goo.gl/uFiqcODAmg3Nzdat2

White backrounds

To take photos with an infinite white background, there were a few settings we had to change. First we had to put the ISO up to allow more light in, and change the shutter speed to be longer to allow all the light in. It worked to have a slow shutter speed because the maximum amount of light could be let in. it didn’t work to have a low ISO because the pictures would be too dark.

the rest of my pictures are here: https://photos.app.goo.gl/DItfyEbZN7r6tfB12

1 object 5 shots

To see the rest of my photos click here: https://photos.google.com/album/AF1QipMLbvSBC3nGkZ42MEsYhHyKtD-a4wiaZnYZsyJU

This project was about finding 3 objects and moving around to get different pictures. One challenge of this project was finding what to take pictures of because you have to move around a lot. The hardest thing to shoot was the tissue box because of its shape and position. This project helped me try out different angles for taking pictures.