white background

In this project, we took photos in front of the white paper and stood about a foot away from it so the camera would focus on the person. The shutter speed was much longer so more light can go in. This was easier than the black background because we didn’t have to do as much editing and we just had to turn the ISO up. Everything worked but it was a lot easier with a smaller group. Here is a picture of me and the one I took, and the link to the rest of my group is here.

https://photos.app.goo.gl/2gFkEezCFfpx1ac02


White Background

In this project,  we went up the the TV Studio room. Using the rolled down white paper as a background, we took photos of one another. keeping the cameras in manual mode, we had to adjust shutter speed in order to not capture too much light. Below are photos of both me and the person I took the photos of.

Link to the album; https://photos.google.com/album/AF1QipNe7KhpFvCv9U1Q3S92dPjhOX0kwG4e0yGvC5BQ

White Background

https://photos.app.goo.gl/WTGYFQPMOTY0VjYG2

For my group to take the photos we had to stand in font of a white background,  use manual mode, and turn the ISO up. The pictures came out great and everything worked! For the black background we used the ISO and shutter speed. For the white we used the same thing except  the shutter speed had to be longer and ISO higher.  I think the white background was easier because there was less editing to do.

White Background

The way we took our photos was with a white background and changing the settings of the ISO, Shutter speed, and F-Stop. Some of the photos did not need to be edited since they were fine the way they were. What worked was shining a bright light at the background when we took the picture. For the white background, we used a different shutter speed than the black background. The black background was much easier than the white background. What didn’t work was standing to close to the white background because we could see the shadow of the person.

Link to the rest of the photos: https://photos.app.goo.gl/np8KGUucf1L35RXJ3

Portraits

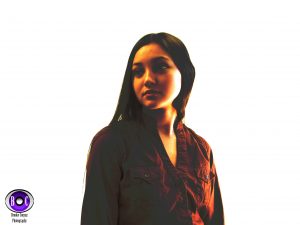
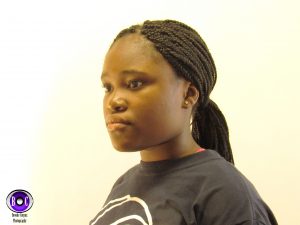
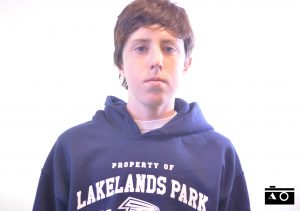
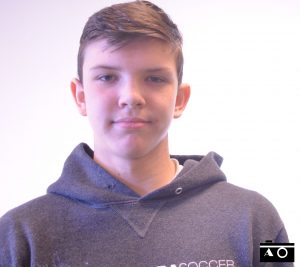
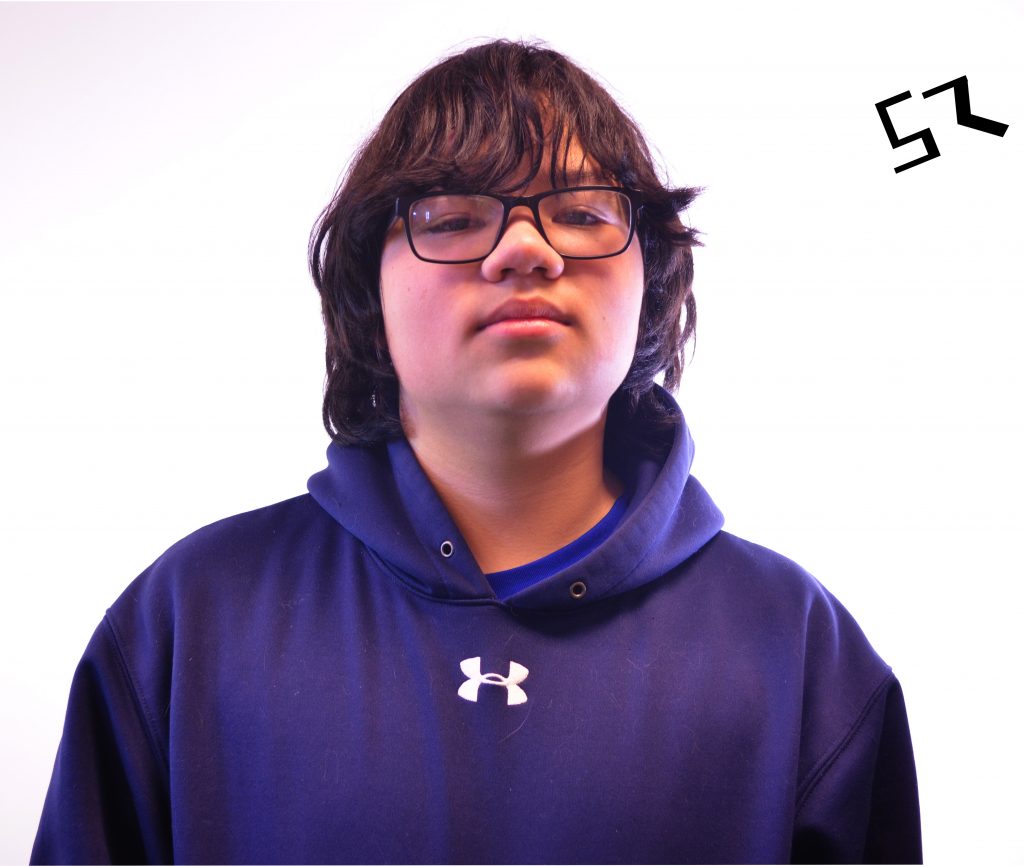
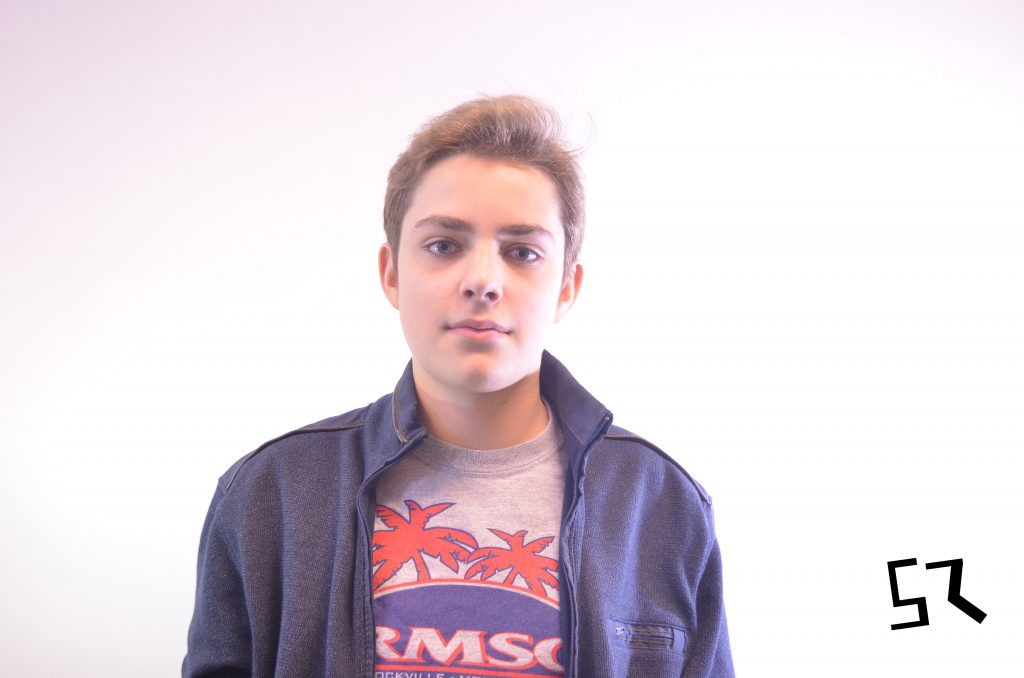
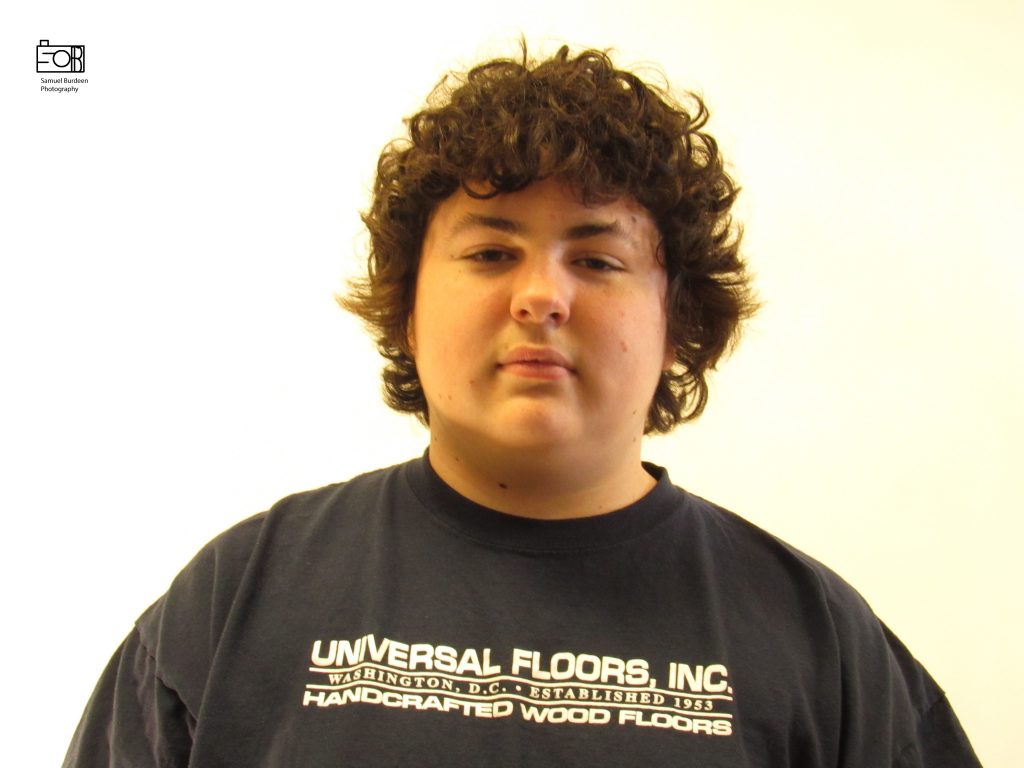
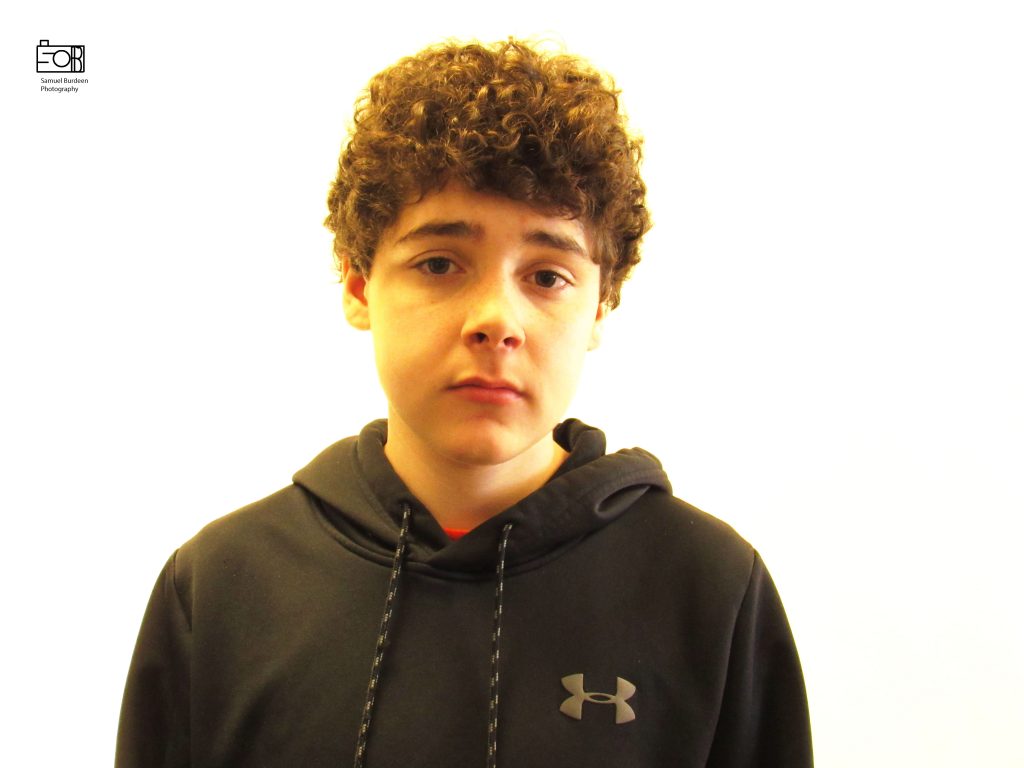
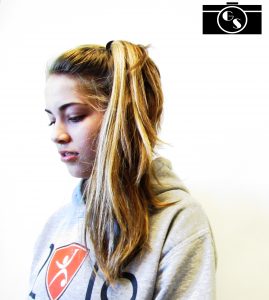
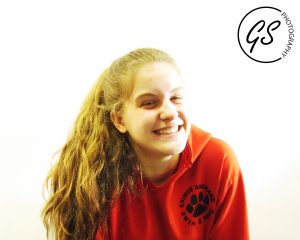
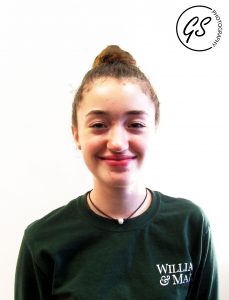
In this portrait, the picture had to look like it had an infinitely white background. If done correctly, the photo should look as if someone was Photoshopped into the image.  To achieve this we had to go through a few steps.  First, we had to change to manual settings.  This was to change the ISO’s up and have a slower shutter speed to allow more light into the camera.  This process is completely different from the black background photos.  For those pictures we had to change the ISO’s down and hasten the shutter speed to let in less light.  Once this was done, we needed three people to take the photo.  One person to be in the photo, another to light the white background behind the subject, and a photographer.  The subject had to be close to the camera so it would focus on them instead of the background behind them, blurring any imperfections on the white background.  It was challenging to get the position quite right and focus the camera, but when we did the pictures looked really cool.  One thing that worked well for my group was having the subject show 3/4 of their face, looking of into the distance.  We all really liked that pose.  All in all, I think the white background was harder to do than the black background.  The settings were more delicate and it was much more difficult to keep shadows out of the shot.

Here’s a link to all our photos!https://photos.app.goo.gl/Ti7HWF1b0hHdryEv2

1 Object 5 Shots

We had to take 5 pictures of 3 objects that had 5 different angles basically a total of 15 pictures.A challenge was trying to find a different angle for each object.The hardest object to take a picture of was the fan because the angles kind of look alike and I was worried that I took the same pictures over and over again.This project helped me learn that you don’t only have to take a picture with one  simple angle.


https://photos.app.goo.gl/pnfbdHYYbLjaGcRU2

white background!

It was an easier process to take the white photos then the black. This is because the white background fit in with the picture better and it was easier to find which setting the camera  needed to capture the right picture. The settings worked great and by standing further from the wall, the picture came out better. I thought the light didn’t help as much as I thought it would.

For the rest of my photos go to this link: https://photos.app.goo.gl/bXGrjgumQpwiMJiO2


White Background

For this project, we had to take pictures in front of a white background to take a picture in front of a white background to make it seem like we were edited onto the picture. Putting the light in front of the background worked because it made the background look less grey. A struggle was the shadows behind us and the amount of light on our faces.

Click here to see all of our photos: https://photos.app.goo.gl/rrsMNPHxxxxggZbL2