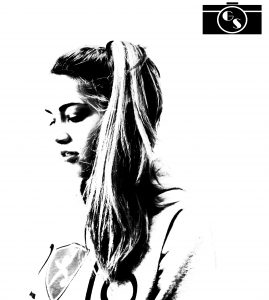
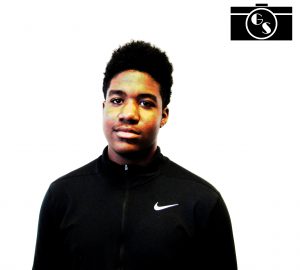
In this project, we had to adjust the shutter speed and the amount of light that came into the photo. We produced a photo that looked like there was no background. It was an easier process to take the white photos then the black. This is because the white background fit in with the picture better and it was easier to find which setting the camera needed to capture the right picture. The settings worked great and by standing further from the wall, the picture came out better. I thought the light didn’t help as much as I thought it would. For the black background we didn’t use any background because we took all the light out of the photo and the background just looked black. However in the white background pictures, we used a white sheet of paper on the wall and stepped a couple feet off of the wall the capture the image. This was efficient because you couldn’t see the persons shadow.
For the rest of my photos go to this link: https://photos.app.goo.gl/5dmoY9FptdZtnsbd2