Rule Of Thirds

This week we have been required to take photos using the rule of thirds method. The rule of thirds method is when you have a grid of 3 by 3 and you line up a subject near the lines or at intercepts where the lines would meet. This helped because the natural eye would move to that point usually. You could have also You could also have two-thirds of the picture one scene and the third something else.  For example, two thirds could be the sky and one third could be the ground.   What worked was having the grid on. This made it easier to line the people up exactly. What didn’t work was not having the grid. Without the grid, it was much harder to have the thirds line up well and it just seemed to be a normal photo. One thought I had on the rule of thirds is it seemed really easy and simple. Though now as I look back it was more complex then I thought it would be.


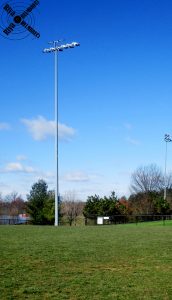
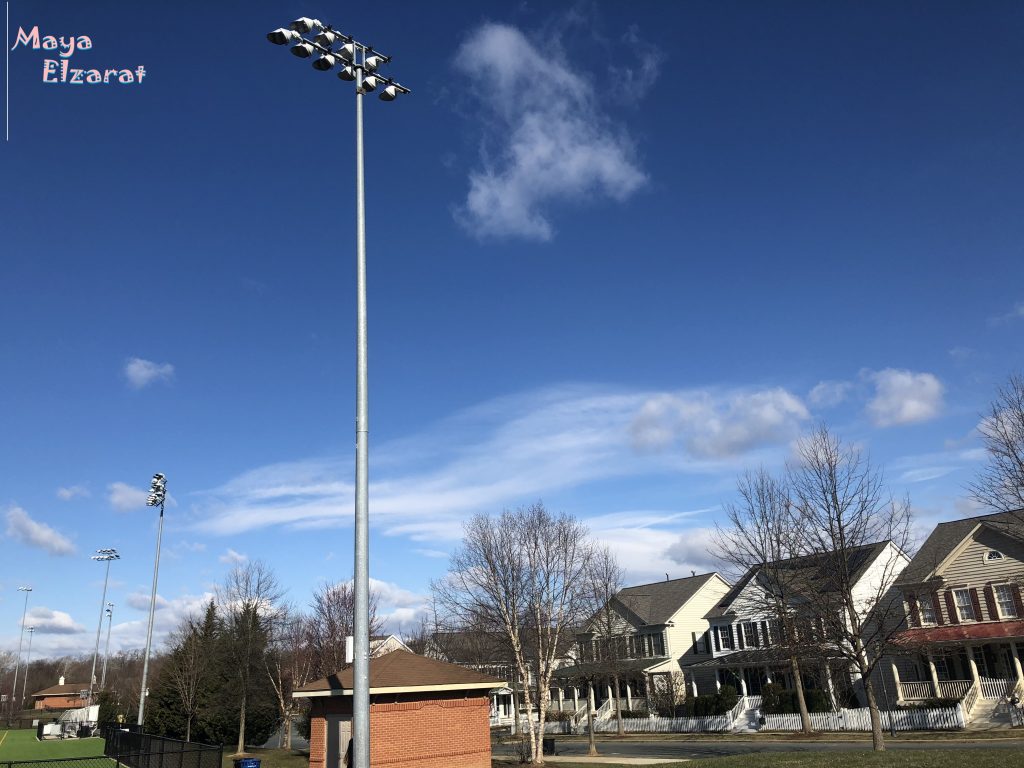
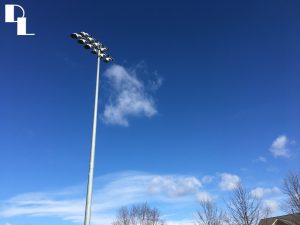
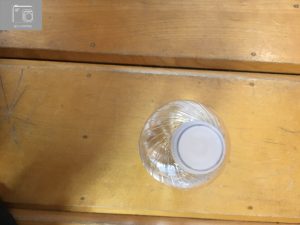
For this photo, I used the line method. I lined the light pole up with the verticle 1/3 line to the left.


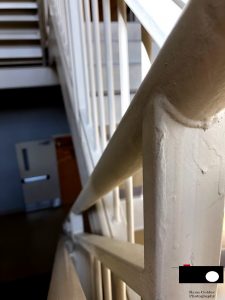
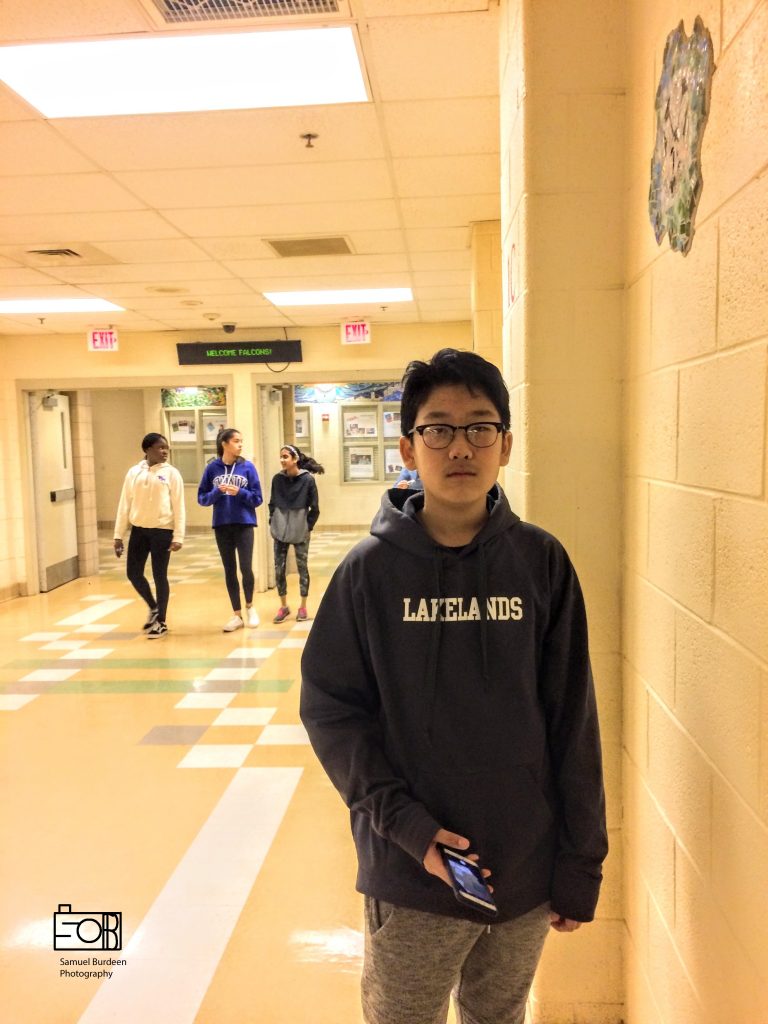
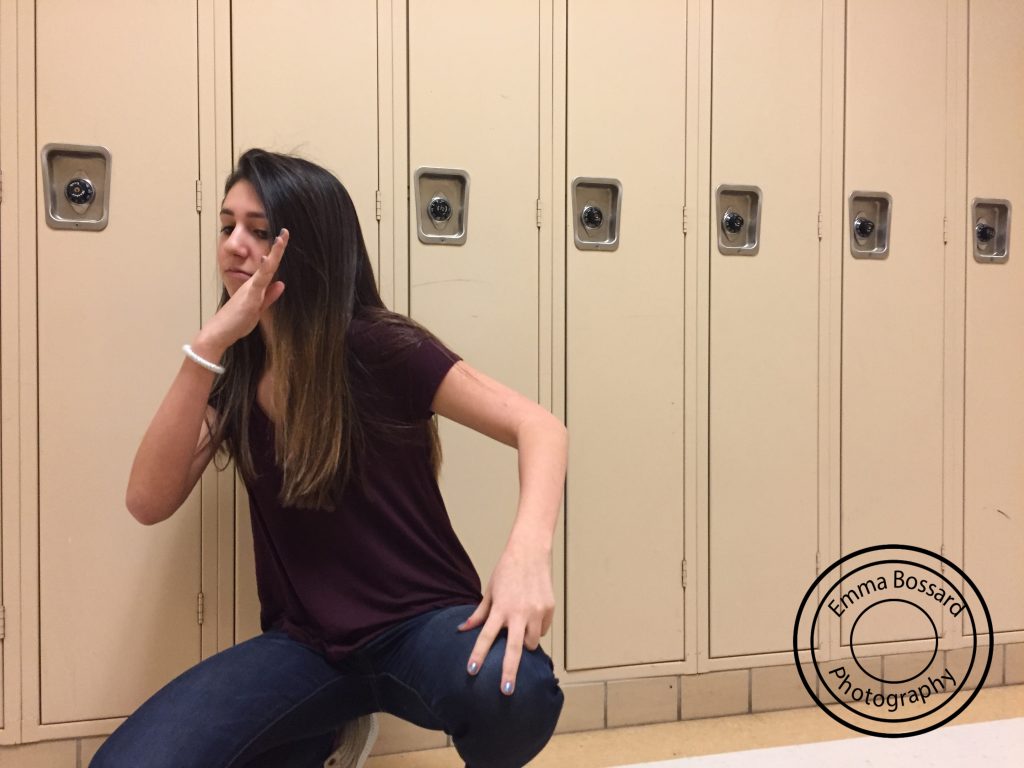
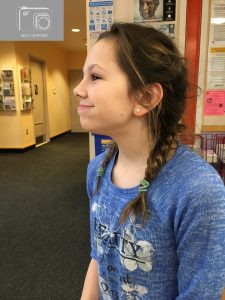
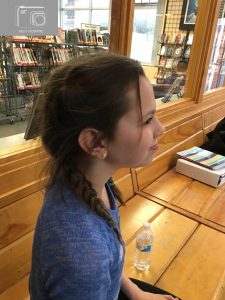
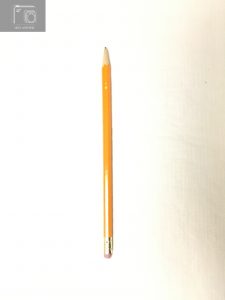
This photo. I used the line method as well. I lined the Briana with the verticle right 1/3 line.


More photos I took with the rule of thirds are in the link below.

https://photos.app.goo.gl/QZSbHAmzl30dwLso2

Rule of Thirds

For the rule of thirds project, we had to take 8 pictures of objects and people using a grid on our cameras. For Caroline’s picture, I took it so that she was on the right vertical line. For the trash can, it was also on the right vertical line. It was hard to find good objects to take pictures of, and it was easier to take pictures of people. The lighting in every picture worked, but for some pictures, it was hard to place the person or object directly on the line. I liked this project because it taught me that putting a figure on one of the thirds actually draws attention to the object. The 3×3 grid helped me because it showed me directly where the thirds were and where the focus should be.

To see all of my pictures, click here: https://photos.app.goo.gl/Nn14dYCgVKymsfkR2

Rule of thirds

These are my favorite photos:

In this project, nothing was very challenging, we just had to get the main part of the photo on 1/3 of the grid. In the begging I thought this would be very challenging, but I found out it wasn’t. In my photo settings, I put a grid on my camera. I had to align the main part of the photo with the grid.

Here are the rest of my photos: https://photos.app.goo.gl/OGUbPqgR3M6qwxF32 


Rule Of Thirds

I had to take photos using the rule of thirds. What worked was putting the main subject of my photos on one third if the whole photo so people notice it. What didn’t work was taking a whole picture of one thing because there was nothing else to focus on. My thoughts on the rule of thirds in the beginning was that it was not important but after the project I know that the rule of thirds helps the photo stand out. I used the lines in the photos to separate the important subjects in the photo apart from each other so people notice every aspect of the photo.

Link to rest of photos: https://photos.app.goo.gl/9eRGM2RfPHeySxcq1

Rule of 3rds

https://photos.app.goo.gl/09lgnkFxloh8Dzli1

Everything worked for me but the easiest thing to do was getting the photos exactly on the third line.  From the beginning till now my thoughts changed because in the beginning I thought it would be hard but now I think its really easy and fun. In the picture with the light the light is on the third line on the left. In the picture with Avi he is on the third line to the left once again. 

White Background

In this project we had to change the shutter speed so that the background can be more white. What worked was when we changed the shutter speed to a lower speed. What didn’t work was the lighting, we had to find the right angle for the light. the white background and black background were very different. For example, we had all the main lights off for the black background and we needed as much light as possible. we needed a slow shutter speed for the black background and an even slower shutter speed for the white. The black background was easier because of the lighting we had.


Rule of Thirds

My Album: https://photos.app.goo.gl/7Z98r22jzd7rRsgW2

In this project, we learned and applied the techniques to the rule of thirds. We had to make sure there was enough light to take a quality picture. Personally, I liked all my photos to be near the windows or outside. Once we found an ideal location we would find a good position on one of the thirds. I like using the rule of thirds because utilizing it always sets up the photo just right. In the picture of the fire alarm, the alarm is on the vertical left grid line. In the picture of Bella, shes standing in between the two grid lines, her head is on the top horizontal line.

Rule of thirds

For this project we had to take rule of thirds pictures. It worked to line up the main focus of my picture on the lines. This is important because it is what the viewer will look at first, so it has to be something important. At the beginning of this project, I thought rule of thirds was easy, but at the end they are actually really hard to take. I used the lines to put whatever the focus is in my photo on them. My 2 favorite photos are below. The first one is of a red flower, and I lined up the flower to the line on the left. The second photo is of a light post in the sky, and I also lined it up with the left line.

The rest of my pictures are here:

https://photos.app.goo.gl/RqM7ZBkqppK4OoGK2

Rule of Thirds

In this project, using the grid to show the thirds worked well and was easy. What didn’t work was editing the photos because it was time consuming and going outside because it was freezing. I think the rule of thirds is very useful to photography and will make any photo 10 times better. I used the rule of thirds in the first photo, the photo of the vending machine. The machine was placed on the 2nd vertical third. In the second picture, the picture of Maya near the lockers, Maya was placed on the 1st vertical third.

https://photos.app.goo.gl/TVUBBSGbj01Tzjem1

1 Object, Five Shots

In this assignment, I was required to take photos of three objects (one being another person), five photos each. One challenge I faced was photographing the water bottle and making the shots different and interesting. The water bottle, therefore, was the hardest object to photograph because it looked almost the same from all sides