Rule of thirds

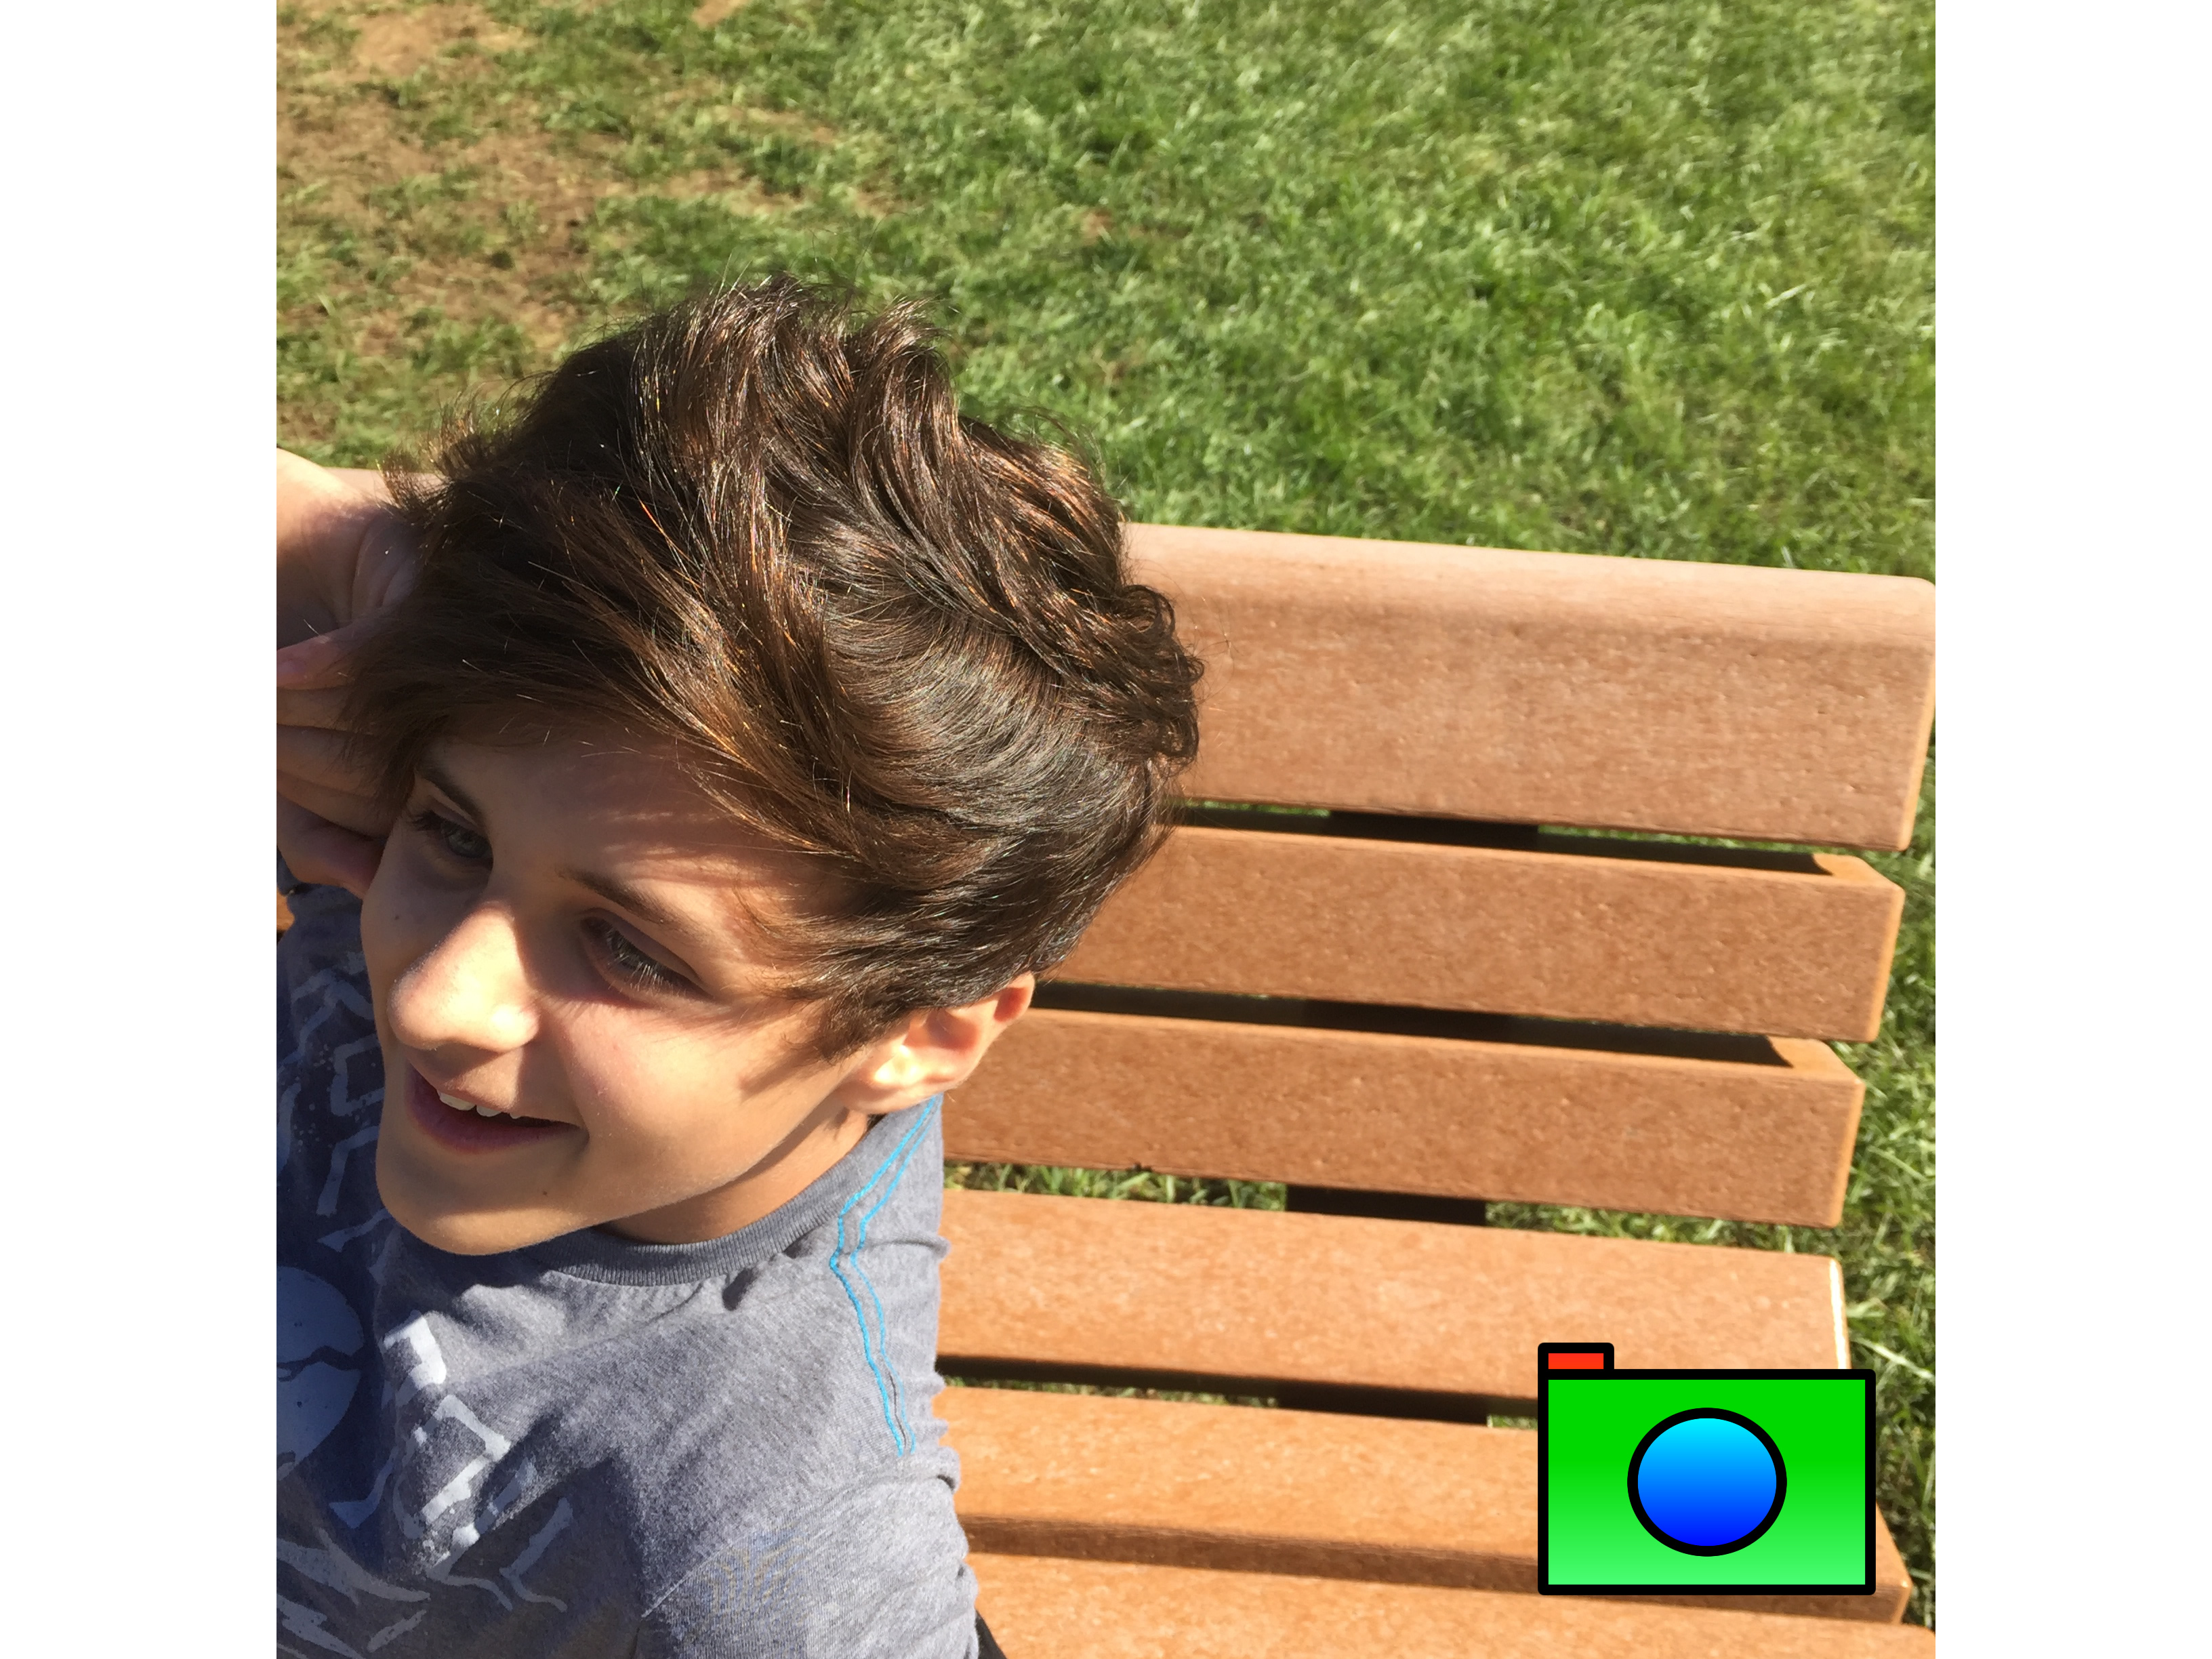
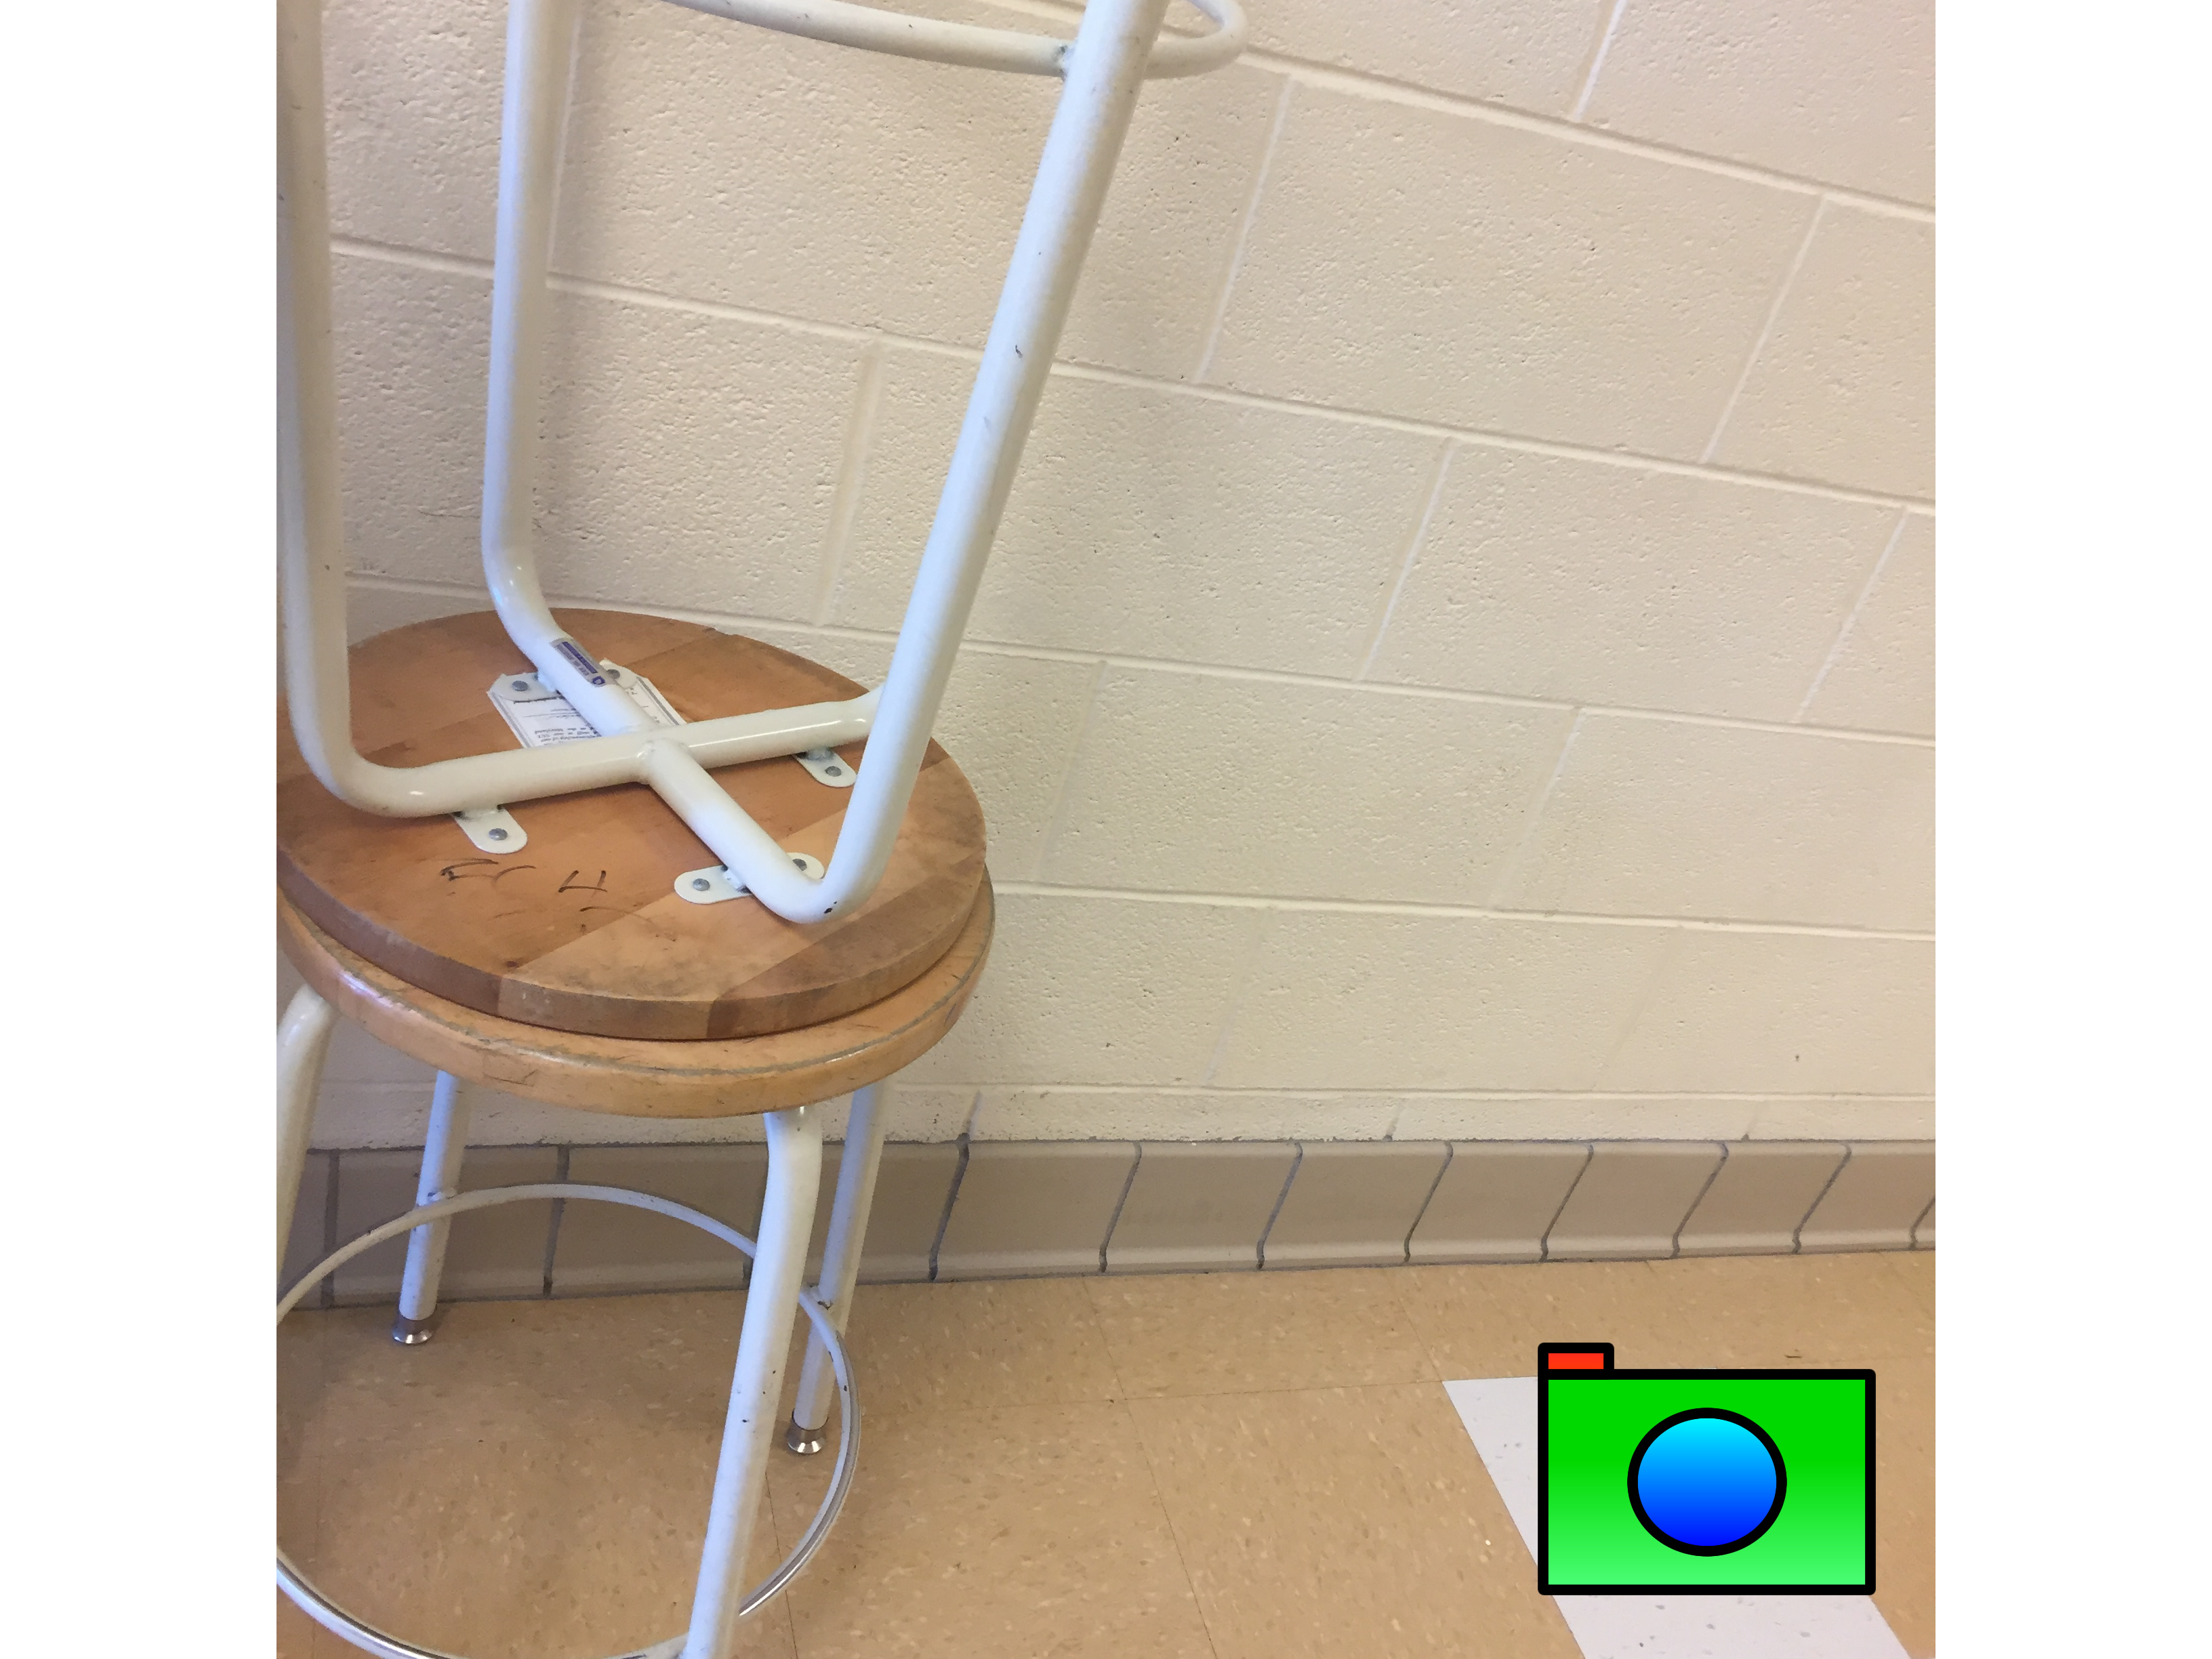
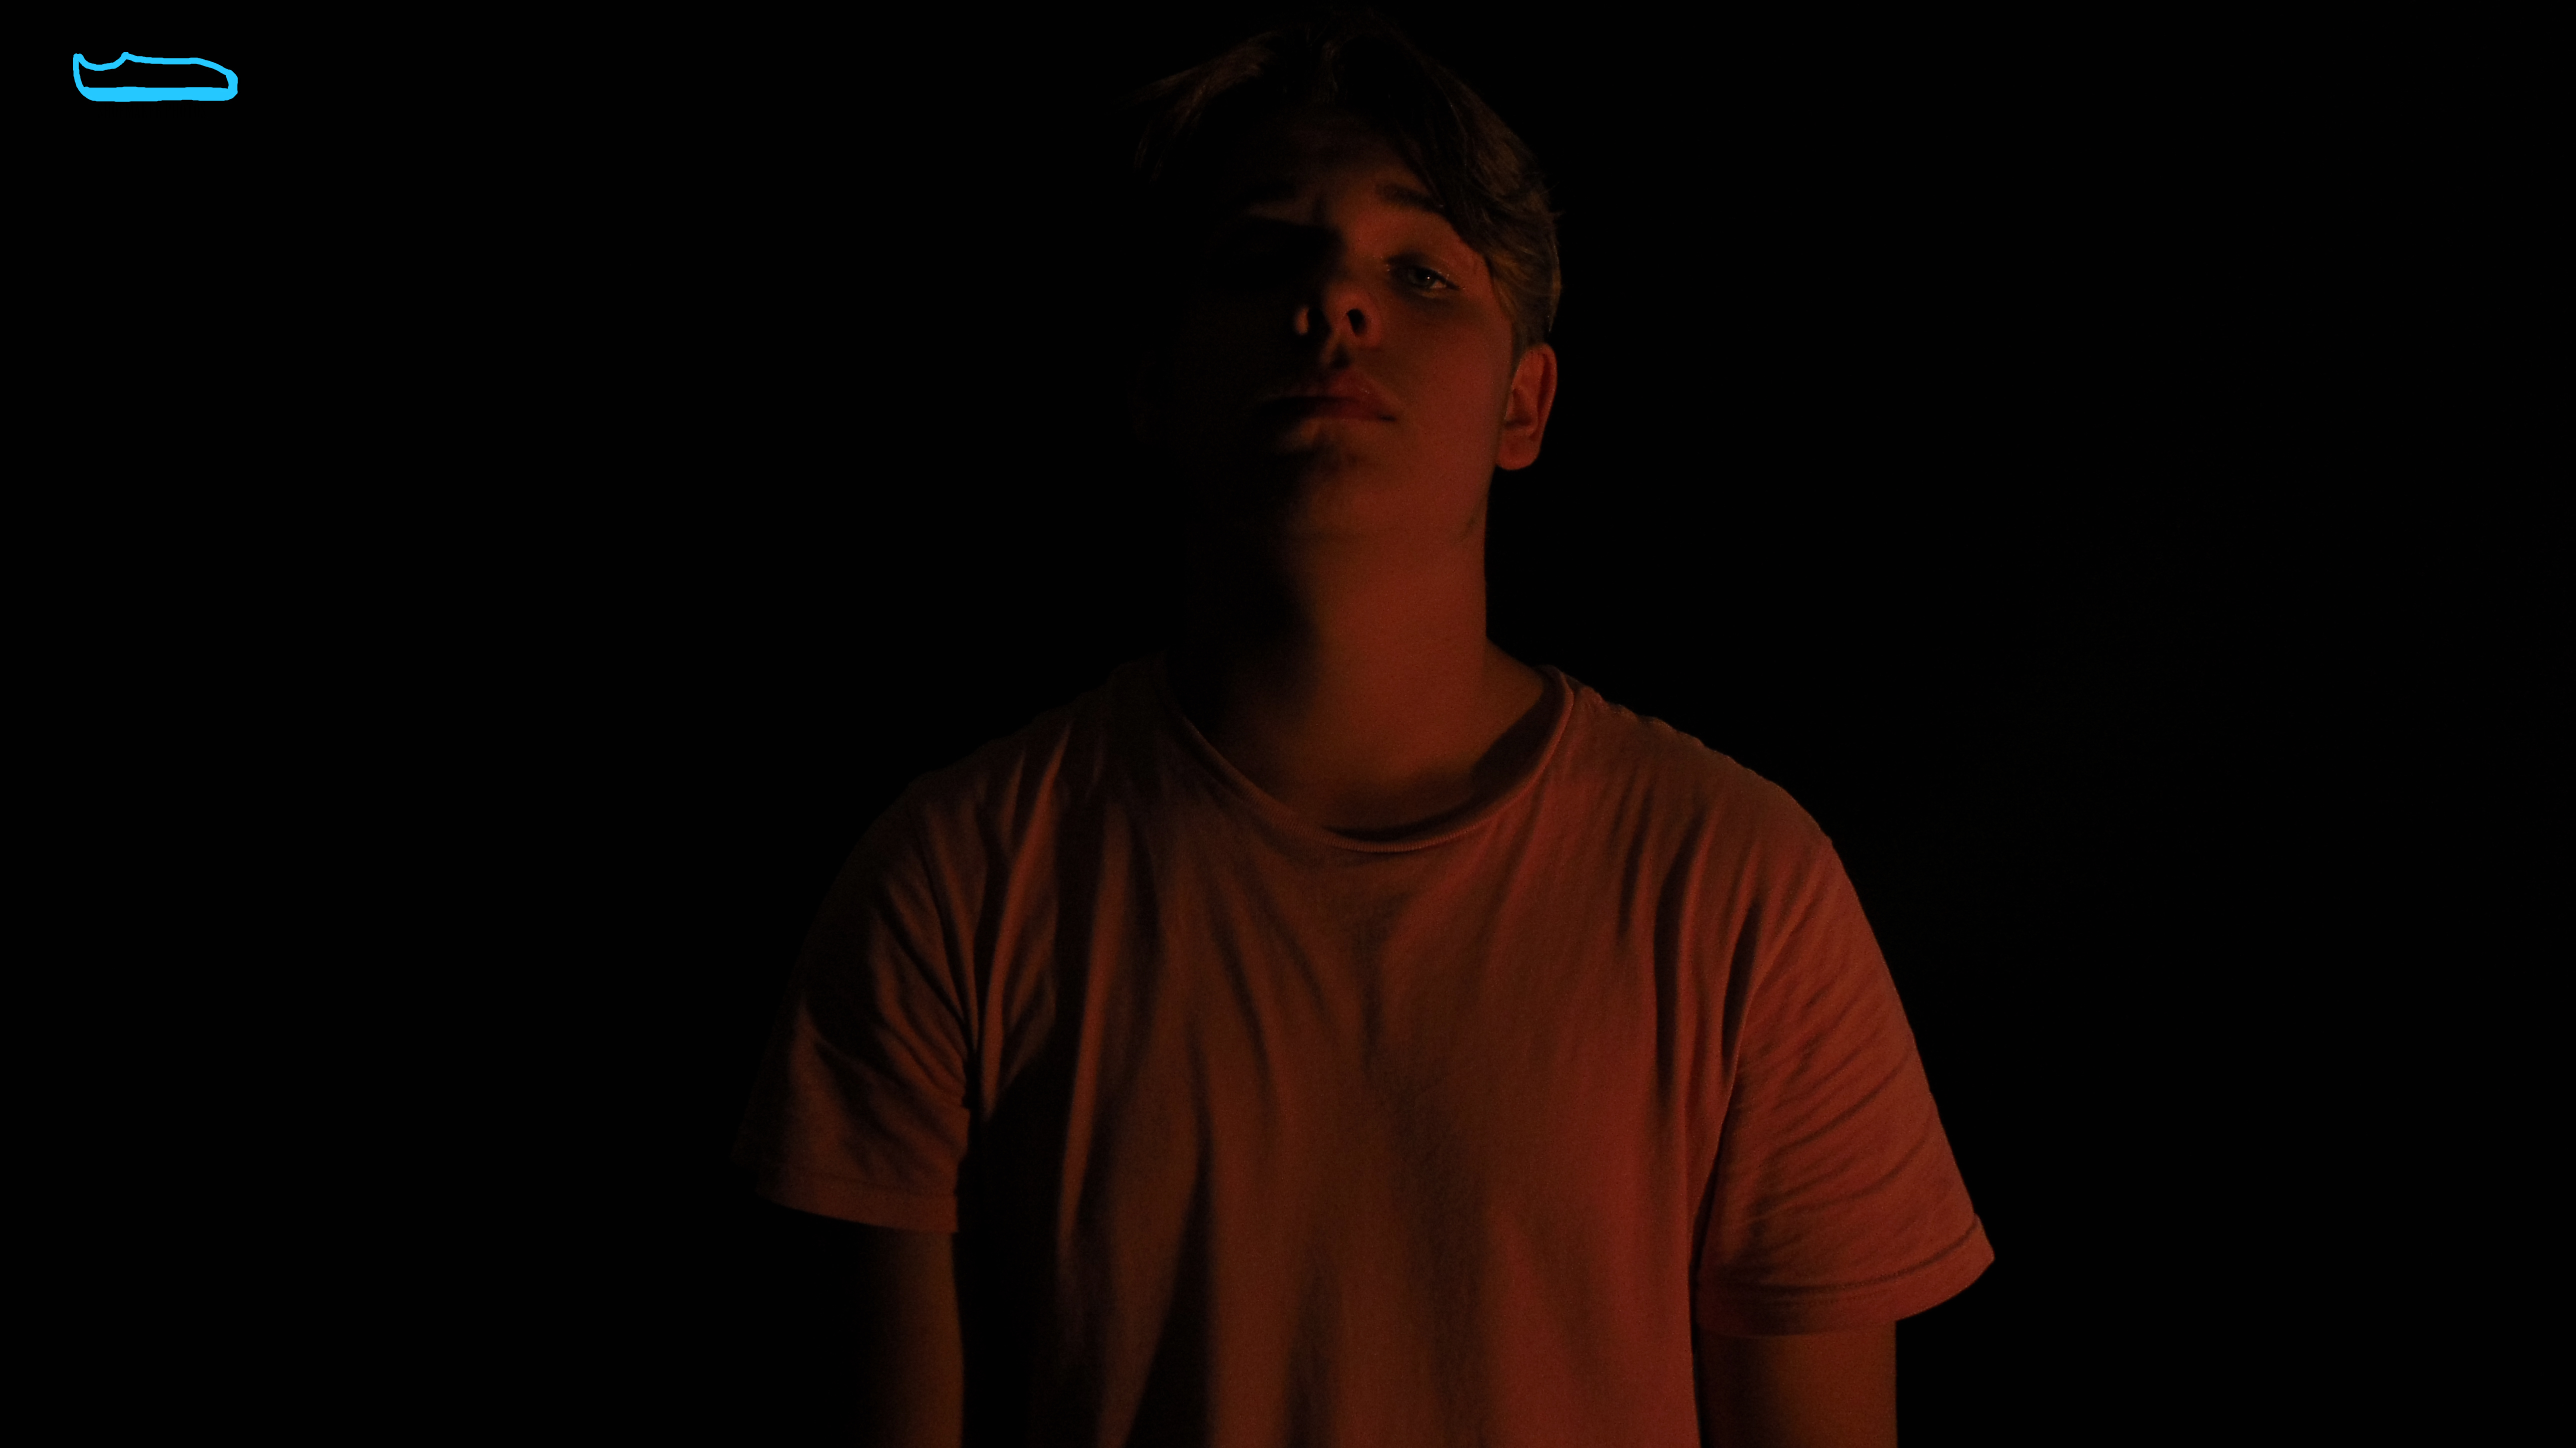
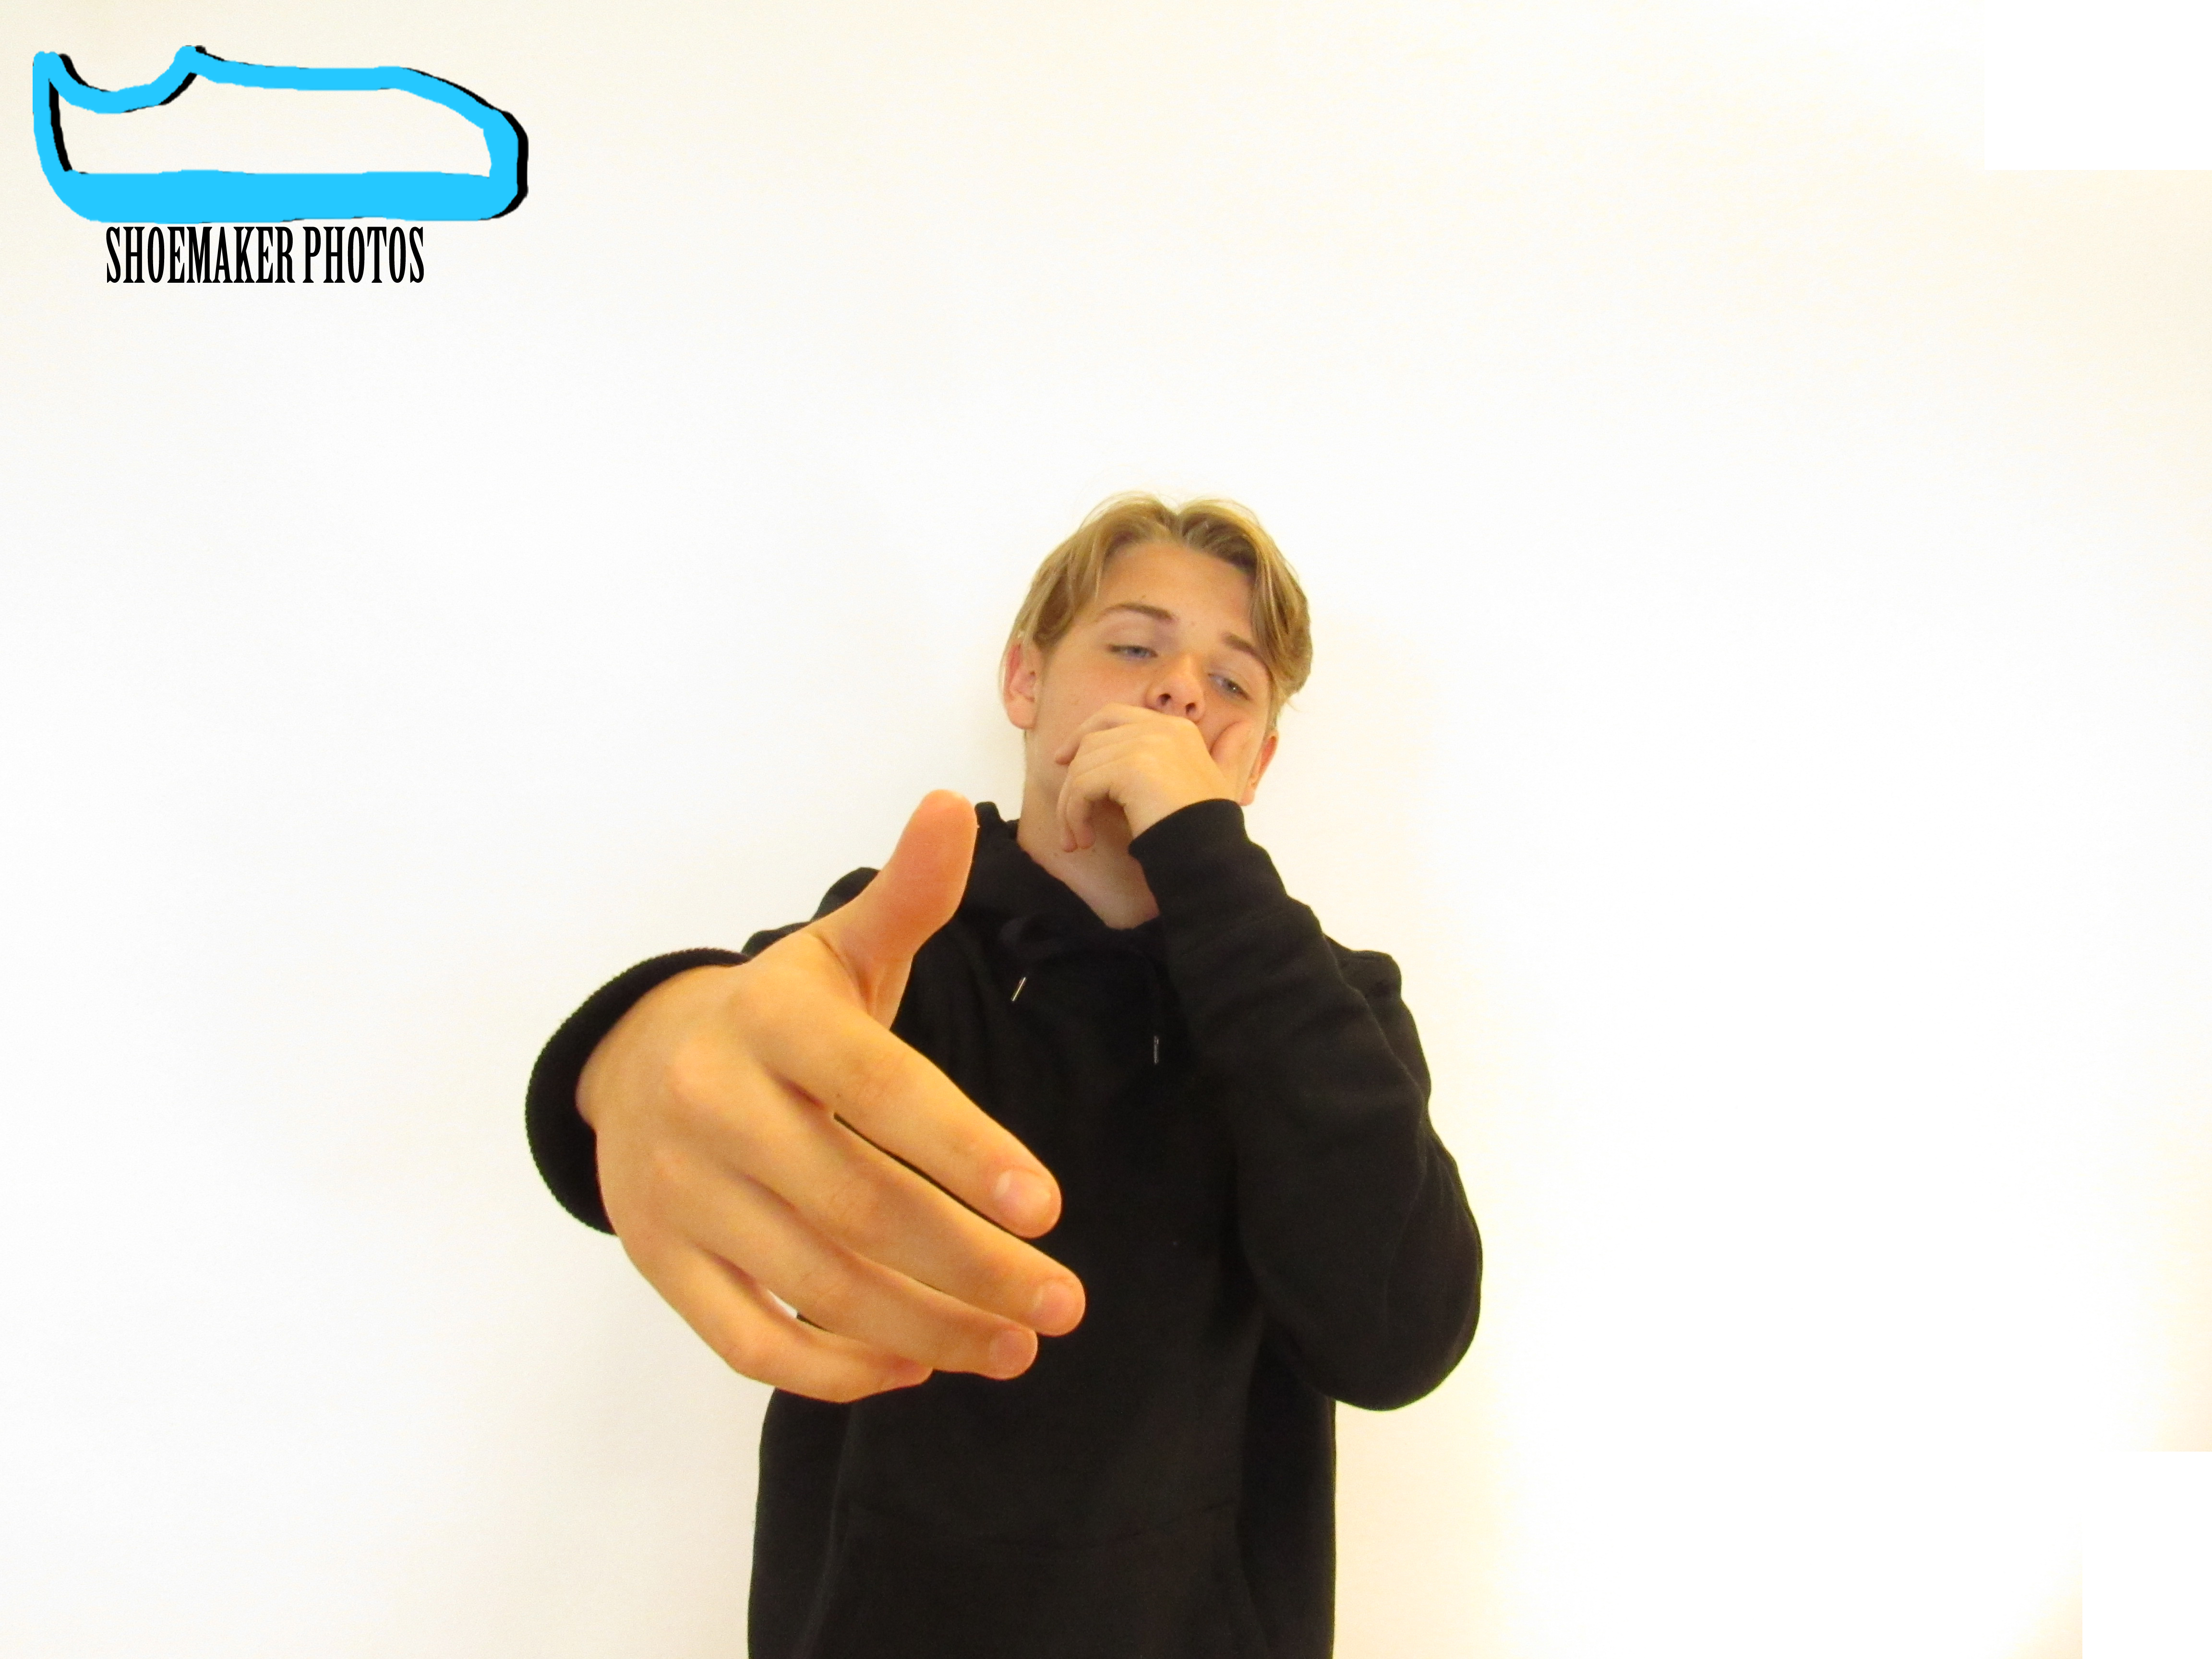
In the rule of thirds project using a grid on my phone worked and punting the object in the middle didn’t work. My thoughts on the project didn’t change from the beginning to the end. the lines on the left or right of the screen had to line up with the object. I set up my shot by putting the object in the center of the camera and then moving the camera to the left or right. The rest of my photos are here.

Rule Of Third

Here are two of the pictures I took using the rule of third.

On this photo I used the lines on the left. I applied it on the sun to make it come out this way.
For this picture I had the girl sit on those rocks then aligned her with the line on the right. 

Something that worked during this project was using the grid on any camera because you could align the object or person to the lines to make it rule of thirds easily. While something that was hard was finding the perfect angle so that the picture comes out a specific type of way. The lighting was also a big issue because if you didn’t get a good lighting then your picture might not turn out the way you expect it to. At the beginning of the project, I thought it was going to be hard and I didn’t understand how the lines worked or how you could make an object fit on one of the lines. But now I think pictures look better with the rule of thirds applied to it because there is no main focus anywhere causing the audience’s eyes to travel around the picture. You could find the rest of my pictures here.

Rule of Thirds

In this project we had to position ourselves or the camera in a certain way so that it would work with the Rule of Thirds. What worked was using the grid feature on my phone, and taking pictures outside where the light was good. I tried to take pictures of me jumping in the air, but that didn’t work out. I actually liked this project because it taught me how to make my pictures look more professional. My thoughts did kind of change, because i thought this rule was stupid, but it worked out well. I used a 3 by 3 grid, to achieve these Rule of Thirds pictures. I used the “grid” setting on made sure that my body, or the most important object was on a line in the grid, instead of in the middle. Here are my two favorite photos: 

If you want to see my other photos, click here.

Portrait

We all worked in groups and we took pictures on the black screen. What worked was that we all took pictures and it was a success . It was hard to take pictures because there would always be shadows in the background because of the light and where it was positioned.

Portraits With a Black Background

In this project I had to work in a group, and we all had to work together to take 5 photos of each other standing in front of a black backdrop. We also included the way the lighting is shined onto the black backdrop to create suspense on the picture. What worked out well was catching the off guard moments taking the picture. The thing that was challenging is coming up with 5 different poses to do for our picture and ways to shine they light to be able to see the person in the dark. doing this project reminds me of the photos that would be put on for a magazine. click Here to see the rest of my pictures

Black Backgrounds

I had to take 5 pictures with a black background this time it was harder to get the correct lighting so the wasnt any shadows but the rest was pretty easy. see the rest of my photos here.

Black Background

For my project I had to take 5 picture and post . these are 2 out of the 5. This project was really fun to take the picture with the black wall. For my pictures I did it black and white to make the person stand out. if you want to see more click here.

Portraits with a black background

We tried different angles and poses and even used our phone flashlight so we wouldn’t get a shadow. What worked is using our own to cover some of the light so there it wasn’t so bright. The light would be so bright and before we figured out that trick the pictures turned out orange so we had to restart. Find the rest of my pictures here

Black background

To take the black background photos we had to stand far away from the black background and shine a light on the person. standing far away worked and it didn’t work when we didn’t shine the light on the person. The rest of photos are hear