We took our photo’s in the gym and the camera was in bulb setting. If we wanted the person to be in the picture, we shined them in. Then we drew what they wanted around them. We kept accidental facing the camera away from the camera. It was super annoying when we had to redo a picture over and over and over and over and over and over and over and over again. Next time, we should get more colors for the pictures.
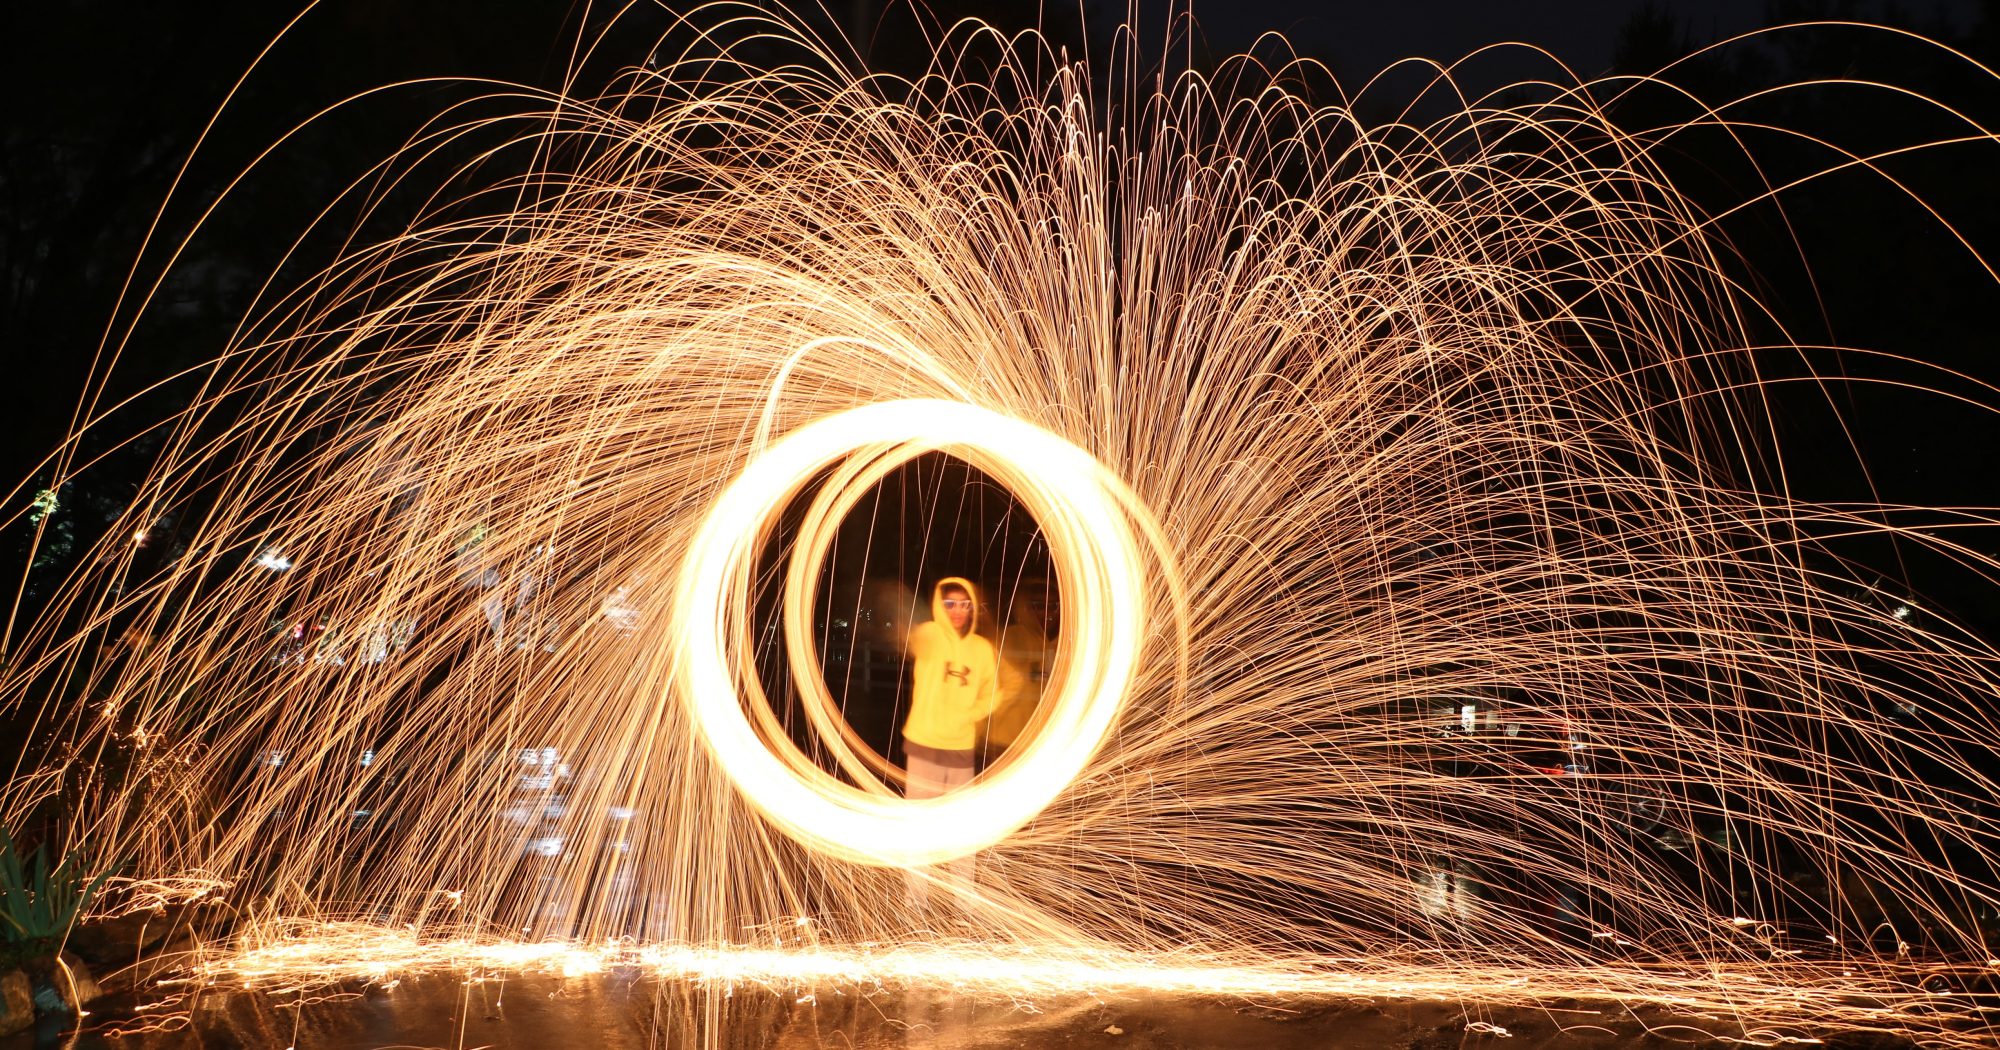
For this project, I had to change the ISO (100), F-Stop (5.6) and then the shutter speed to Bulb. What worked was shining the light straight at the camera. What didn’t work was when the camera didn’t focus and the whole picture was dizzy. What really frustrated me was the number of times you had to retake a photo just because it’s blurry or because nothing is lined up. To take this to another level you can’t make a stop-motion movie out of the pictures. For the rest of my pictures come here.
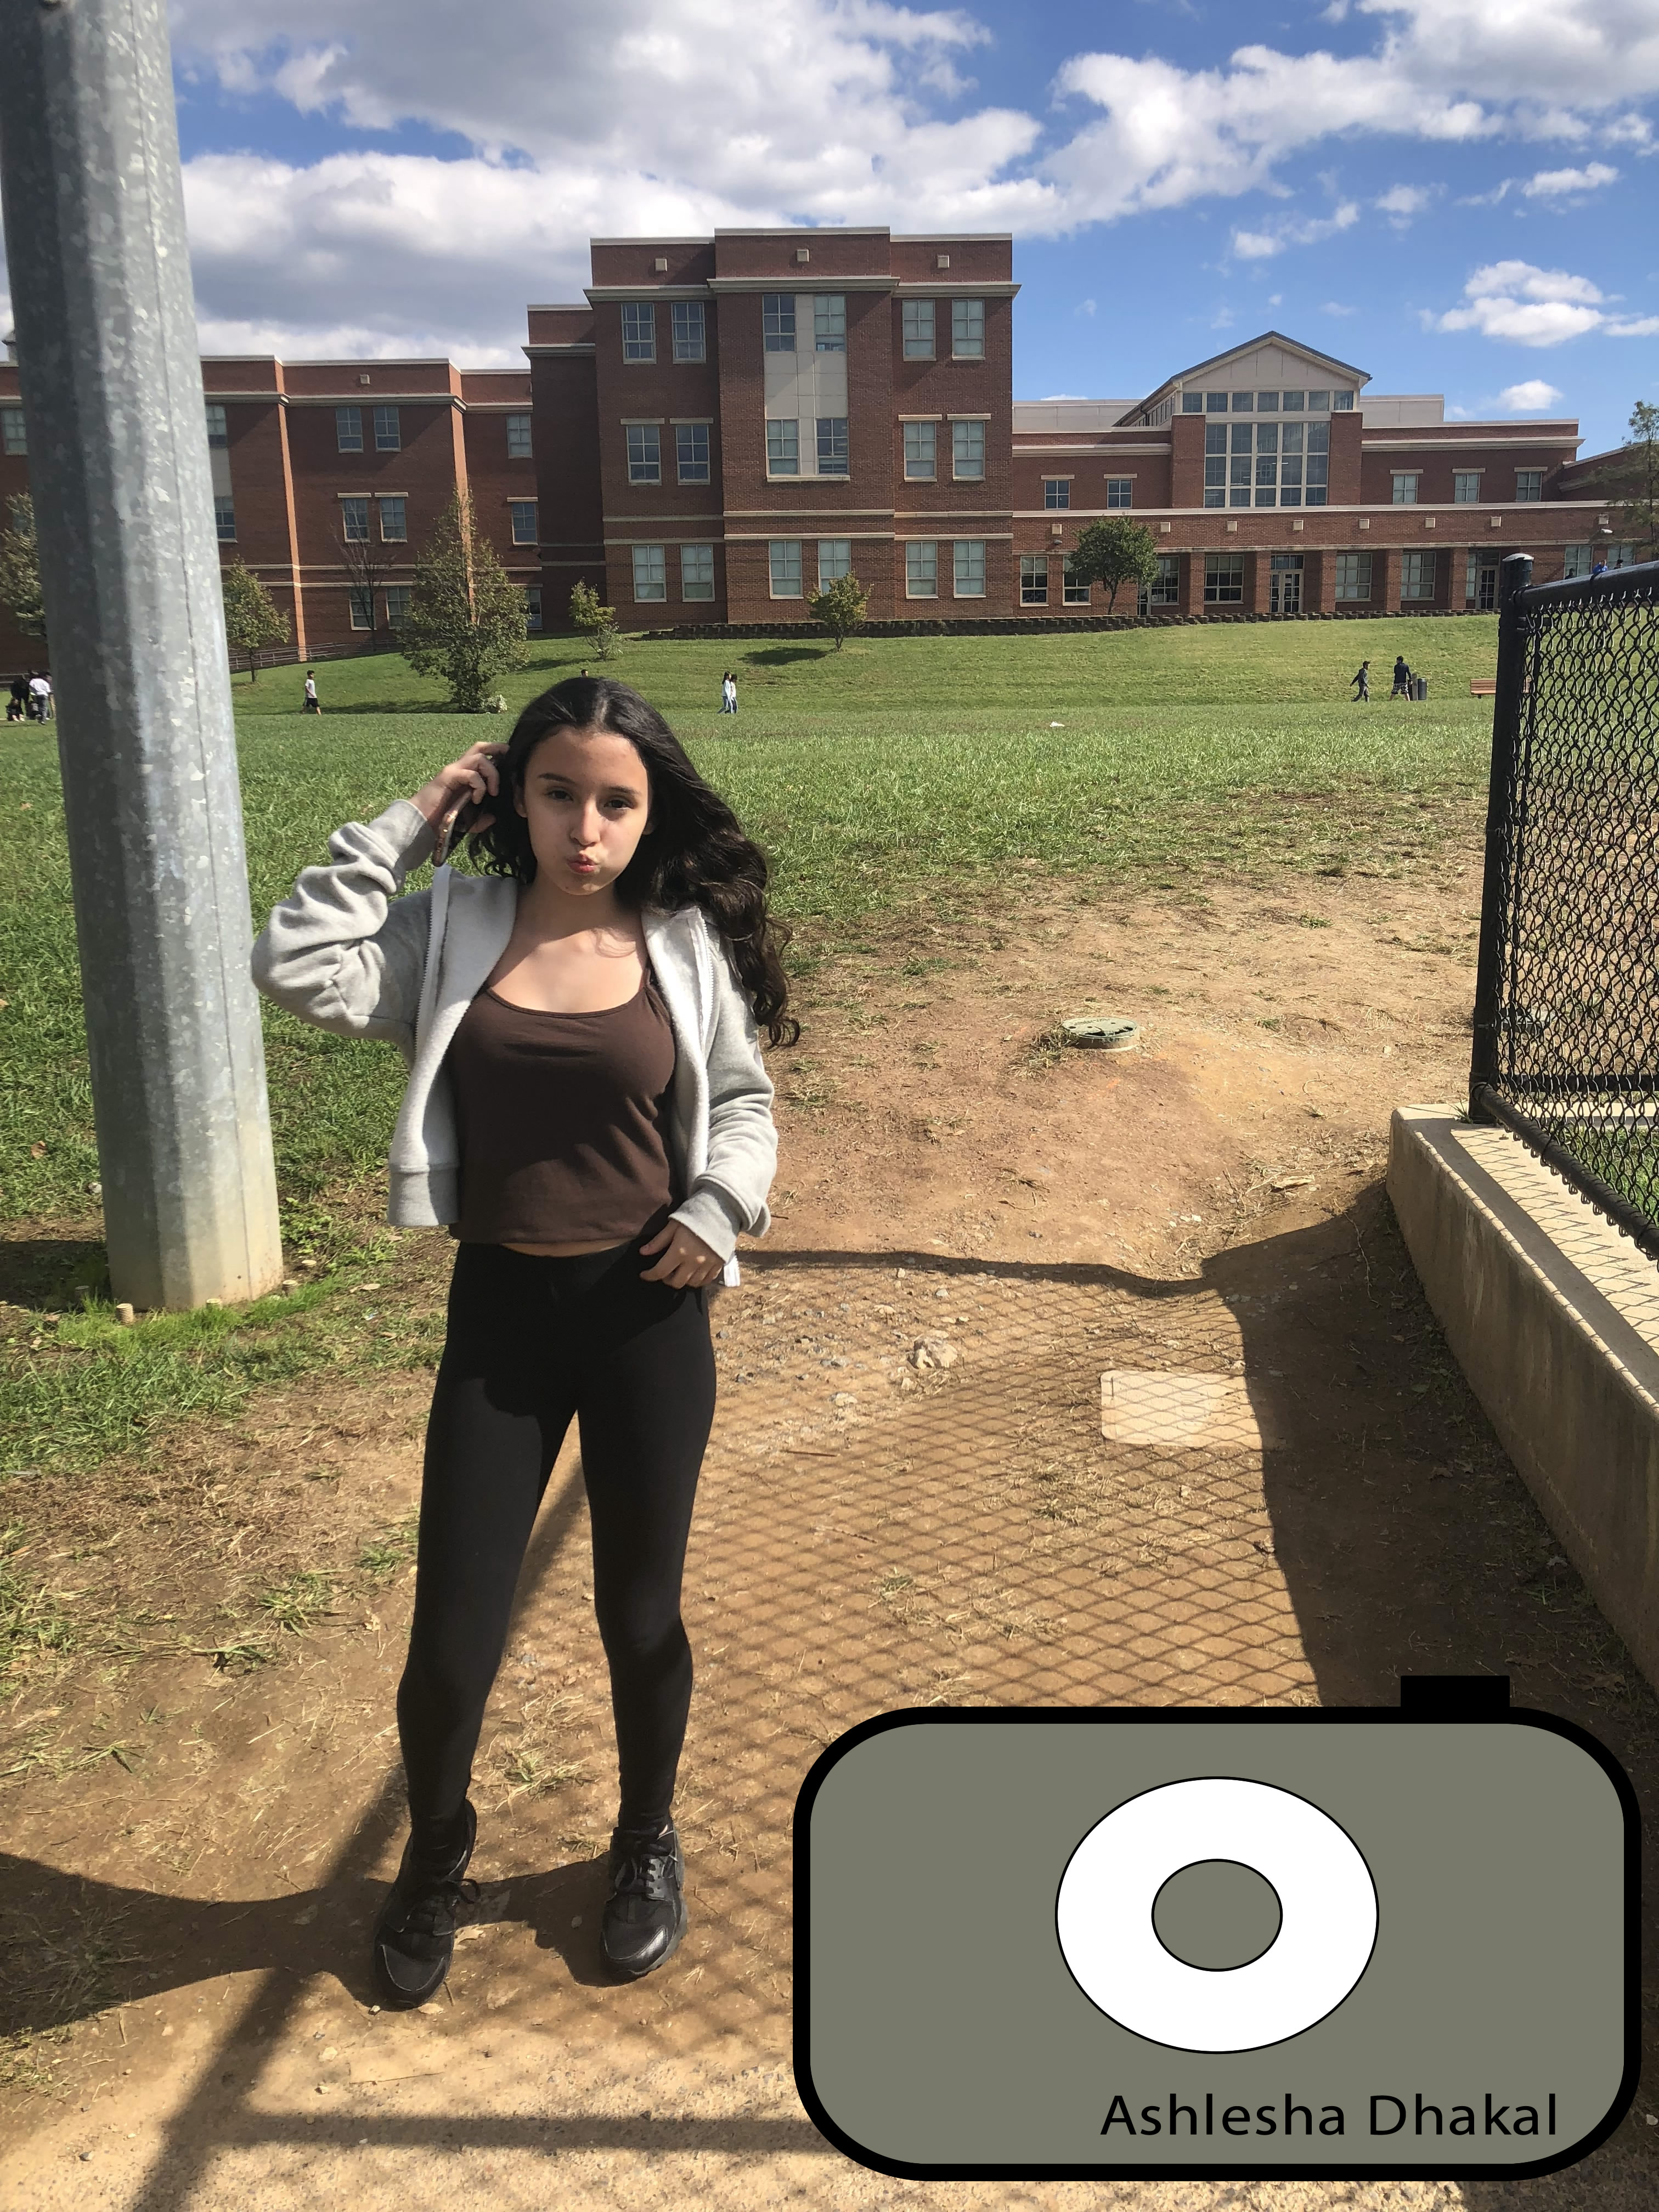
We had to take pictures with the object/person in just one of the two sides or the rule of third grids of the camera grid. Rule of thirds helps to get very good and professional looking pictures. My thoughts did not change from the beginning of the project. The “lines” I used in my photos are grid lines on the camera that are also rule of third lines. They are one of the 9 boxes on the camera grid and if what is supposed to be the main focus of your picture is on one of the interception lines of the grid, the focus will be more defined and clear to see. I set up the shots so that the thing i wanted to focus on would be on one of the interception lines. To see the rest of my pictures click here.
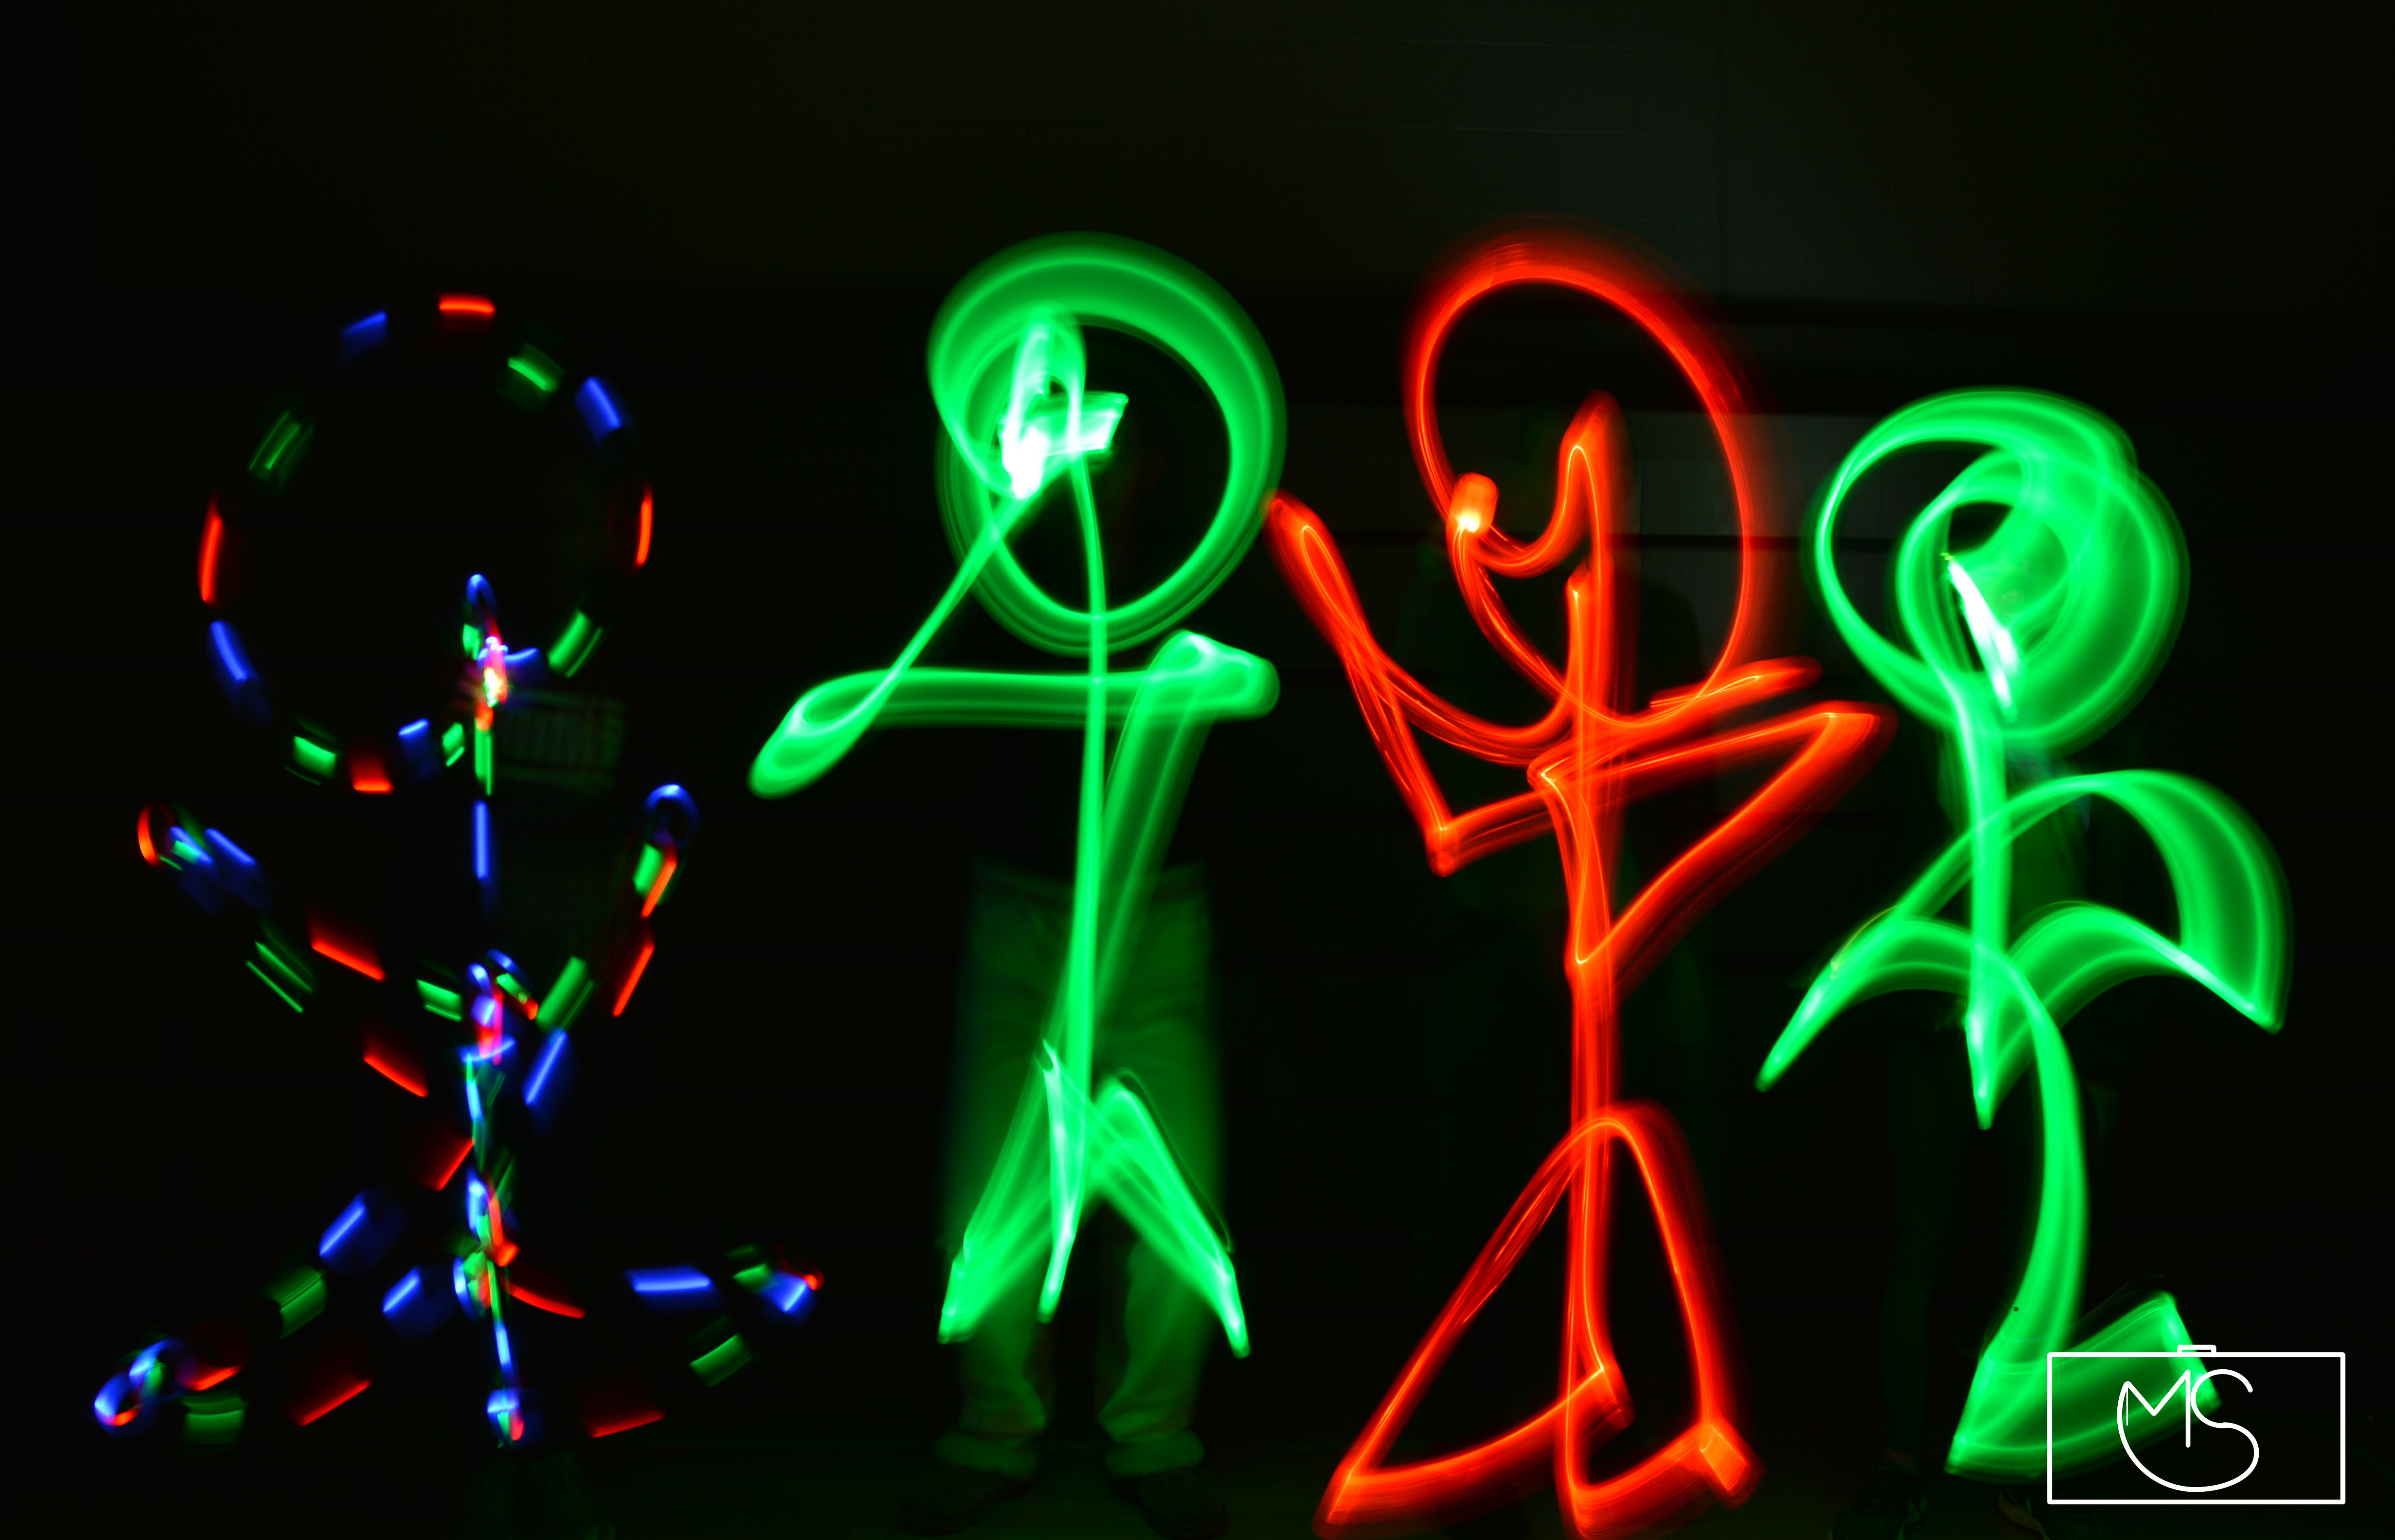
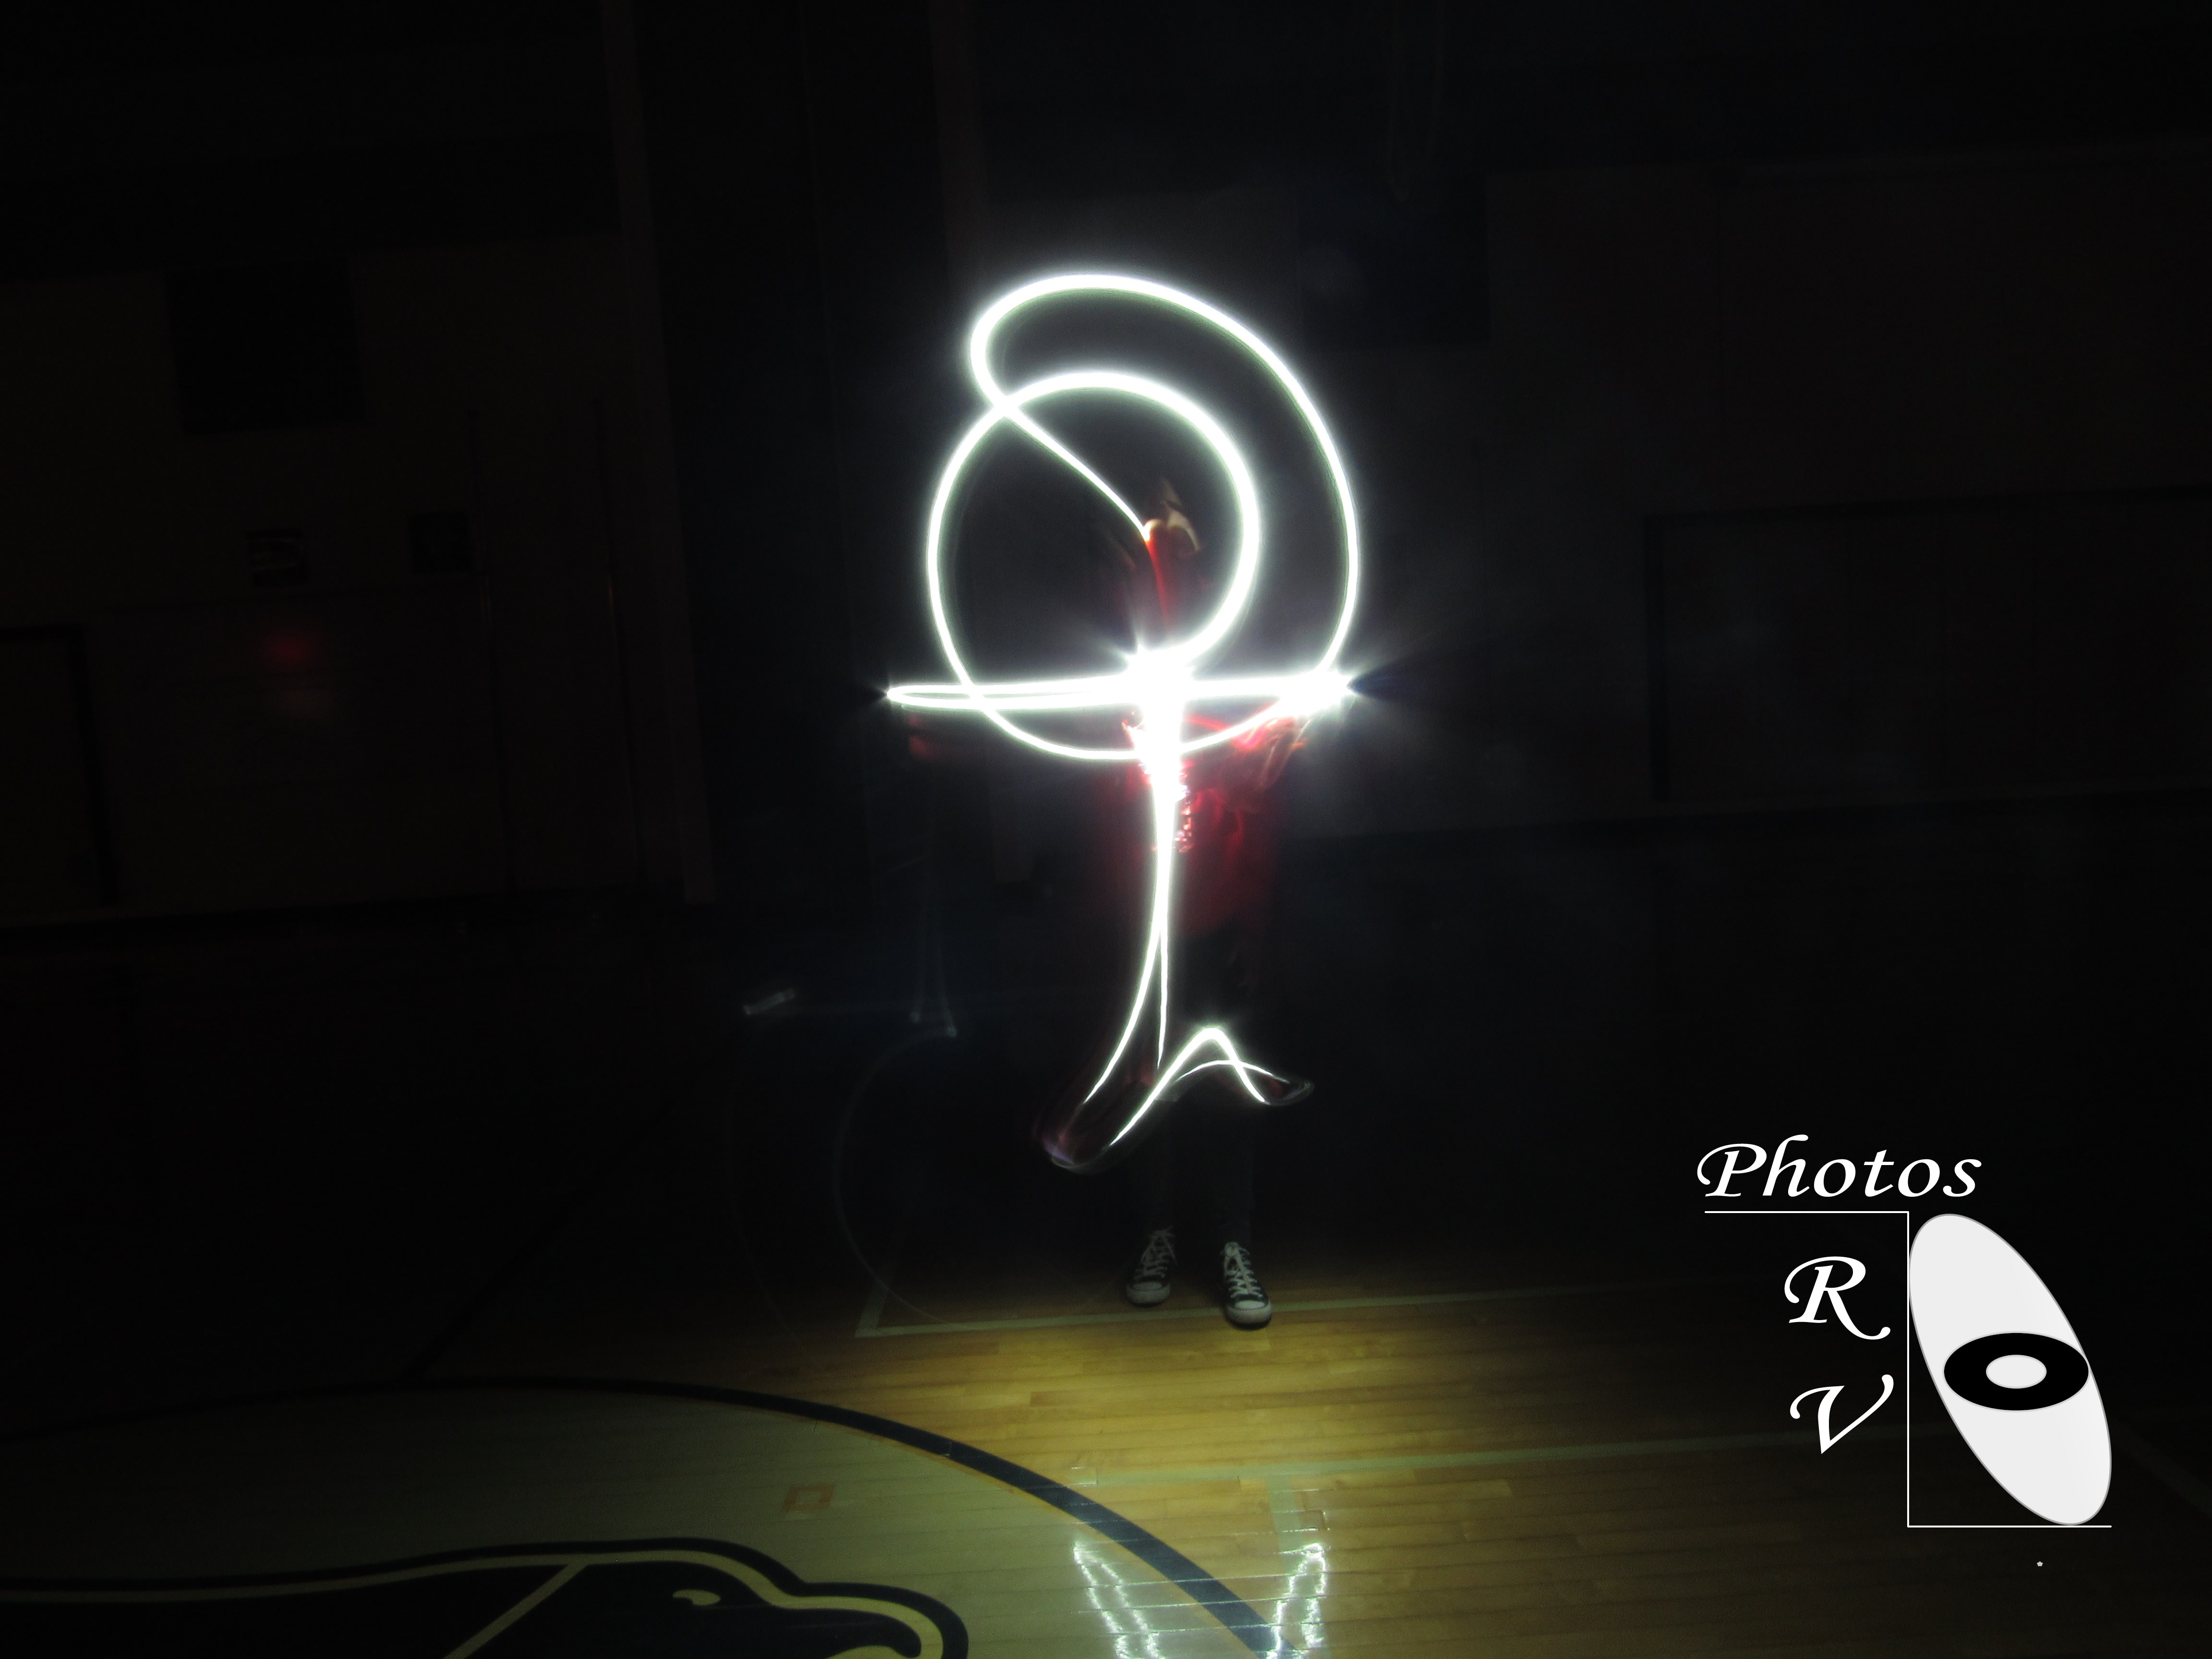
Creating light graffiti was challenging but fun. My group and I took our photos in the gym with the lights off, it was hard to see each other. We set the camera up on manual mode so we could make shapes with our flashlights for as long as we wanted to. We took photos of one person all the way to a large group of people. My group members and I stood in front of the camera making shapes with various flashlights of all colors. We stood on the bleachers as well as on the ground for our pictures. Controlling how long to keep the lens open work better than letting the camera open and close by itself. This is because we could make more intricate shapes and squiggles without having to rush. Trying to make shapes with a flashing light didn’t work out well at all, you could hardly make out what it was you were drawing. A frustration I had was working very hard on a shape and it not coming out very well. It is the worst when you go to look at a picture and it looks like you were swinging the light around randomly. To make the photos we took look cooler, we could go outside at night. We could climb on trees and create swings or make it look like we are walking on a tightrope out of light. All in all, this project was frustrating but fun! In the photo below, I am the red stick figure. You can see the rest of my photos here.
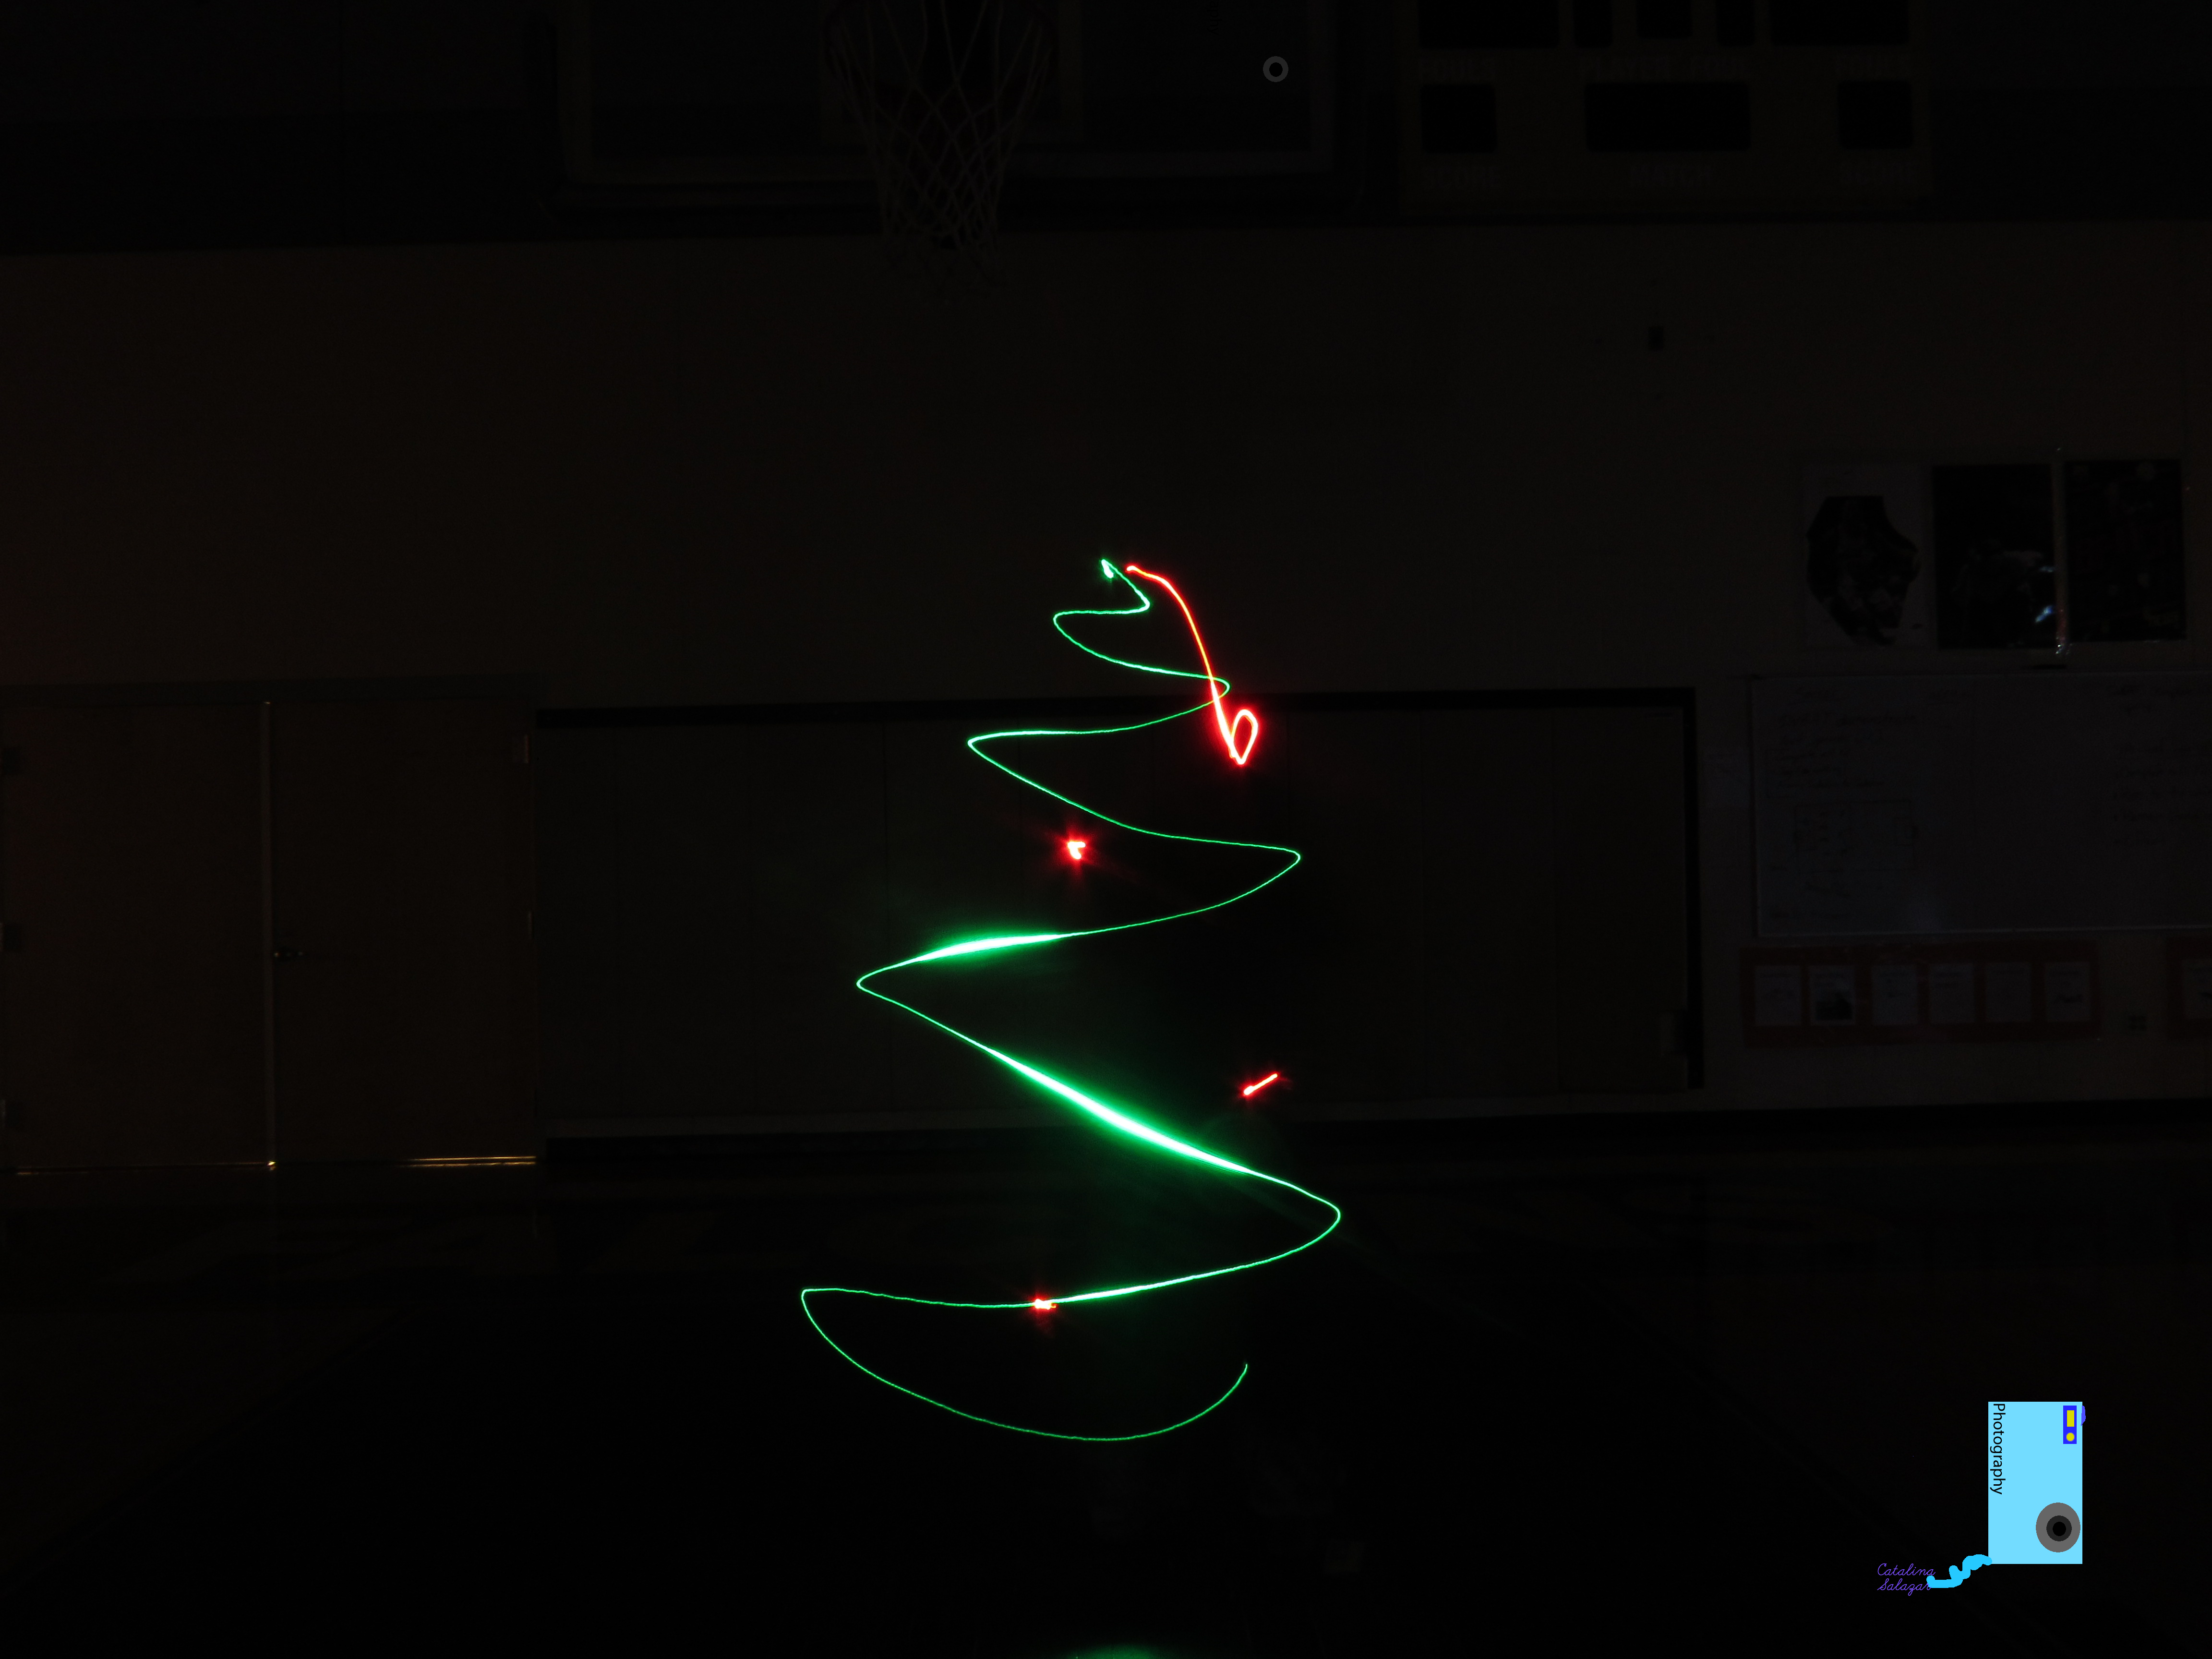
My group took our pictures by taking our lights (Phone or mini light) and putting them in various formations. We set up the camera and kept it opened for 15 seconds. I took this picture by making lots of dots and lines. It worked vary well to have many people working at once to achieve the drawling. It was harder to remember to turn off the light when walking away because it produced unwanted lines. I got really annoyed when the lights would get really thick and produce a lot of light. Causing there to be no real shape to anything. https://drive.google.com/open?id=1SmM5xUcuKtbbKN_QOxFtfrNlpkJWKLwN
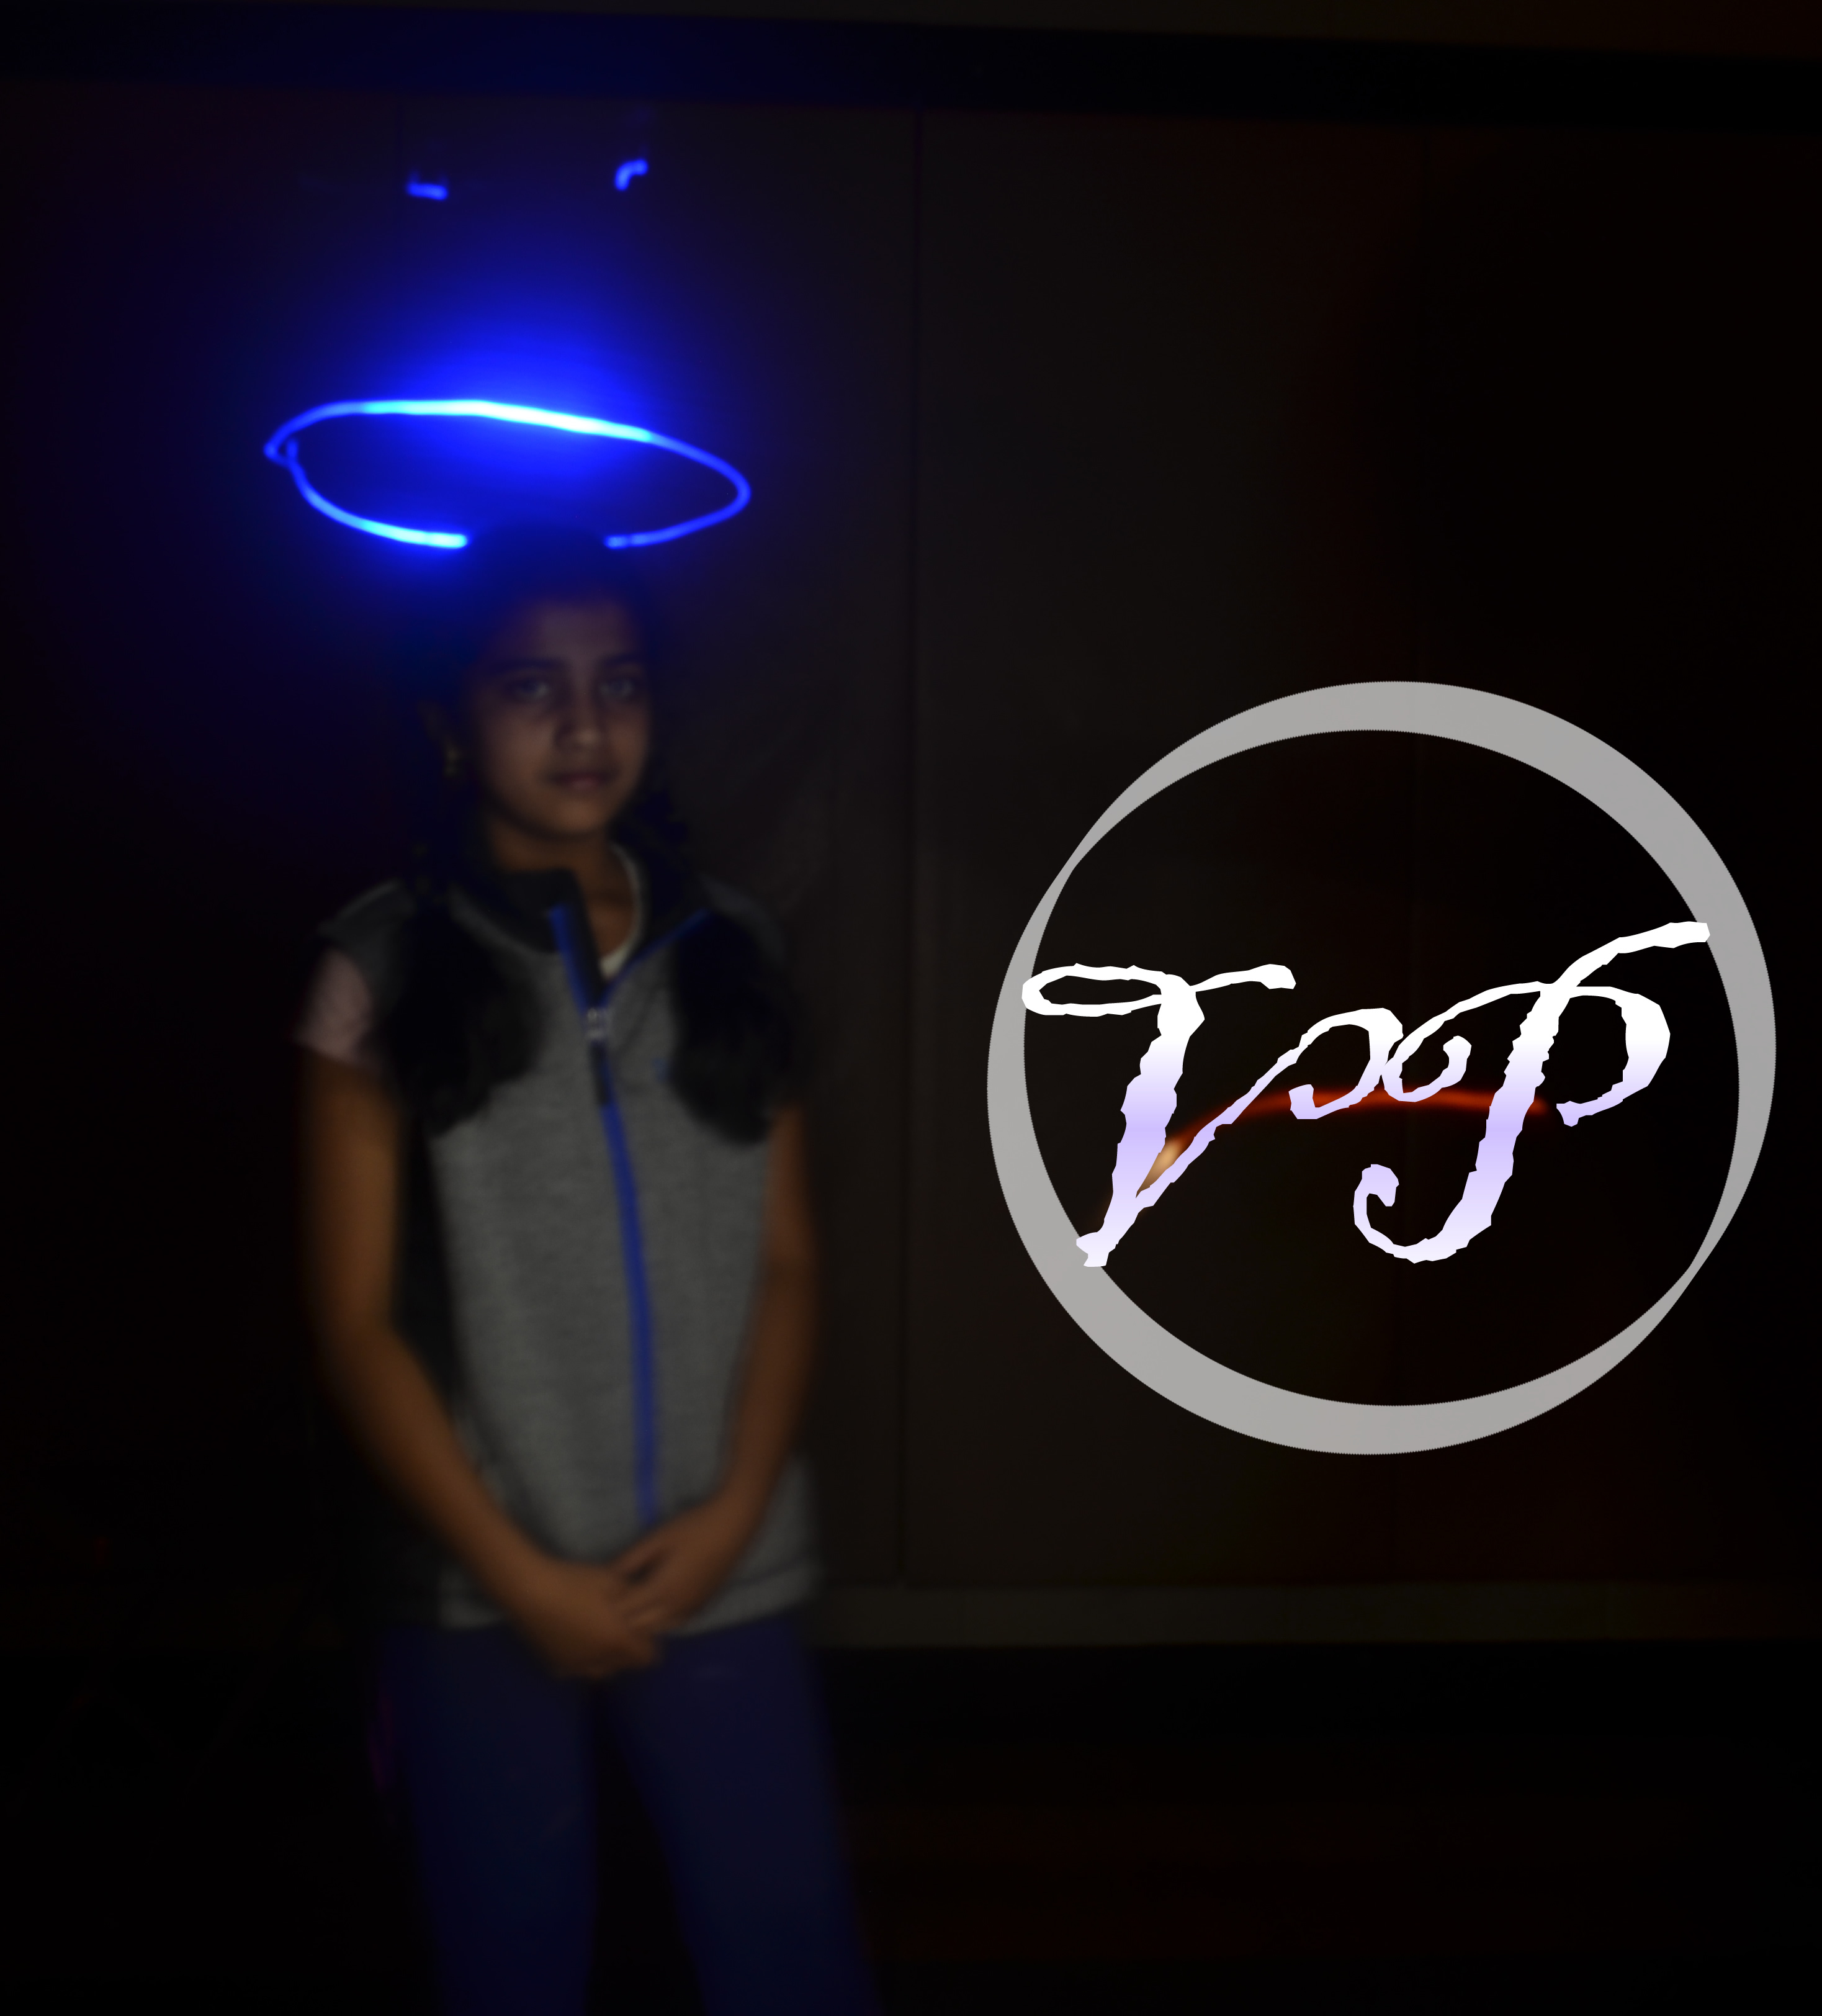
In order for us to do the light graffiti, we turned off all the lights in the gym, and turned the camera setting to bold. We held down the camera button and drew something with lights. Some frustrations I had, was that we had to make sure that anything we were drawing made sense in the picture after. For the next time, we could go outside instead of inside. For the rest of my light graffiti, go here.
I took these photos by using a light source to draw a design in a specific camera mode. It worked easily when we knew what we were designing and had the time we needed planned out. What didn’t work as well was some group members did not have enough time to get their whole design in because the camera wasn’t giving them enough time. And sometimes it gave us to much time so we were waiting to long for the photo to load. What frustrated my group was that we couldn’t get our exact designs because we couldn’t see what we were drawing while we were drawing it. To take this to the next level, we could plan out what we wanted to draw and practice drawing it until it is perfect. We could also try more advanced techniques. The link to get me other photos is here.
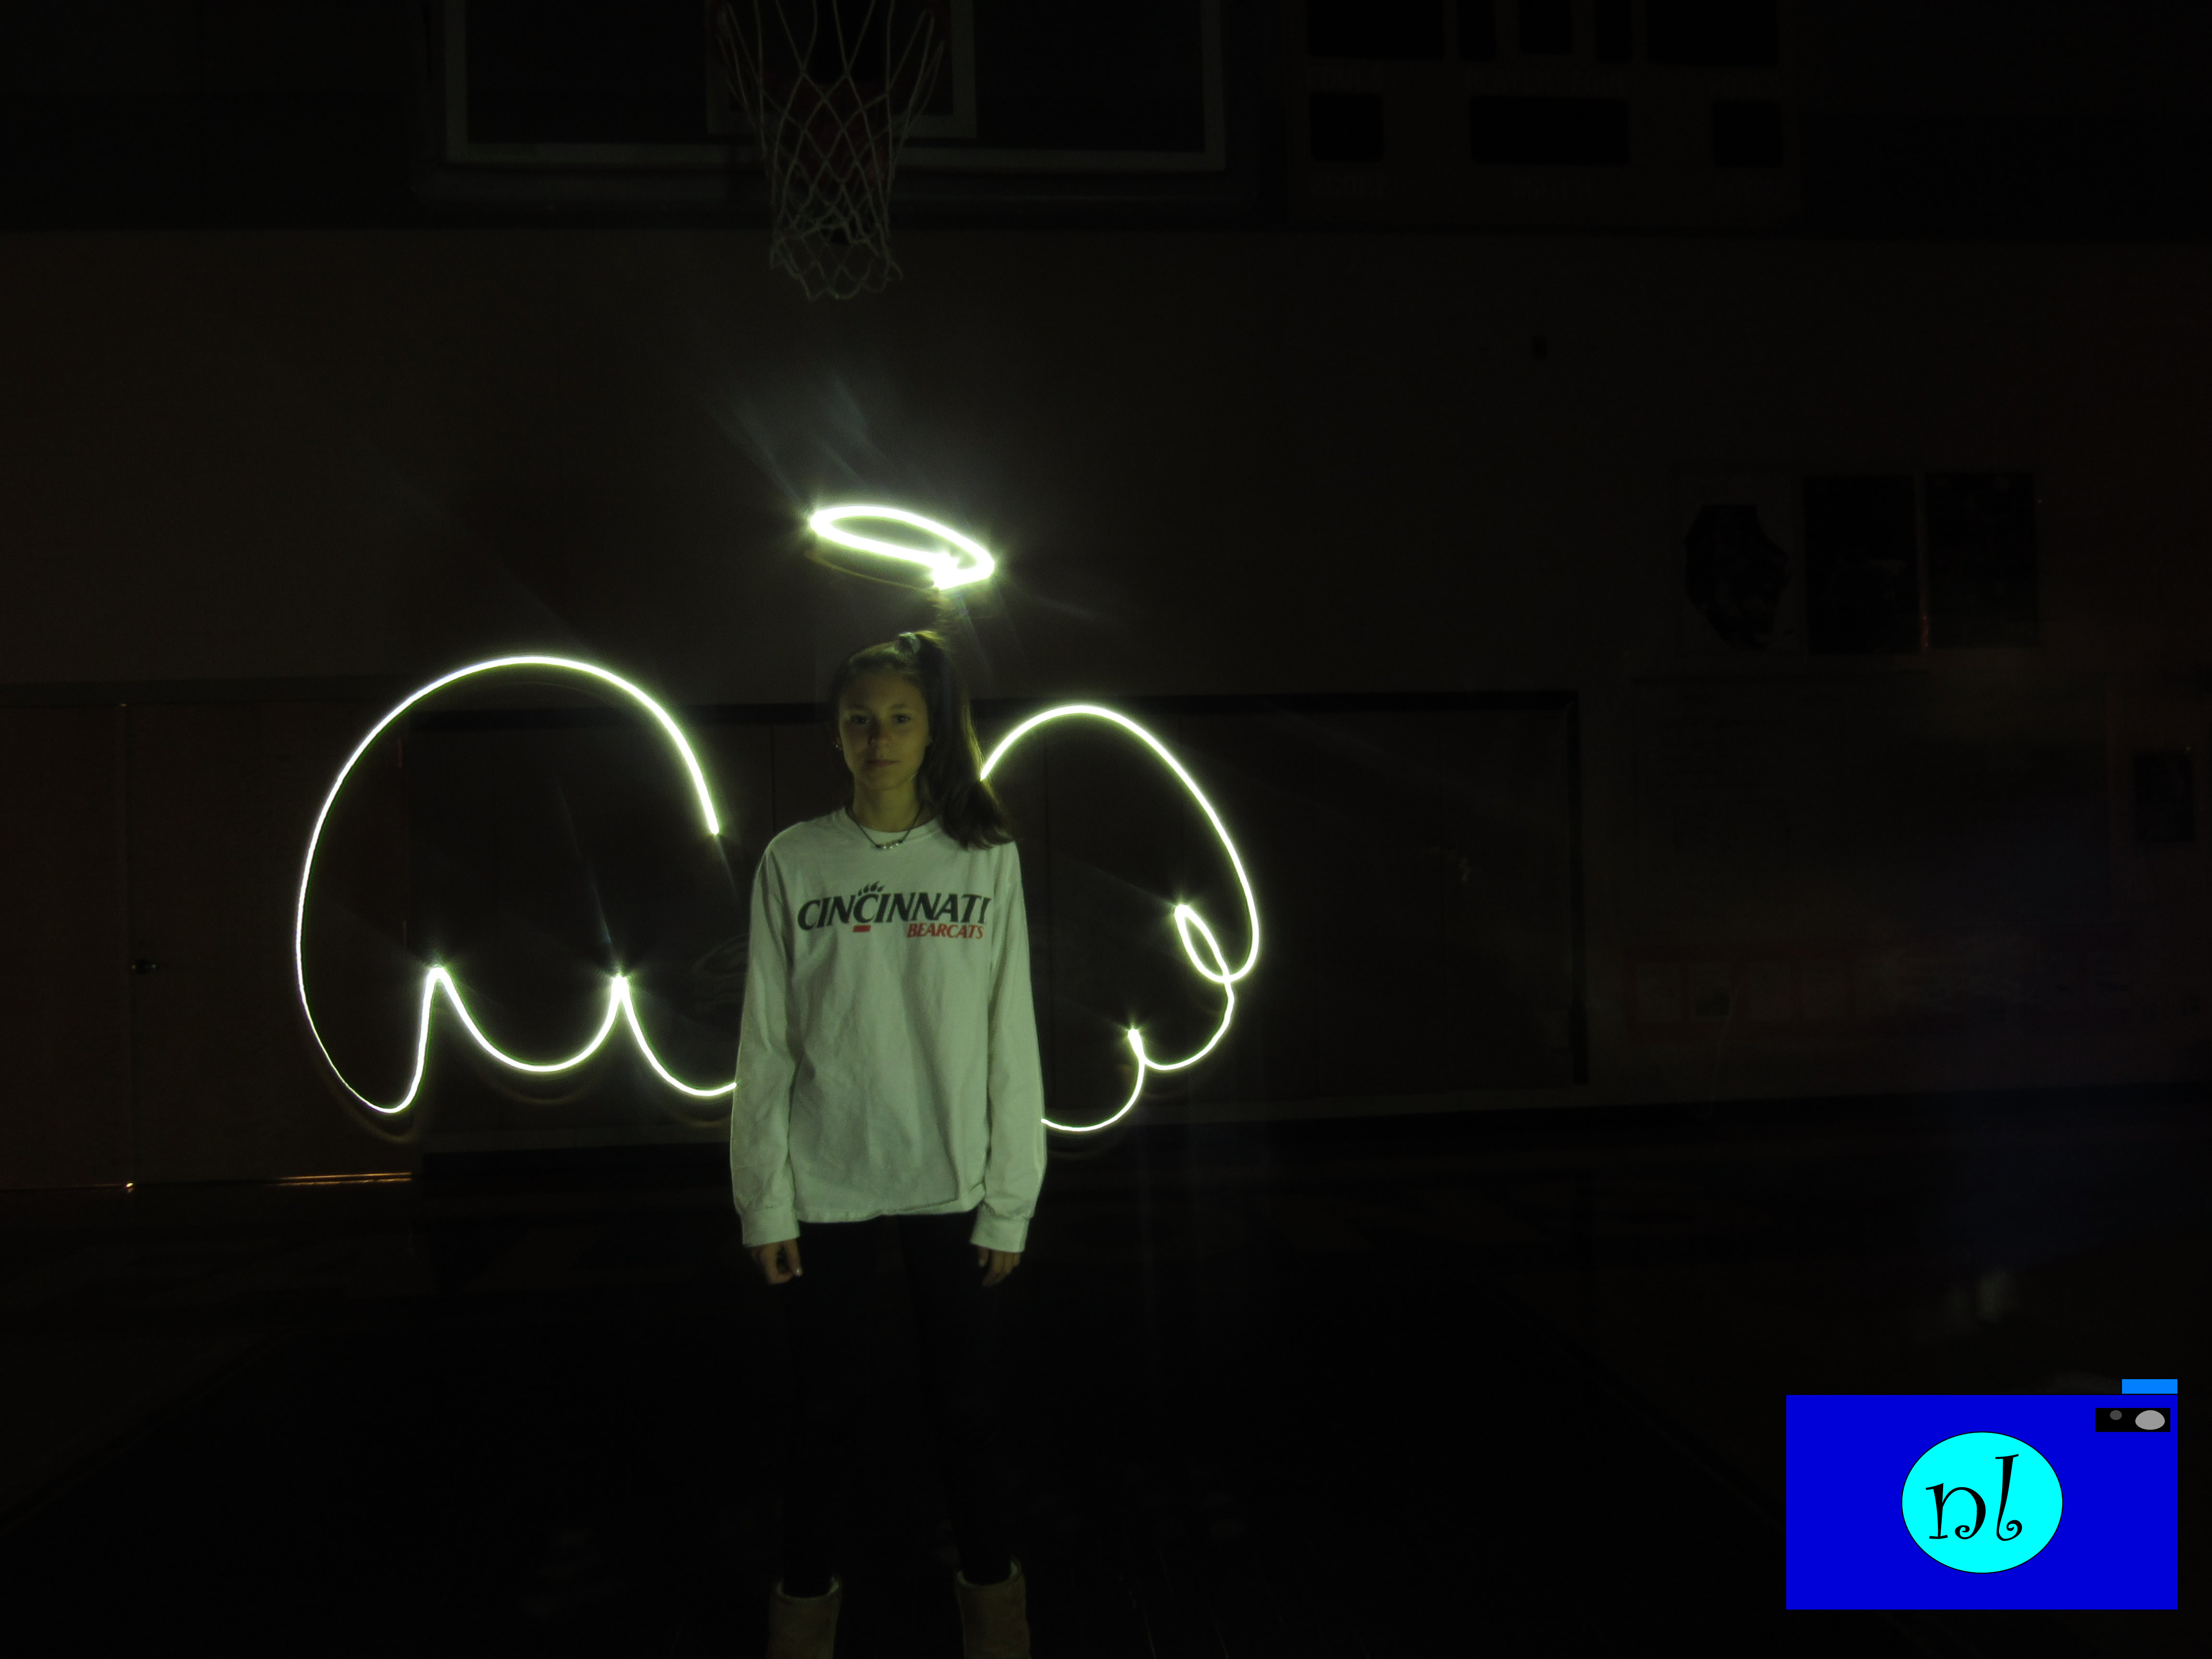
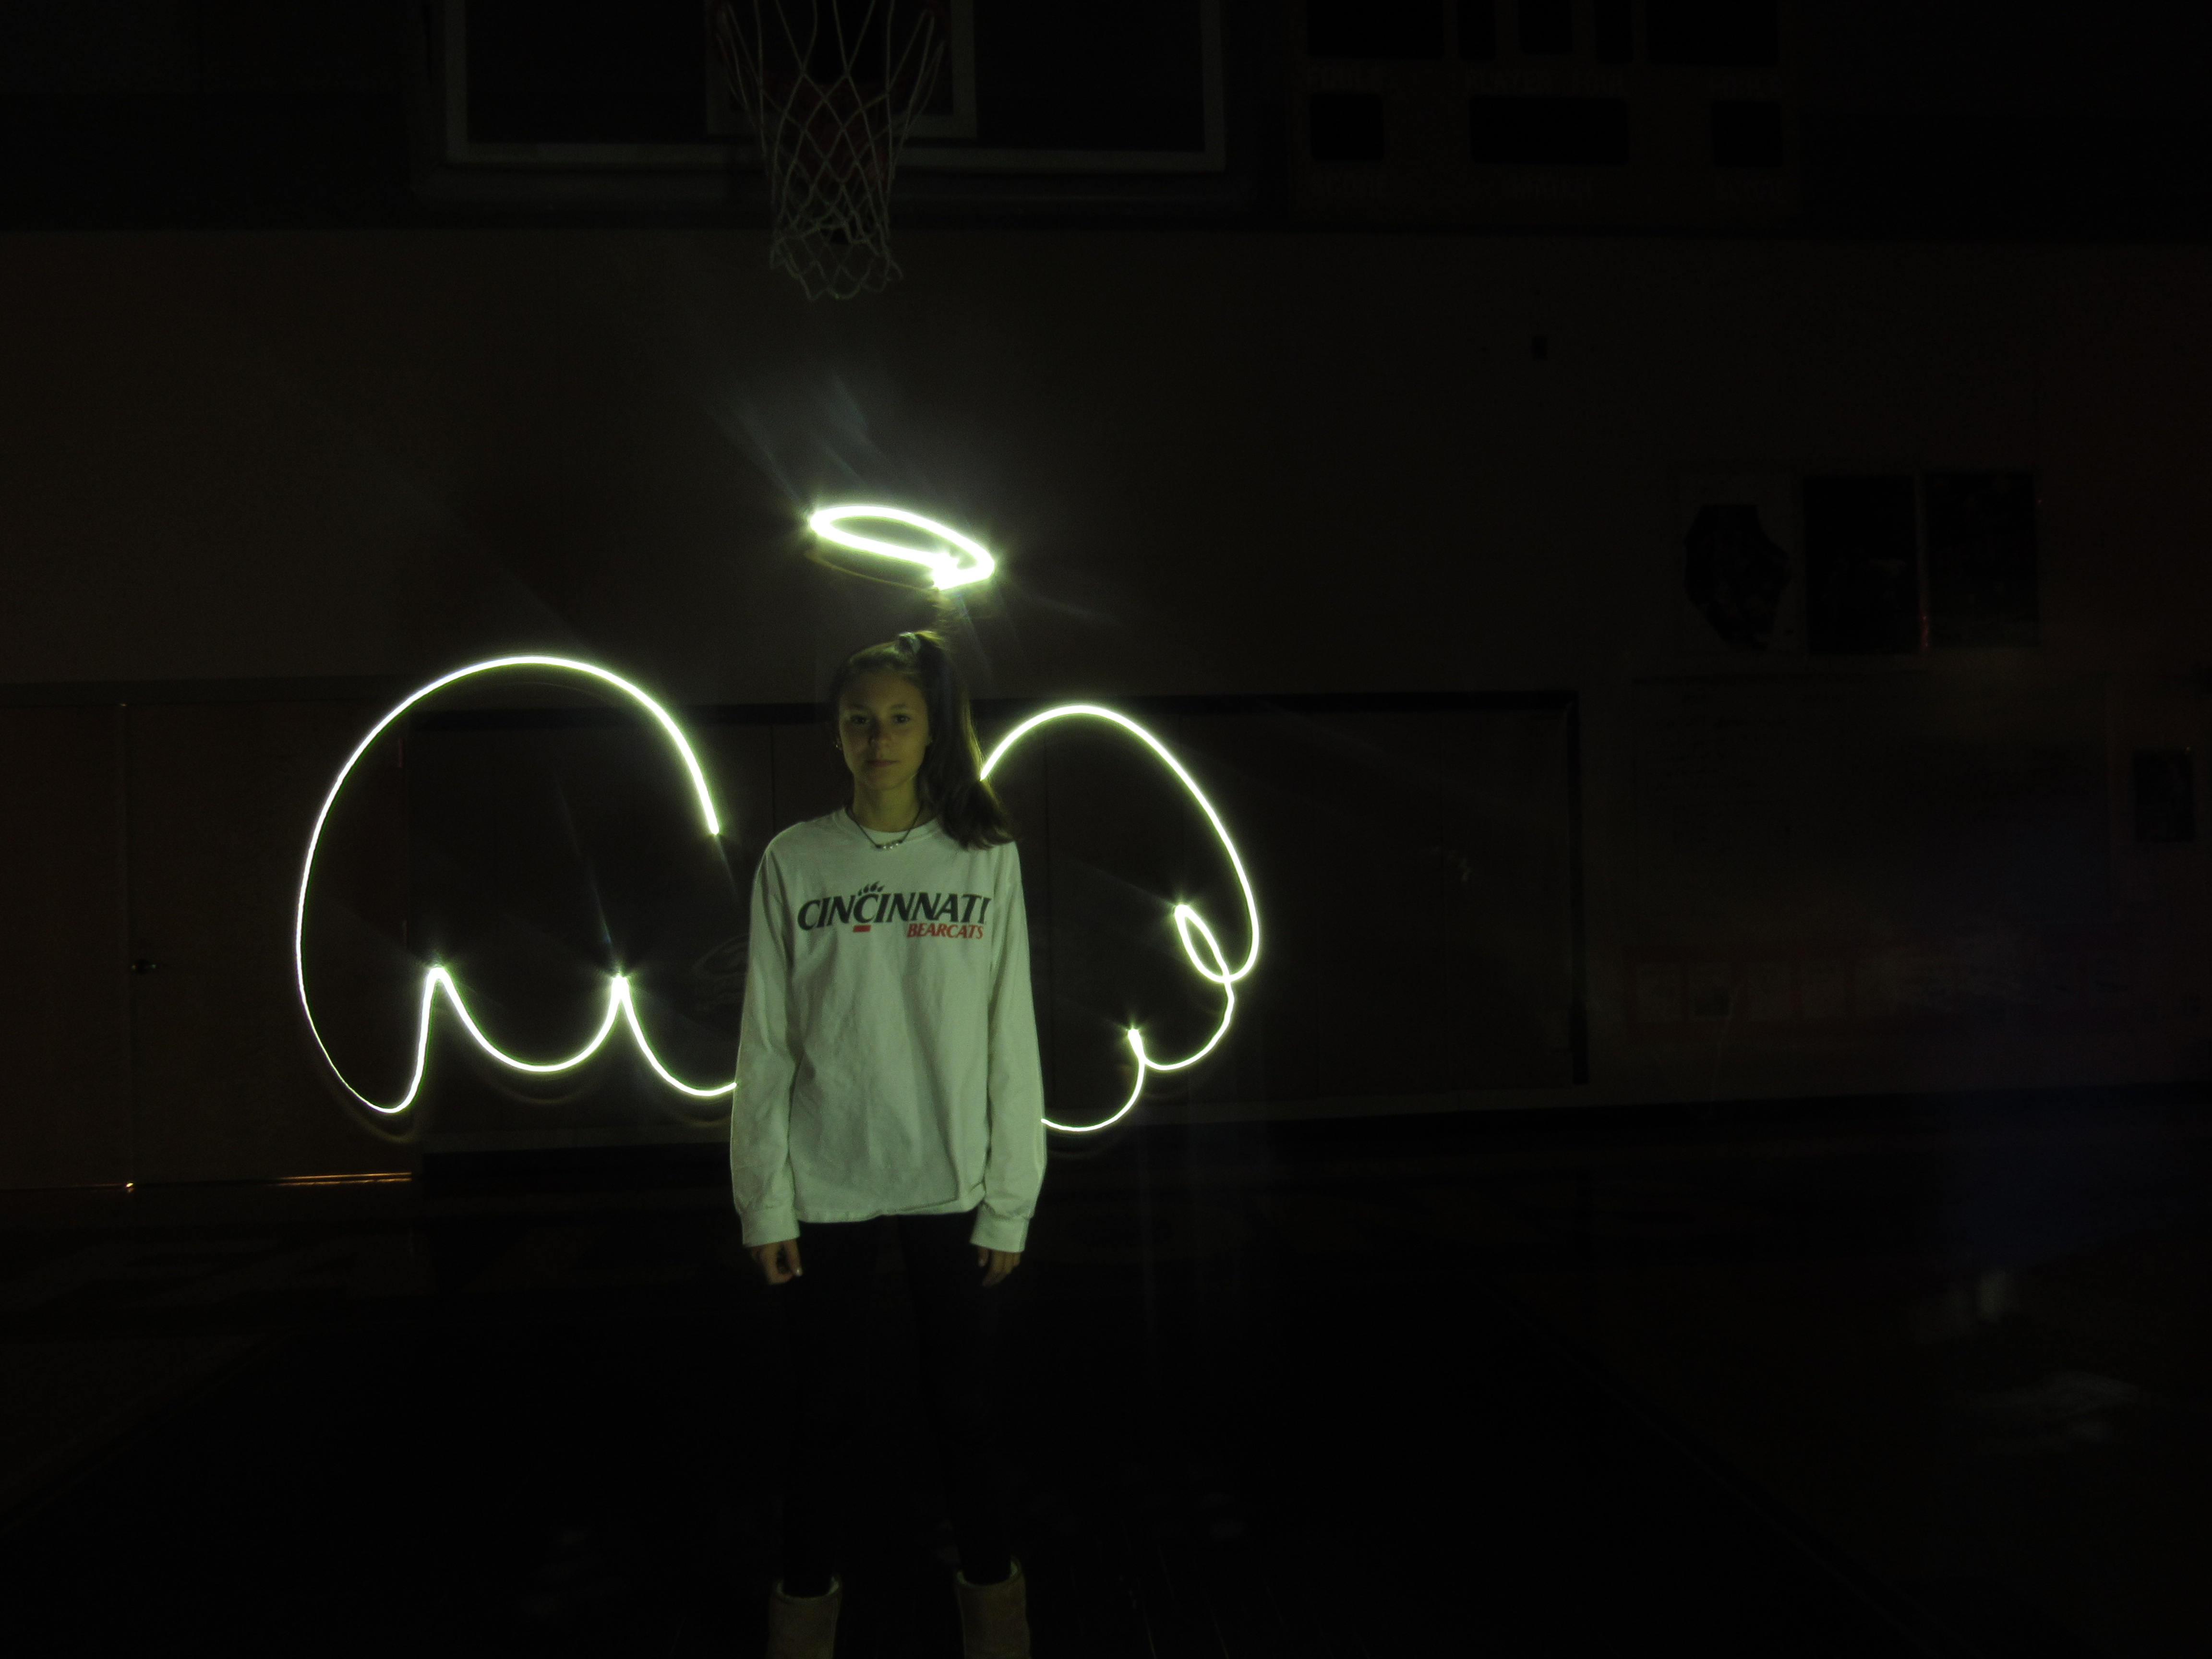
In order to take the pictures in this project we had to go in a dark room with the camera set up on a tripod to that there was no motion whatsoever . The camera lens had to be open for about 10-15 seconds so that it could absorb all of the light. The part that worked was figuring out the camera settings but the part that was the most difficult was getting the design correct. It was really frustrating when we ran out of time to finish the drawing. You can see more of my photos here.
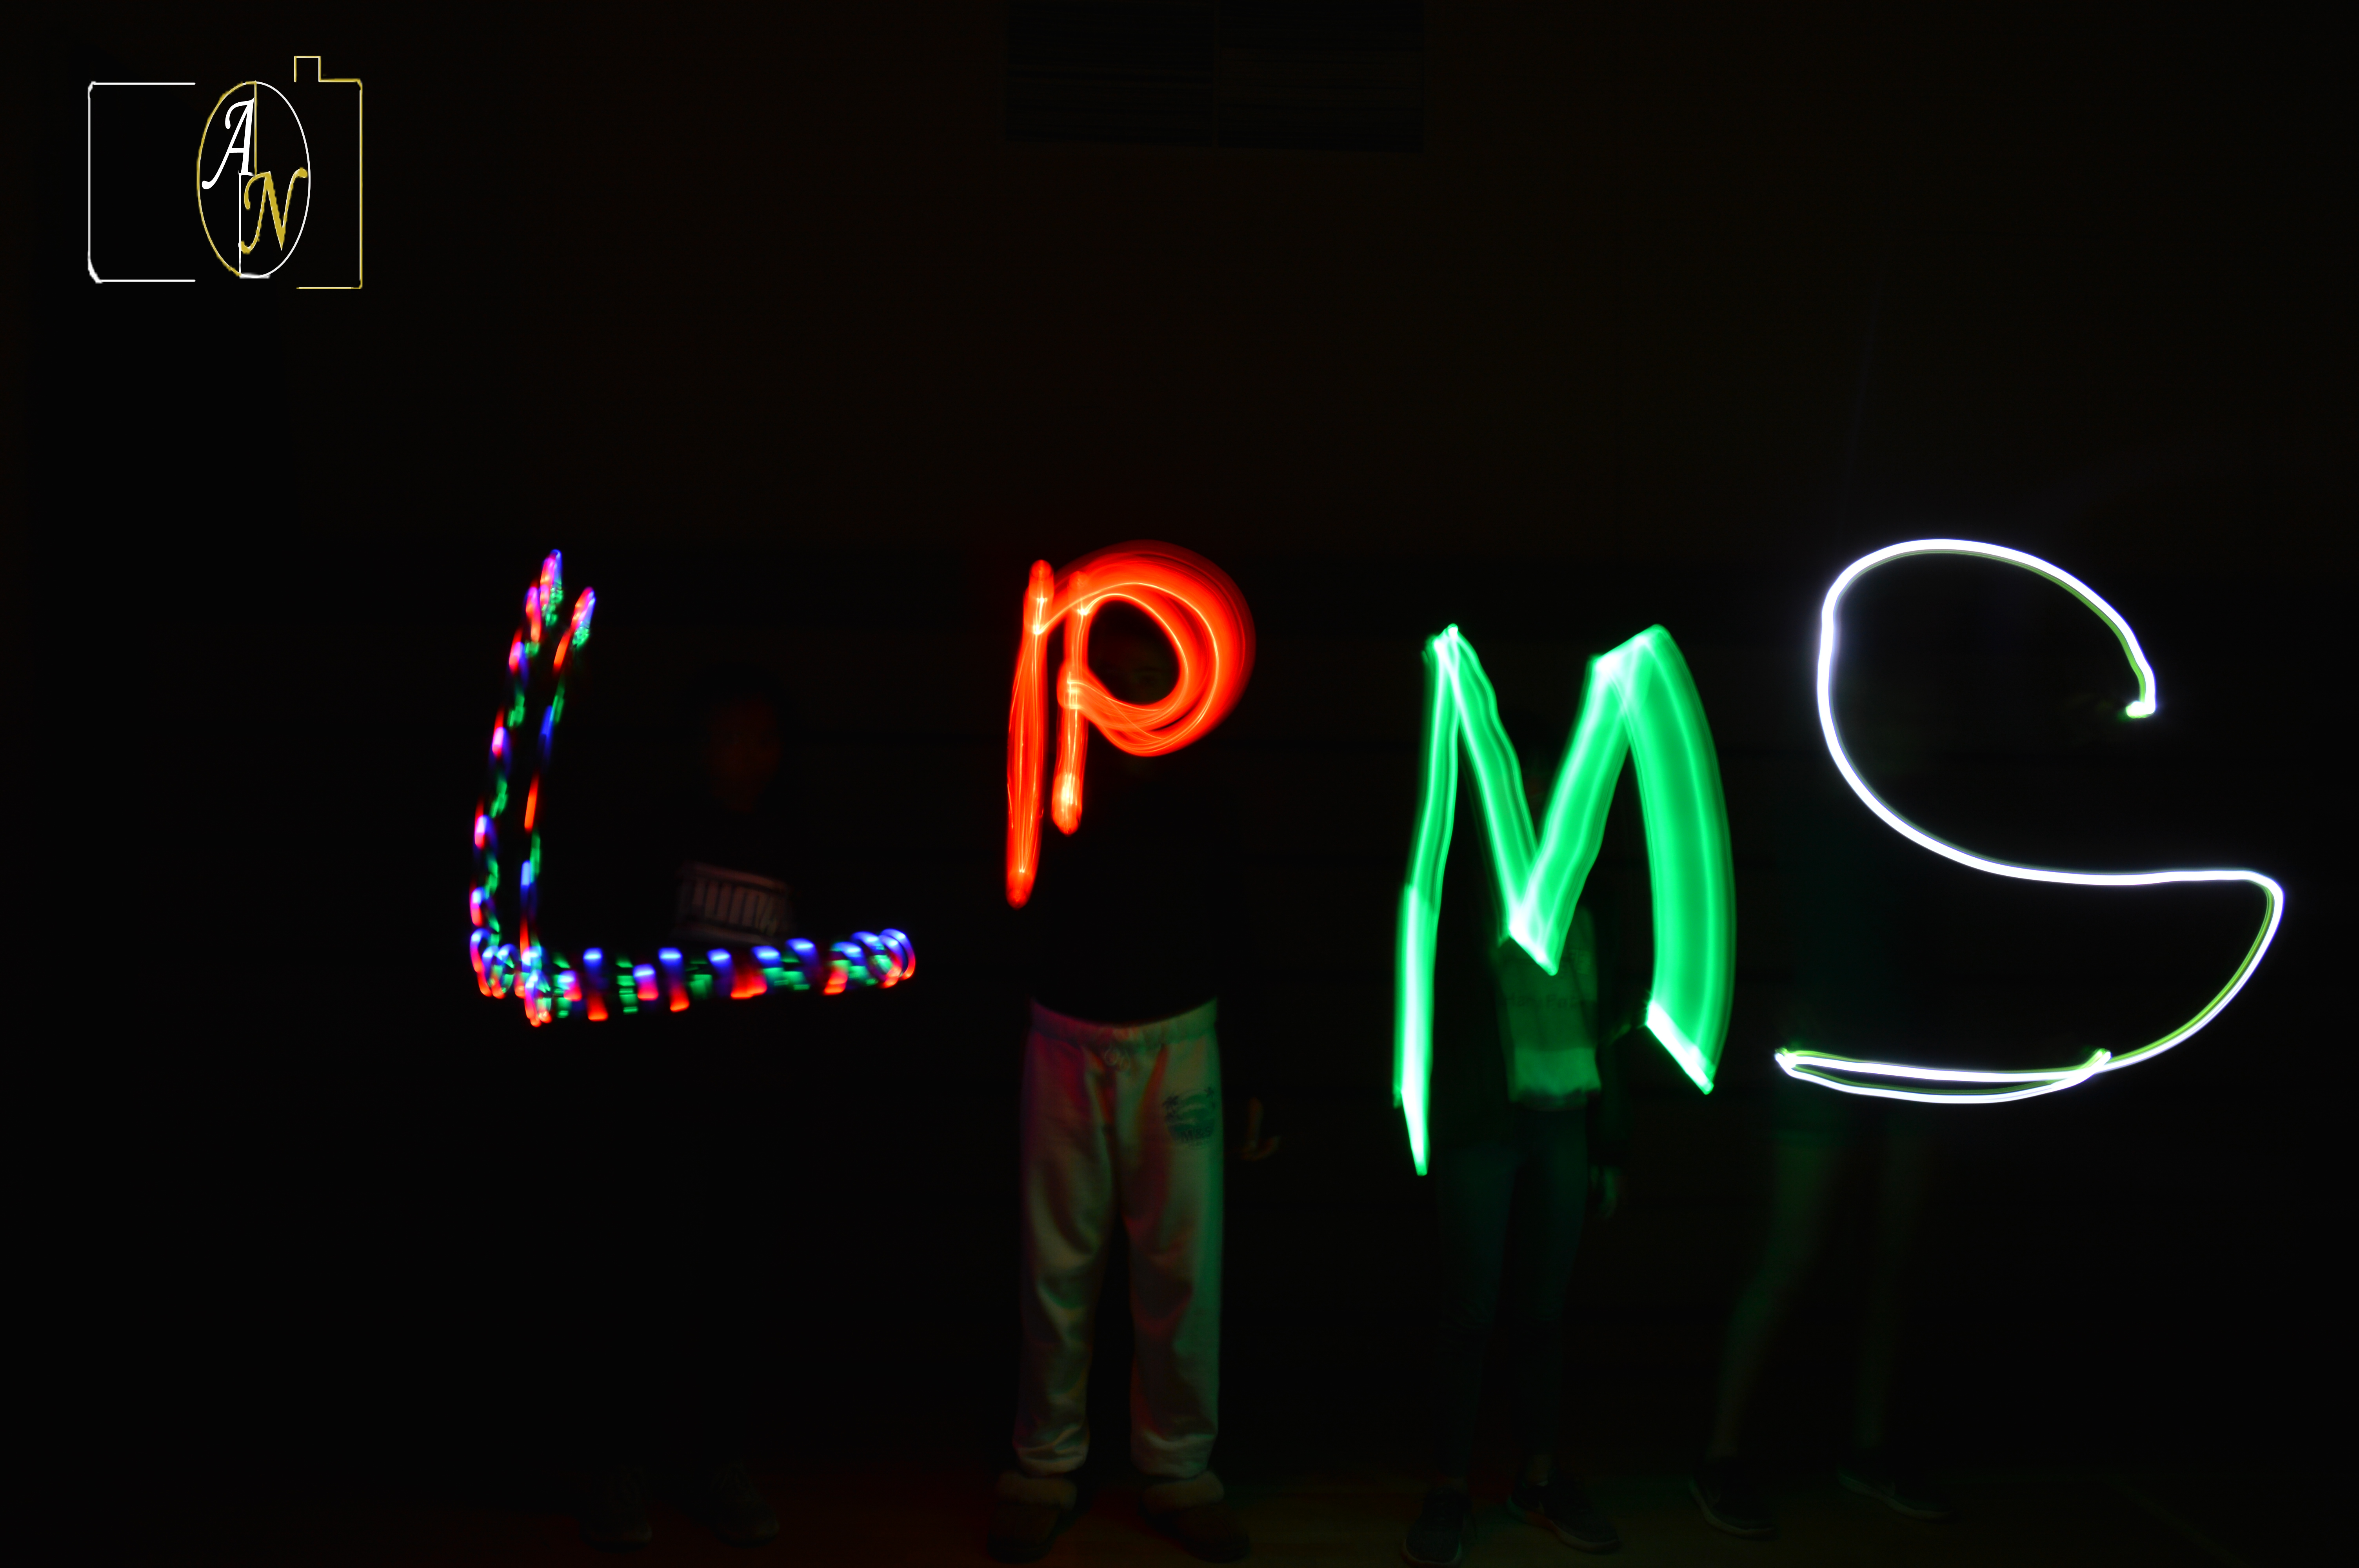
The room was completely dark. Just flashlights, cameras, and creativity in the room. We used manual settings and lowered the shutter speed to about 15 seconds. Many people needed to be involved in order to create different light objects in the picture. Covering the light after finishing your design was very helpful, to ensure the object drawn was clear to see. Tracing the object after drawn over and over again messed up the drawing. Many people did not trace right over the object and ended up scribbling too much; to even tell what the object drawn was. Every second counted and time was limited working within the time meant everything! Sometimes we took too long and had to start over this was incredibly frustrating! This project really does not need anything else to be changed or looked at twice. Click here to see all my other photos!
I took them by going into a large dark area. We used a flashlight to draw the light and then let the photo develop. It was hard to get the light drawing drawn correctly the way you want it. It was easy taking the picture and figuring out what you want to draw. The rest of my images are here