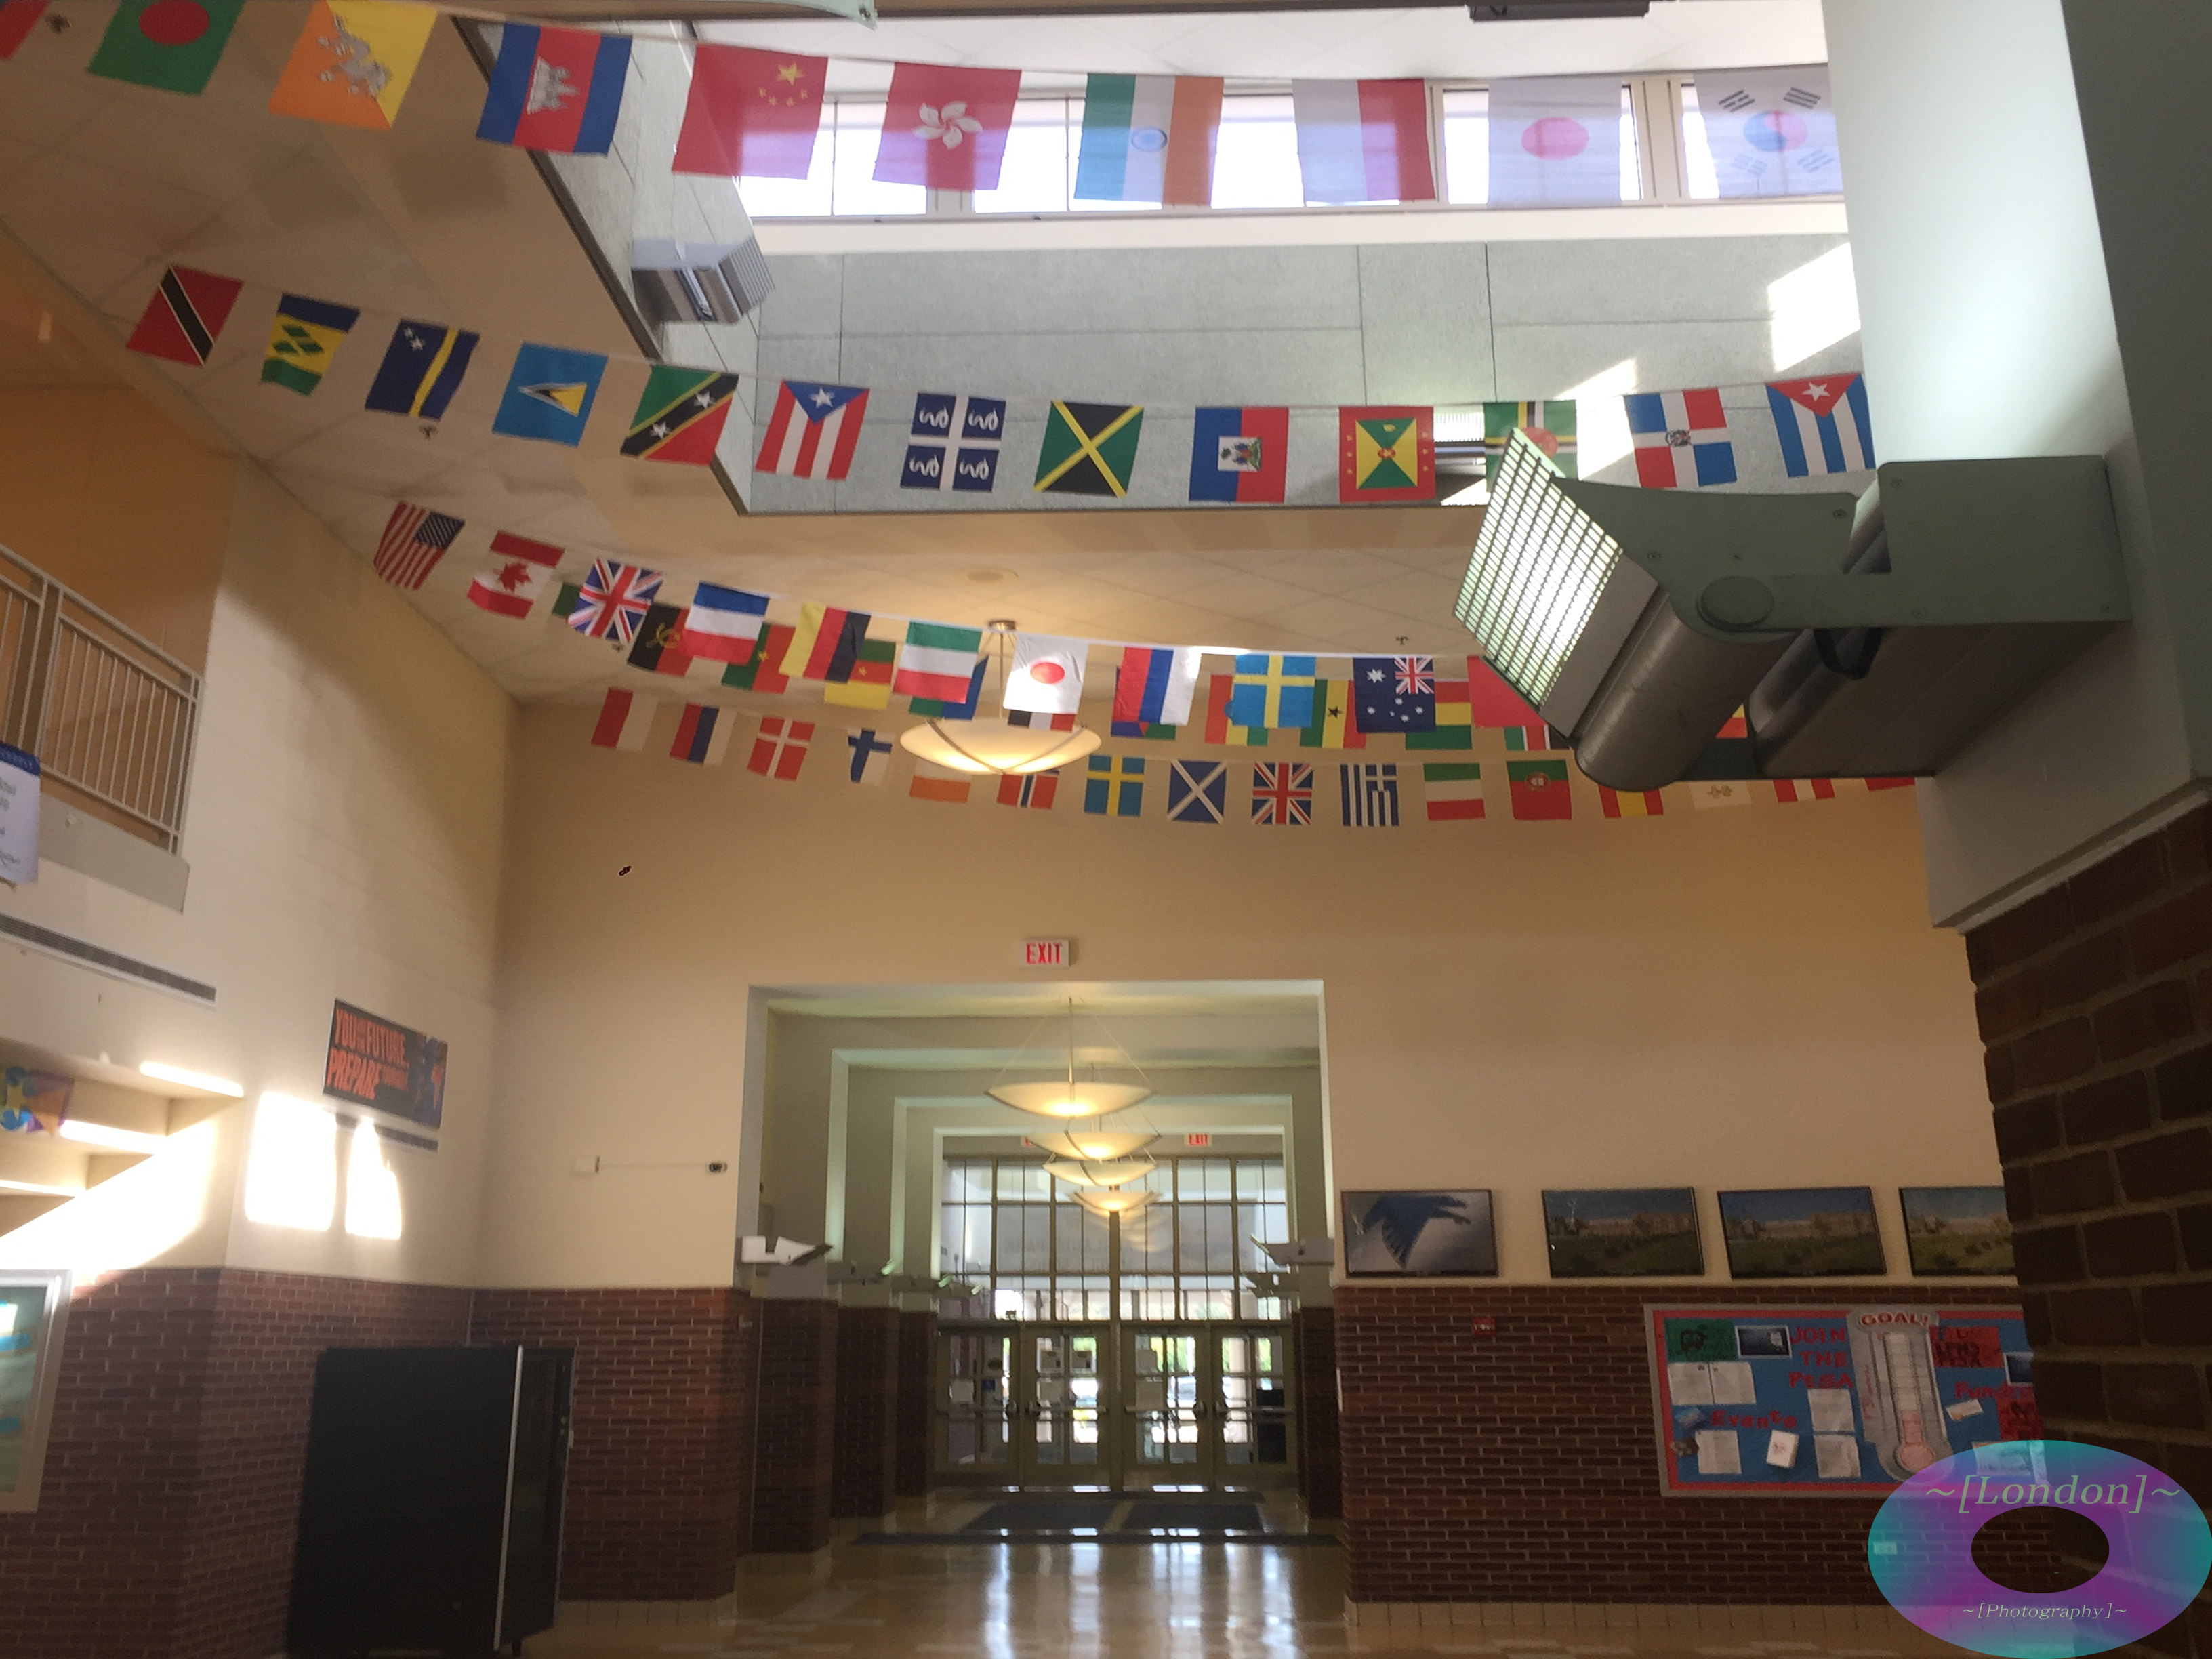
What worked for me was having the grid on my phone. My thoughts did change from the beginning of the project because at first i thought it was pointless to have somebody stand on the third line. The Rule Of thirds is is having somebody stand on the third line of a photo. When the person stands there you are basically telling the viewer to look at this then to look at that. You can find the rest of my photos here.
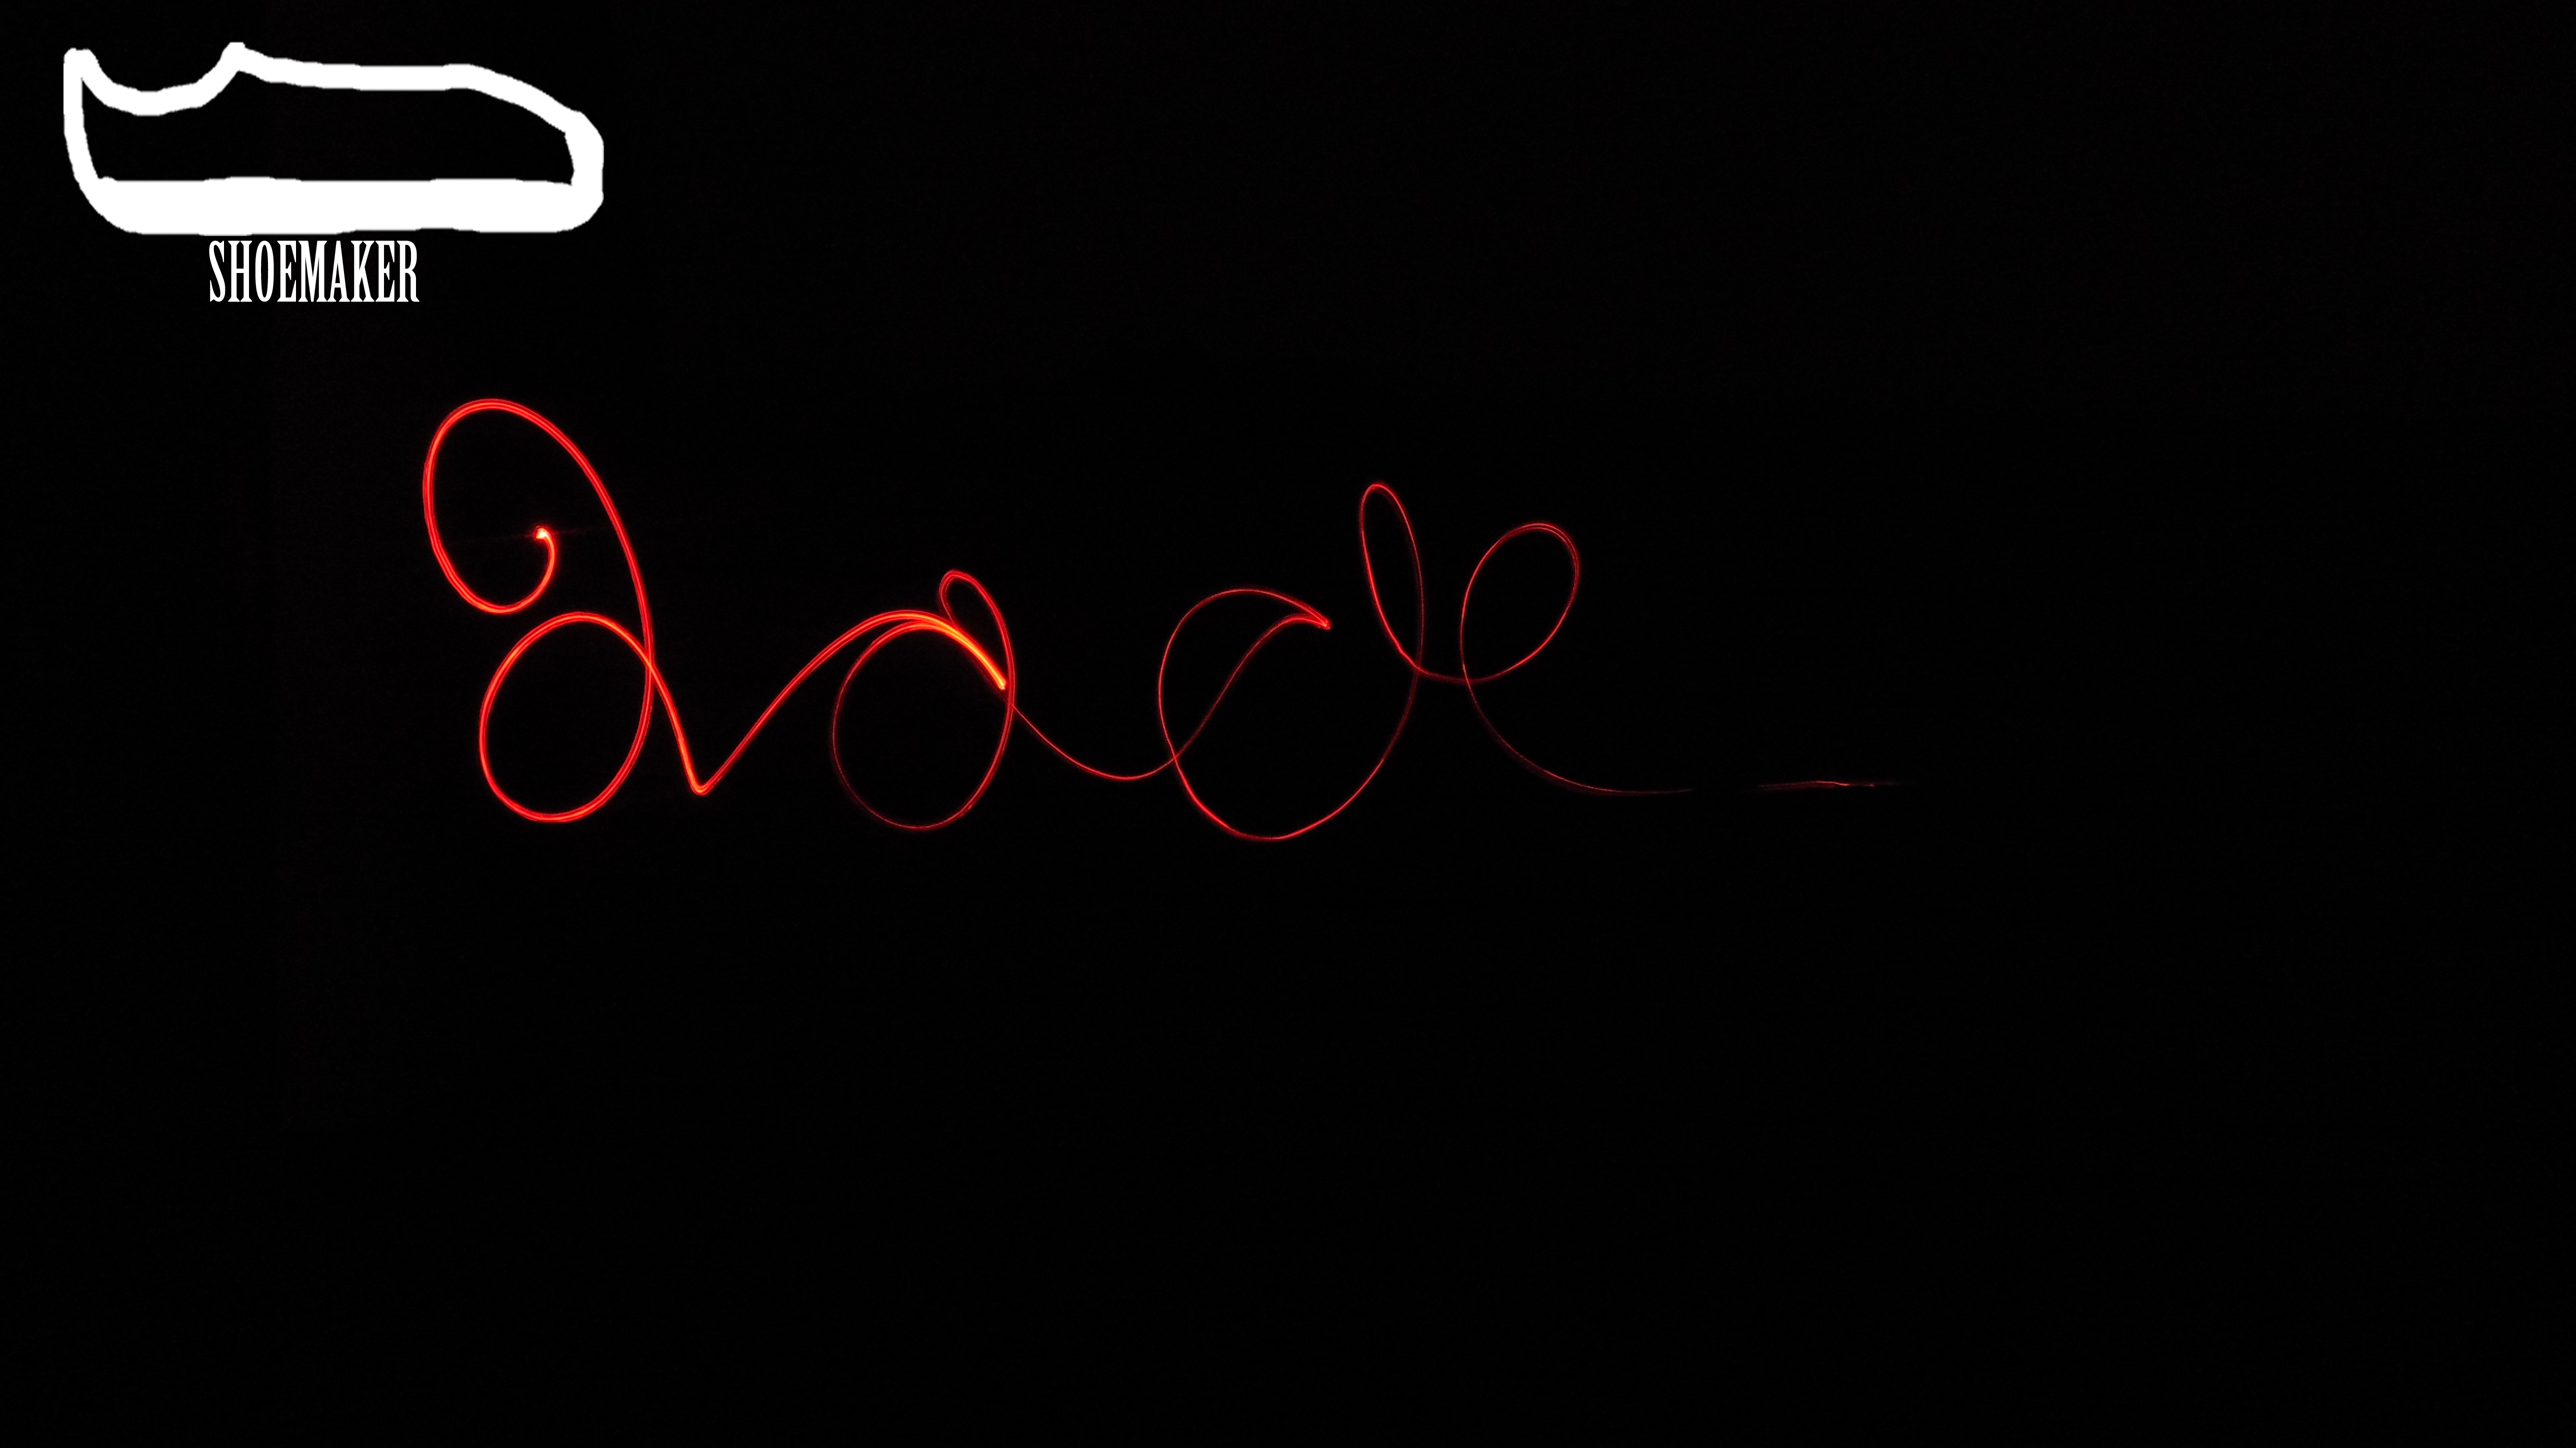
So the first thing we did was mess around and get a feeling to doing the pictures once we got the hang of it. We started making things we wanted to do. One thing that annoyed us was trying to write something correctly or get the light in the right place. but the rest was pretty easy. You can see the rest of the photos here.
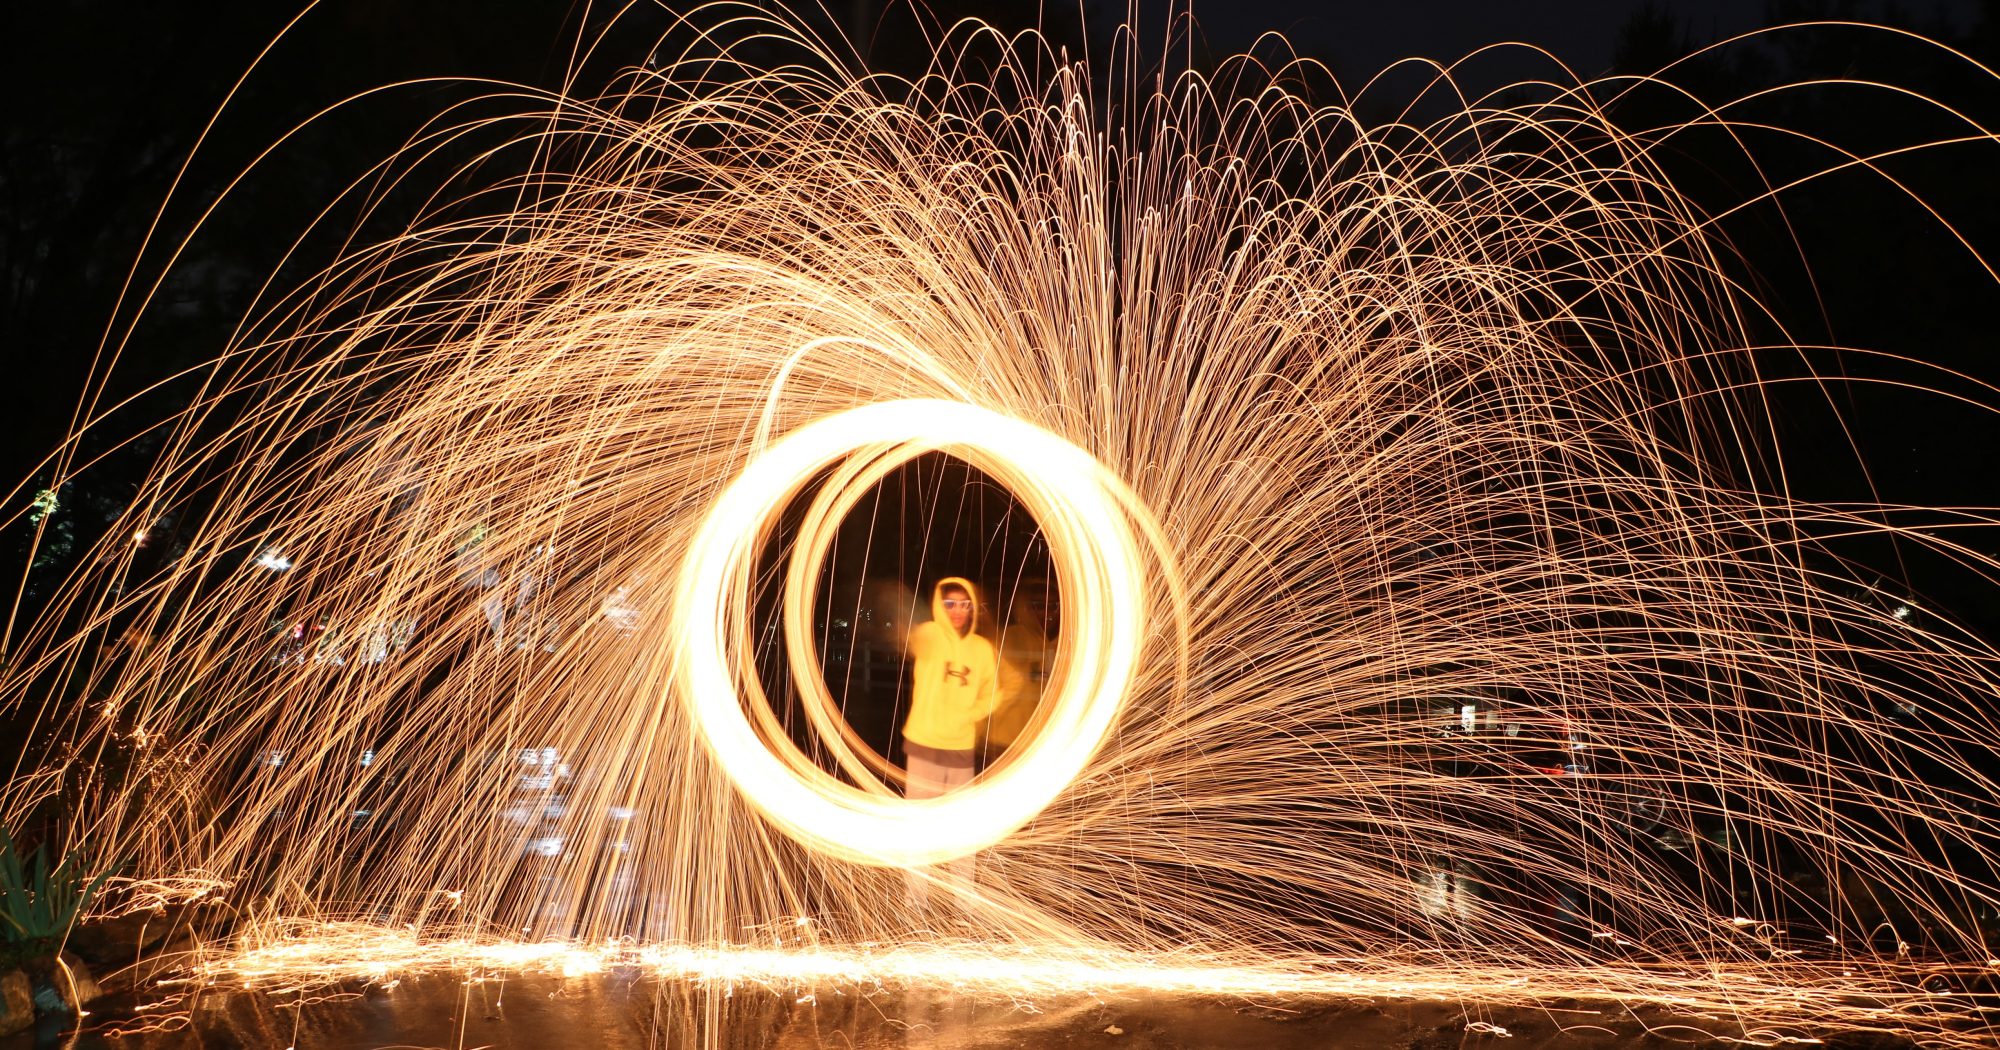
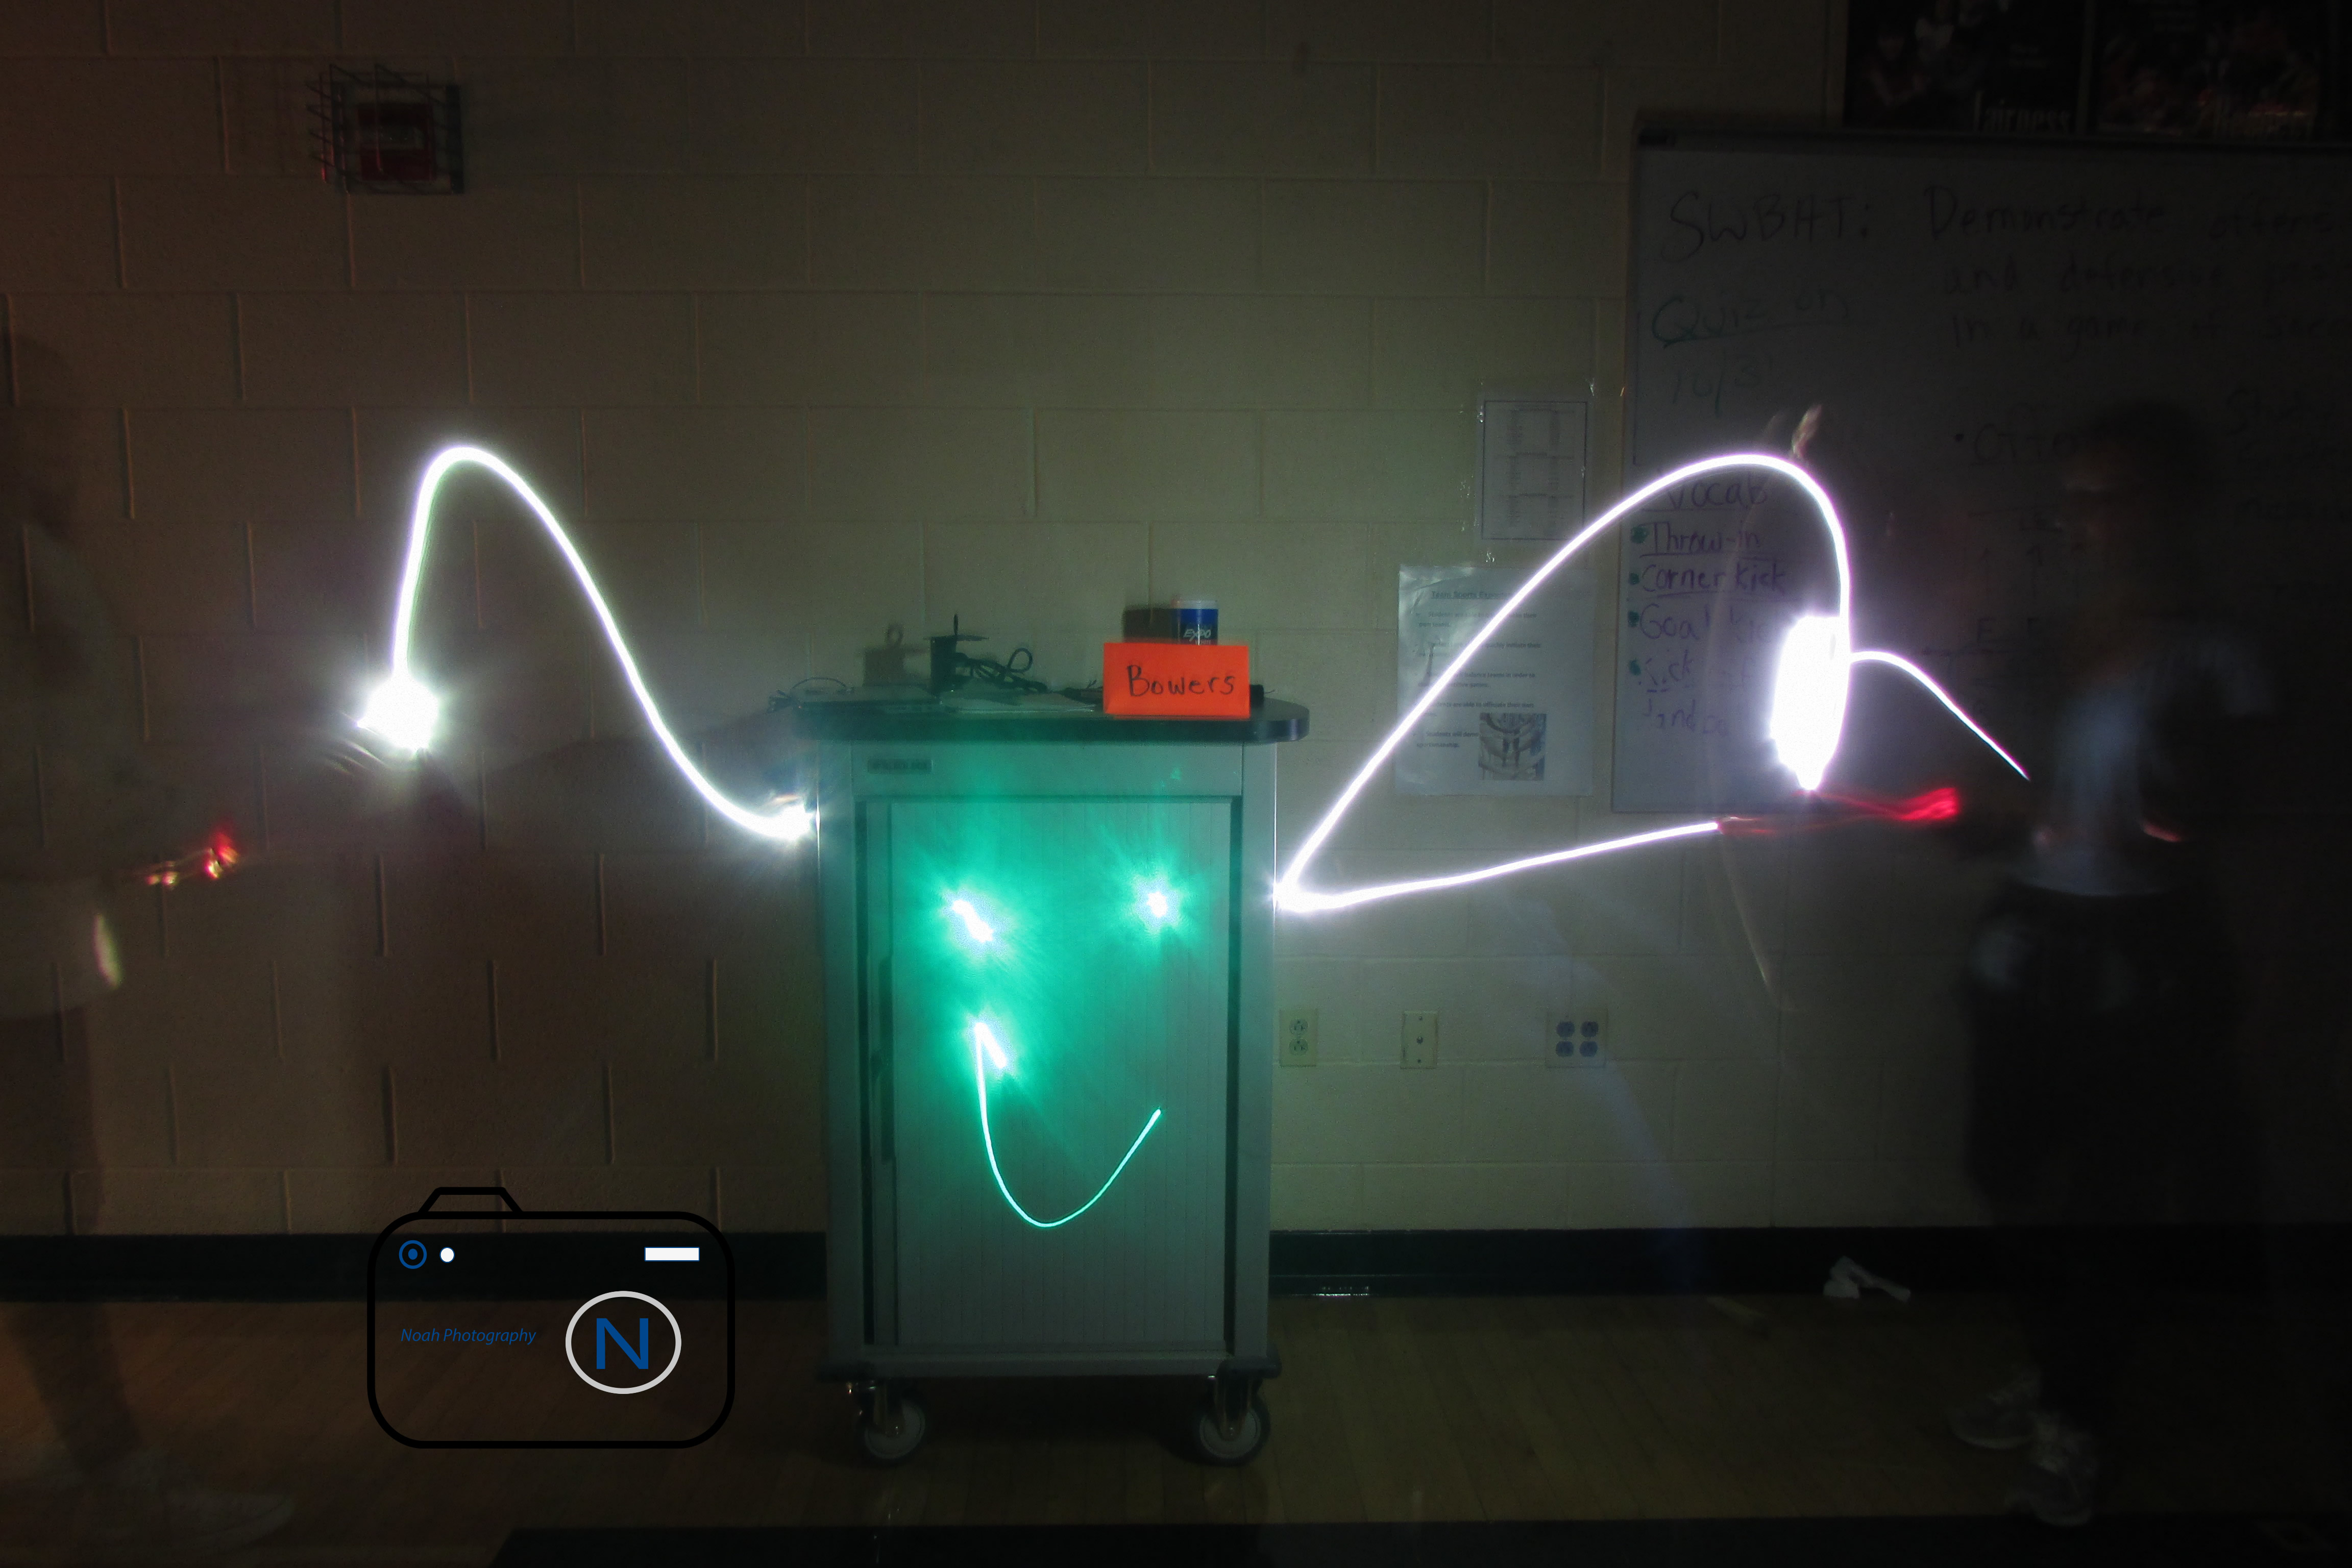
We are going to use the manual settings on our camera to draw with light and do light graffiti. We used the ISO and F-Stops settings when we took our portraits with the black backgrounds and for the white background. For this project we needed the shutter speed. In order for you to draw with the light you need to leave the shutter open as long as possible, this will allow light to hit the sensor and you will be able to draw with the light.Your group will have time to work while the shutter is open and draw
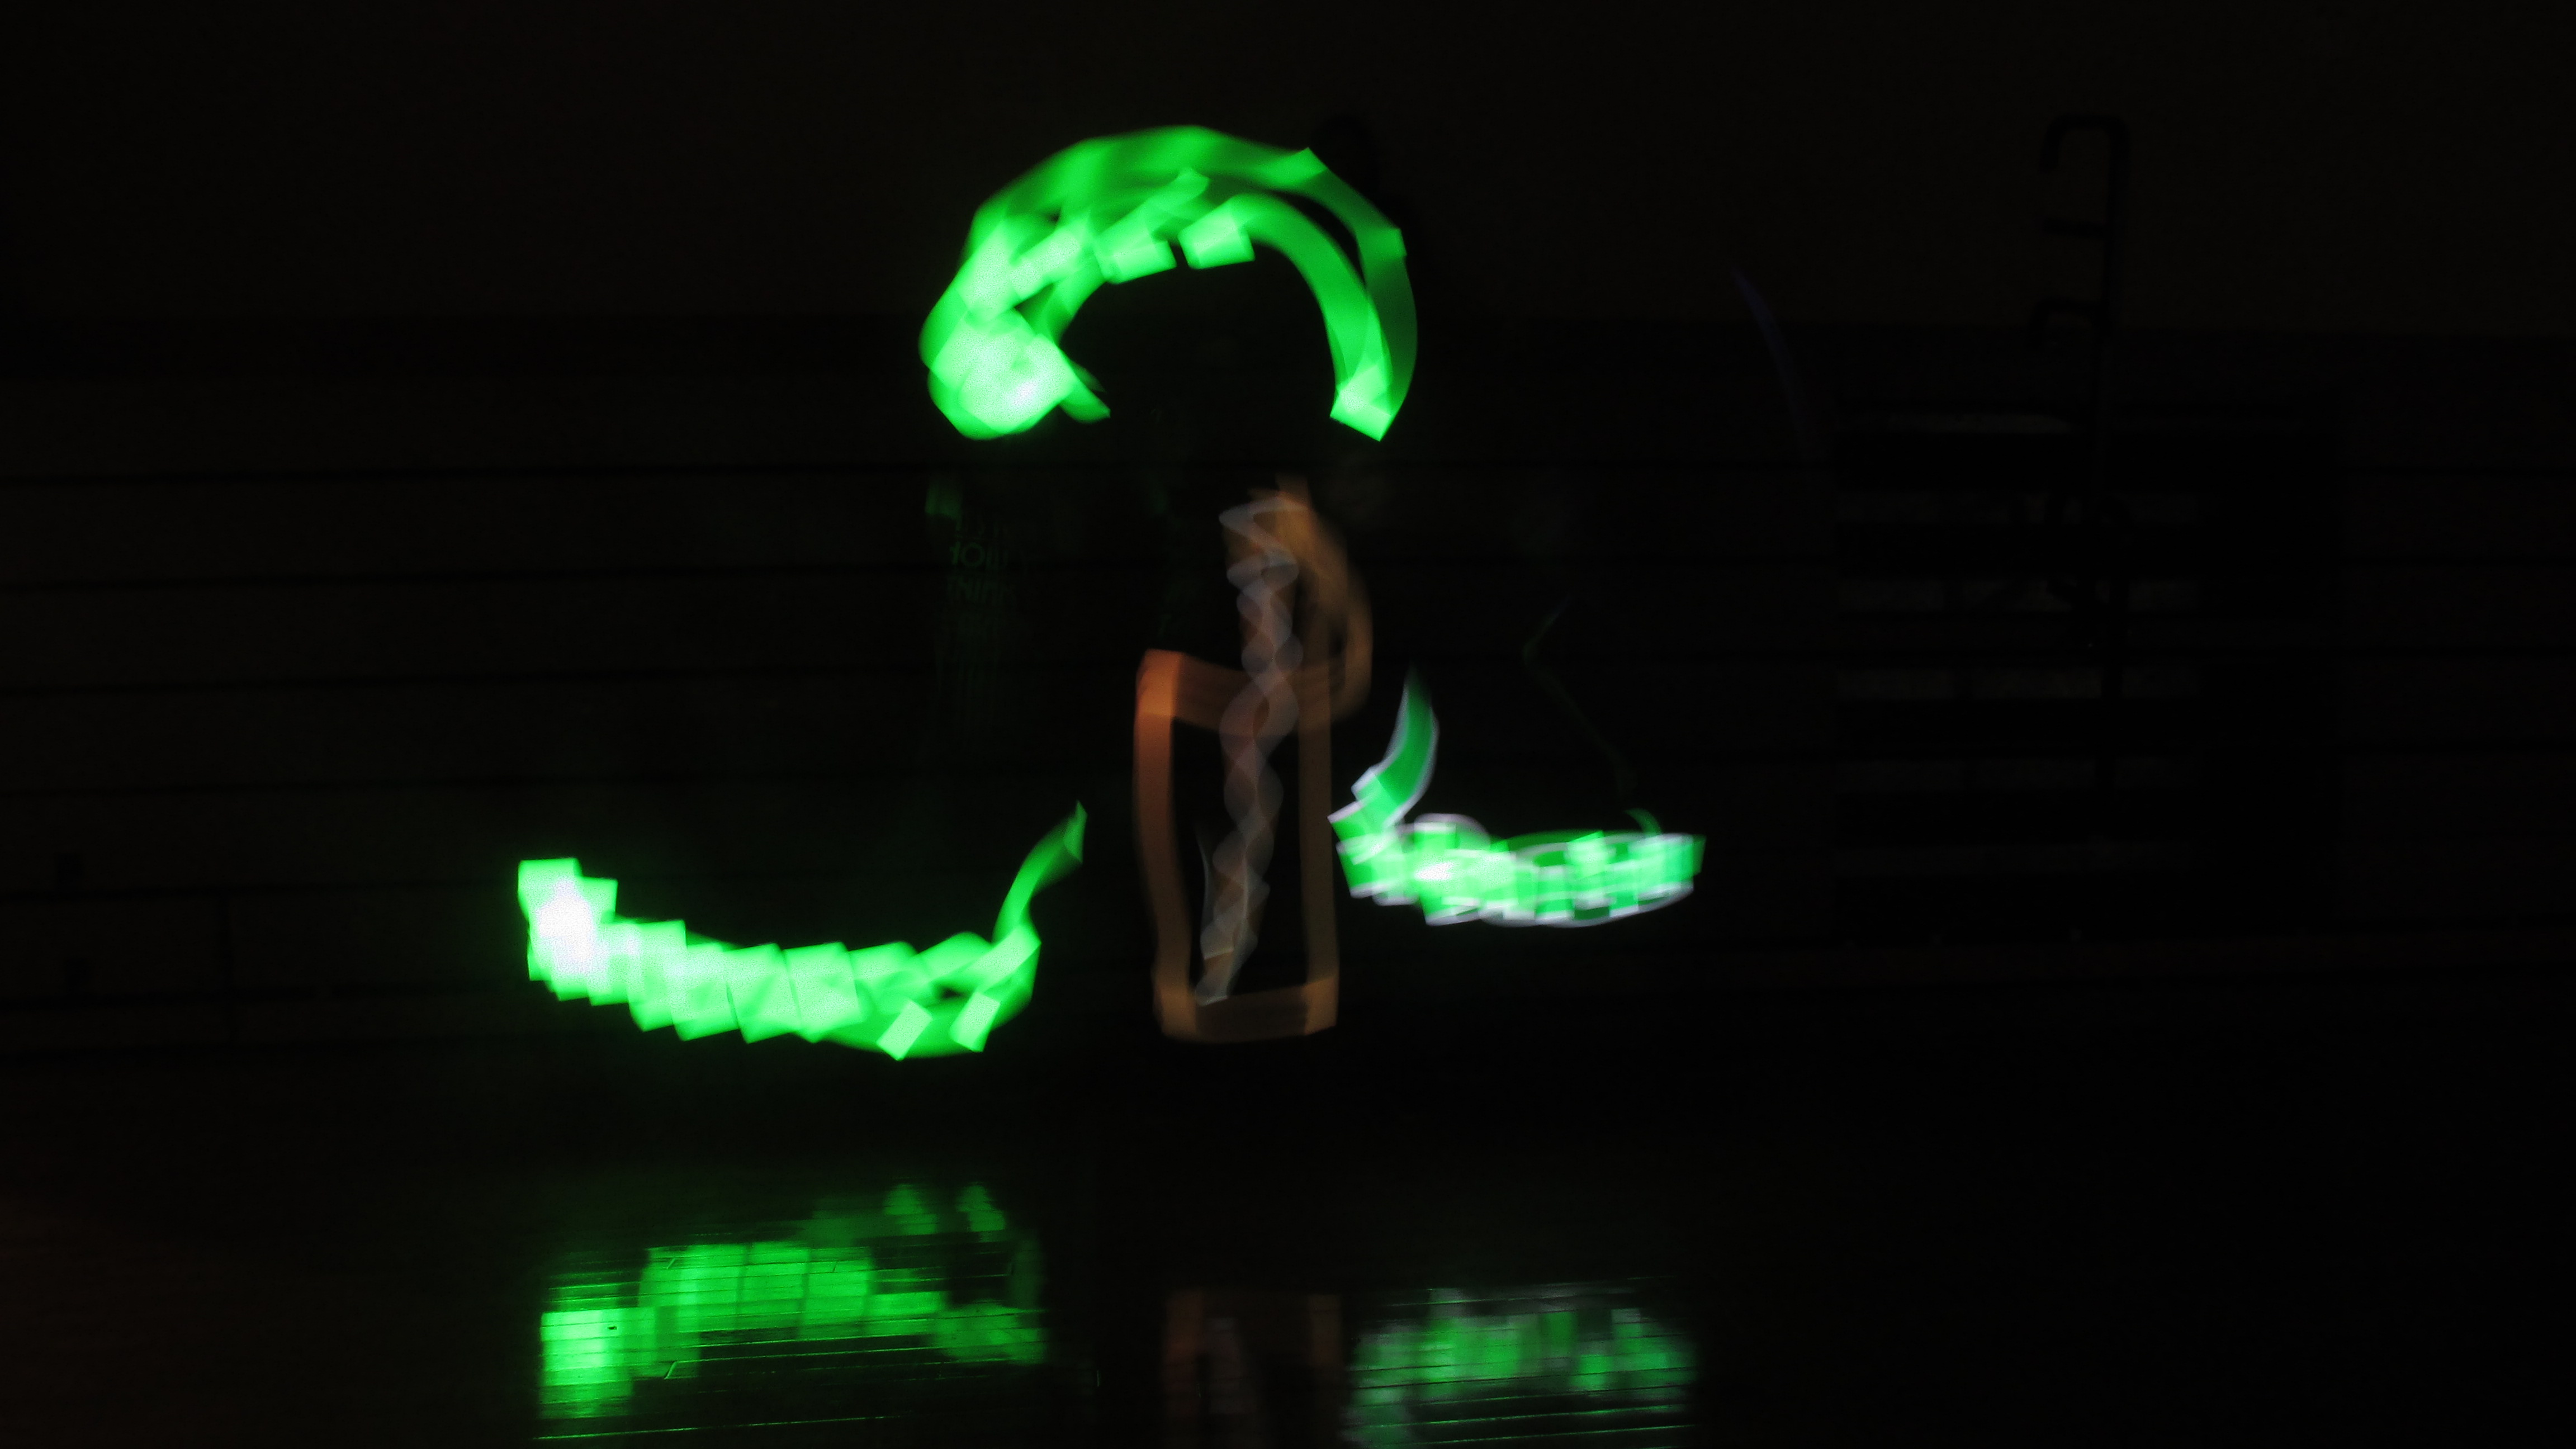
To take our pictures, we used flashlights from our phone and colored lights to include colors. On our camera, we had to change the ISO so that our lights could be seen in the dark without showing a lot of the background. Also, we had to keep the shutter speed open for a long time so we could make the picture. We didn’t have to worry about time because we had the ”Bulb” setting on our camera so the shutter speed was open as long as we wanted. A problem that we had was that the camera was making me blurry so we had to refocus it a lot in order for it to focus it on me. Something that was frustrating was making our tree look organized and neat because we used two different colored lights to make it. To take this project to the next level, we could be doing the project with nobody else in the gym so that other peoples lights didn’t flash into our shot.
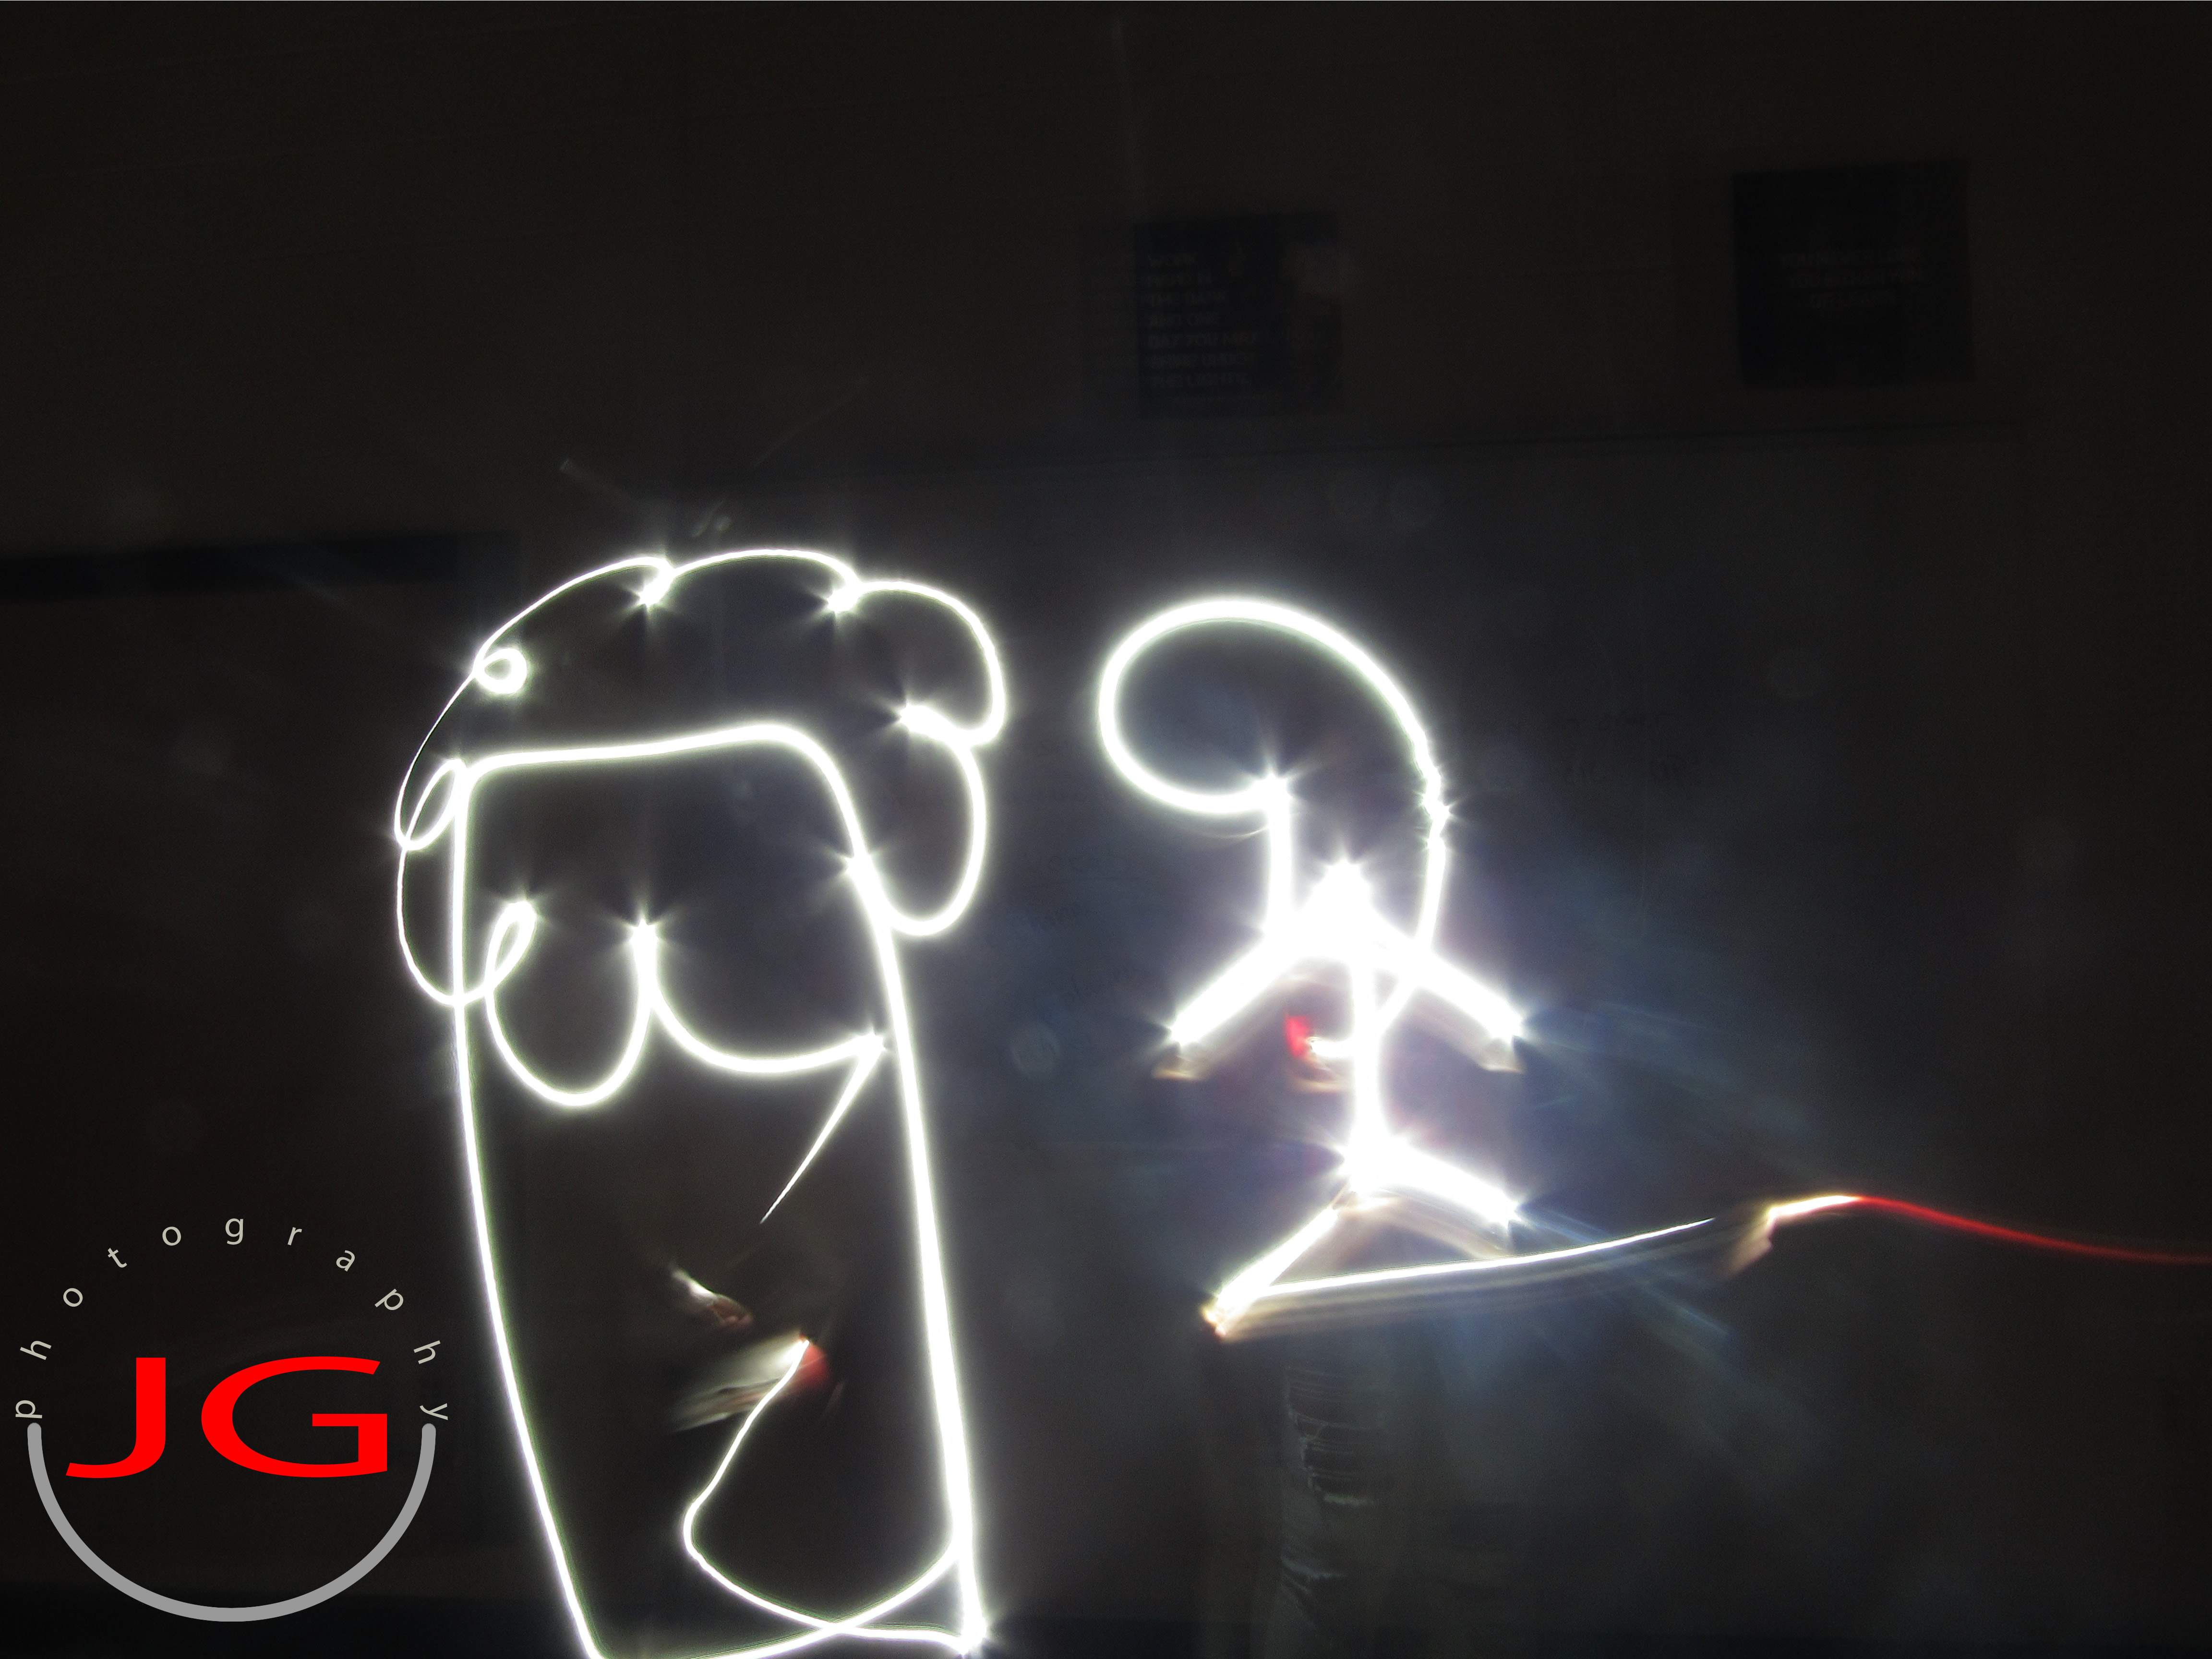
To take our photos we had one person behind the camera and another in front of the camera if it was just a one person photo. We had them turn on the flashlight and then cover it with their hands. Then once the photo was taken they uncovered the flashlight and started drawing with it, phone facing towards the camera. They had about 15 seconds until the photo started developing. This worked well, and group pictures were much harder because you had less time to get everyone where they needed to be. To take this project to the next level, I would recommend colored glow sticks so your pictures can be in color, and be even cooler and easier to tell what they are. Click here.
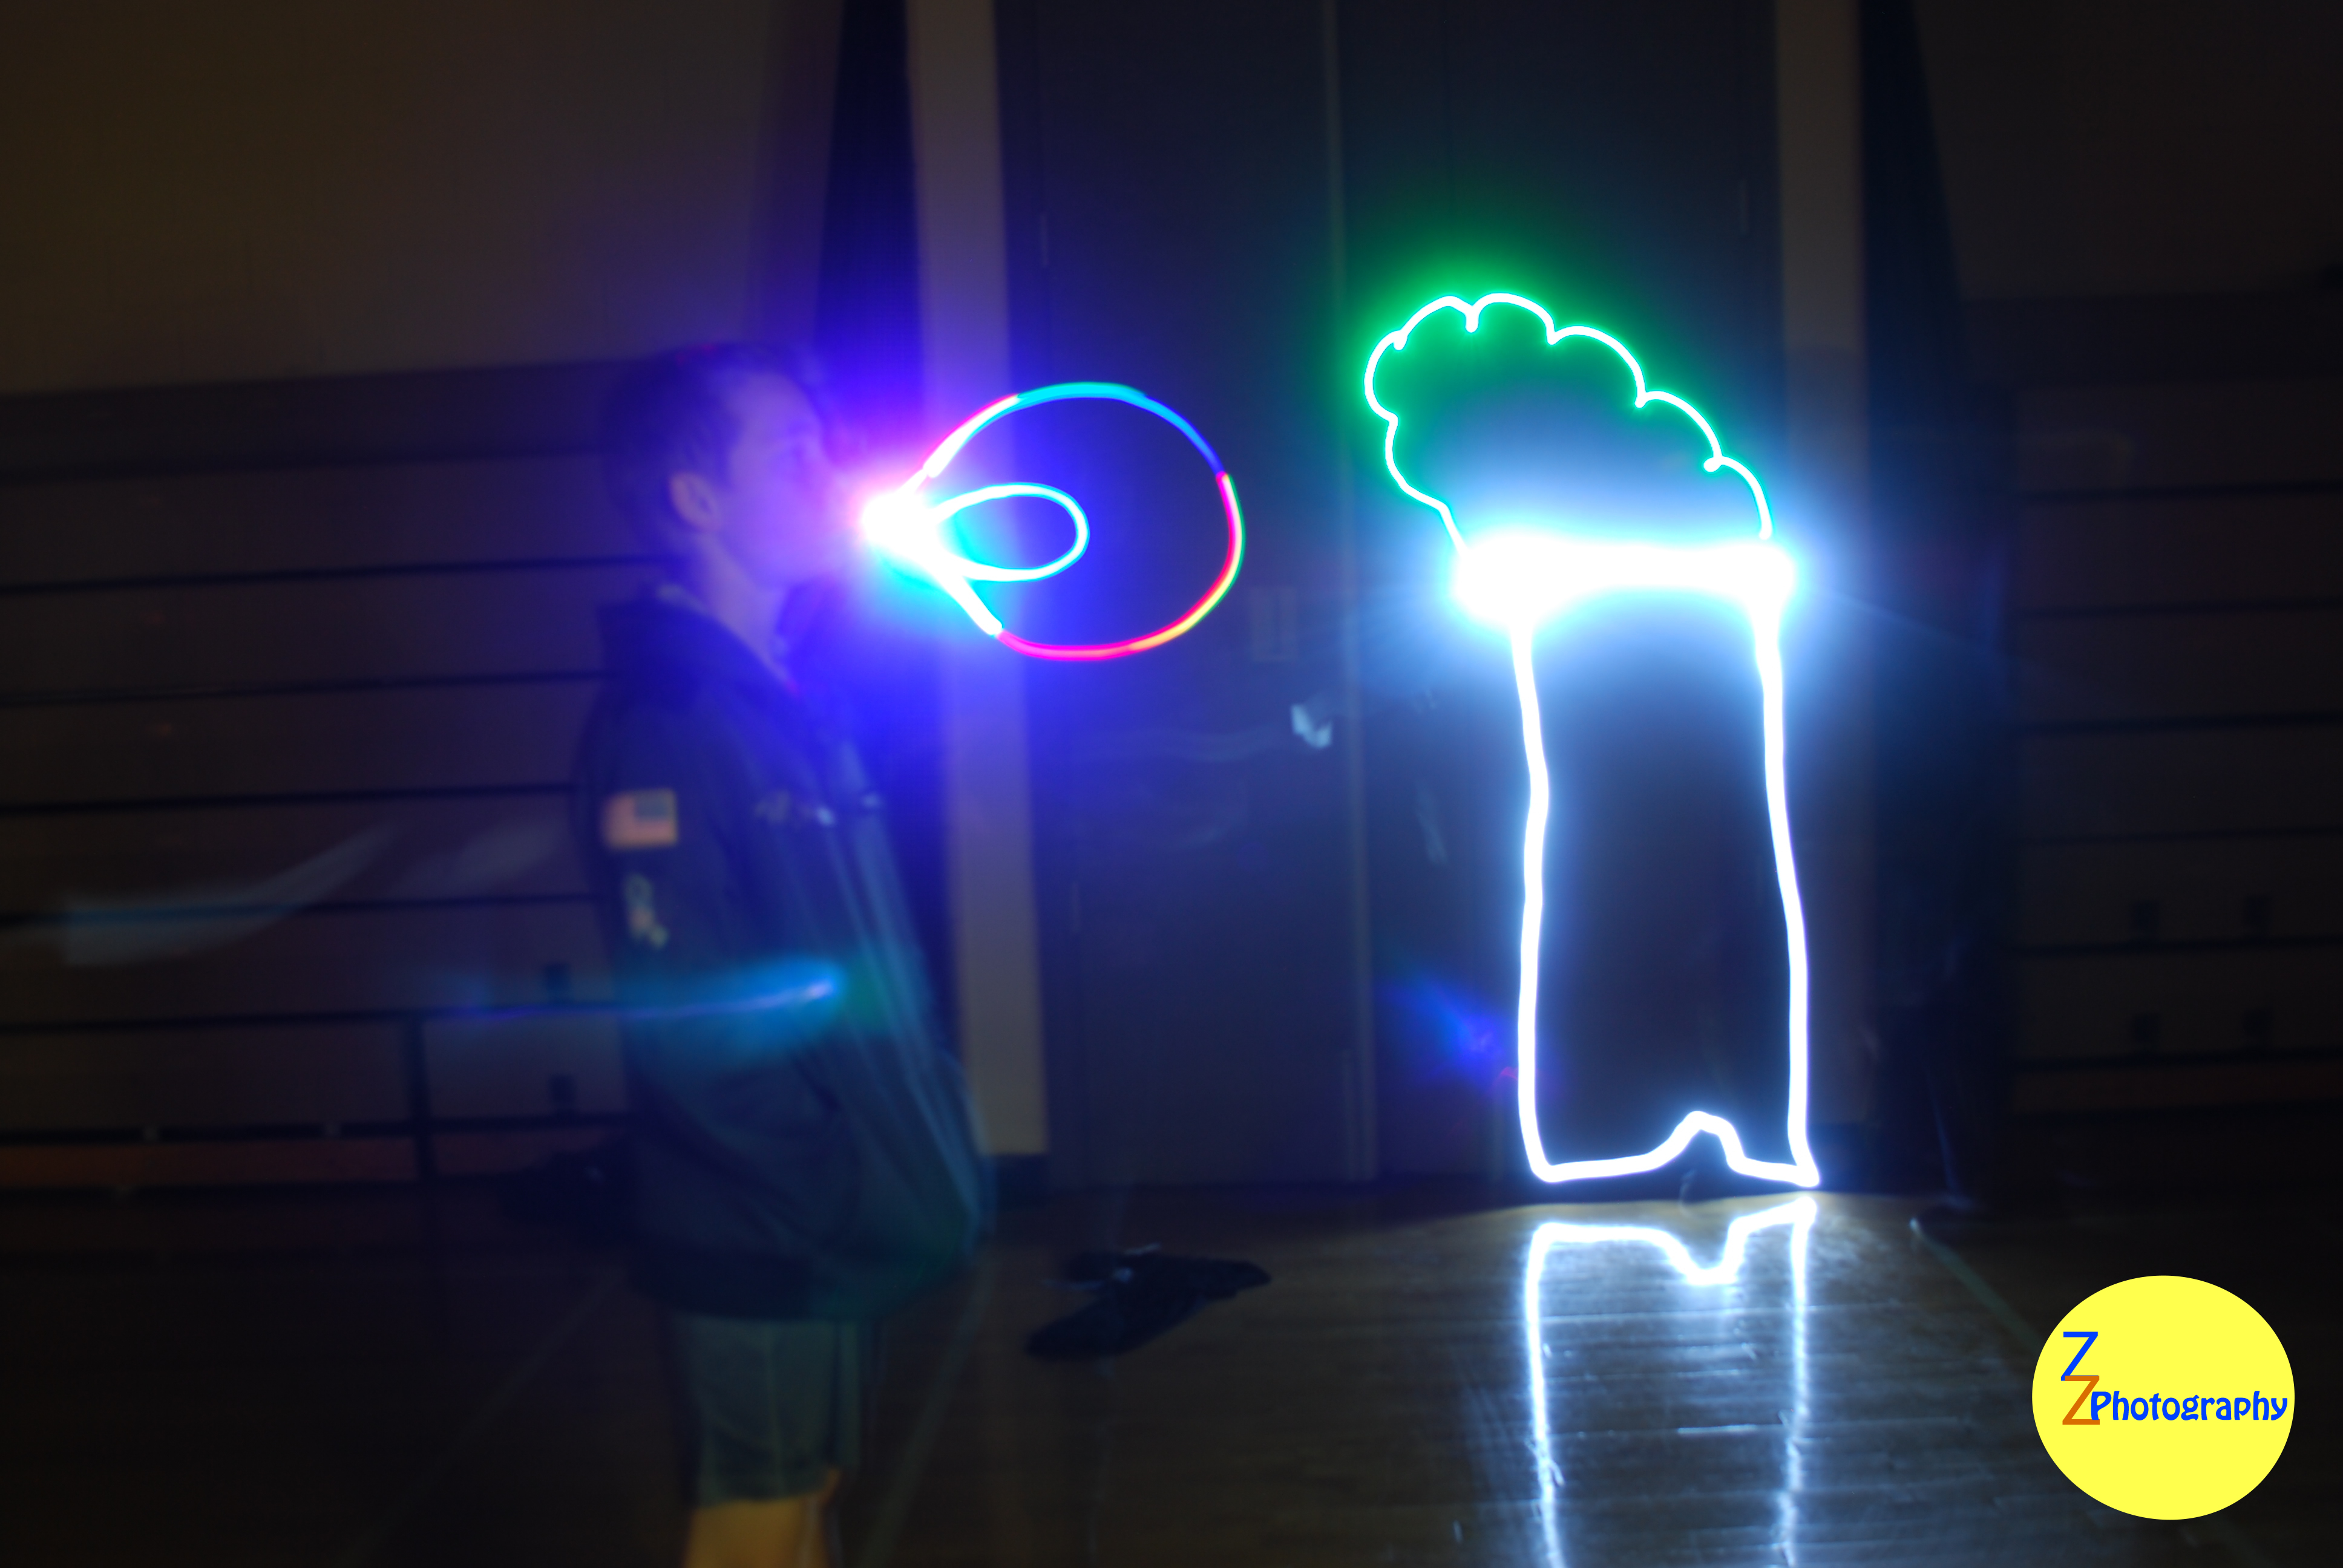
This project was about taking pictures in the dark while using lights to make scenes and or regular pictures. The light made visible and glowing lines in mid air. We used our phone flashlights and light up finger rings to make our scenes. The challenges that came with this project were making sure the lights were in the right place. We also had to make our scenes fast before the picture was taken. The easiest part of this project was coming up with our scenes.
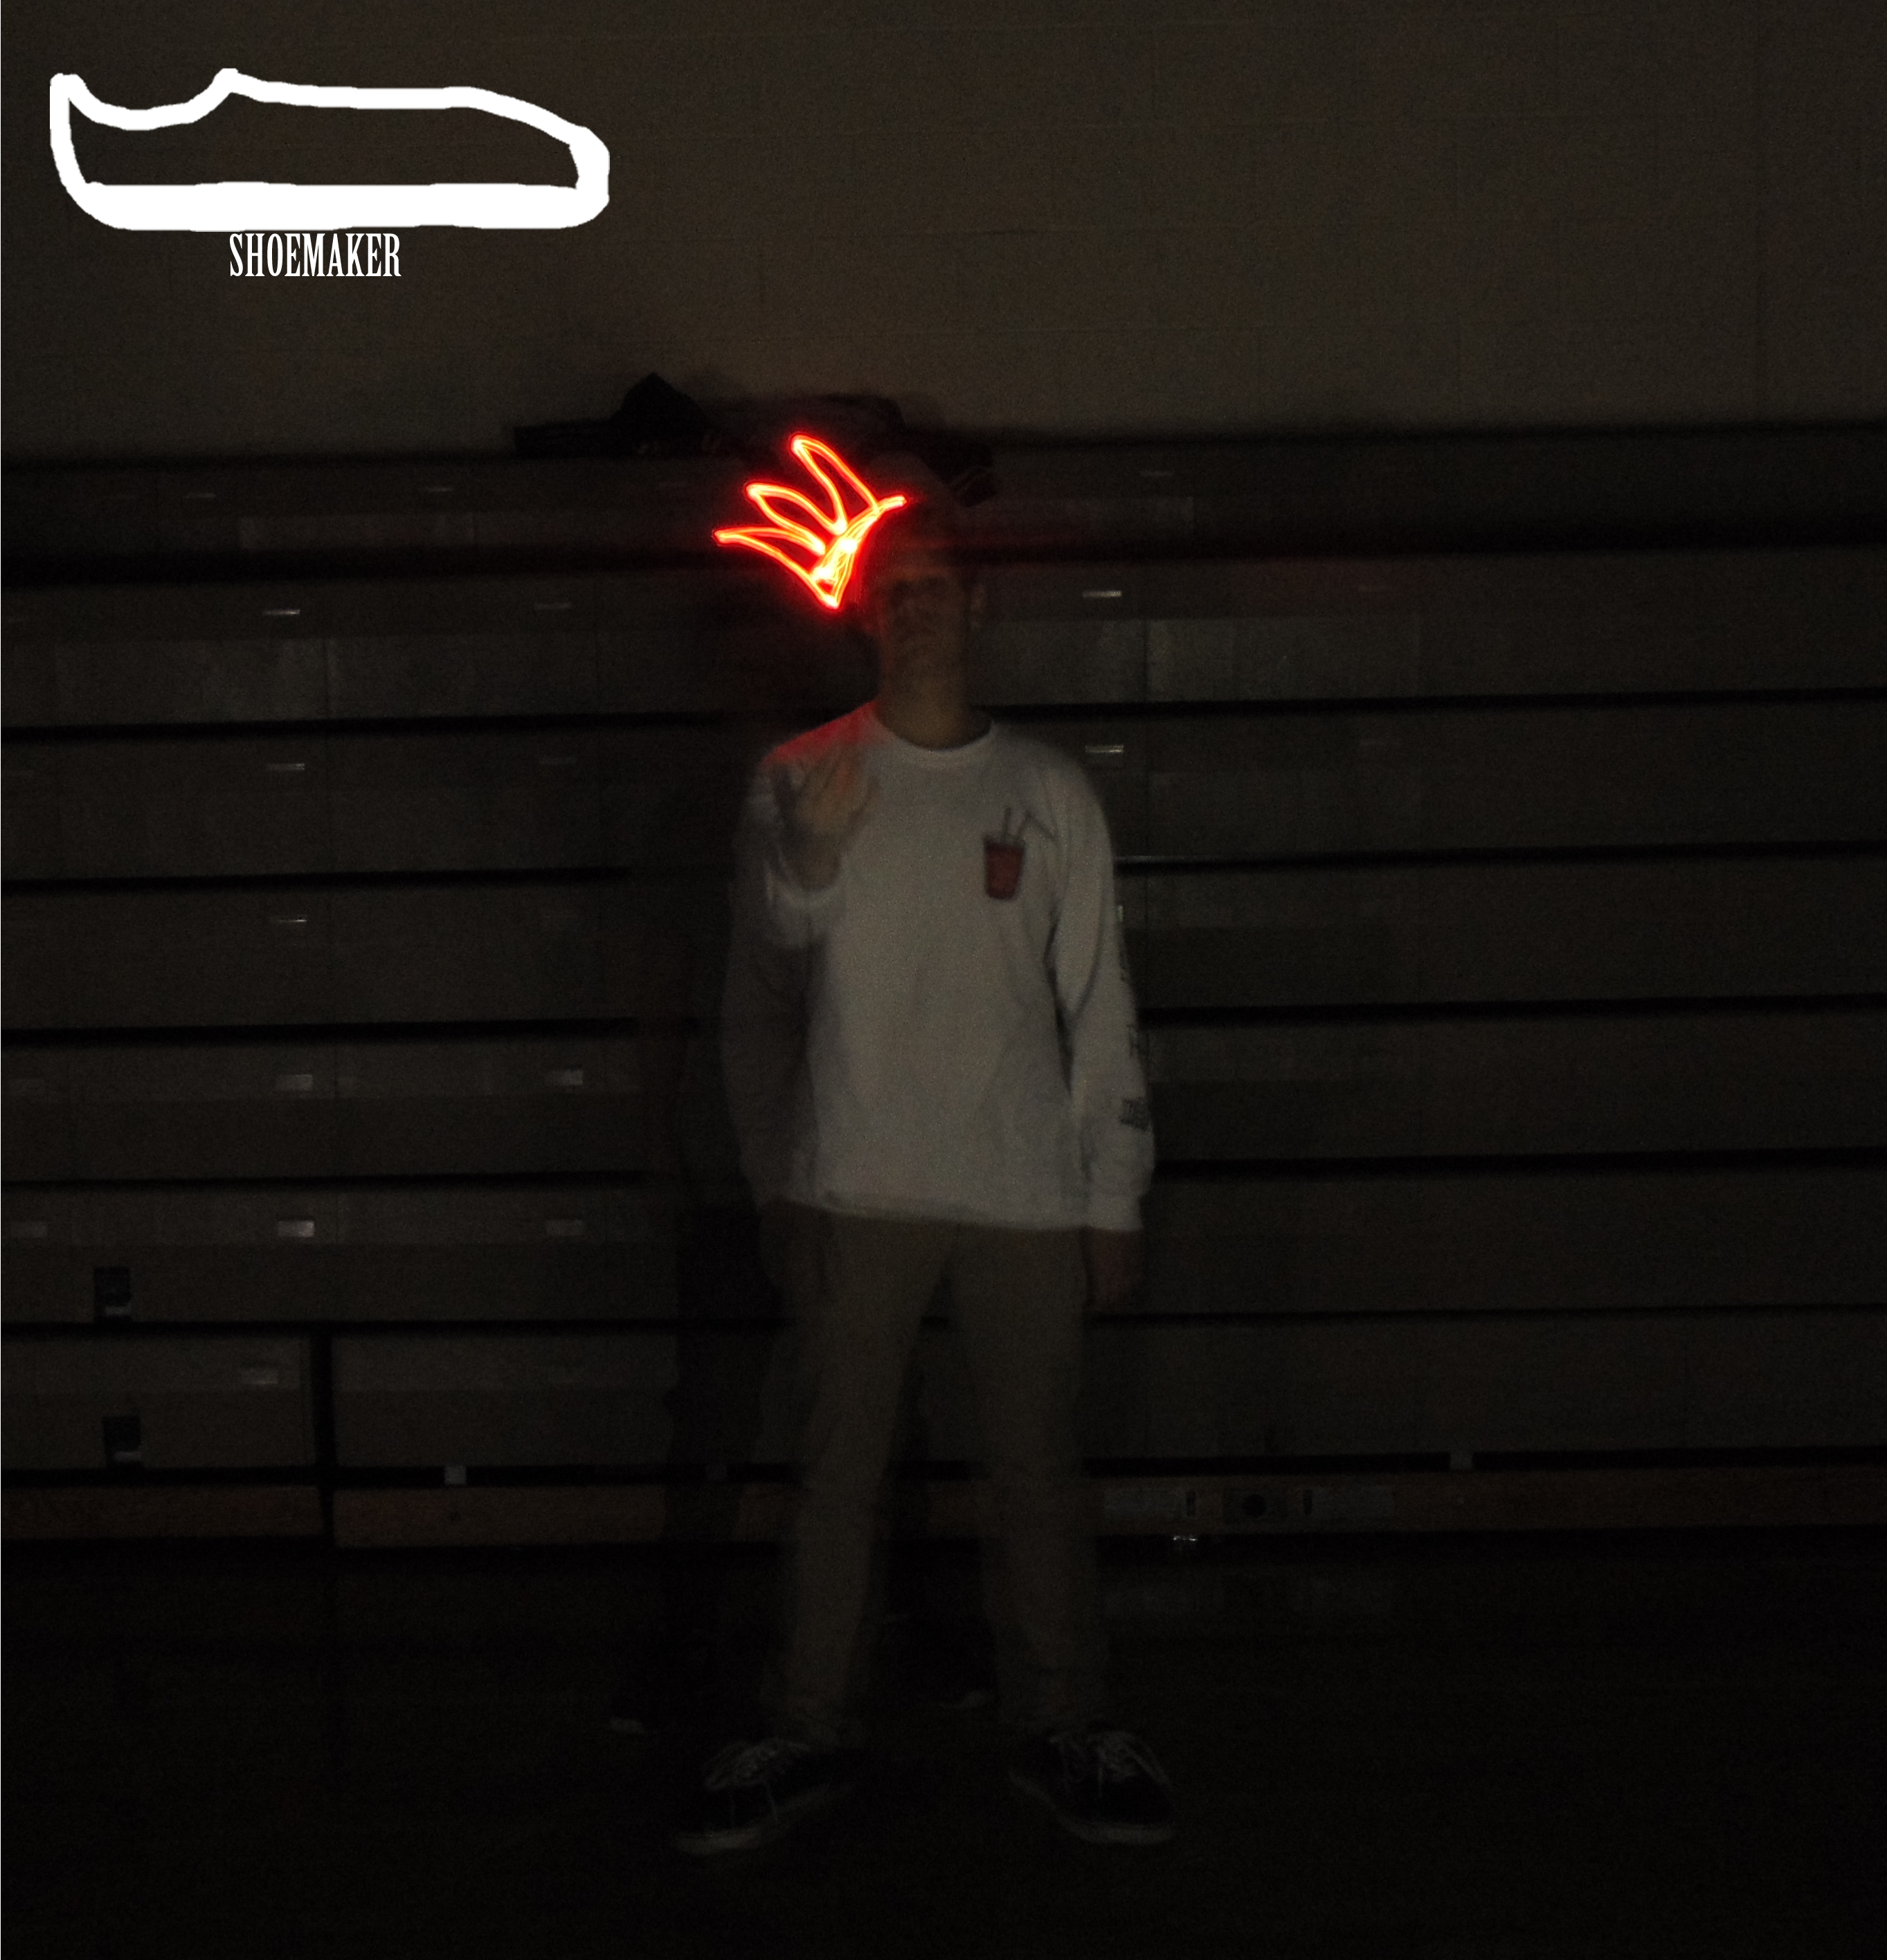
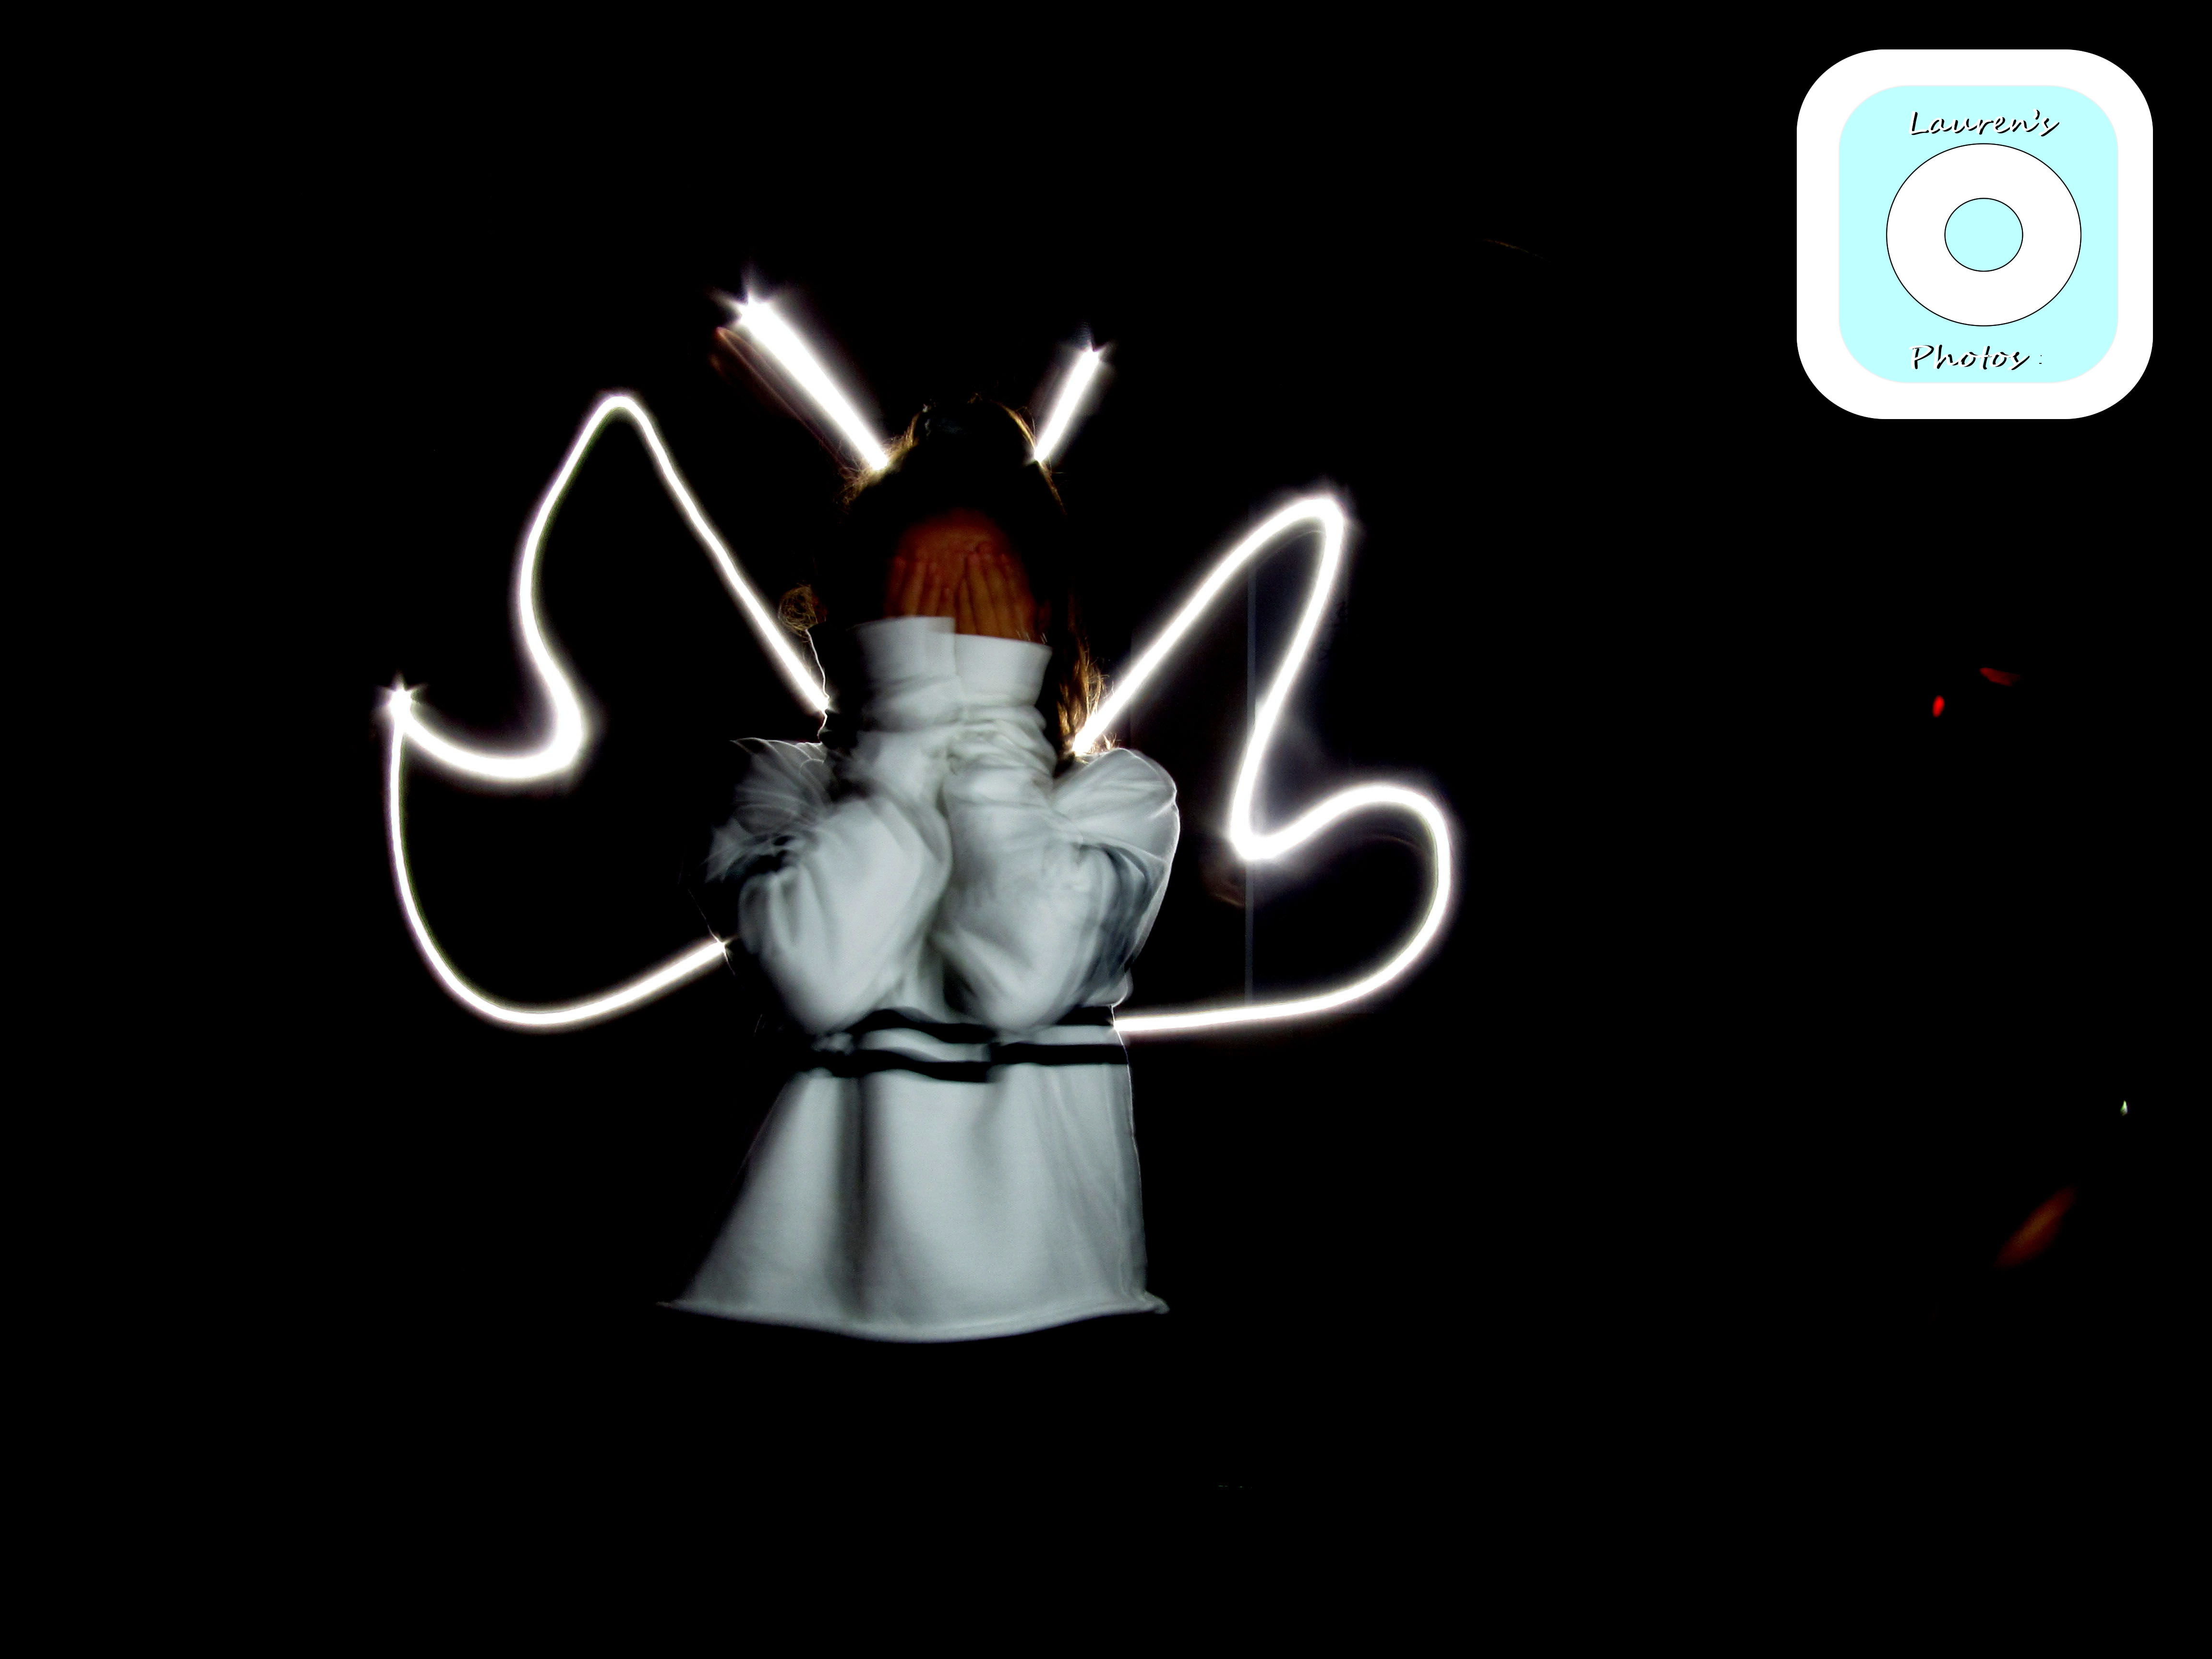
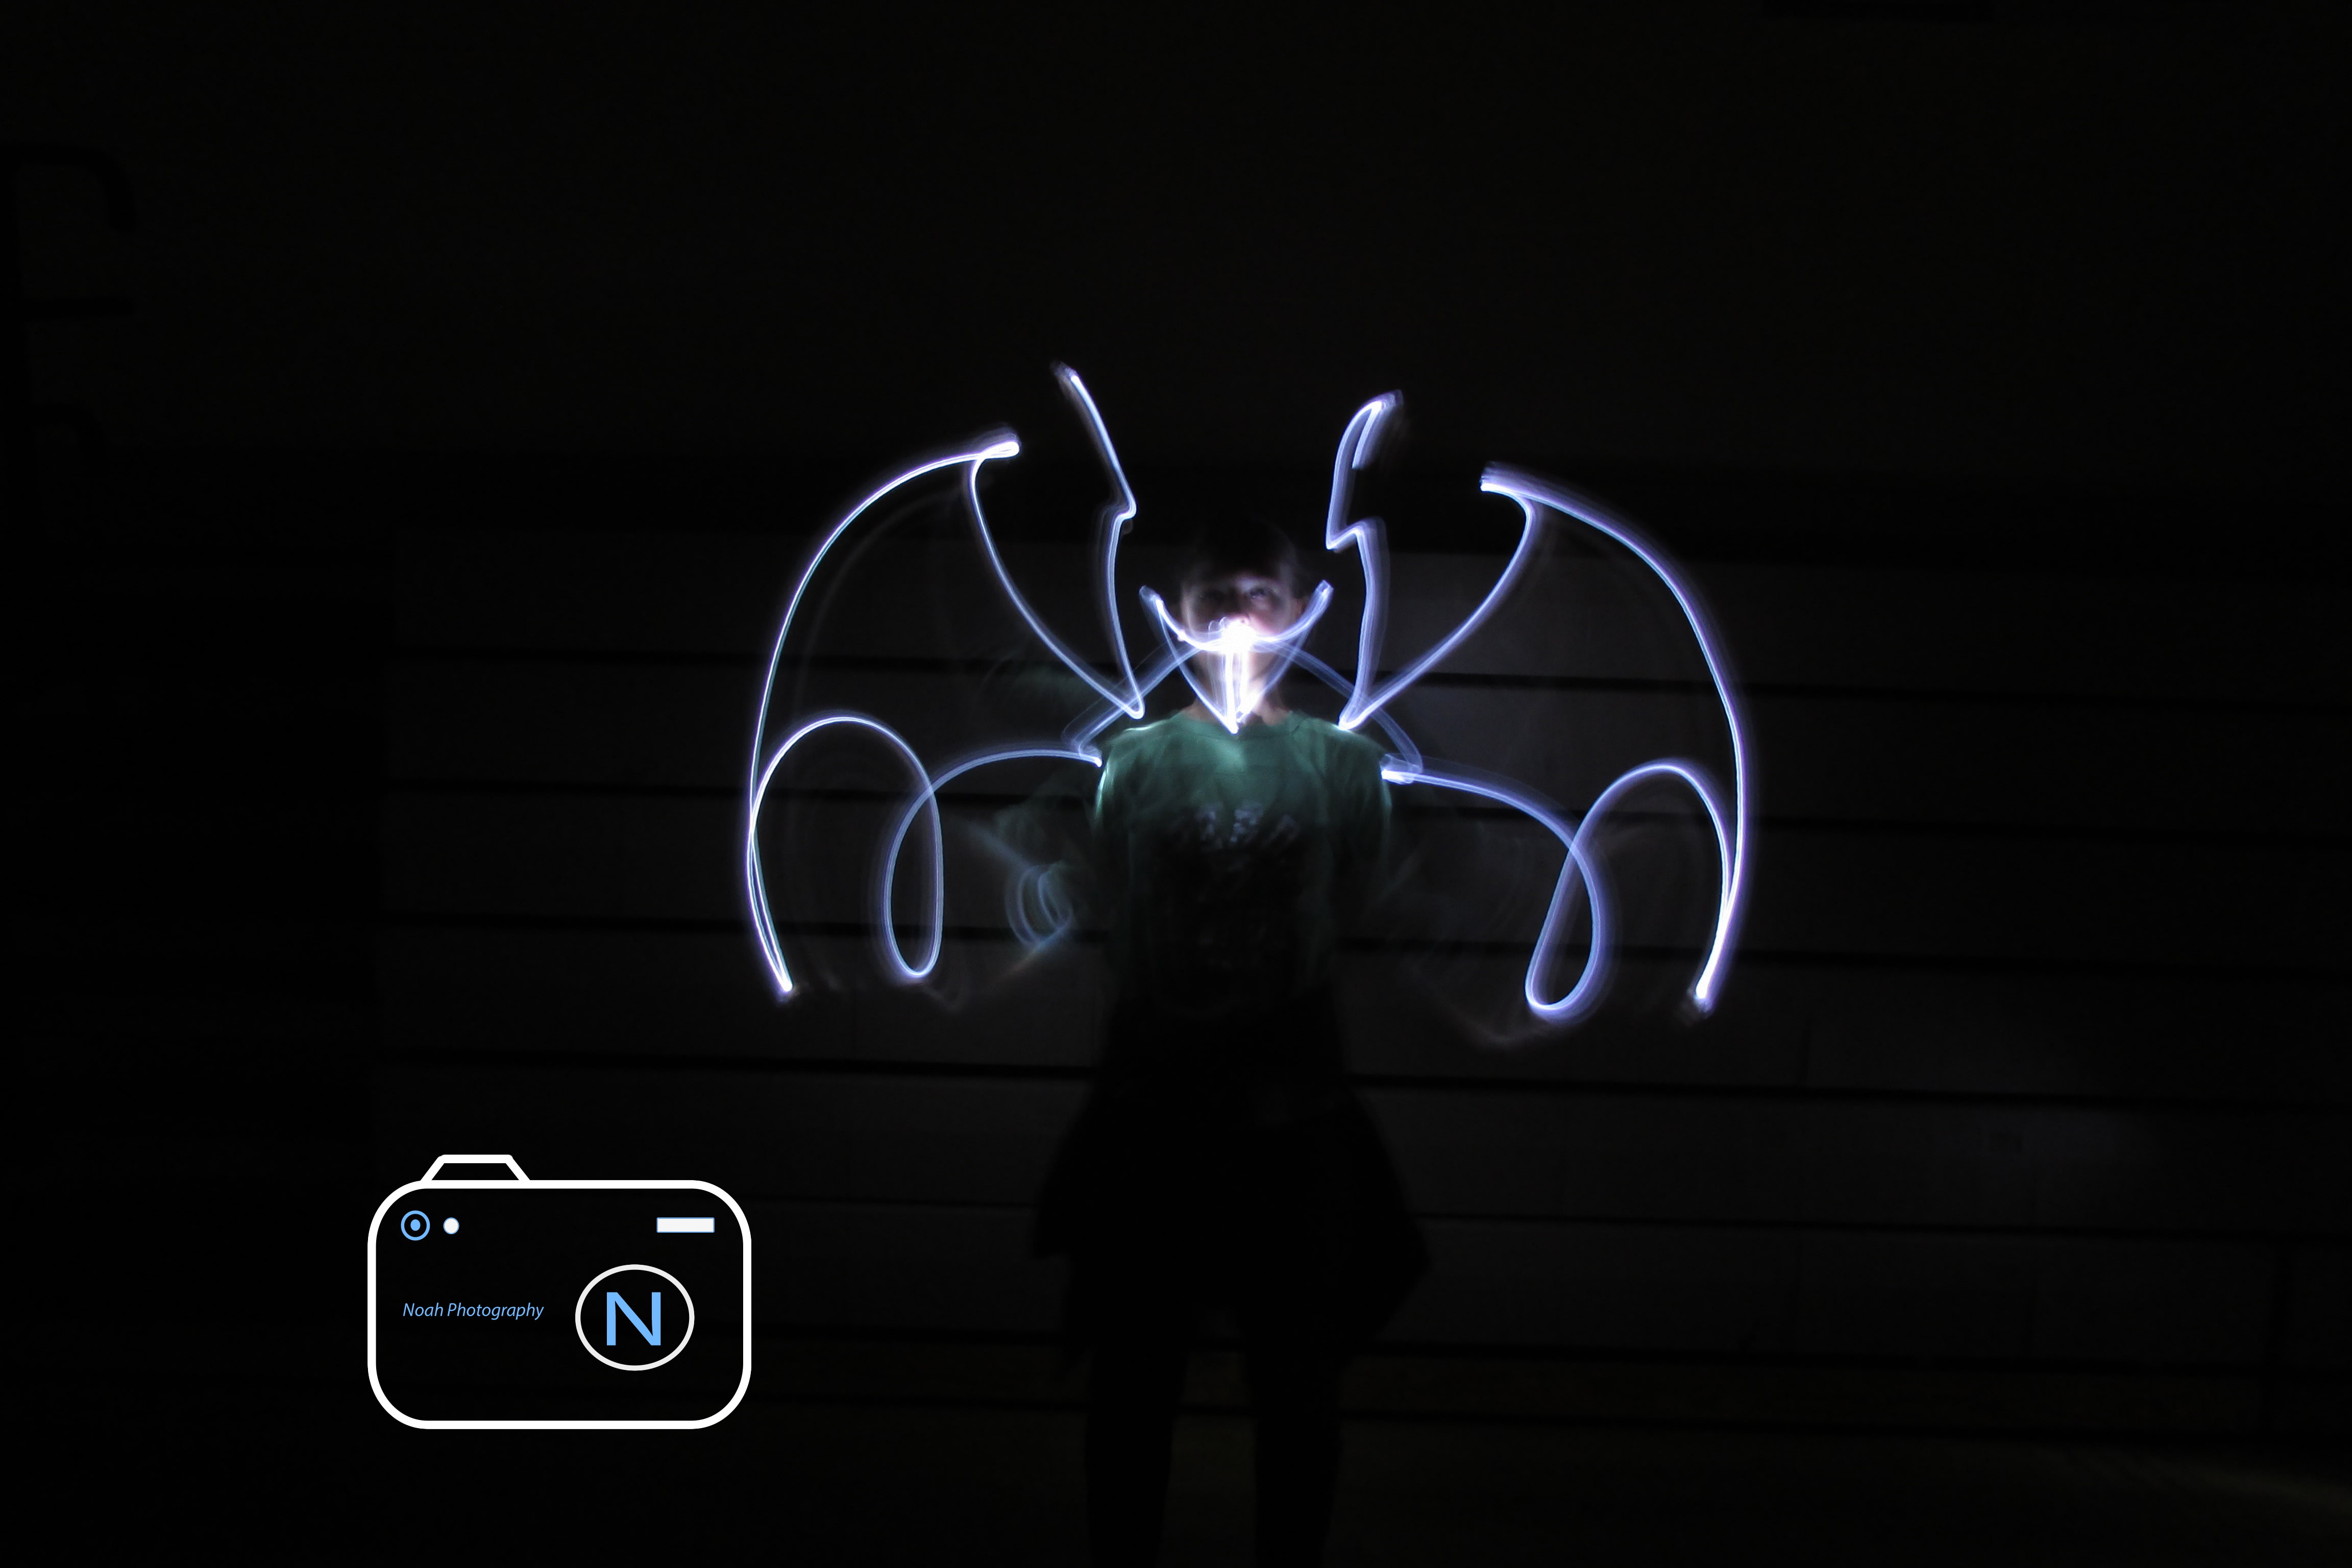
For this project, we had to change the settings on the camera so it sees light in the dark. We take the picture then we have 15 seconds to draw whatever with our flashlights. It was very easy to come up with ideas of things to draw, as there are a lot of things you can do like draw wings. However, drawing it was much harder. You can’t see as you are doing it so you have no idea what you have drawn and what you haven’t. it was very frustrating to draw things like smiley faces faces because they require you to cover and uncover your flashlight. Something that would take this project to the next level would be different color lights. If you want to see the rest of my photos, click here
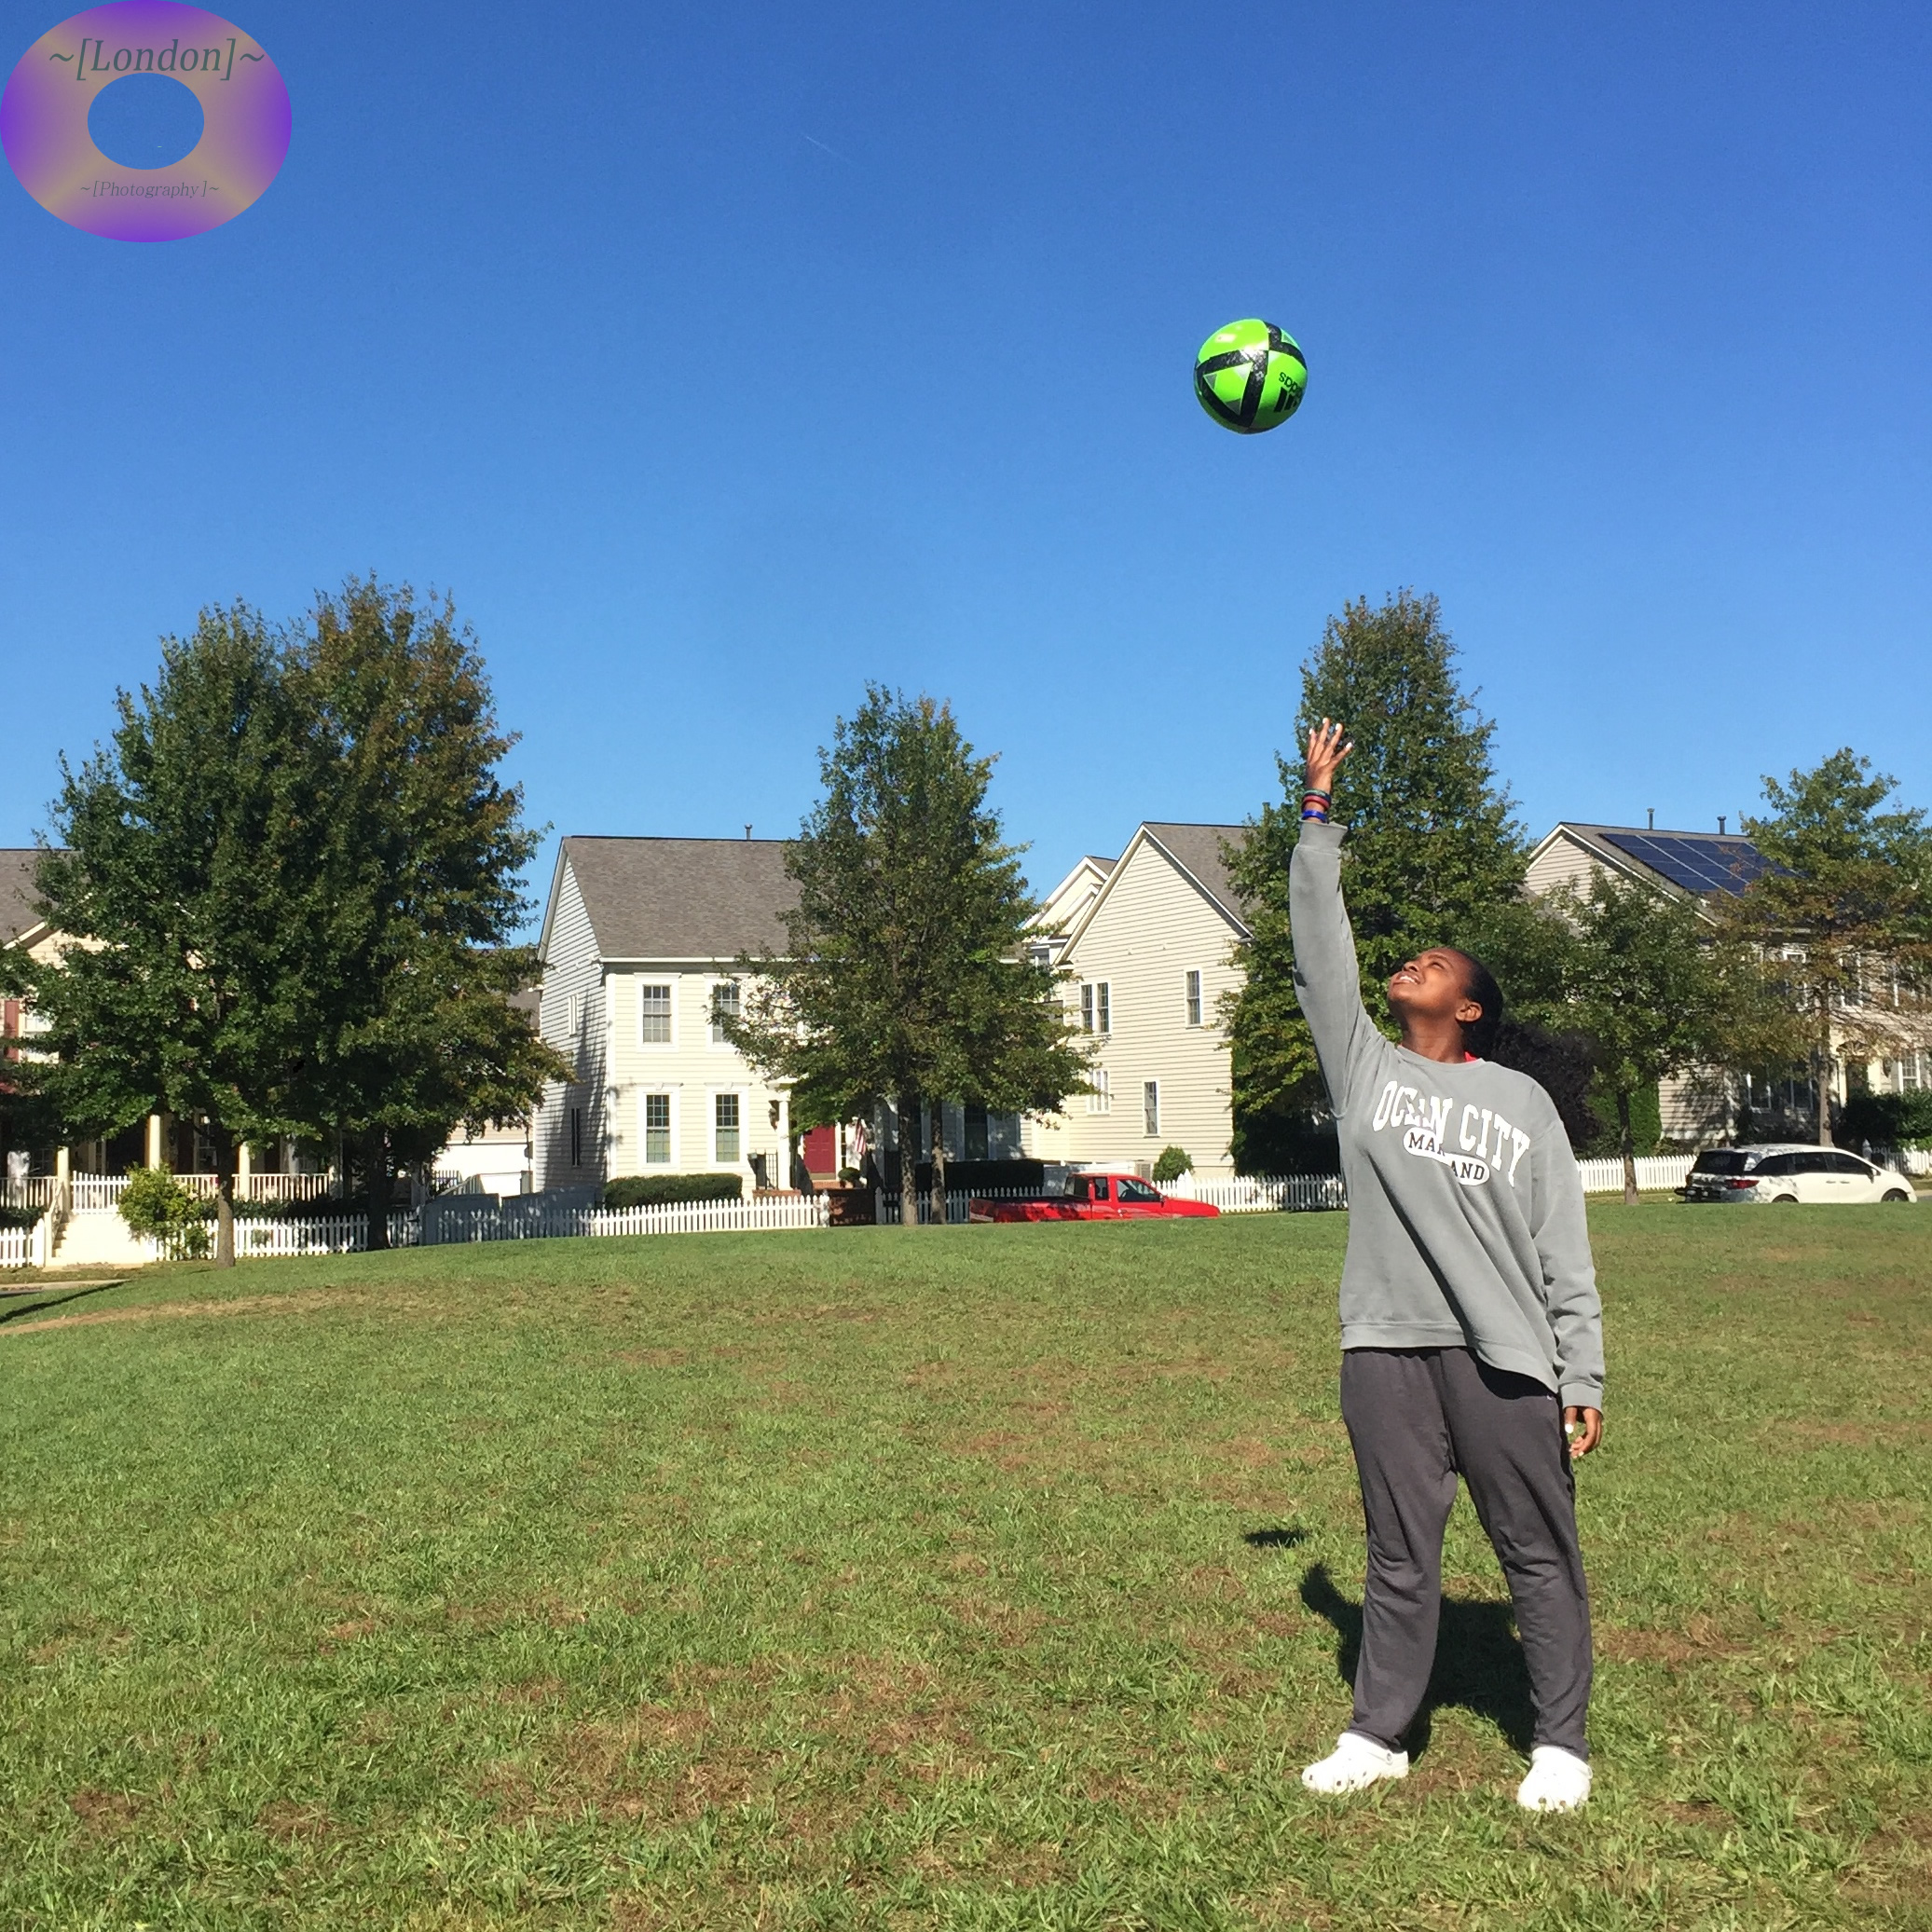
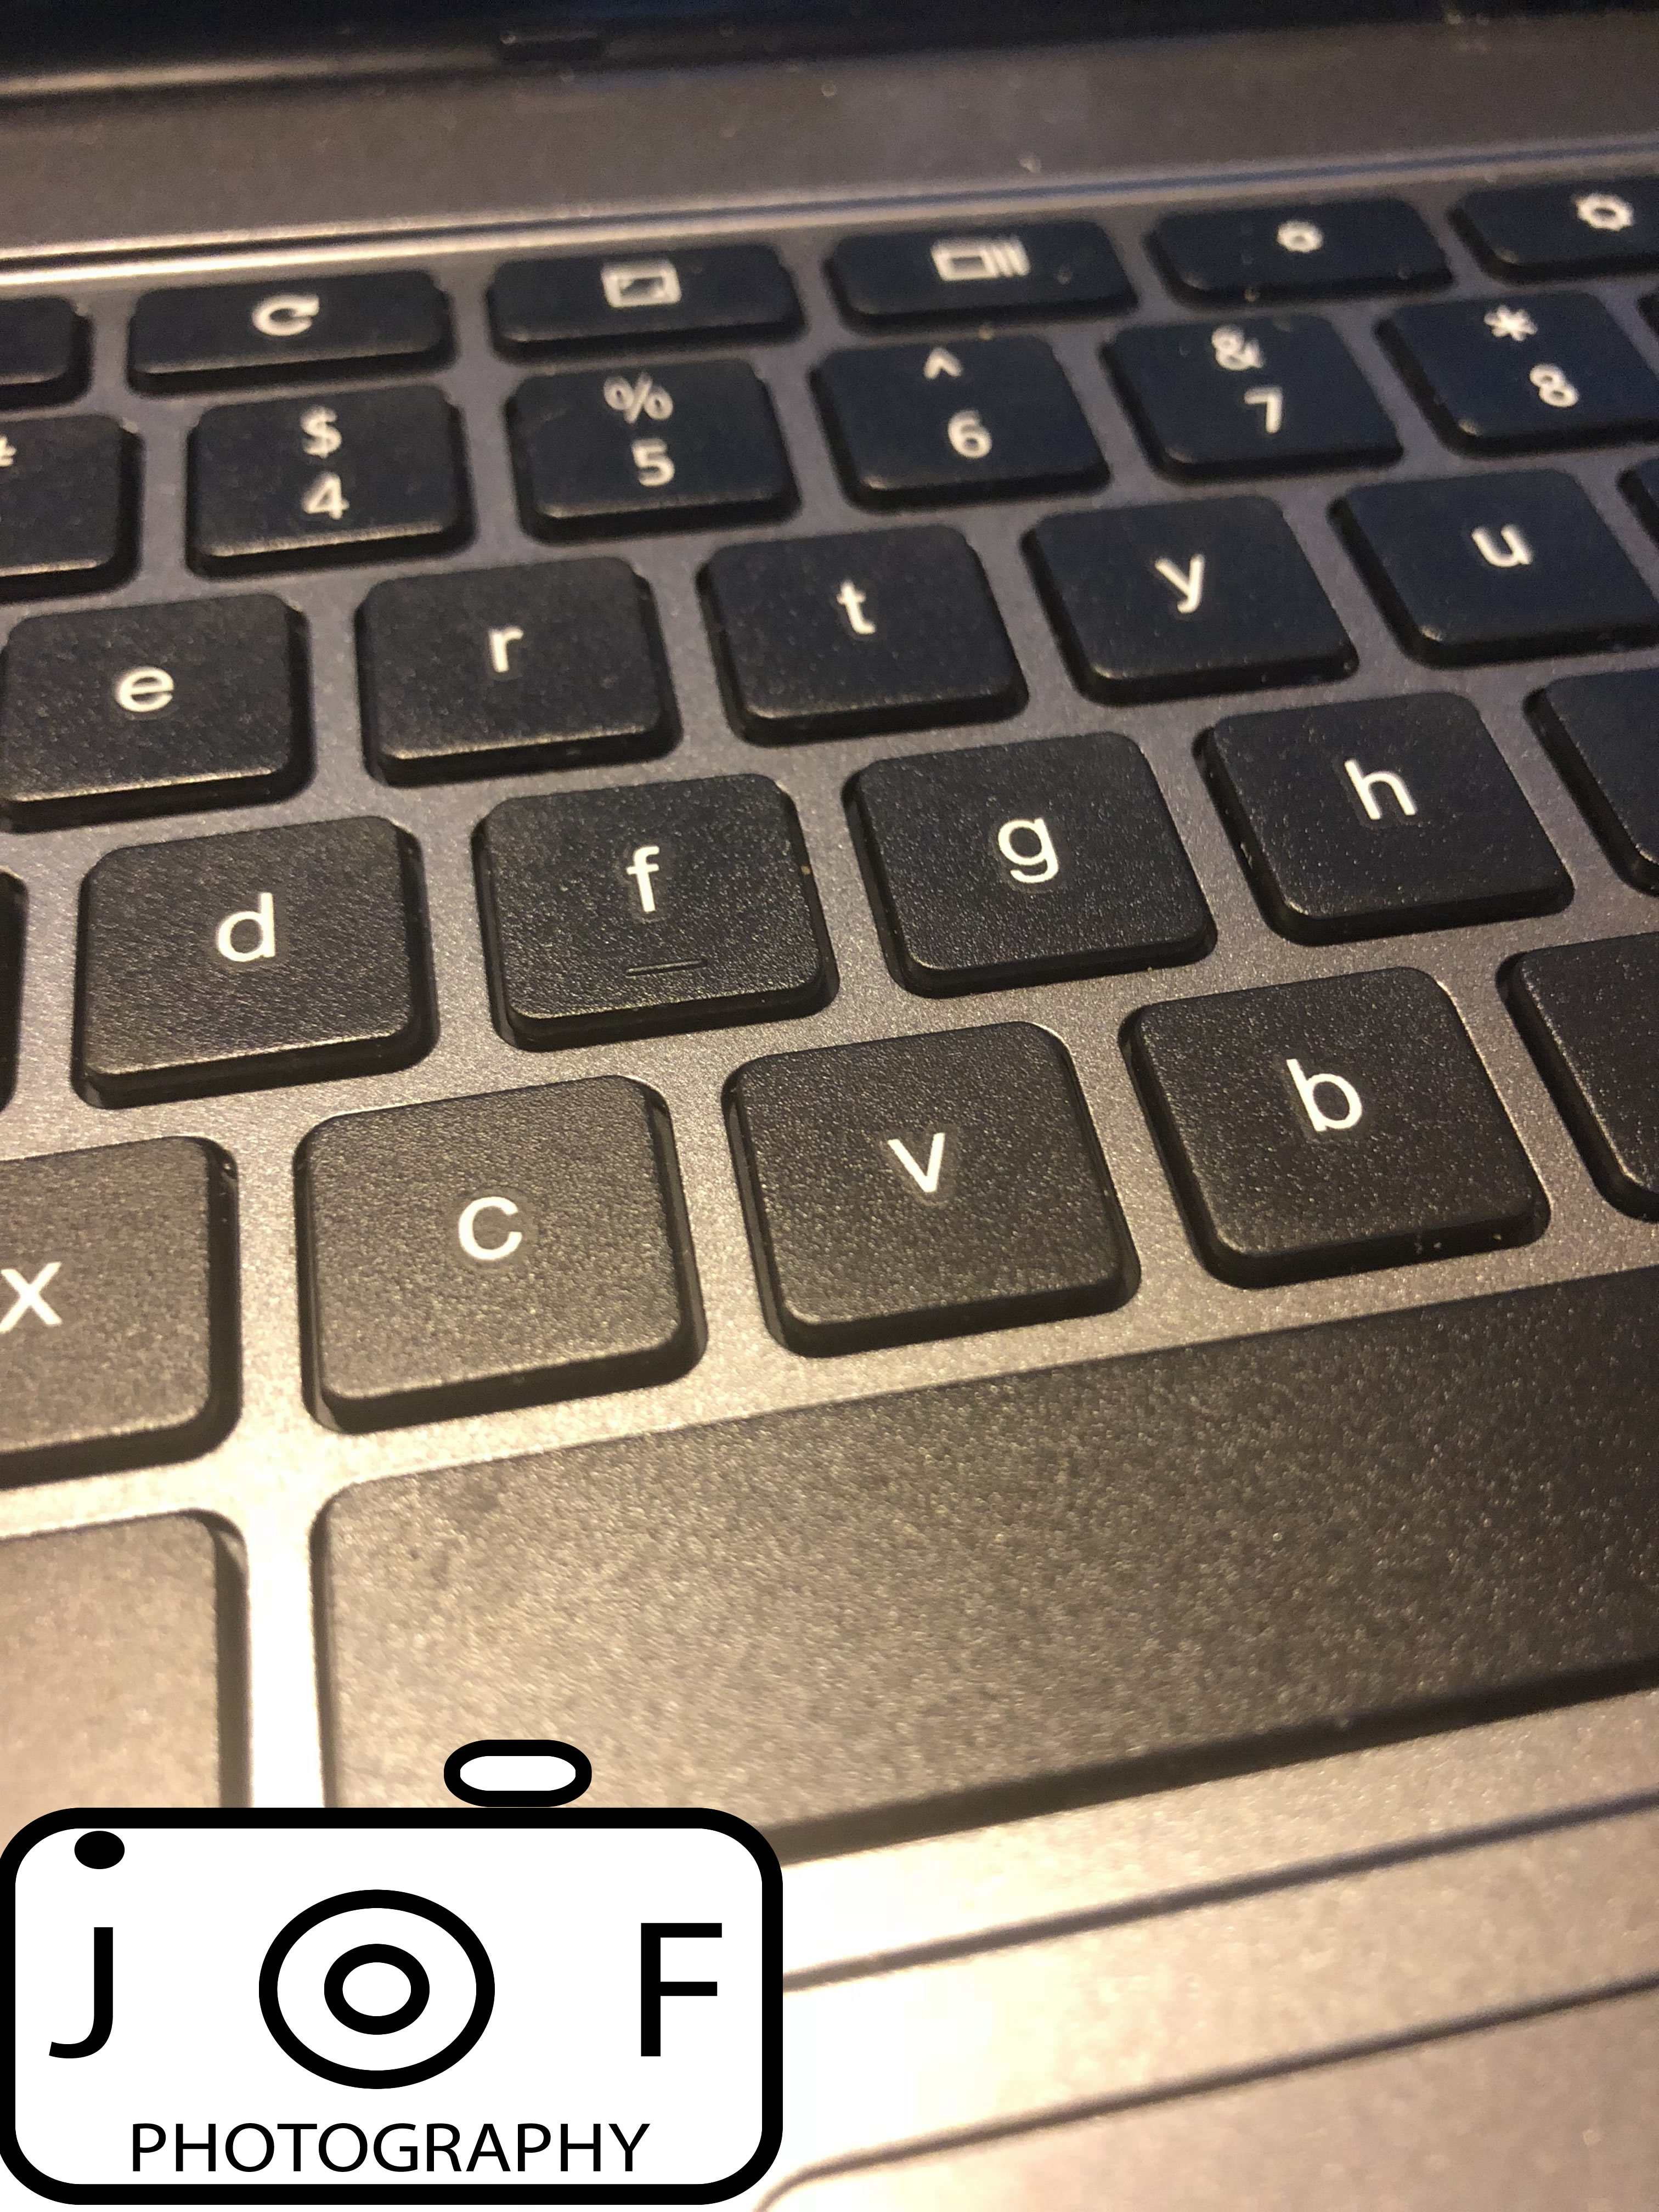
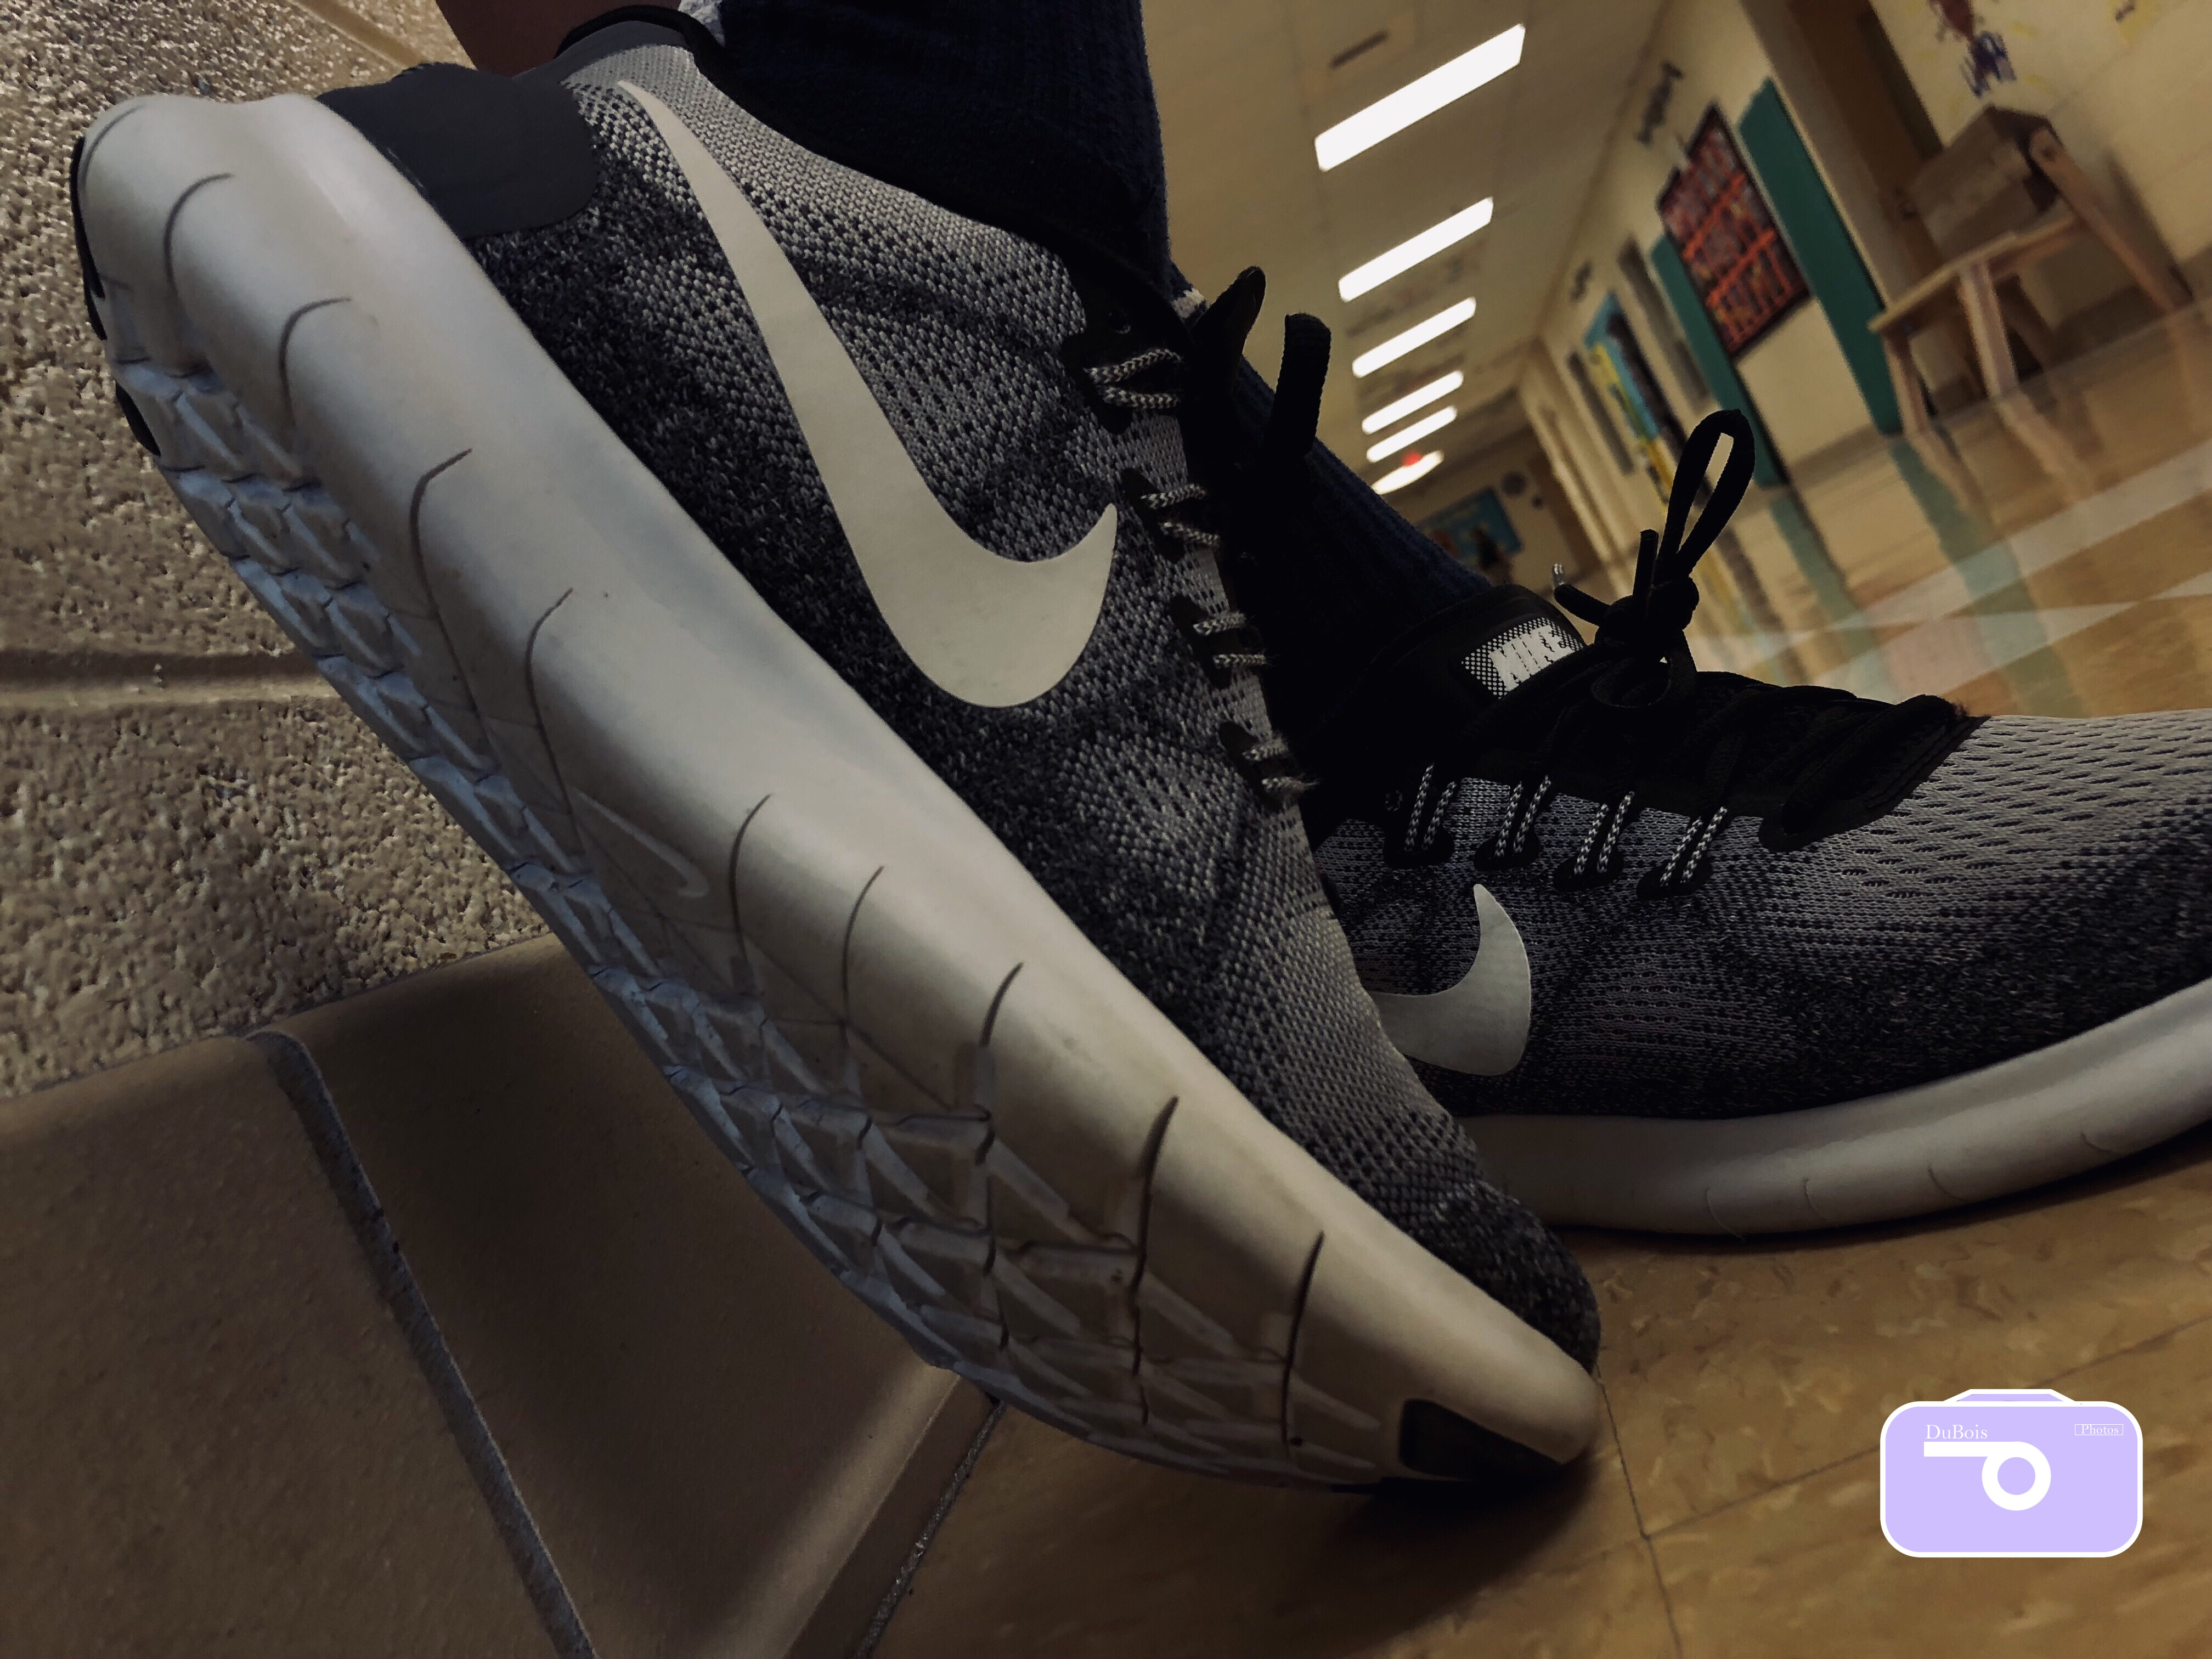
In this project, I was required to take 5 pictures at 5 different angles for one object. One of the challenges of the project was to find an angle that would work, and that would actually look good. The hardest object to take pictures of was the Chromebook, because its not the biggest thing ever, and the angles I had to do were very indifferent. This project helped me understand that you can’t always be happy with one picture, and you sometimes have to vary the angles if you want a perfect picture.
What worked was using the grids on my phone and what didn’t work was not using the grids. At first I didn’t like the rule of thirds and didn’t know how to use it. But once I learned how to use it I thought it was a cool way to get different angles from one object. To take the pictures I set up the shot by using the grids on my phone. I made sure the object I was taking a picture of was on one side and matched up with the grid. See the rest of my pictures here.
For this project we had to take pictures of multiple different objects from 5 different angles, one of them had to be a person. One of the challenges I had with this project was having different angles, instead of just bringing the camera around the object. On the other hand, it was easy for me to find the objects to take pictures of because we had a choice on the 3 different objects. The hardest thing to take a picture of was my sister. This was the hardest in my opinion because she was suppose to stay in the same place but when she moved I had to start over. I also couldn’t have all the control I wanted when taking the pictures of her. I learned that angles aren’t the same thing as moving your camera, it is tilting and rotating it to get the right photograph. In conclusion I had a lot of fun from this project because of the freedom I had with this assignment and being able to choose are angles and what we took pictures of.