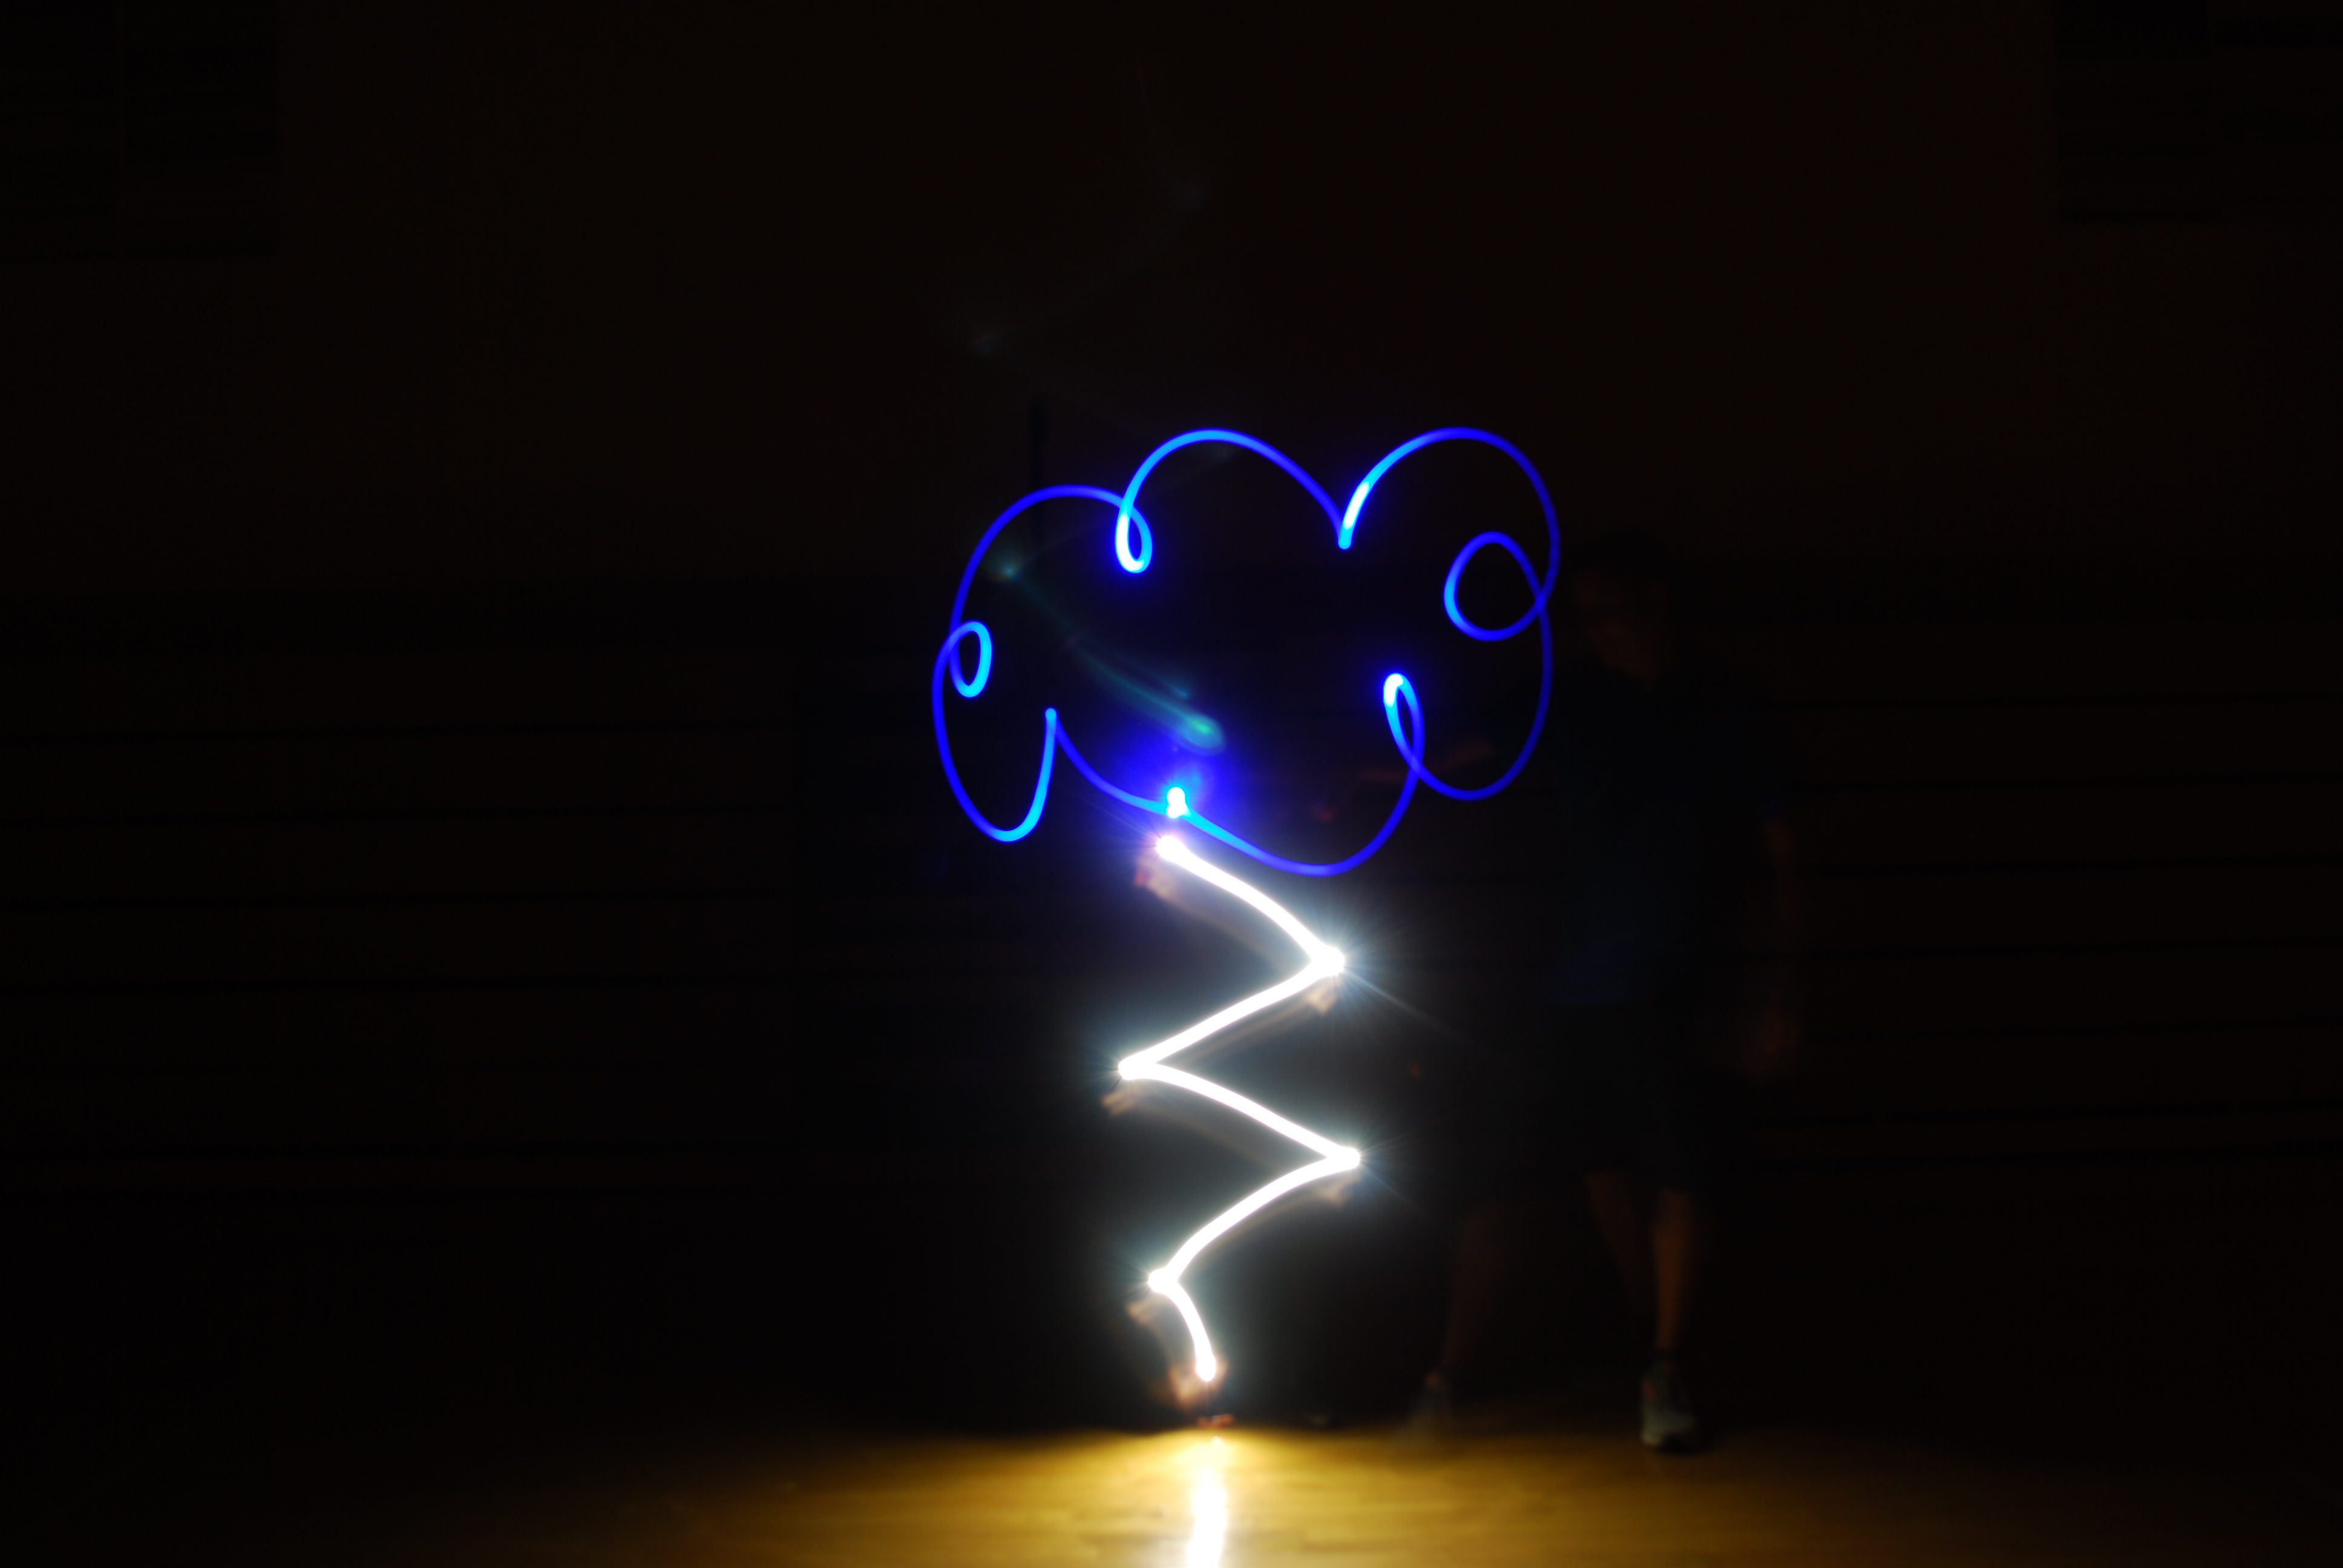
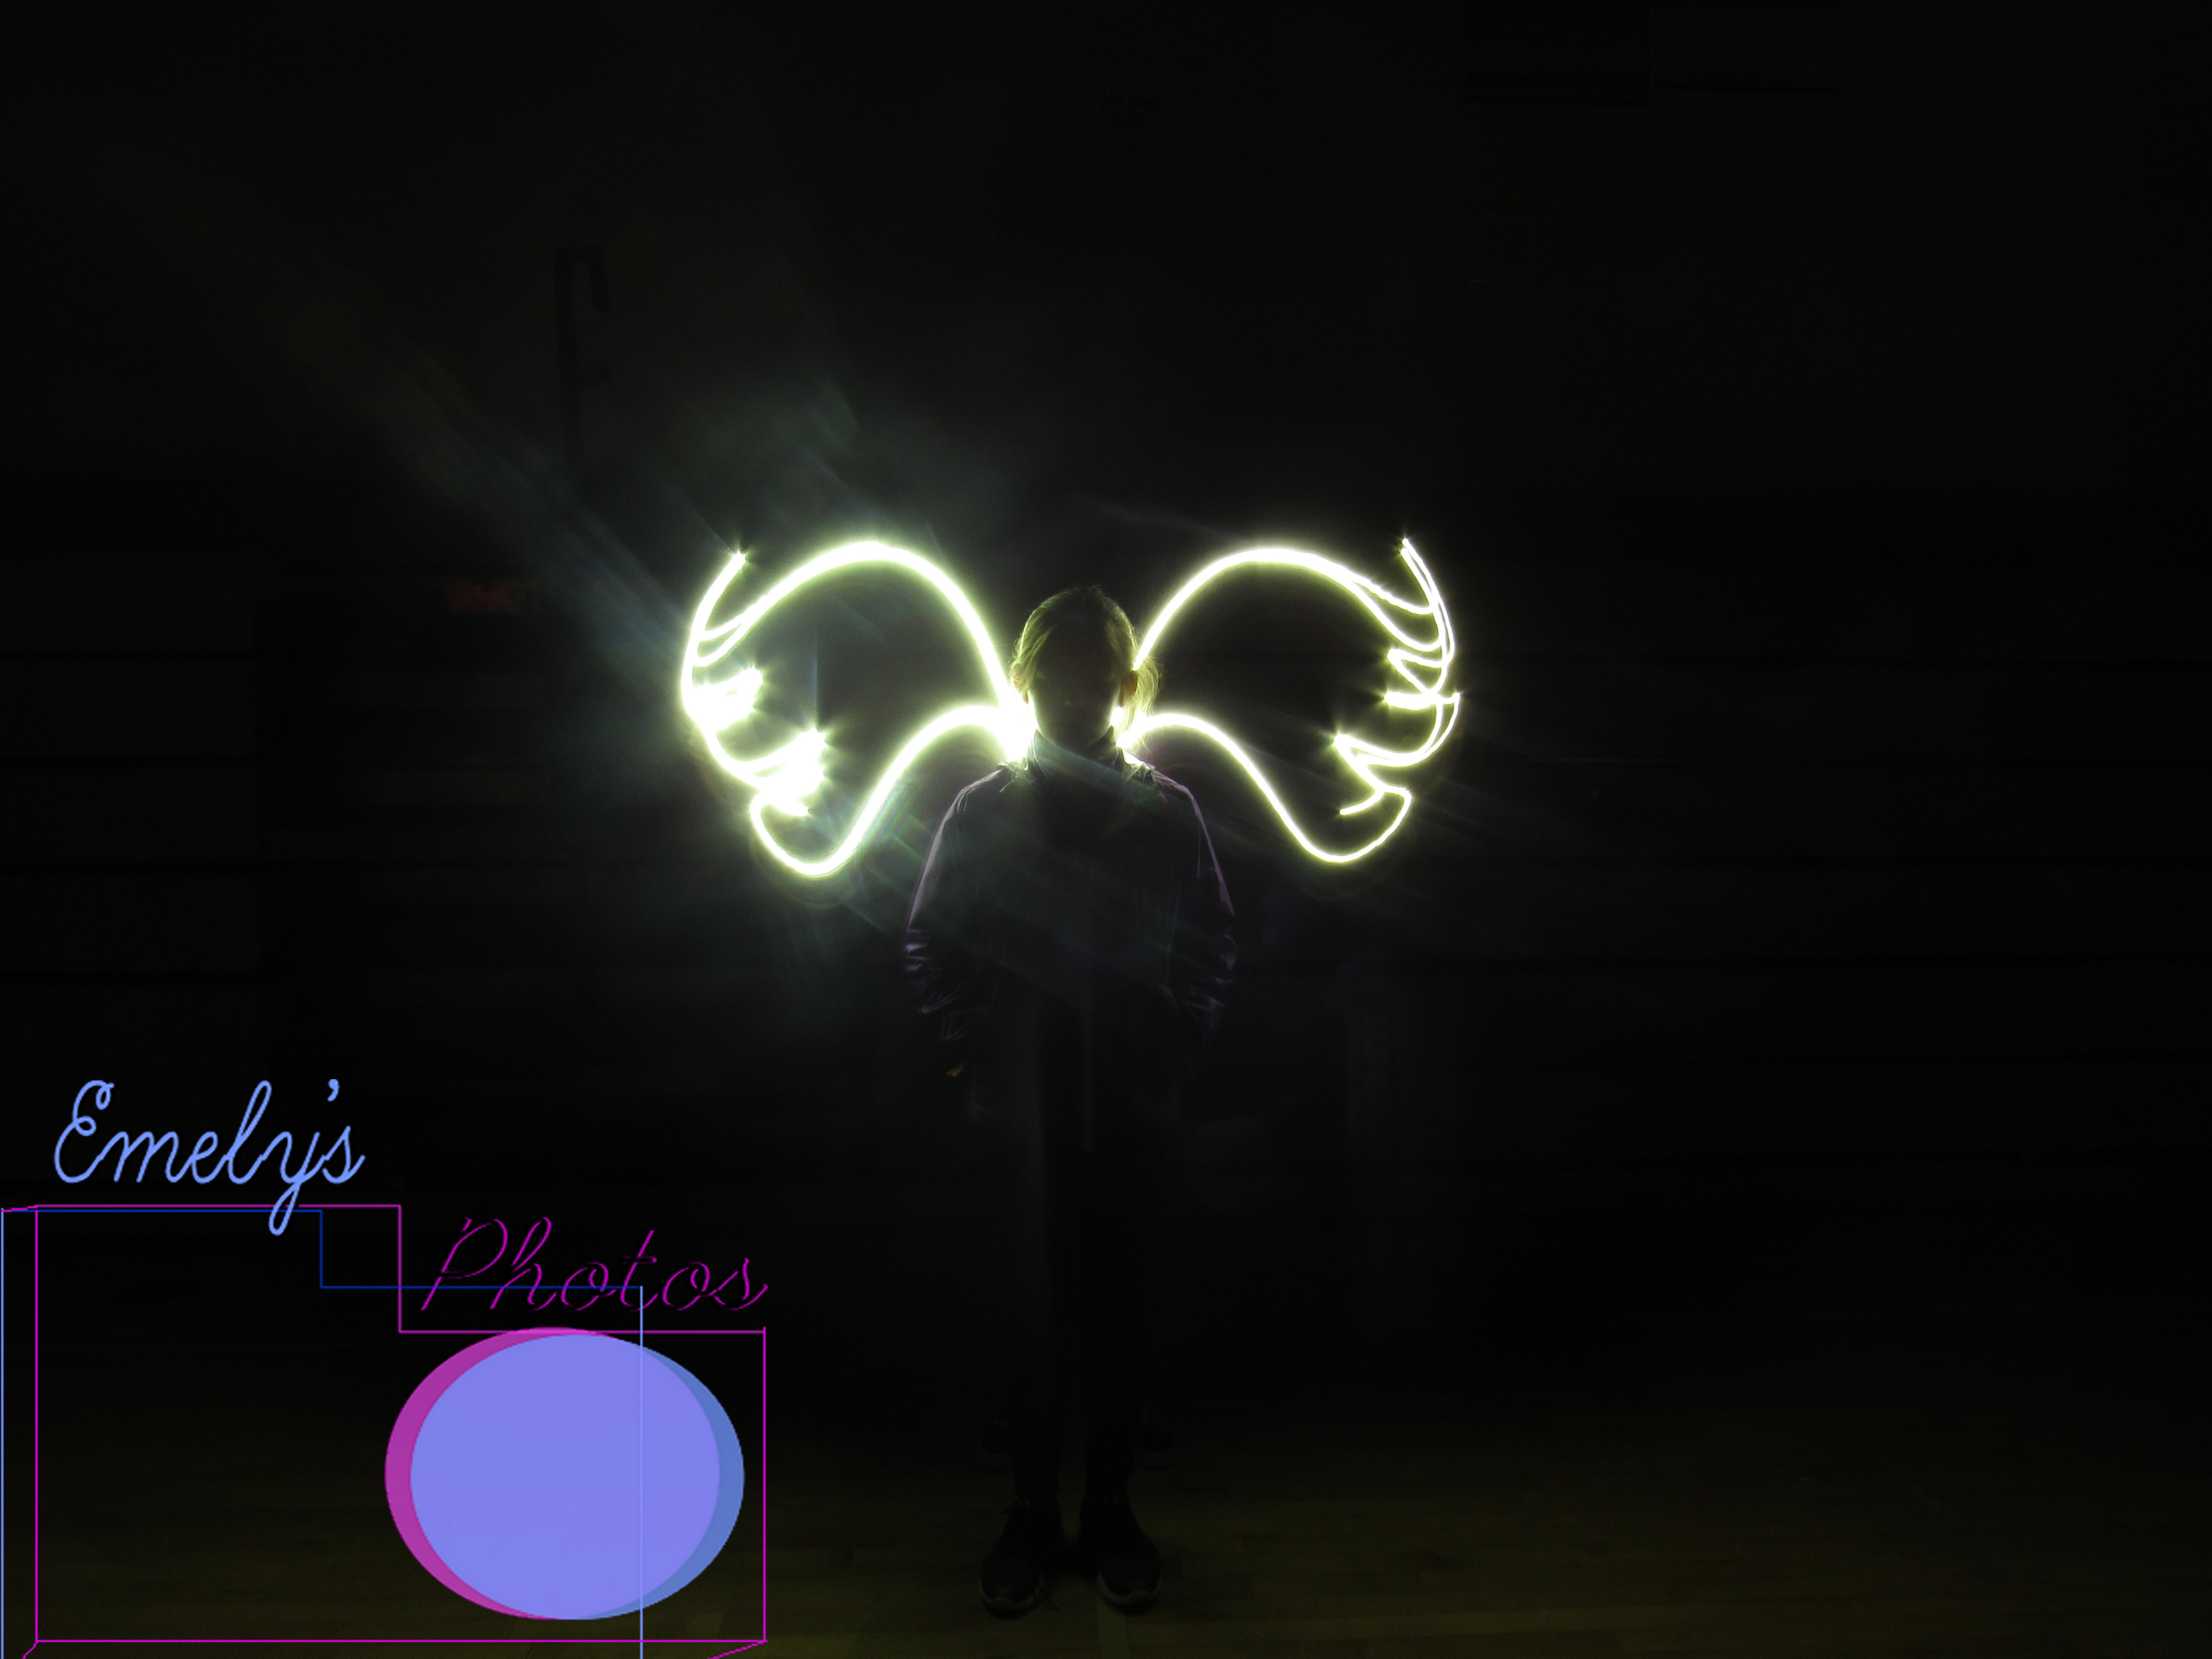
This project involved something that I am really bad at: Good Handwriting. The picture above is one of my groups better pictures. If you go to the link you can find my pictures easily. They will be the ones that you can’t figure out what they are supposed to be. During this project we had to leave the shutter open, turn off all the lights and draw in midair with lights.
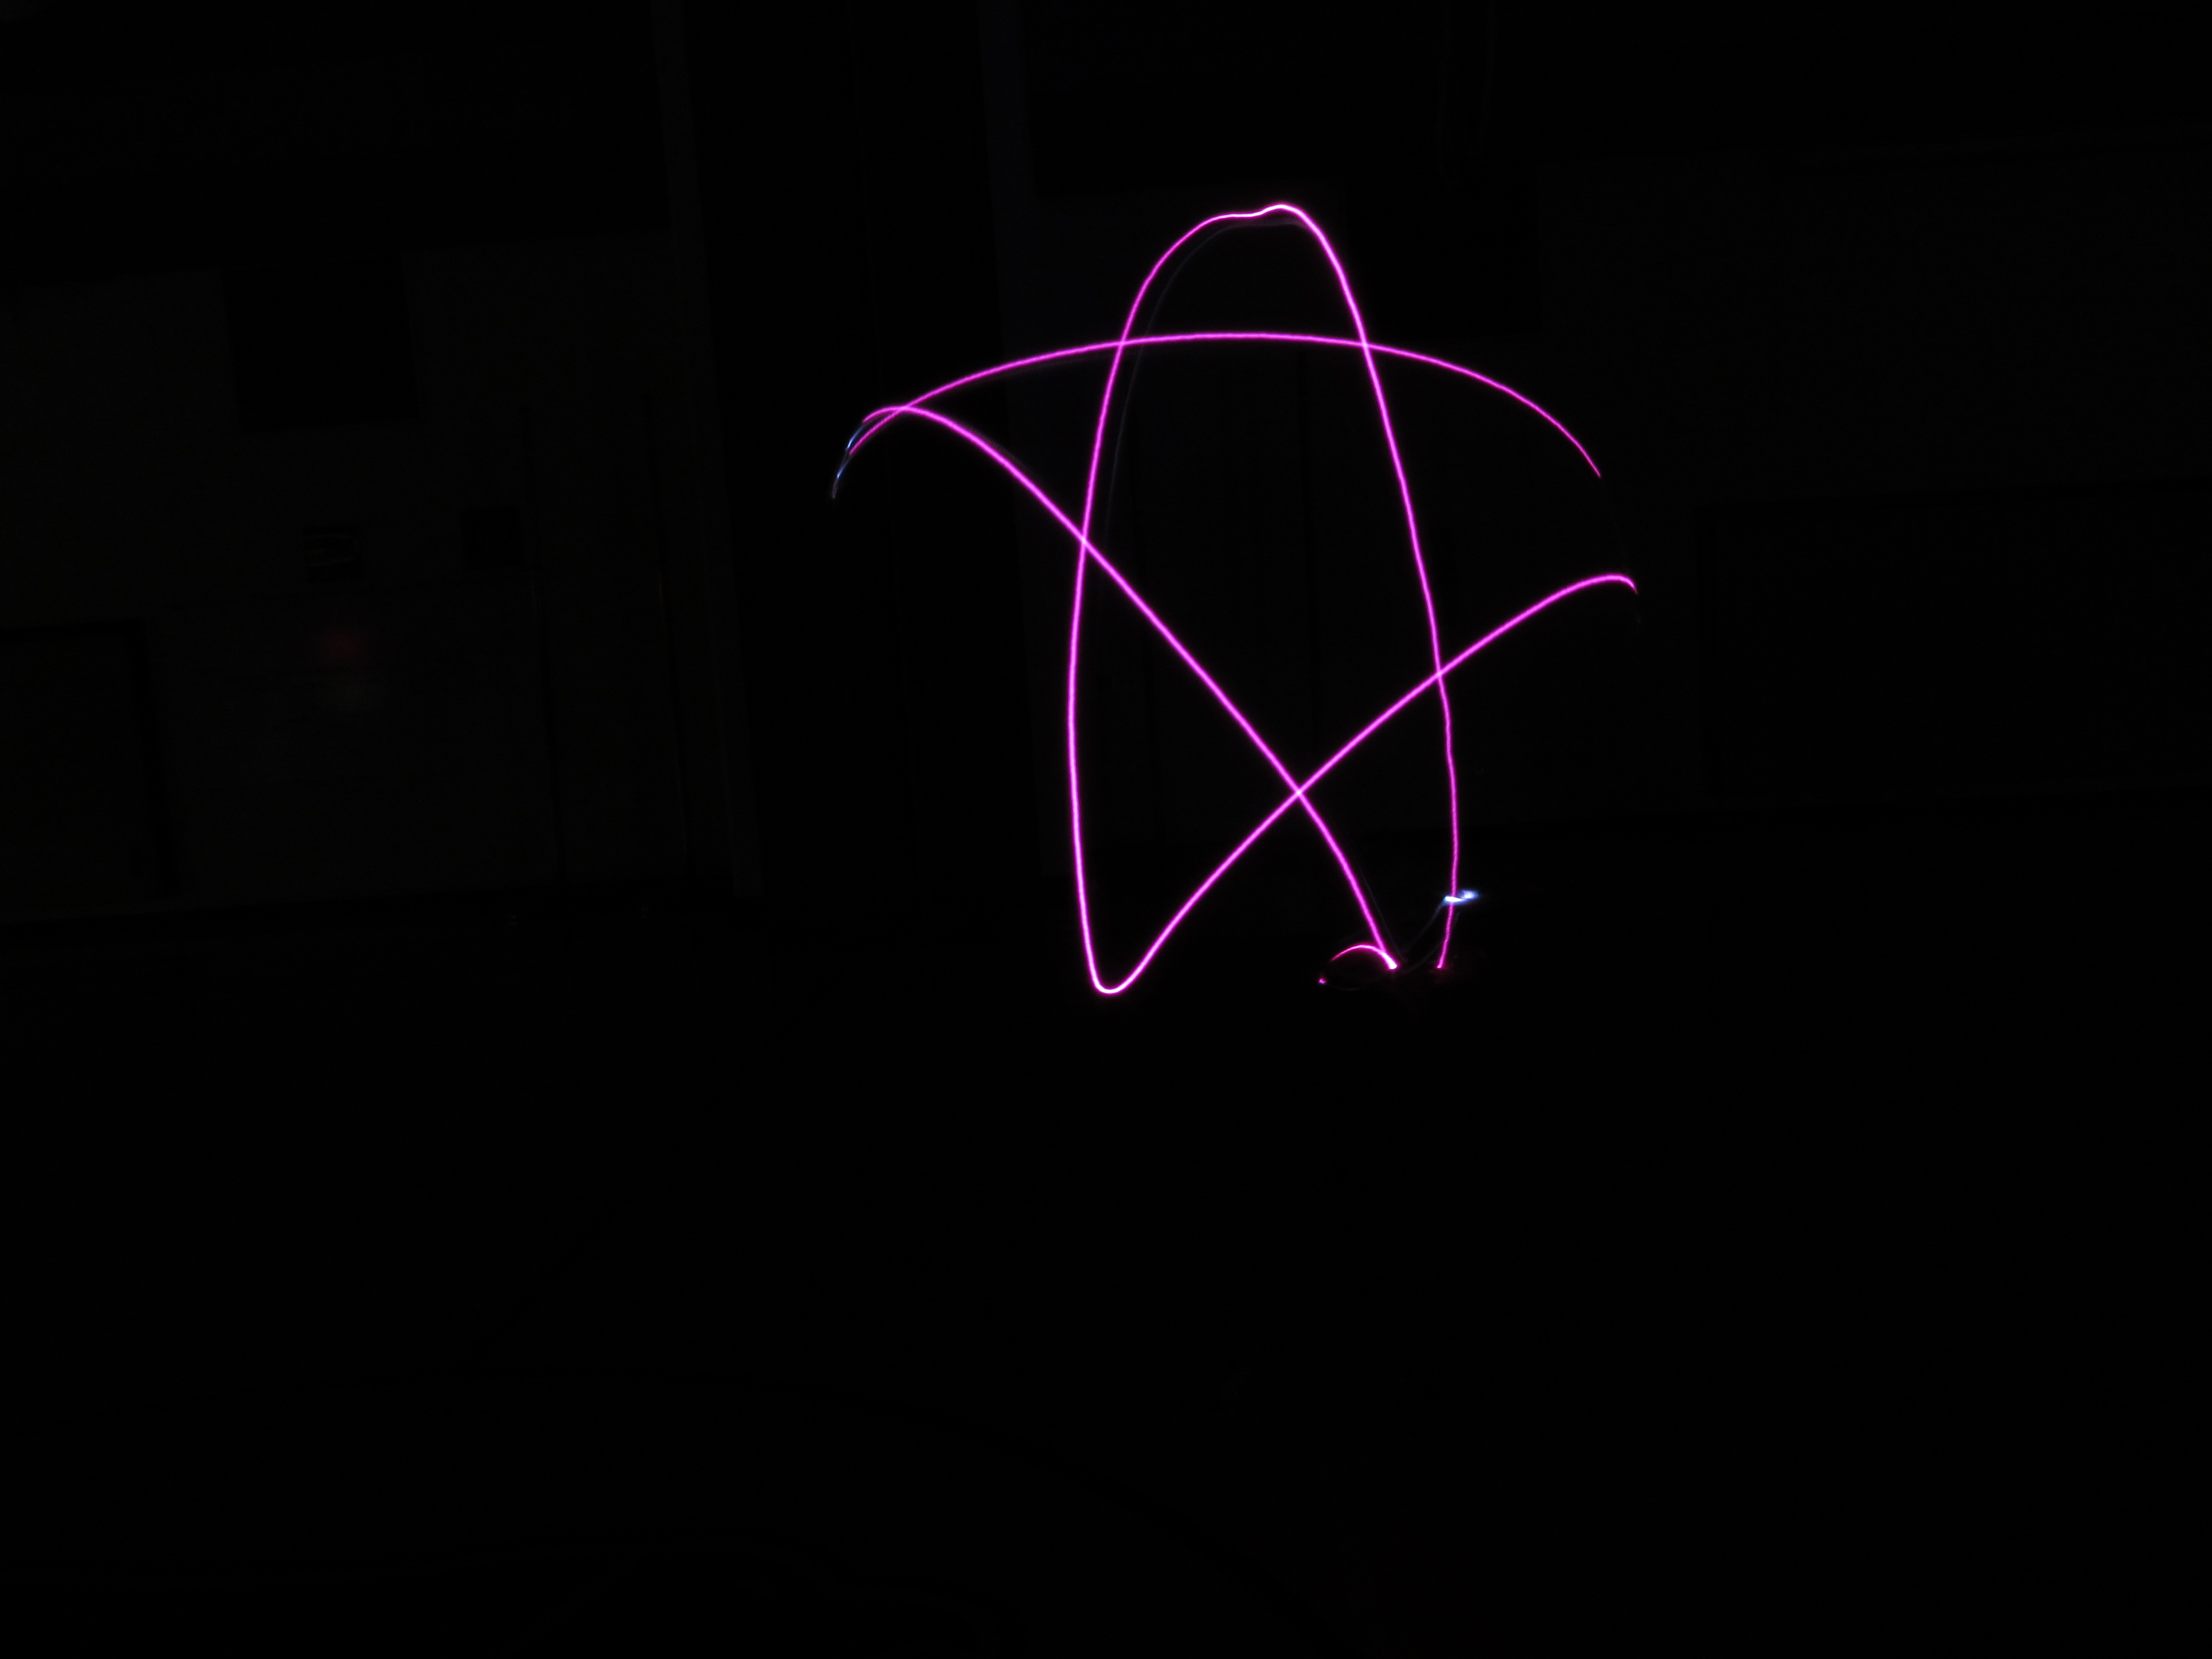
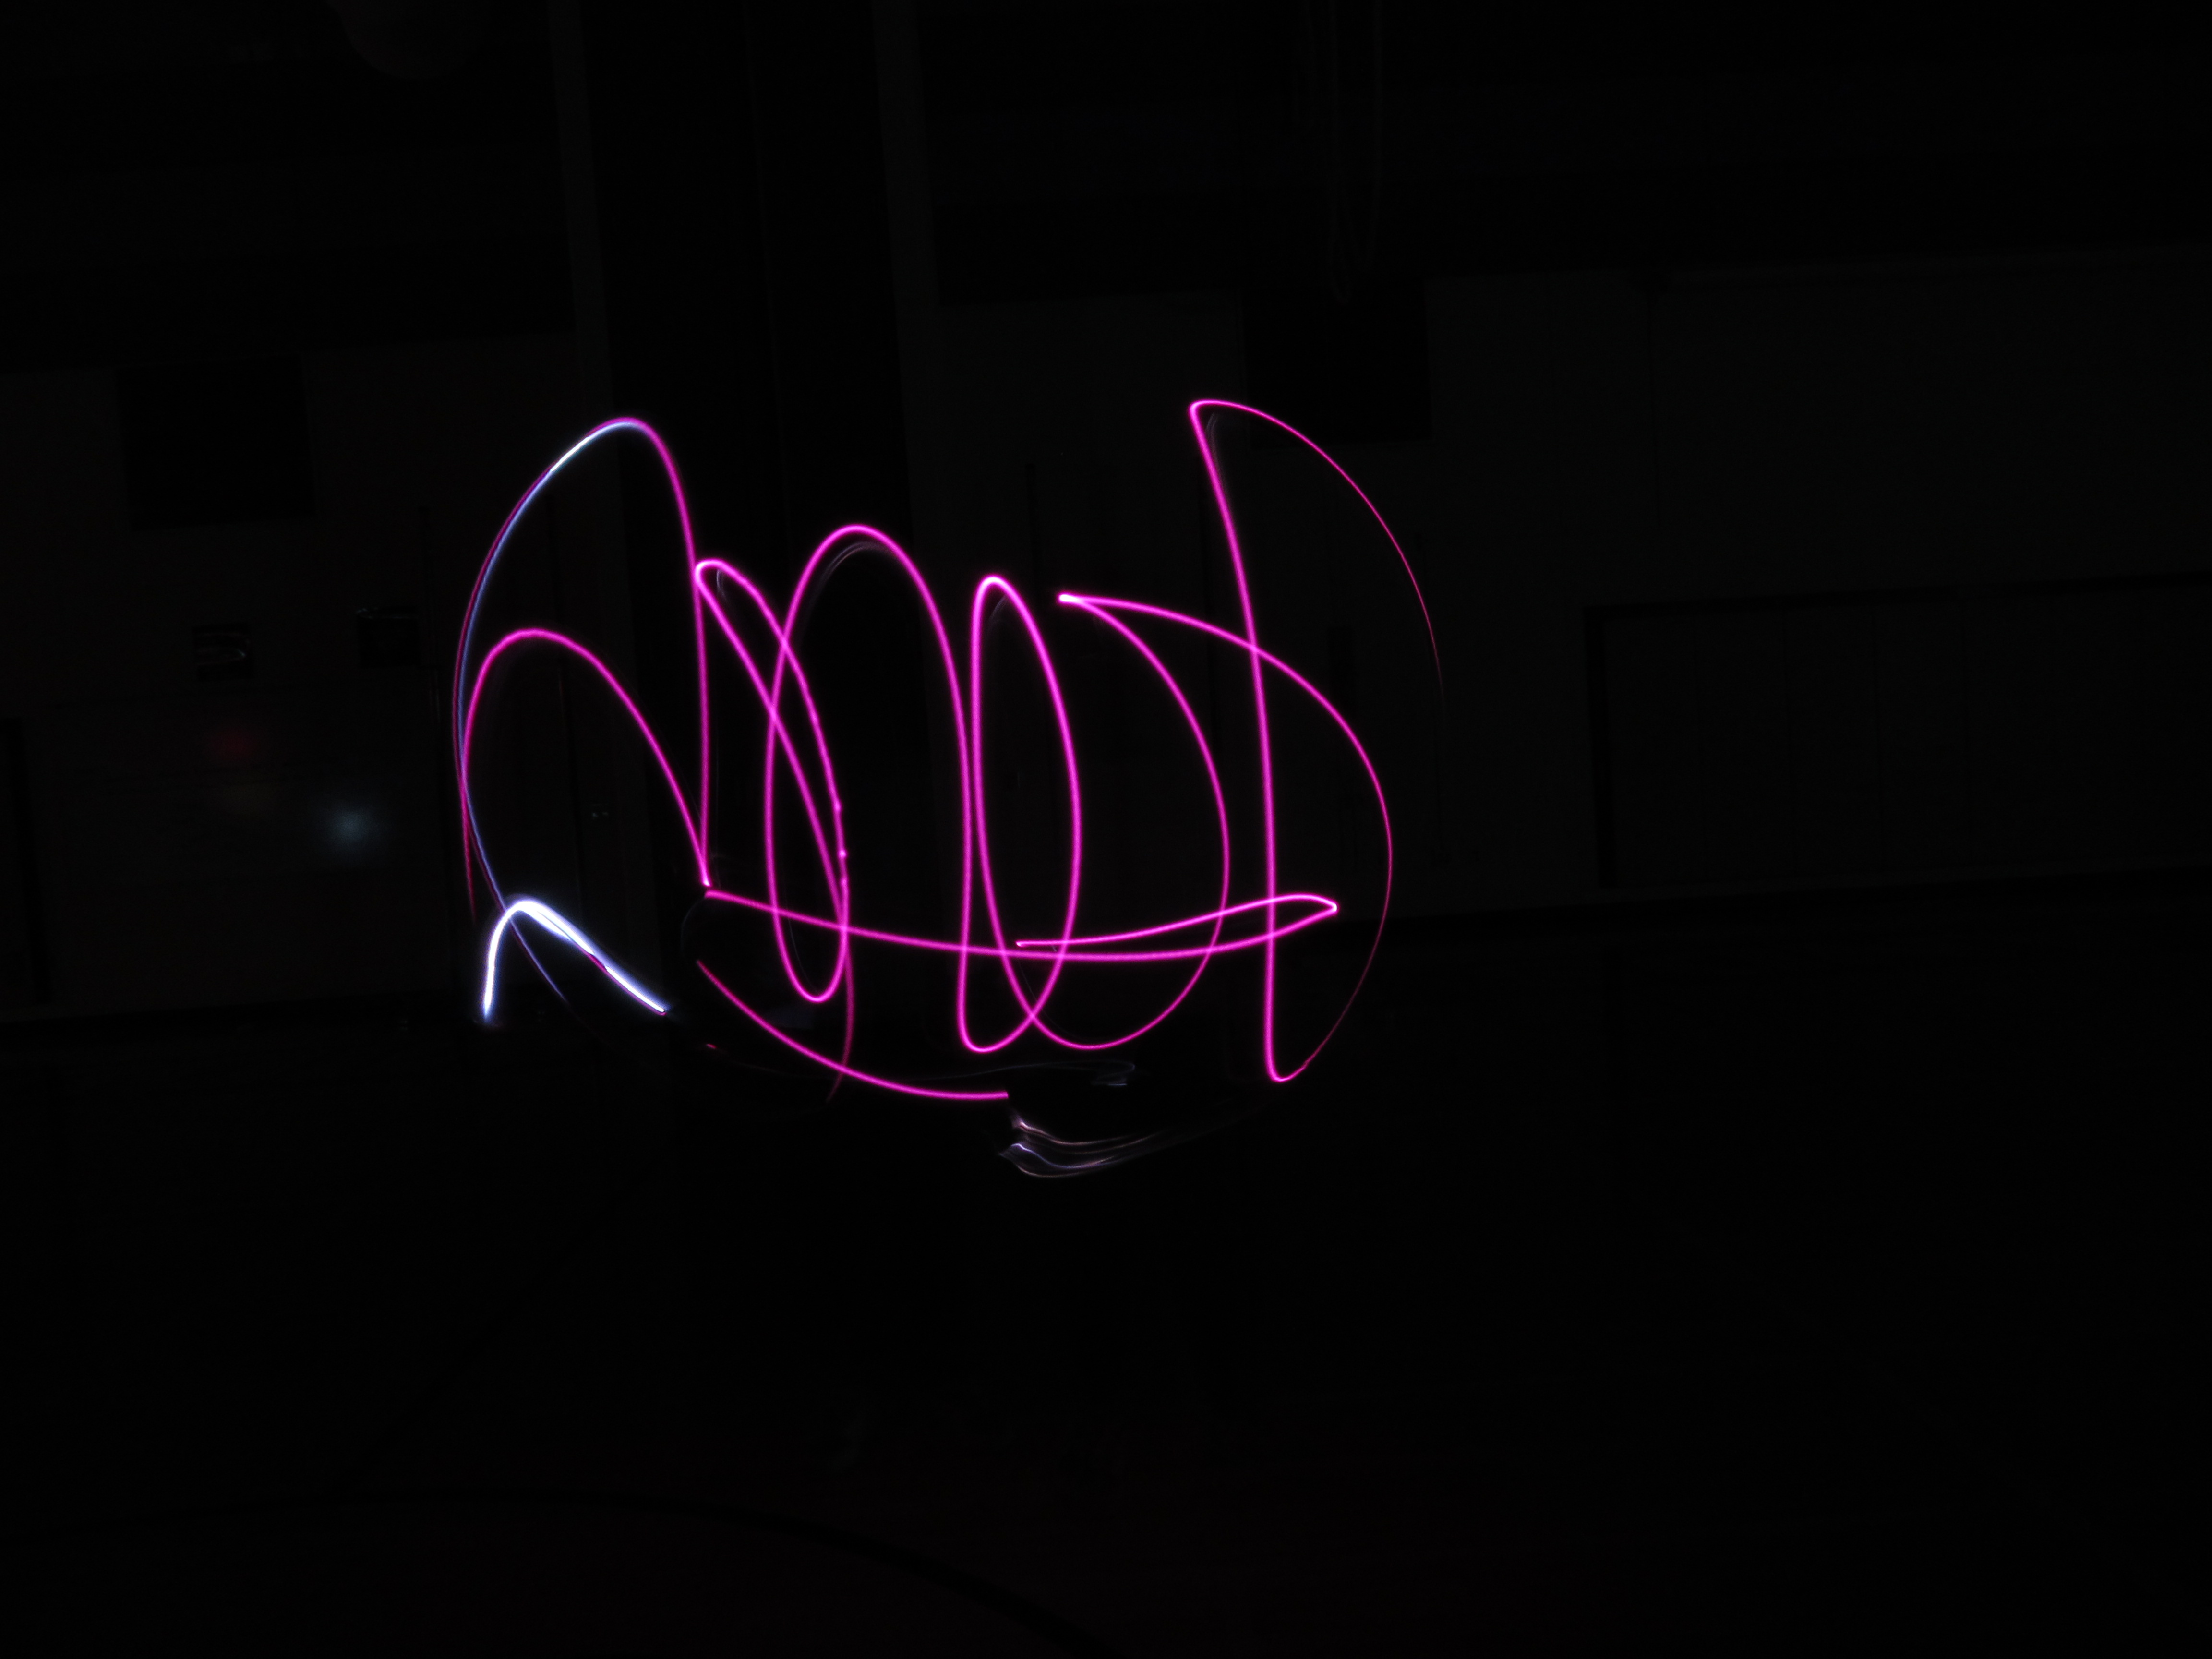
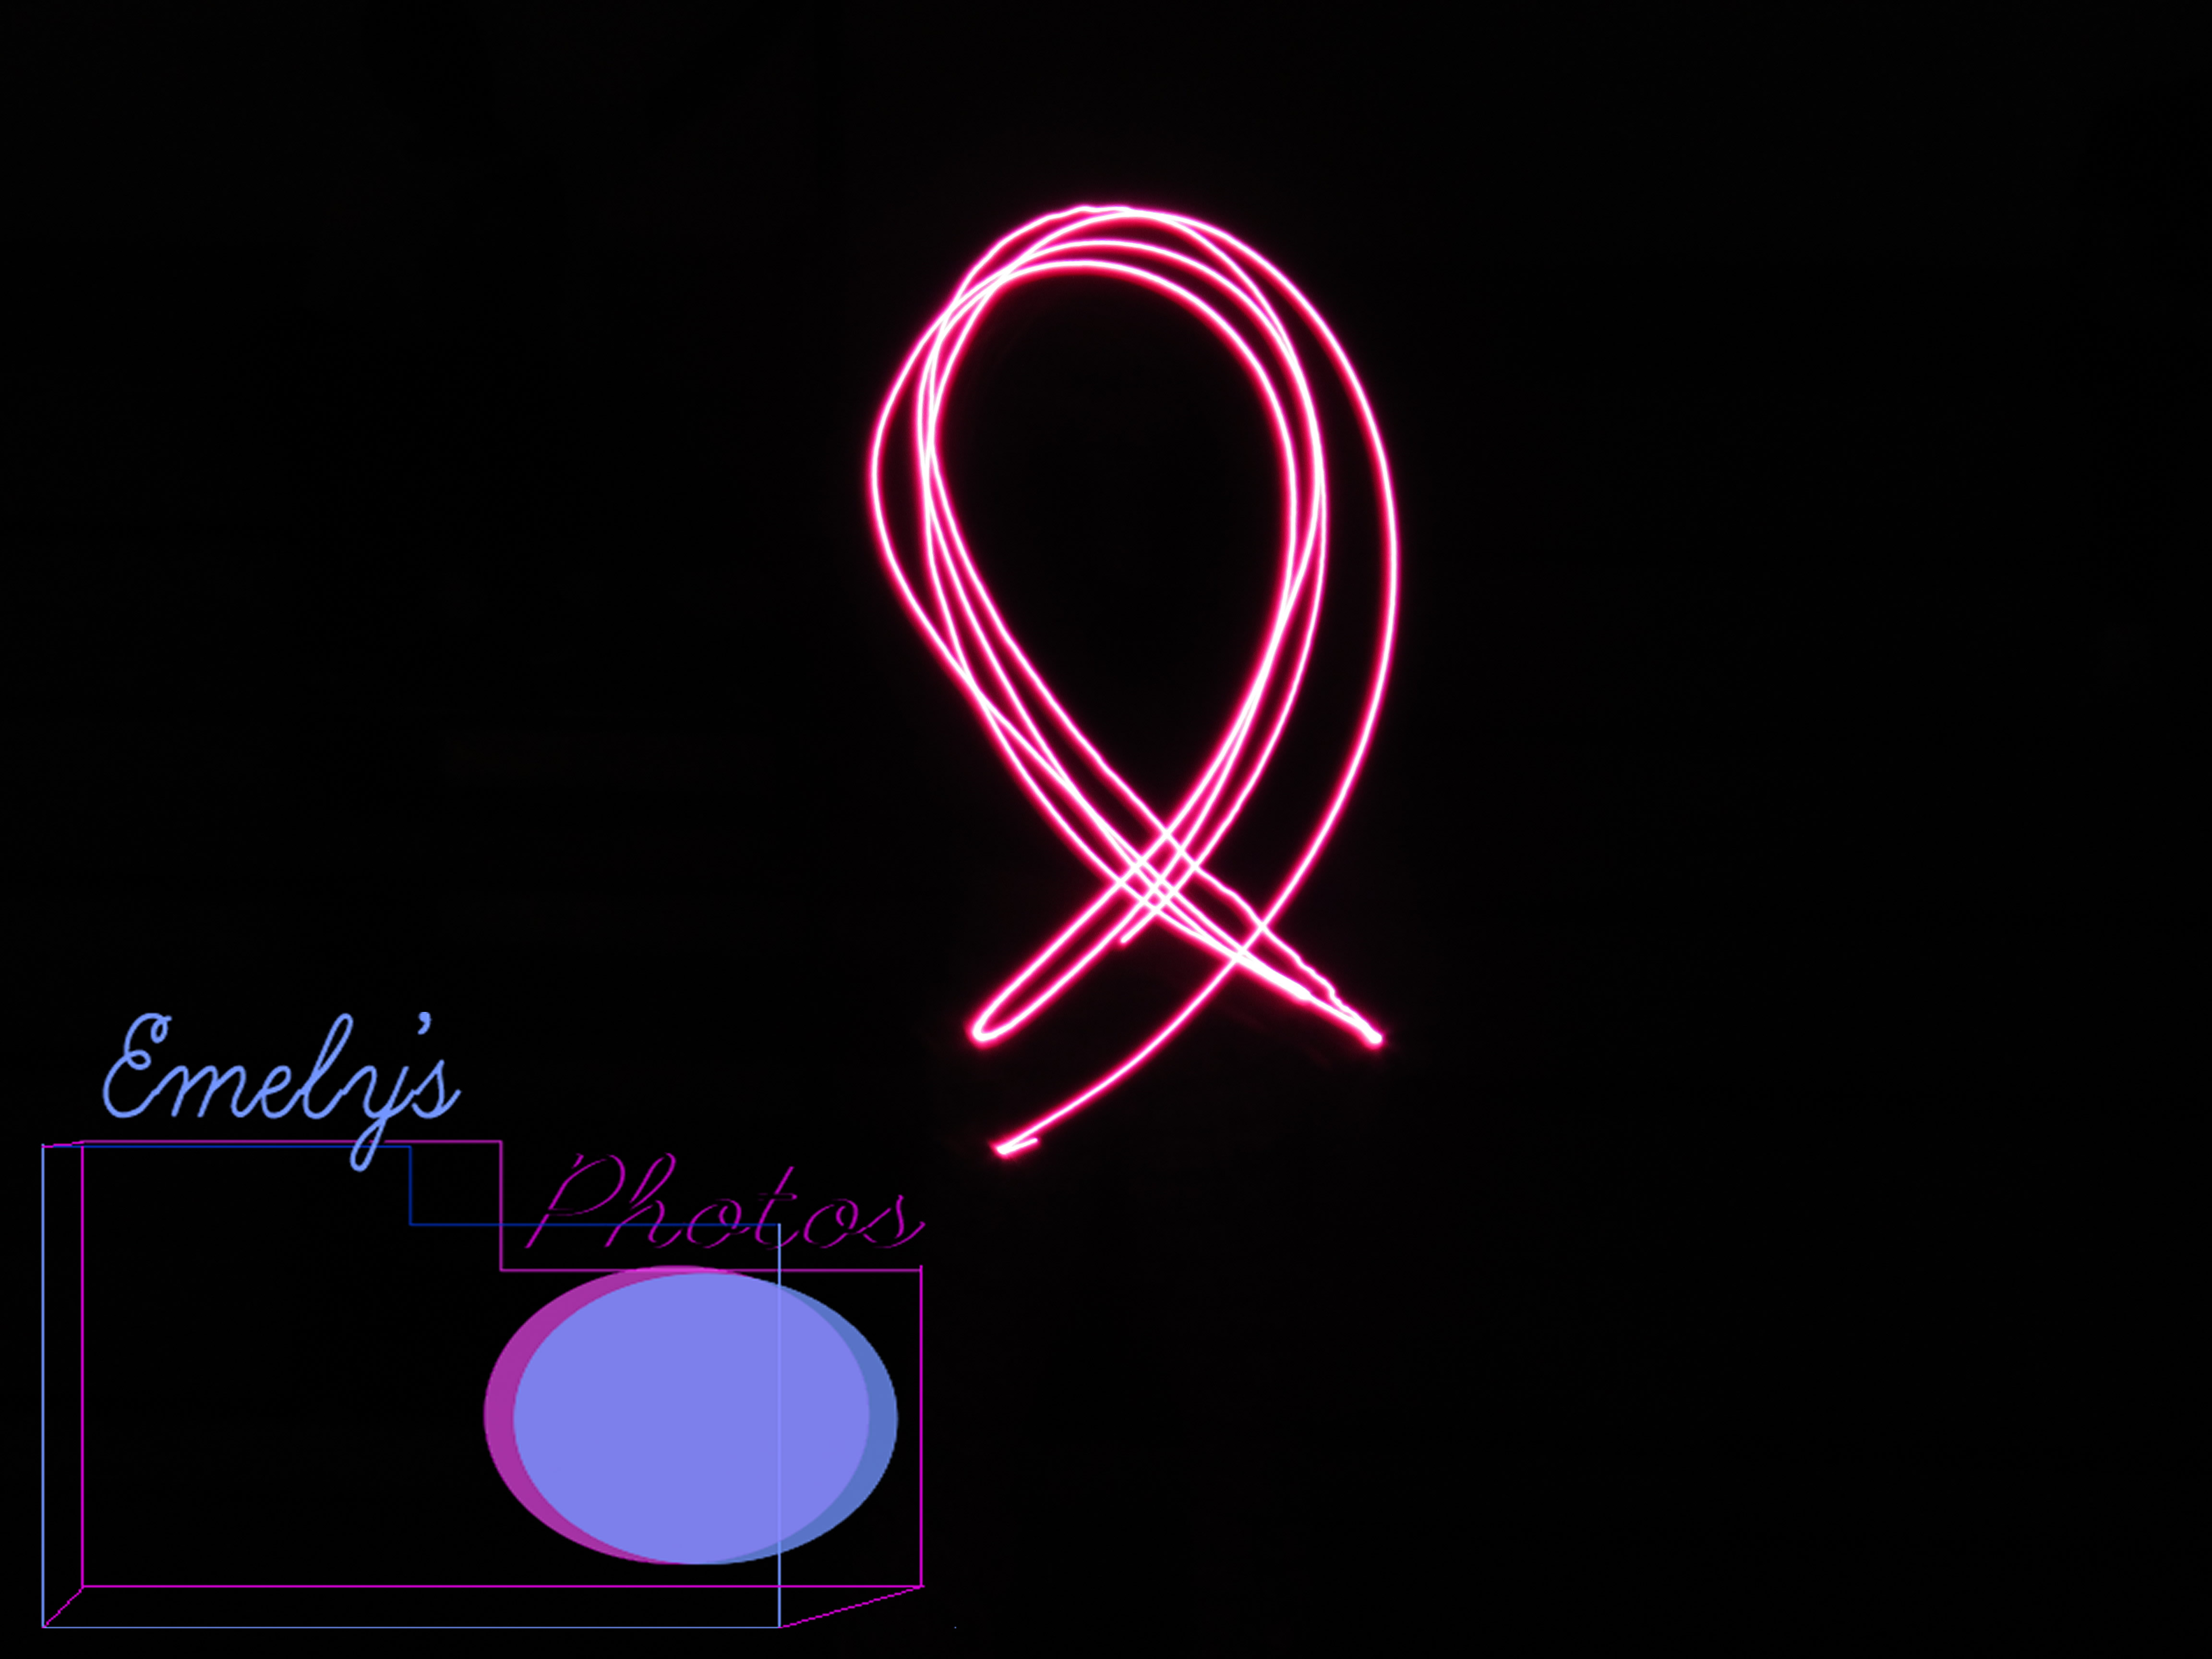
light graffiti is when you set your camera settings to ISO 80 and a shutter speed up 15 seconds. we turned all of the lights and took flash lights and drawled things in the air. what worked was using the lights and what didn’t work was trying to make something with the lights. it was frustrating when we had to make sure the light was facing the camera. one thing i thought of was making a picture of some character in a cartoon.
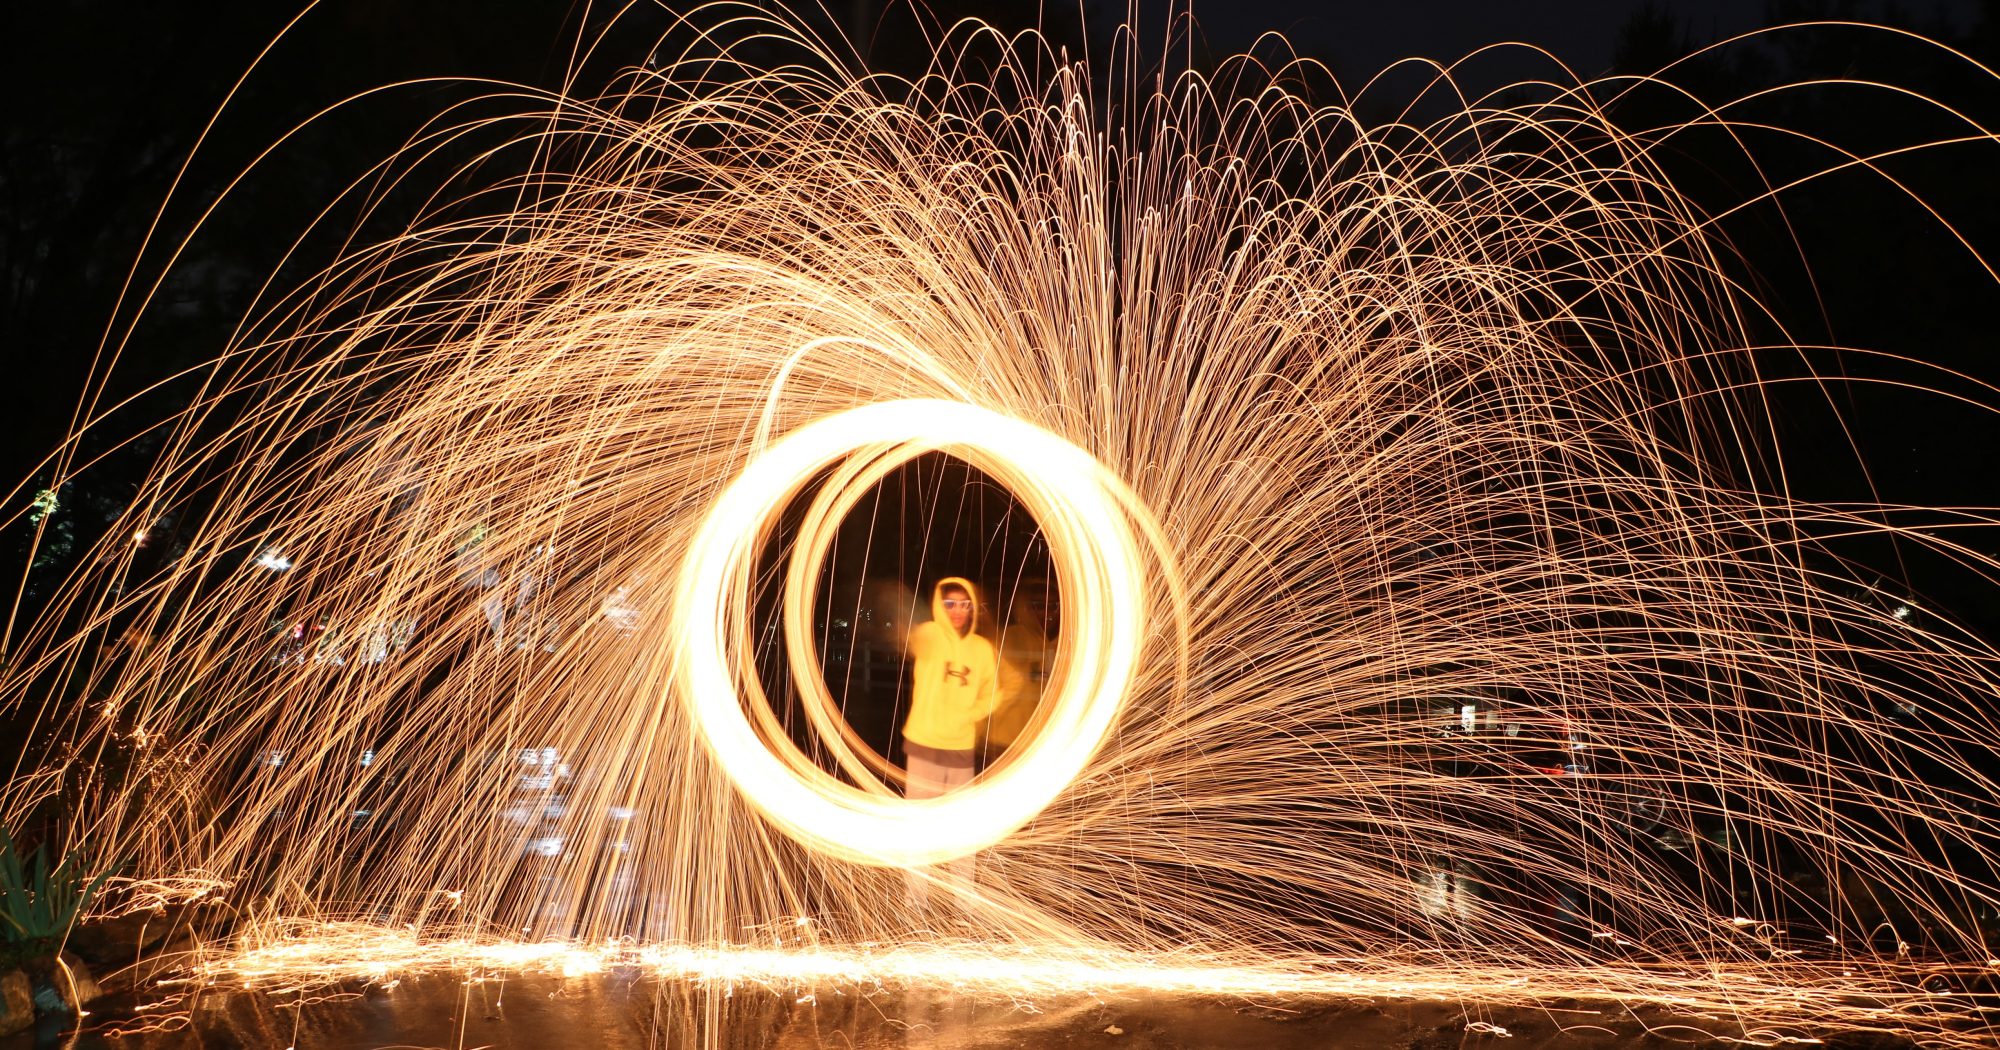
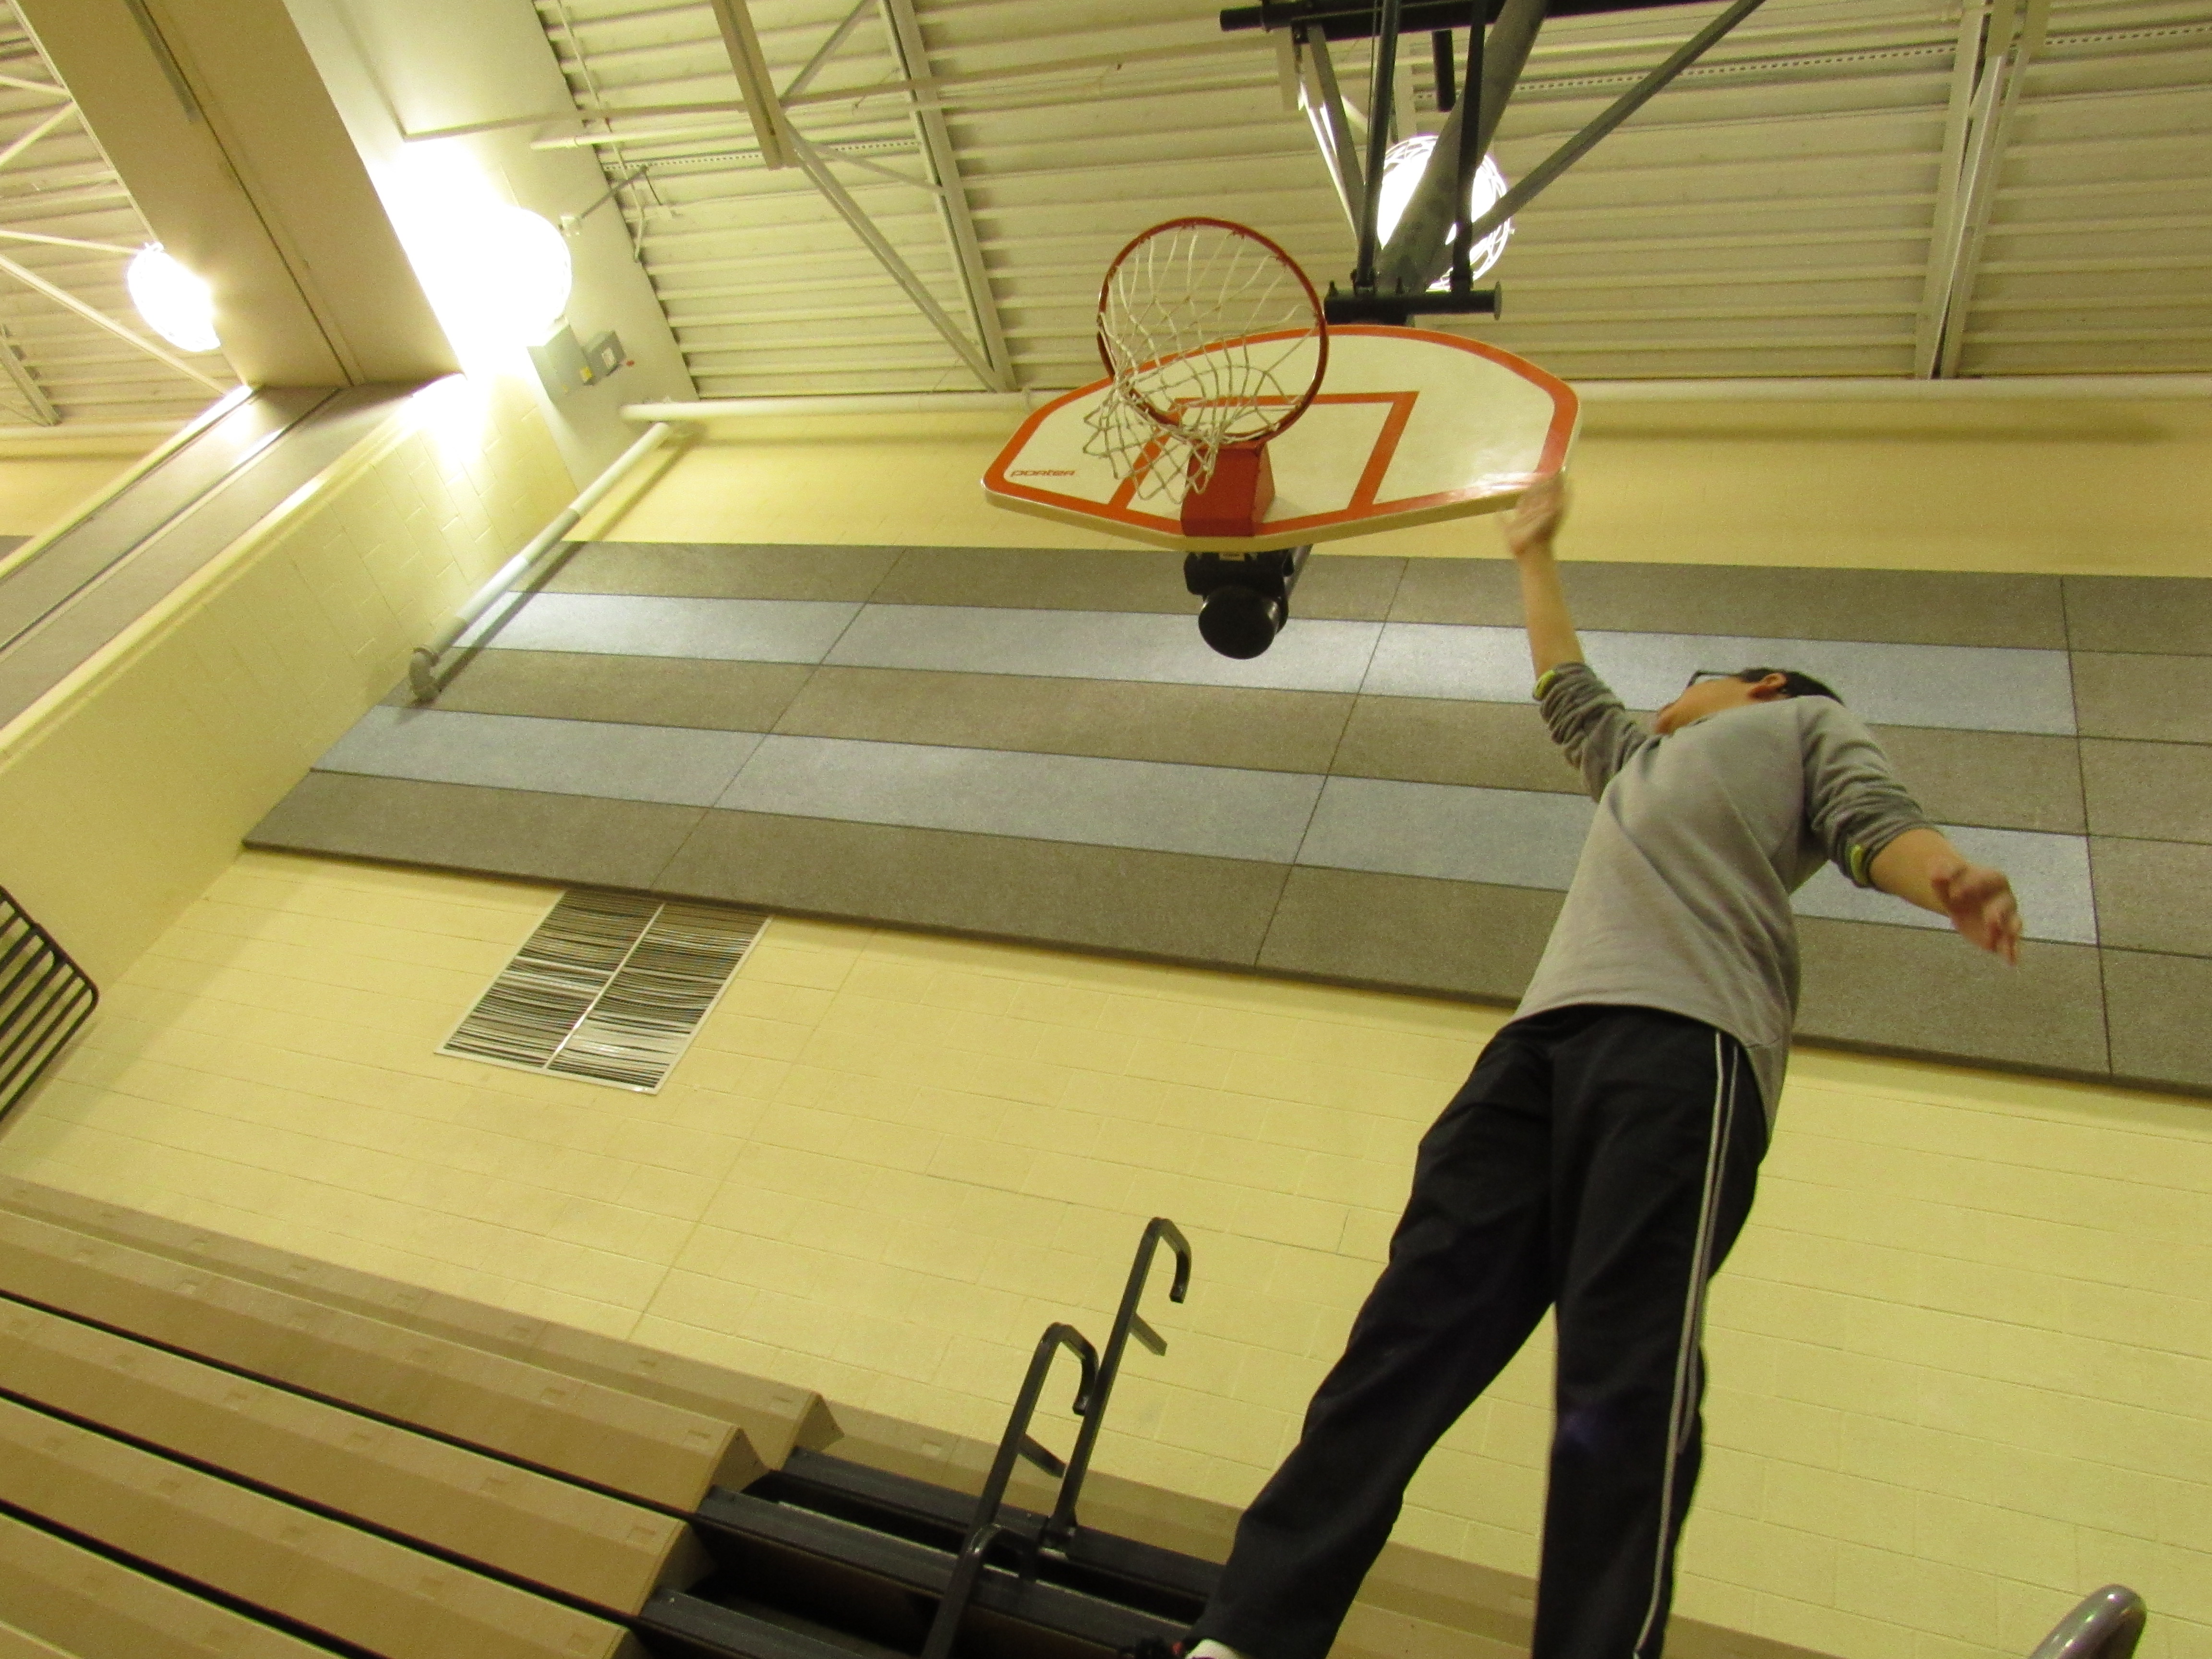
Doing this project was hard because we had to make your eyes travel so you can focus on the picture. In the picture above, I am standing on a chair appearing to dunk on the basketball hoop. At first when you look at the picture you automatically look at the middle. Your eyes then travel to see me standing on the chair.
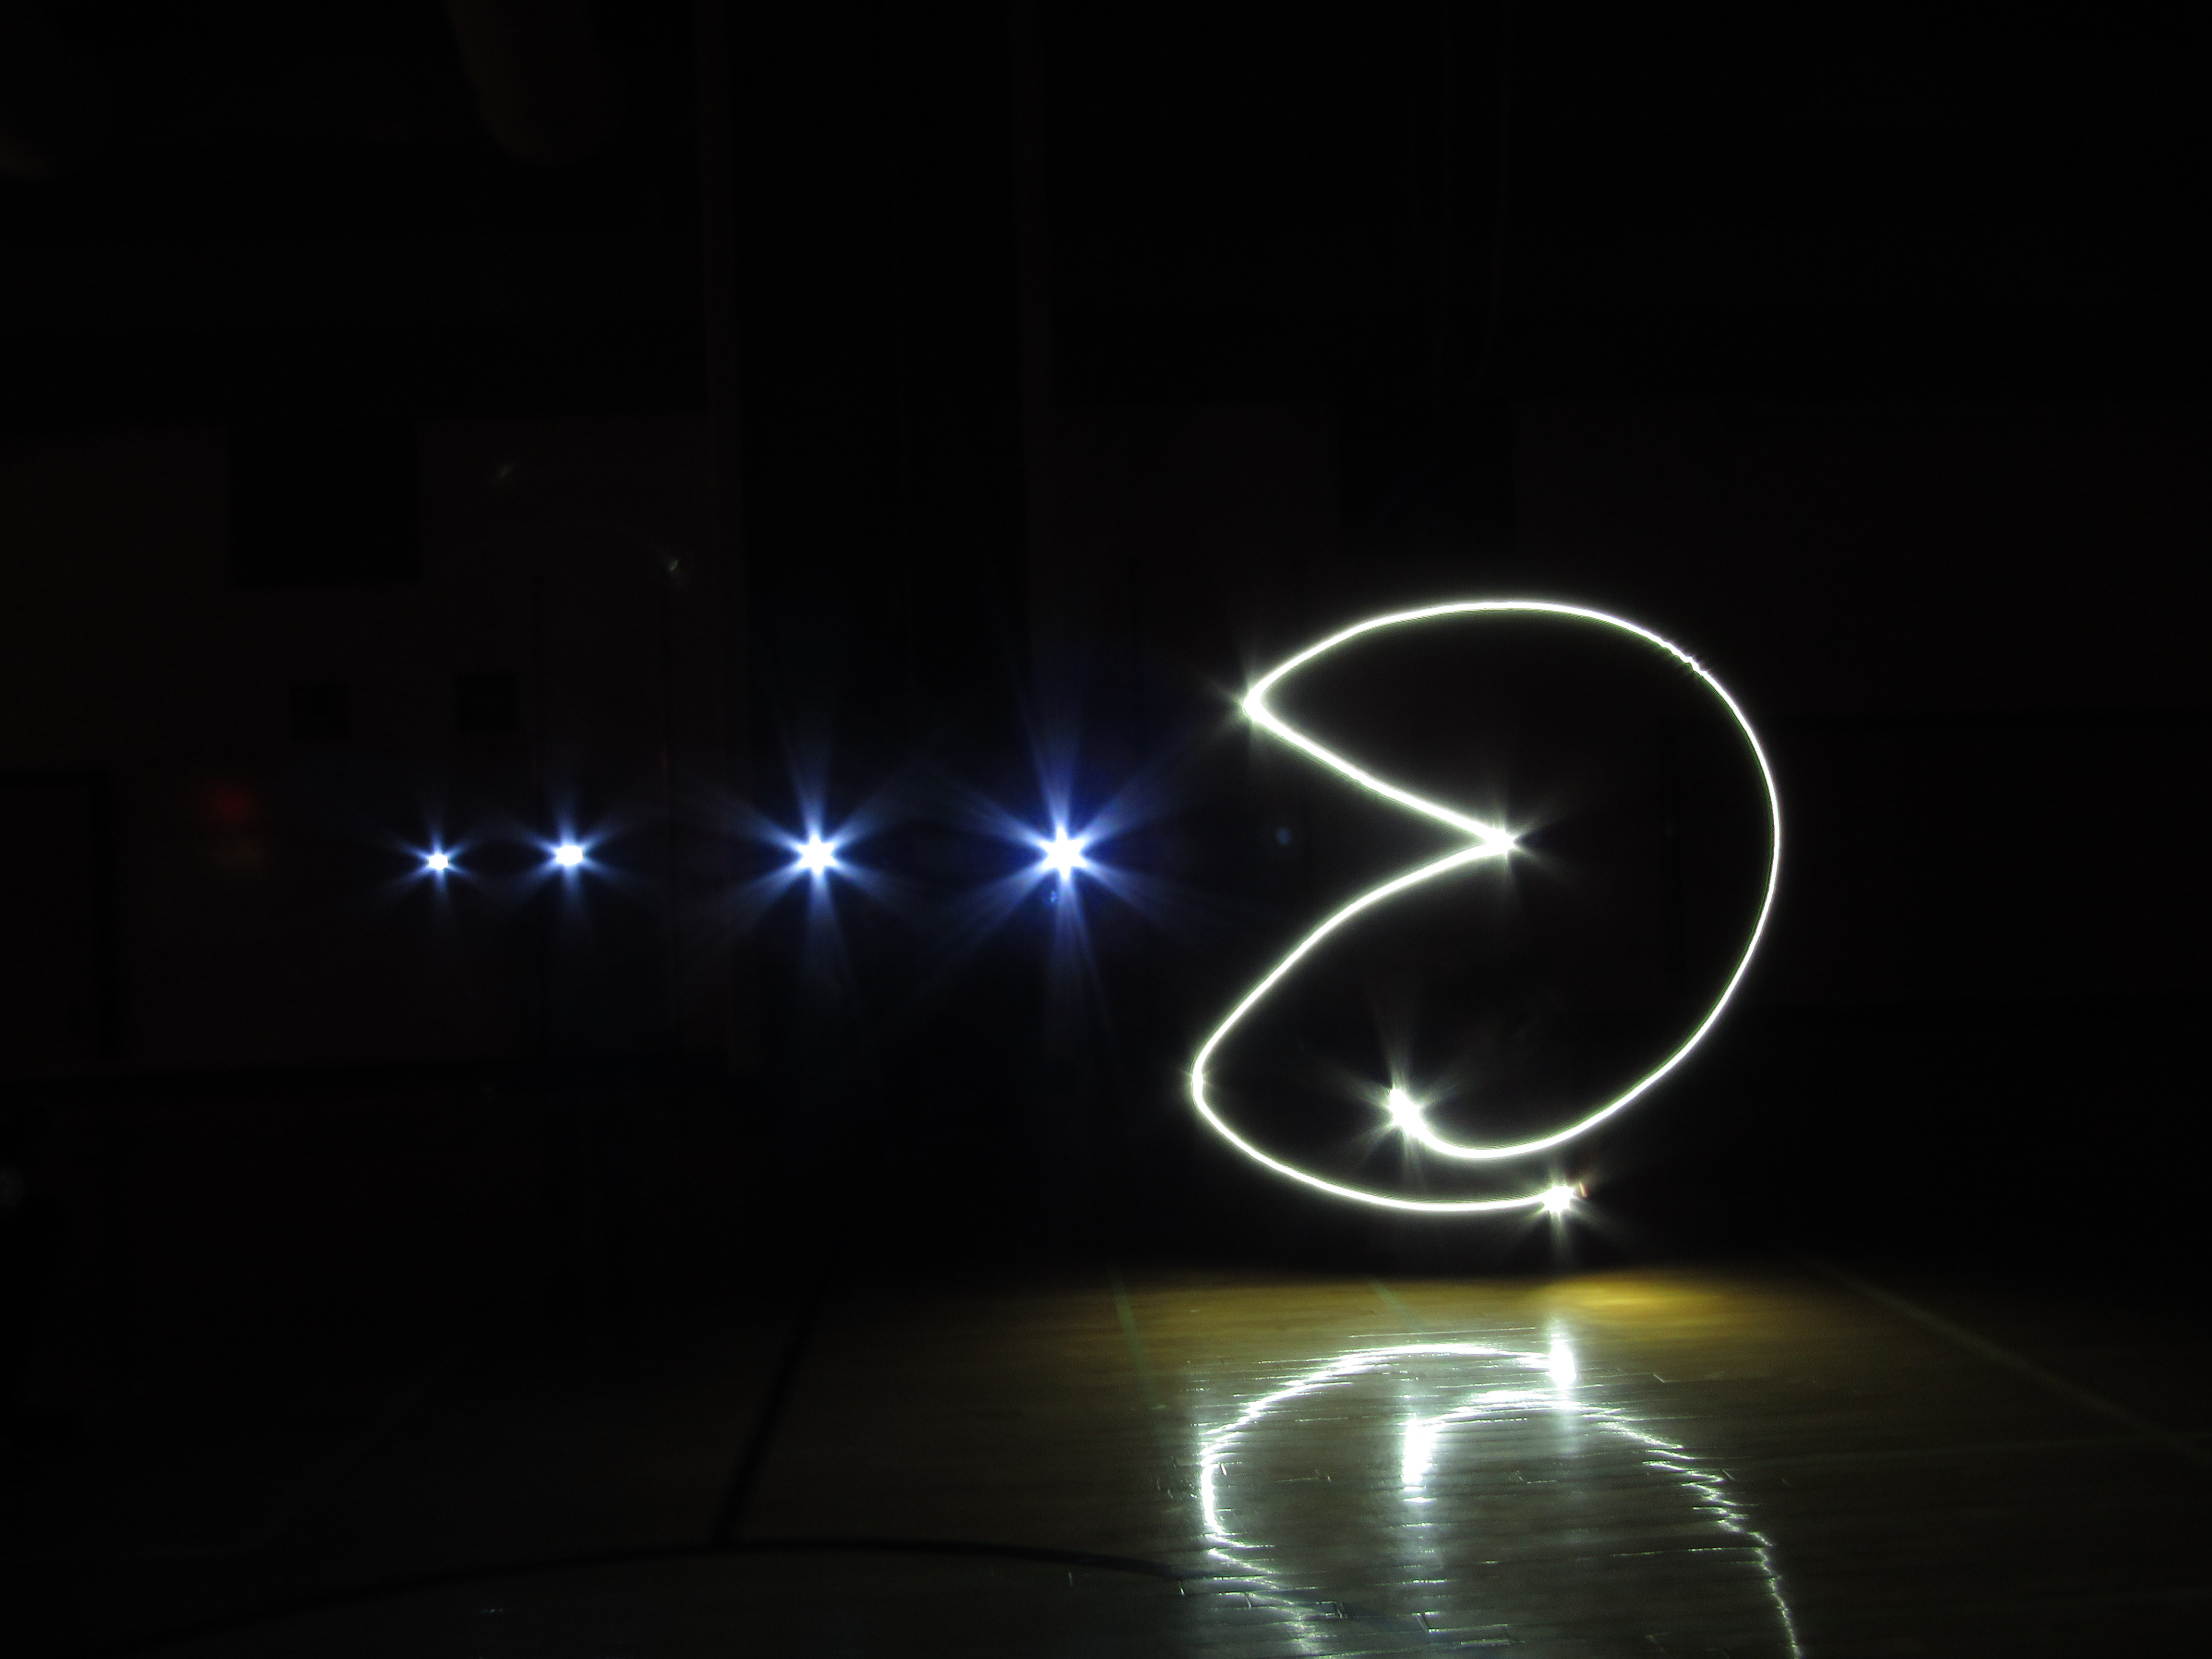
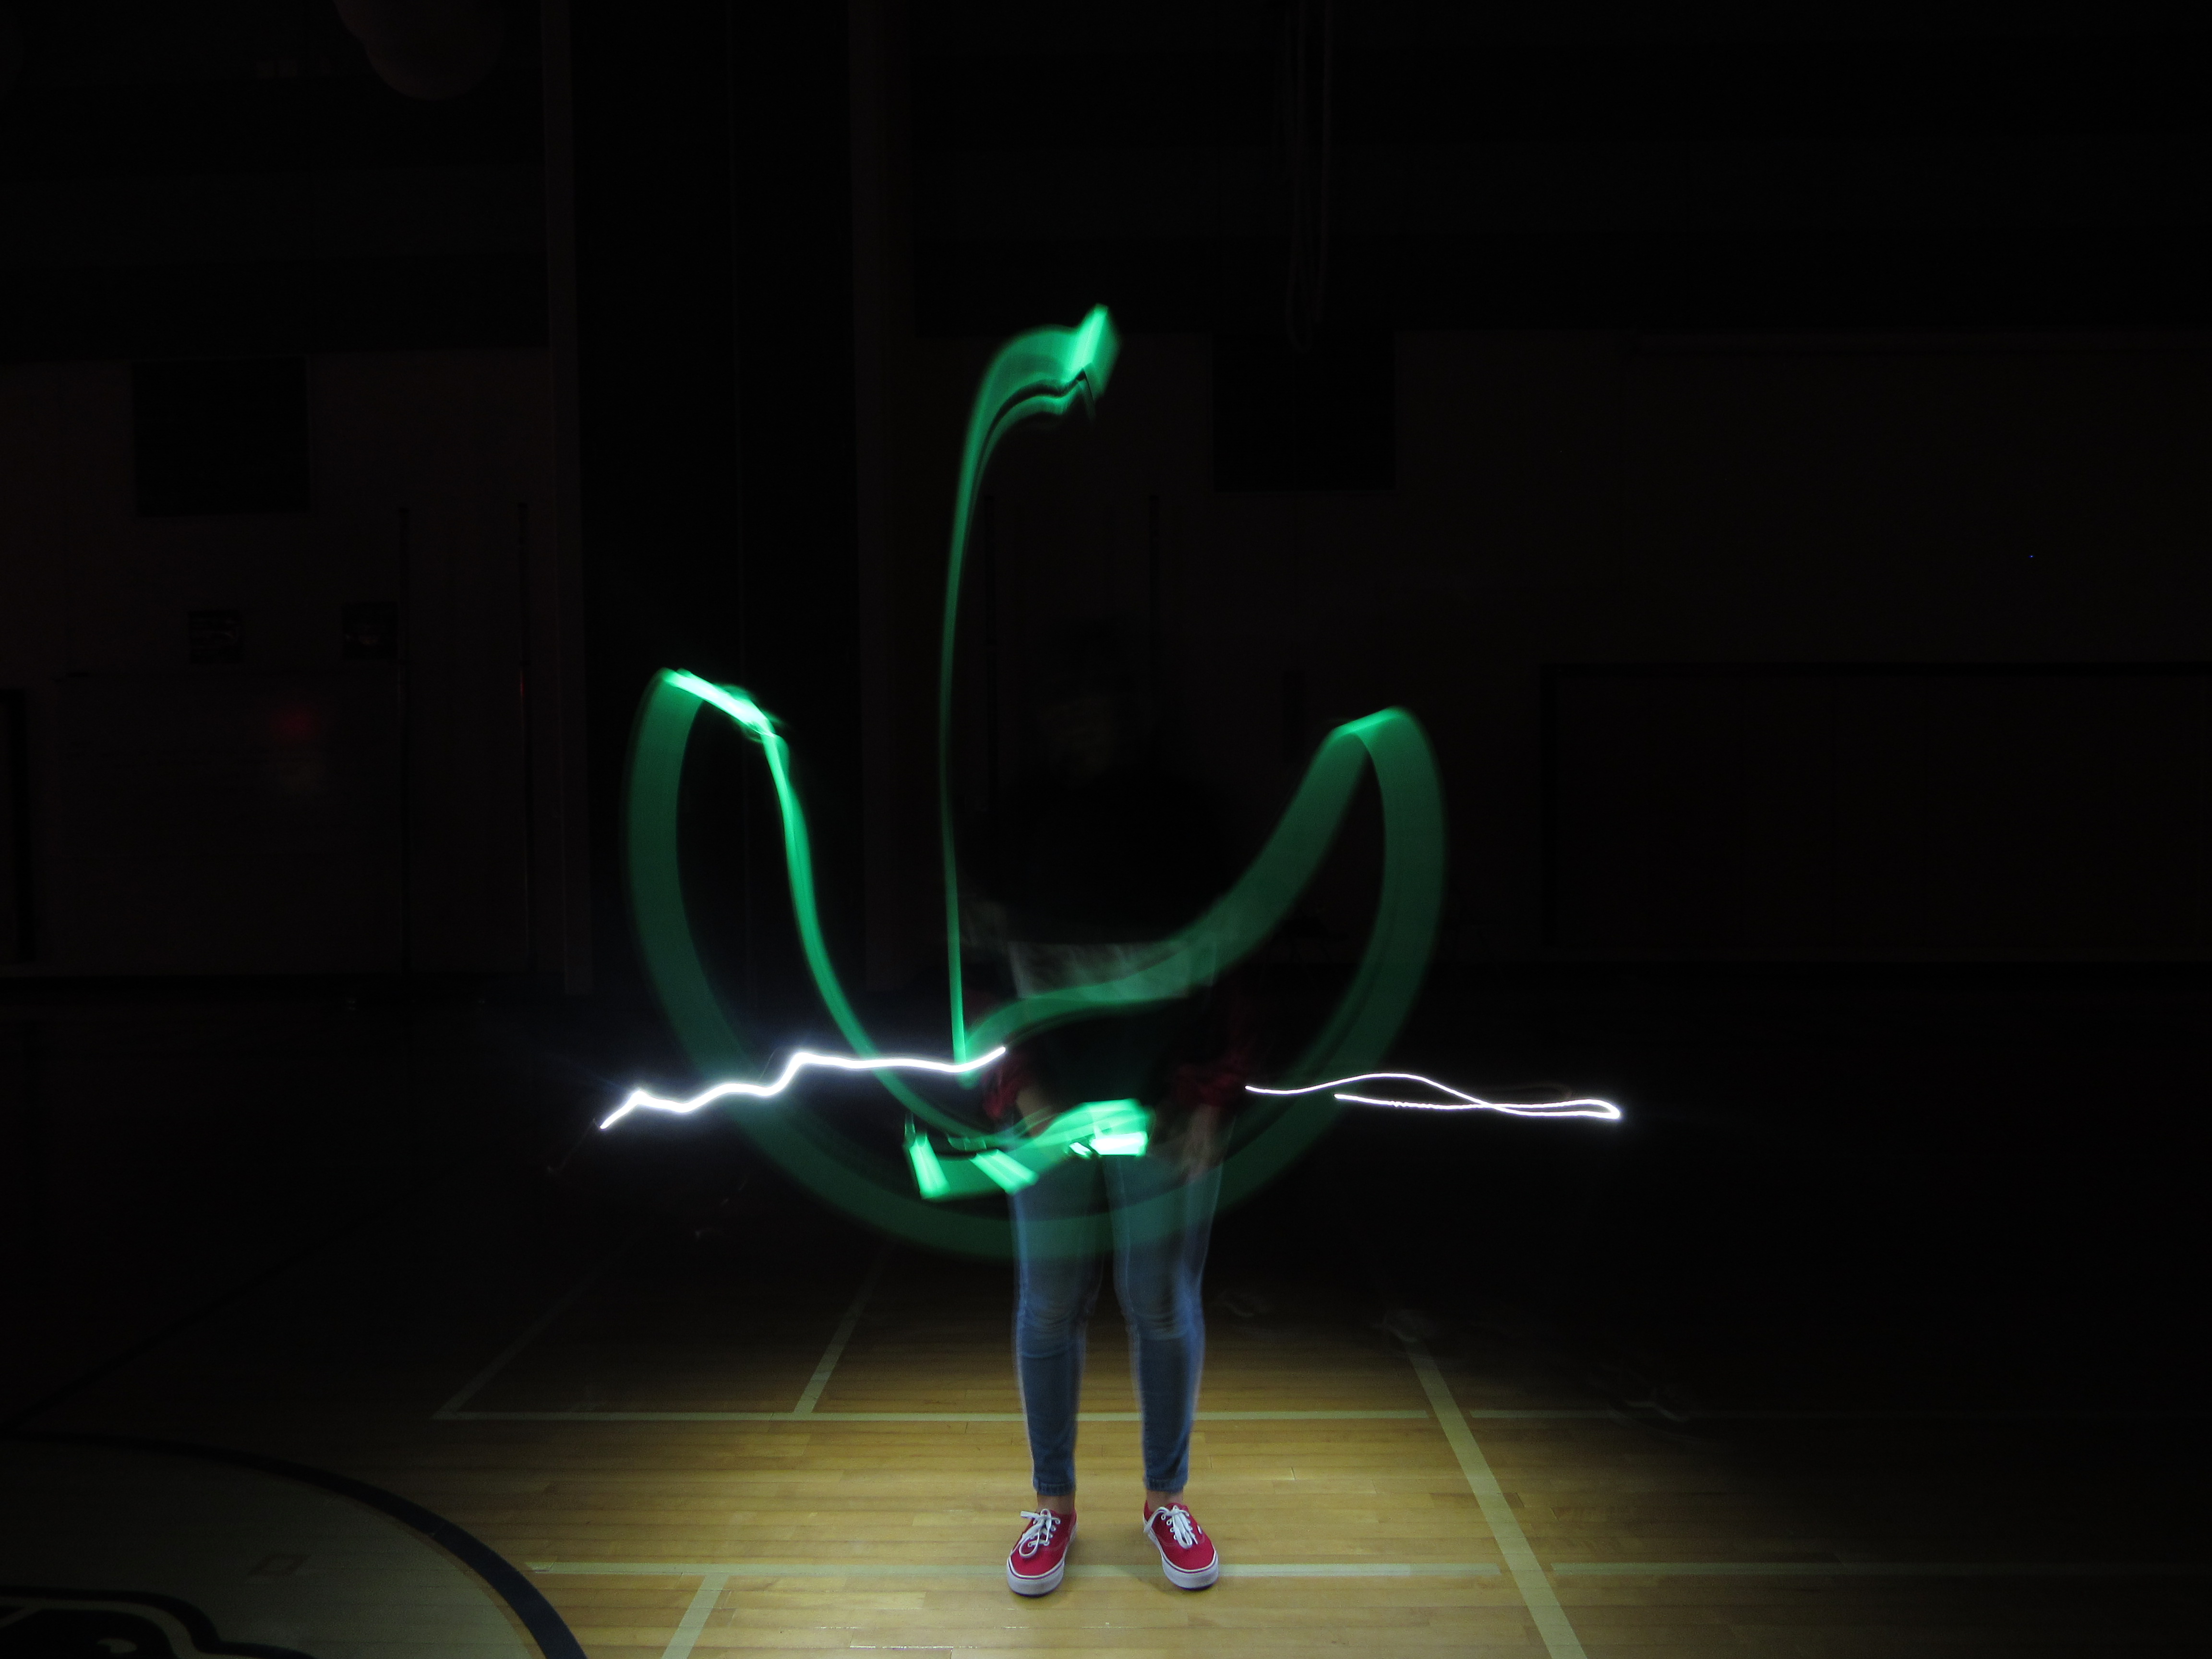
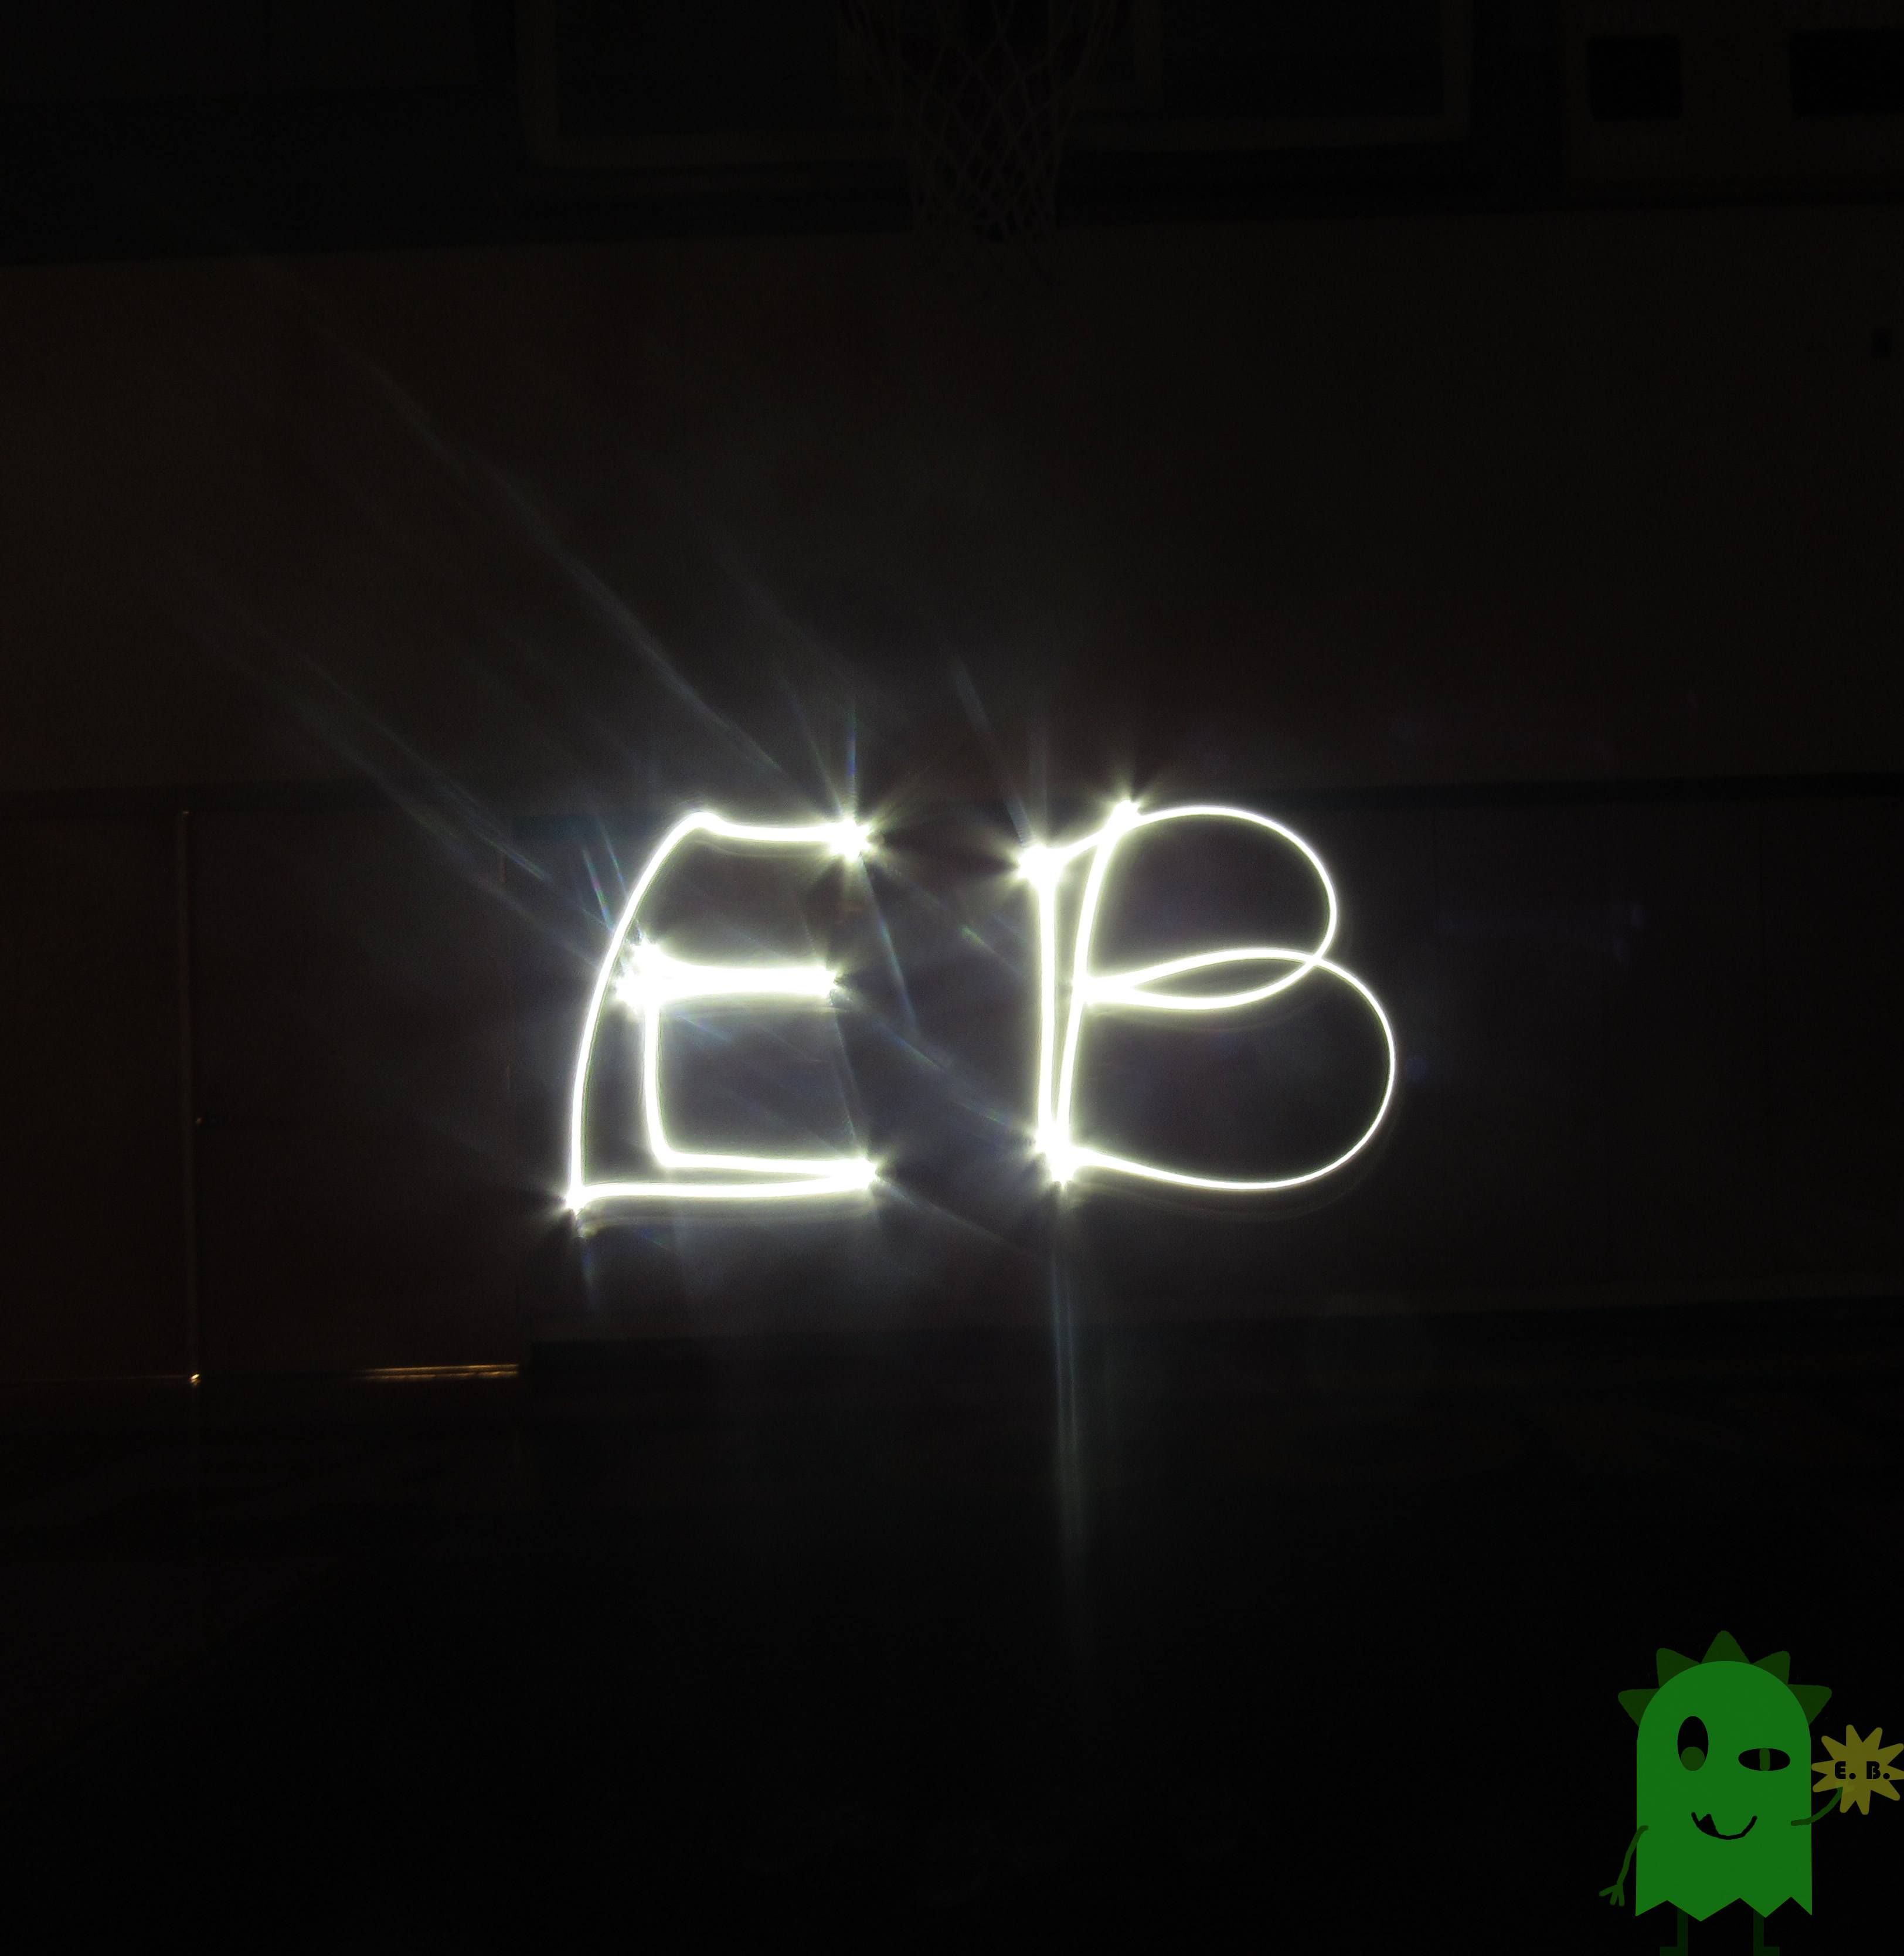
For this project, we went in the pitch black gym. To get these photos, we had to keep the camera open for 15 seconds, point our flashlights at the camera, and draw. To write words and draw pictures we had to shine our flashlights at the camera and cover up the light whenever we wanted to make a space (Draw “H”, cover light, move the light, uncover the light and draw “i”). To do the pictures with people in then, we followed the drawing steps but then shone the light on the person we wanted to show, to “paint” them. When we were doing our backgrounds, it was hard for everyone to work together and not have many lights going on top of each other. I think if we could leave the camera open for longer we could have less pressure to rush the picture and make a bigger and better scene. Here are my other pictures.
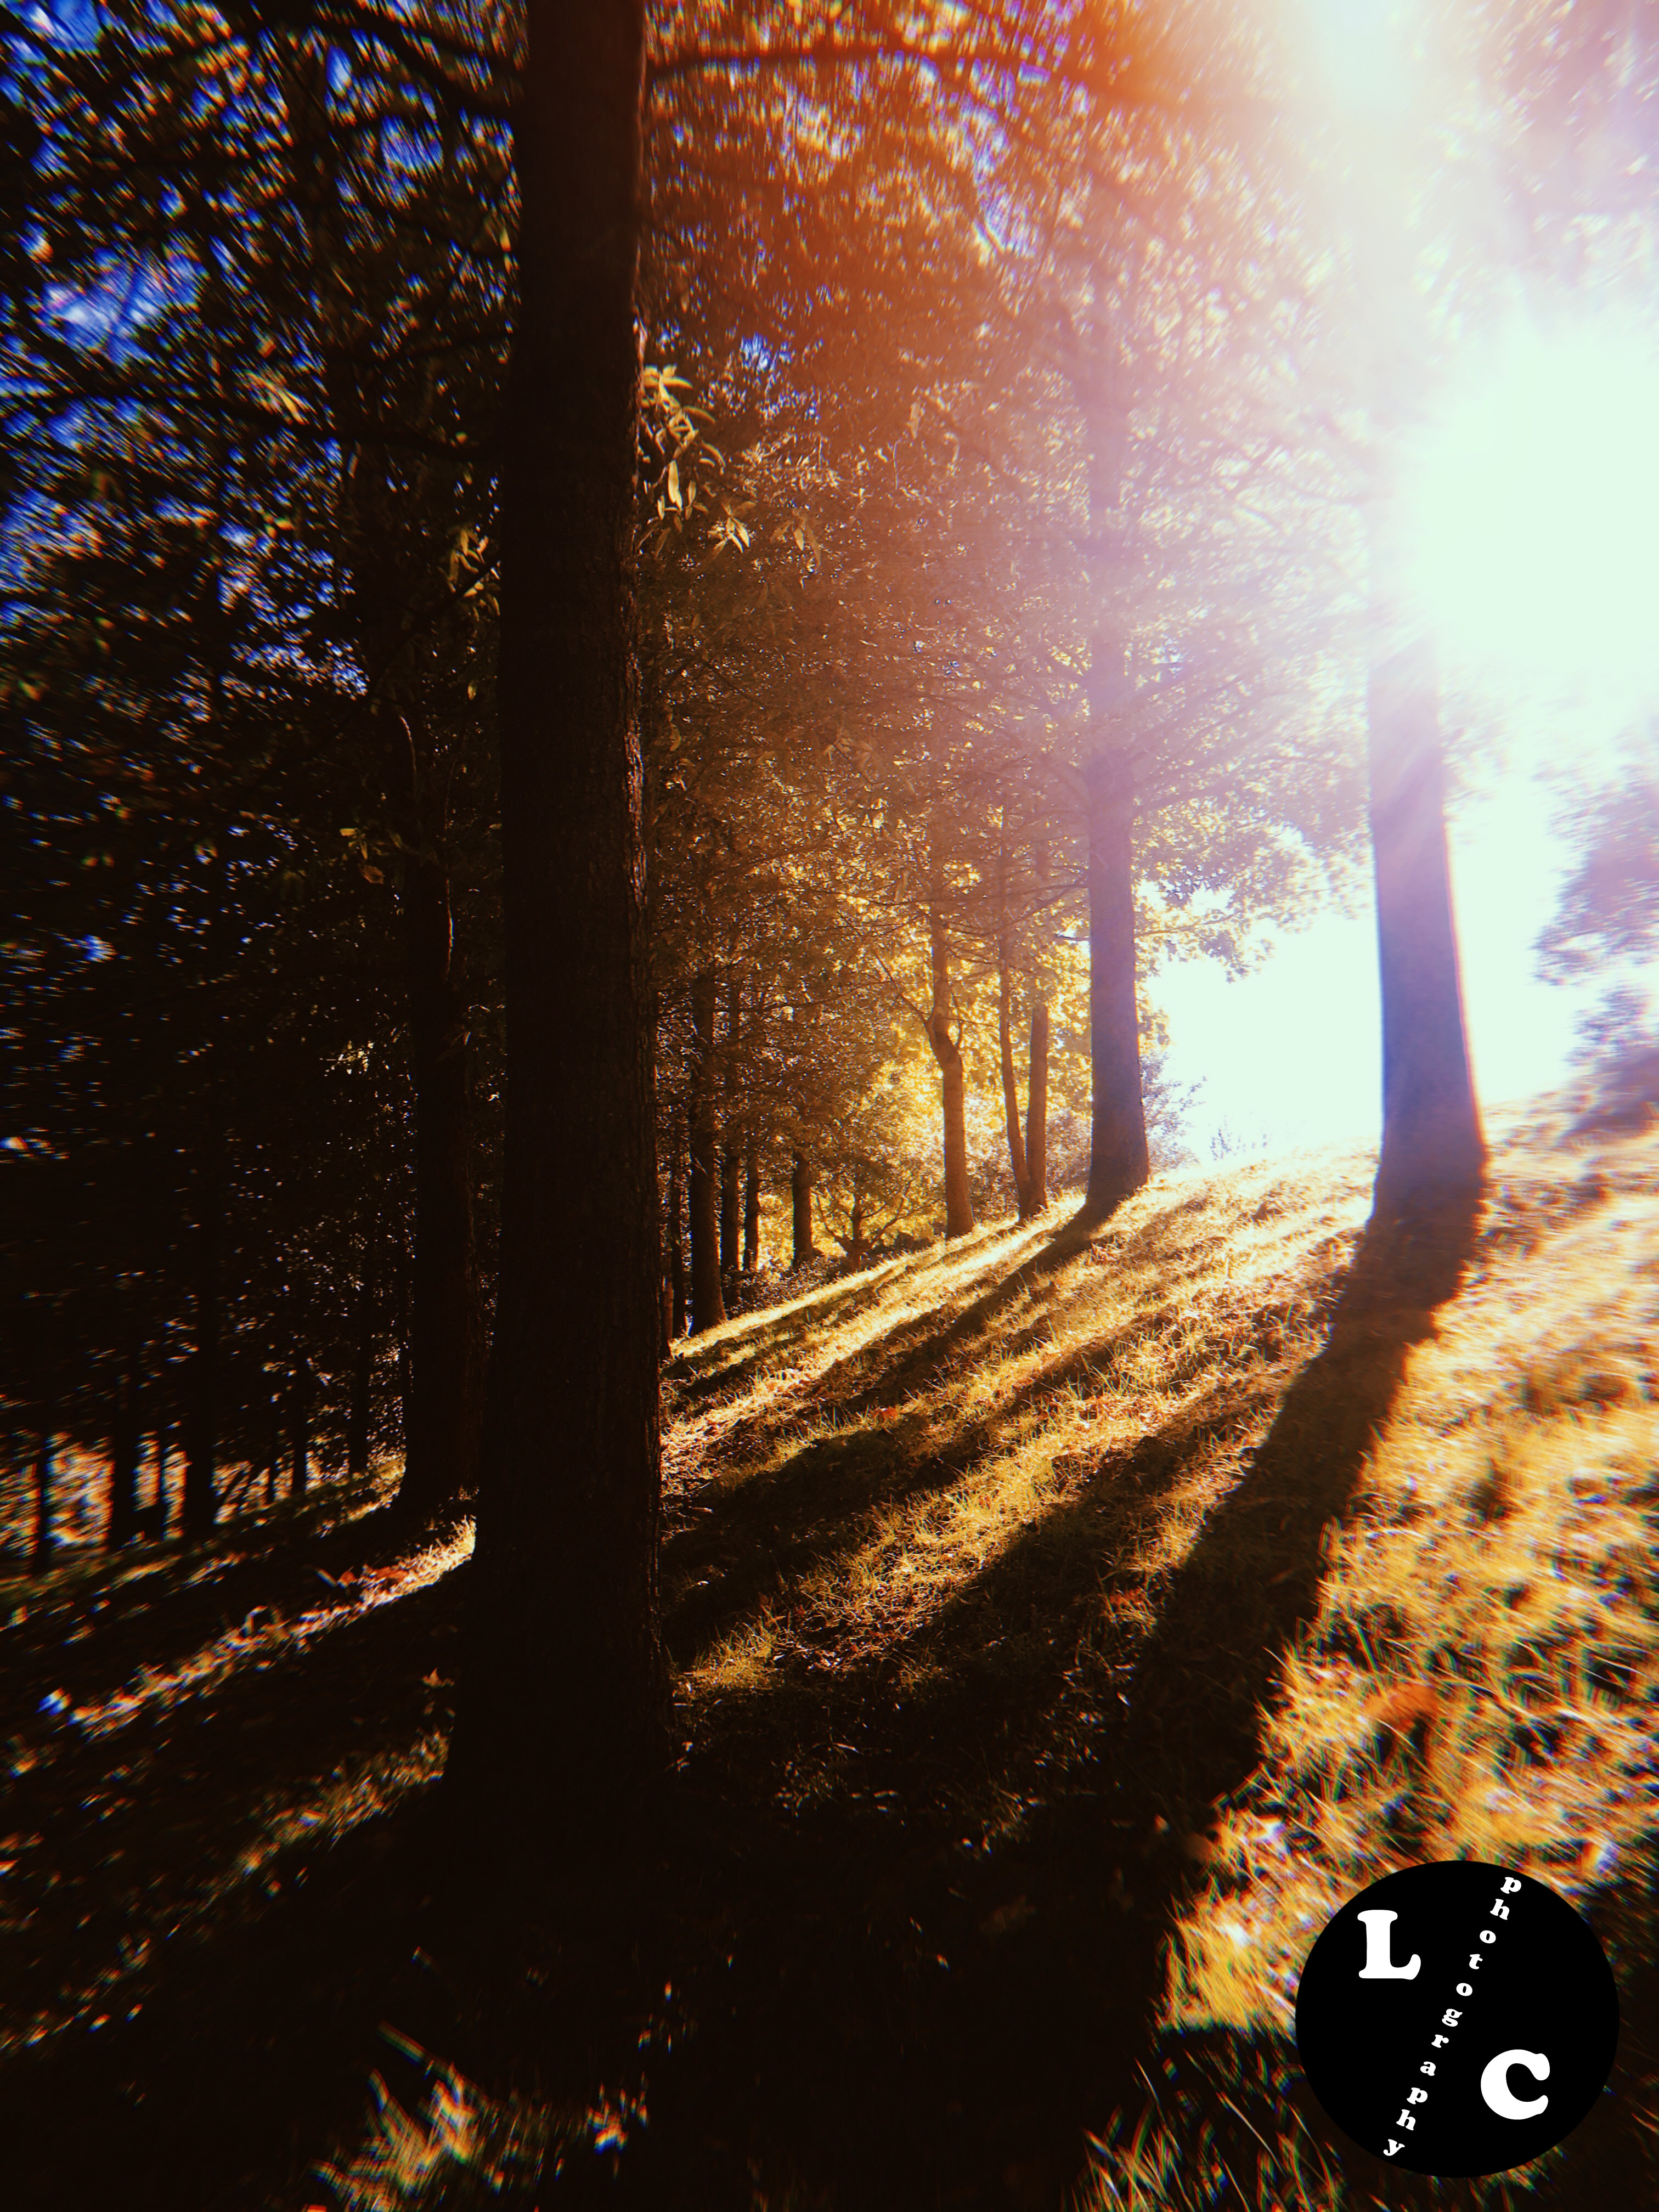
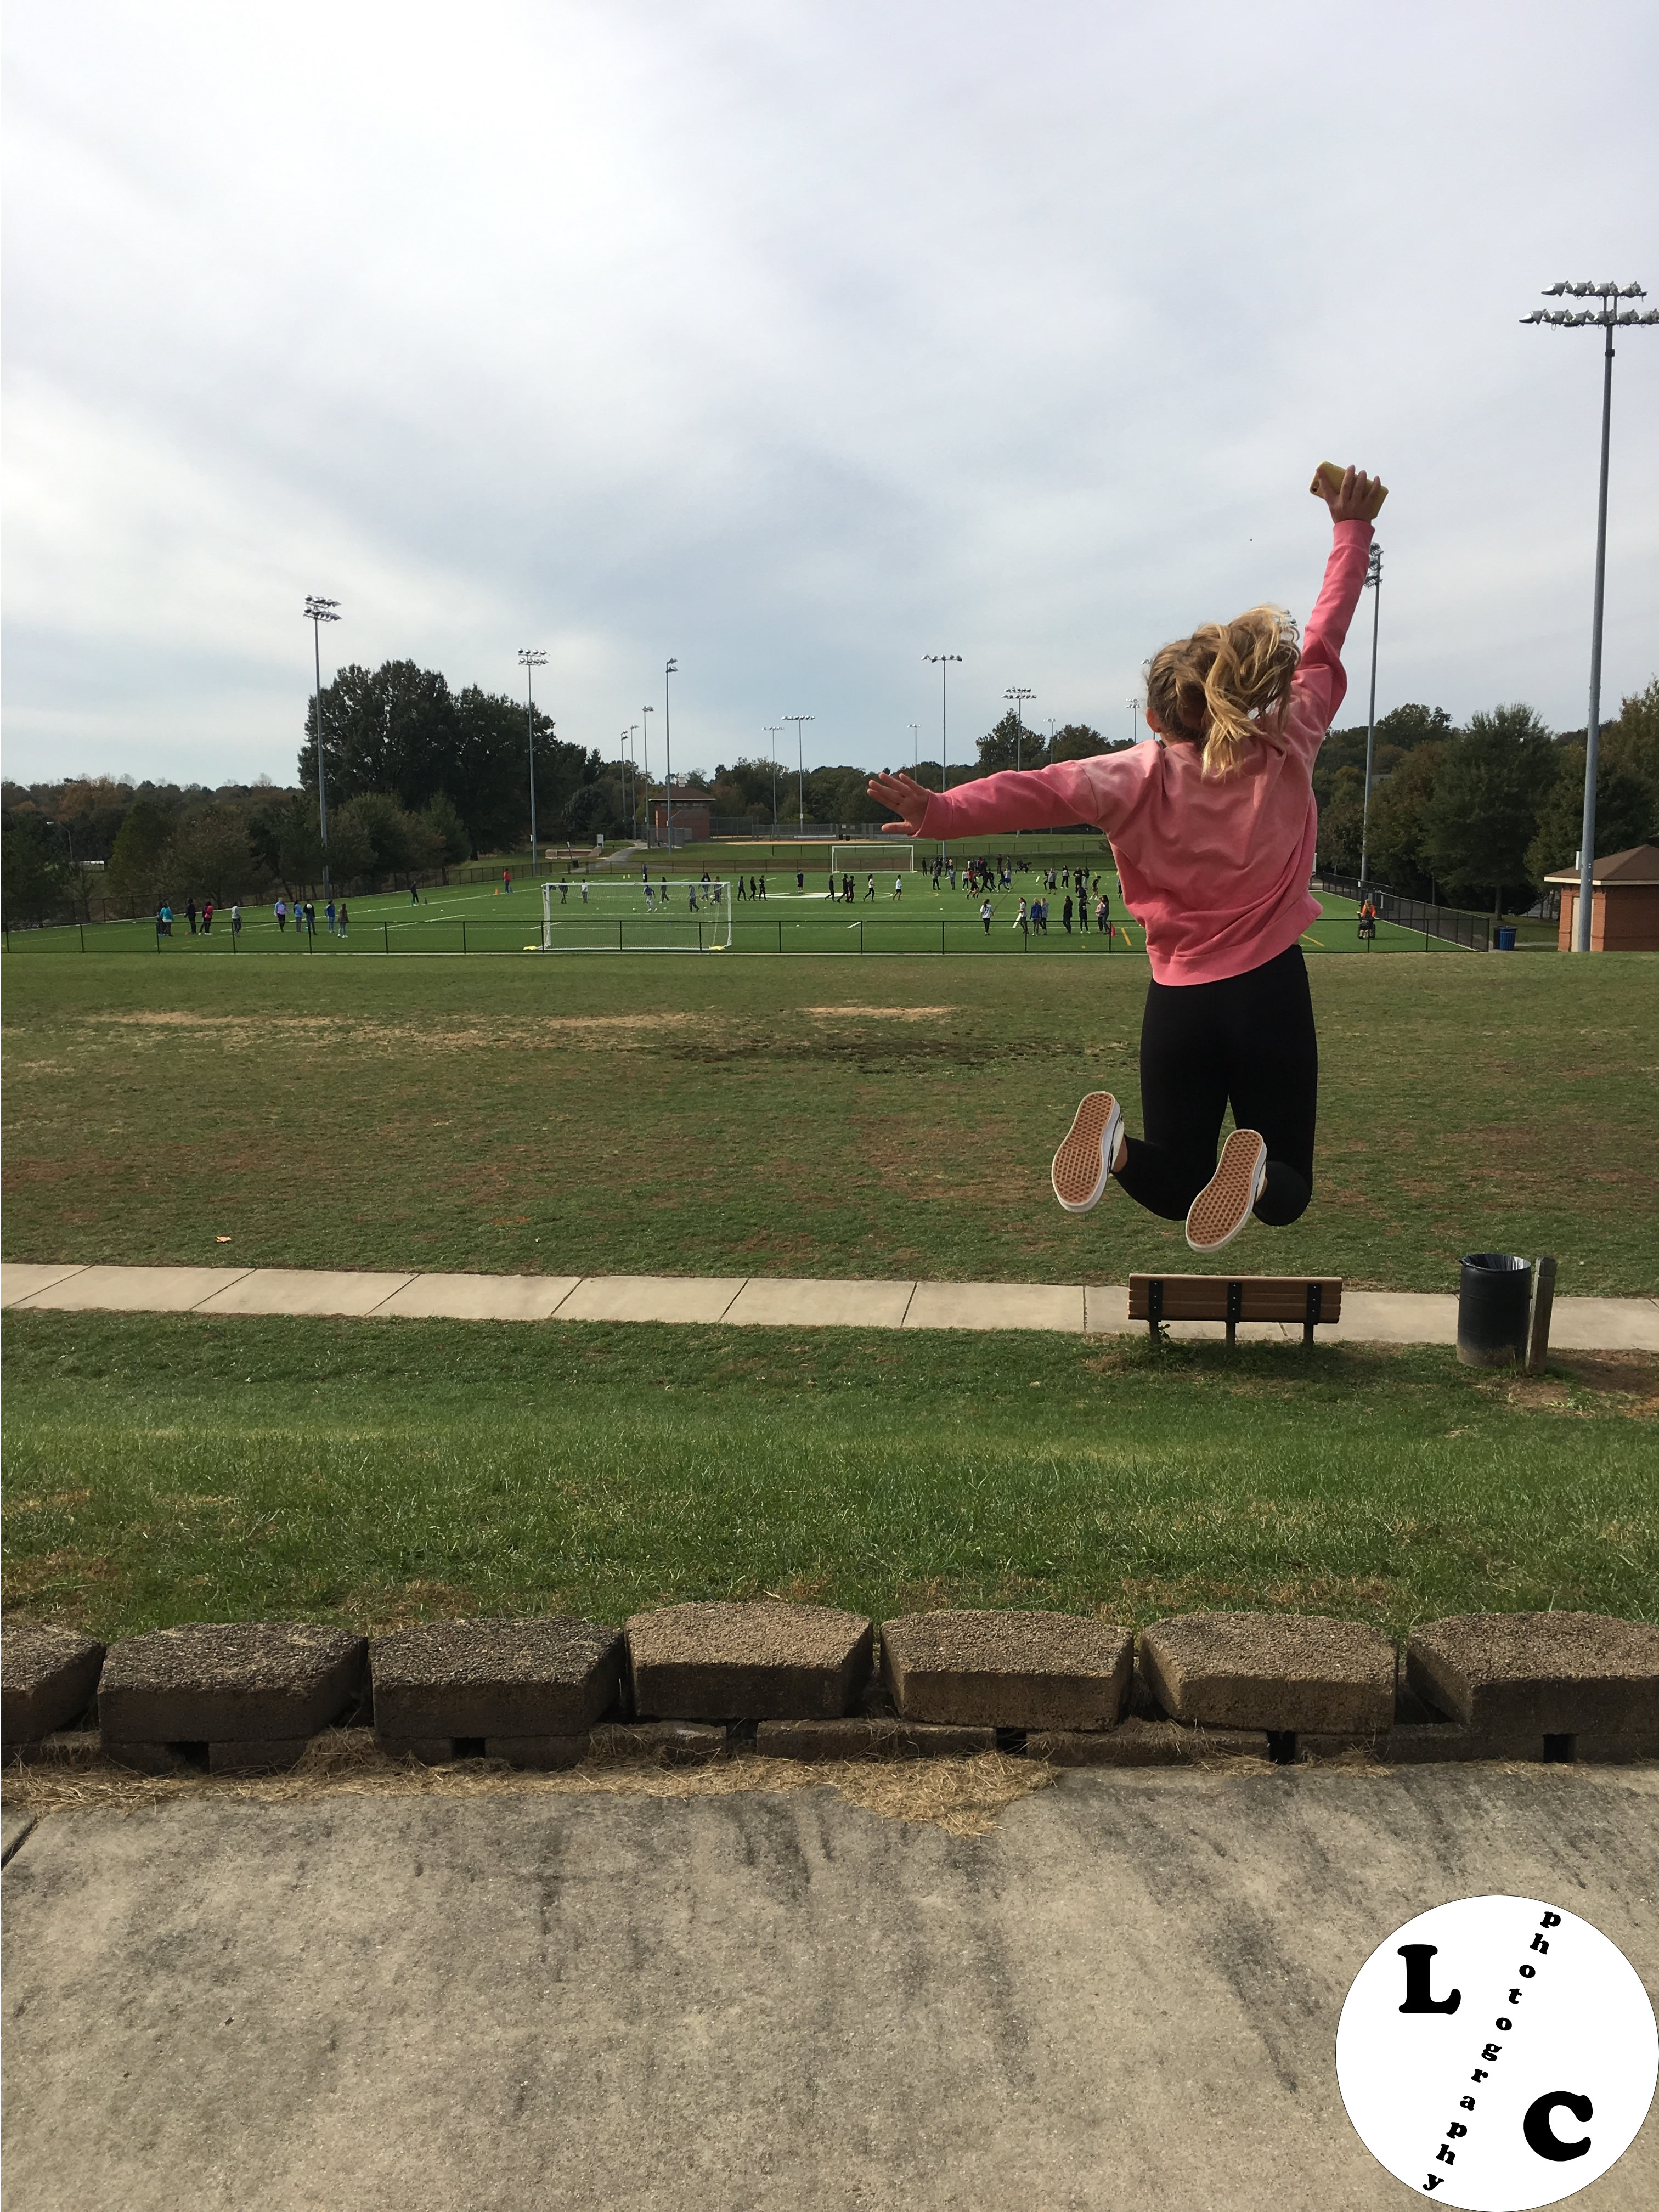
My favorite photo is a picture that I took of trees that looked as if they were in a straight line. My other favorite photo is a picture of Bebe one of my classmates jumping. What worked is positioning my camera or phone in a straight direction. Also trying to make the photo interesting like when my class had to edit a photo to make you look on direction then the other. Also using the graph or “lines” on my iPhone camera. What didn’t work was when I took pictures on my camera because I didn’t have a manual mode so the graph or “lines” weren’t there so I had to guess where the lines would be. The graph lines were to help me with the rule of thirds project. Its called the rule of thirds because they are 3 rows of 3 large boxes which make 9 boxes in total. The graph is to help you make the picture more dramatic and make you focus on a certain things. In conclusion, this project has taught me a new technique called the rule of thirds. You can find the rest of my pictures here.
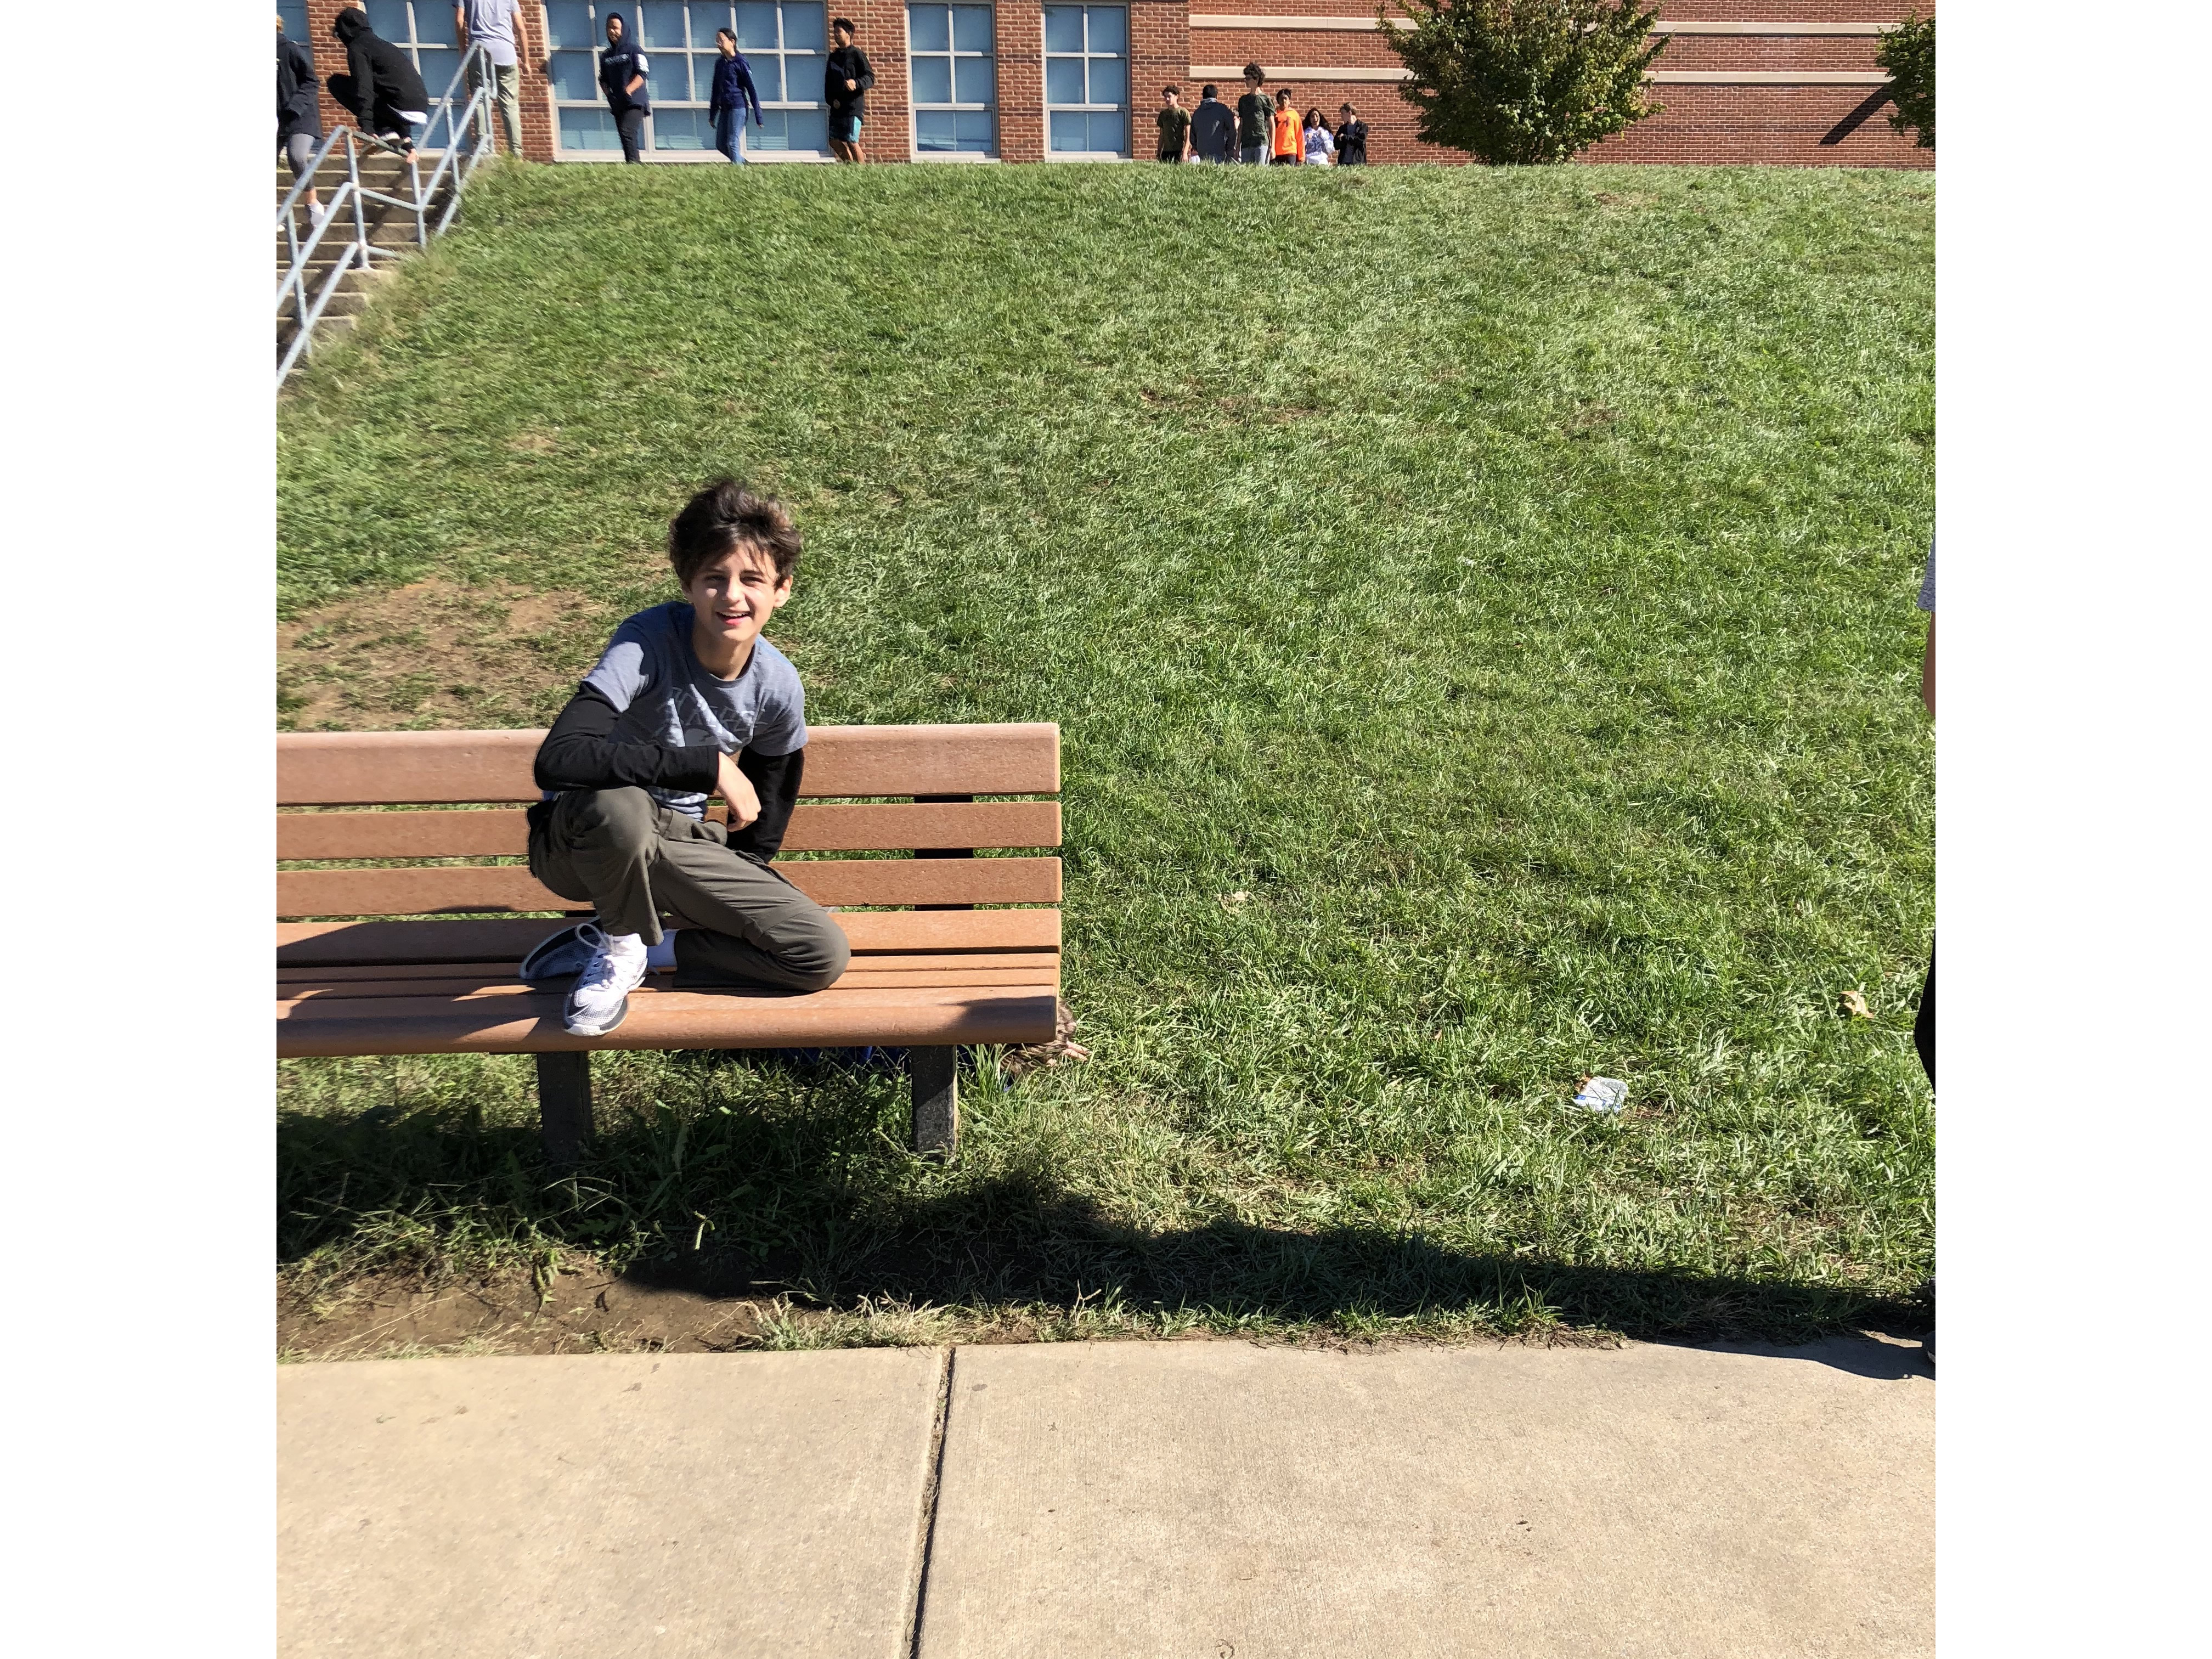
For taking our pictures objects or people with nothing beside them seemed to work the best. But if there were other people or another object next to the main object you wouldn’t really know what to be looking at. At first, I thought that it sorted of stupid but know I find it sort of cool. The grid helped us with our photos because it made me sure that the image wasn’t in the middle or the top center. You can also find my photos here.
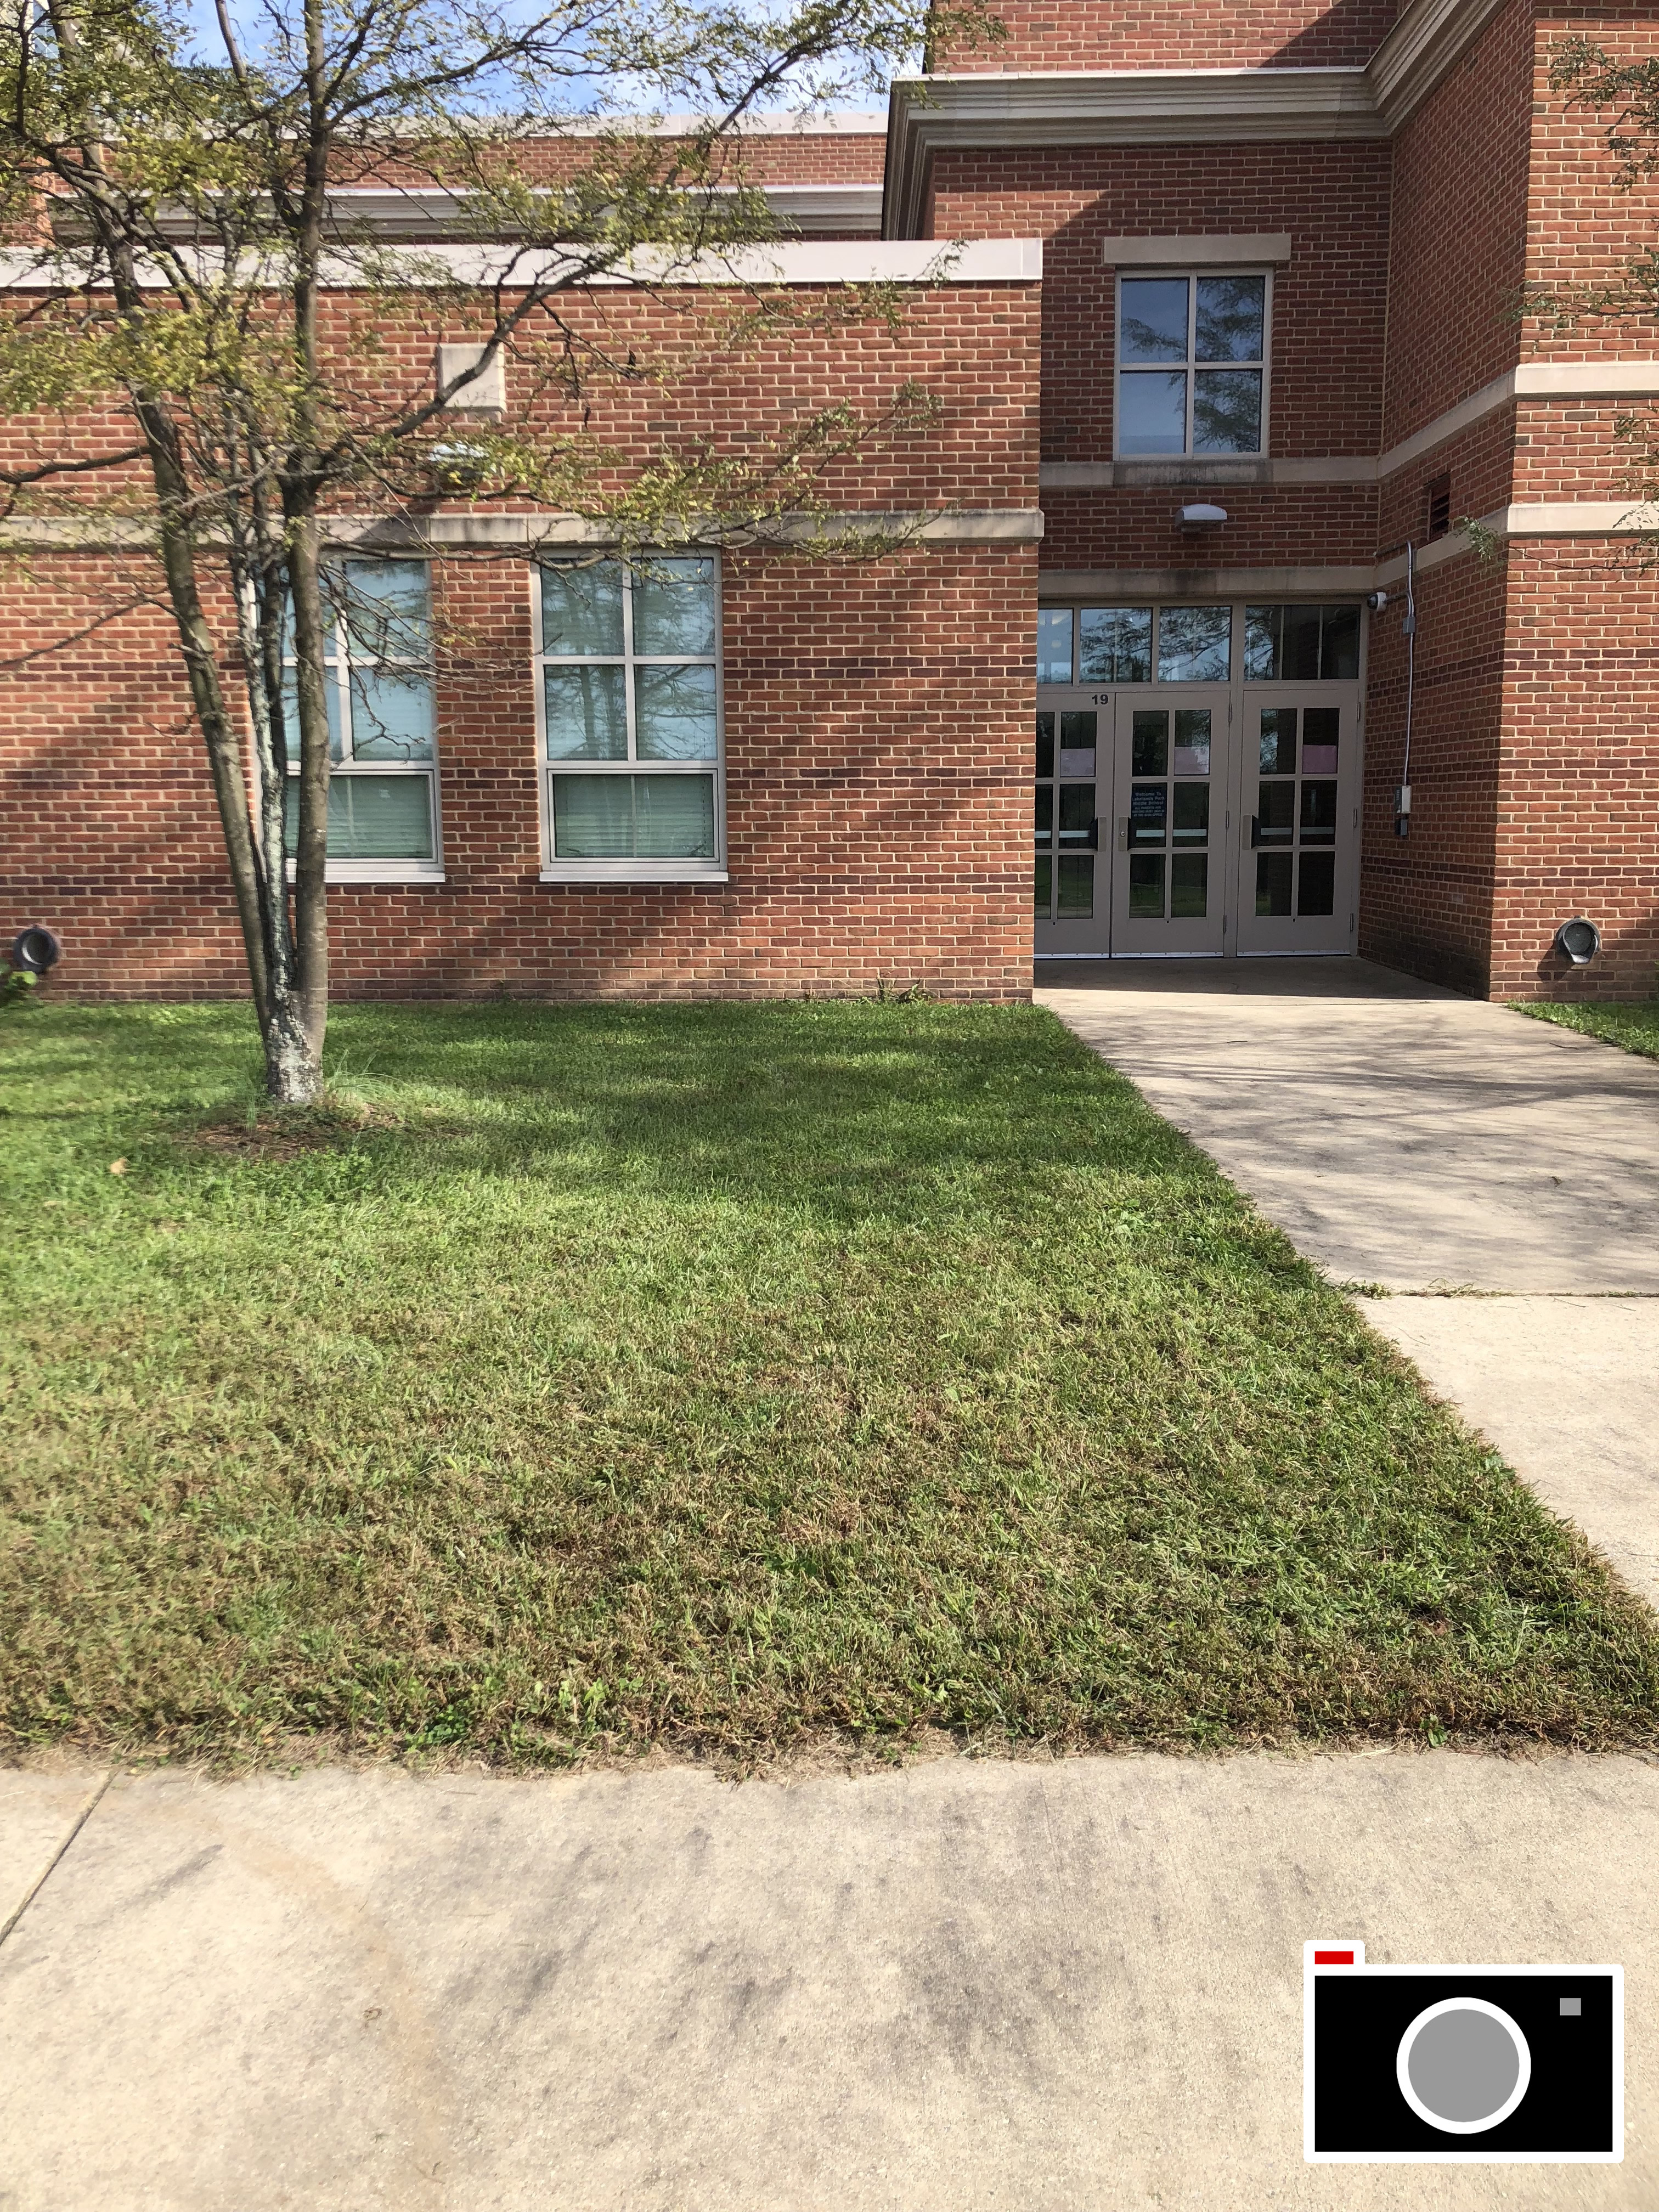
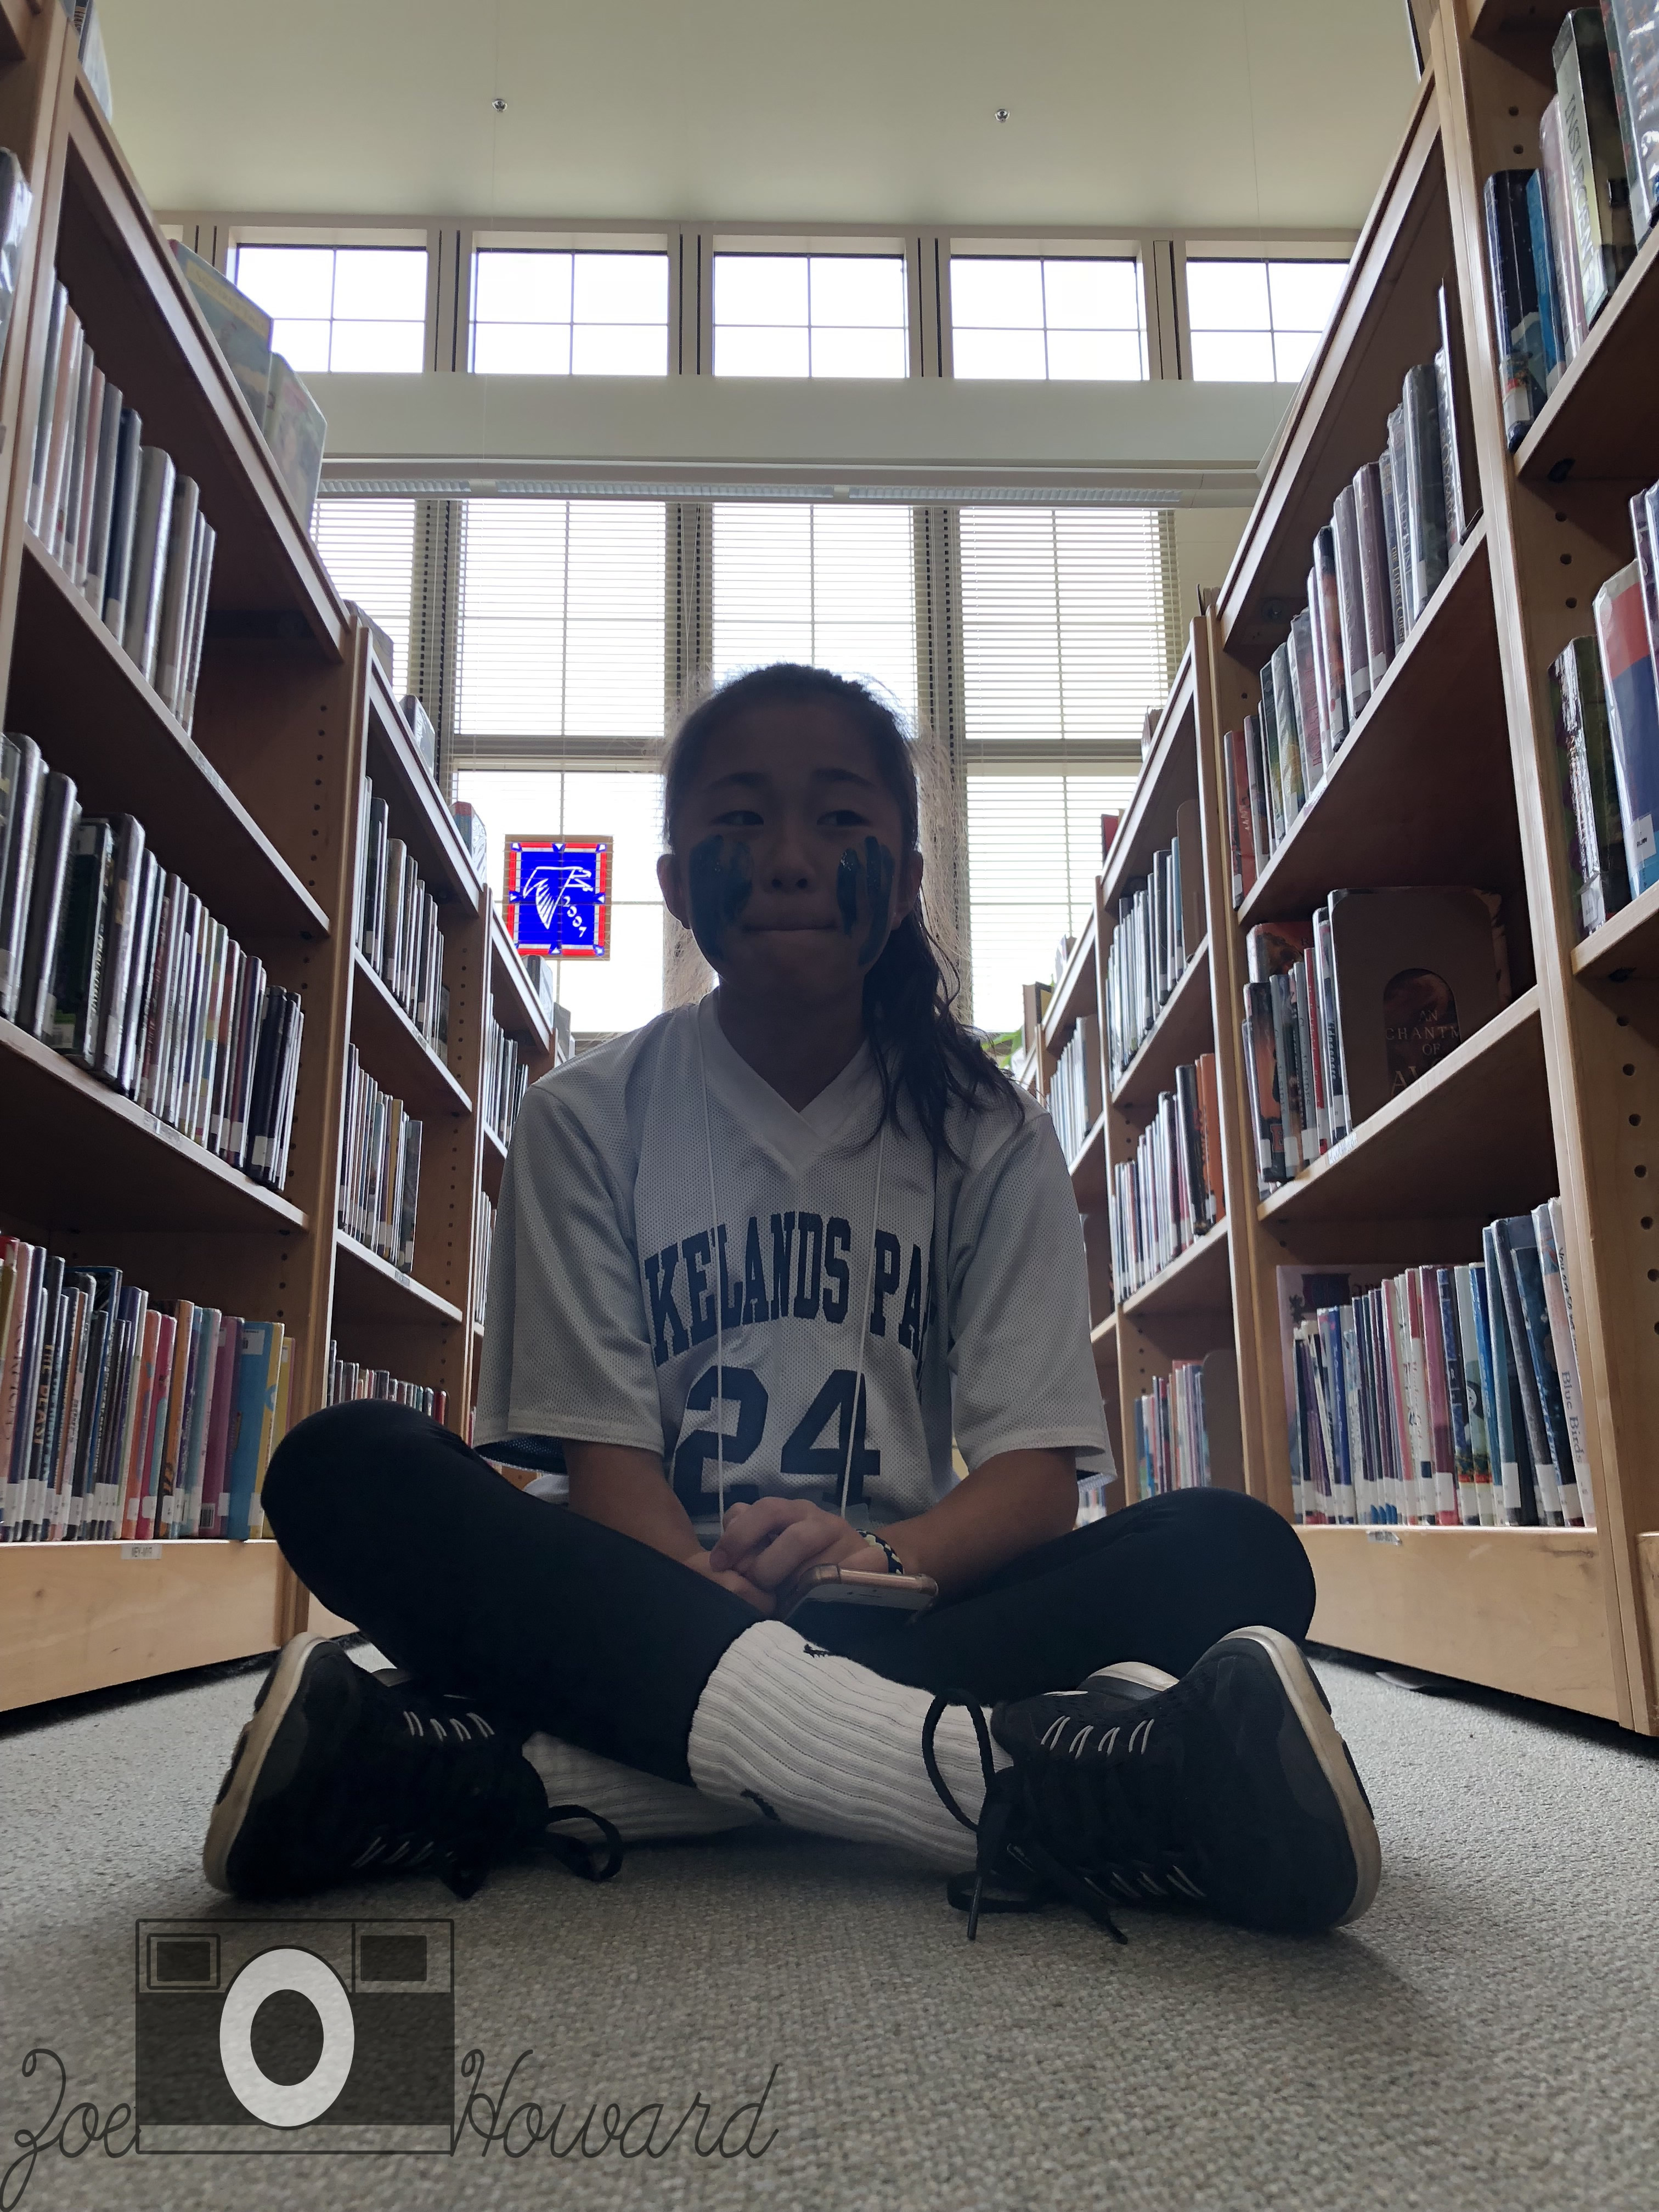
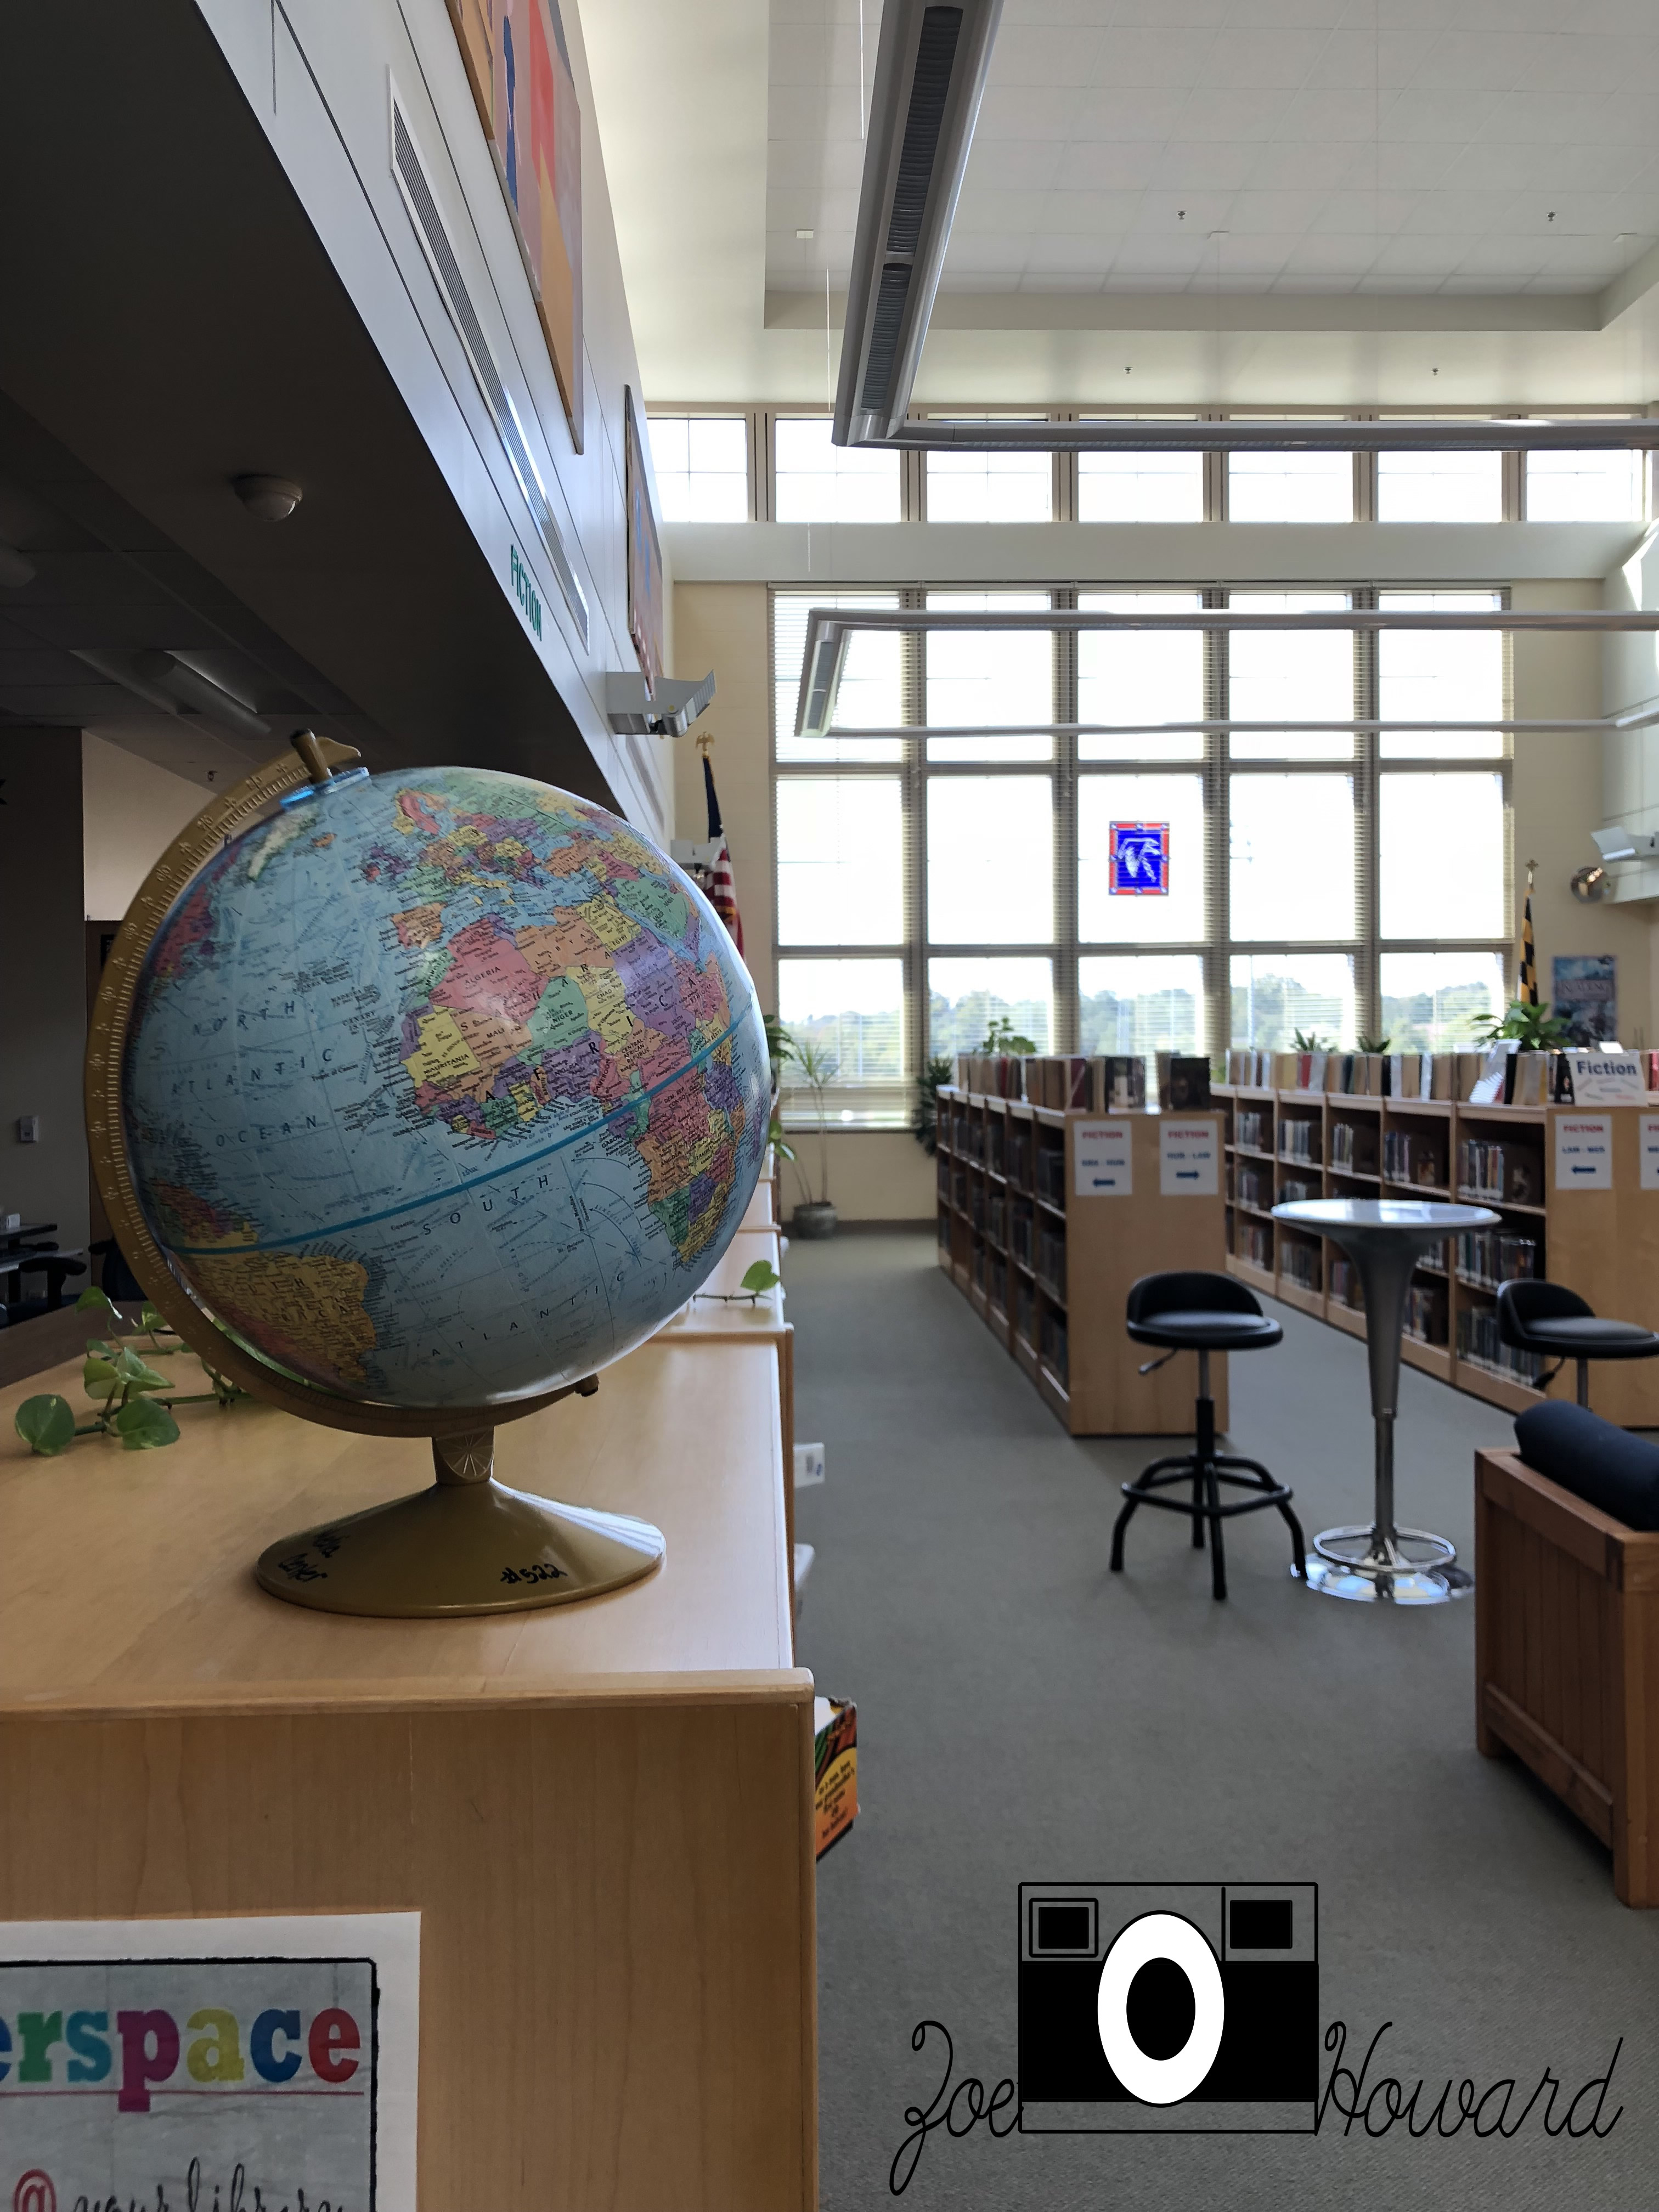
For this project I think that finding good places, people and objects to photograph worked really well, and it was easy finding good lighting. I think that a challenge was places to photograph people without other people not in thew background. After this project, I understand how important the rule of thirds is when taking pictures, because it sort of guides your eyes where to look. I set up the lines so that the school, for example was in the middle and semi top 6 boxes and the grass and stones took up the bottom 3 boxes. Click HERE for more pictures
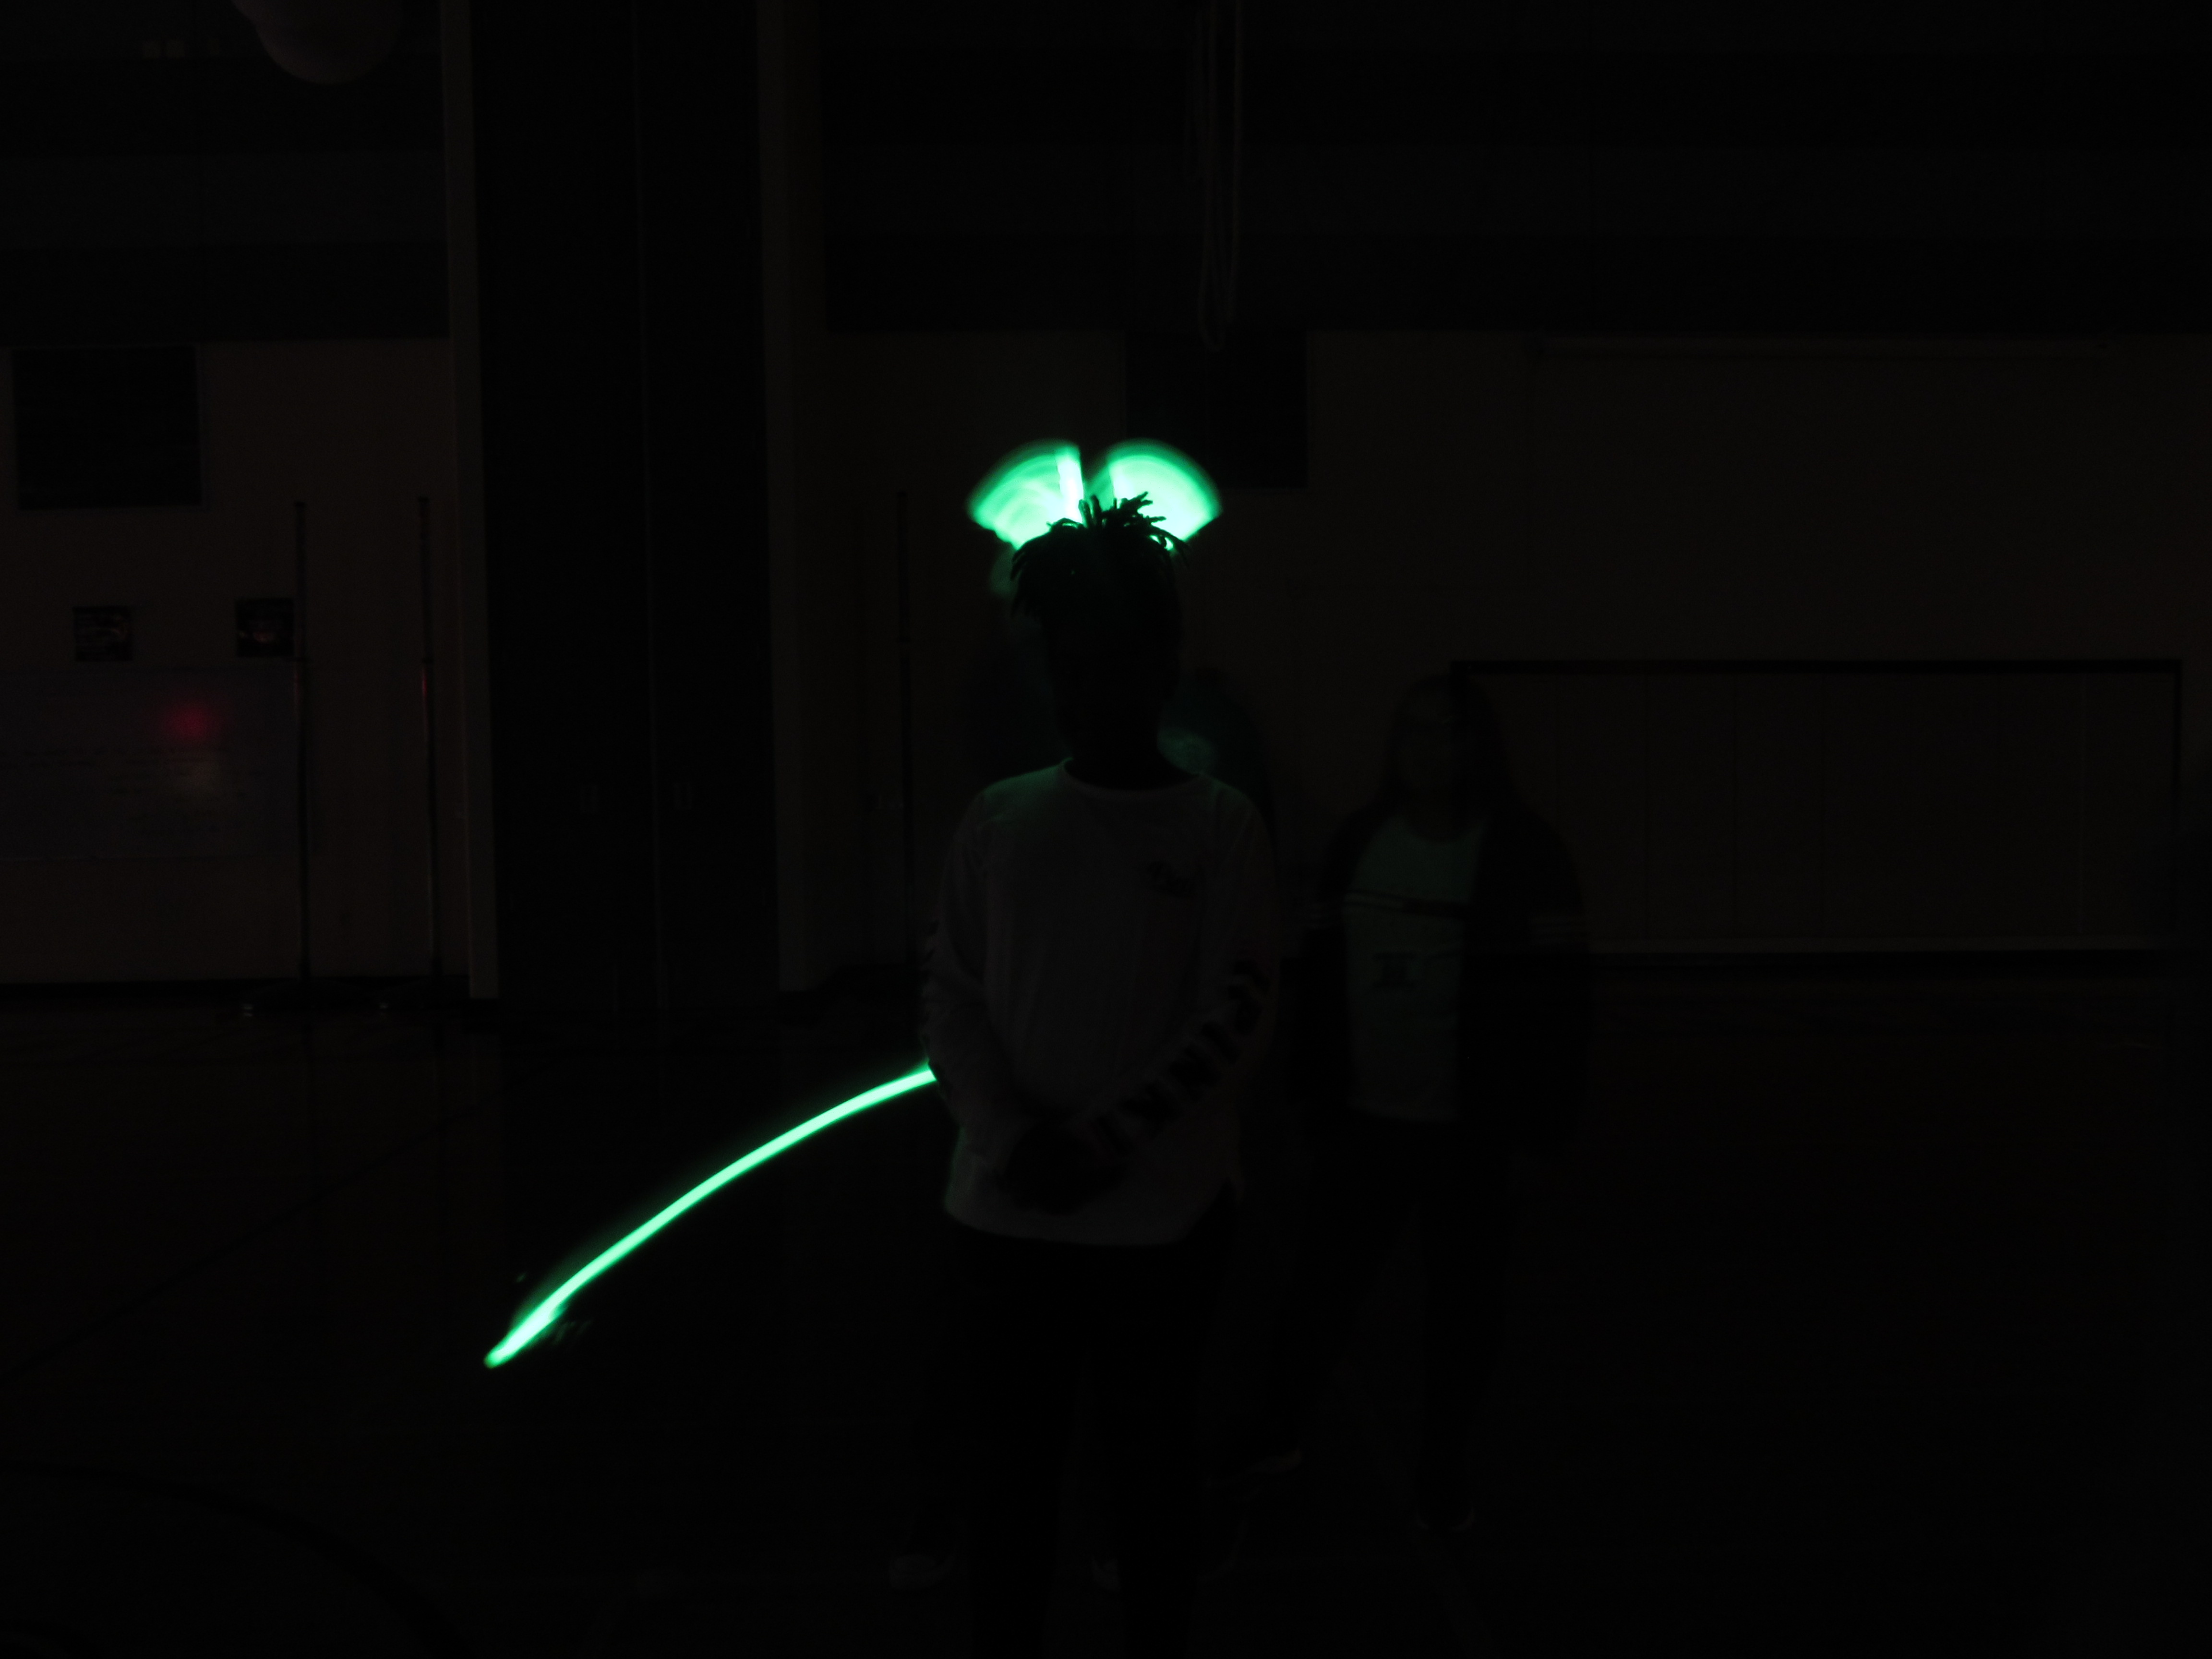
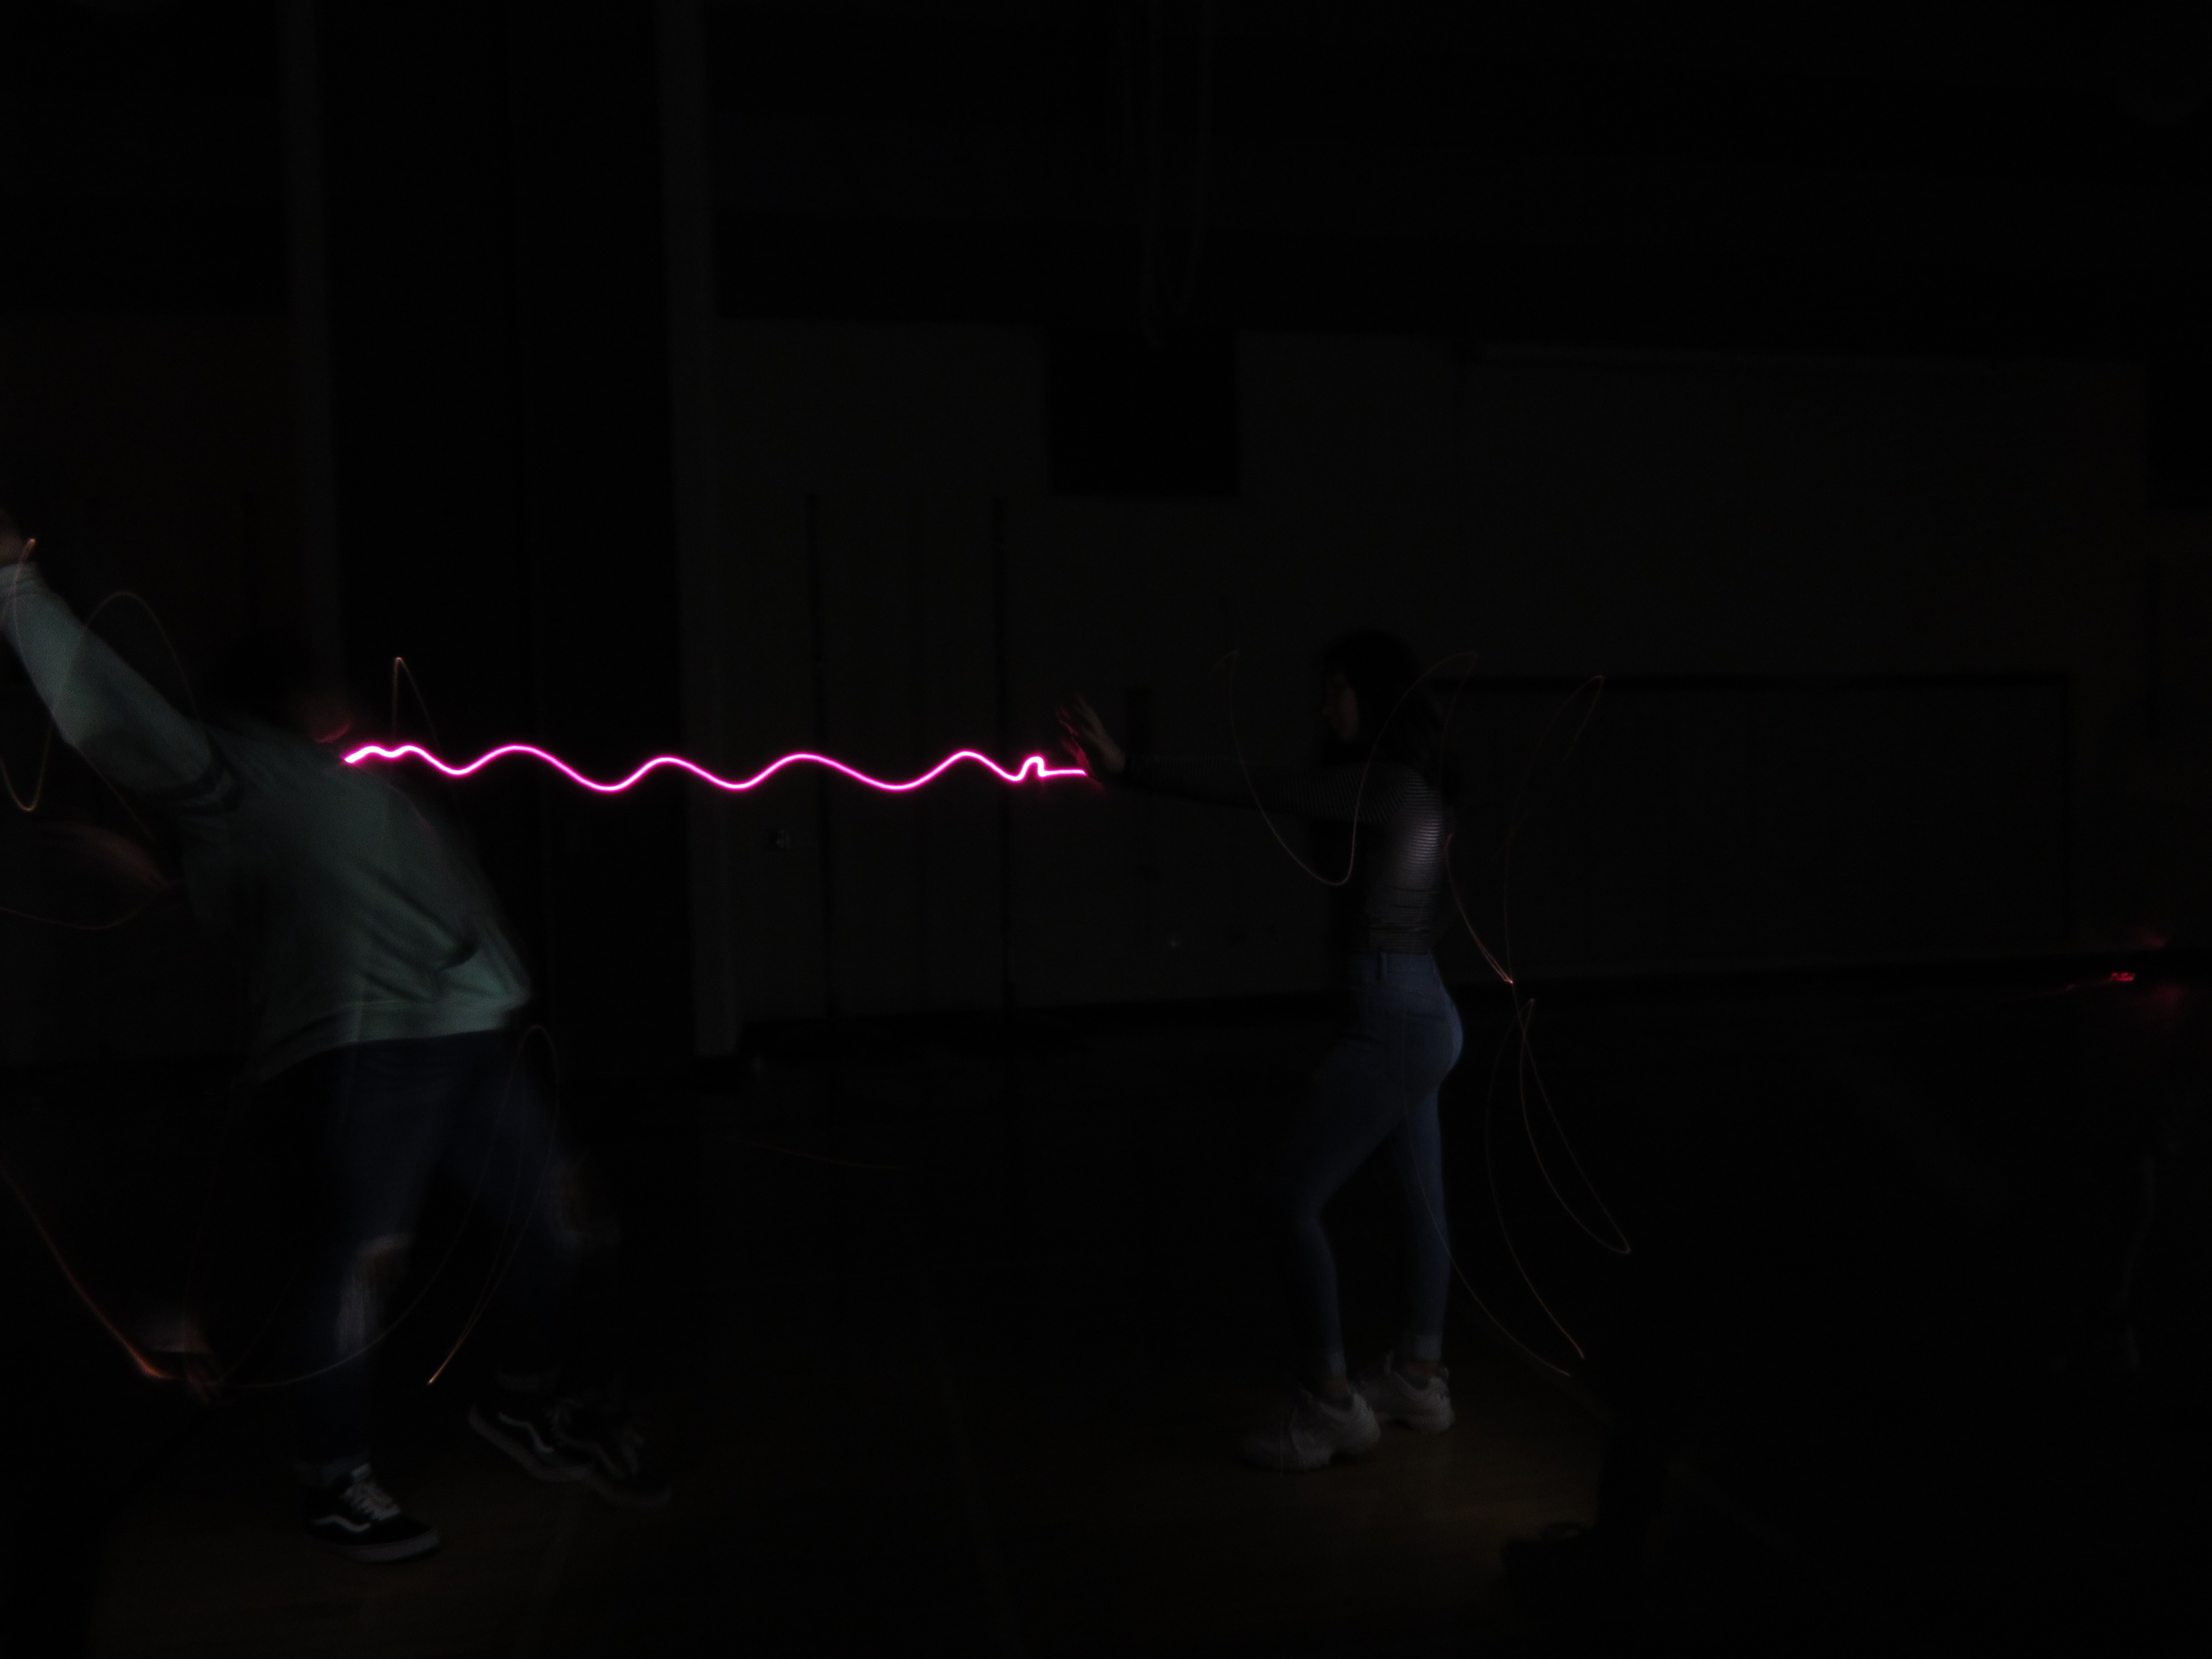
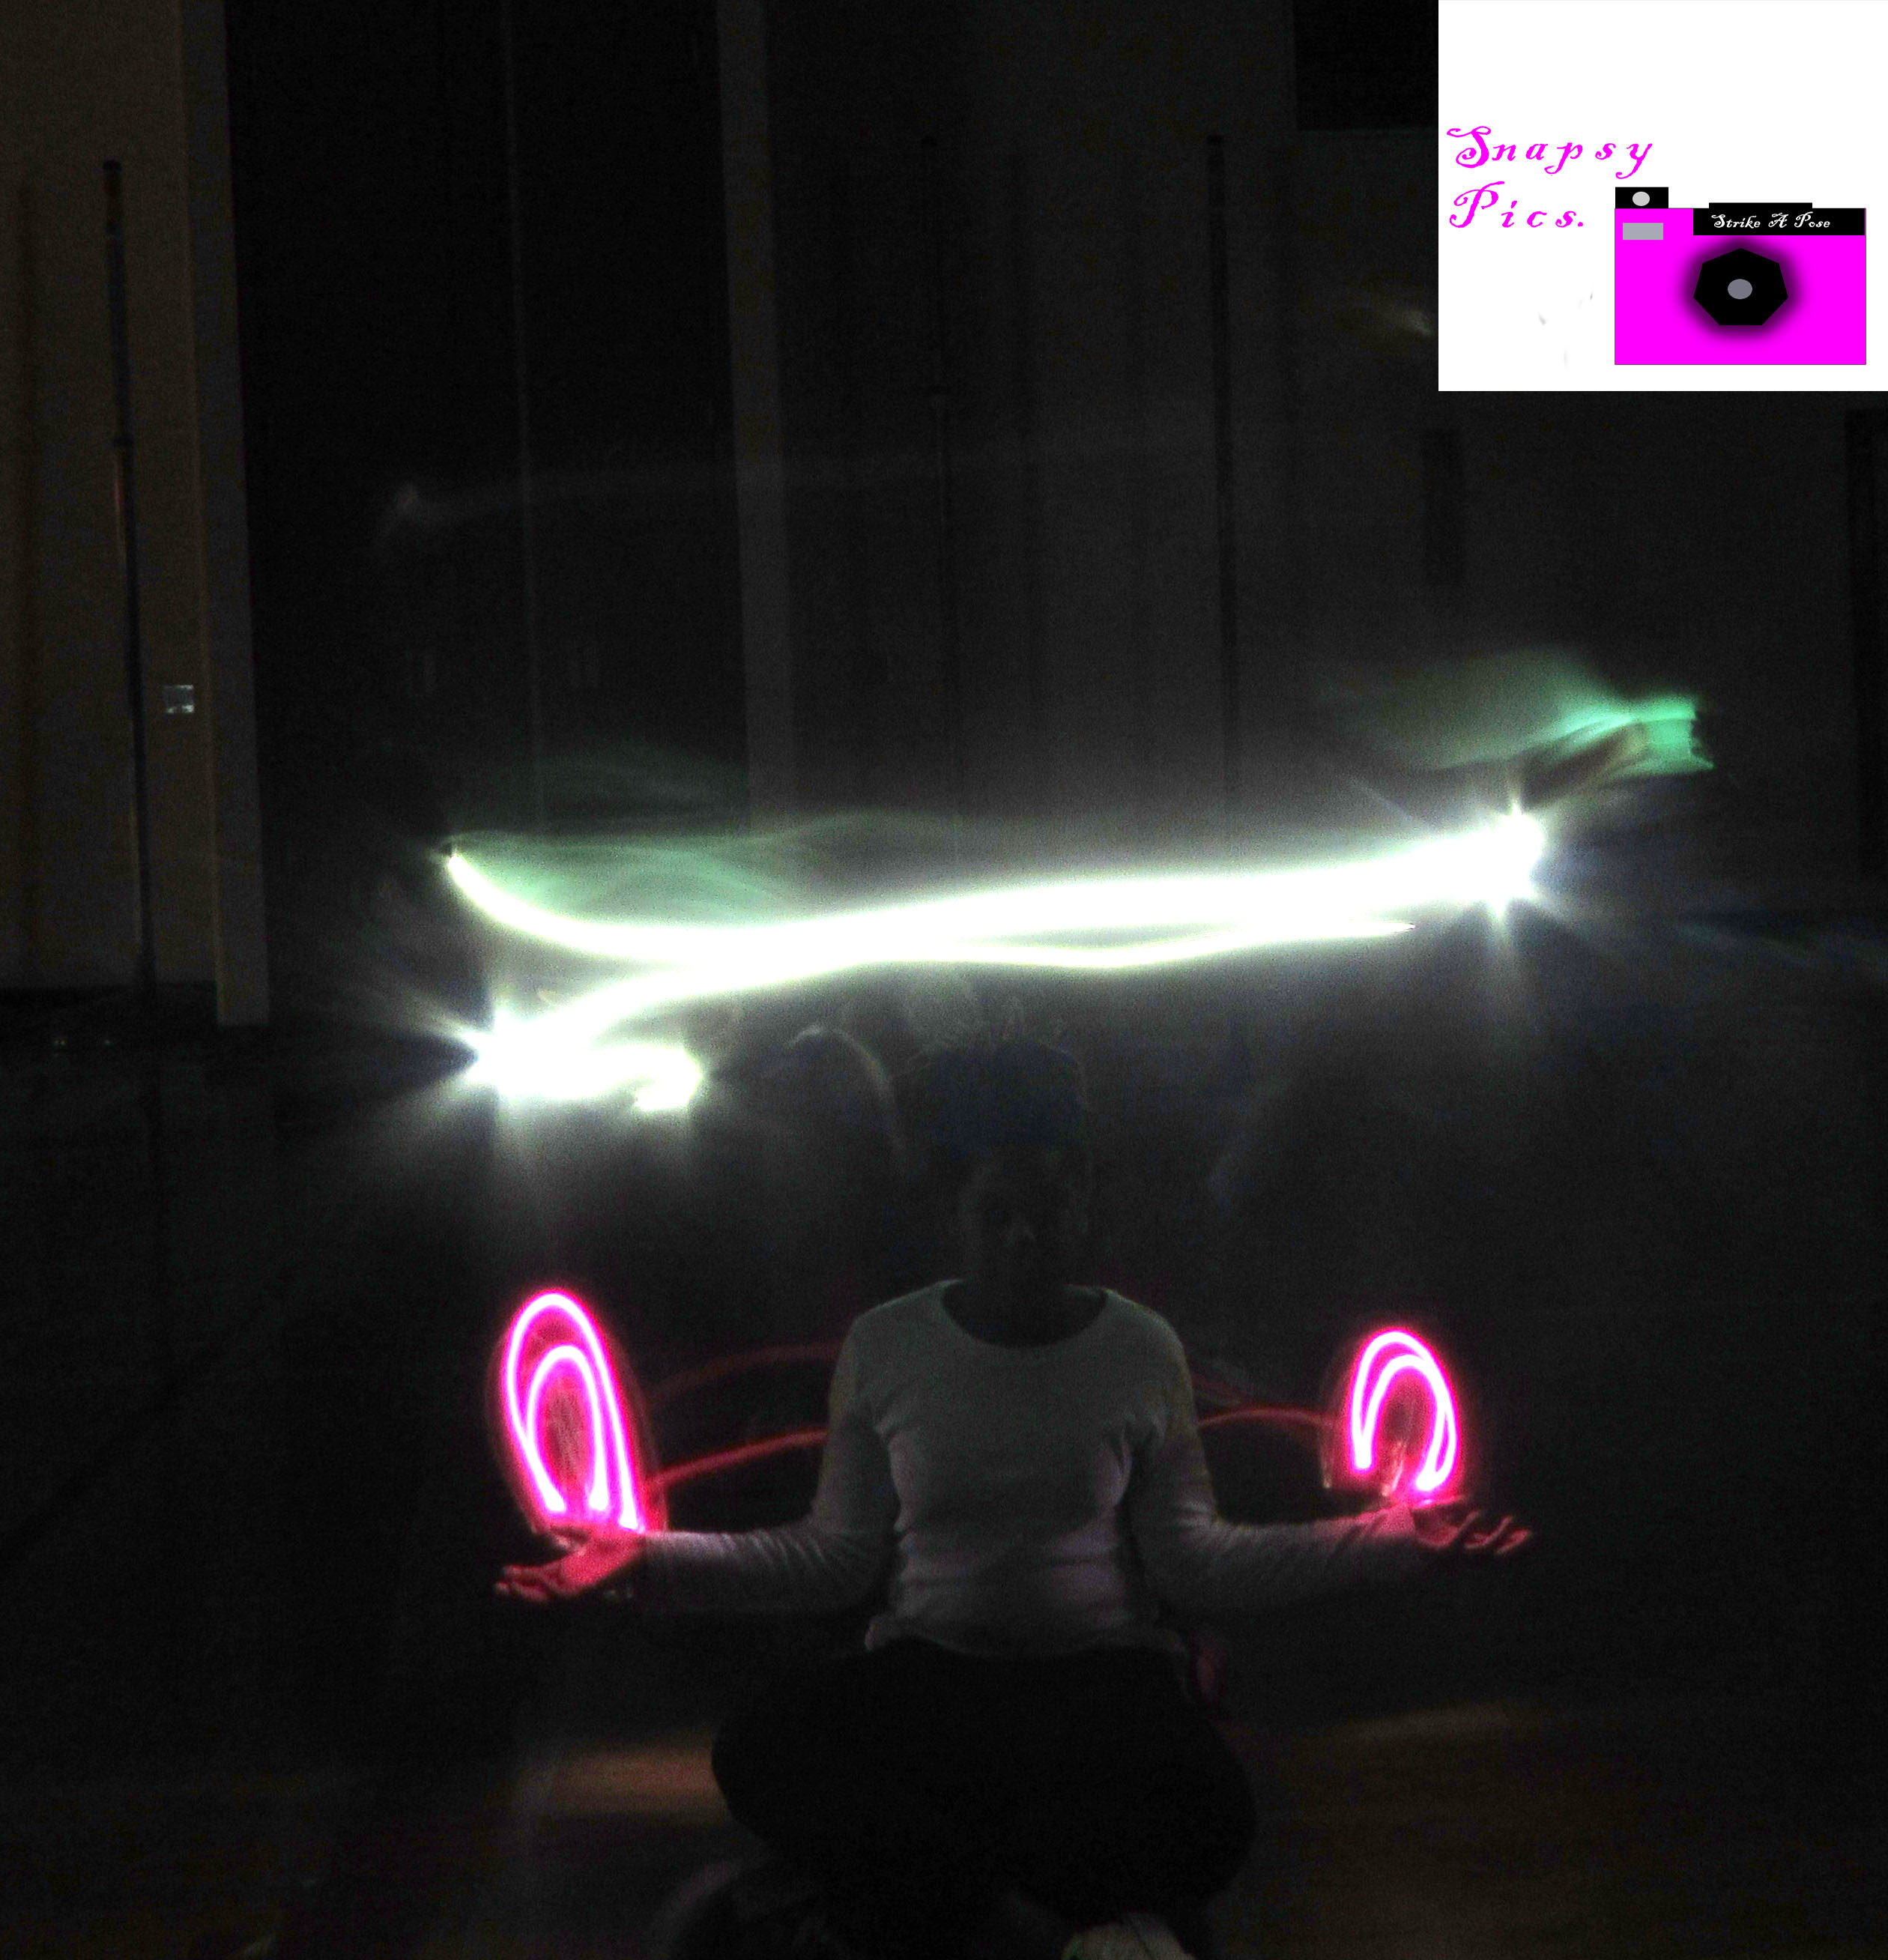
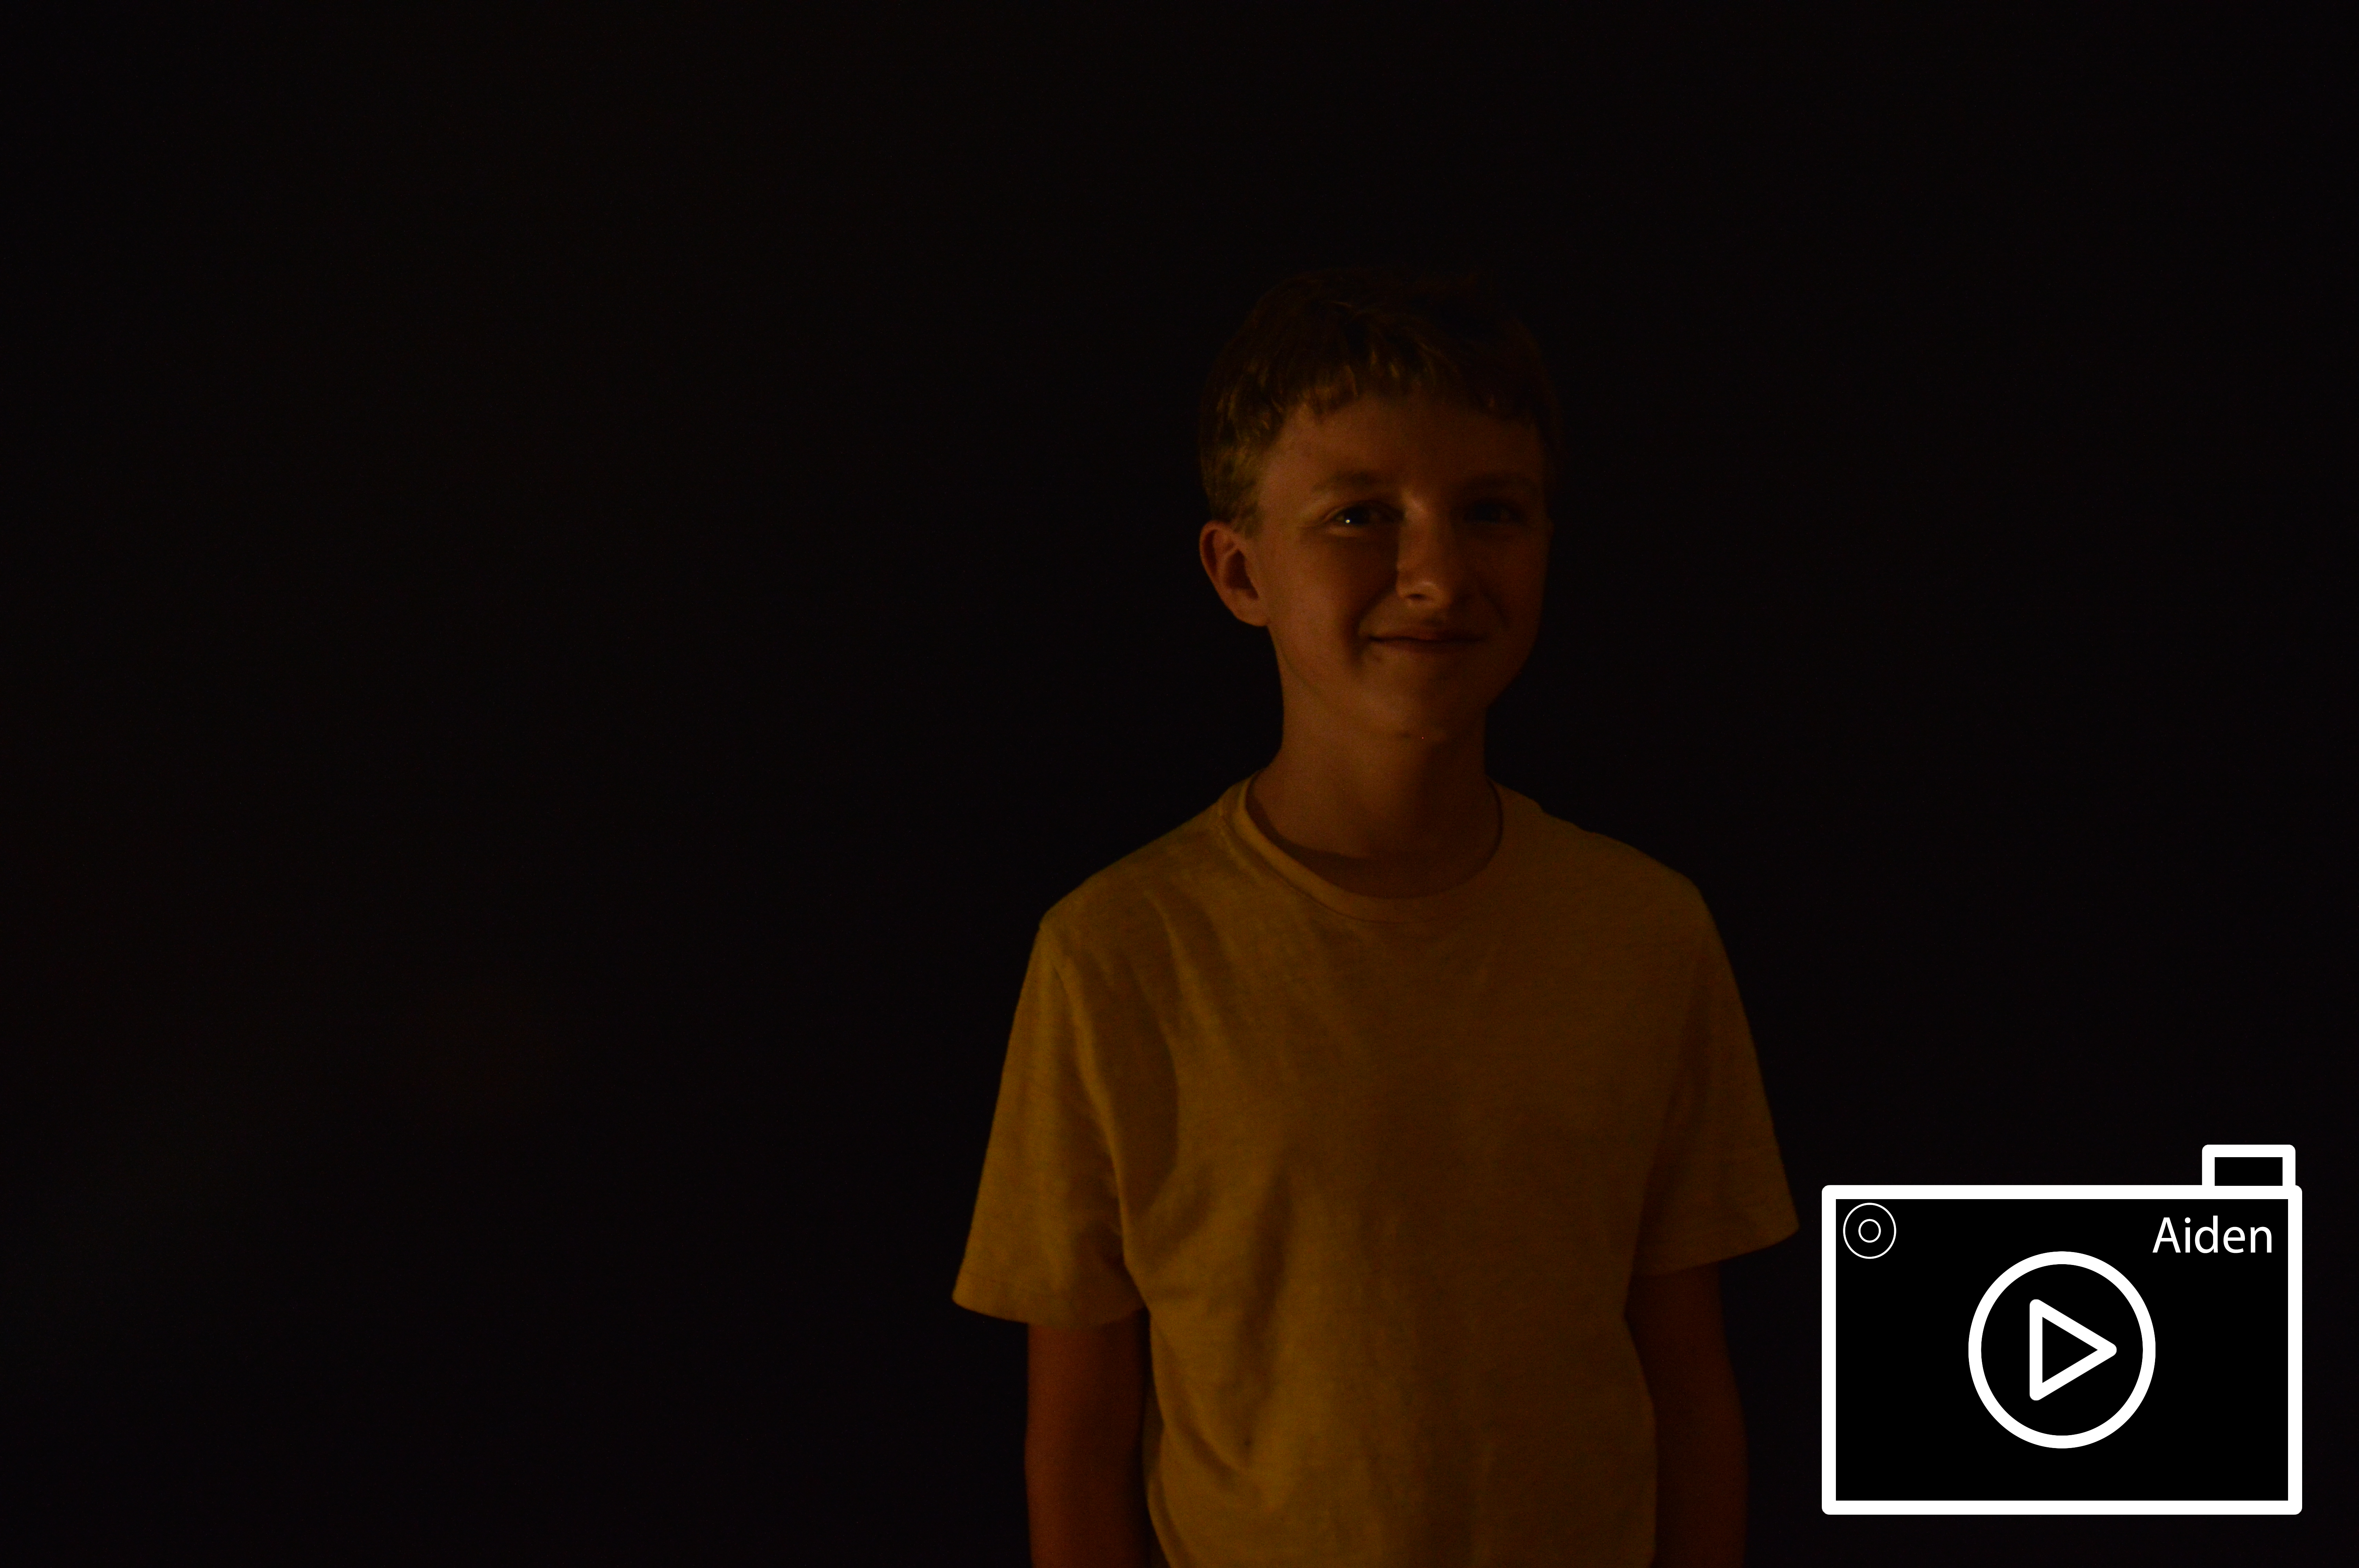
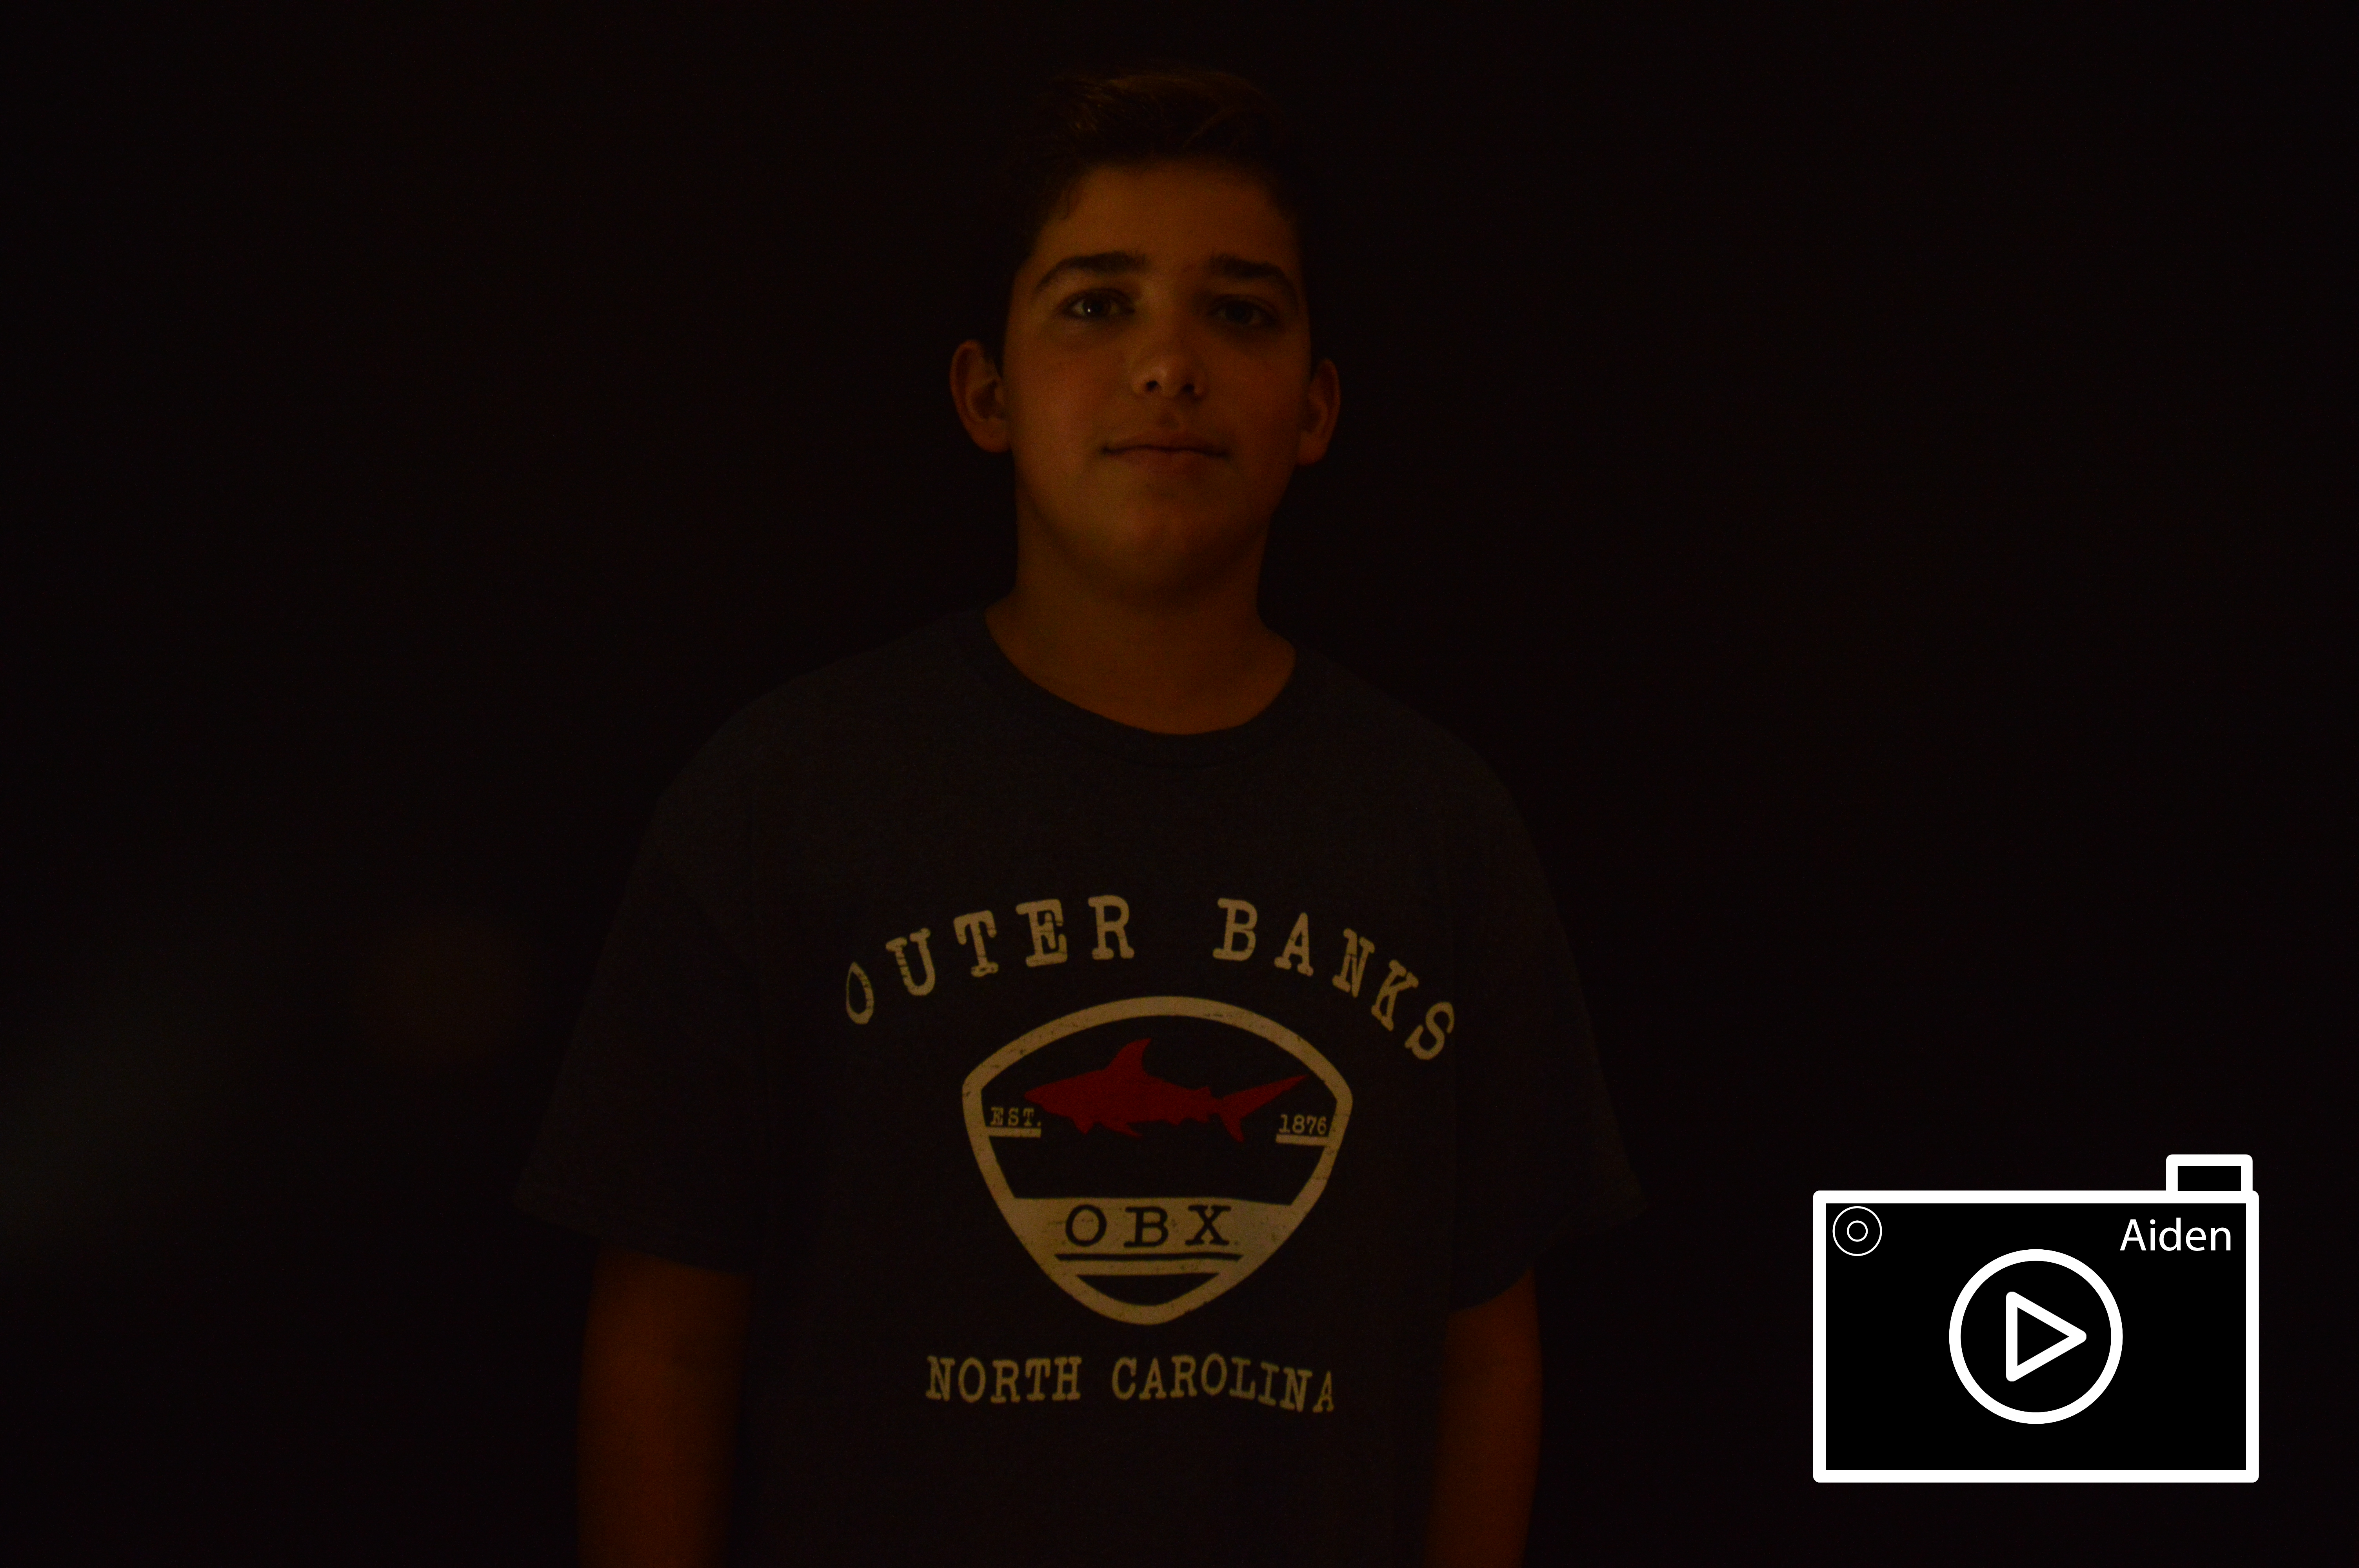
The process I used to make my photos was, using minimal lights but making sure the person was seen. What worked was putting our hands mostly over the light, but leaving a little light to show the person. What didn’t work was showing the full light onto the person. You can find our photos here.
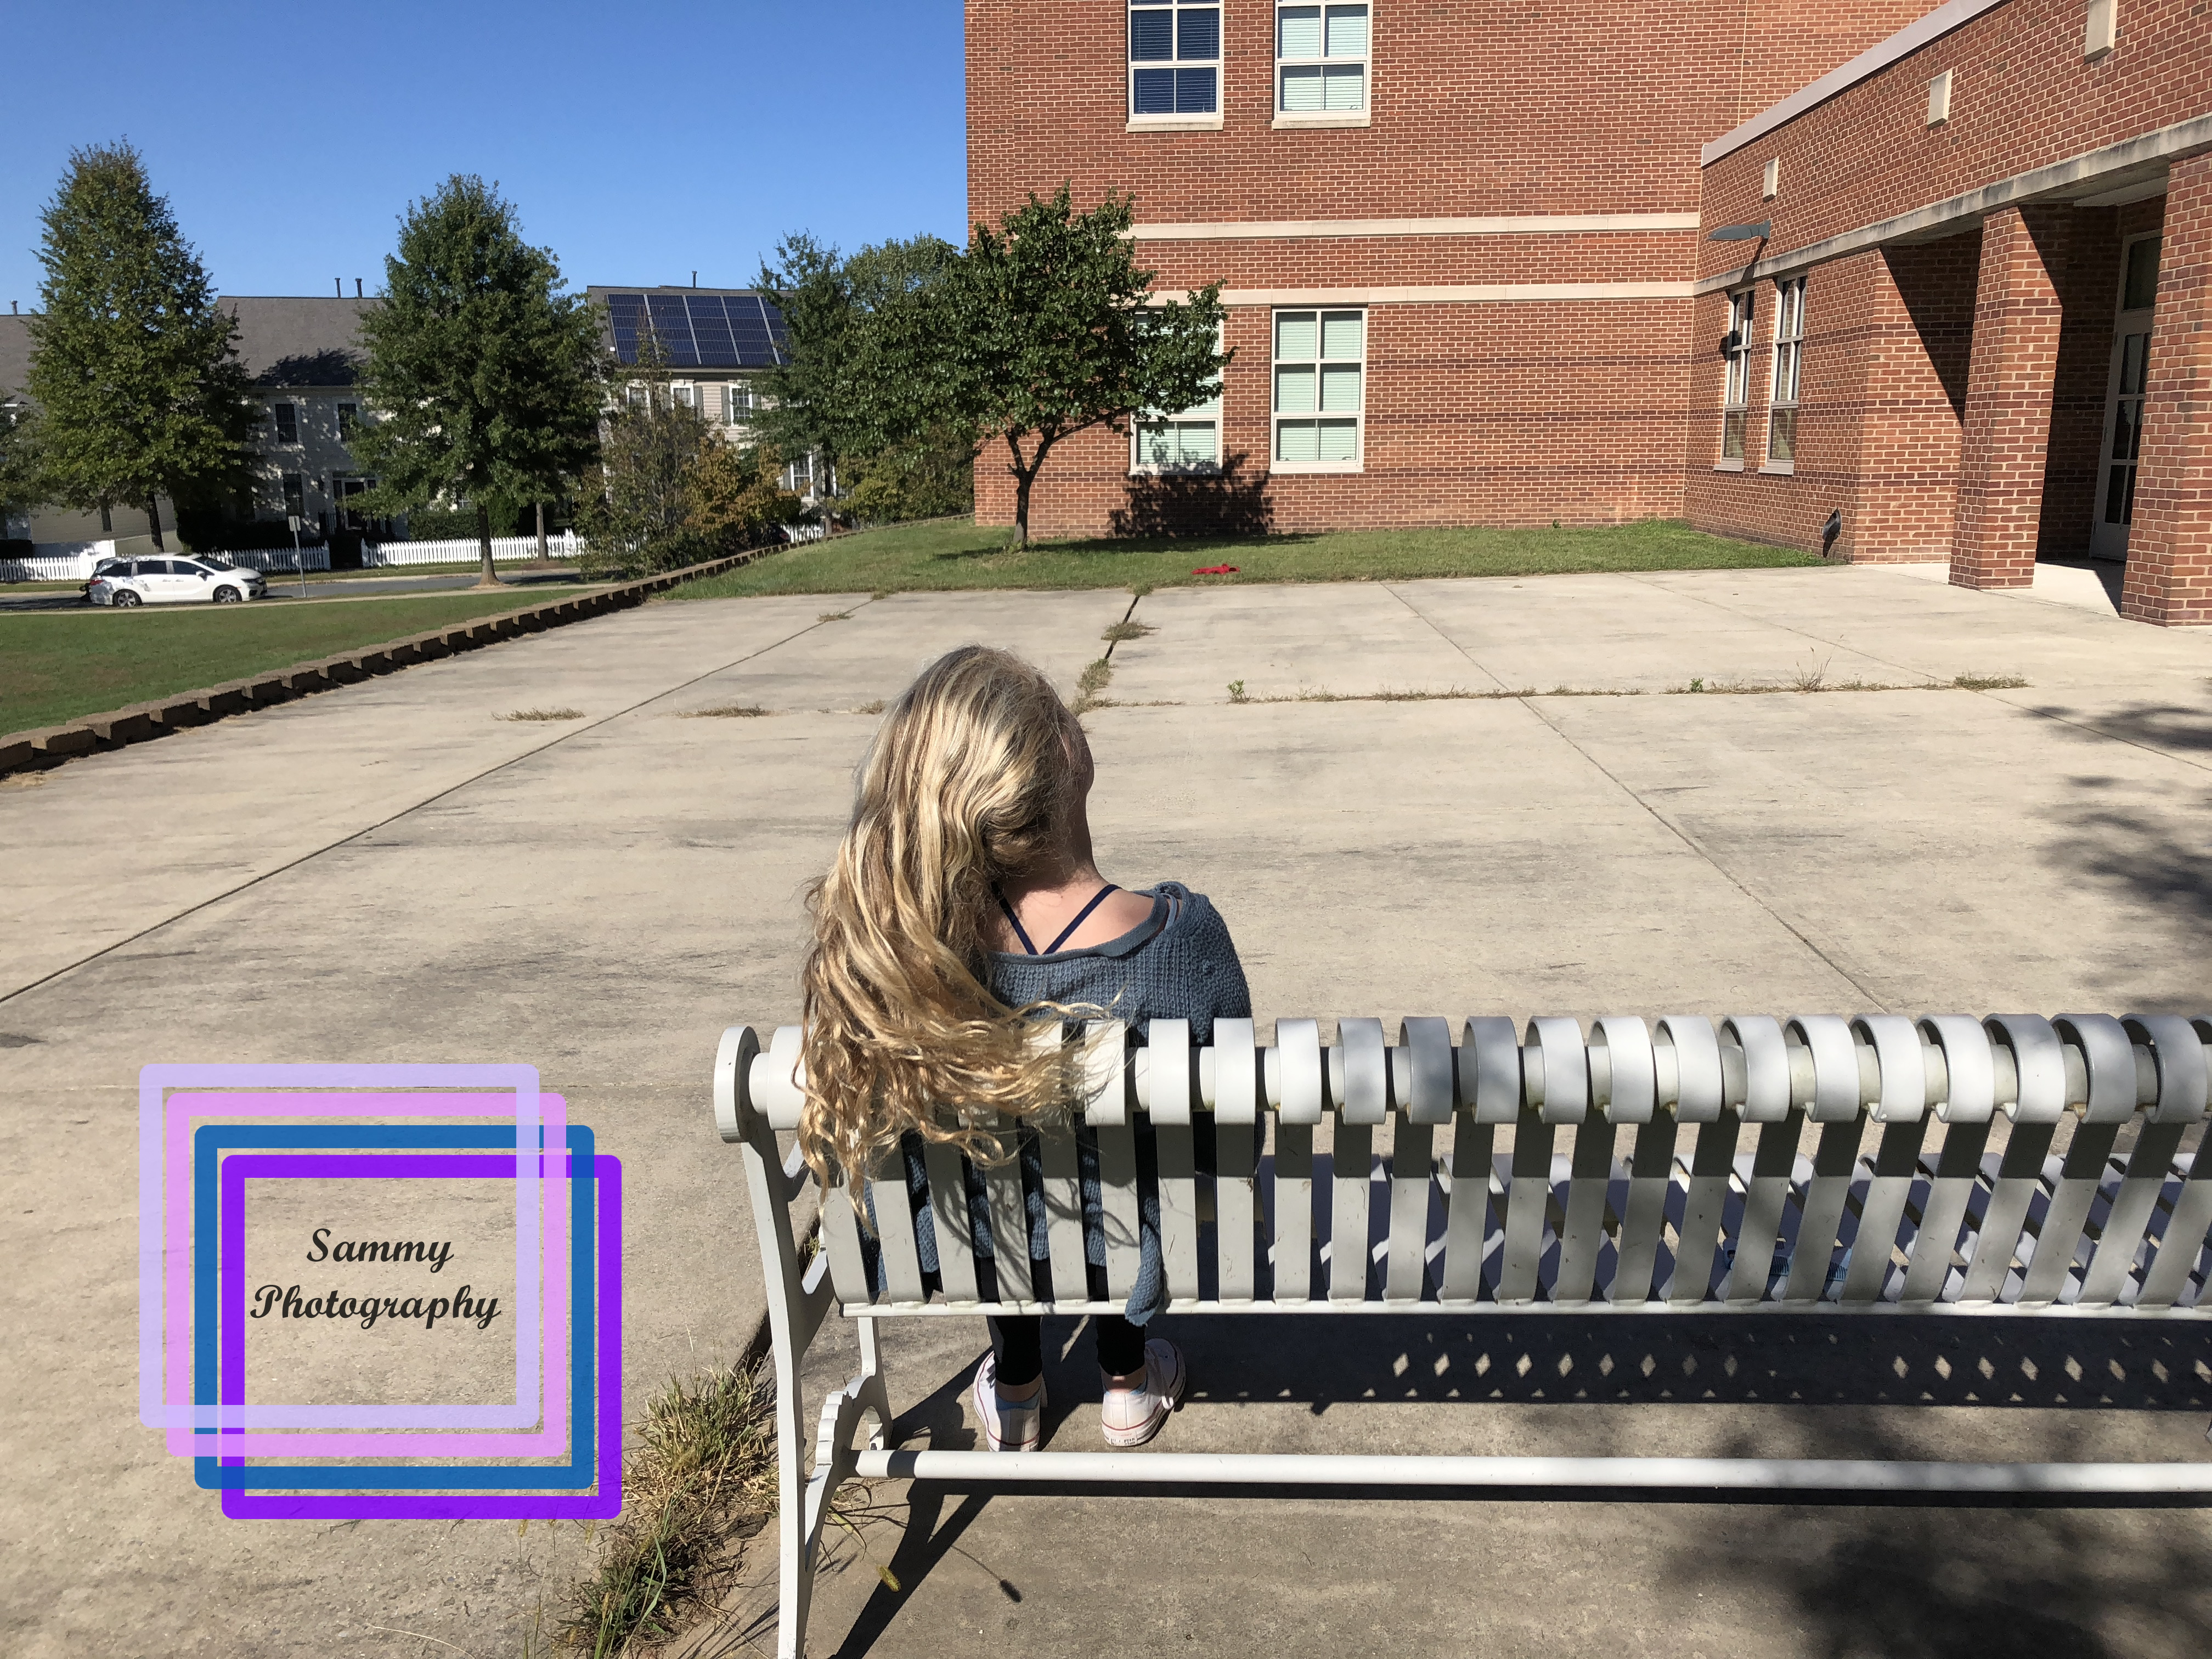
Our assignment was taking four photos of people and objects with different backgrounds. One thing that worked was taking photos with the rule of thirds grid and taking photos of different people. One thing that didn’t work was taking photos with different backgrounds. I still don’t get what the point of having rule of thirds. My thoughts didn’t really change. While I was taking photos, I had to line the person/objects up on one of the lines. The lines showed rule of thirds. Click here for more.
For my project i had to take a photos with light . This project was pretty easy because you did not have to do alot of work. a hard part about this was i had to draw in the air and i could not see. This broject i will give it a 10 out of 10 because it was cool. To find my stuff click here.