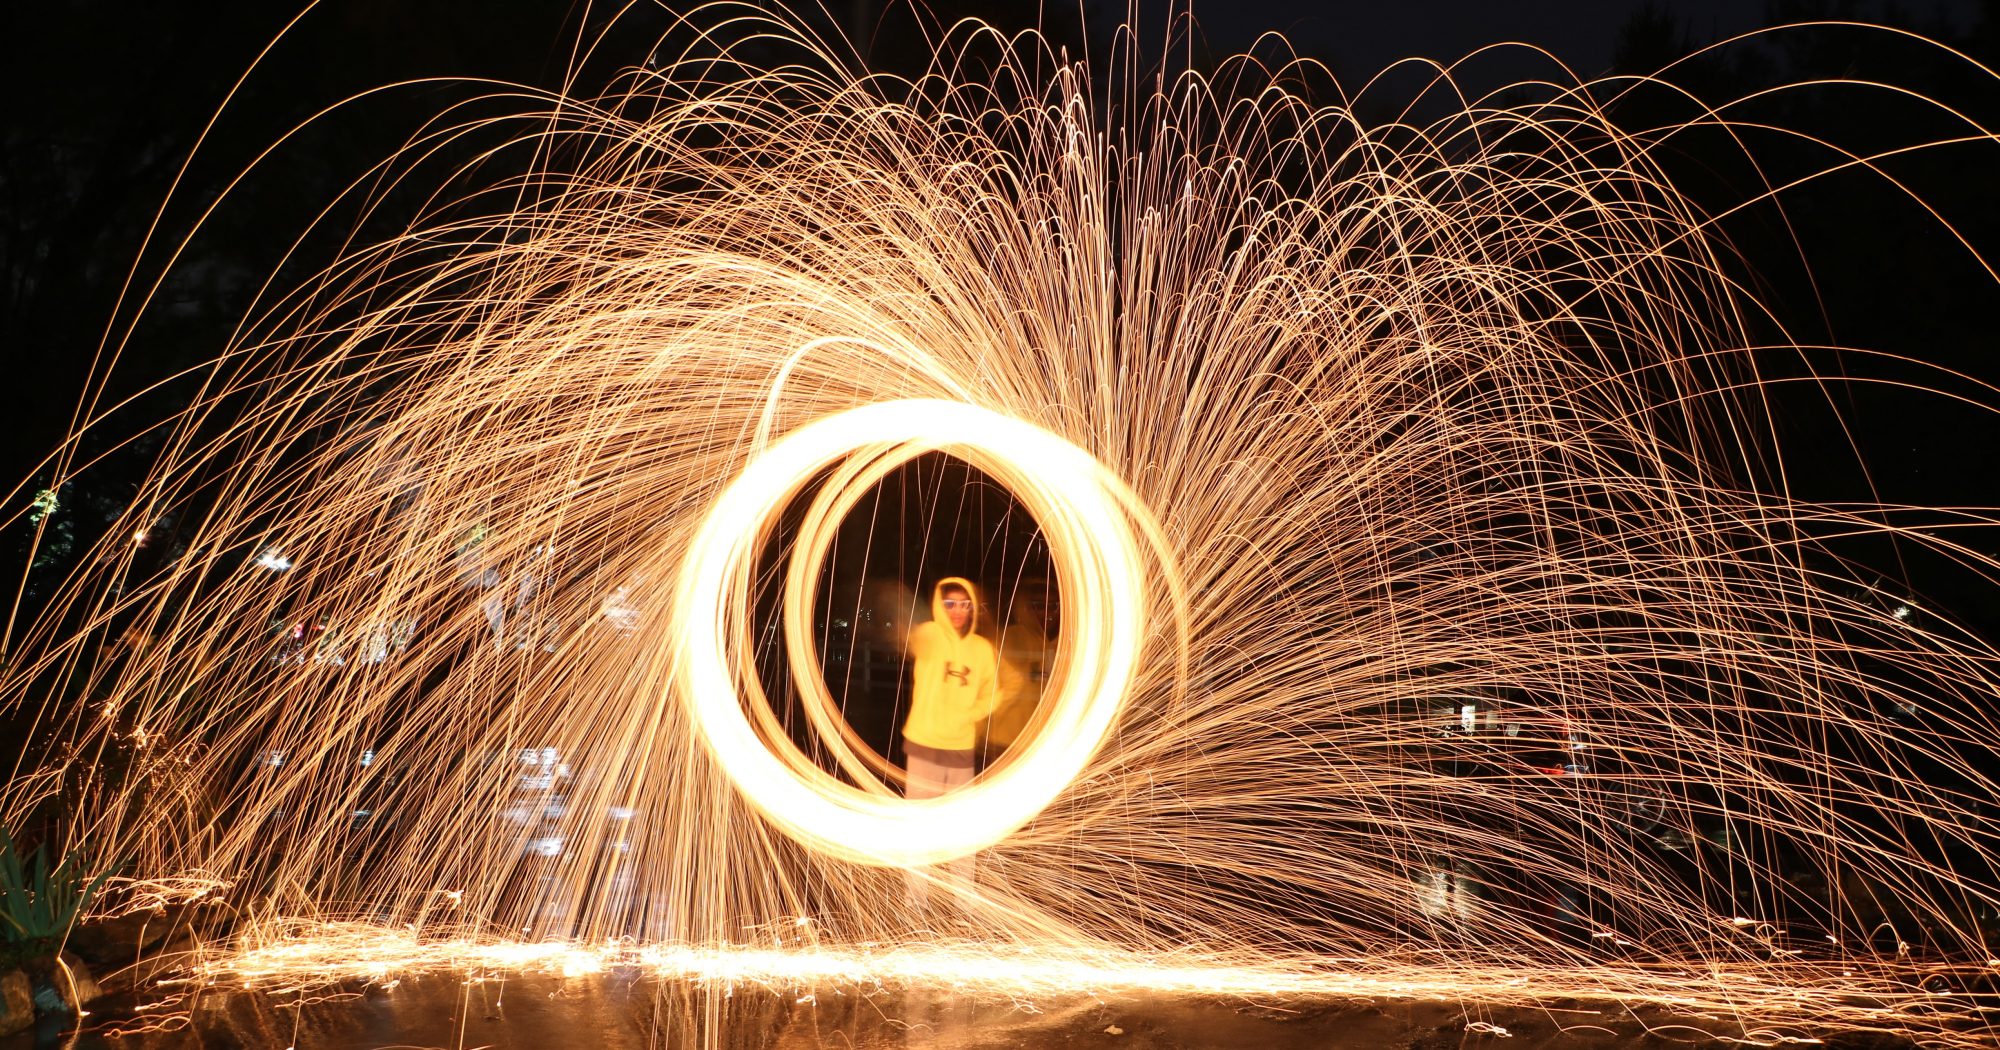
First we had to go to the gym and turn all of the lights of. Then we had to make the camera setting so the light can come in for a certain amount of time. What was difficult was doing the drawling in a certain amount of time.
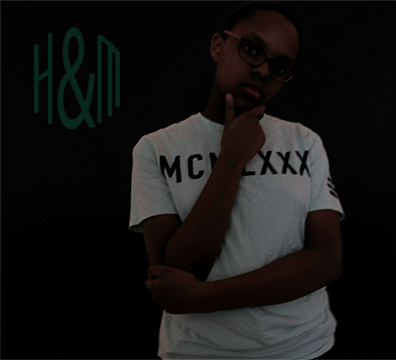
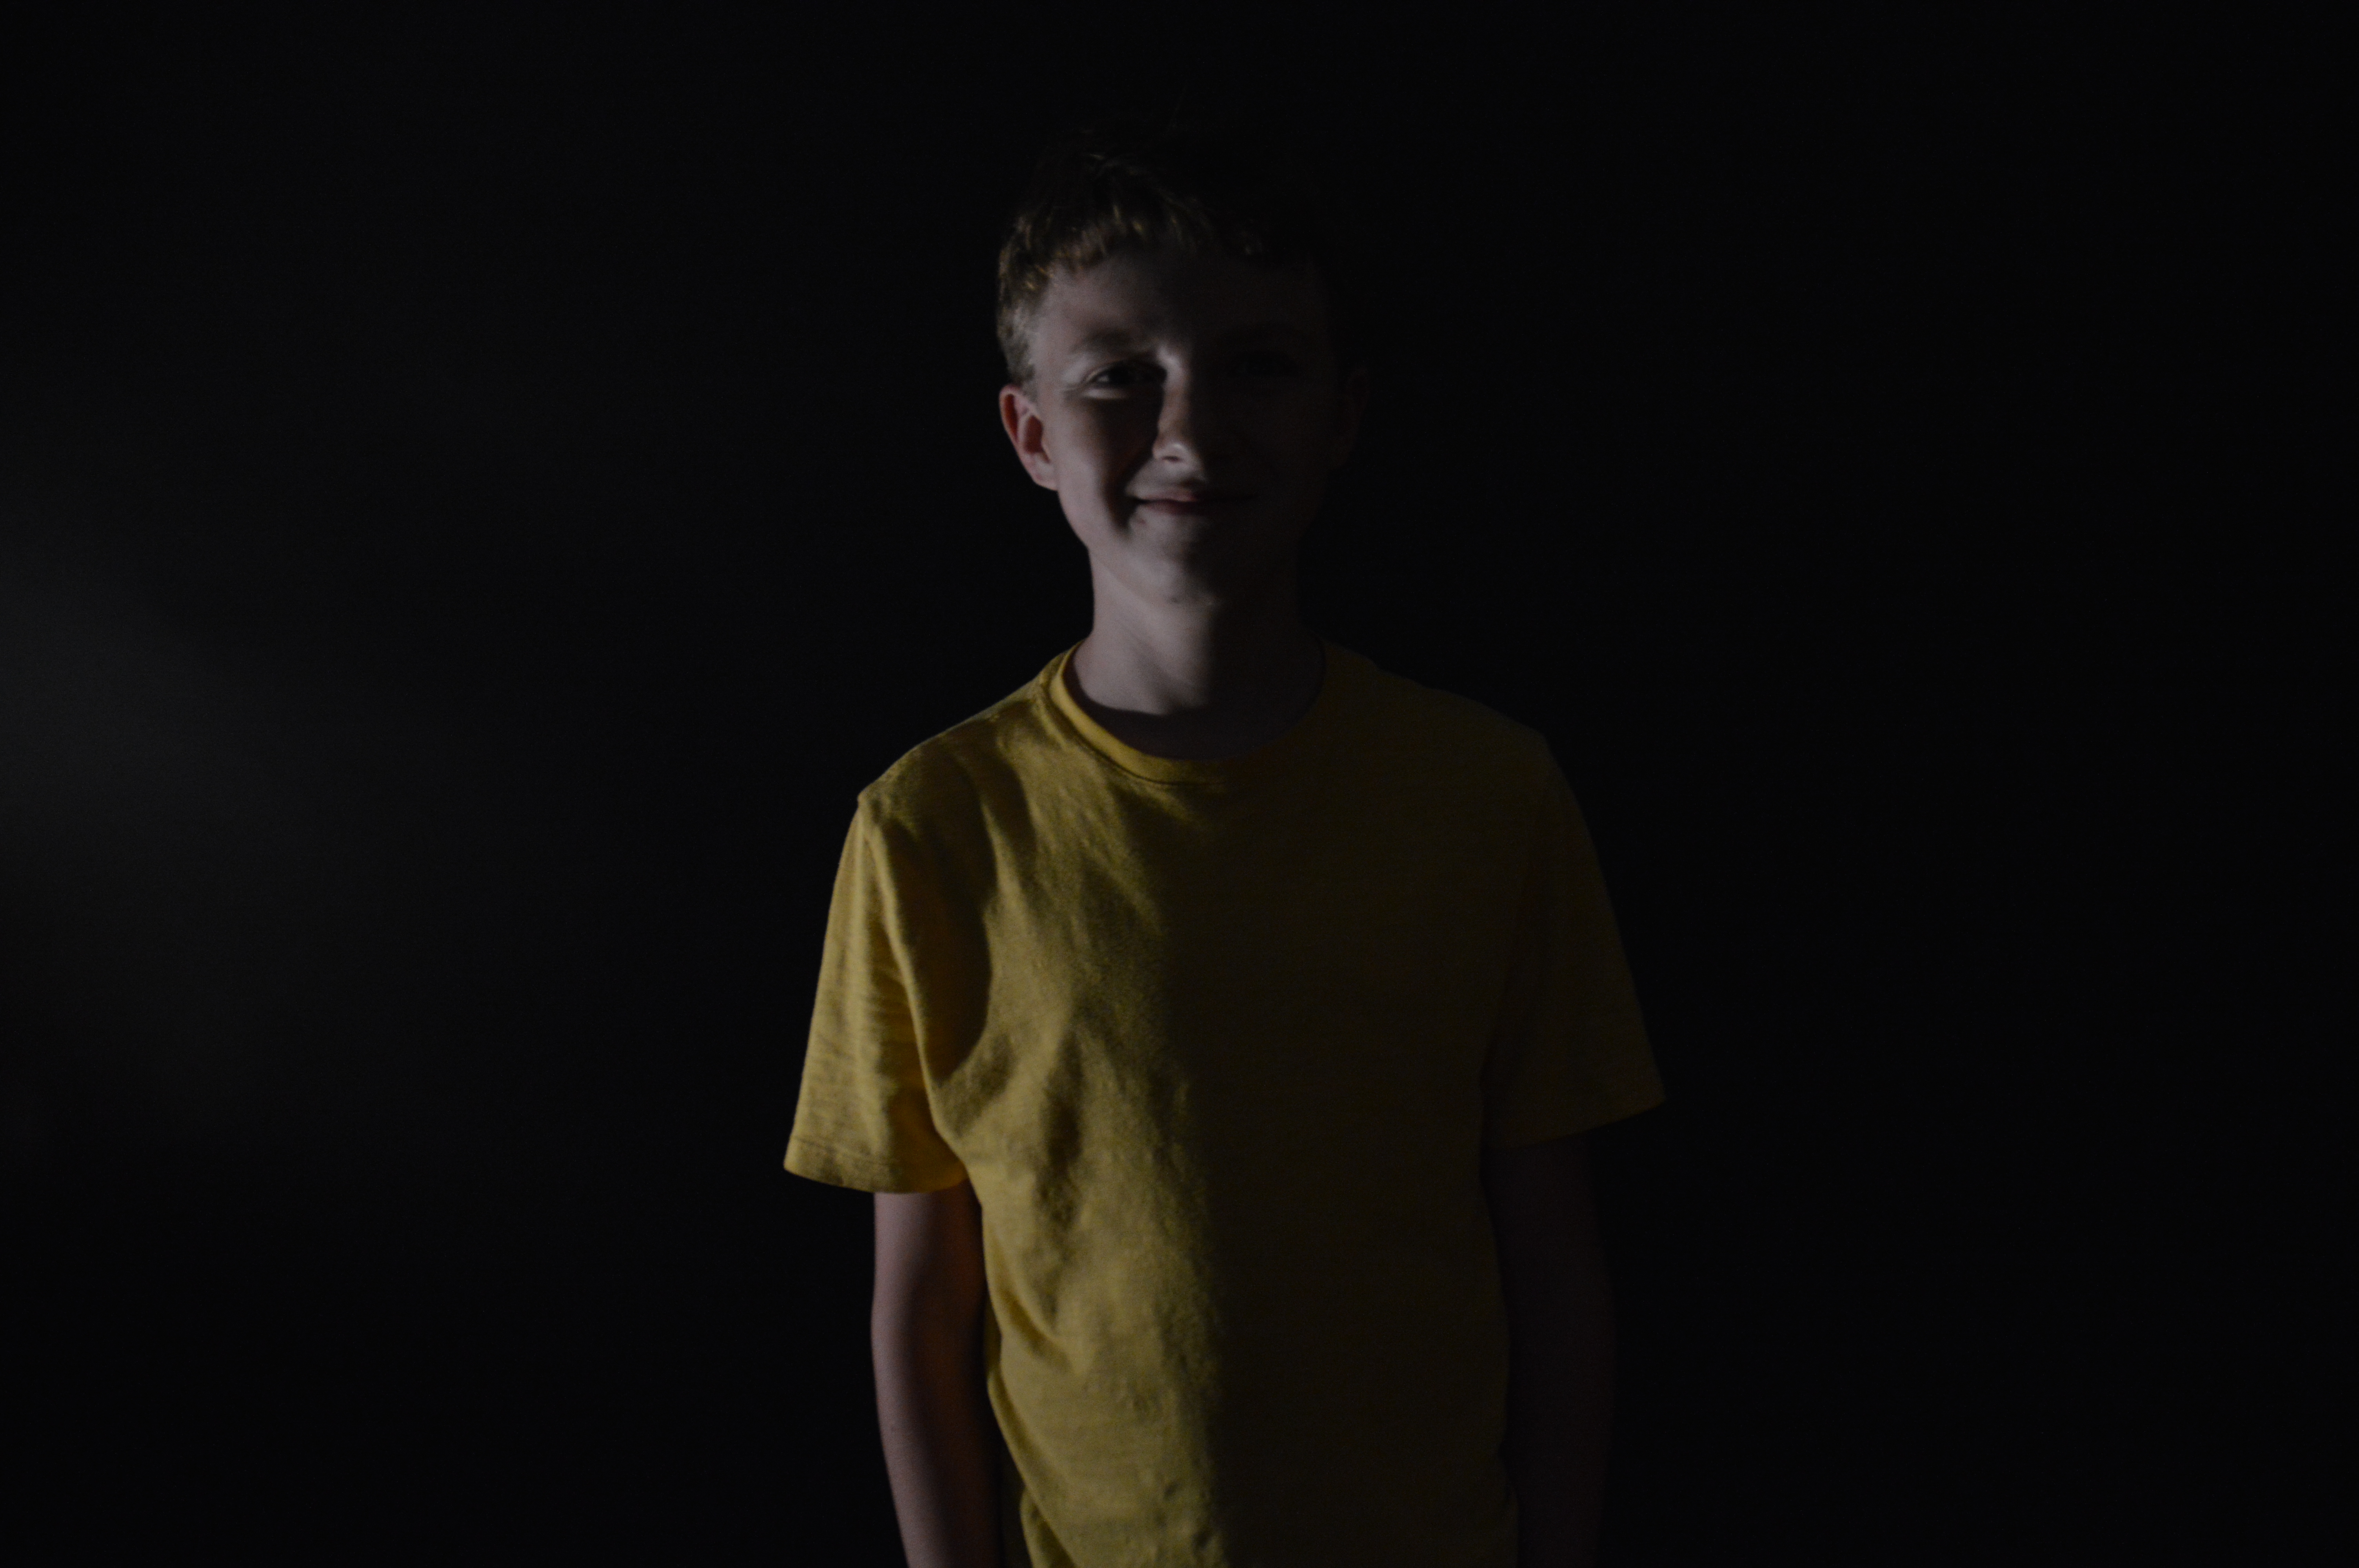
for this project we had to do the same thing except with a black background. it was best if wee took the image without the lights; because it created shadows. here are my photos:
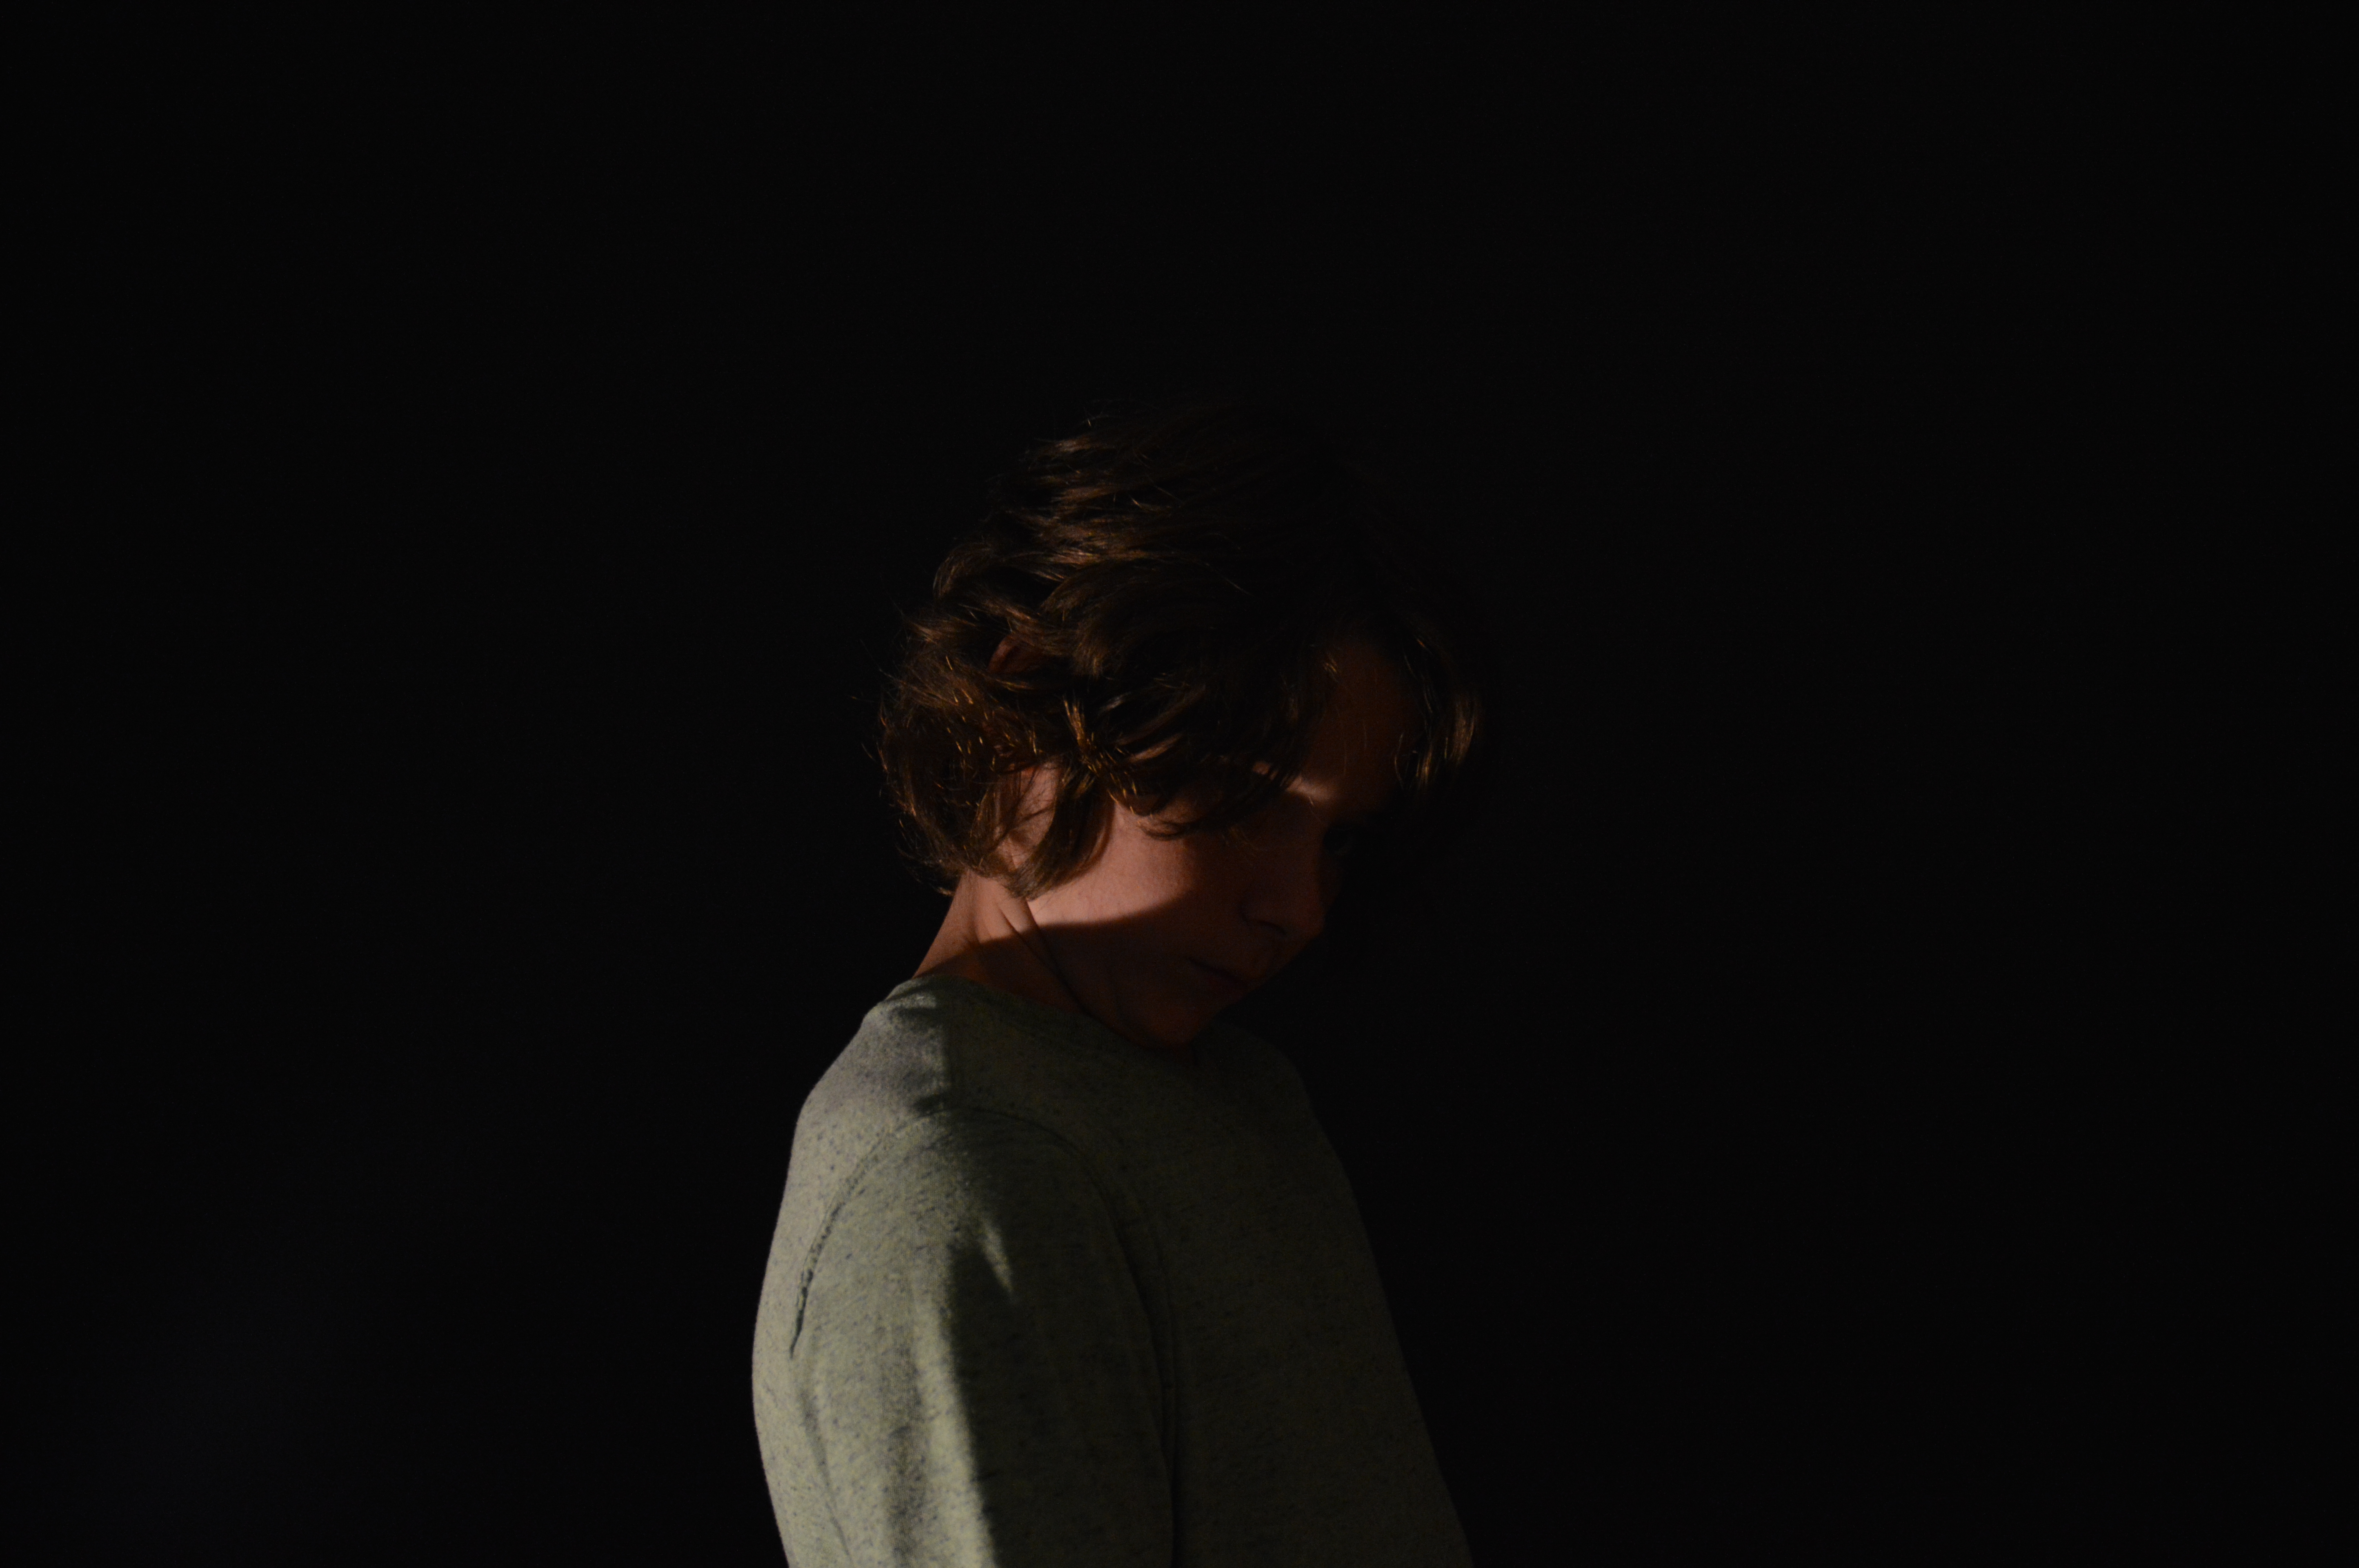
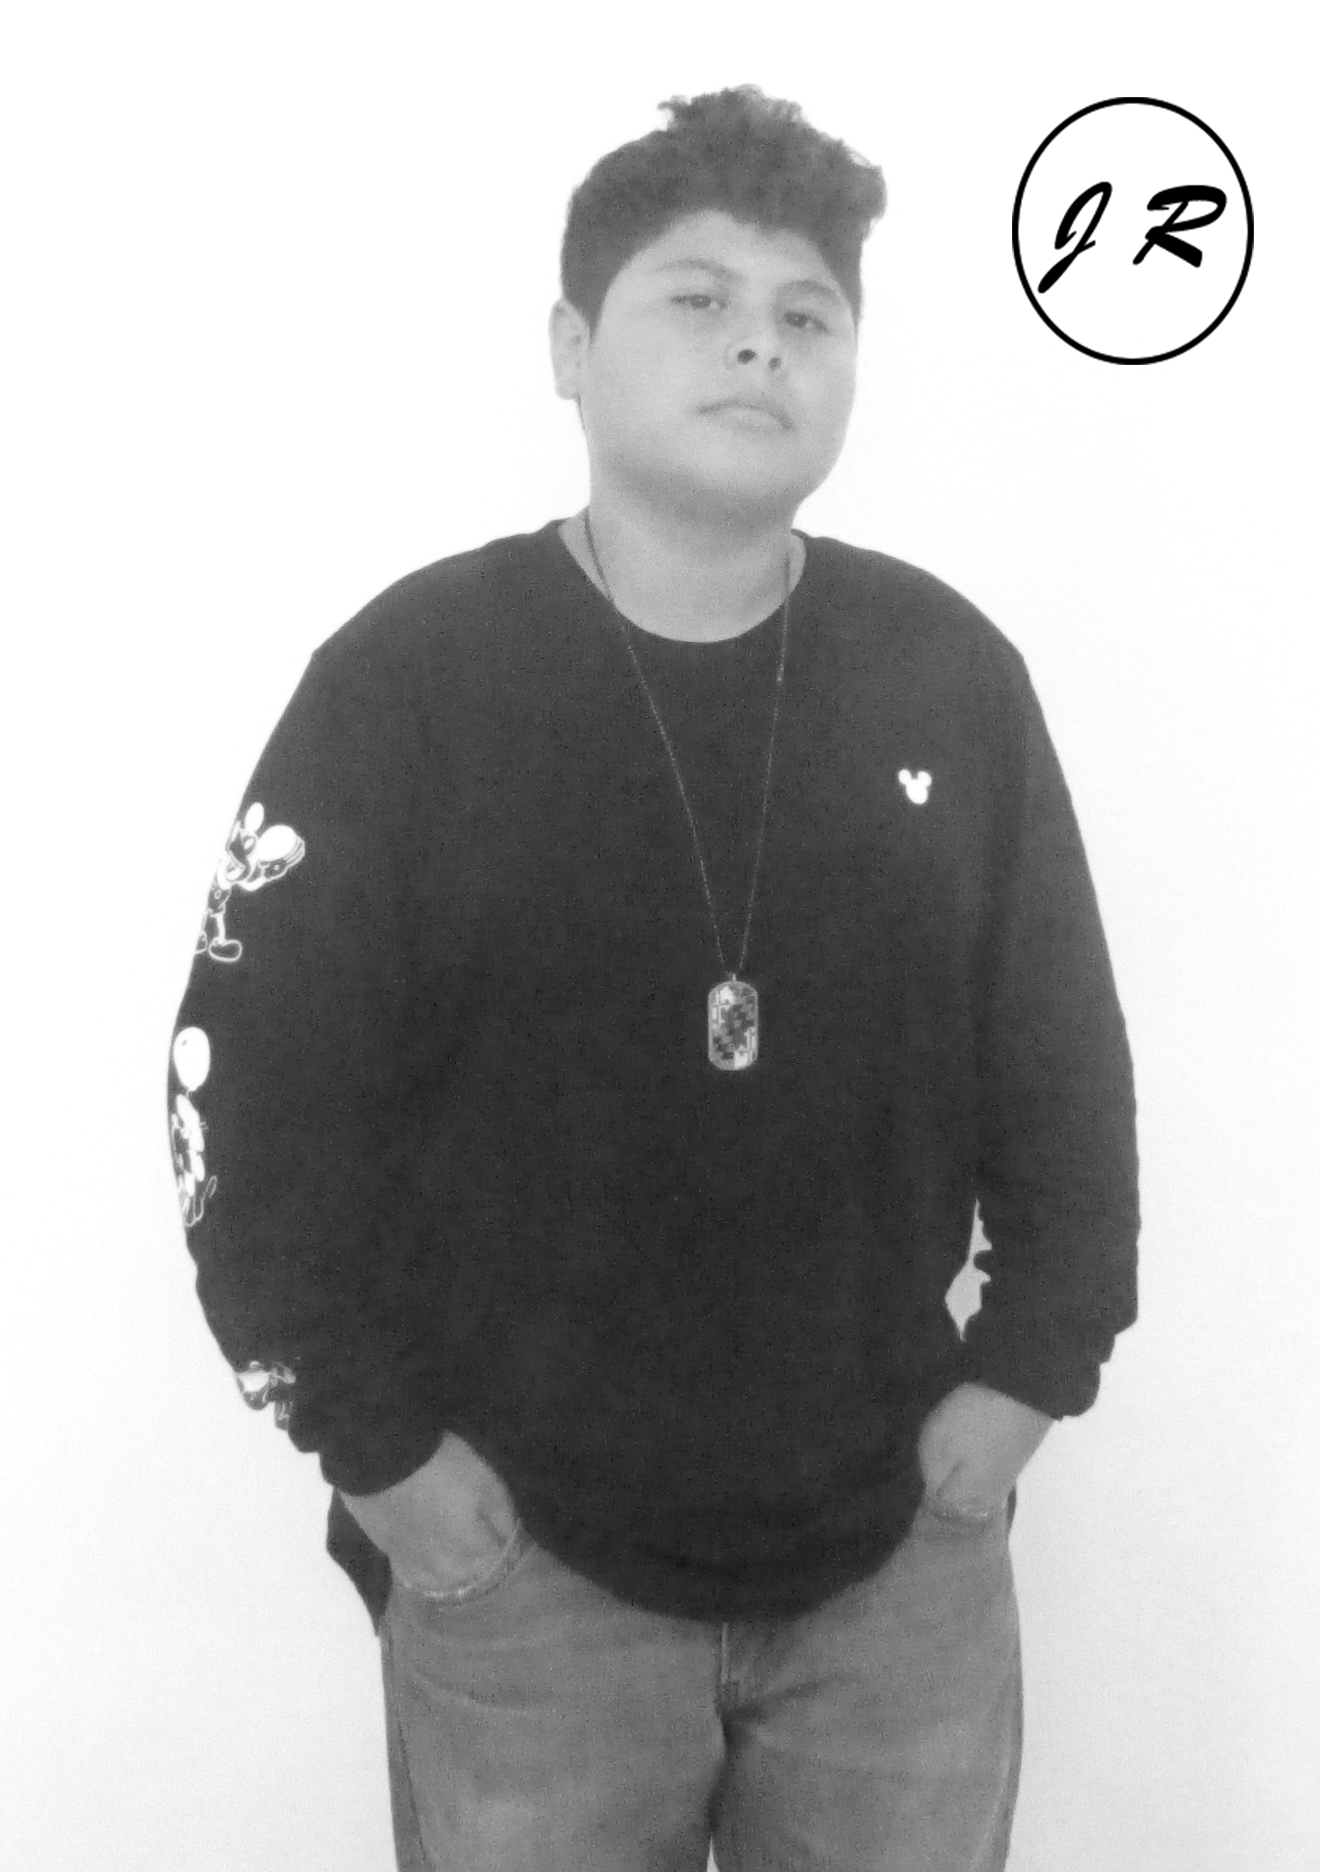
This project required leaving the shutter open to reduce shadows. This was hard, but we were allowed to use Adobe Photoshop to reduce shadows. I had a hard time taking the pictures because I wasn’t patient when the shutter was open.
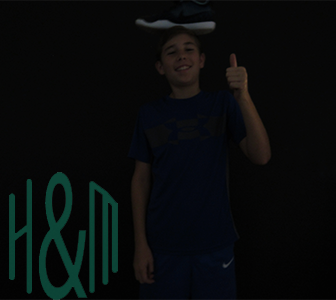
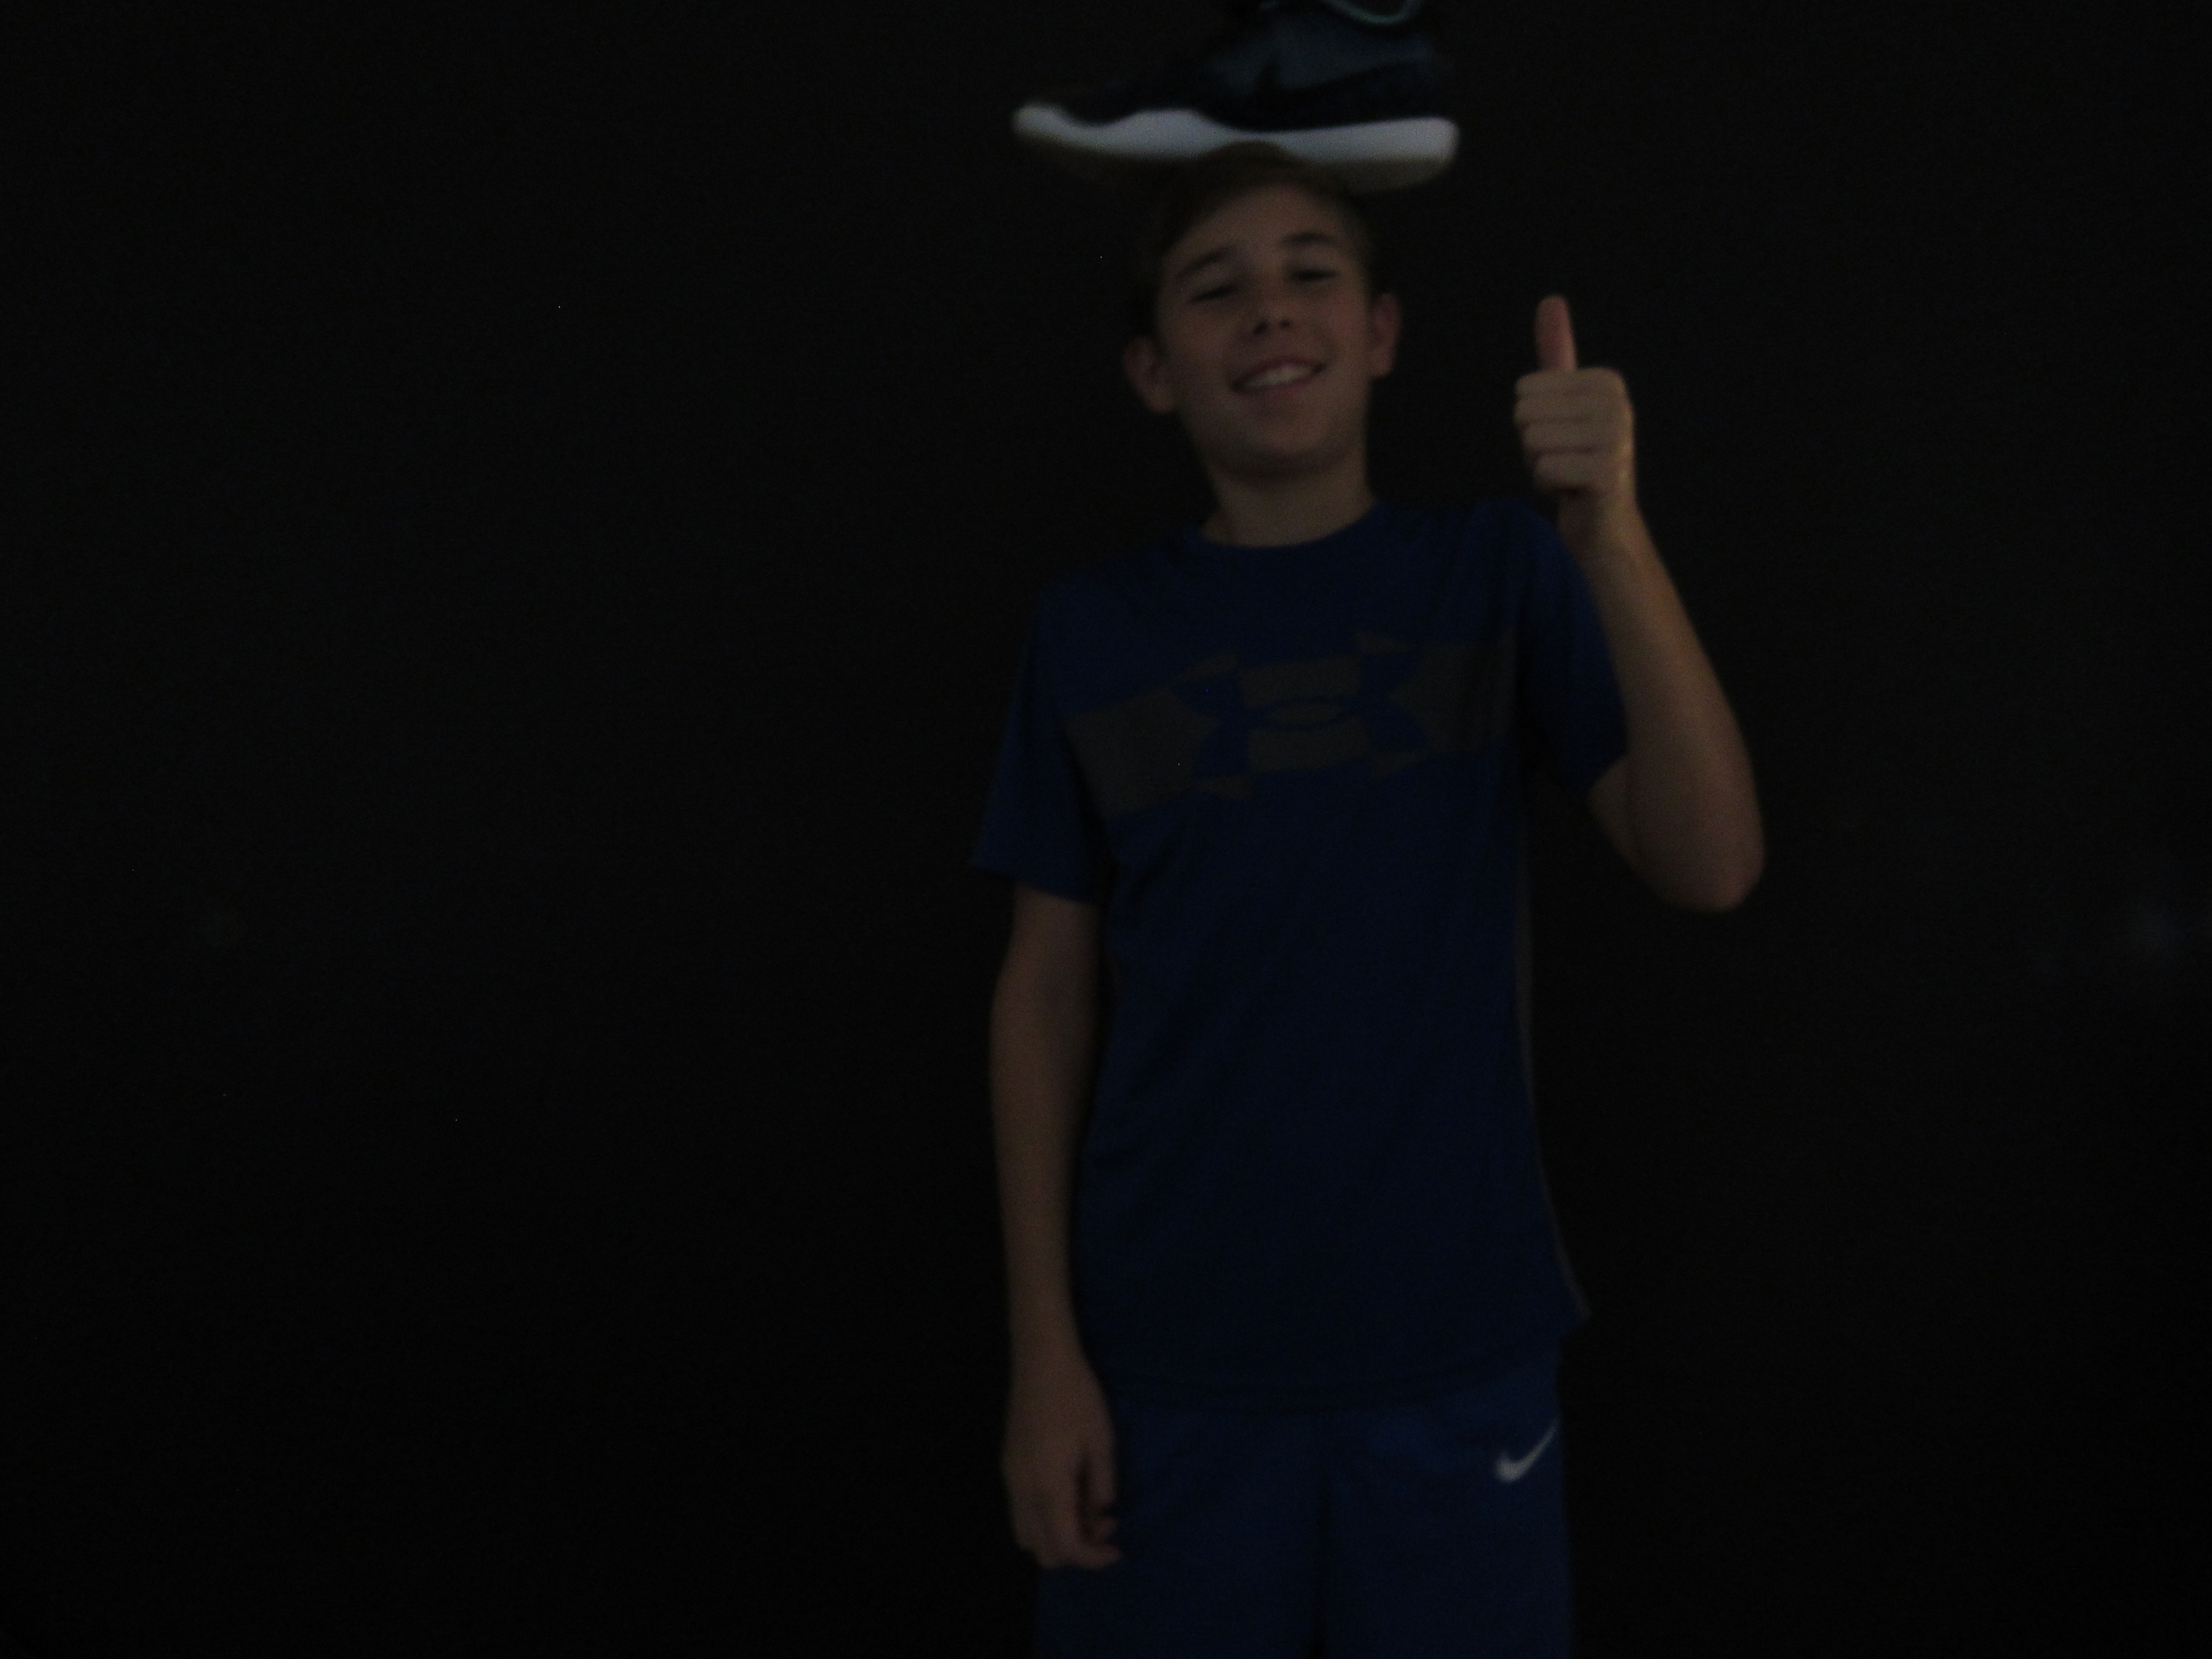
For this project we had to leave the shutter open for longer to make sure there were no shadows or light in the picture. In the picture above, David is posing with a shoe on his head with no light or shadows. It was challenging to find out the length we had to leave the shutter open for.
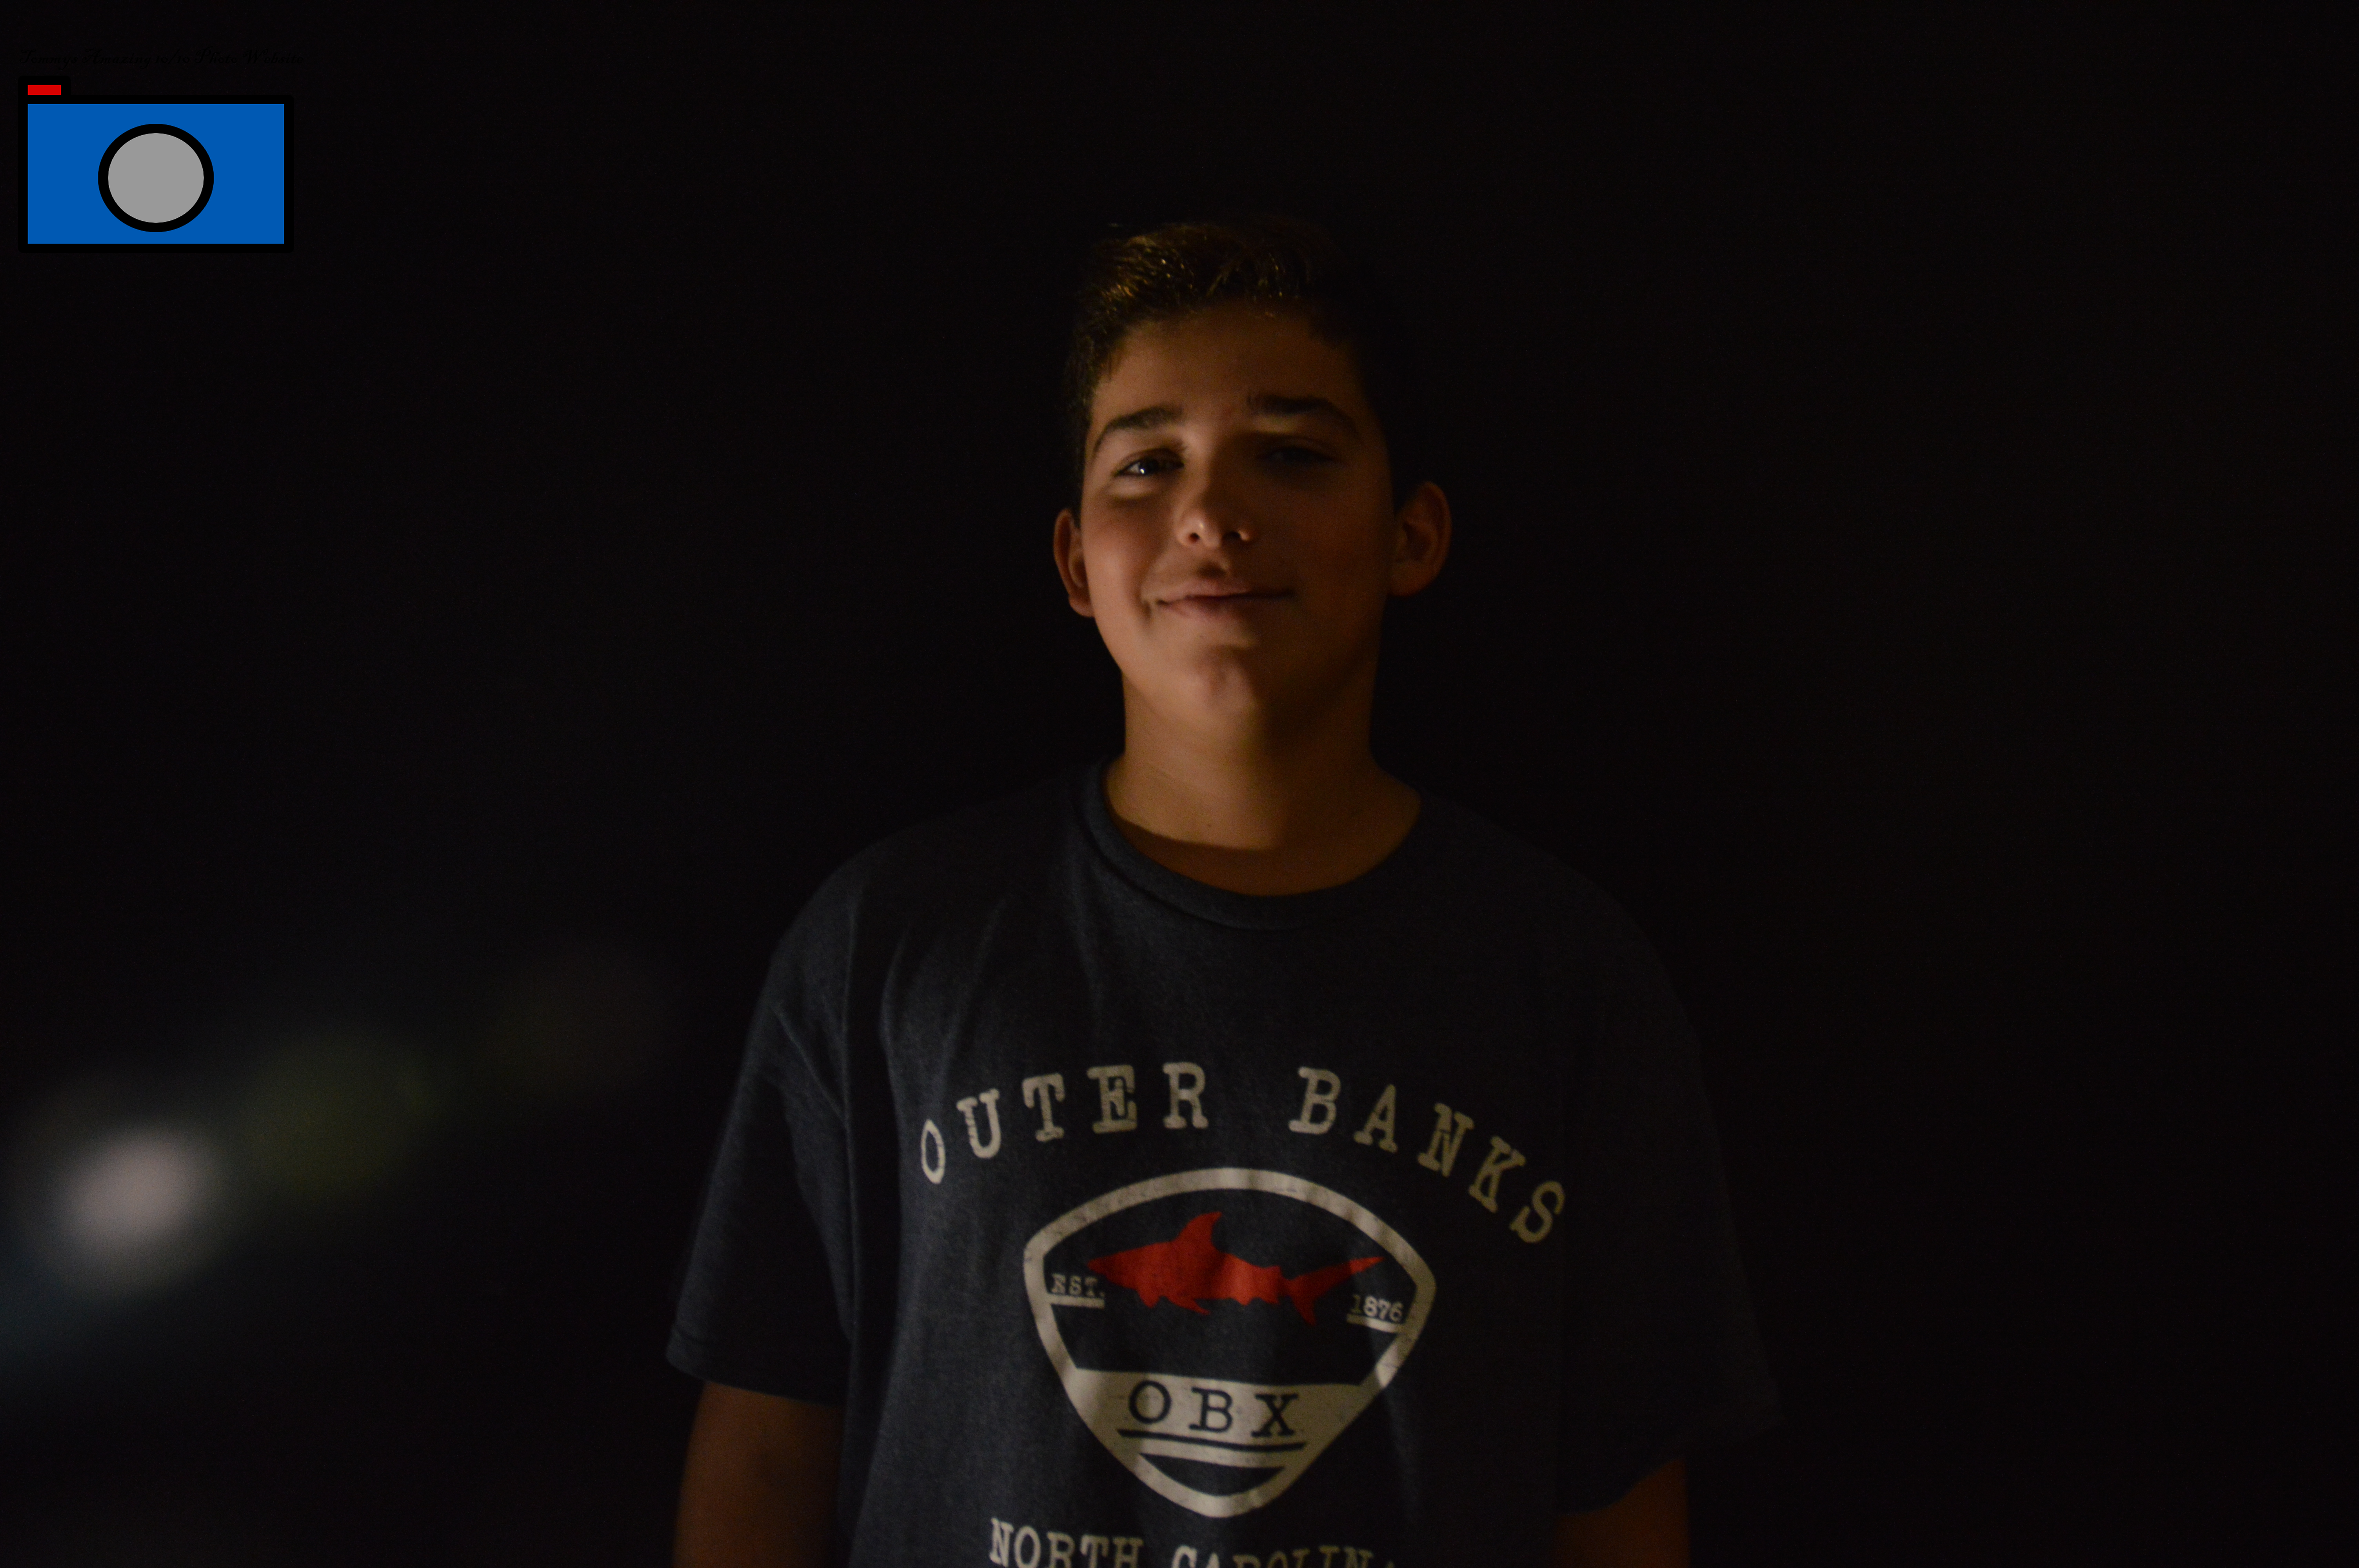
To make the image with a perfectly black background we had to have a big black piece of paper hung behind us. Then we would have a light on our face or body, but we had to make sure it wasn’t on the wall. If there was just light on your body or face it looked really good, but if it was on the black paper it didn’t look that good. Find my photos HERE.
My group took our pictures in our school’s main gym. Turned off all the lights so it would be pitch black so the camera could take in as much light from our flashlights as possible. On the camera’s setting, we had to leave the shutter open for as long as possible. We also had to put the ISO on the lowest setting it could go to make the background dark as possible. We used IPhone flashlights, glow sticks, colored lights, colored picture from google. First we figured out what we were going to be drawing also the pose of the person. Secondly was taking and drawing the actual picture and creating an image. What worked for my group was having multiple people drawing behind the person. Also pointing the flashlight right at the camera not away from it. What didn’t really work was it was very difficult to think of a design and try being creative and different from others. The frustrating part of this project was not having enough time to get more designs as we wanted to. Also the time limit on the camera. I could have done this after school and done a bigger picture with my own camera. Also, you could have made a little movie. In conclusion, I have learned some cool things during this project. You can find the rest of my photos here.
Our assignment was to take light graffiti photos which was kind of a challenge but easy once I got it. I order to take the photos, I needed to set my cameras shutter really low between 30 seconds and a minute. Sometimes I would set it to bulb if I was unsure how much time I needed. I also had to make the ISO really low so it would capture the outside light. One thing that worked was the flashlight showing up in the photos. I a lot of things didn’t turn out the way we wanted, like the drawing was messed up and the words were spelled backwards. It frustrated us so much when we were writing words because you can’t see what your writing. My ideas for going next level is taking it outside and make like a painting. Click here for more of my light graffiti photos.
There are 4 lines in total, 2 going vertically and 2 going horizontally. We had to make sure that the pictures had something on one of the crossings of the lines. For example,for humans and animals, we can make one of the eyes go in the crossings of the lines.
Taking the photos took a lot of time because it was hard to find good subjects. Once Mr. Fitz took us outside though, It was easier to find subjects.
I thought the rule of thirds would be easy, but it was pretty hard because my hand shakes a lot and I had to retake the photos multiple times so it came out perfectly. The rest of my pictures are here.
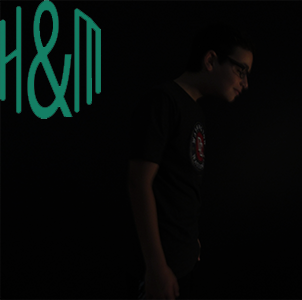
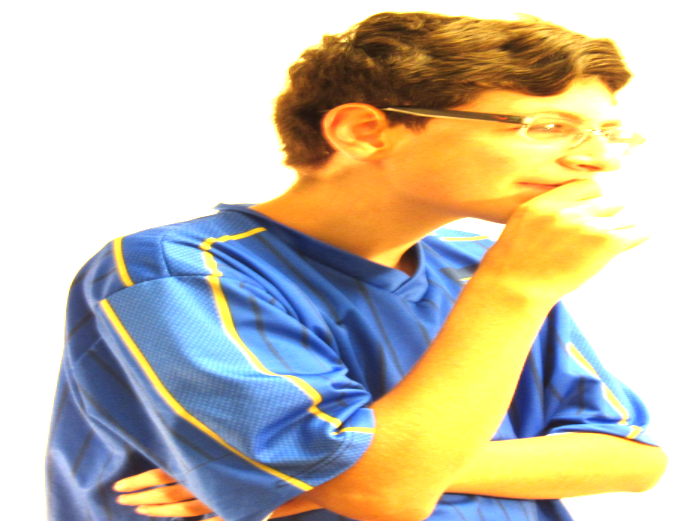
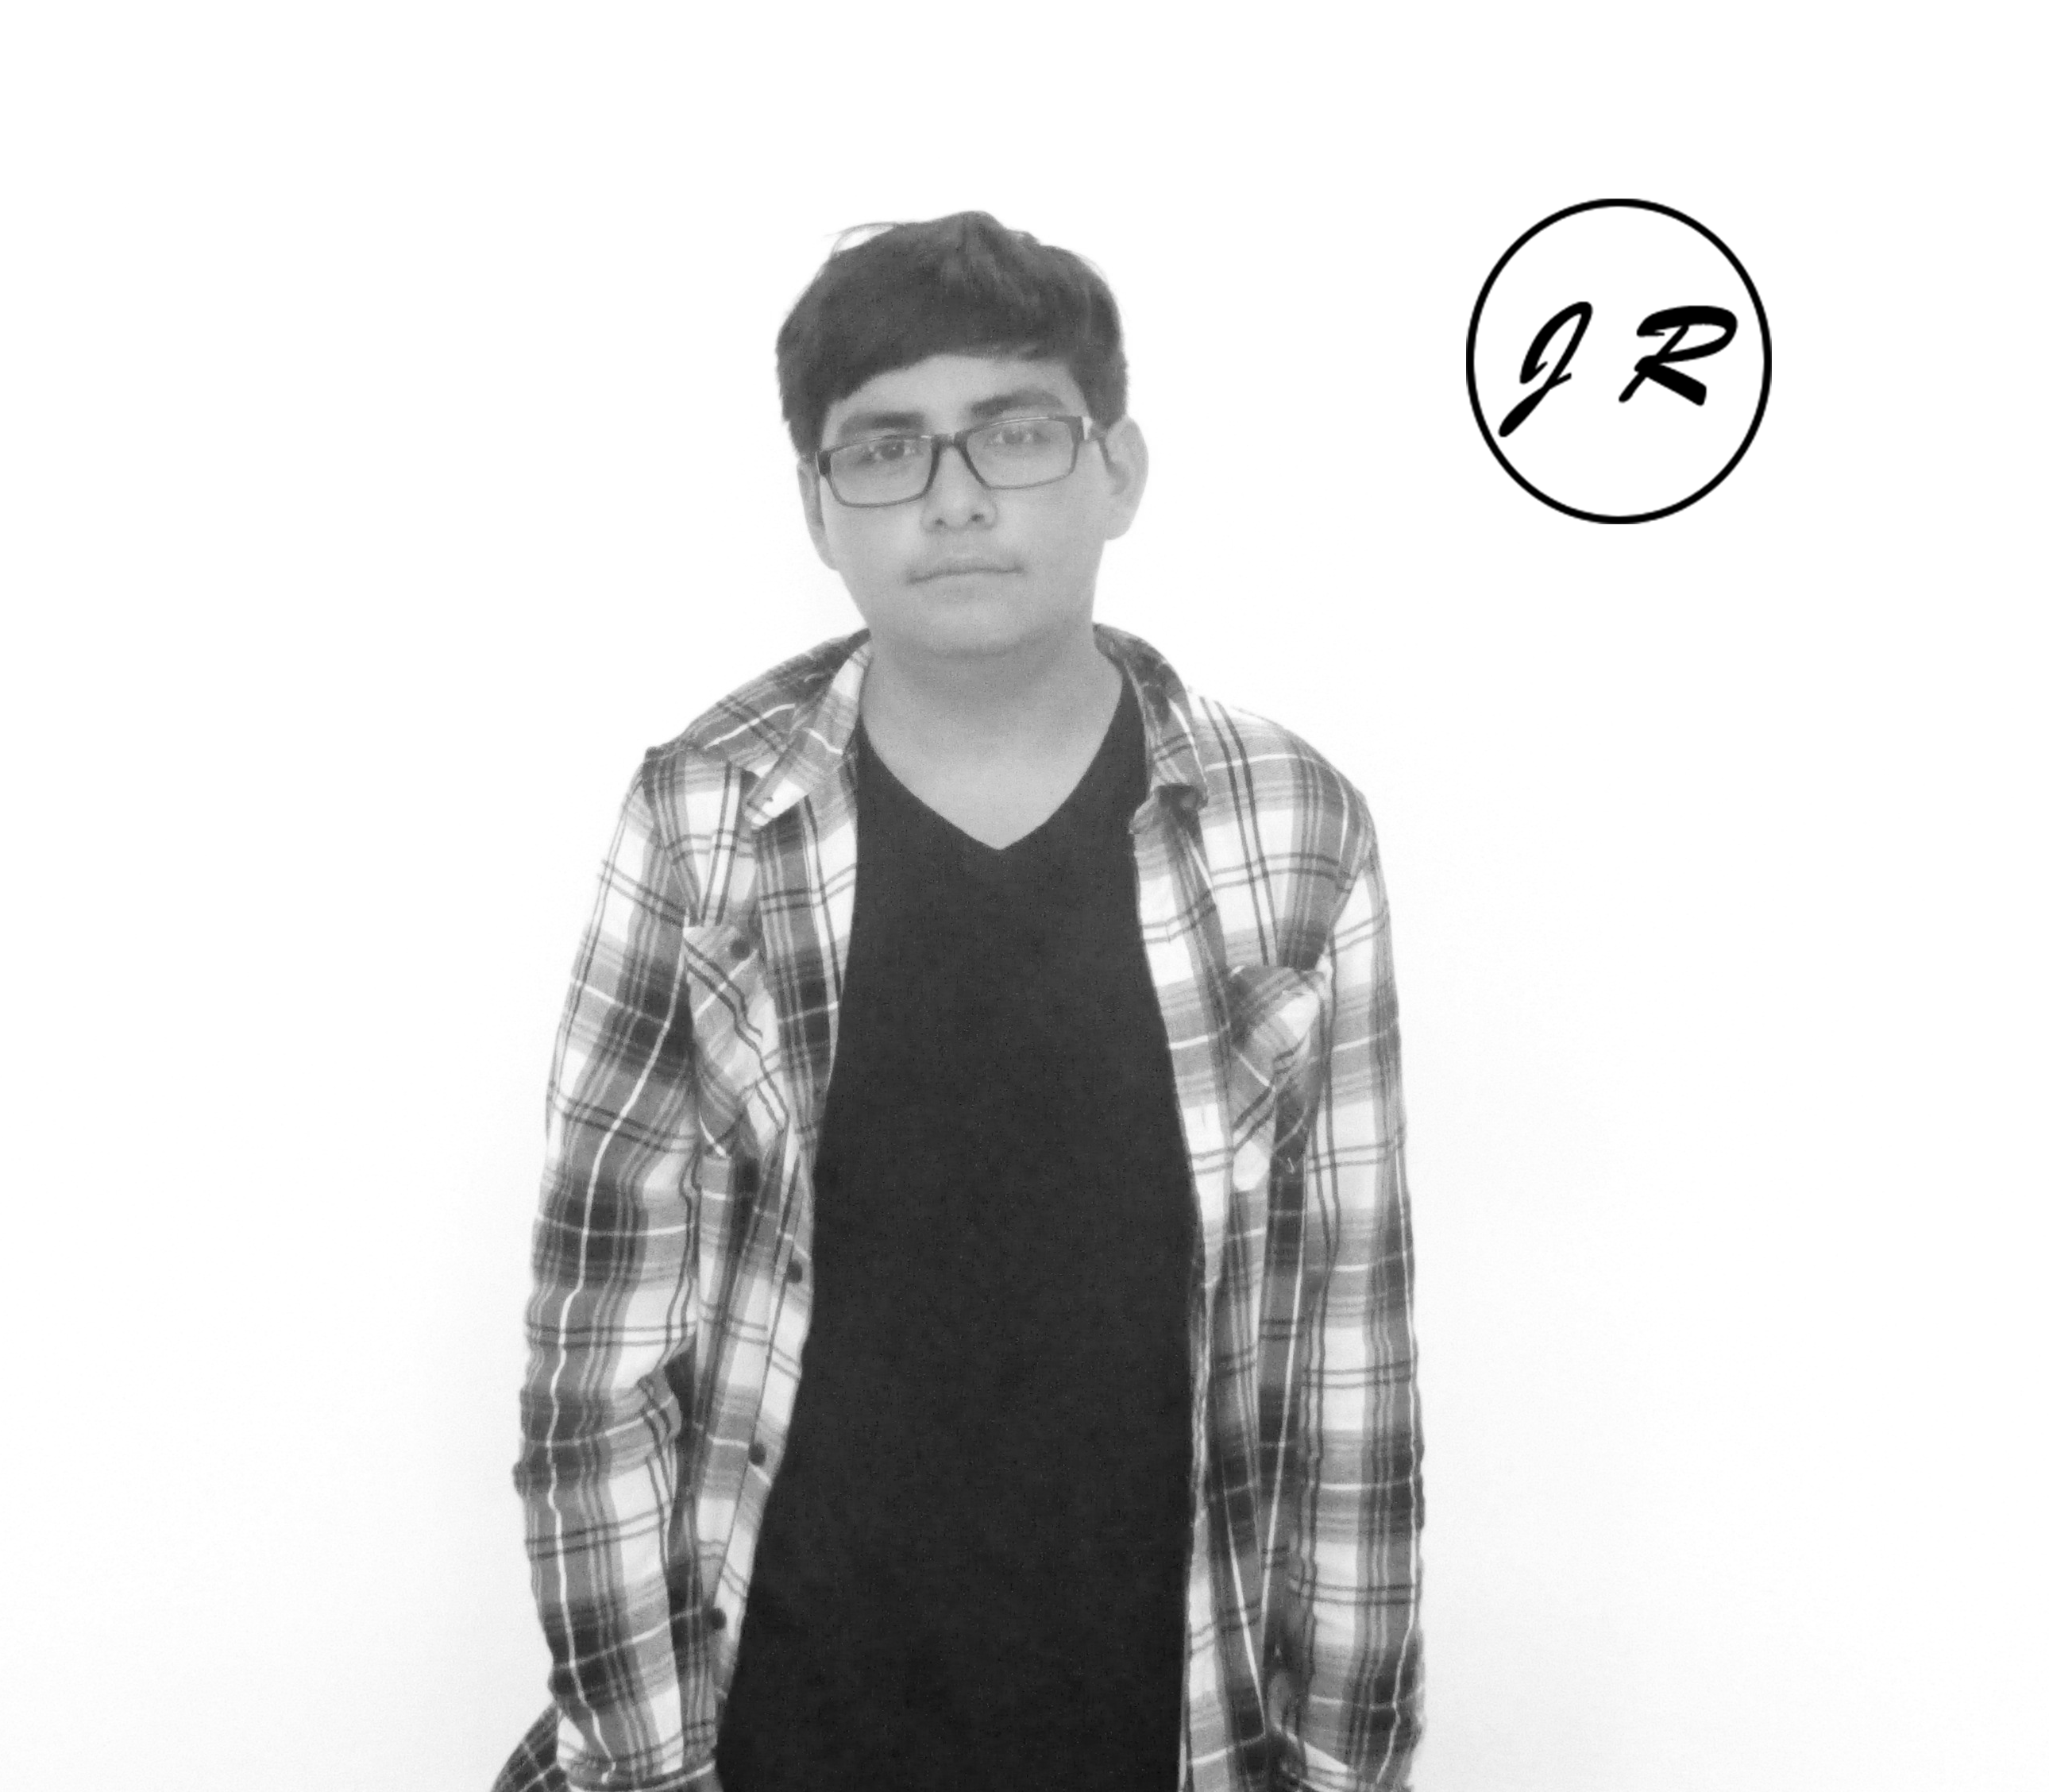
For my group to take the photos we had to stand in font of a white background.We used manual mode and turn the ISO higher. The pictures worked out and you could not see a shadow so they were good. For the black background we used the ISO and shutter speed. For the white background we used the same thing except the shutter speed had to be longer and the ISO had to be higher. I think the white background was easier because you just had to light up the background and there was less things you had to do with it.
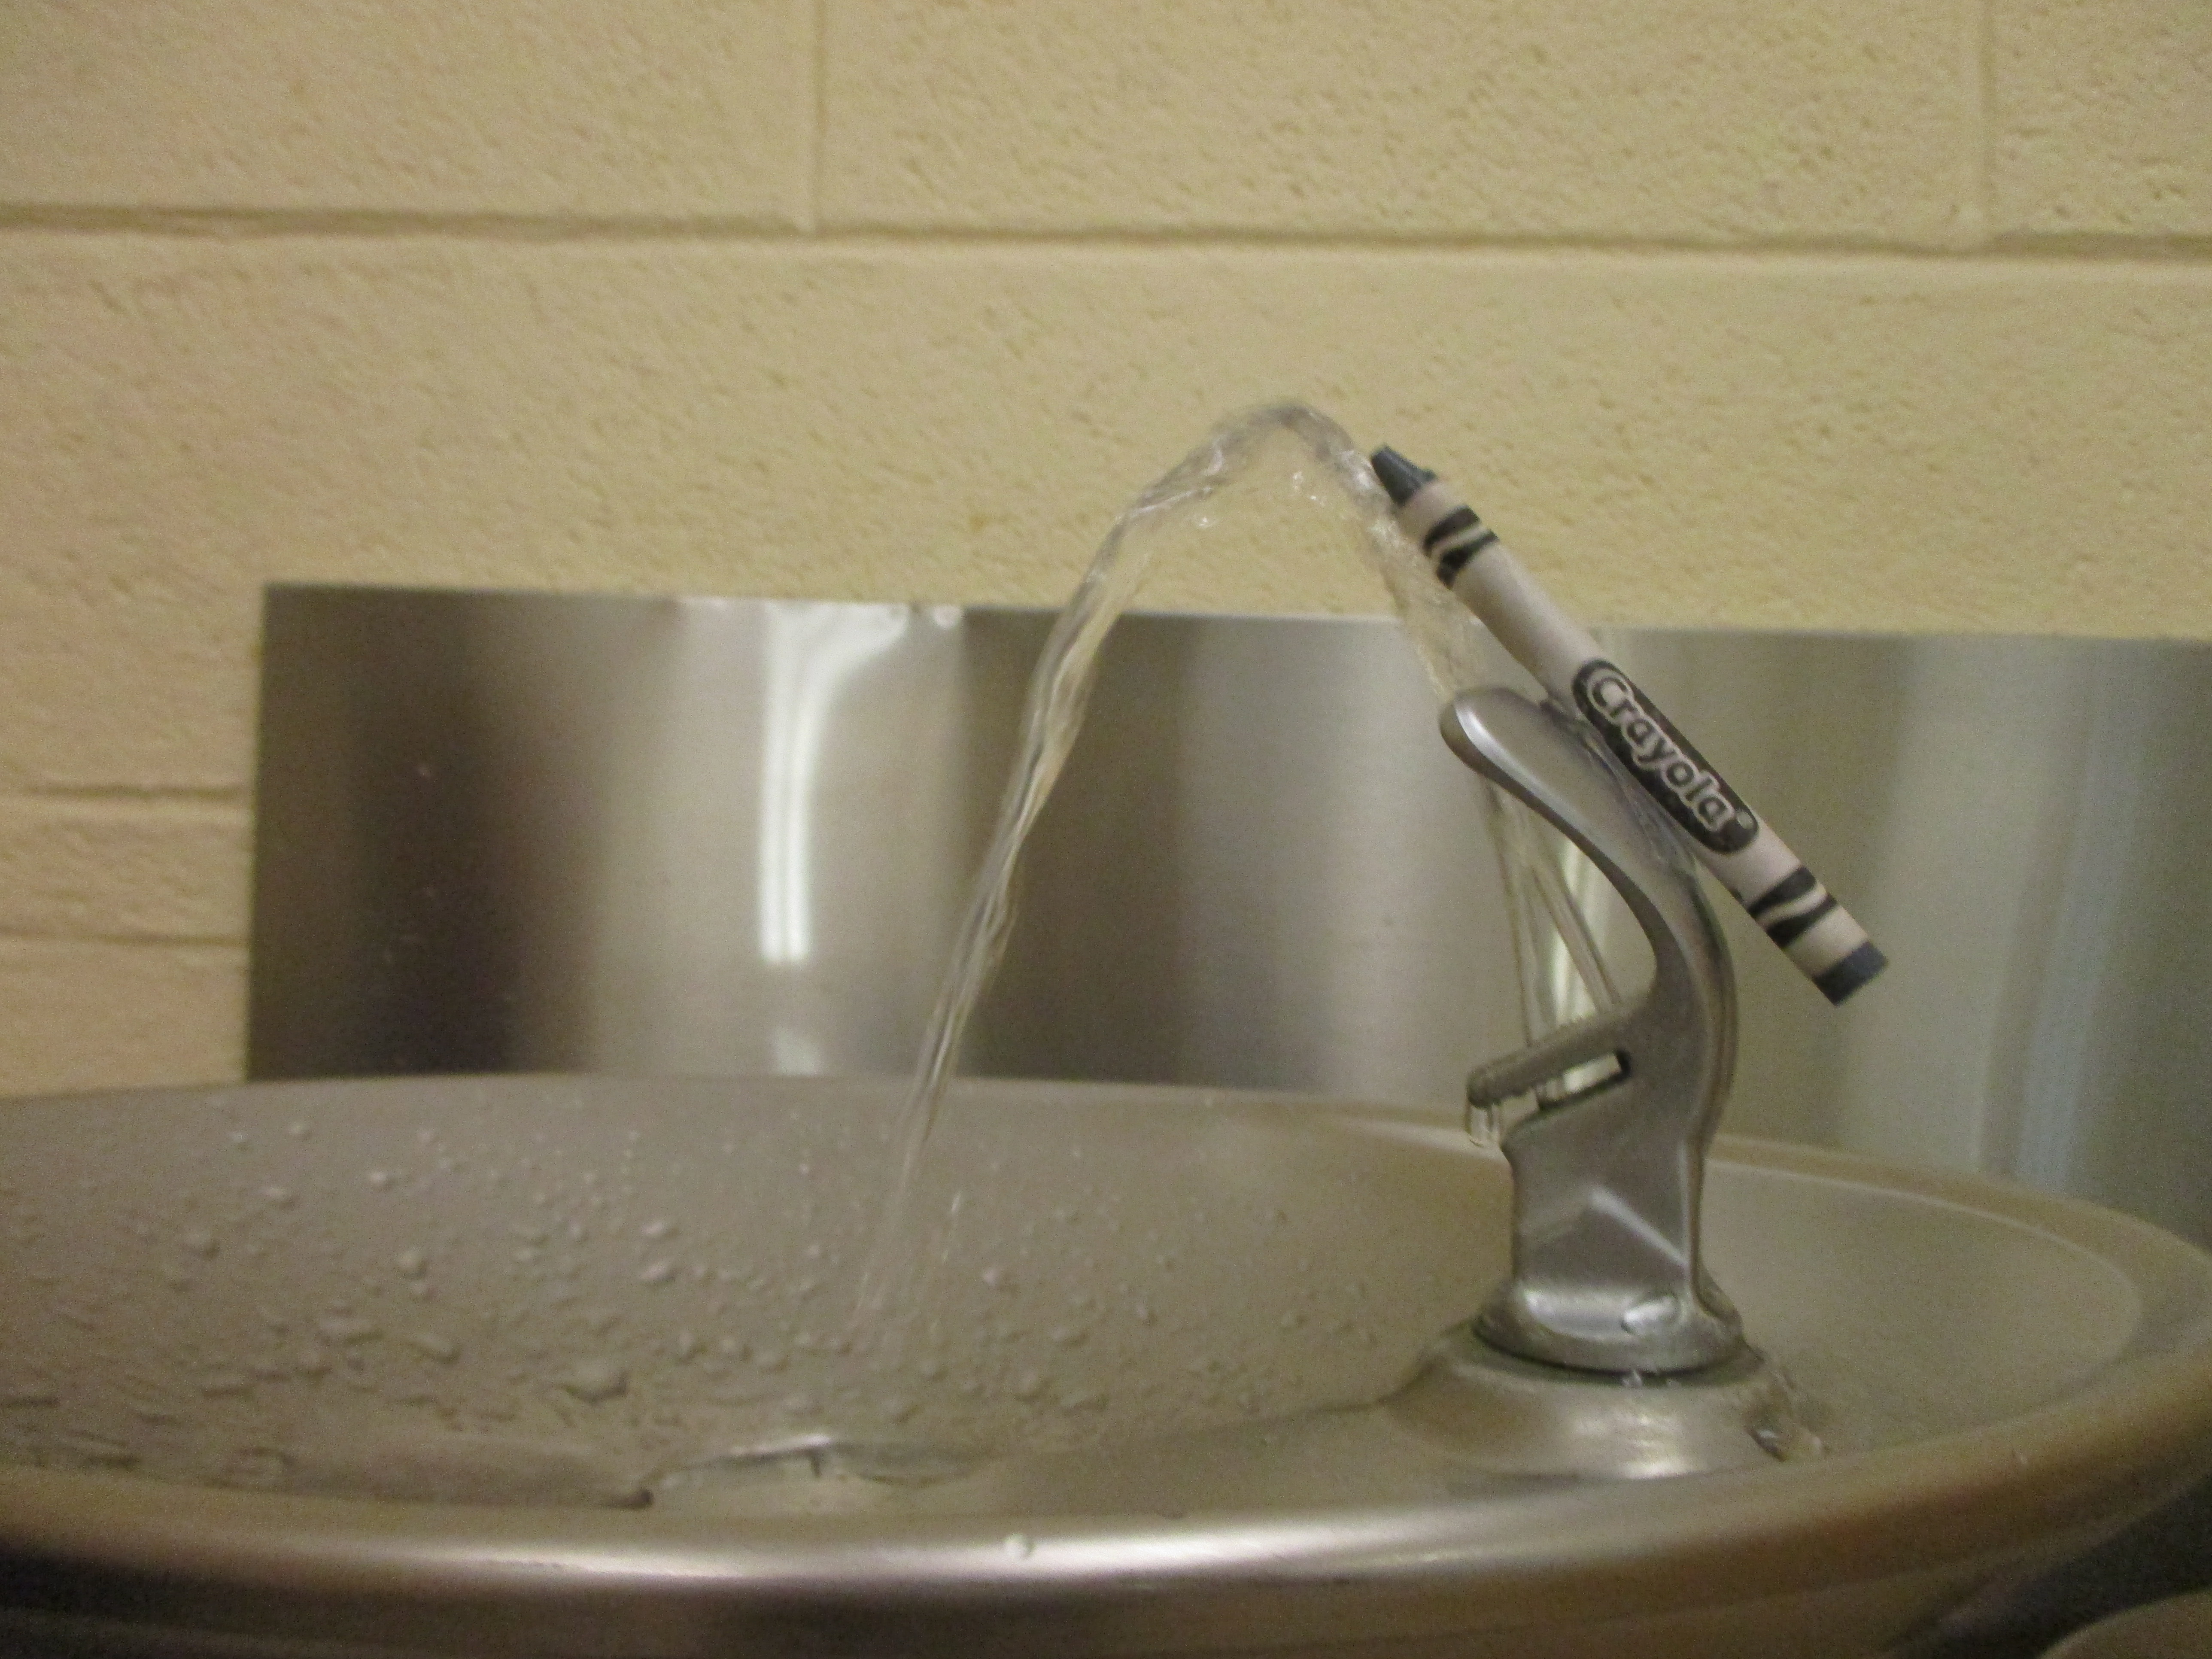
This assignment required us to be creative. We had to take 24 pictures of different colored crayons. I tried to take creative pictures, not just a white crayon on a white wall. It was fun going around the school taking pictures.