Portrait Photos

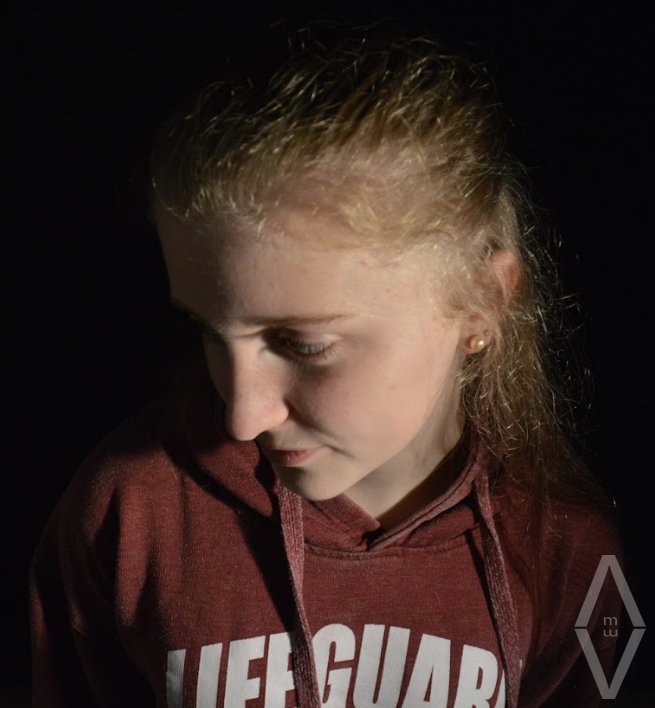
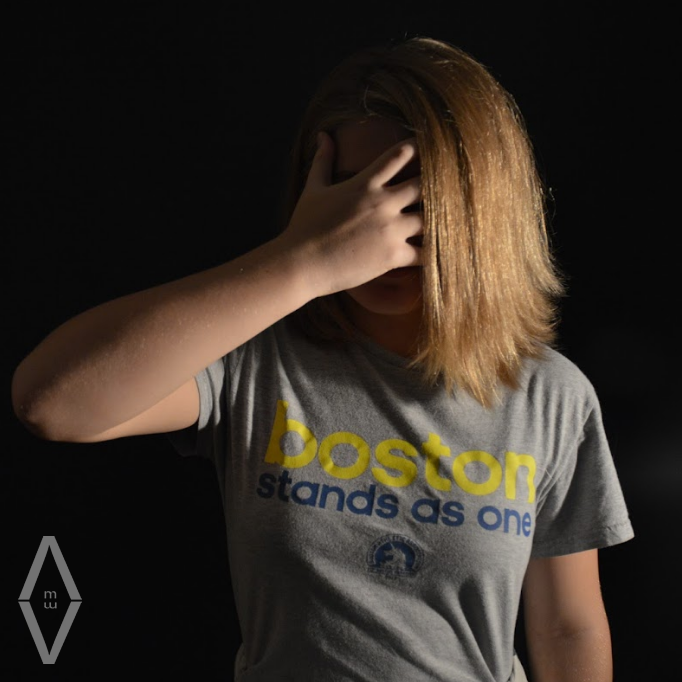
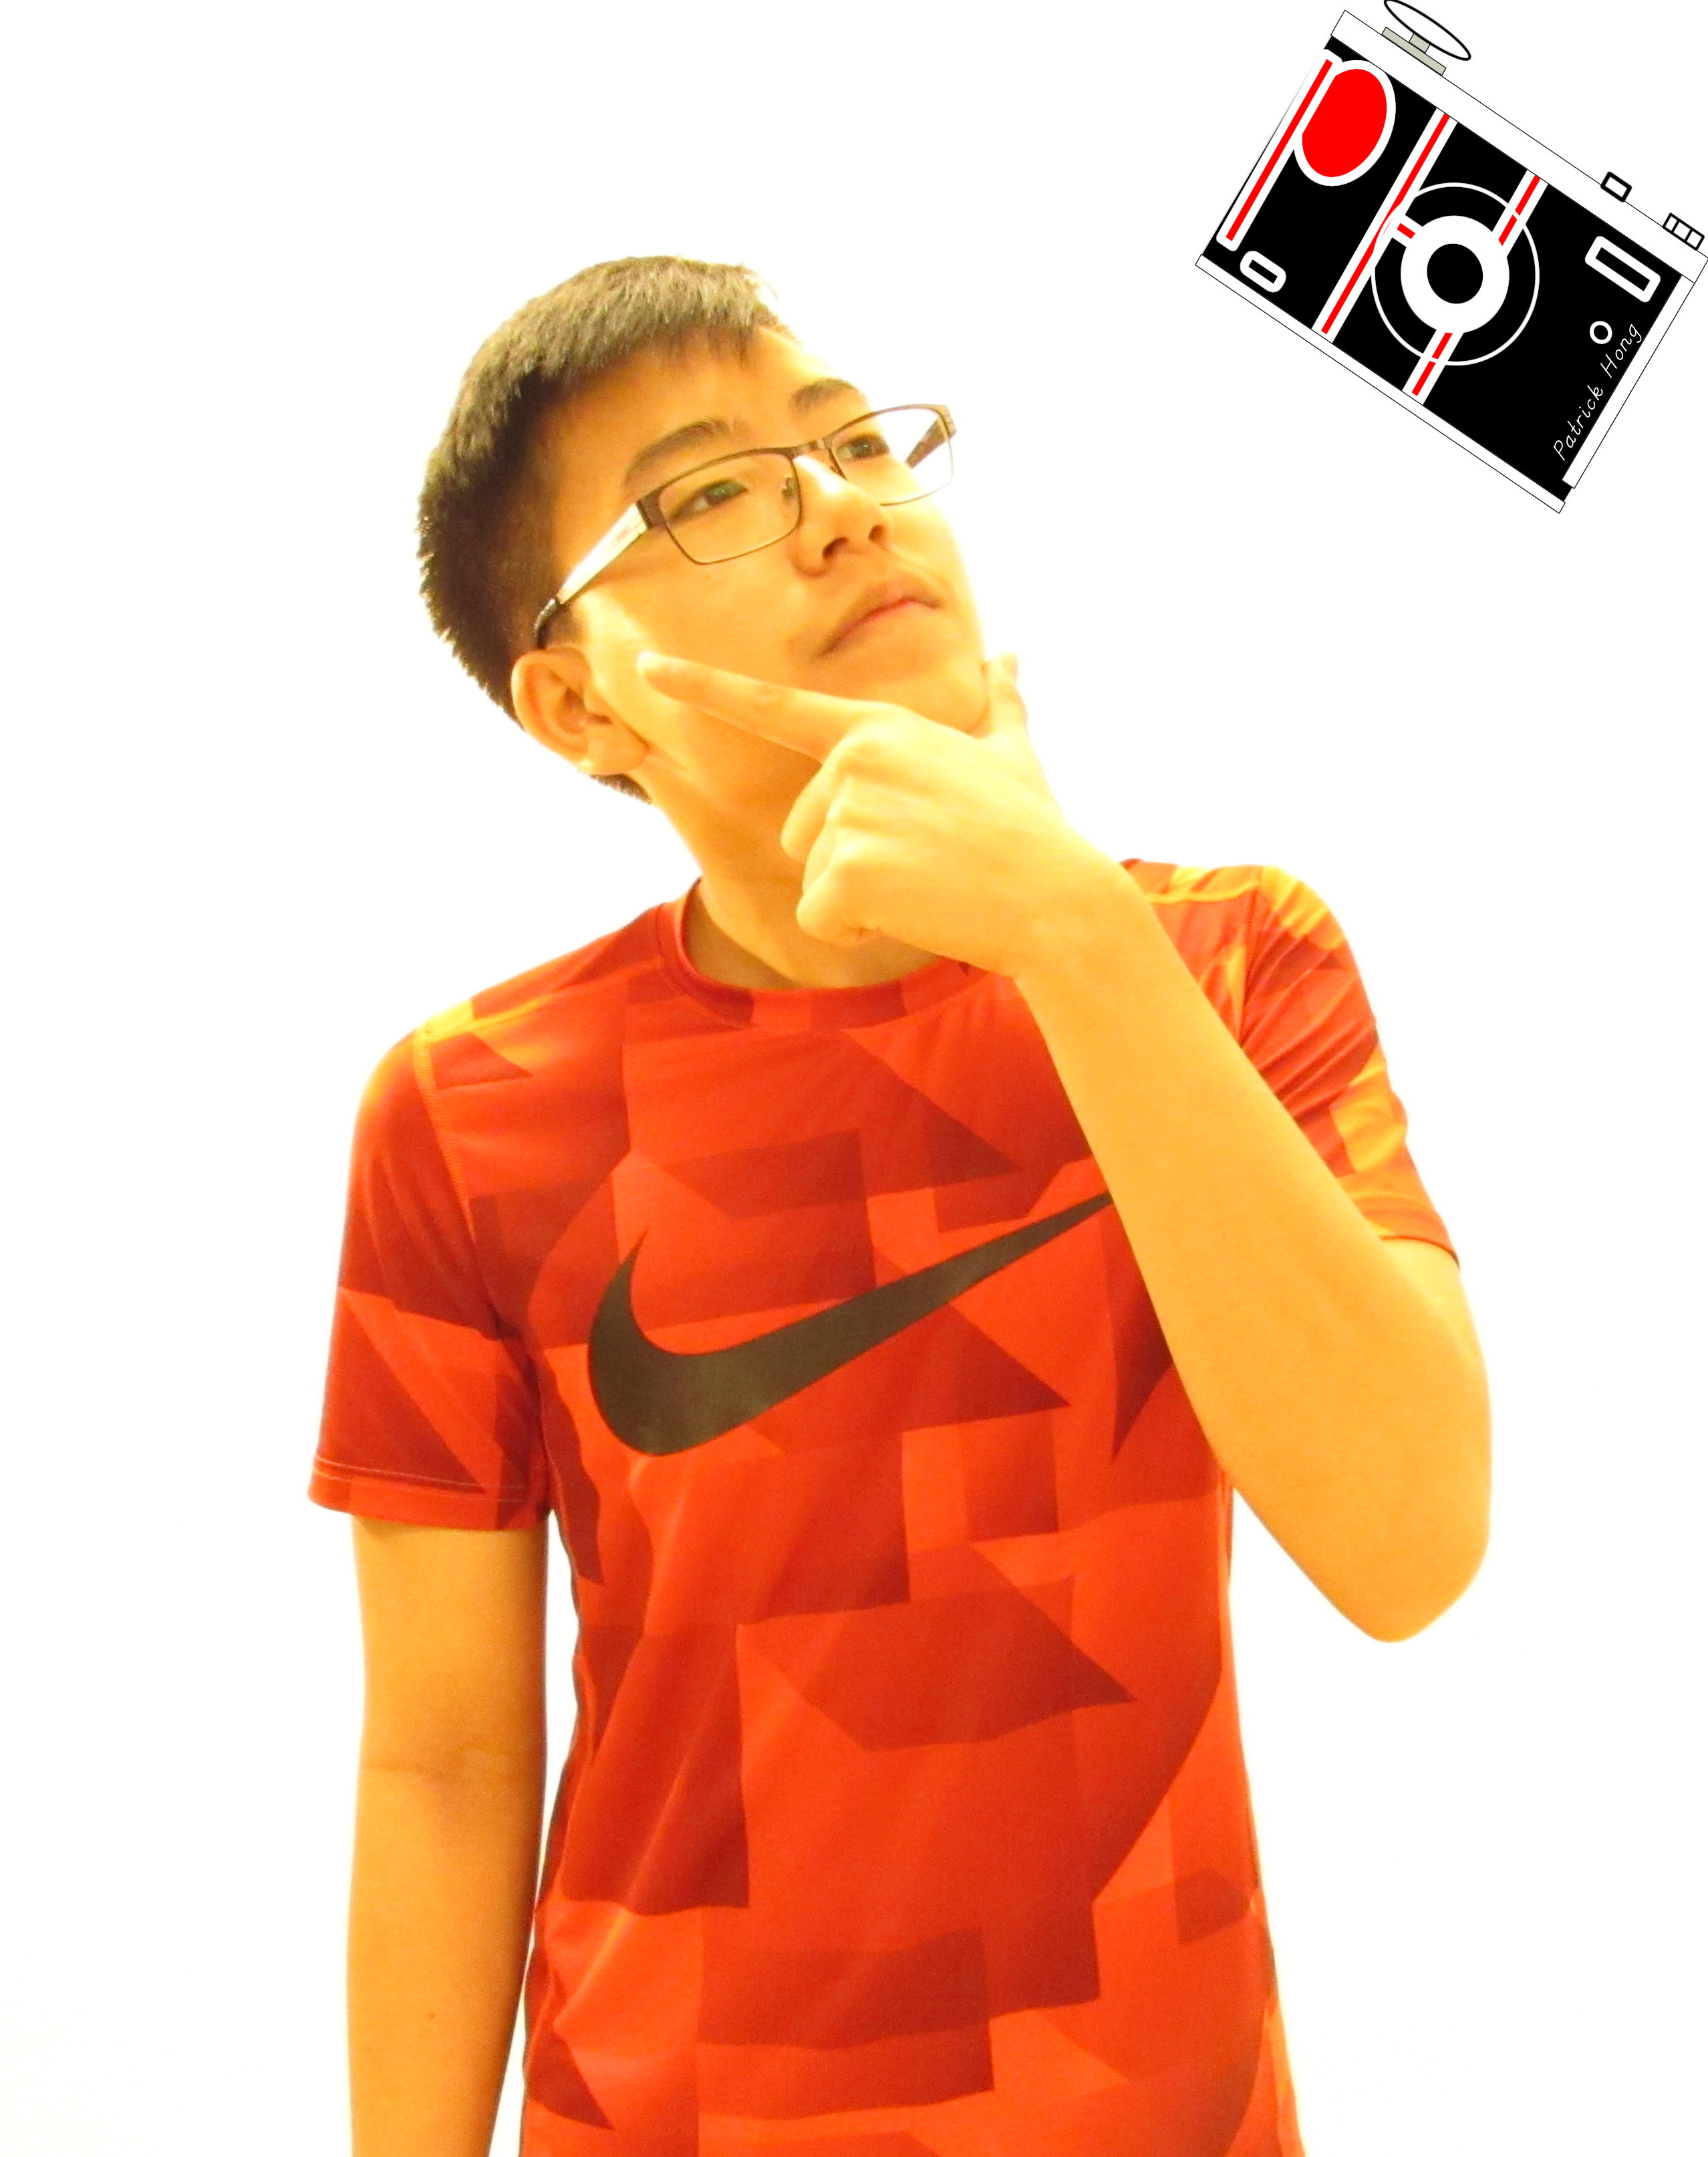
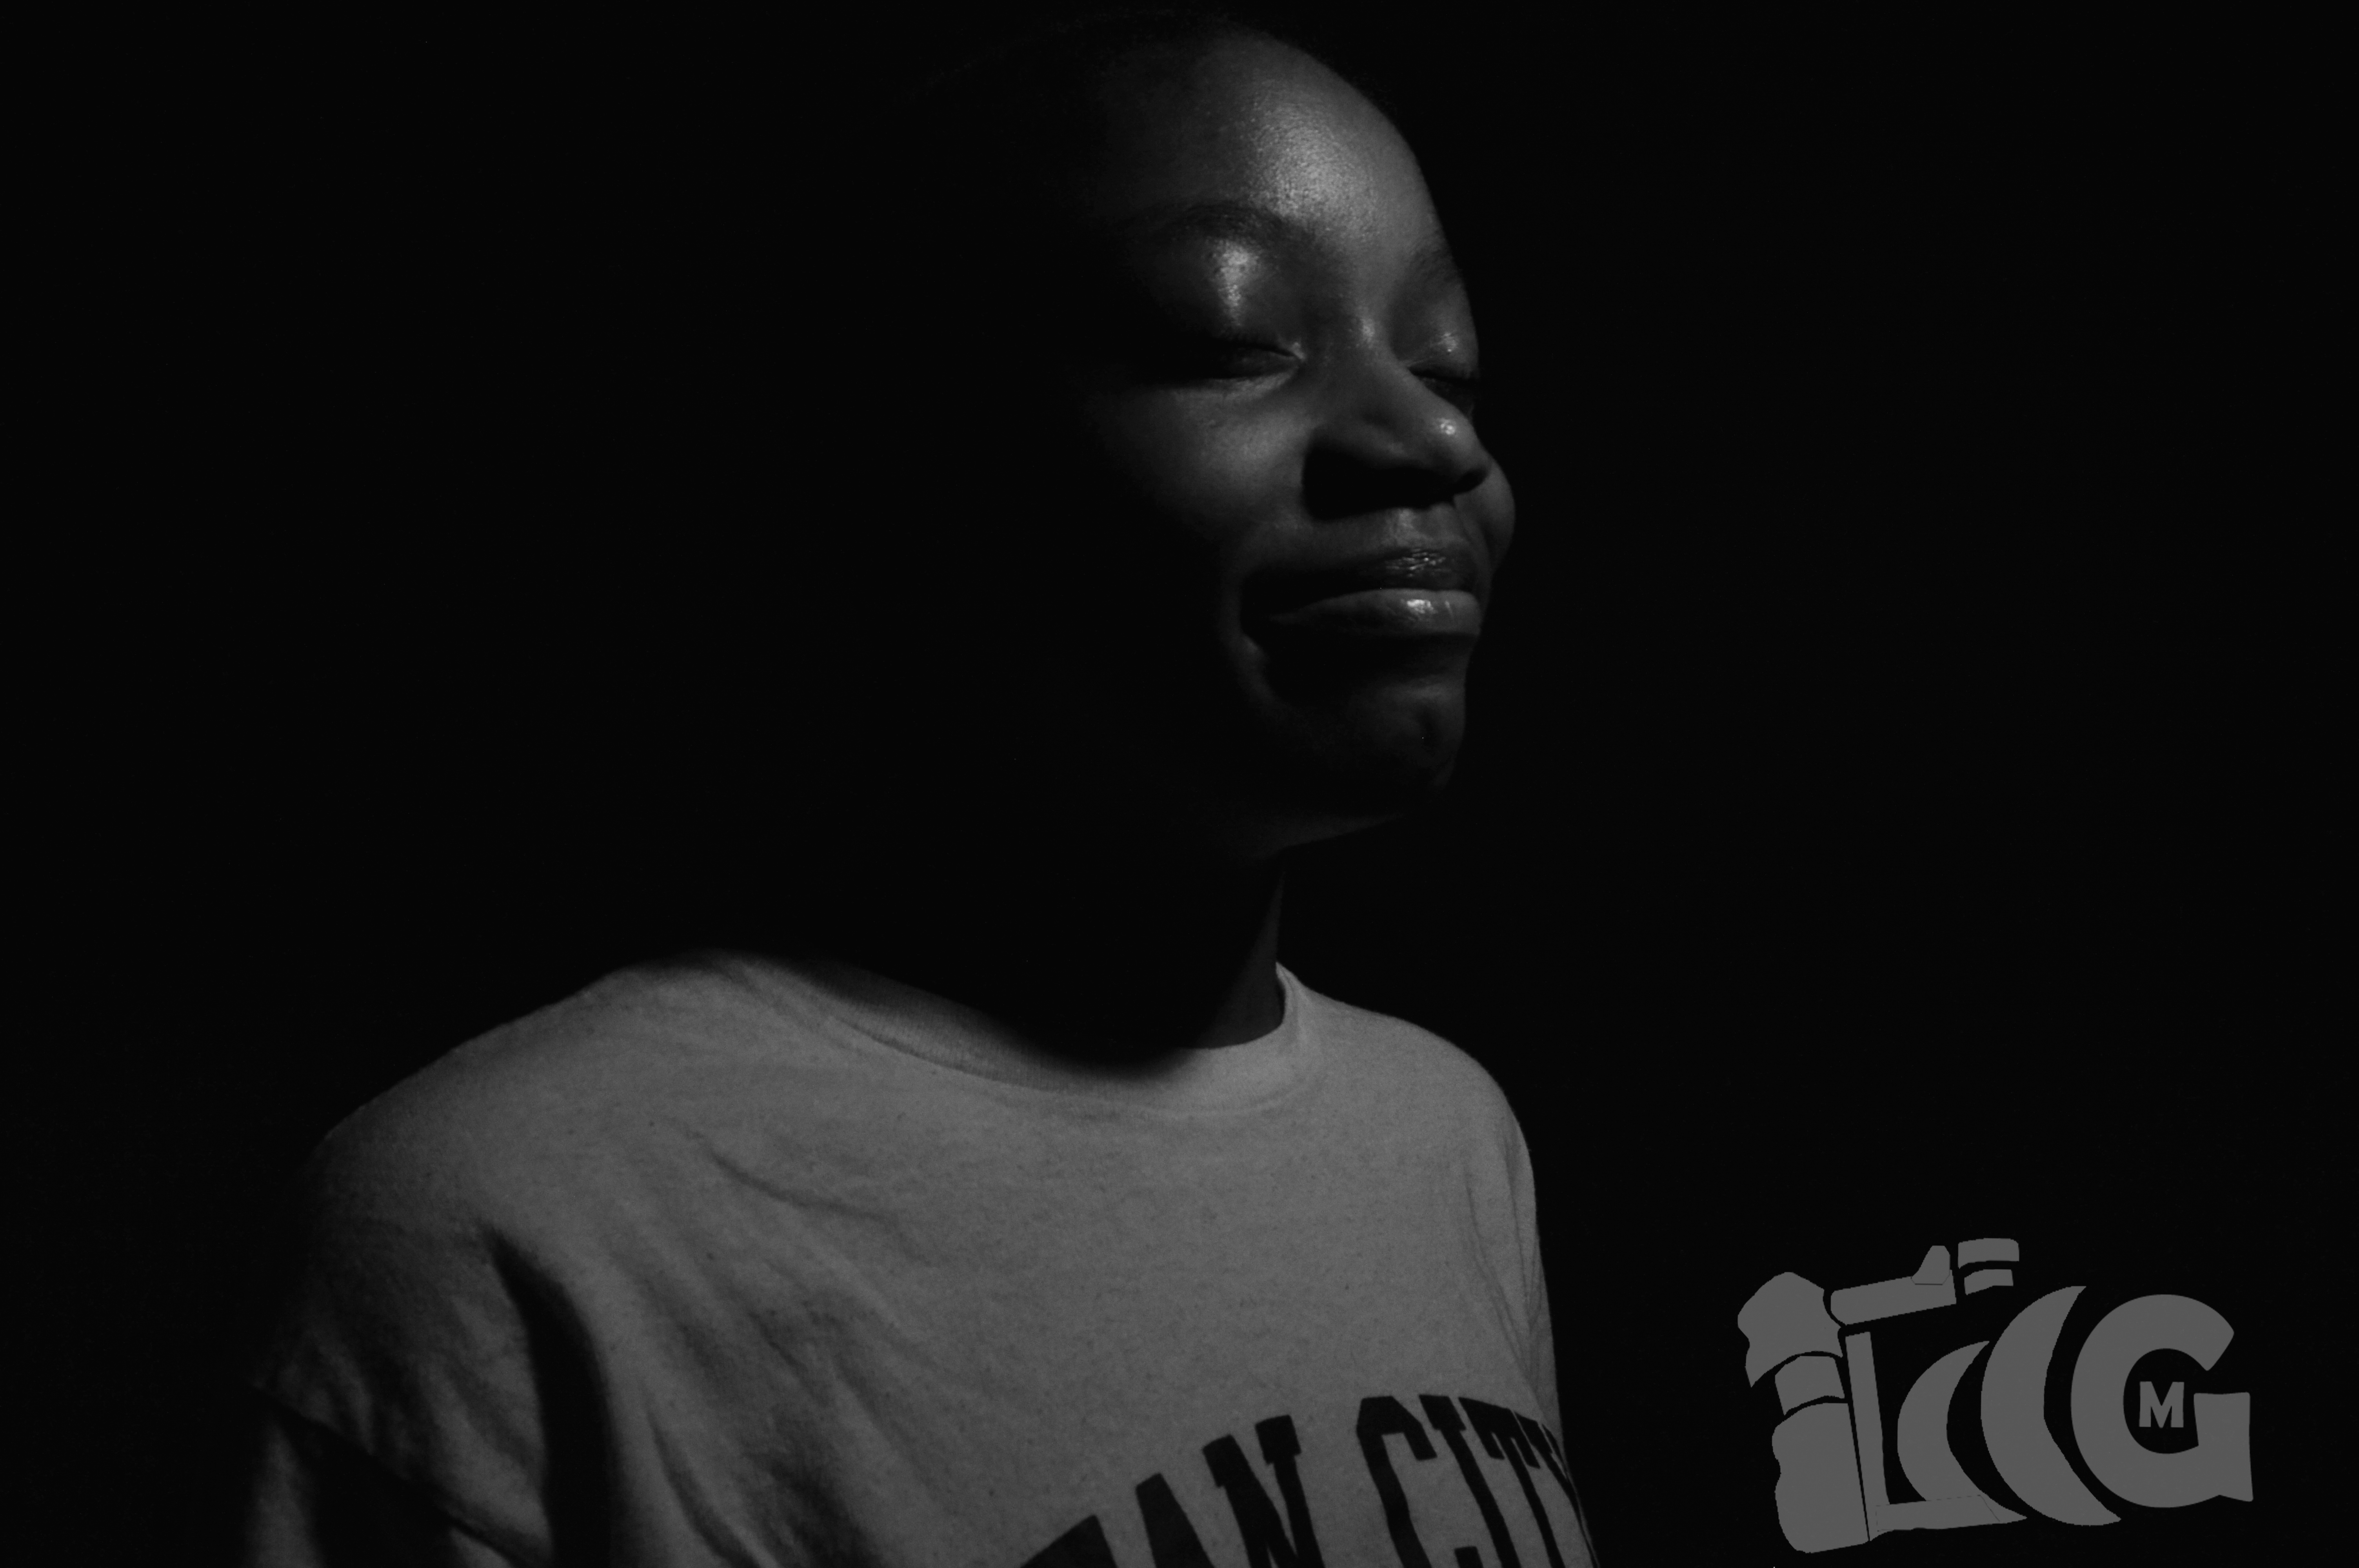
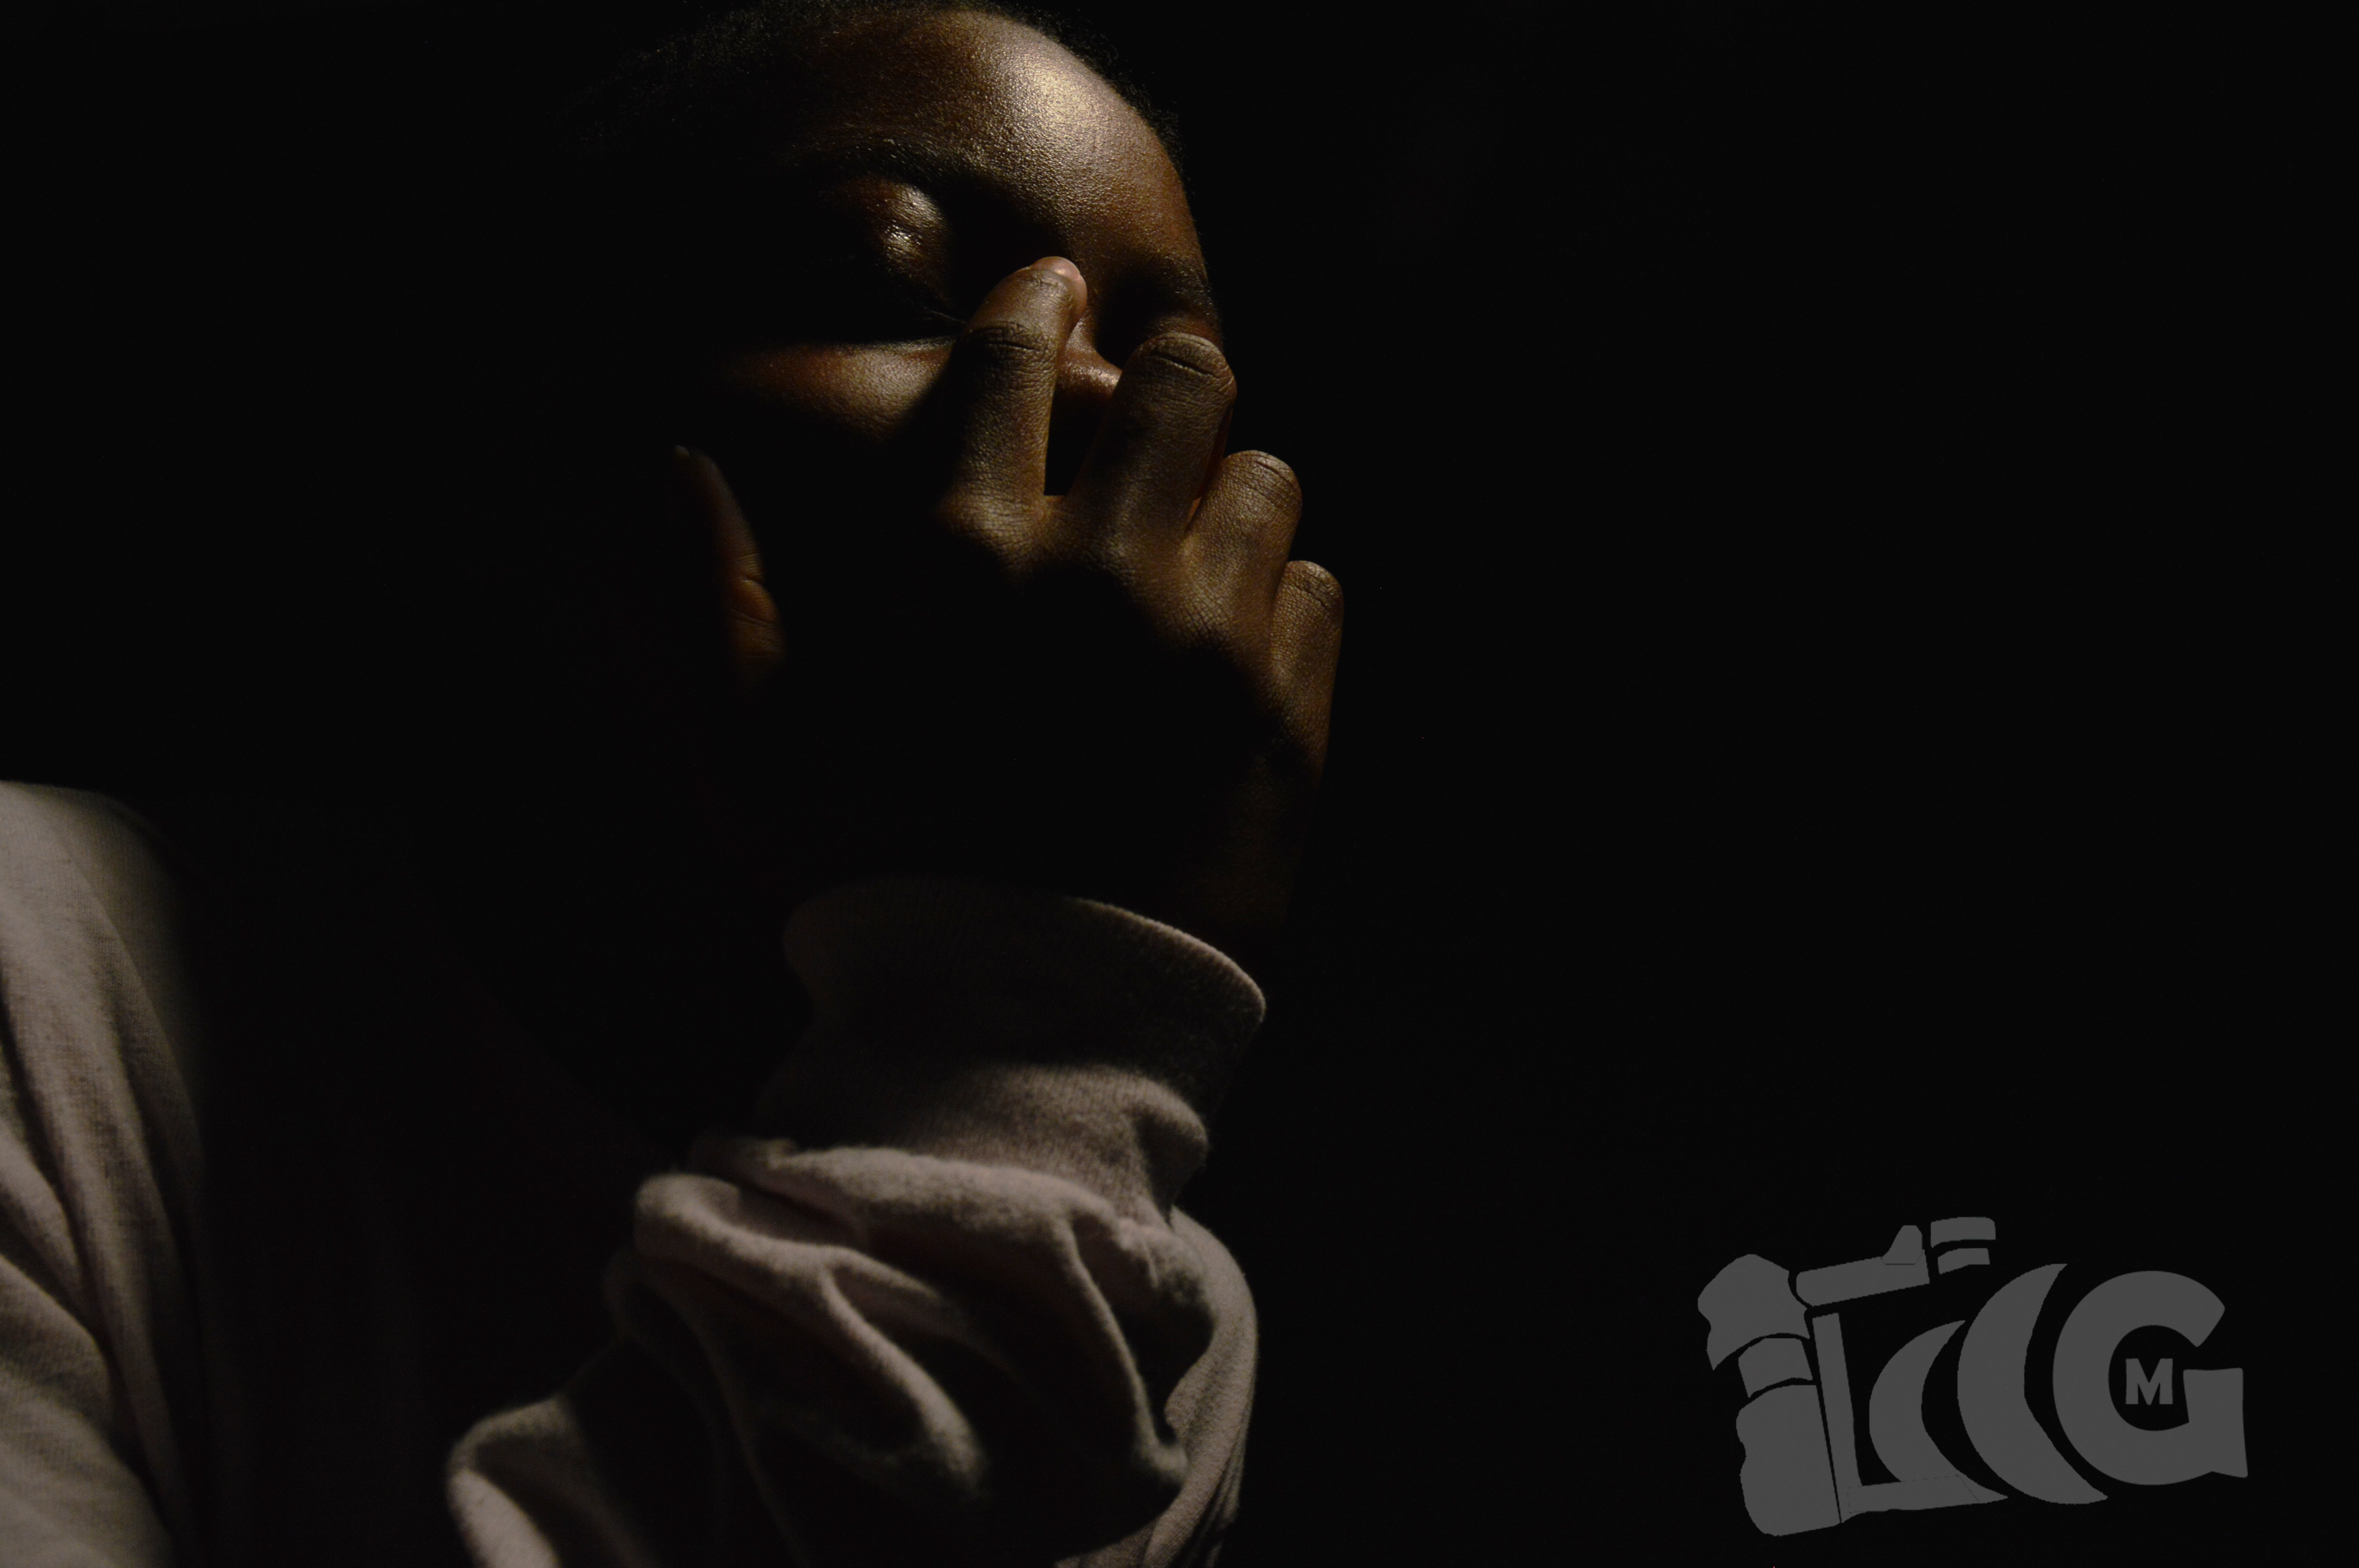
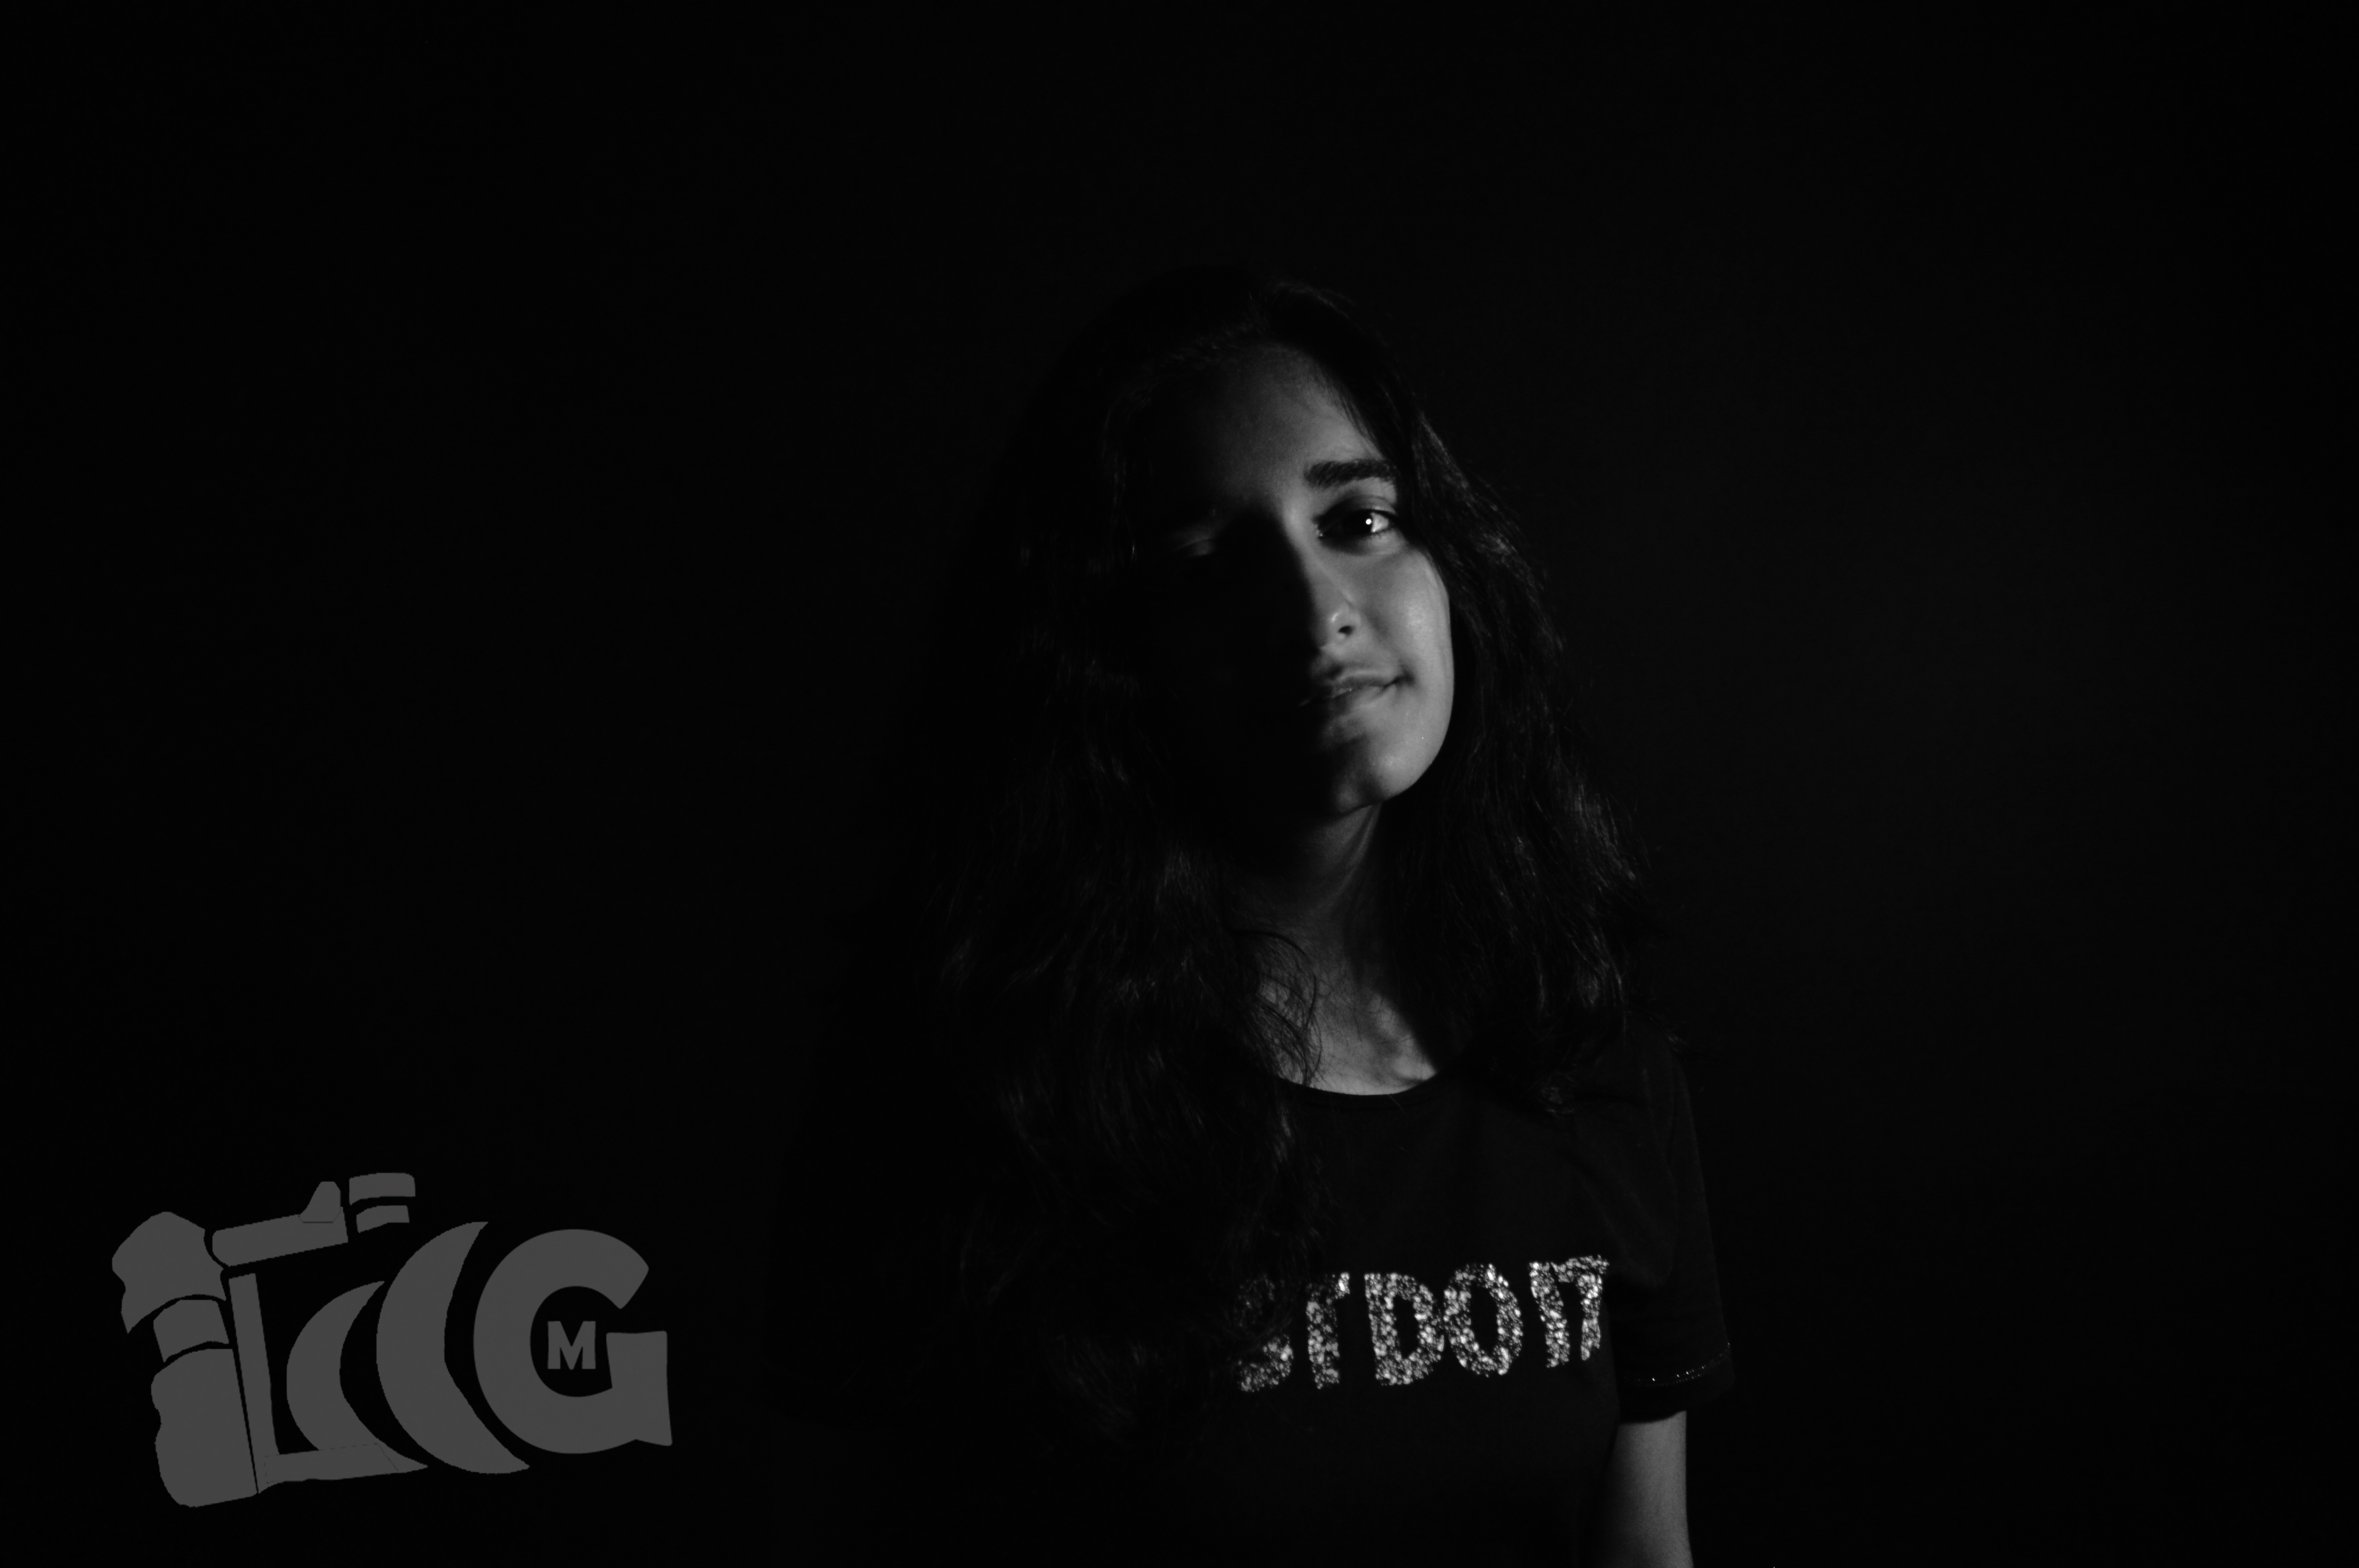
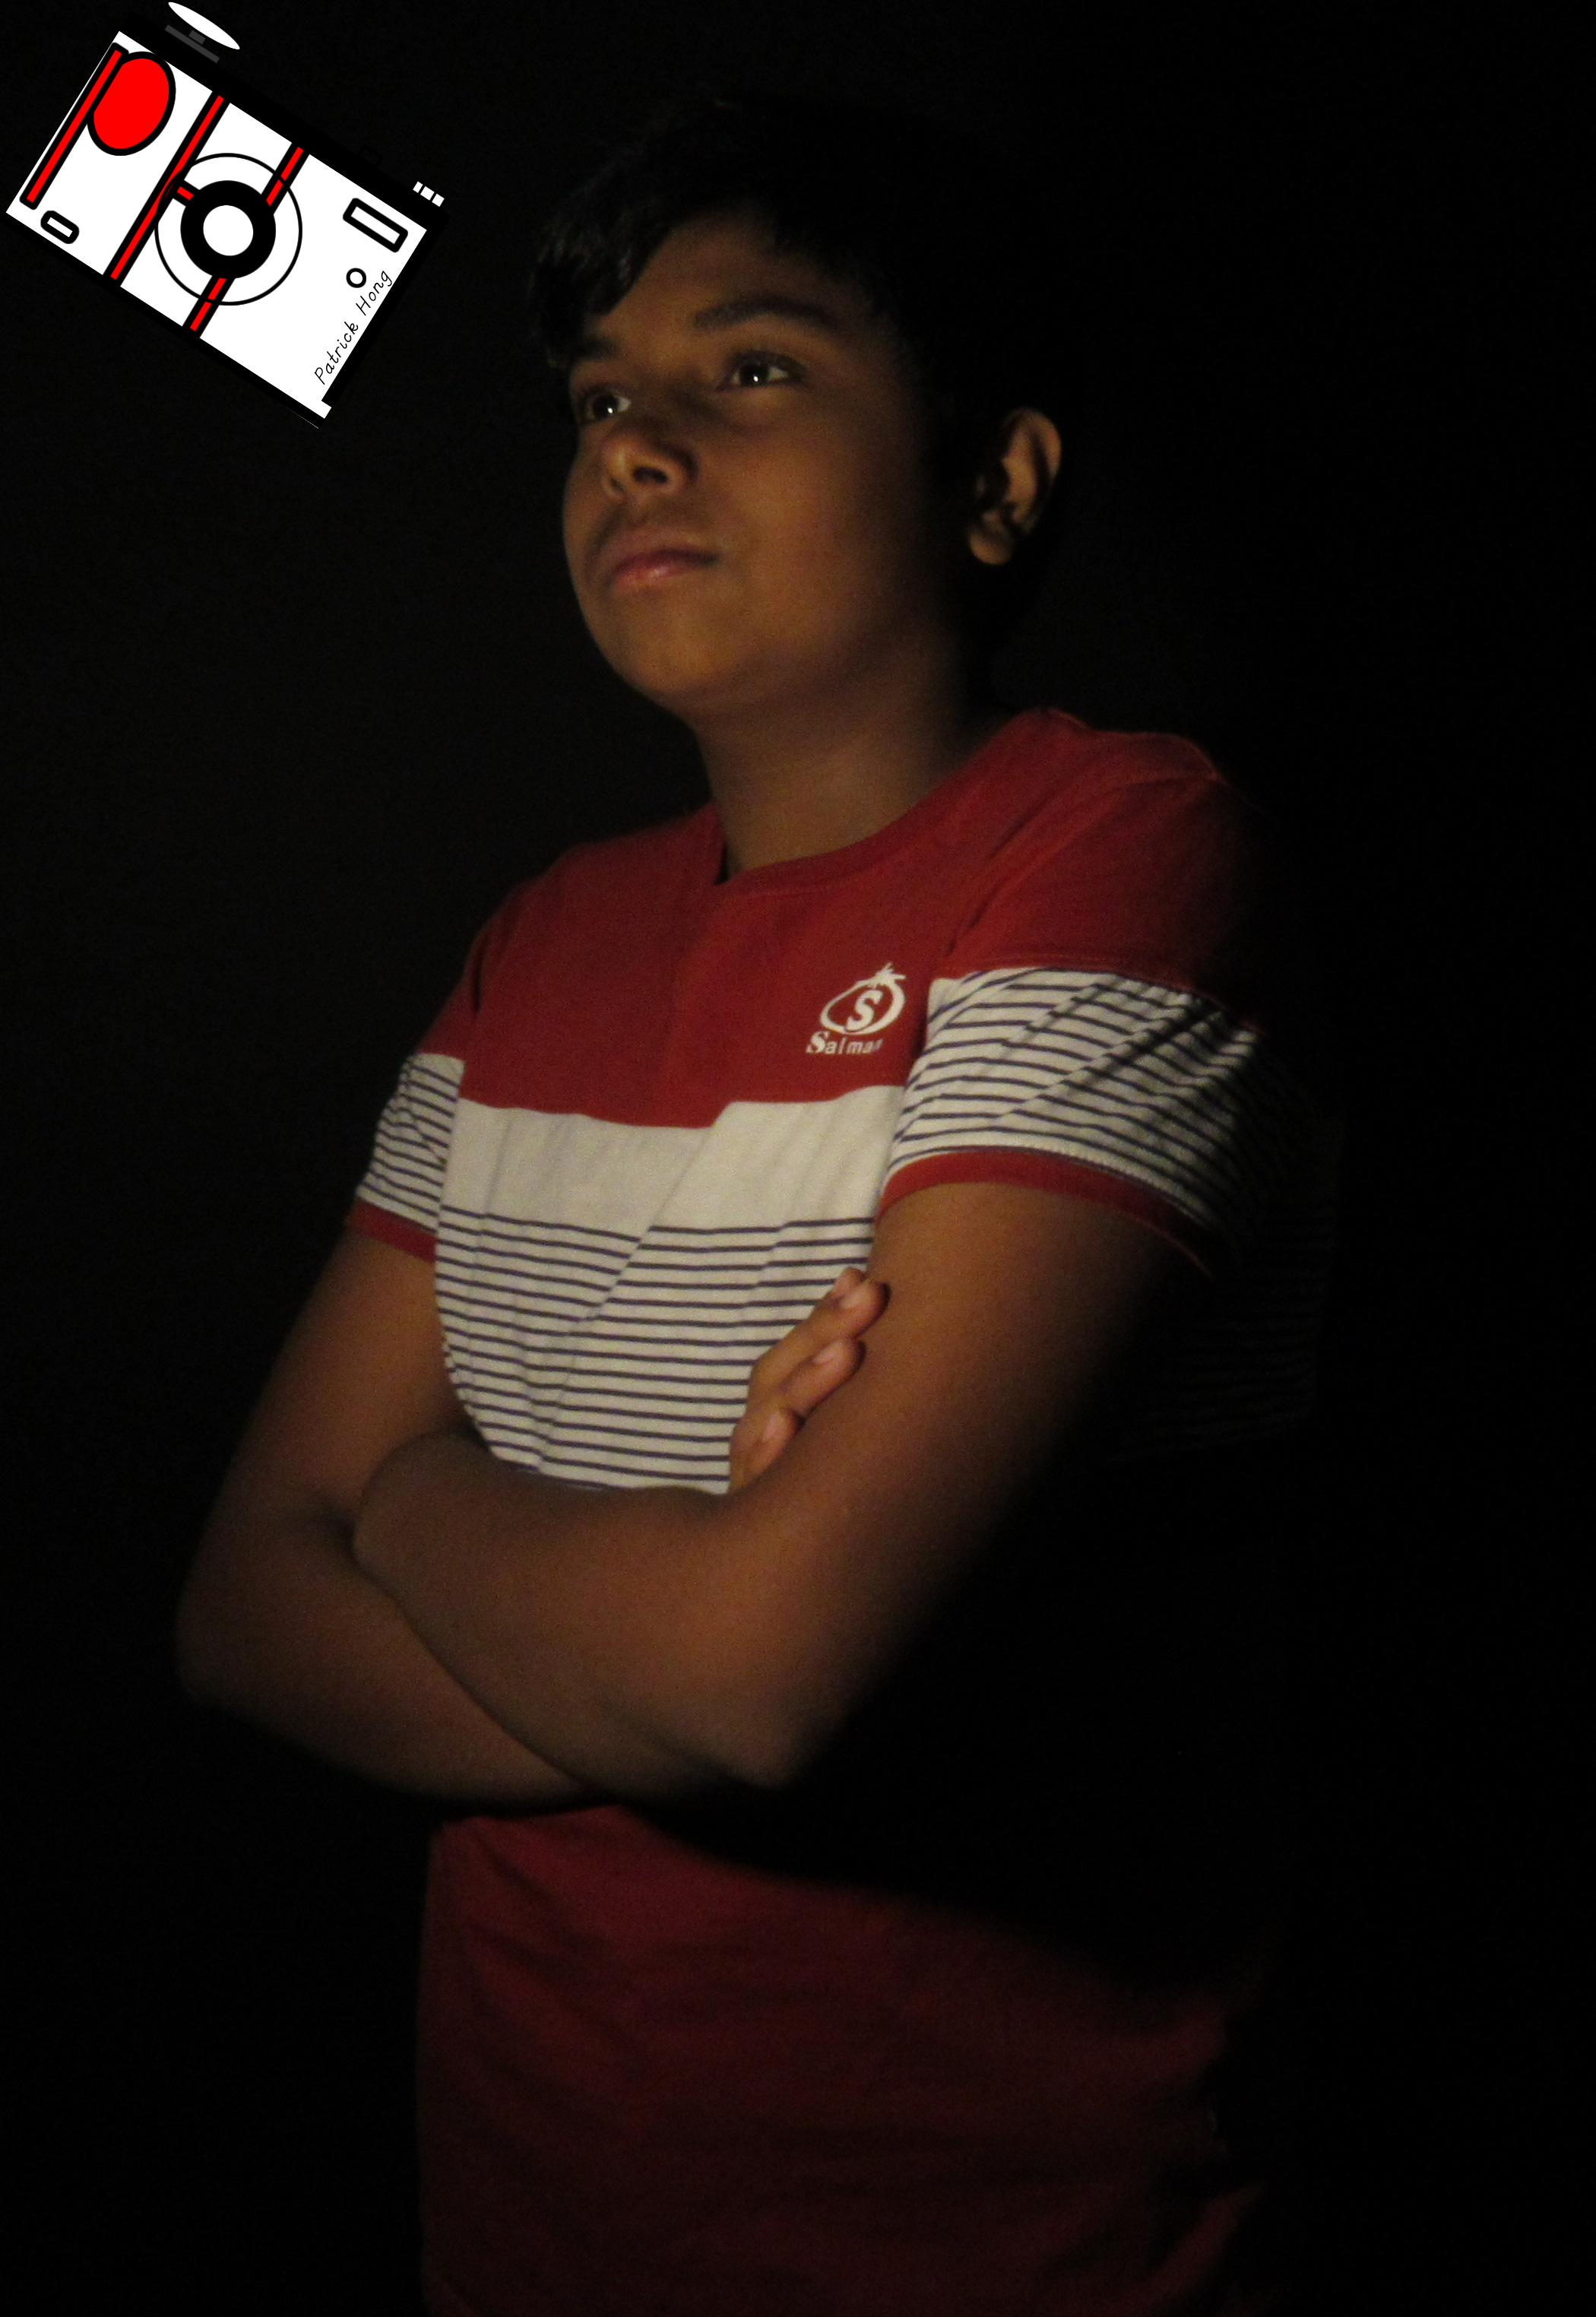
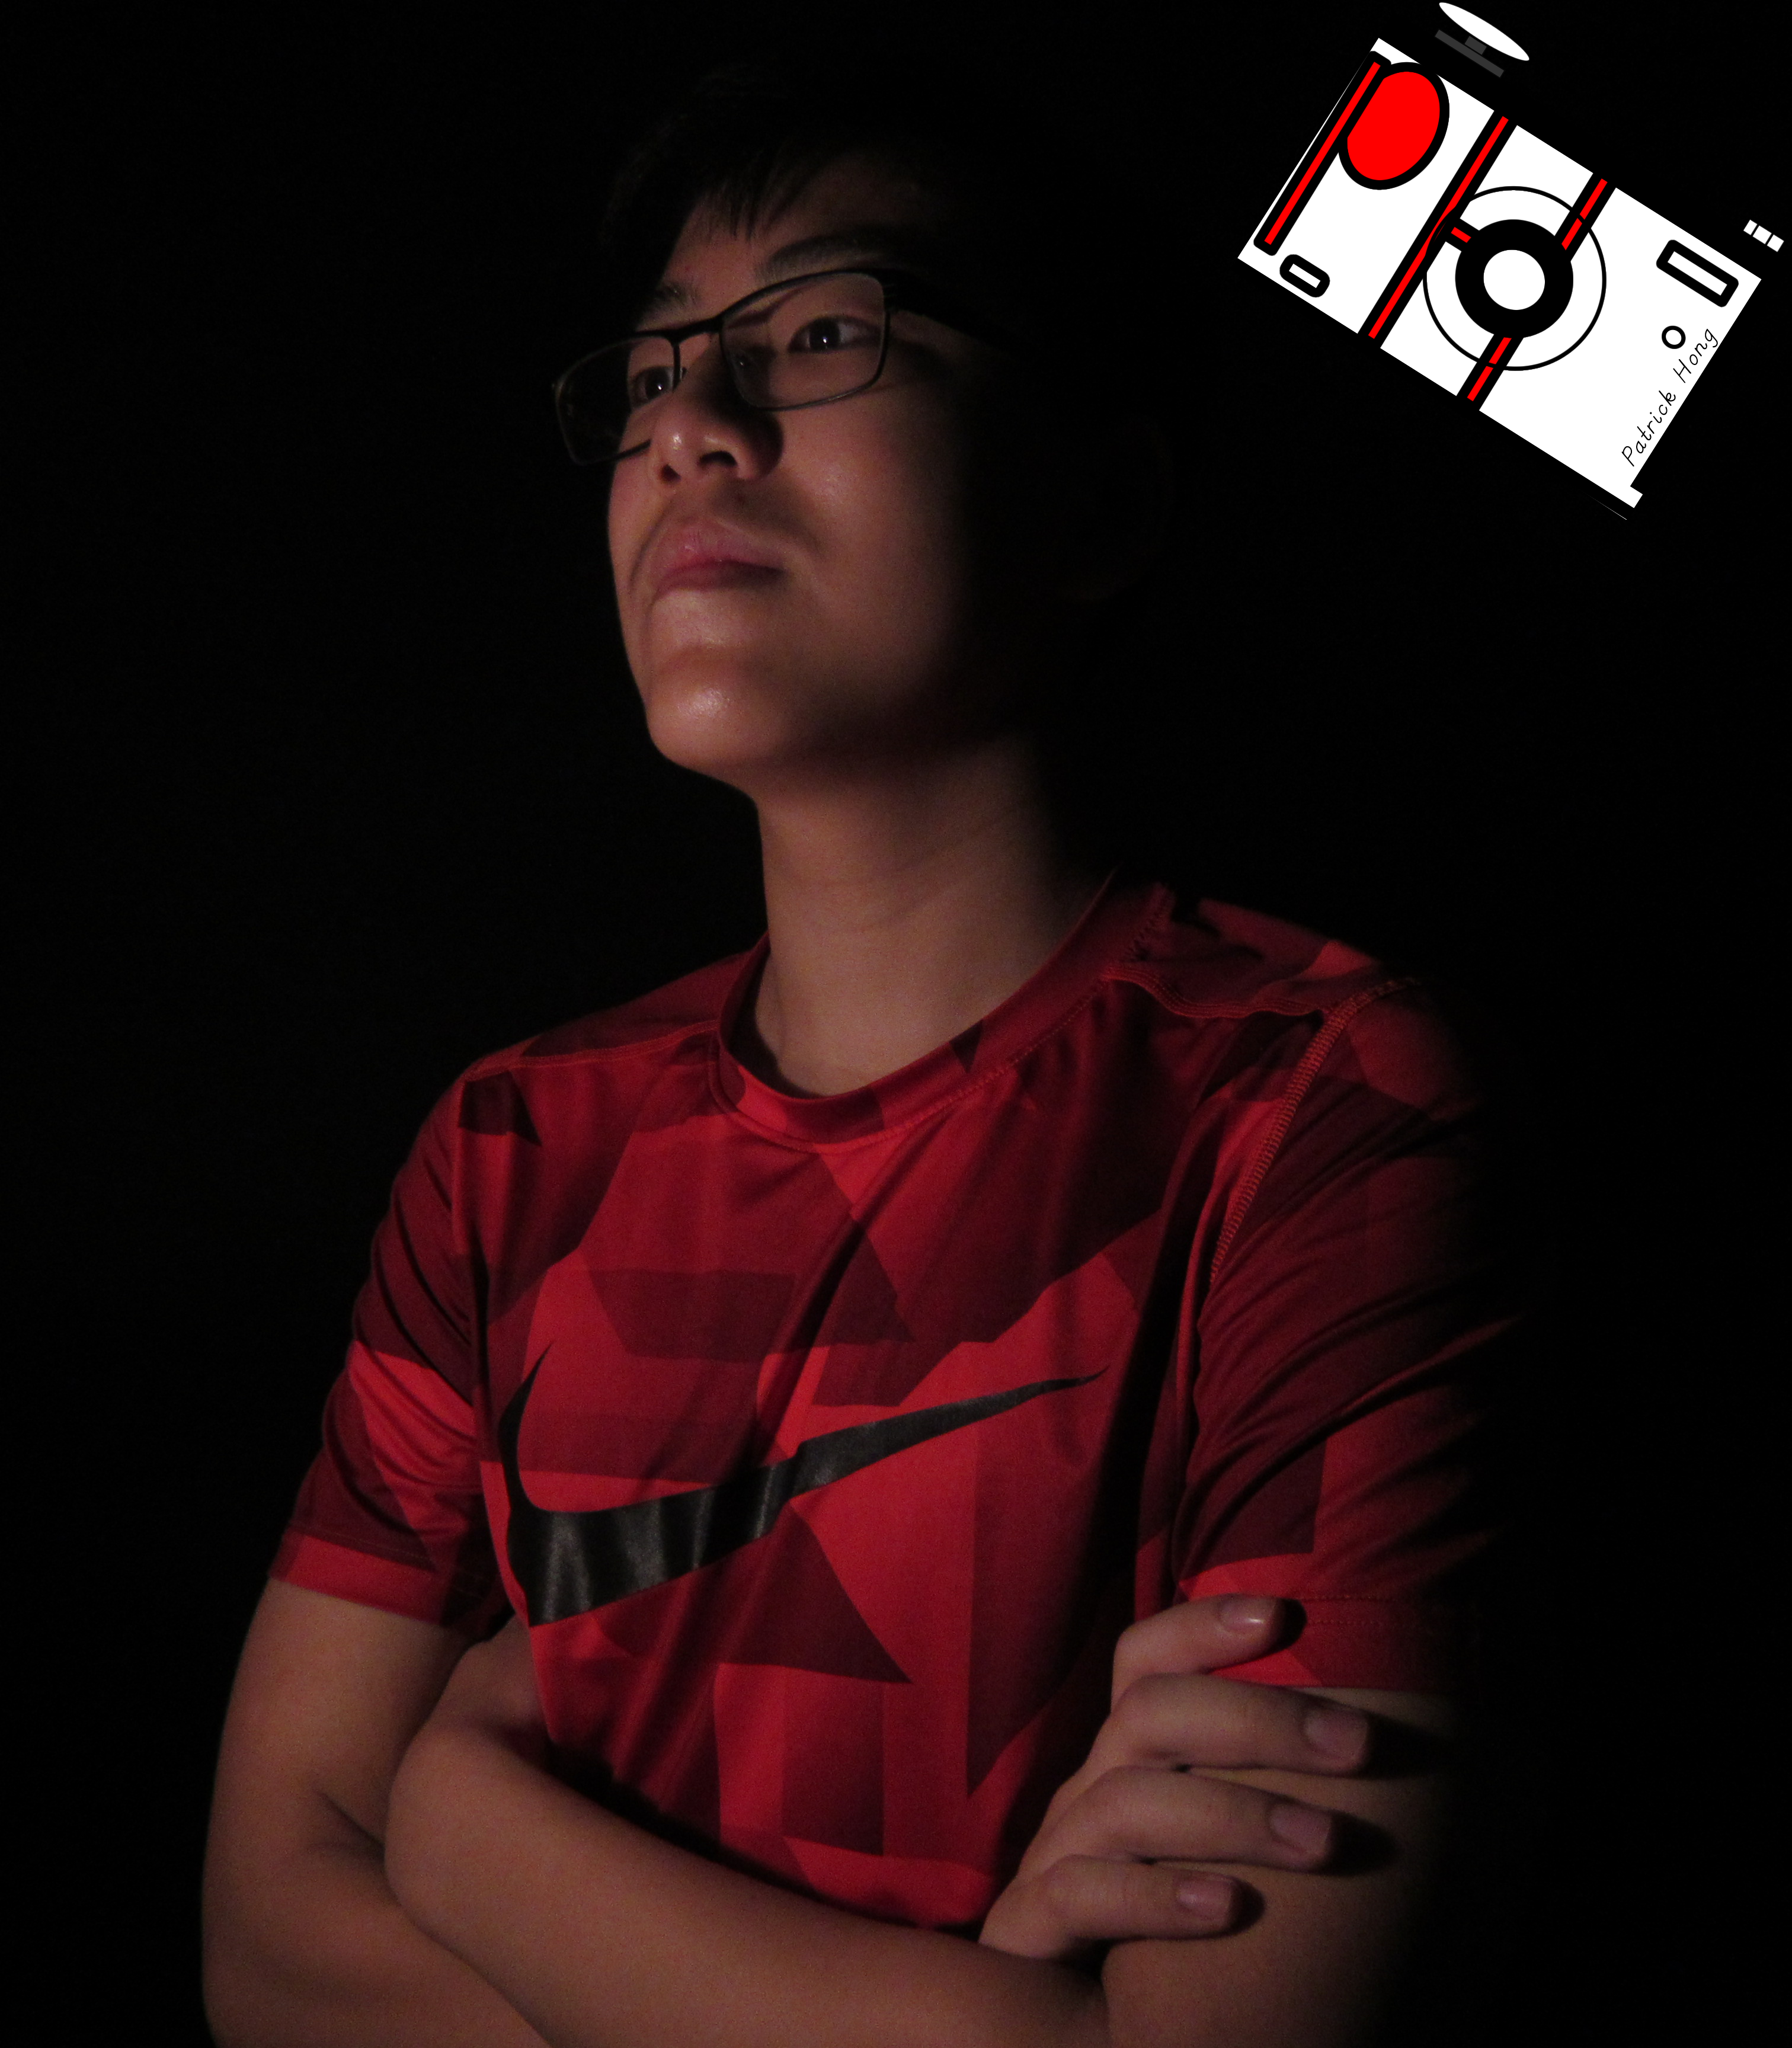
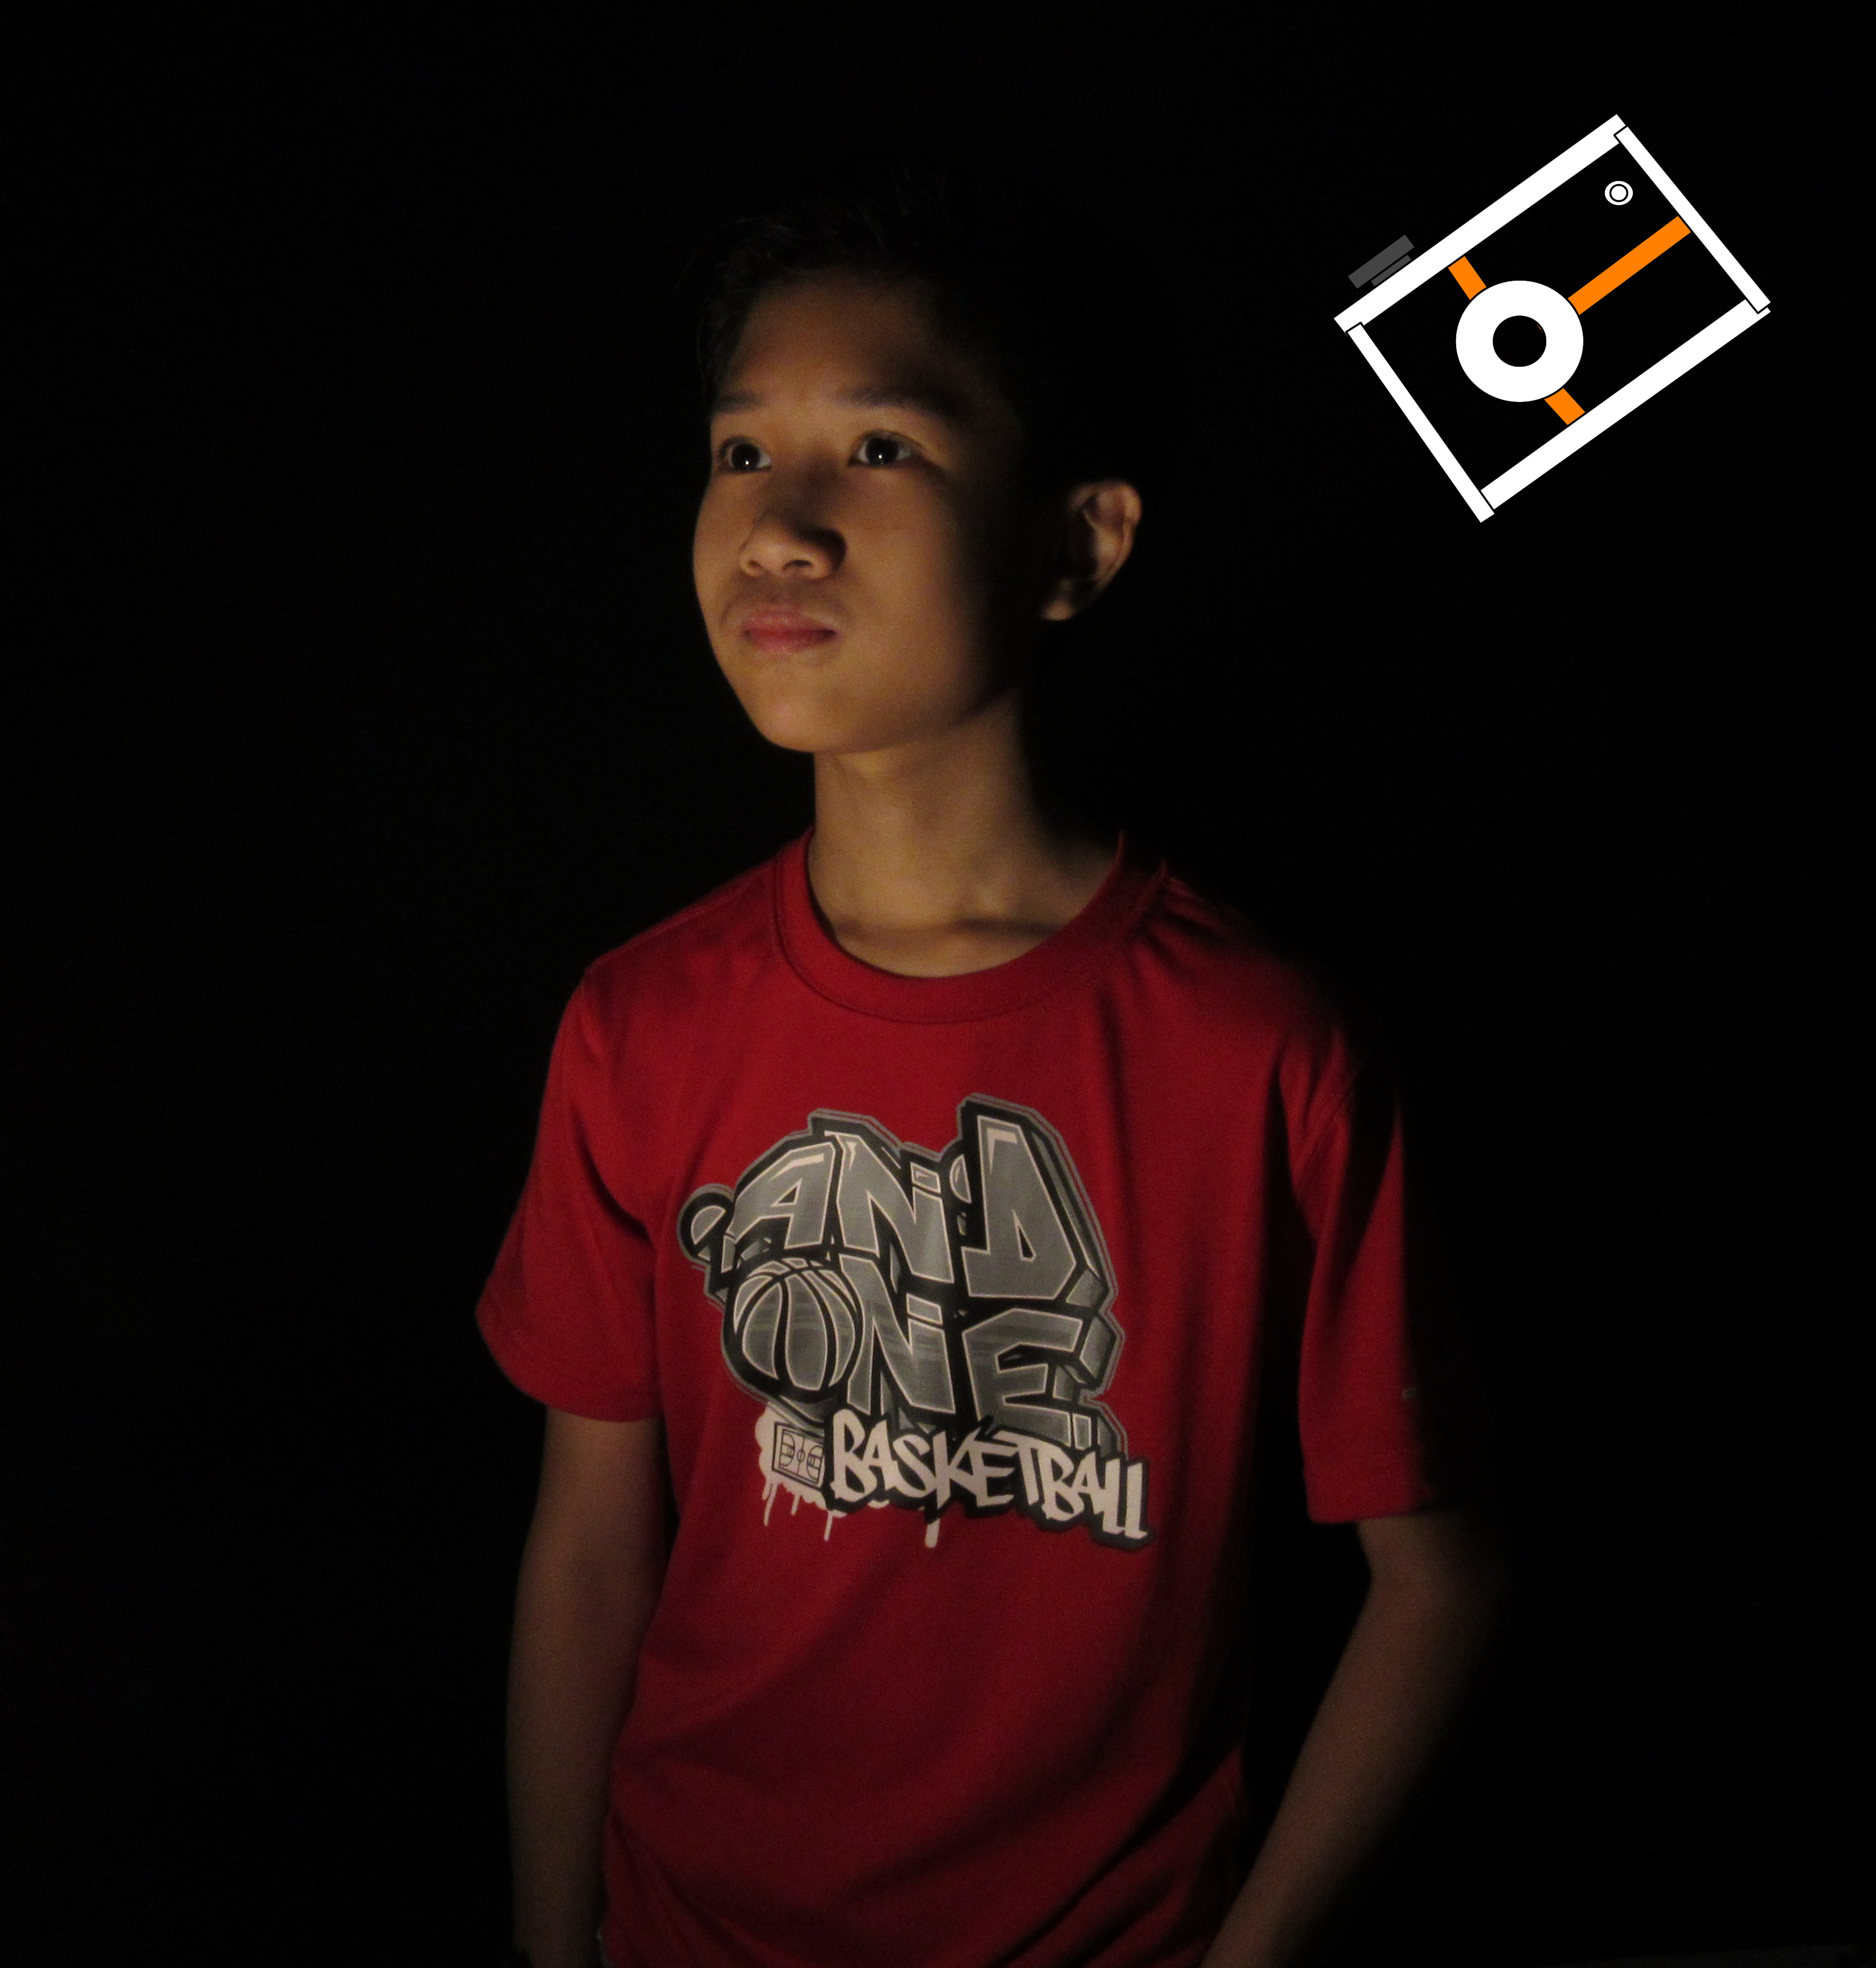
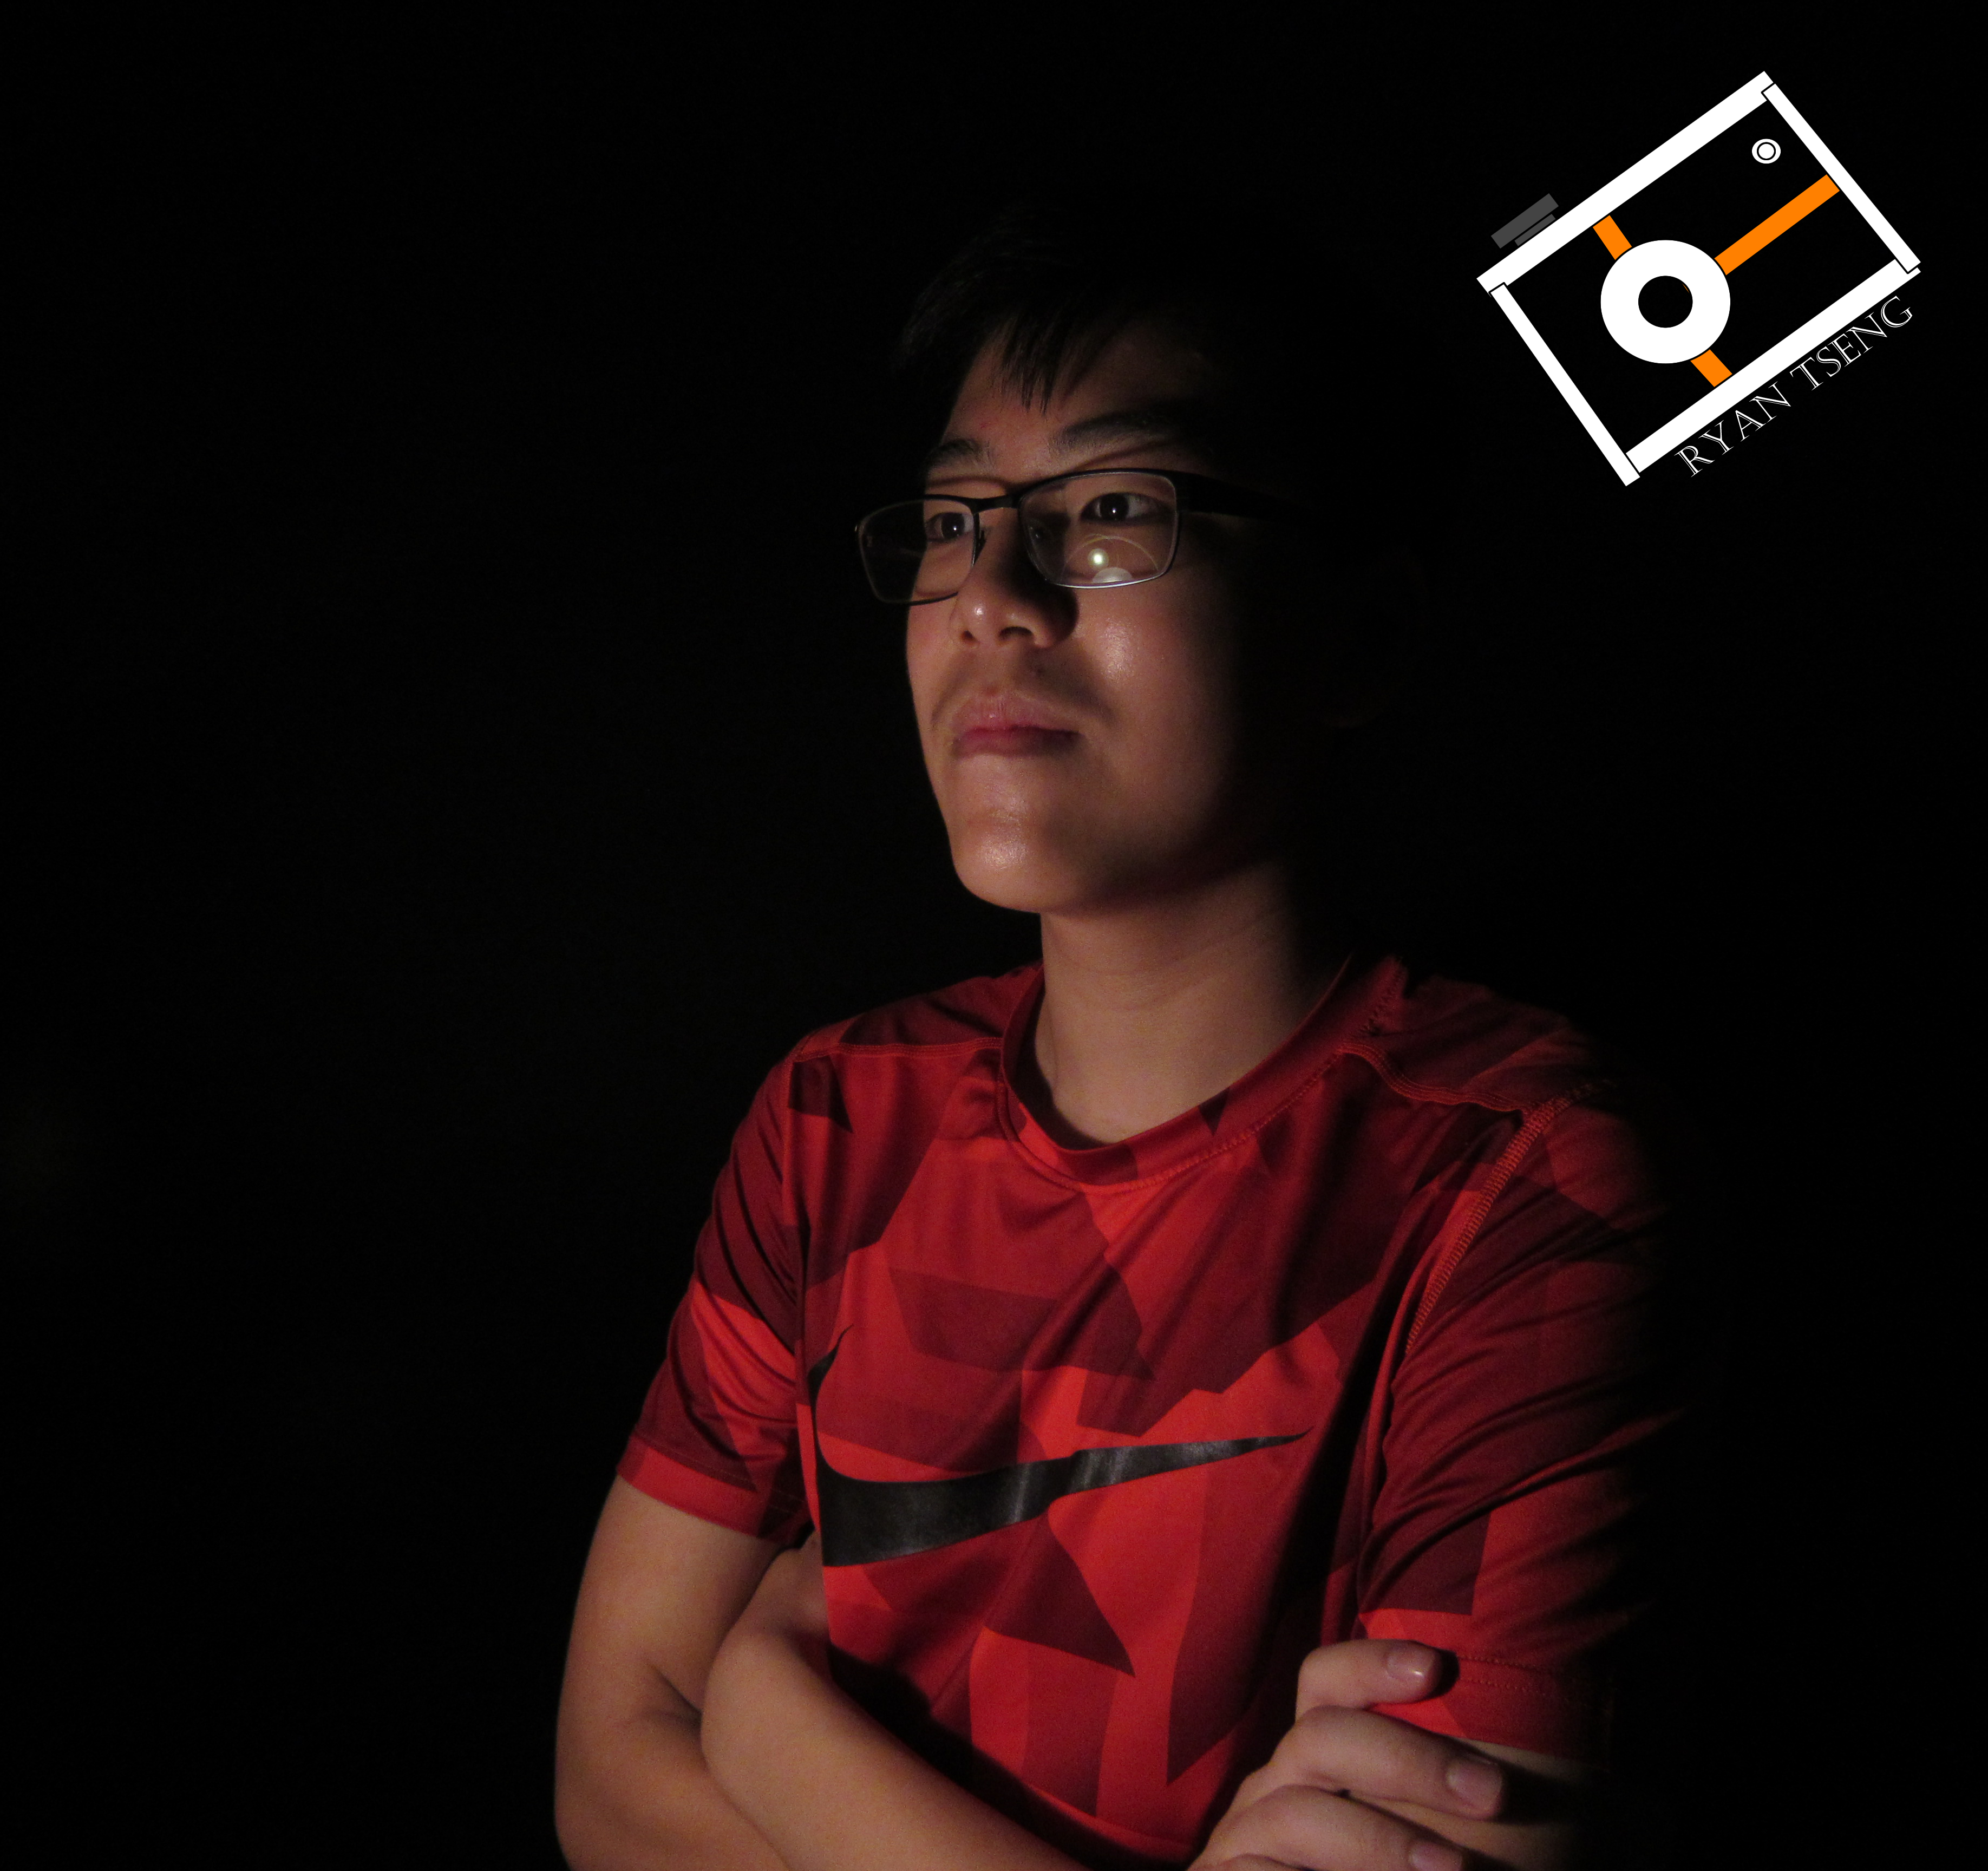
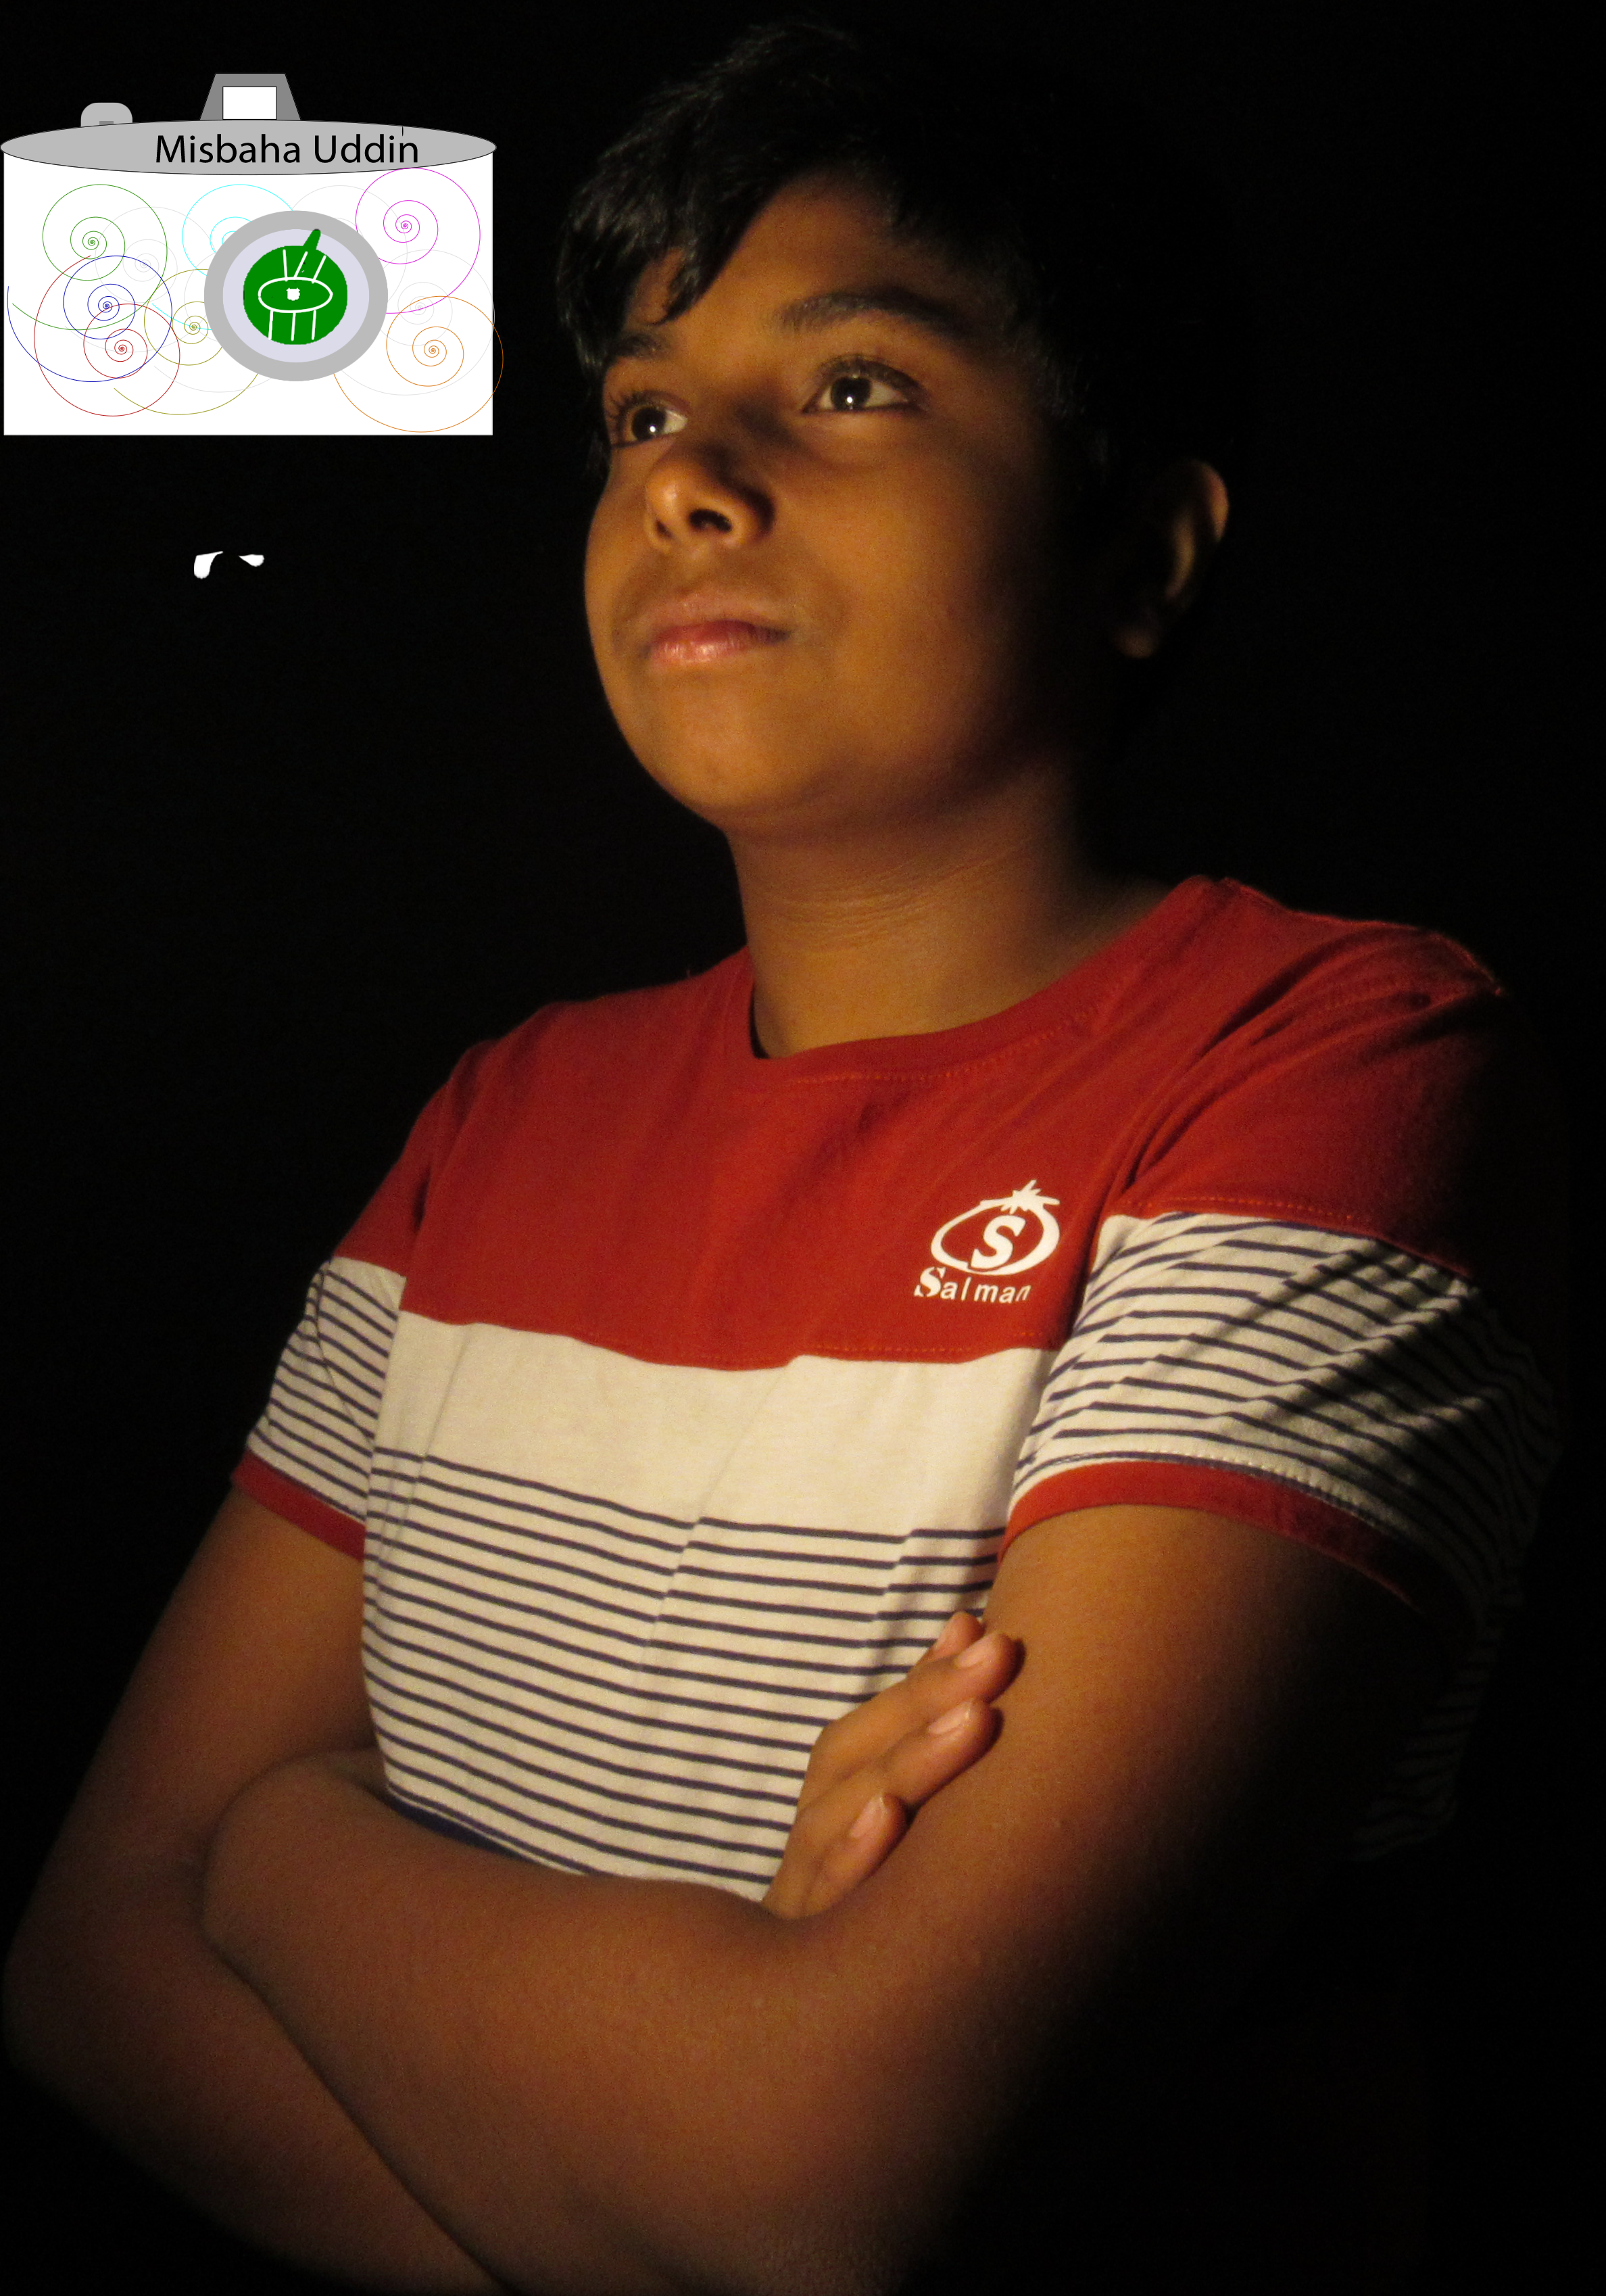
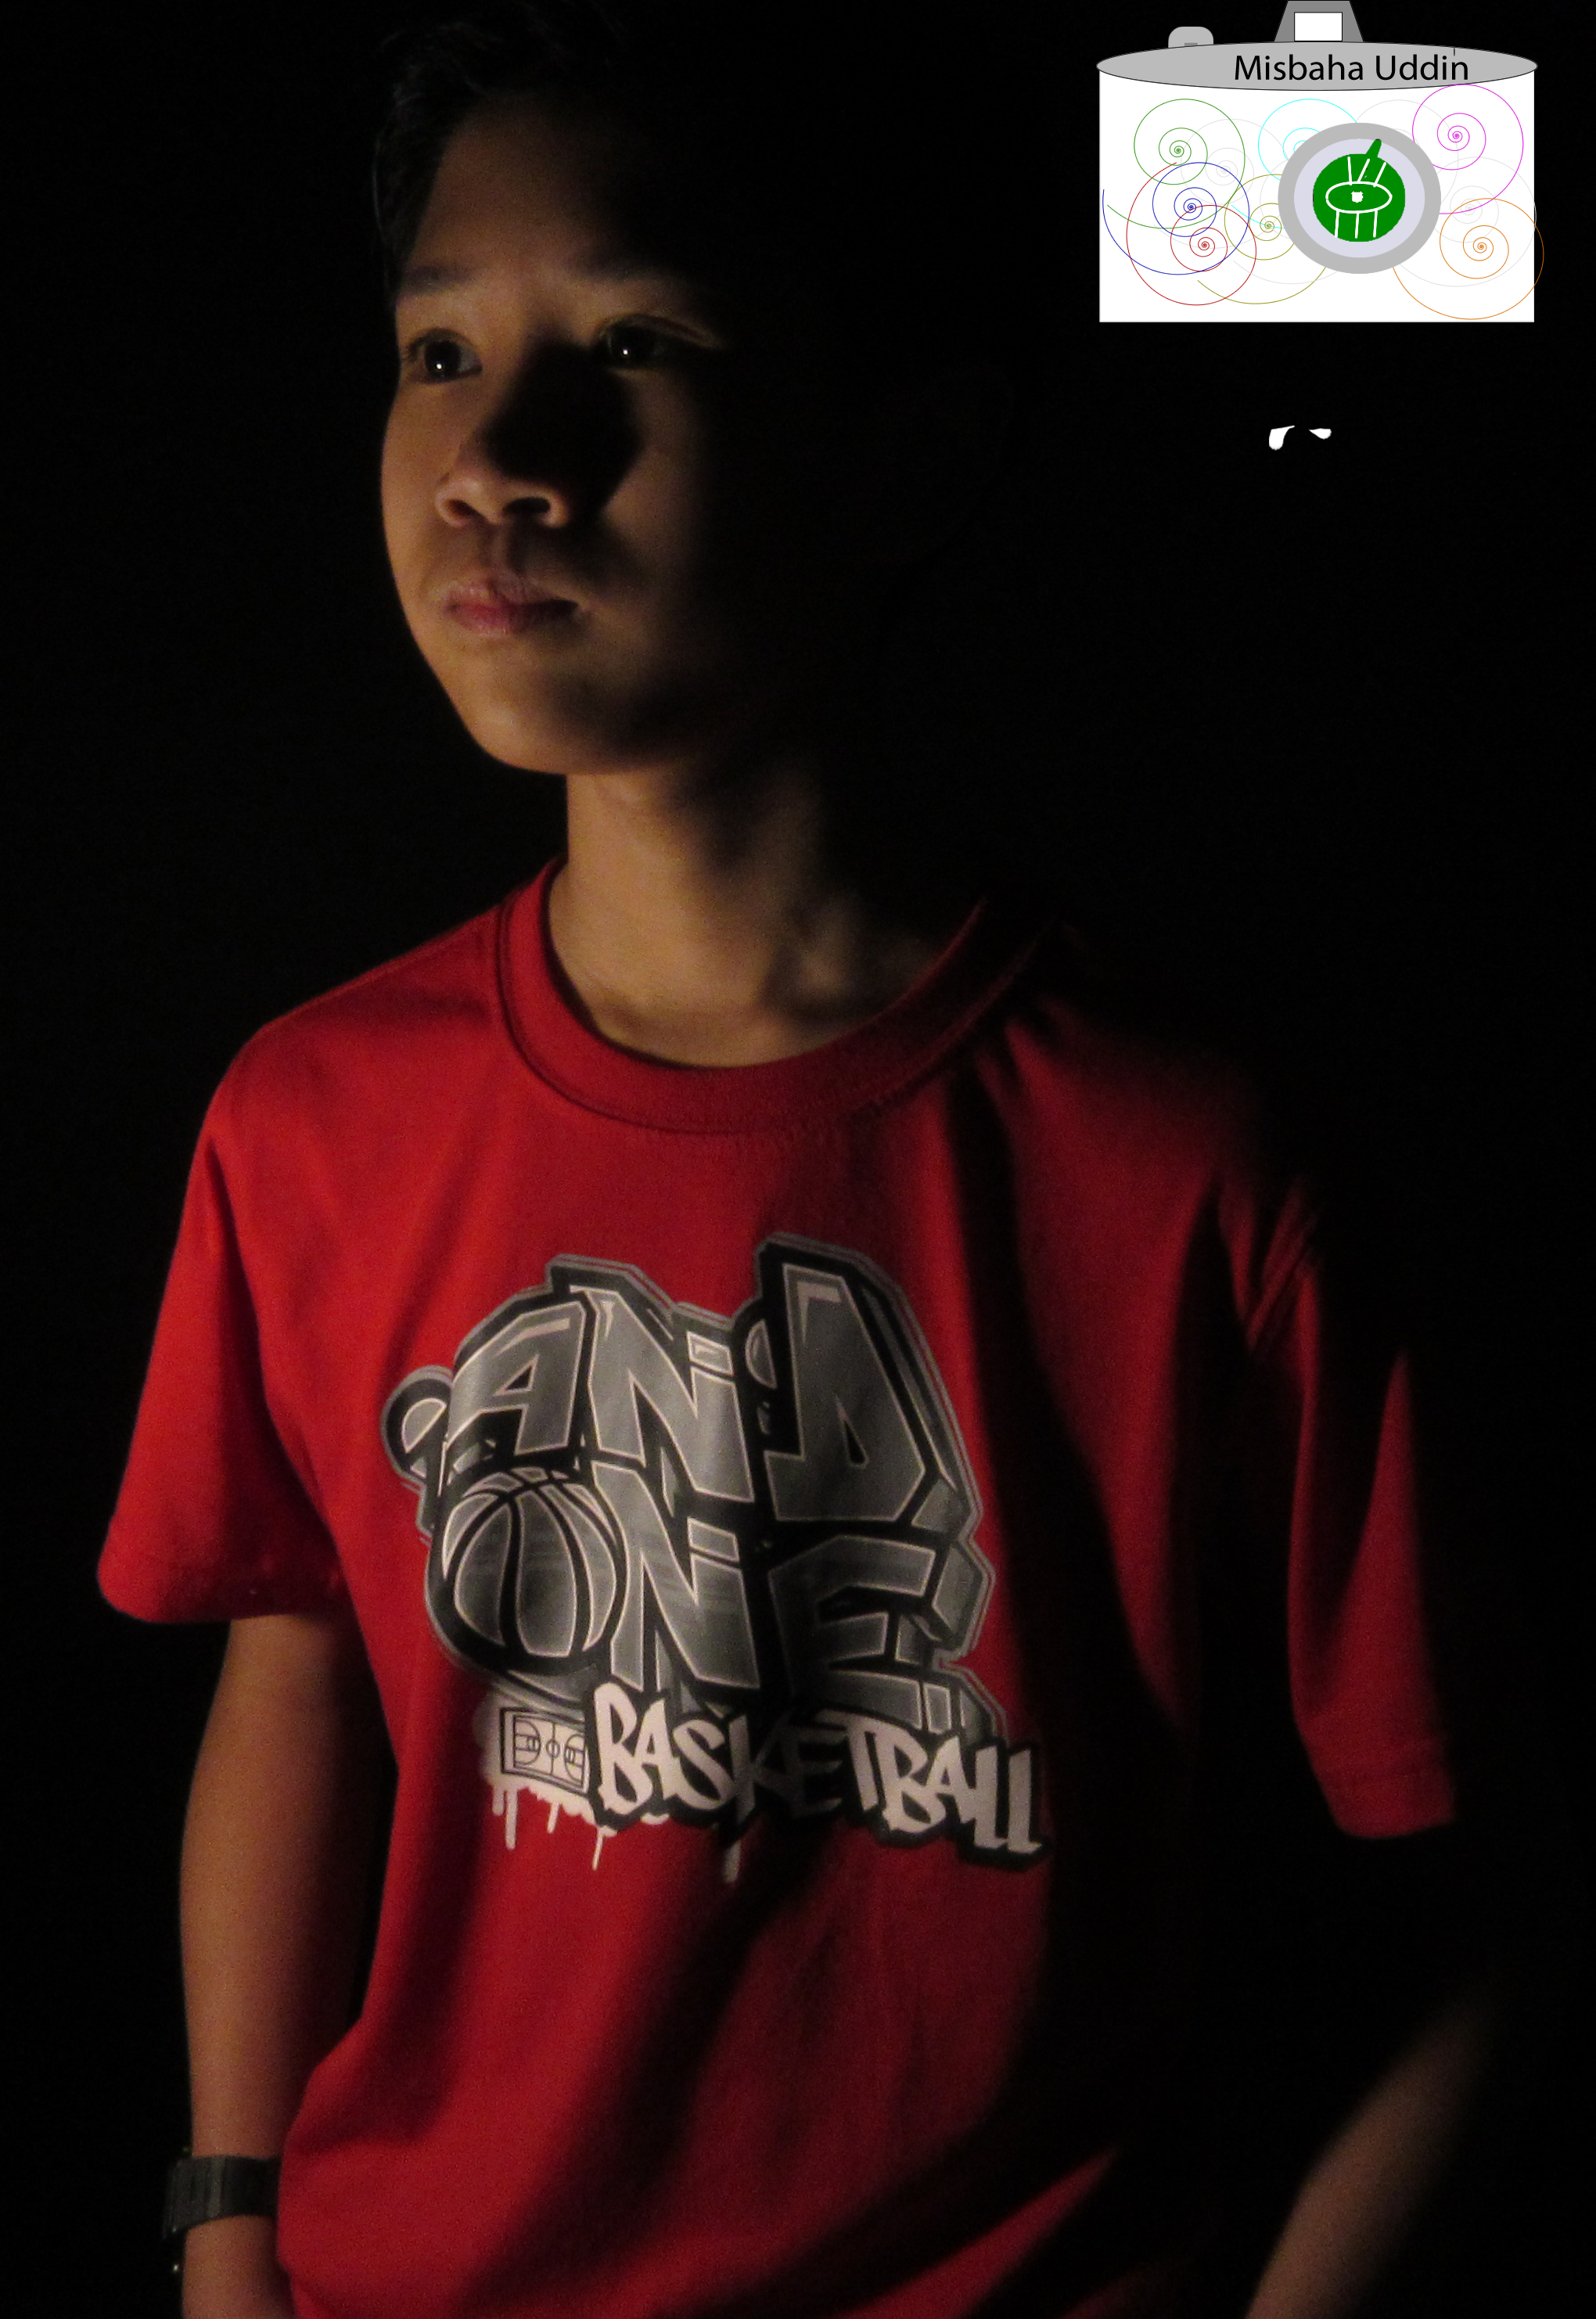
This project is taking portraits with dark backgrounds.  We had to make sure the person was in front of the light so their were no shadows on the board. We also had to edit the post by making the background darker and the figure (person) darker. One challenge I had was making sure there were no shadows on the person, also making sure the adjustments on the camera weren’t letting in too much light, thus ruining the picture. One thing that I found easy was making the background darker through the Photoshop app. This was easy because all we had to do is use the curved tool to darken the background and lighten the figure. In conclusion this project had some challenges but overall was very simple. 

To see the rest click here 

Infinite Background

For this project, we had to move the lighting and the person multiple times to make sure there were no shadows. For the white background, the person had to be right up on the background, and for the black background, the person had to be far away from the background and the light had to be right up in the persons face. If the person was right in front of the background, there would be shadows on the black background. Here is a link to all my photos.

Portraits With an Infinite Background

For this project, we had to adjust the lighting and person multiple times during the shoot. We also had to adjust the settings on the camera as well so the photo would turn out correct. For the white background, we found that the light had to be shining on the background while for the black background the light must be shining on the person. Also, for the black background the person had to stand farther in front of the backdrop while in the white background you had to stand closer. After adjusting the settings on the camera, like shutter speed, we took the photo. After the photo was uploaded, we took it over to photoshop to adjust the lighting of the person and background. One thing that we found worked was shining the light at an upward angle for both projects. However, one thing that didn’t work was shining the light too close to the person with the black background because that would cause the light to be shown in the photo.  Below is one photo of me and one photo I took. Click here to see the rest of my groups photos. 

Portraits: White Background

In this project we had to work together to create an infinite background with white backgrounds on manual mode. To take the pictures we had to adjust the camera settings such as, ISO, Shutter Speed, and F-Stop. These settings allowed the camera to take in more light or less light. This would create backgrounds with no shadows and the illusion of an “infinite” background. For the white backgrounds we adjusted the ISO to be around either 3200 or 1600. Then we changed the shutter speed to adjust the light setting of our photos. For most of them we put them at 1/40 or 1/30. To edit our photos we went to Photoshop and changed the light settings even more. If we still had problems we would crop the photo. For this project, taking multiple pictures with different camera settings really made things easier because it gave us many options to choose from. However, if we took photos that were too bright or too dark, we wouldn’t even be able to edit them in Photoshop. This project required us to handle the camera without it being on auto. Below is a picture that I took and a picture of me. You can find my group’s white background photos here.

Portraits with Black Backgrounds

To take the pictures was a hard process but to edit them was easy. Taking the pictures needed a little amount of shutter speed so that the background stays black and not too light. Something that worked was putting the light directly on the person while something that didn’t work was putting light on the background because that would cause shadows and the point of this project is to avoid having any shadows in the picture. Down below are two photos of me and a photo I took. You can see the rest of the pictures here.

Portraits: Black Background

In this project we had to work together to create an infinite background with black backgrounds on manual mode. To take the pictures we had to adjust the camera settings such as, ISO, Shutter Speed, and F-Stop. These settings allowed the camera to take in more light or less light. This would create backgrounds with no shadows and the illusion of an “infinite” background. For the black backgrounds we adjusted the ISO to be around either 800 or 400, sometimes even as low as 200. We also changed the shutter speed to adjust the light setting of our photos. For the shutter speed we adjusted it based on our clothing and if there were shadows or not. The shutter settings ranged from as low as 1/30 to 1/60 (since we already adjusted the ISO). To edit our photos we went to Photoshop and changed the light settings even more. If we still had problems we would crop the photo. For the black backgrounds we would have problems with the lighting so we had to move the light to be in front of the camera. However, if we took photos that had too much or too little light, we wouldn’t even be able to edit them in Photoshop. This project required us to handle the camera without it being on auto. Below is a picture that I took and a picture of me. You can find my group’s black background photos here.

Portraits: Black Background

In this project, we were required to use certain settings in a camera to take the perfect photo on a black background. We had to mess with the shutter speed in order to get just the right amount of  light so others can see us. The easiest part of this project was taking the photos and sometimes cropping the photo. The hardest part was not having the urge to wear something black or something dark.

To see the other photo, click here.

Portraits: White Background

In this project, we were required to take photos of yourself and others on a white and black background with some lighting. We had to use certain camera settings to get the perfect picture without and brown spots on the background. We also need to go to photo shop to try and remove any brown spots. The things that worked was taking  the actual pictures. The most difficult thing was not wearing white. To see the other pictures, click here

Portrait: Black

In this project I had to mess with the iso settings and the shutter speeds. I used a dial that affects the shutter speed. Shutter speed is how long the camera lens is  open. The longer the lens is open will make more light show up in the photo. If the lens was open to long then shadows would show up in the background and we can’t be having that. But if  the lenses were open to short then the person would start to disappear . It was hard to find a good pose. The poses had to show the persons face. But if  the person was at an angle it looked a lot better. So to combat this I took many photos with different shutter speeds and chose the best of them. If you want to see more photo’s click here

Portraits Black Backround

For this project, I had to use a camera and learn how to change the ISO to make it look like there was a black background behind the person I was taking pictures of. Also, I had to change the shutter speed so it can stay open for a longer amount of time so as you can let in more darkness from the room. The thing that worked for me was the position that the person was in and the color of the clothes the person was wearing. What didn’t work was in some pictures the light way too bright to where you couldn’t see the person. Also, the lighting had to face directly at the person you would be taking pictures of. The further and higher the light is the better the picture will turn out if you have the light to close it might make the picture too bright to where you would see shadows. You can see the rest of my group’s photos Here

SONY DSC