Getting Close

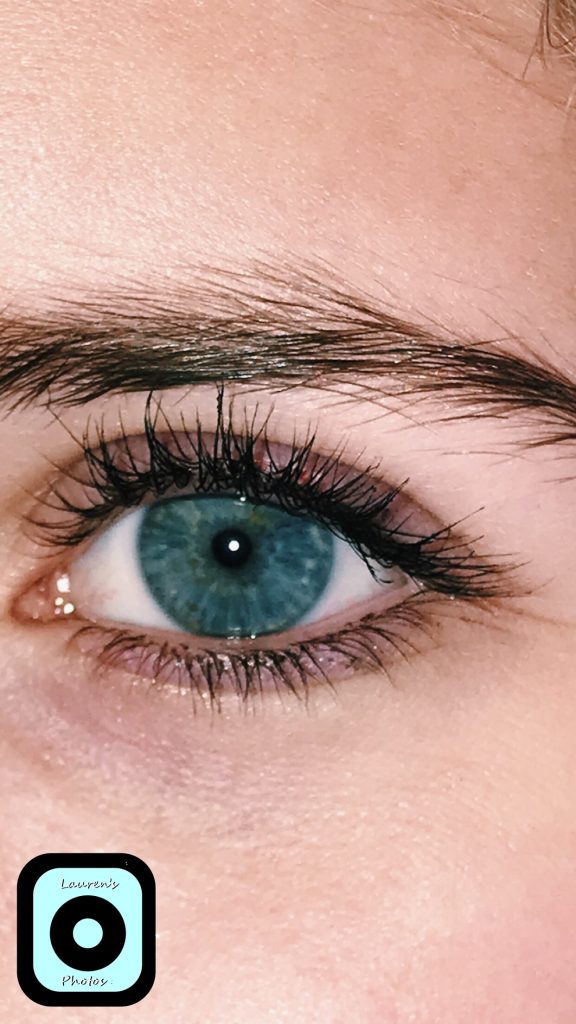
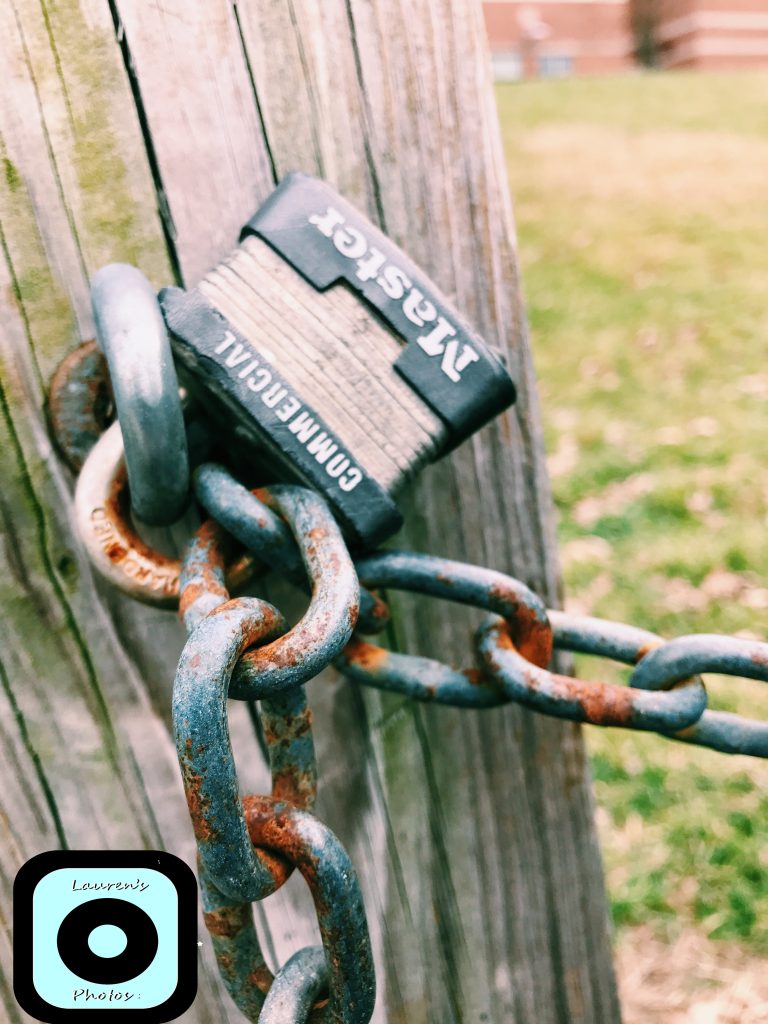
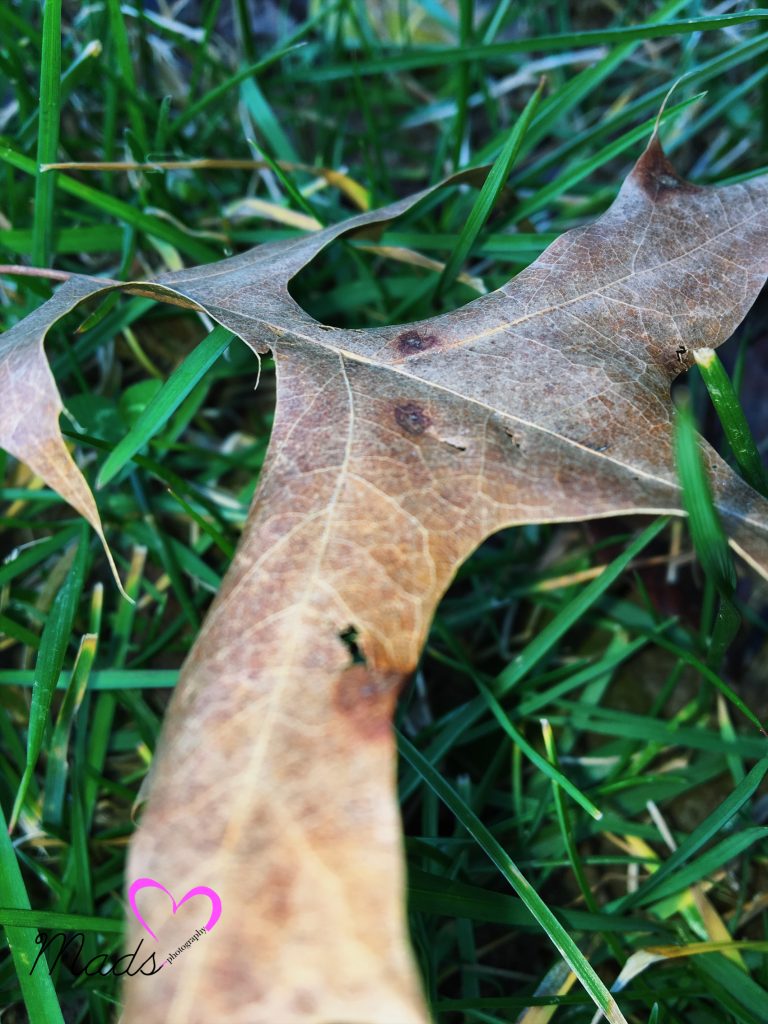
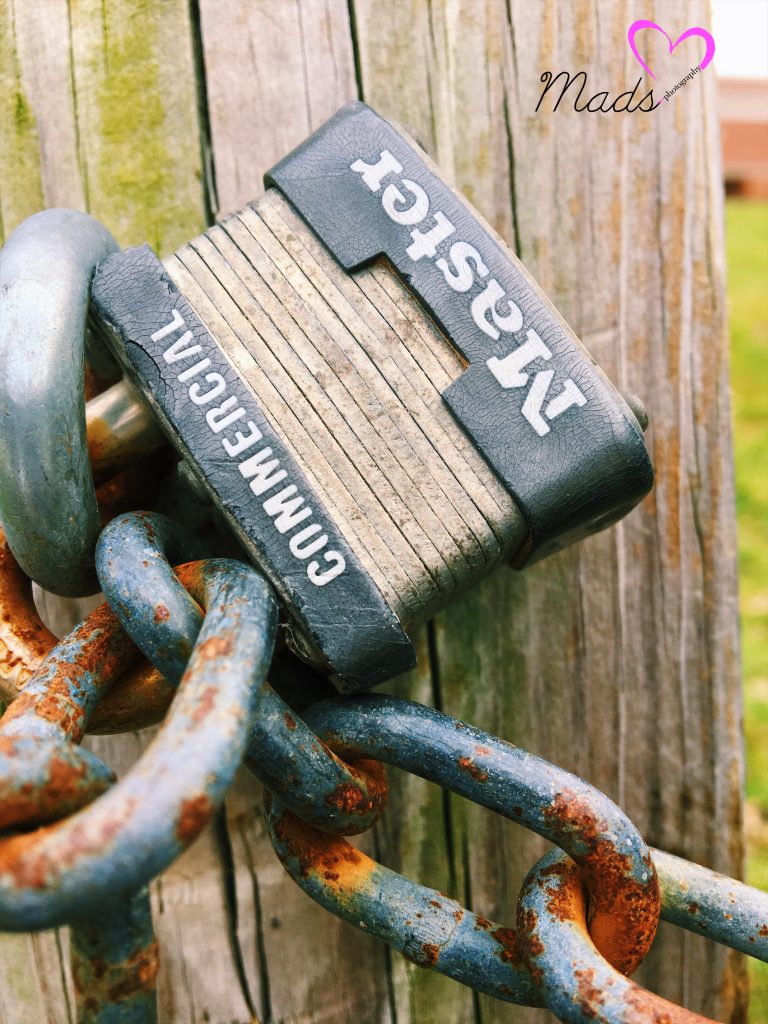
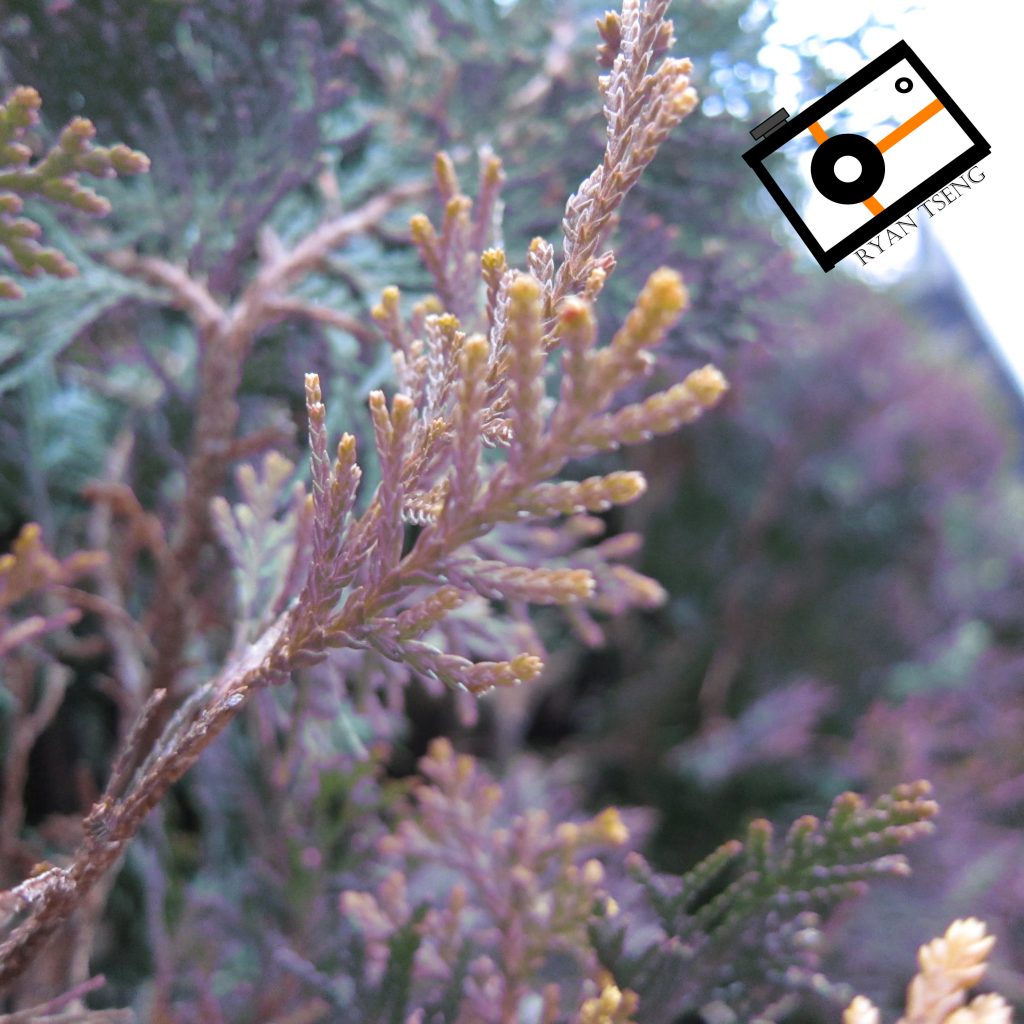
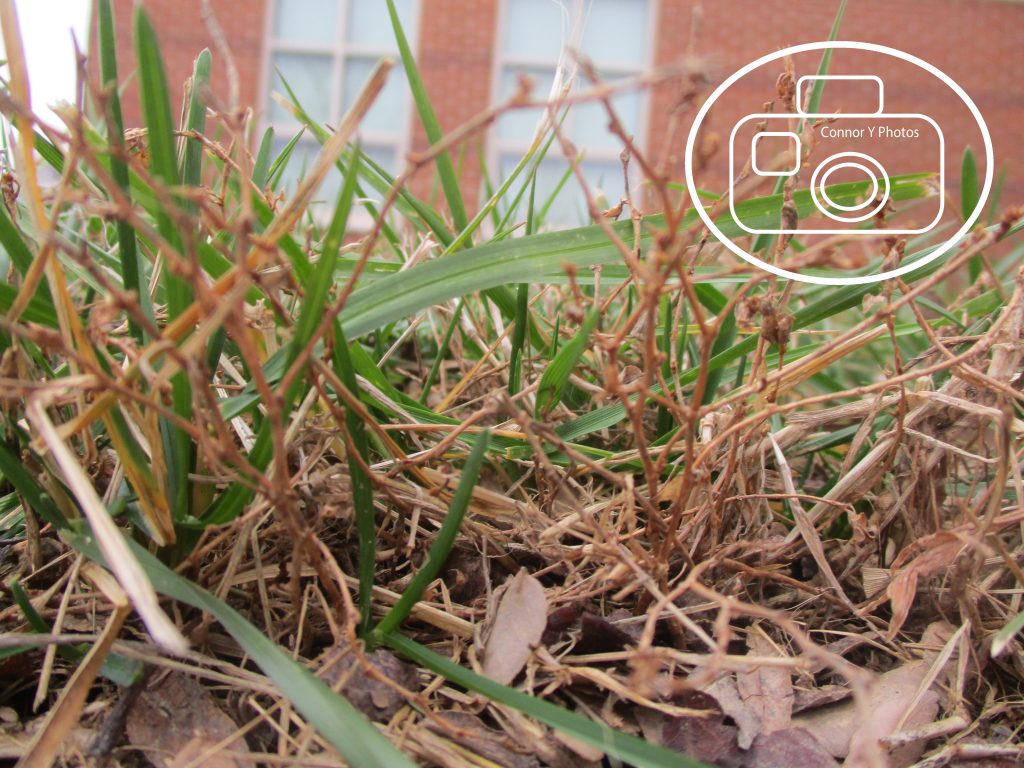
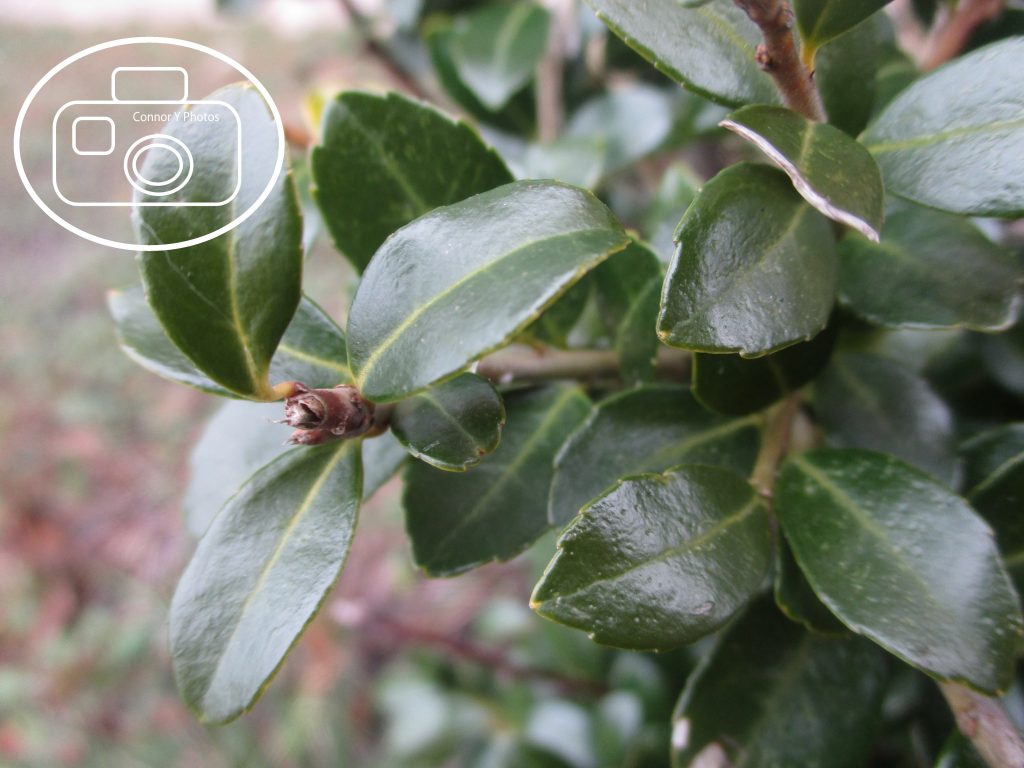
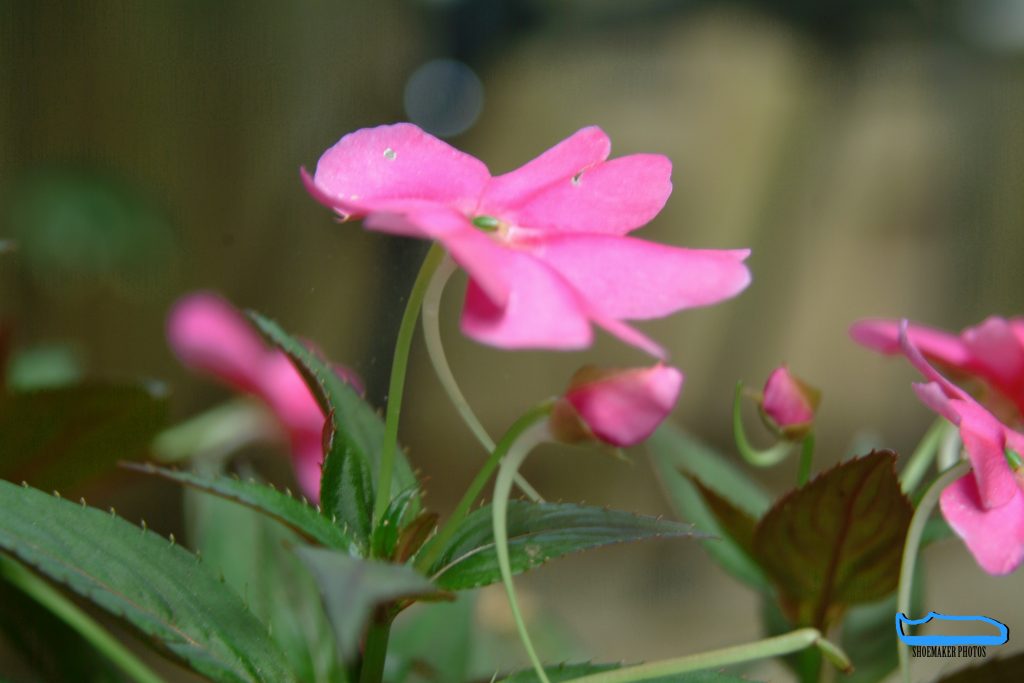
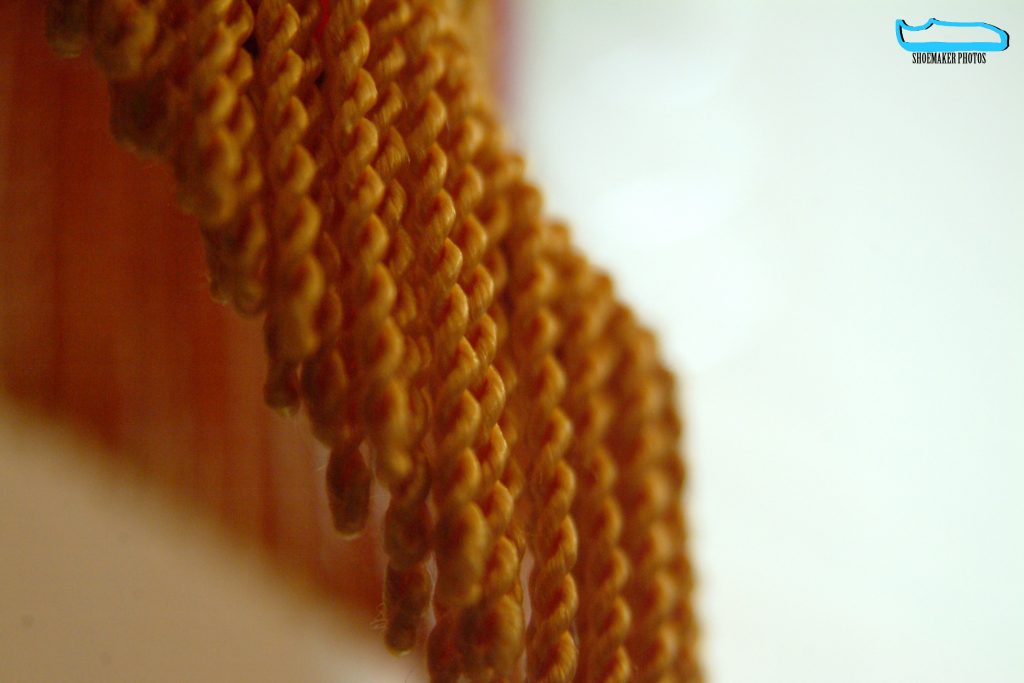
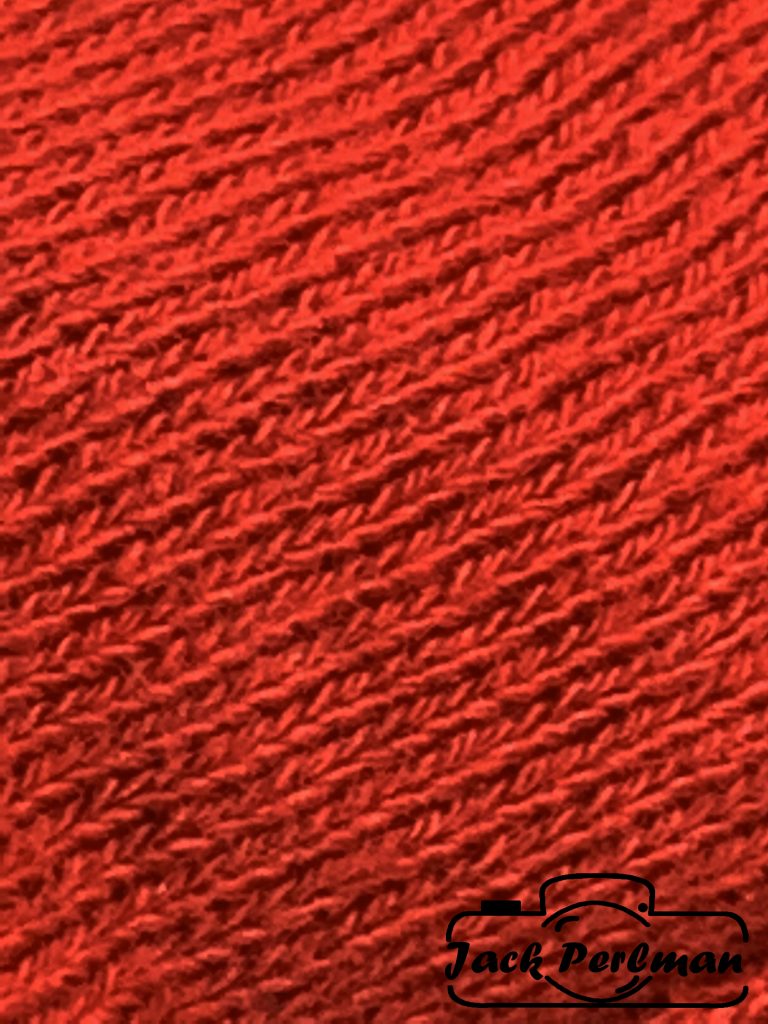
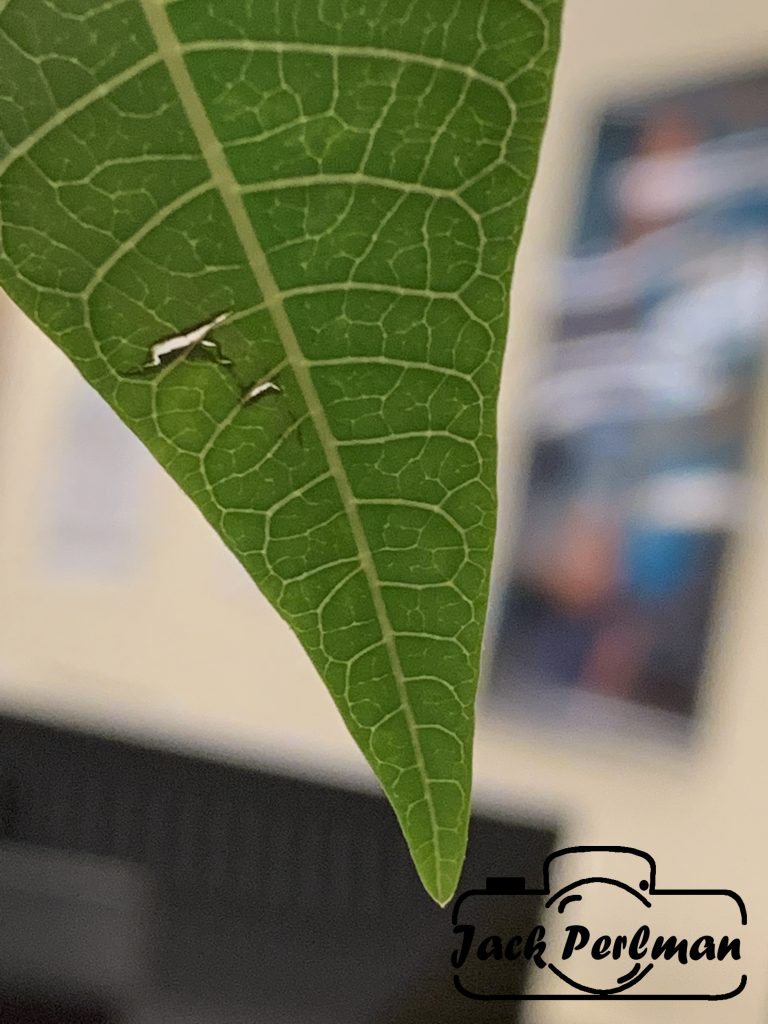
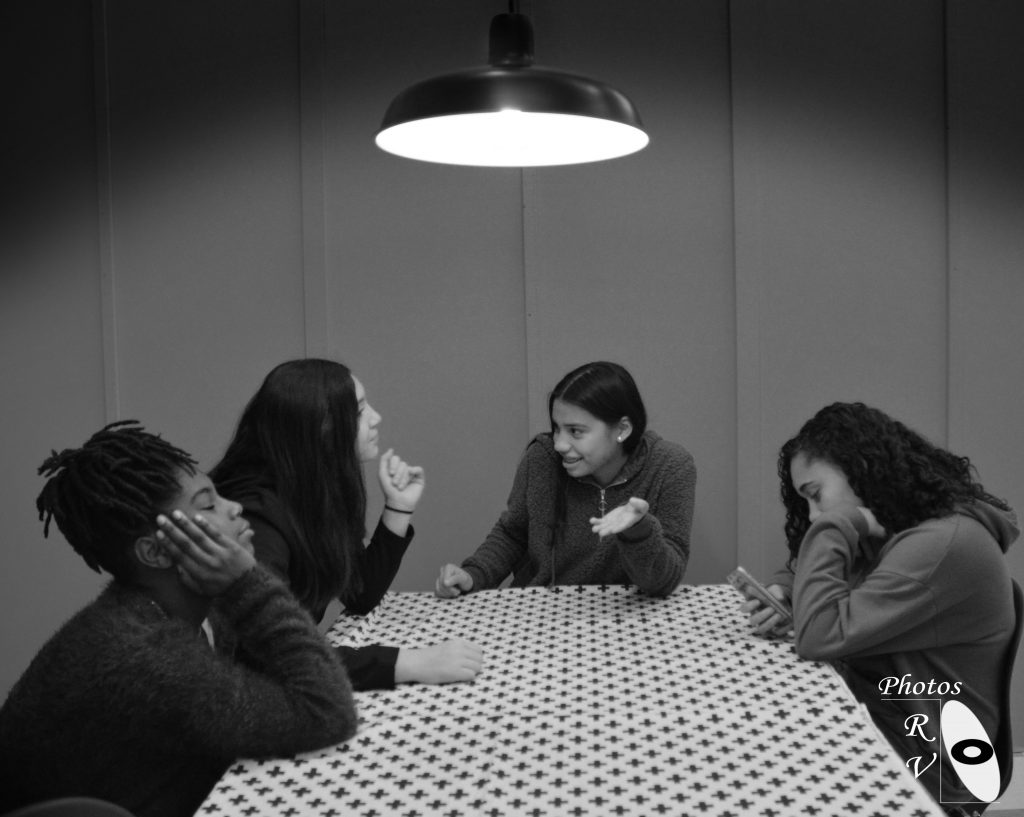
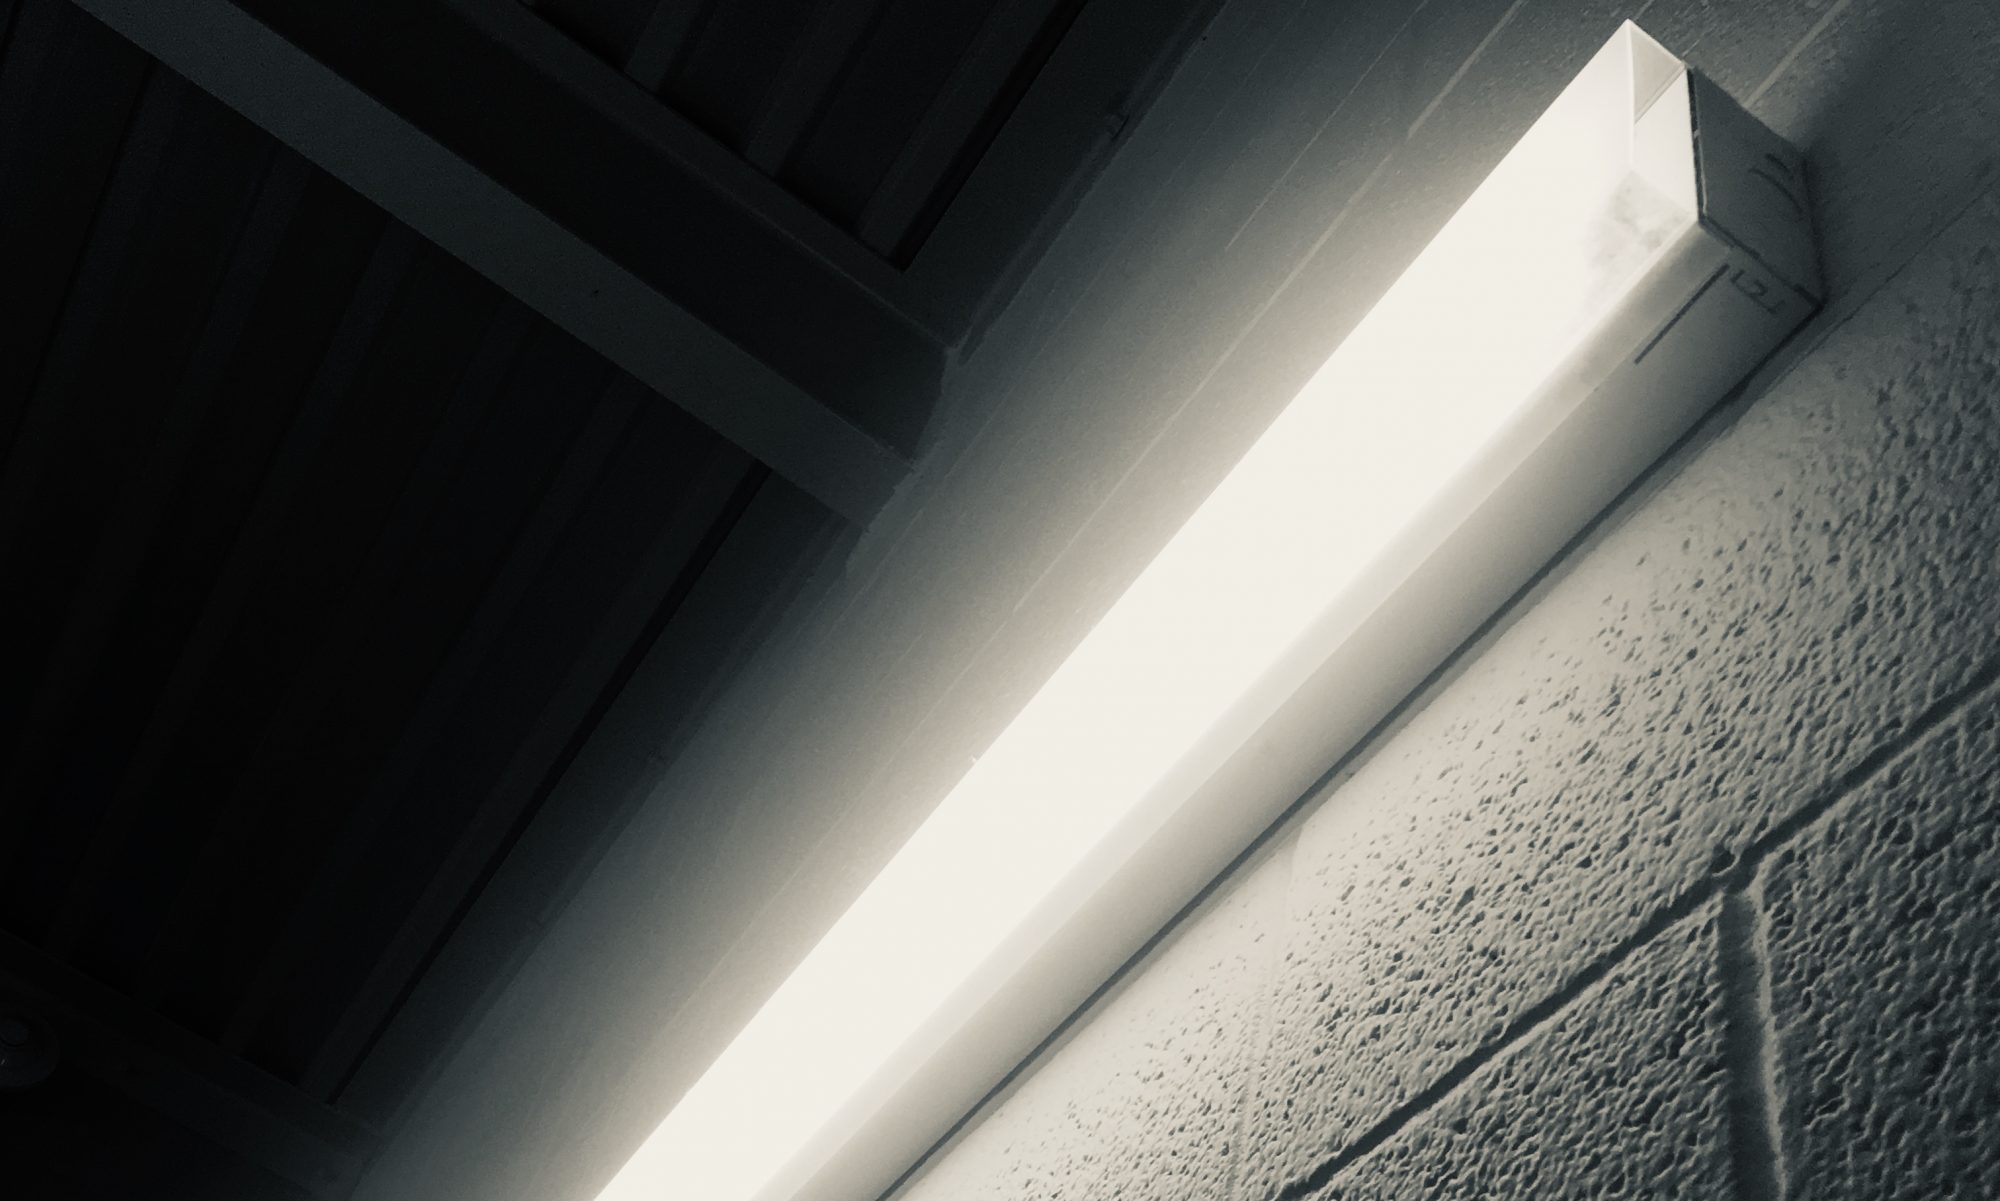
Basically had to go up close to objects living and non living and use the app VSCO to turn either up the macros or turn them down. When you turn them down it focuses on the closest thing you have near your camera and blurs out the background. It does the opposite when you turn up the macros; blurs the closest thing and focuses on the background. Using flash and filters definitely helped and made the pictures look way cooler. It was hard getting close enough to the object, for example I was trying to take a picture of a plant and I had to lie down on the ground to get a good photo of it. Water droplets are very cool when you have the right equipment to take high quality photos of it and I would really like to photograph one. To see the rest of my photos click here.

Getting Close

For this task, we had to take pictures of small or macro things ( living and non-living) like leaves and earrings. For this project, I used the app VSCO to take my pictures. There was a focal point element on VSCO that allowed you to focus on the certain subject you where trying to take a picture of. VSCO is also really good for editing, and it has really good filters. During this project, it was easy to brainstorm ideas of what to take pictures of. I could easily see something macro or small and take a picture of it. However, it was really hard to focus when zooming in on my camera or getting close. If I had the time to take a really close up picture, I would probably take it of a cell or something really tiny. For this, I would also need a microscope and a high quality camera. To see the rest of my pictures, click here, here

Processed with VSCO with c1 preset

here

Up Close

In this project, you are required to take pictures up close. You must set your camera settings to macro to take the best close up pictures. In total, you should have at least taken 10 pictures using macro or any other apps if your on your own mobile device. The one thing that did work was finding the best angle and the best distance. The only thing you will probably change is the subject, distance, and position. The hardest thing in this project would have been finding a subject. I wanted to make sure that if I were to take pictures, I would not take a picture of the same exact subject I just took. There were not problems with the camera or rearranging the settings. If I had better equipment and the time, I would attempt to find a living or nonliving bug and take as many pictures as I can with as many angles.

If you want to see all of my photos, Click HERE.

Up Close

For this project, we had to take 10 photos as close as possible to 5 living things, and 5 non-living things. This resulted in some really cool photos, 2 of which are below. If you want to see the other 8, click here. For this project, I found that using the IPhone camera worked amazing as the quality of the camera is able to capture very small details. The IPhone camera would be very nice if you had portrait mode, but unfortunately I did not. One thing I found very difficult was finding interesting non-living objects to photograph in school as most things were bland in color in the photos I took. Another difficult thing from time to time was getting the camera to focus. If I had much more equipment and time, I would totally try to photograph high quality pictures of eyes, specifically hazel eyes. I love photographs of peoples eyes up close as they are ABSOLUTELY beautiful!

Getting Close

In this project we had to take up close photos on small objects. We had to use the macro icon in our cameras to get a really good shot. In the end, we had to take 10 photos that are up close. Using the macro icon worked really well in this project because the pictures looked way better than taking them regularly. I tried going close to the objects and I’ve never done that before. A challenge I had was trying to find objects because usually it didn’t work out. It was pretty difficult to find subjects. An issue I had with the camera was when I tried to take a photo, the camera didn’t turn to the macro icon and went to another icon. I would like to take pictures of animals up close, specifically bees.

You can see the rest of my photos here.

Getting Close

We had to use macro on our cameras to take photos really close of dead and alive things. Things that worked for on this project was taking pictures of plants out when the sun was out so I didn’t have to mess with the lighting. What didn’t was trying to take a picture of under a plant. If I had the equipment to take a picture up close it would be a waterfall cause i would want to see the water drops coming off of it. You can see the rest of my photos here.

Getting Close

My Project for this week was to take photos of things up close. (also called Macro photos) It is interesting to see what things are made up of. One thing that worked well was taking pictures in a well lighted room. If I took photos in the dark you wouldn’t see as much detail. There weren’t many challenges during this project although it was difficult to get the camera to focus. it was fun experimenting with the different objects in front of a camera. If I could I would like to take macro photos of bugs because they are very fragile yet complex

You can find my photos Here and here.


Set in the S*T*R*E*E*T


Our photography project was inspired by a New York photographer, Justin Bettman. “Set in the street” our job was to put together a set in a random place, in our case we used the school. The set was also inspired by Carrie Mae Weems. an artist who uses multiple techniques in her images such as fabrics and digital audio. Editing the photos took some to little effort. We used Photoshop, First I needed to make a big elliptical marquee, after I placed it where I wanted, select, modify and clicked feather. Final steps were select, inverse, and play with the curves to my desire. This affect made a drastic affect on the lighting in this picture. My family and I are always going to church together, usually on a late Wednesday night. A perfect place where all of us are together and look ready to take pictures. Here are the rest of my photos.

smile

for this project, we haad to take pictures of some peolpe simling and not smileing. one pictues of som could tell you a lot about them. some are true, ans some arent. aslo, i’m not used to taking to strngers, so it was a little harder for me.

Set in The Street

For this project I had to take pictures at a “dinner table” that told a story. This project was inspired by Justin Bettman who had sets of places in his studio and he would photograph them. this project was also inspired by Carrie Mae. She took pictures in her home at her kitchen table and the picture told her “story”. I edited my photos using the cropping tool, the b &w tool, and the selecting tool. For the selecting tool, I had to go to inverse,feather, and 200 to get a shadow over the lamp. If I took pictures in my house I would take them in the kitchen. A lot of stuff happens in the kitchen like homework, eating, cooking, etc. It would be cool to have a real shadow instead of photo shopping one in.