Getting Close

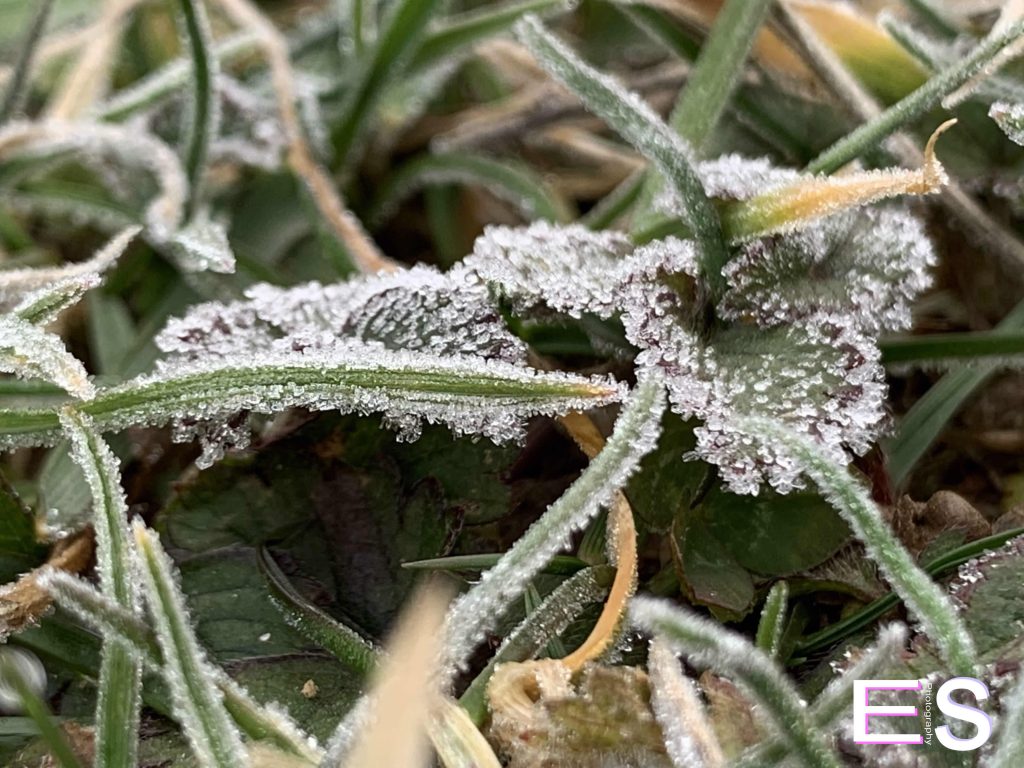
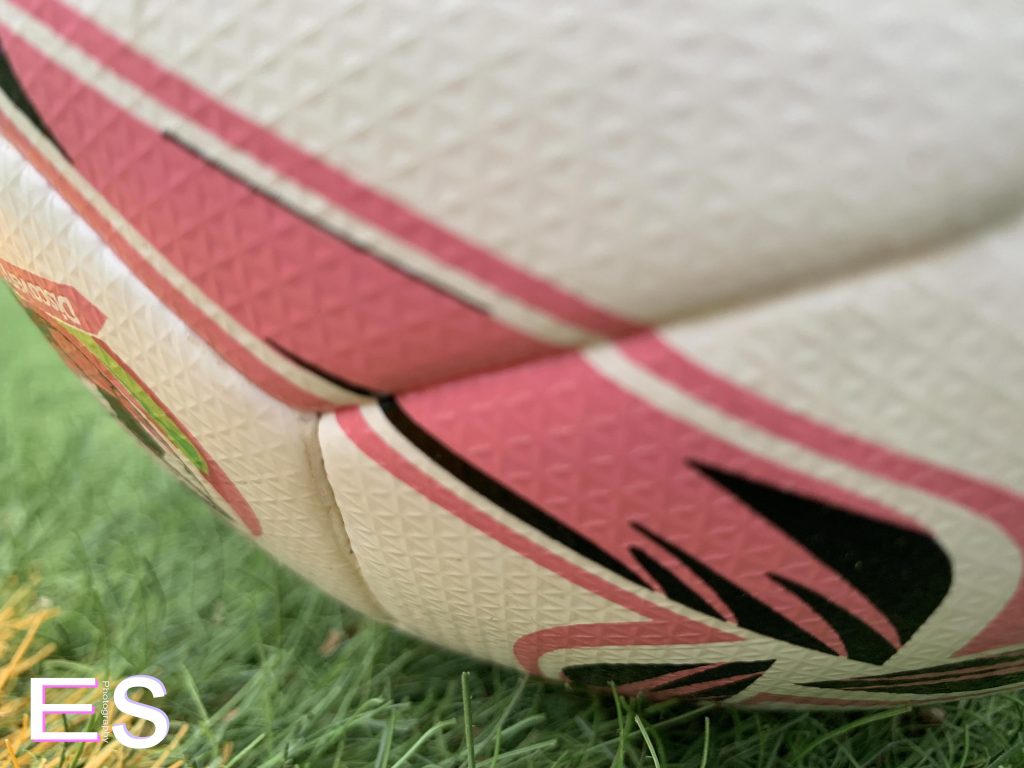
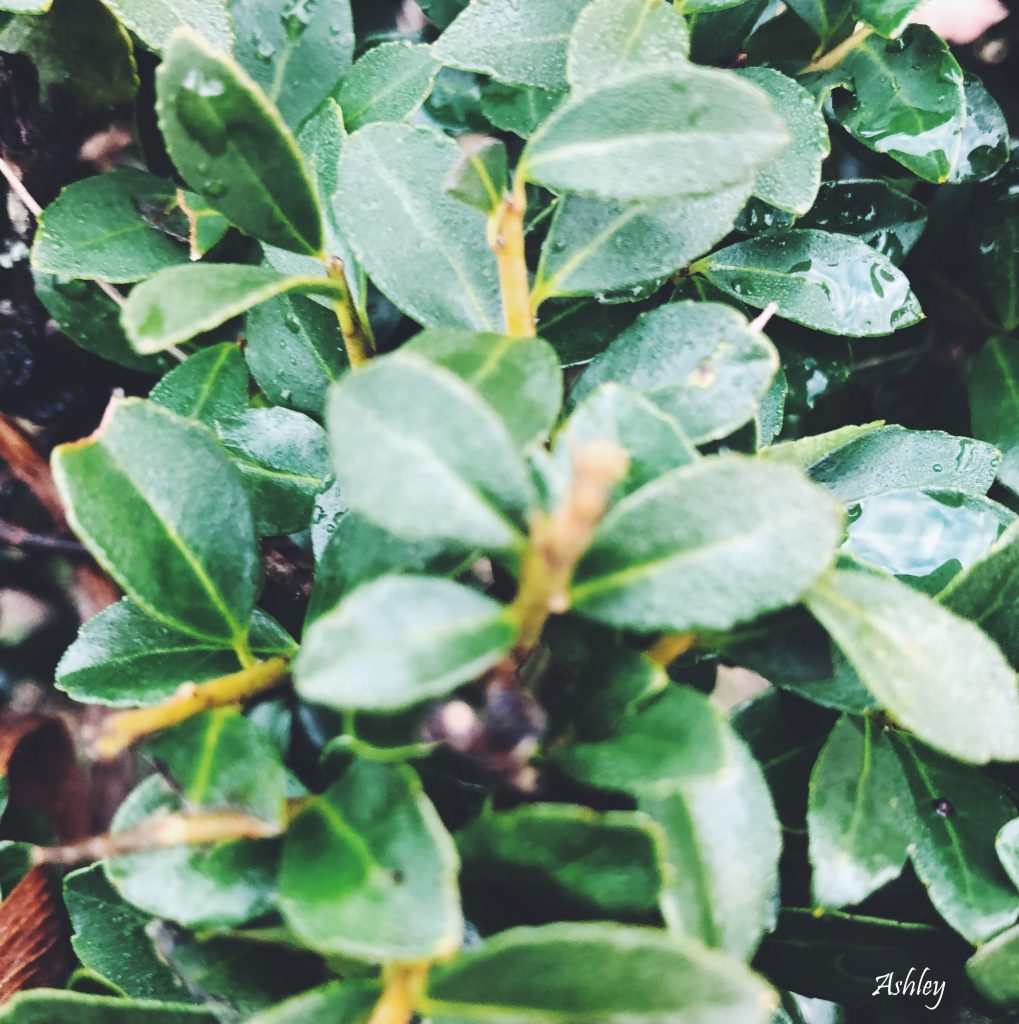
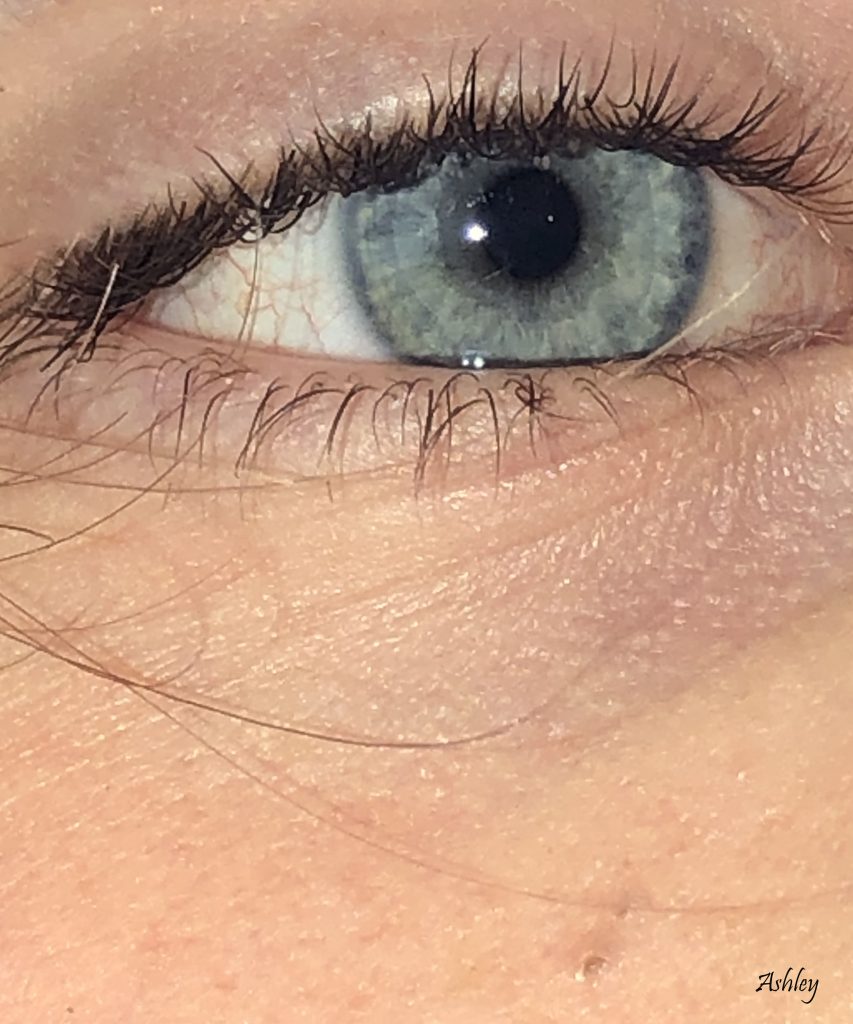
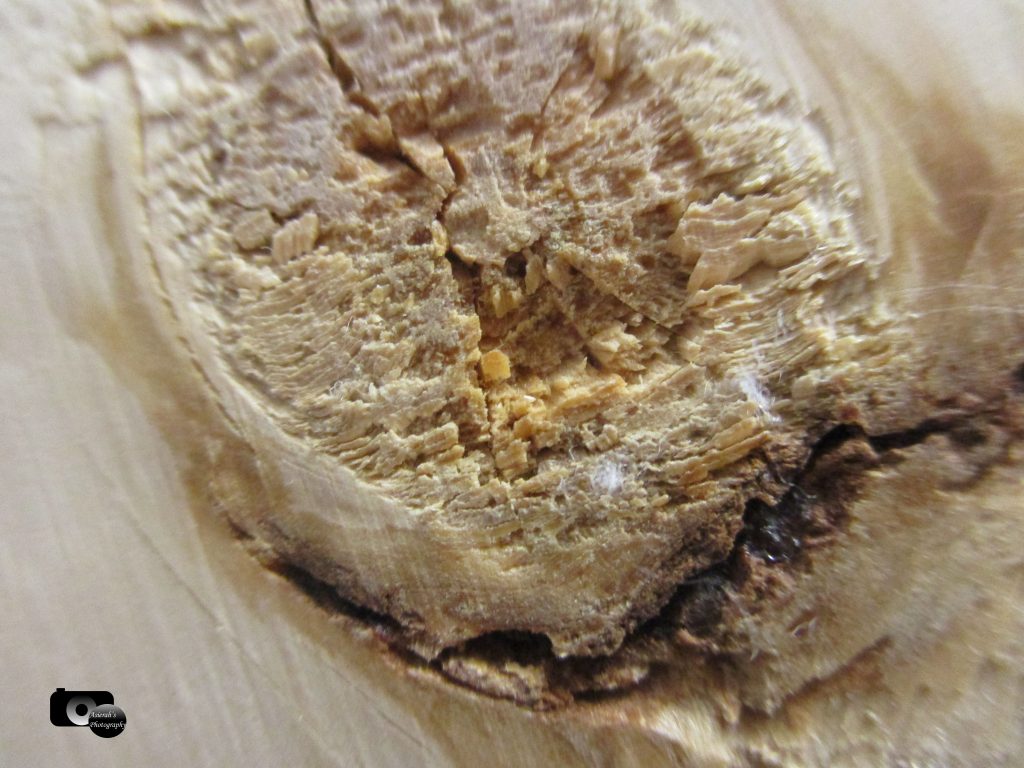
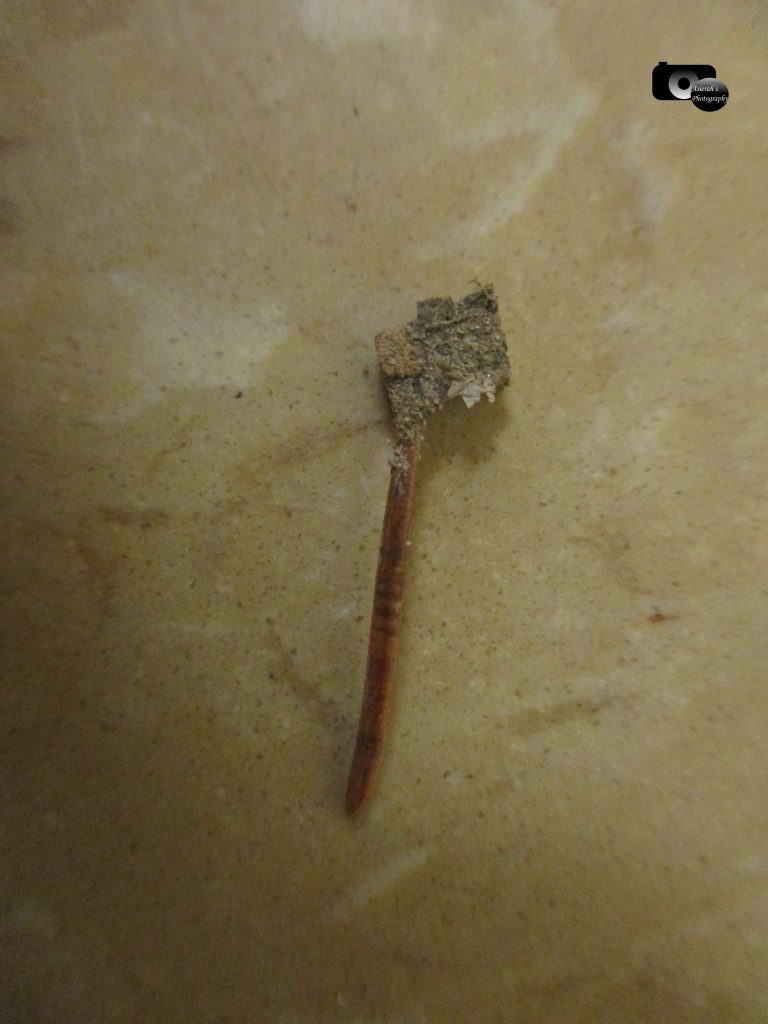
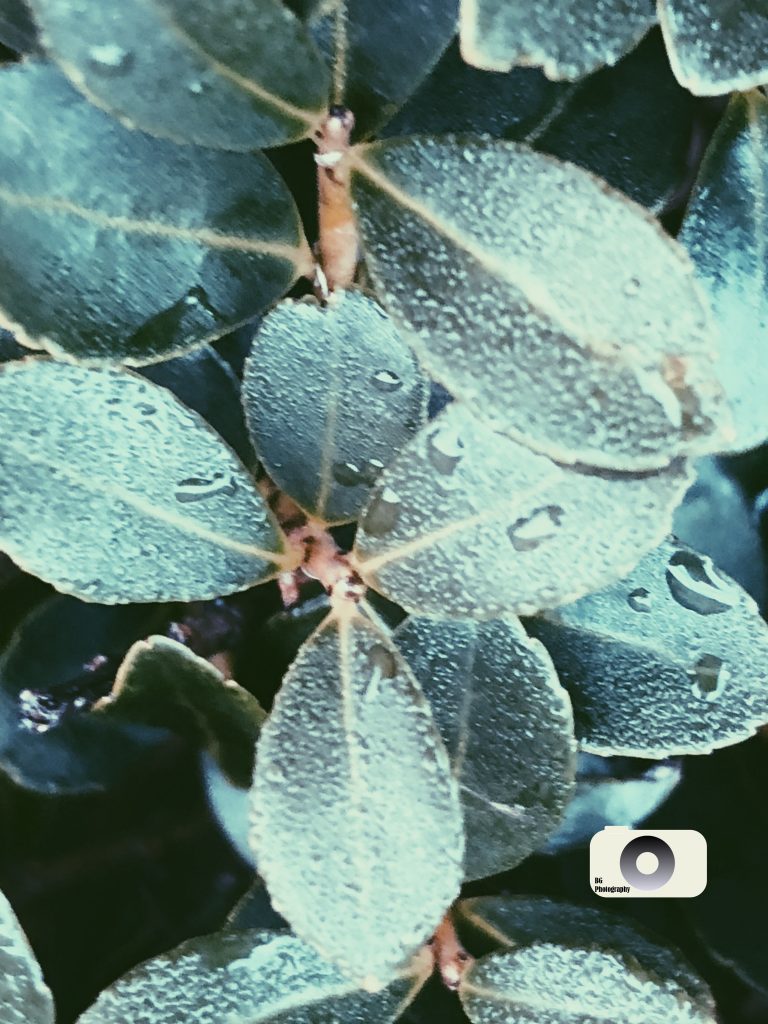
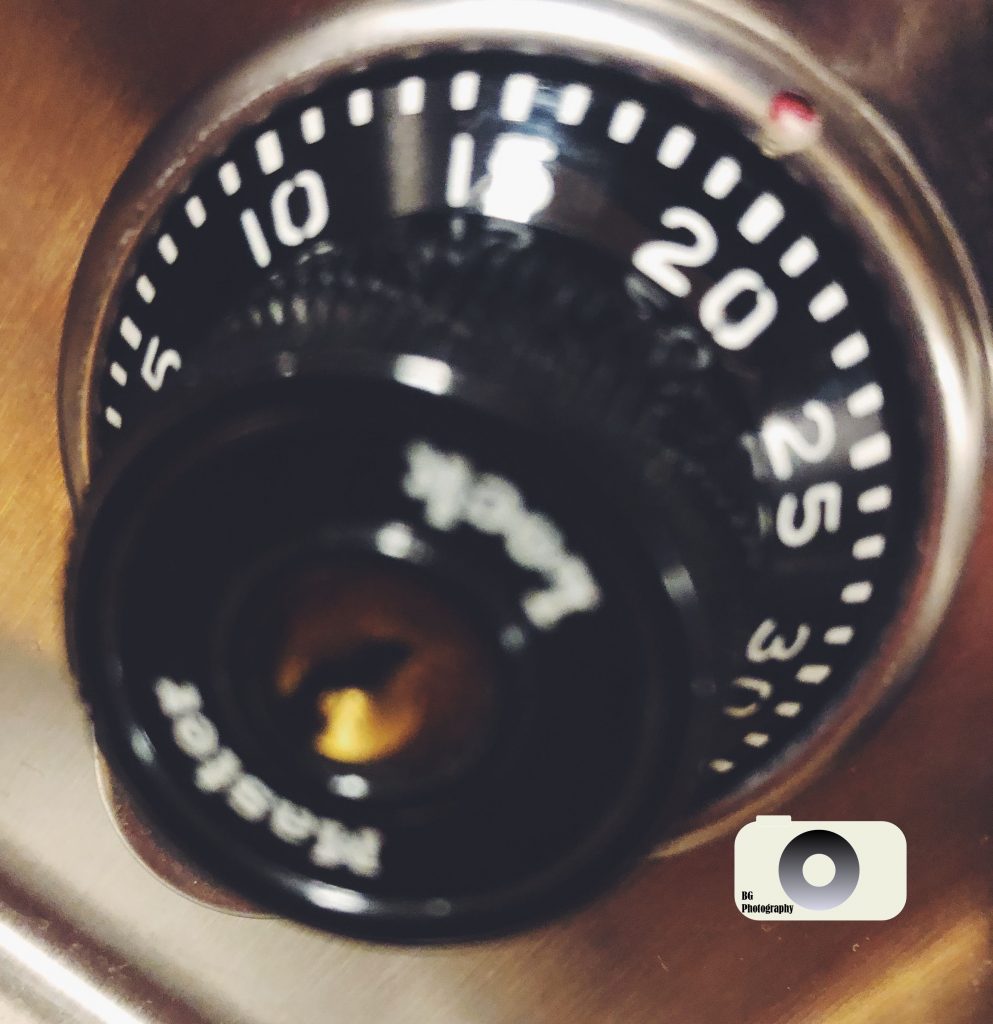
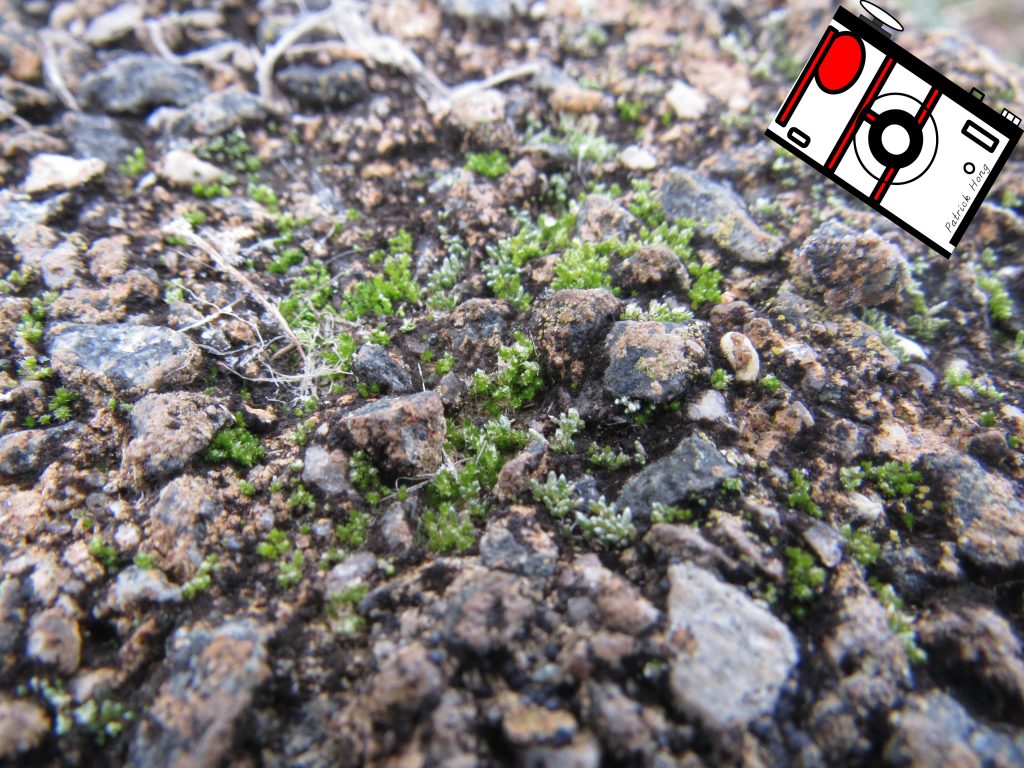
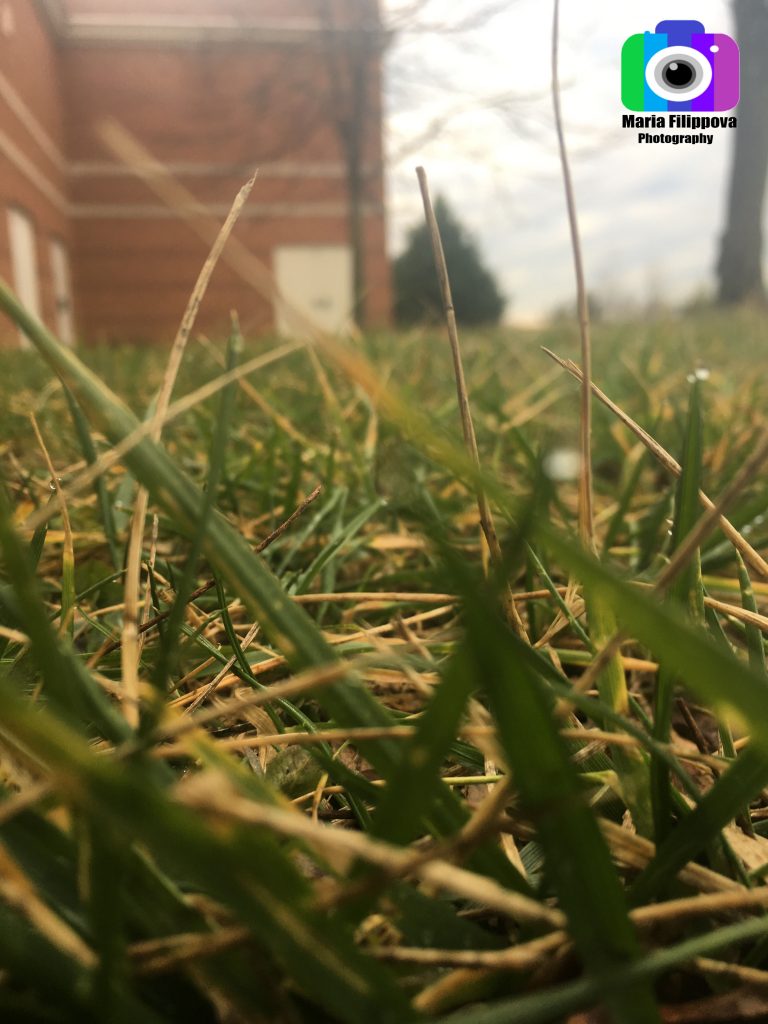
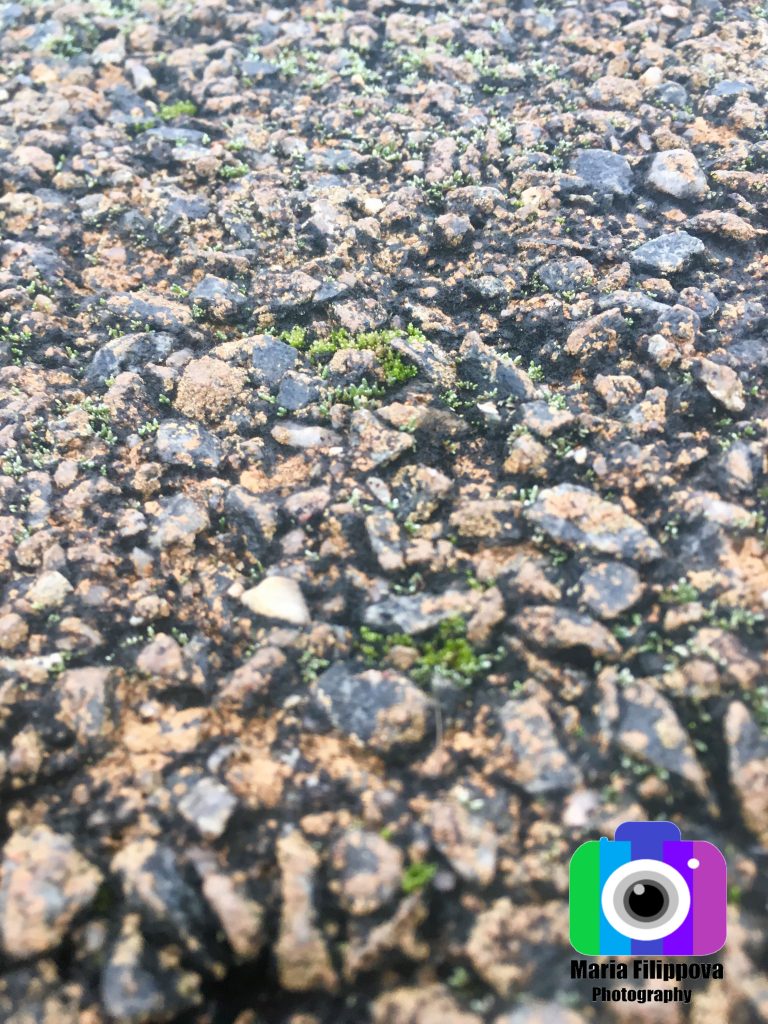
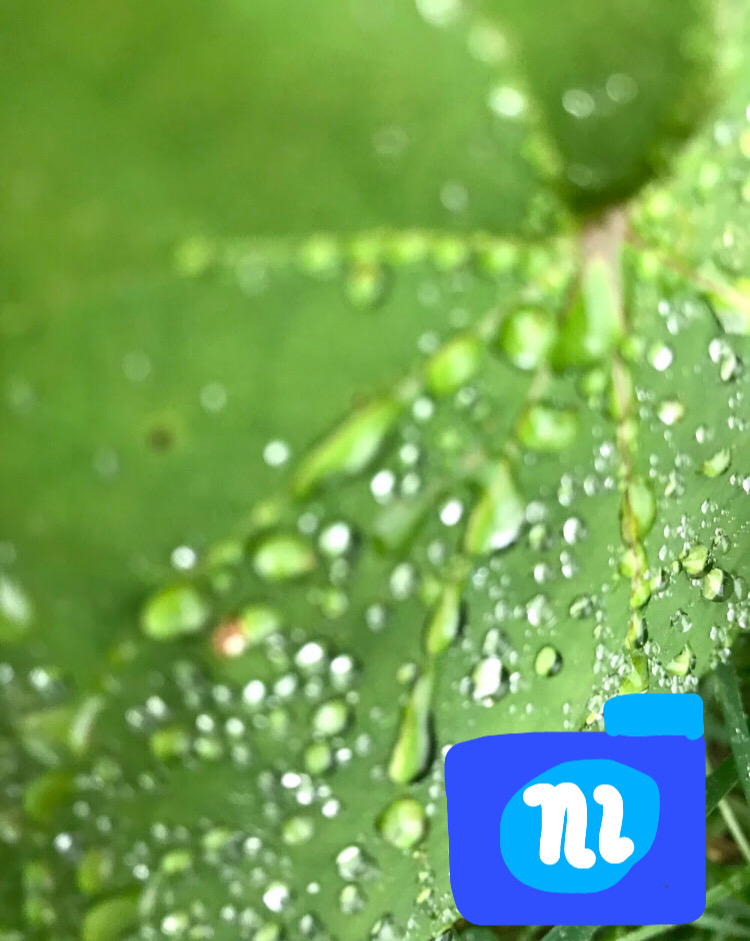
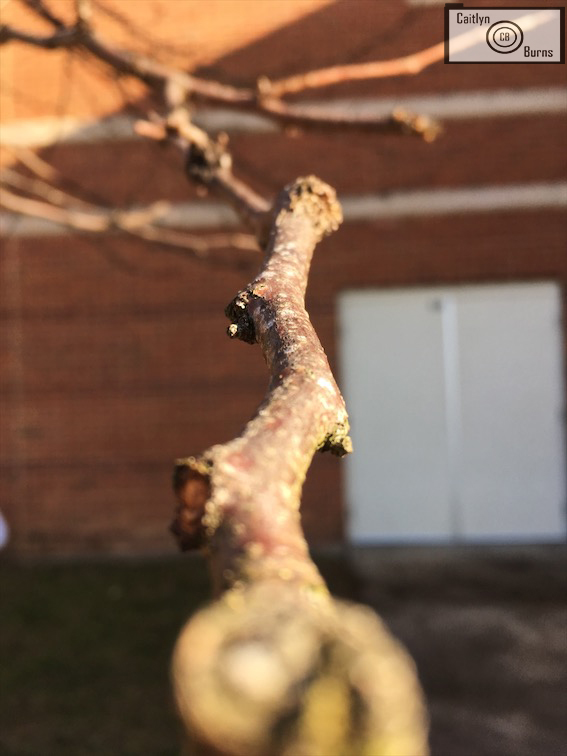
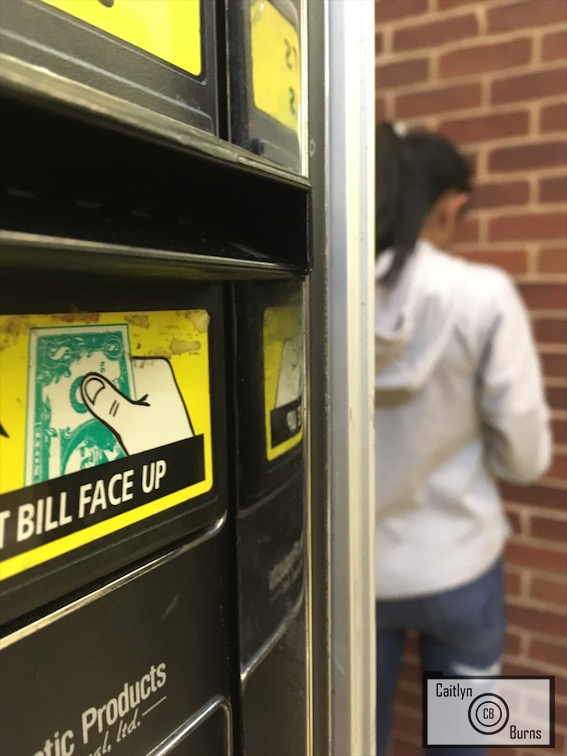
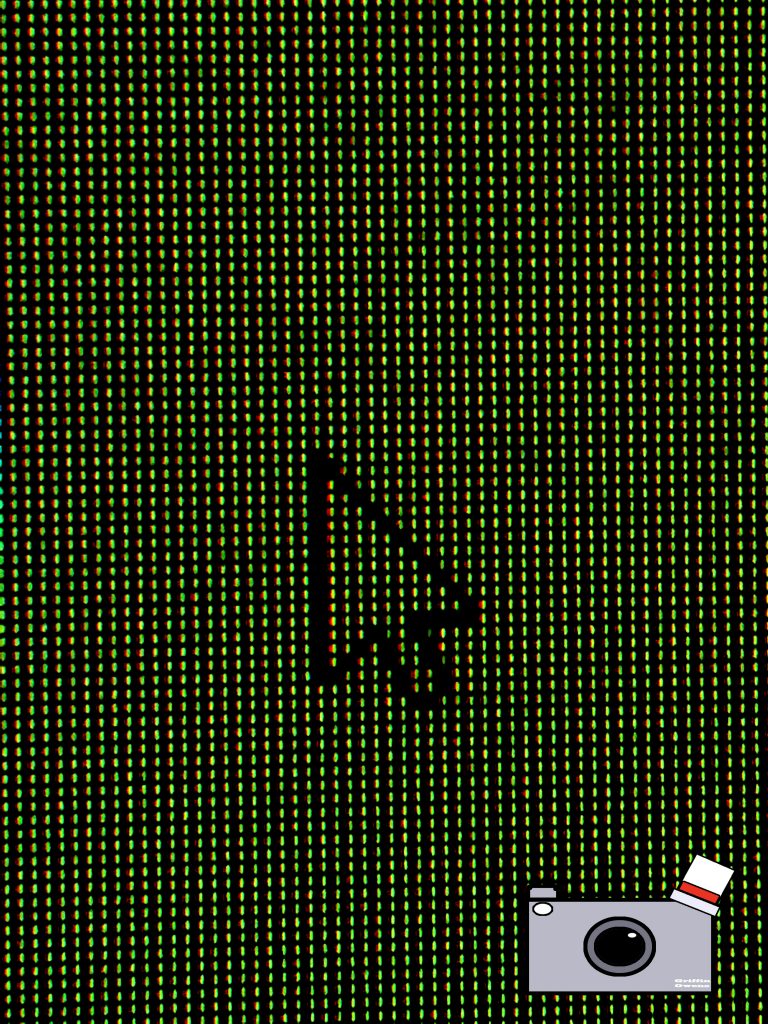
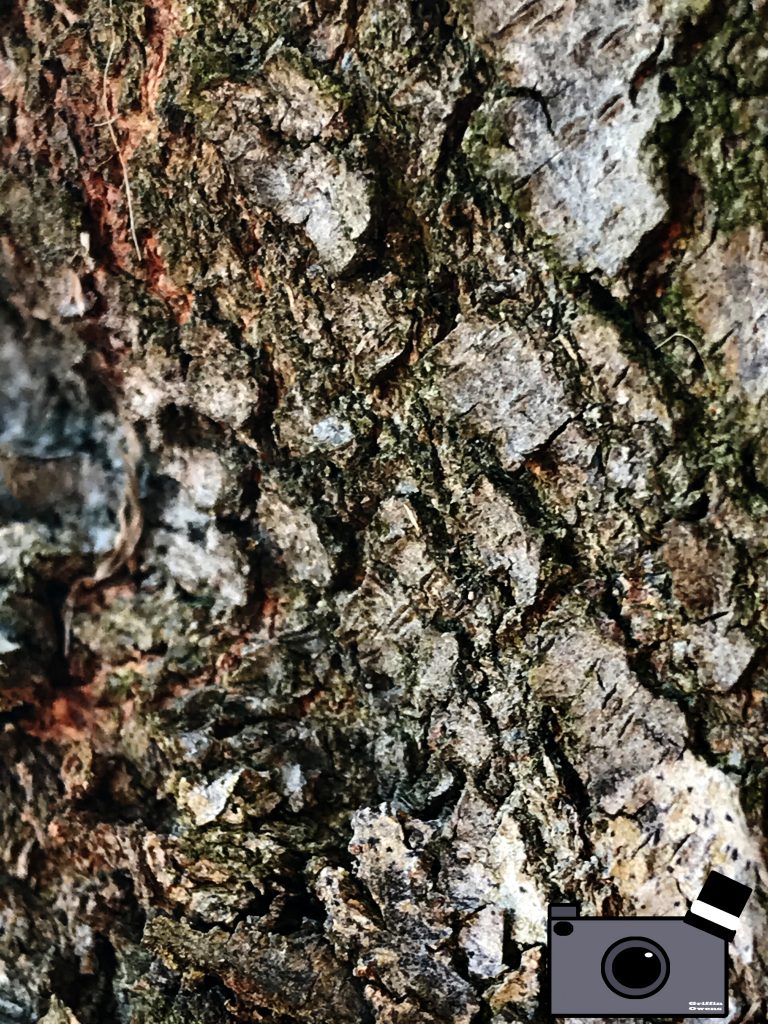
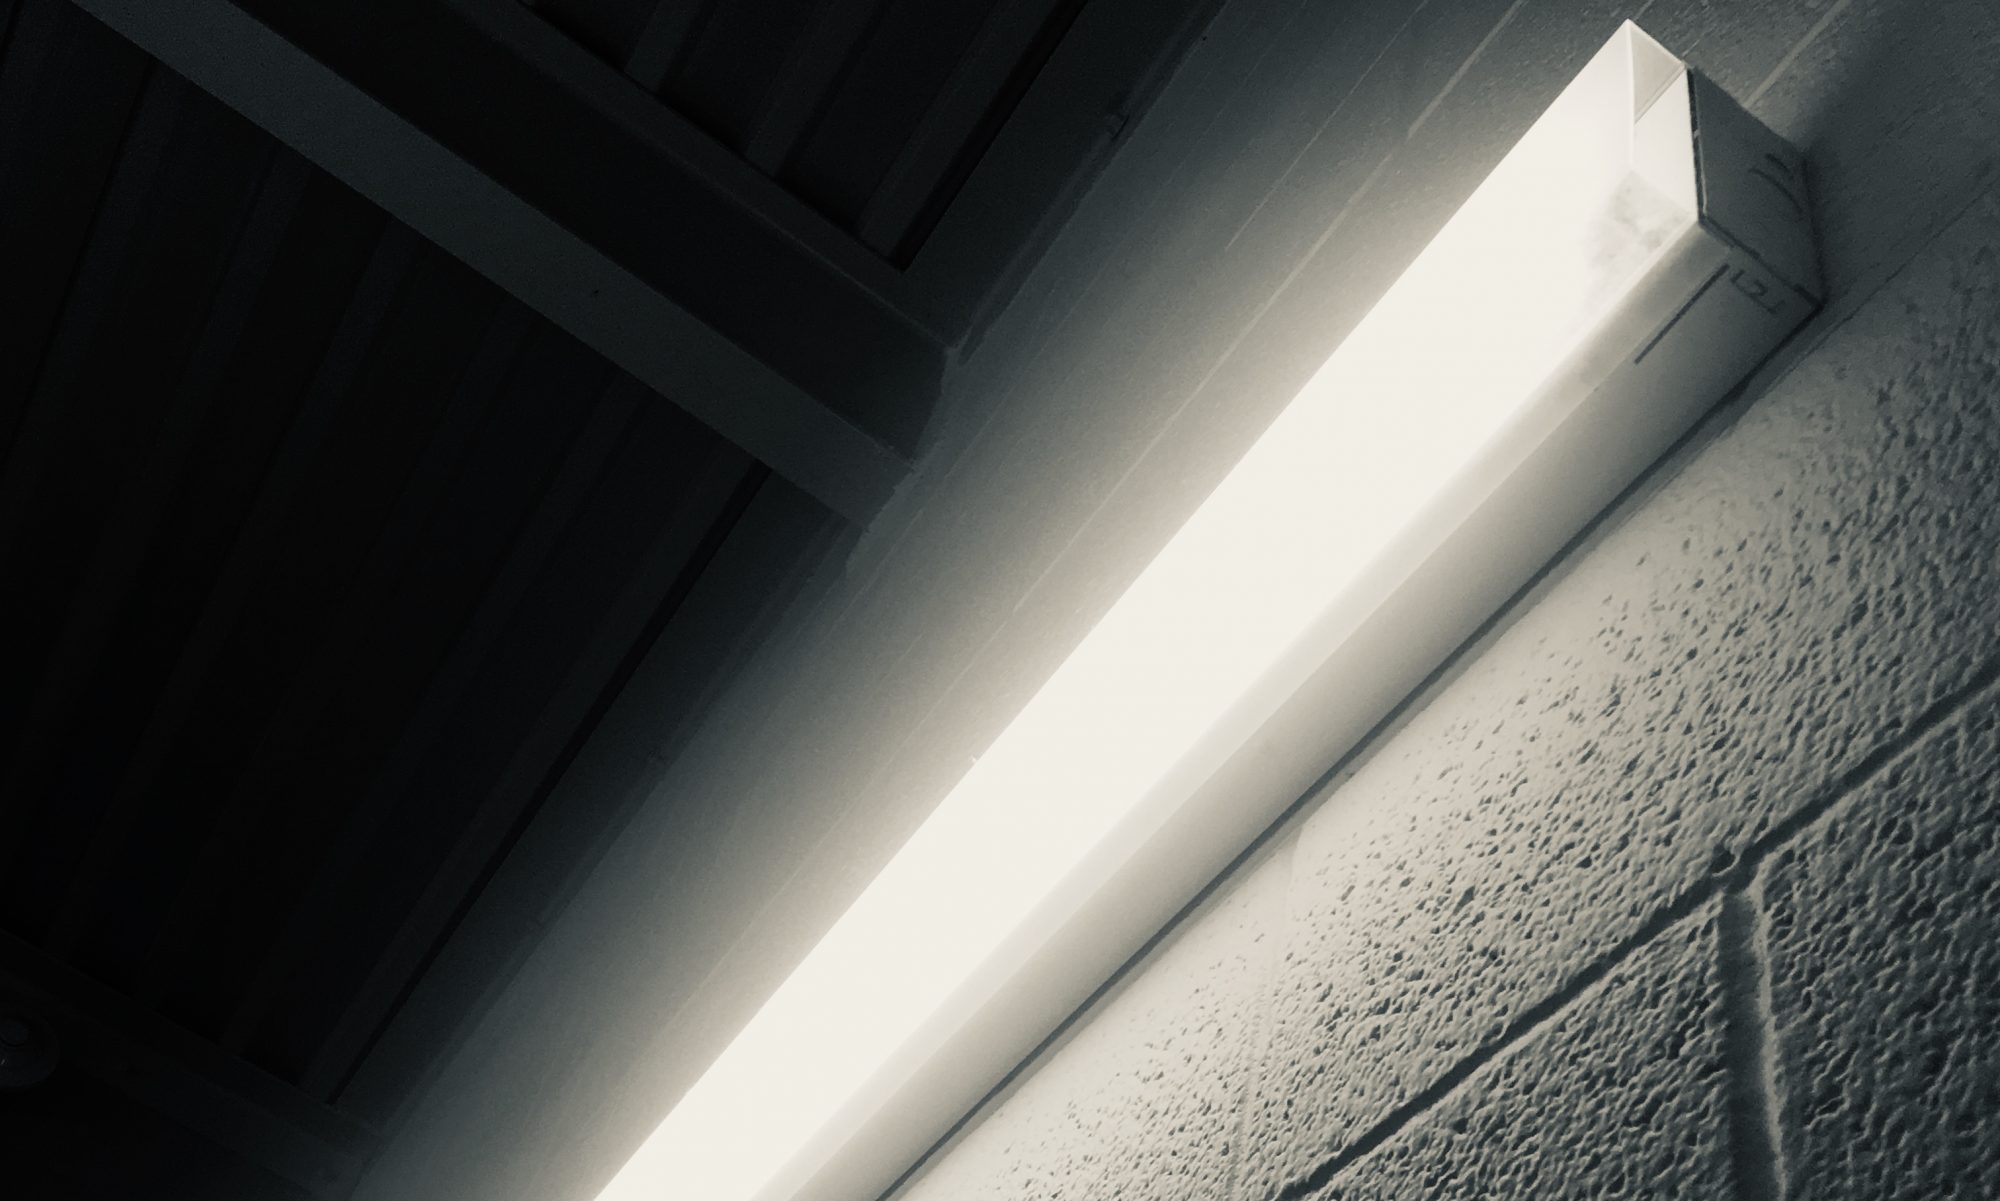
In this project we had to take photos of living and nonliving objects, but very close up. In this project we had to find an object and zoom in on the photo in order to get it very close up. I picked an object that I wanted to take a picture of, then I would place my phone at an angle. After that I would continue to zoom enough before the object would get blurry. I used different features of my phone such as zooming in while having my phone at an angle, etc. The biggest challenge for me was finding objects that I was interested and it still looking cool when I zoomed in. I would like to photo graph up close some type of marine life. If you would like to see the rest of my photos, click here.

Getting Close

The point of this project was to take a picture of an object really close, you couldn’t zoom in. You had to capture all the little details. What worked really well with this project was taking pictures of raindrops because it was cool and easy. I tried taking pictures of leaves which was new. What didn’t work was zooming in because the picture would become blurry and weird. It wasn’t really hard to find subjects but there were times where I couldn’t find what to take pictures of. There were no issues with the camera.  If I had the equipment, time, and ability to get there, I would take a picture of a butterfly’s wings. Down below are my favorite pictures I took. If you want to see the rest of my pictures click here.

Processed with VSCO with f2 preset

Up Close

For this project, getting close to an object was not as easy as it seems. However, it was something new to try. Sometimes the camera wouldn’t focus correctly, and the pictures would come out blurry. There were not many small things to take pictures of actually, which was slightly weird. If I had the right materials, I would like to taken a picture of an animal or bugs eye. If you want to see more pictures click here.

Up Close!

In this project we had to take pictures very close to objects and living things. The point of this project was to take a picture of a object really close and you couldn’t zoom in. You can use this setting on your phone called Macro or you can use VSCO. Something that went really well is the cropping of the image and some up close objects but some others were hard. I tried to take new pictures. Some of the challenges was trying not to get the same picture as everyone else. There were no complications with my camera and it was kind of difficult to find different subjects and things to take pictures of. I would to take a picture of a bug or a tiger because they have really pretty eyes and cool skins. These are my two favorite photos if you want to see more pictures click here.

Processed with VSCO with p5 preset
Processed with VSCO with f2 preset

Getting Close

For this assignment we had to take macro pictures. This meant that we had to get really close to the object in order to capture tiny minuscule details that we normally don’t see with the naked eye. Taking macro pictures may require certain apps like VSCO if you want better pictures, but your phones and cameras may already have auto macro settings. For this project, taking pictures in the outdoors provide better lighting because when you put your camera really close to the object, it blocks some of the light so if you’re inside it really impacts the picture. Trying to get good pictures were difficult because we really had to find things that looked interesting really closely. It was also challenging with the lighting. We had to make sure the camera didn’t completely block the light. We also had trouble keeping the camera still. At such a close proximity, we had to keep our hands steady in order for the camera to adjust. If I had the time to get there I would go to the Amazon Rain forest to take pictures. The Amazon Rain forest is full of animals and plants that are very unique and special. Animals like parrots, leopards, and more can be great macro pictures. 2 of my favorite photos are shown below. The rest can be found here.

Getting Close!

In this project we needed to take 10 pictures of small things, or small details. Using VSCO really helped focus on small details, and editing after helped the object look even more detailed. I did try new things, such as the app I was recommended, VSCO! One of the hardest part of this project was getting a good angle or finding nice lighting to take a good picture. Most of the pictures I took were me or inanimate objects, so it wasn’t hard finding an object. There were lots of problems trying to find a good angle, or focusing the camera, which made this project hard. If I had the right equipment, I would want to take up close pictures of nature. These were my two favorite pictures:

To see all my other photos, click here.

Getting close

This time, for this project, we had to take pictures of things really close up so you could see all the little details. In order to do this, we had to use the super macro setting on the camera so it would focus on the object when we were up close. What worked pretty well for the project was some what the weather. One of the days it was frosty outside so all the plants had a beautiful frost coat on them. Also another thing that worked well for this project was the location we are in, we had tress, grass, plants, etc all around us. For the most part this is not a new thing to me, I tried doing a similar thing with the camera last year. The most difficult and frustrating thing was getting the camera to focus on the object I wanted it to. Most of the time I would have to hold my position for a while in order to get a good picture/for the camera to focus. Although we had lots of things to take pictures around us, most of it looked the same so it was a tiny bit hard to find something new to take a picture of. Finally, if I could go anywhere to take macro pictures, I would definitely go to a rain forest area. I would go here because of the wide variety of plant life, animals life, and insects.

To view all my photos. go here

Getting Close

Click here for my other photos. For this project, we had to use VSCO to get the focus on close up pictures of 5 living and 5 nonliving objects. This project was easy because using the focus helped make the pictures focused more on the object. The challenge of this project was getting the focus just right so the picture works out. If I had the chance to take close up pictures with a real camera, I would because I like how the image focuses on one object.

Up Close

For this project we had to do macro photography. This is when the camera is really focused on something small. I used VSCO to take my photos and I put on certain settings like putting on a grid, white balance, and focus point. A challenge was getting the camera to focus up close. If I had the equipment, time, and ability to get there, I would want to photograph water and and sand. You can find the rest of my photos here.

Getting Close

My project this week was to take photos of objects close up (this is called macro photos). It gives you a new prospective as you take photos up close. For this project I had to make sure that the photo was focused so if it was getting fuzzy I adjusted the angle I was taking it in or the brightness. The challenging part of this project was making sure the photos weren’t unfocused and finding alive subjects to take photos of. If I had the equipment I wouldn’t want to take photos up close because it seems difficult.

You can my photos here