Infinite Backgrounds

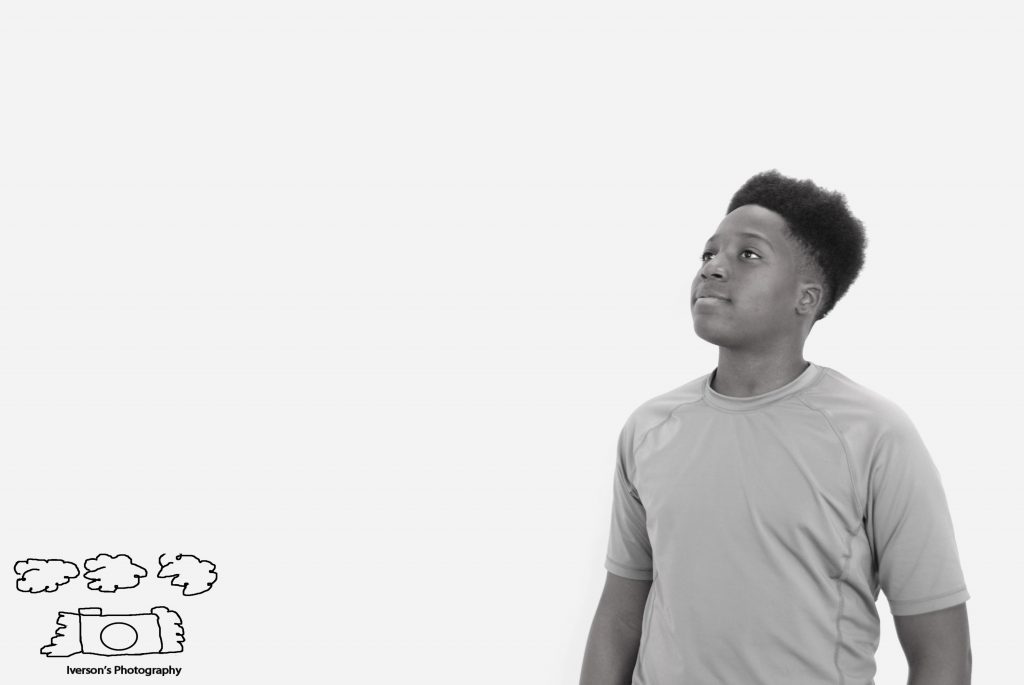
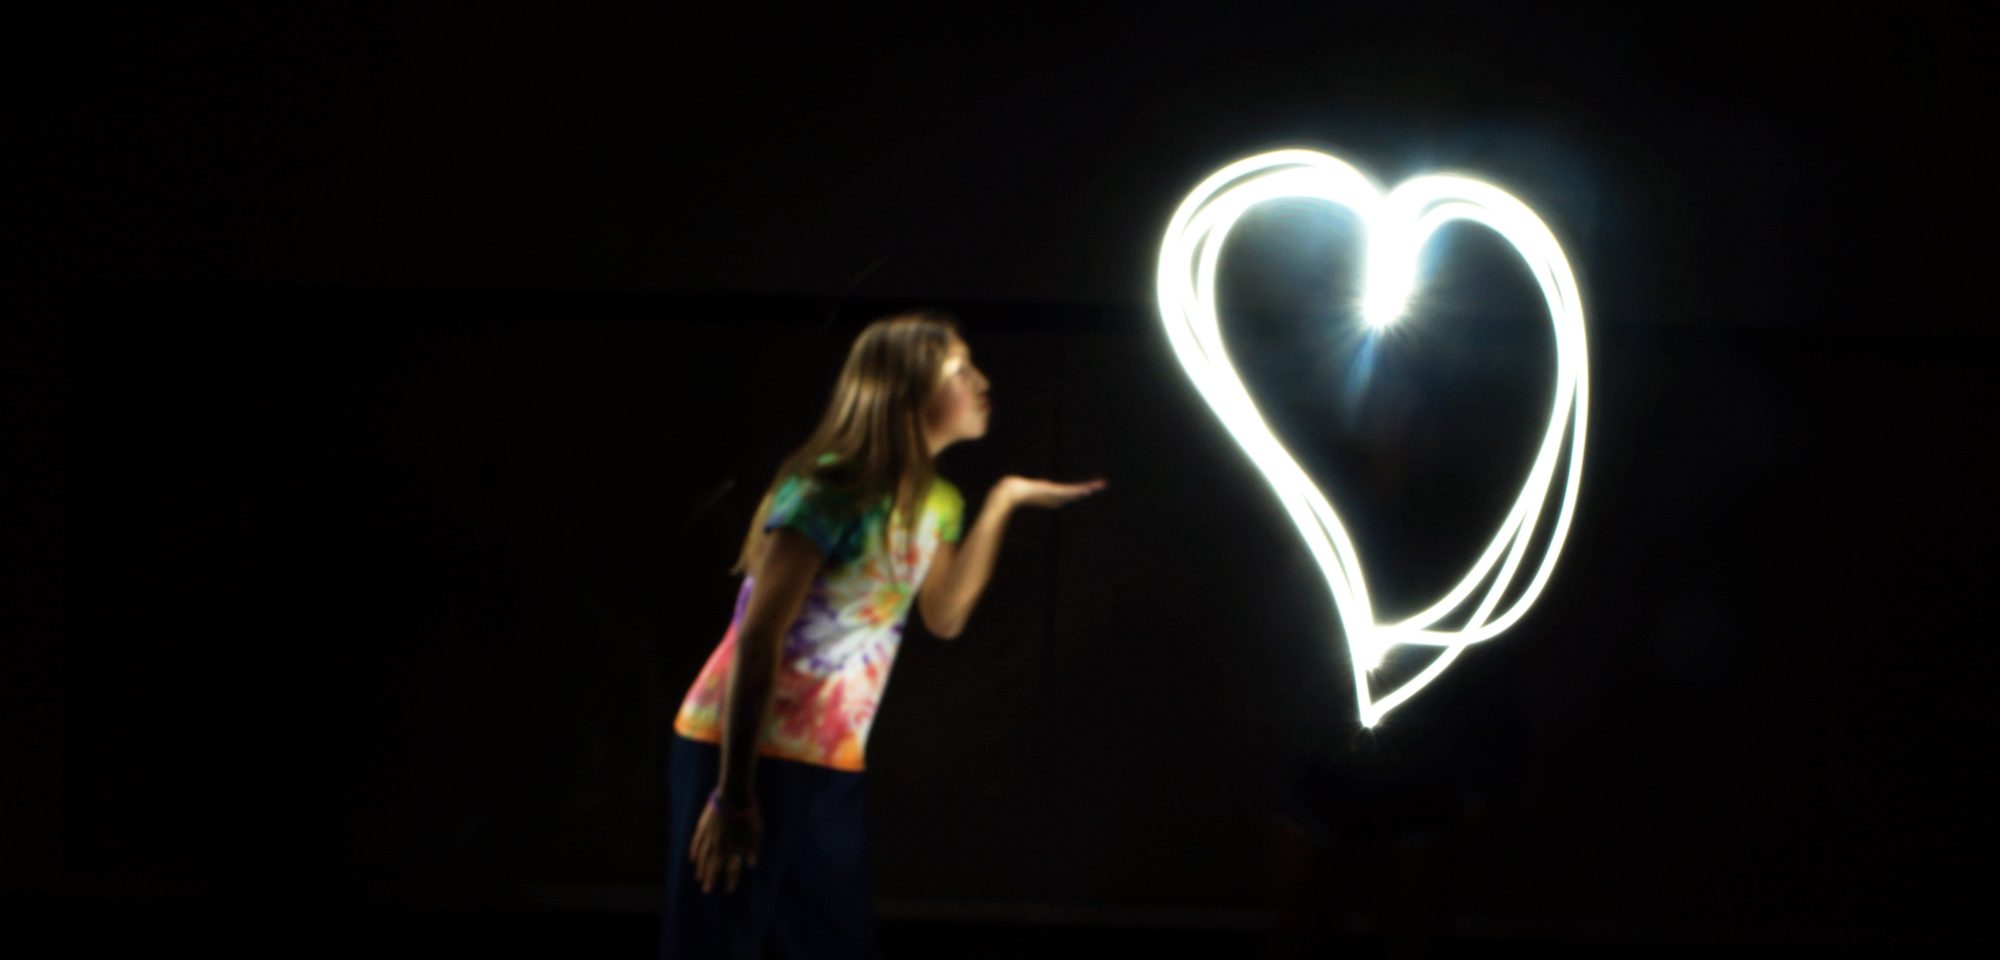
During this project we had to take photos in front of white and black backgrounds while trying to make the overall photos look infinite. Some challenges that we faced were getting photos without shadows. However, we solved this problem by learning that if we step further away from the paper, the shadows will go away. Also, even though it took a bit of time, finding the right setting on the camera was a bit of a struggle. ?

Click here to see all my white backgrounds

Click here to see my black backgrounds

Portraits

For this assignment we had to take photos with a white and black background. The process of taking the photos was a bit tricky being that we that we had to make sure that when using the light, there was no shadow. If there was a slight shadow we needed to make sure that while editing we could eliminate that, but we couldn’t paint on a background. We were able to take successful photos but some photos with the black background had a glare of light in the background, and that was hard to eliminate without making the person un-detectable. Link to the photos.

1 object, 5 shots

For this project we had to choose 1 object and take 5 different pictures, all from different angles. We had to do this for 3 different objects, and one of them had to be a person. The biggest challenge of this project was the lighting. Many of the places where I tried to take pictures had yellow lighting, so I had to use my resources to overcome this challenge. The easiest part of this project was figuring out the angles to take the pictures at. The hardest object to photograph was my water bottle because since it is small I had to get on the floor to take some of the shots from a lower angle.

link to all my other photos

Portraits

We had to stand in front of a huge white paper and take pictures of each other while posing. We then had to download them and edit their brightness, contrast, hue and different colors. What worked was putting up the brightness and lowering the contrast, what didn’t work was switching the color while keeping the background white. This is the link to my white background photos.

White Background

My partners and I took photos behind the white background and edited it off of Photoshop. What worked was the side of the white background we were on, it gave us a better look and a better shot. What didn’t work was the angles we took our pictures in, it took a while to get the right shot. Here is a shot of me, and after a shot I took. Click here to see my pictures

white background Portraits

For this project my group and I took pictures in front of a white background. what worked was getting the best angel to take it from. what didn’t work was finding the best lighting for the picture.

Click here to see more

White Background

For this project we needed to make it look like there was an infinite background. We had to make the camera more sensitive to light. It worked better when there were no shadows and a lot of light. It also worked for me when I used the curves tool and increased the contrast. It didn’t work when it was not very bright and sunny outside because you could see the background and shadows in the picture.

Click Here to see my pictures

White Background Portraits

This assignment, like the black background project, was to take photos with the perfect amount of lighting and to make the white background seem infinite, or invisible. The one thing I could say that worked well within this project would have been the amount of light. The camera absorbed the perfect amount of light to let us take good photos. One thing that hadn’t worked well would have been getting the shadows to disappear using a heat light. The cords weren’t so long, so it was hard for us to get the shadows to go away. To view more white background photos, click here!

Portraits: Black Background

For this project, we had to make the camera less sensitive to light, so the background looked like it wasn’t there. I edited them in Photoshop to clear up any other obvious shadows from the light. We found it worked best to keep the light in front of us, to create the least amount of shadows. We also found we could not move very much during pictures, because they would come out blurry.

Click here to see the rest of my photos.