Portraits White Background

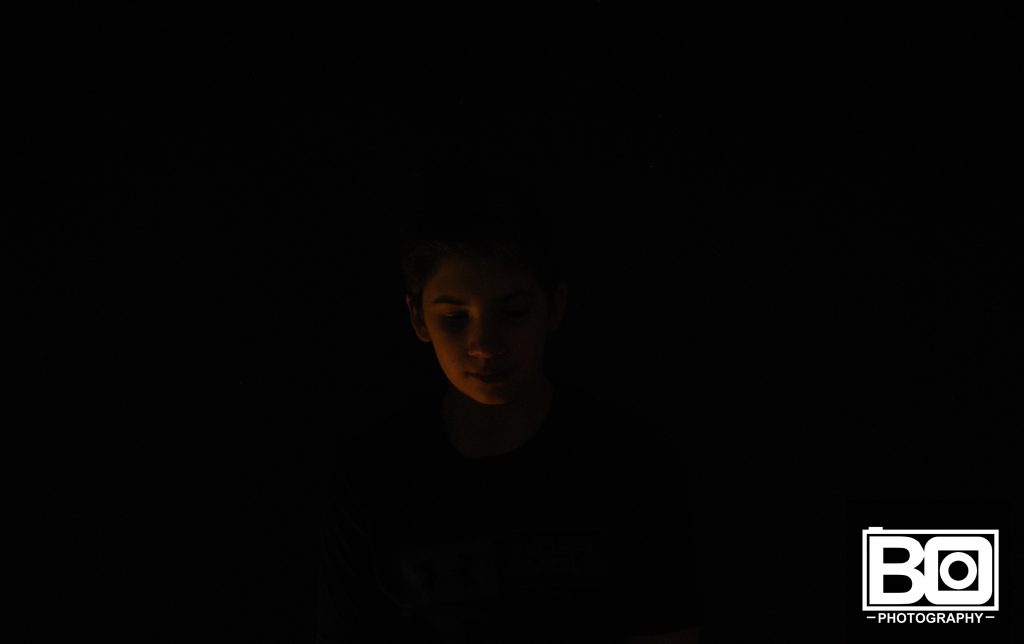
To take my photos I changed the shutter speed and the ISO on the camera. I set the shutter speed to 1/60 and the ISO to 800 in order to get the infinite background. It didn’t work when I set the shutter speed to like 1/30 and higher because it absorbed too much light and the whole photo was way too bright or just white.

Click here to see my white background photos

Portraits Black Background

In order to take the black background photos we had to change the shutter speed and ISO. We put the shutter speed to 1/30 and the ISO to 800 or 1600. Sometimes when the background was lit too much by the light and the ISO was 1600 we could see the background and had to turn it to 800 and it worked.

Click here to see the rest of my black background photos

Portraits with White Background

click here to see my photos

For this project we had to take pictures of people with a white background and make it look infinite. While taking pictures with the camera, we had to make the camera more sensitive to the light. when we tried to take photos against the white background with no light sensitivity the picture looked like we were standing behind a background.

White Portraits

Check out white portrait pictures

This project included students taking a picture of other students with a white backdrop. Stuff that worked was not using the lamp because that kind of add too much light making it a longer time to edit pictures. Using the lamp was a bad idea.

Below is a picture of me with the white backdrop

Portraits

For this project, I had to take portrait photos of me and my friends where the background, (black or white) looked infinite. To take my photos, I first had to adjust my shutter speed and iso. Then, I focused on my target and took the picture. To edit my photos, I first made the photo black and white and adjusted the brightness according to the background to make it look infinite. For my project, it worked to have a slower shutter speed on the black background and faster shutter speed on the white. This allowed the right amount of light to get into the camera and made my photos just the way I wanted them to look. It was very difficult to remove all shadows from my photos. Click here to see a link to the rest of my images.

white portrait

The process of this assignment was pretty easy. We started off by getting in groups and then choosing our photography stations. We all then took photos behind a white screen. The editing process was a little harder because we didn’t know how to use photoshop, but later got the hang of it. After playing with the angles of the camera and trying out different settings, it finally worked. At our stations, lights were placed and we decided to use them, but the photos turned out yellow instead of white, so we stopped using them and depended on natural lighting.

click here for other photos

White Background

When I was taking my white background photos, we had to set the ISO on a higher sensitivity, but we had to be careful with shadows. We had to make sure it didn’t look like we were taking photos behind a blank piece of paper. It made a difference when we were setting the ISO settings on high and it made the photo better. But the challenge was trying to kill the shadows that interfered with the photos.

Click here to see my photos

Black Background Portrait

To make these photos my group used a black background and constructive lighting to apply specific points of light on the portraits. Putting light directly on the person didn’t work so we had to get creative and position the lighting in specific places. Overall with these aspects included this creates the infinite dark background portrait.

For all black background portraits click here

White Portraits

These are the challenges and easy parts of taking pictures with a white background. The way we took are photos was we made sure the camera was in focus. We also had to make sure the person was in frame.What worked was having the person stand in the middle of the background and a little in front. That way there was no shadow and nothing extra on the side. What didn’t work was when the person was up against the background that would cause a shadow. One of the Easiest things we had to do was editing.

Click here to see all my photo’s.

White Portraits

For this assignment, we had to take pictures with a camera using manual mode, so we could learn how to be in control of the camera. For editing our pictures, we used photoshop, but we were only allowed to use a limited amount of editing tools, so we couldn’t rely on editing. The challenges of this assignment were making sure that there were no shadows in the background. The easiest part of this assignment was editing the pictures because we weren’t allowed to do much editing.

link to my other photos