In this assignment, I had to get pictures of 3 different objects but 5 different angels for each. A challenge for this project was trying not to get the same angles and try to find different ones i can shoot. I think the trash can was the most difficult because it looked the same from each new angel I would try to do. This project helped me learn how there can be 1 object but many different perspectives of that one object. My favorite picture was the one of Gianna facing towards the camera straight on.
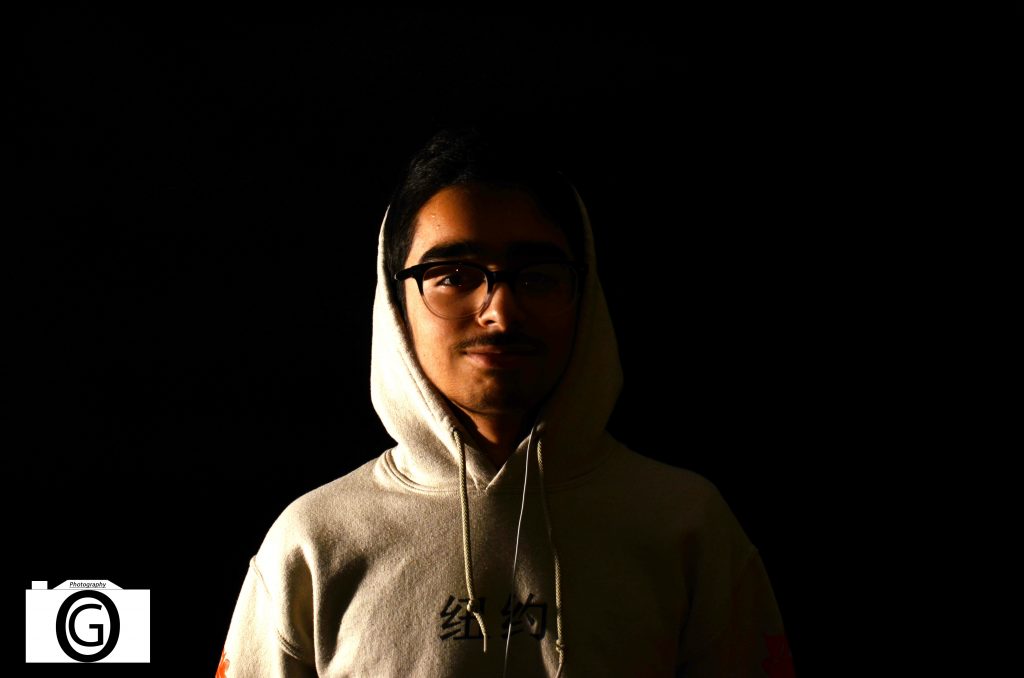
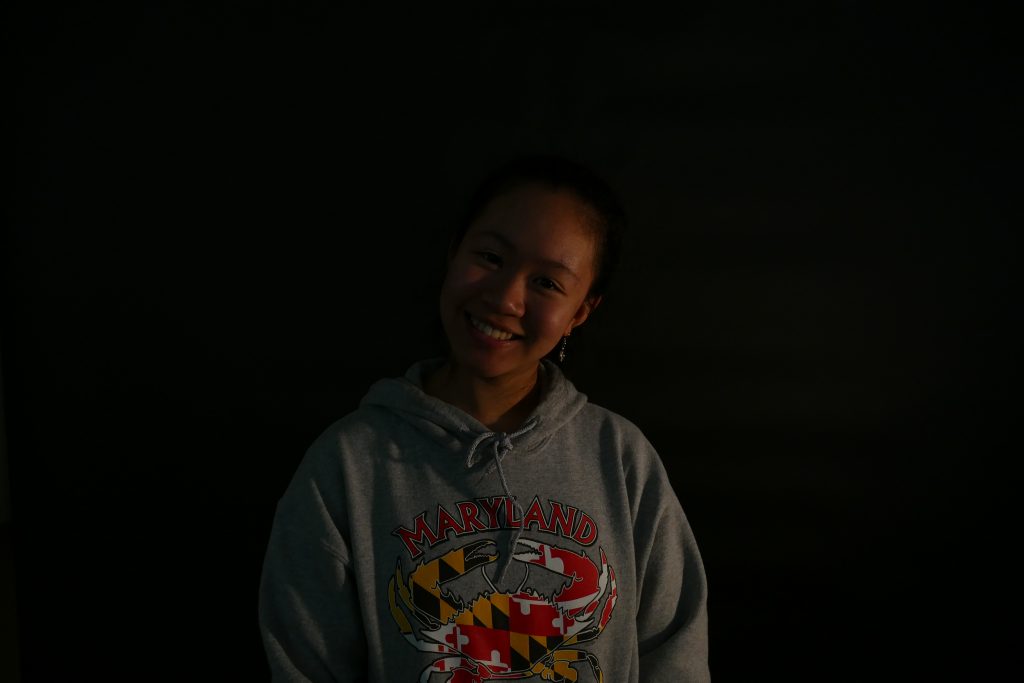
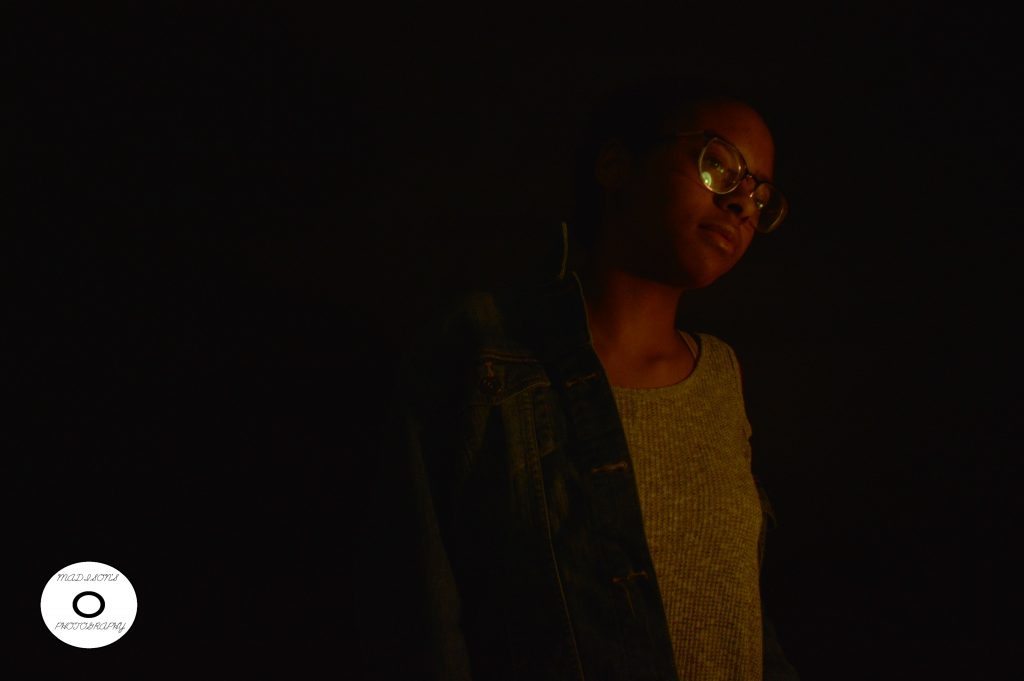
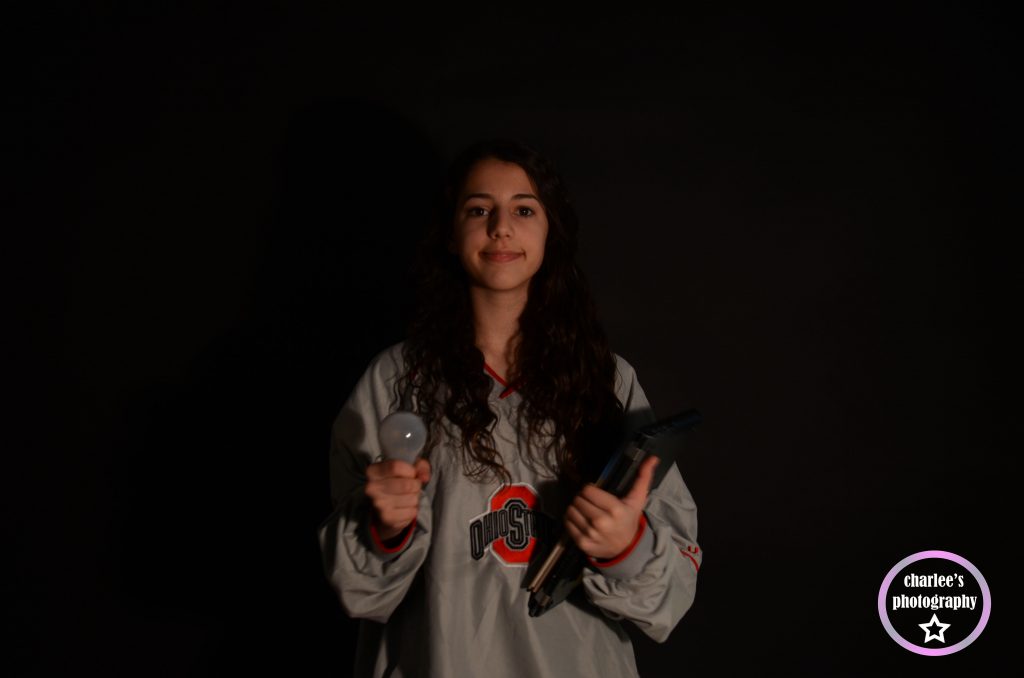
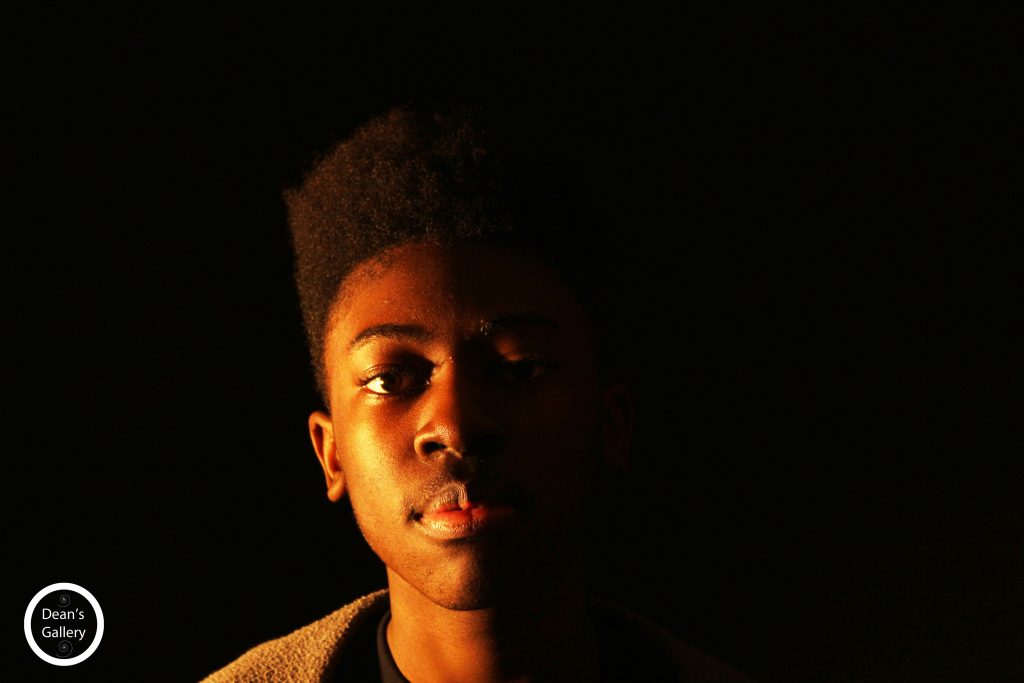
For this project, we had to take portraits of everyone with an all black background. It was challenging to find the right shutter speed for each picture. If it was too slow, the picture would be too bright. If it was too fast. you wouldn’t see anyone in the picture. It was easy to edit the photos,so the person is visible, but they were still in the dark.
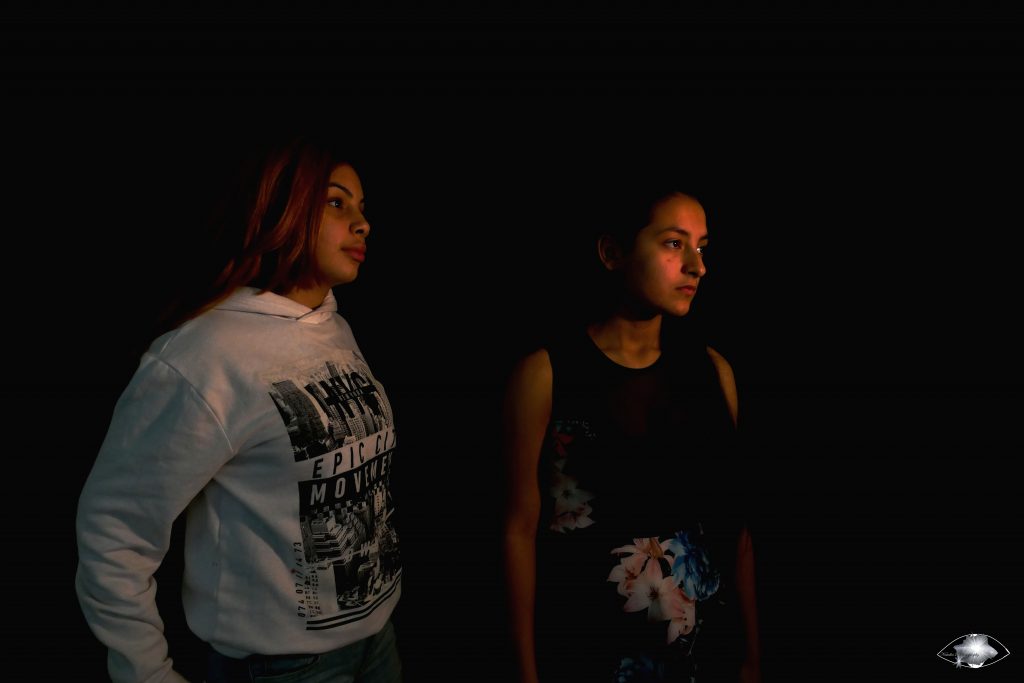
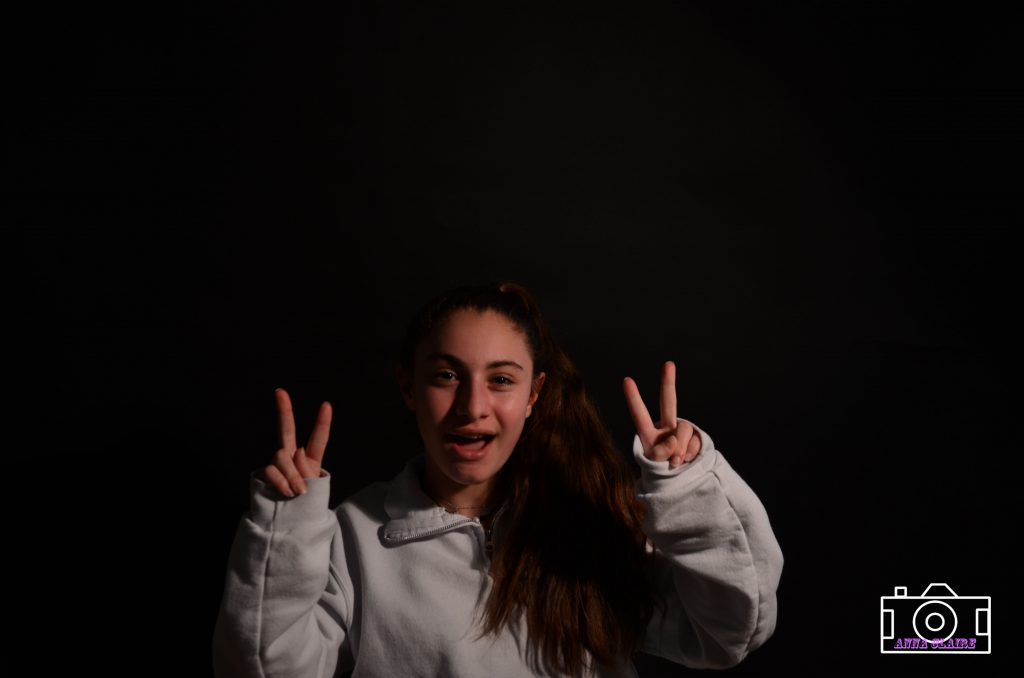
When I was doing this assignment, my group had to adjust the ISO on the camera to make it look like an infinite background. We had to make the ISO lower and darker, then when it was time to edit, I used the brightness to make myself look brighter but the background darker. The ISO made a great impact on the photo. But while we were taking the photos it was kinda hard to see our faces.
I get the photos that I need for my classes from google. No, i don’t have contact with the owner of the photos. I don’t think I would give credit to the owner or photographer because I don’t know who it is, but if I know the owner I would give credit to him/her. I think that the right thing for them to do would be to put my name in all the pictures they used from me.
Black B.
The process we use to take the photo with my classmates was to use a camera and use Adobe Photoshop CS6. We used the camera to take the photos, and we used the A. Photoshop CS6 to edit the photos we took. Well, the thing that worked for me was to edit the photos even dough i didn’t were to post it, I think everything was pretty good. One of the things that didn’t worked for me was when my classmates were taking a pictures of me.
The process we use to take the photo my classmates and me was to use a camera and use Adobe Photoshop CS6. We used the camera to take the photos, and we used the A. Photoshop CS6 to edit the photos we took as we wanted. Well, I think the thing that worked for me was to edit the photos even dough I didn’t were to post it, I think everything was pretty good. One of the things that didn’t worked for me was when my classmates were taking a pictures of me. That really didn’t worked for me.
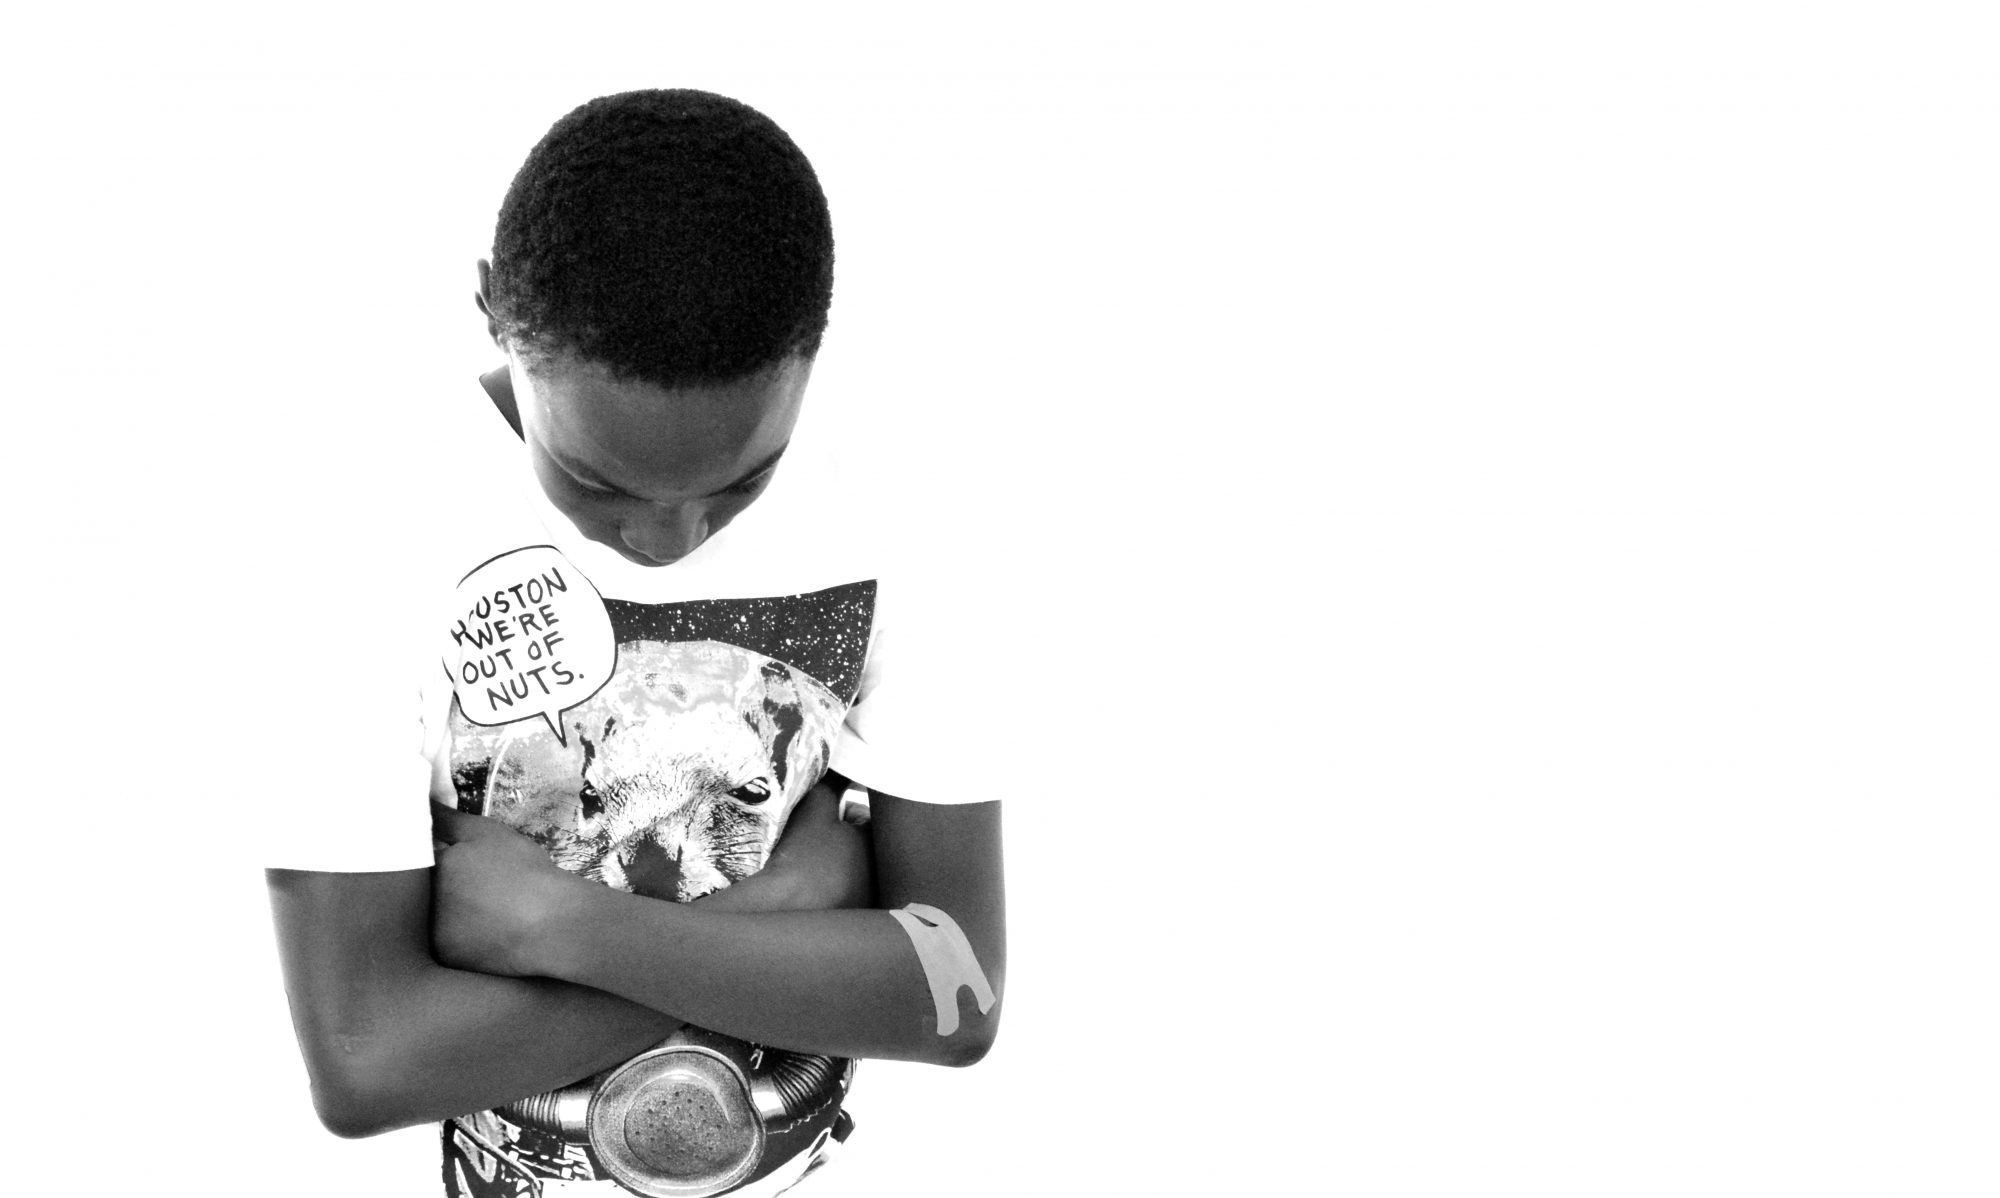
For this project we had to take pictures of people with a black background and make it look infinite. While taking pictures with the camera, we had to make the camera less sensitive to the light. when we tried to take photos against the black background with a lot of light sensitivity the picture looked like we were standing behind a background.
For this project we made the camera less sensitive to light in order for the black background to look like it wasn’t there. I also used Photoshop to fix any shadows that appeared.To help us not have as many shadows in our pictures, we held a light in front of us which made the shadows not appear as much. One thing that made this project challenging was when people moved the slightest bit, the picture would come out blurry.
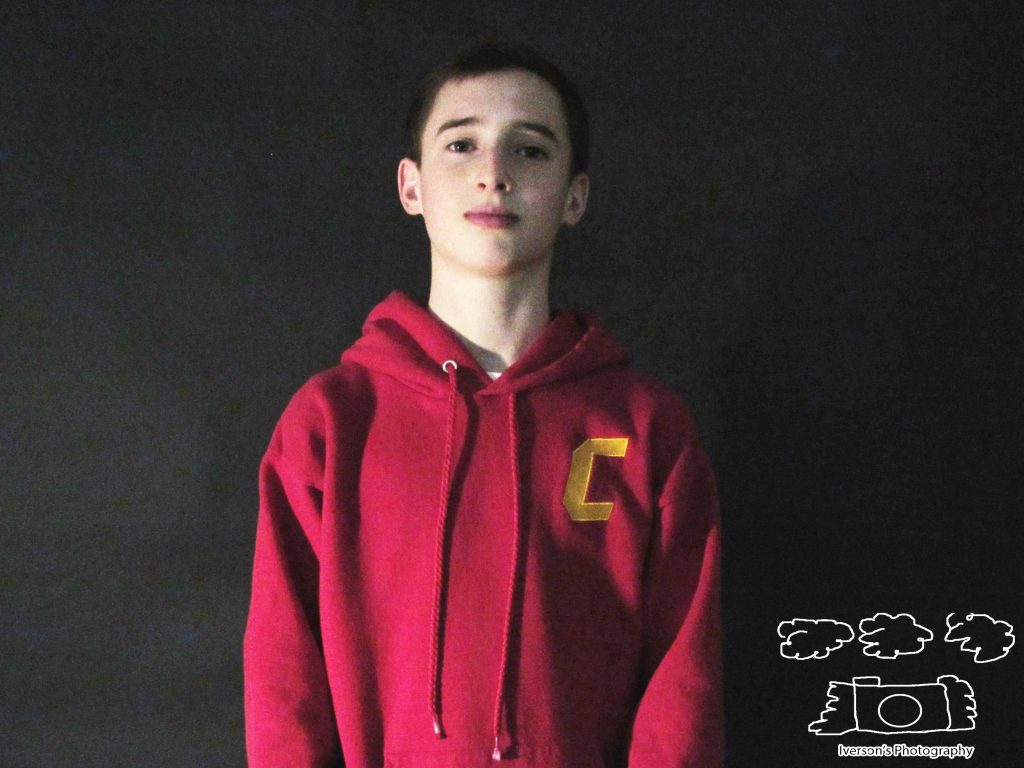
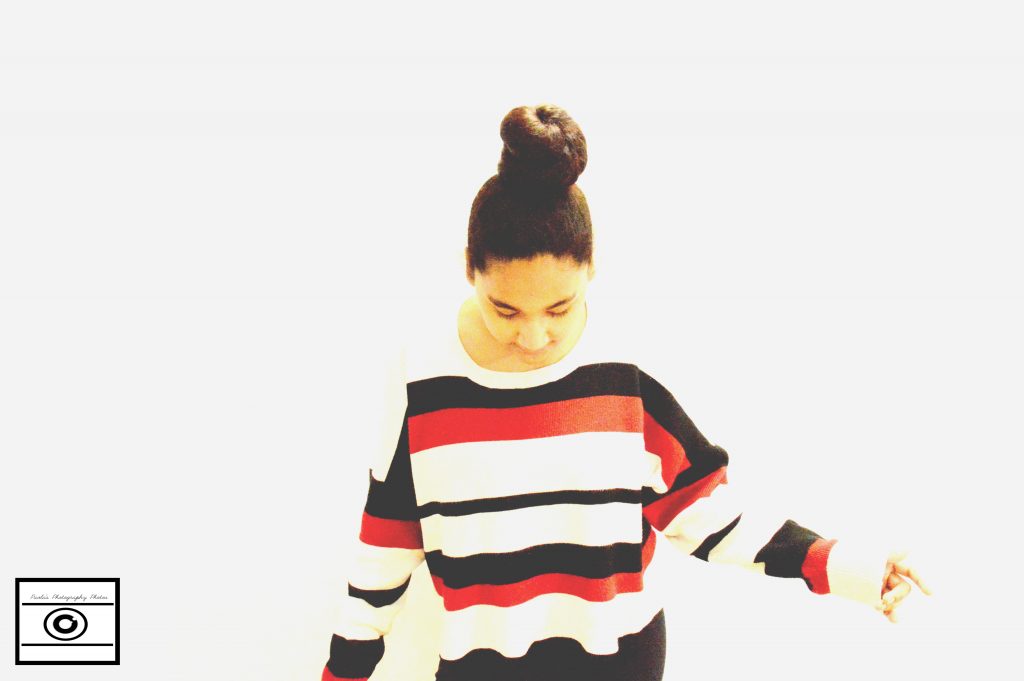
My partners and I took photos behind the white background and edited it off of Photoshop. What worked was the fact we had a manual camera and still had decent pictures. What didn’t work was the angles we took our pictures in, it took a while to get the right shot. We also couldn’t get the best lighting, it took a while to get good pictures. Here is a shot of me, and after a shot I took. Click here to see photos.
During this project we had to turn the shutter speed down and the light absorber down. It worked when it was very dark in the room. We had to shine a light on the person to be able to see the person. It didn’t work when it was bright in the room.
We had to go in front of a black paper and take different pictures using a light to brighten the background. What worked was shining the light close to the person because it was very dark. What didn’t work was having low settings. Below is a picture I took of a friend. Here is a link to all of my photos.
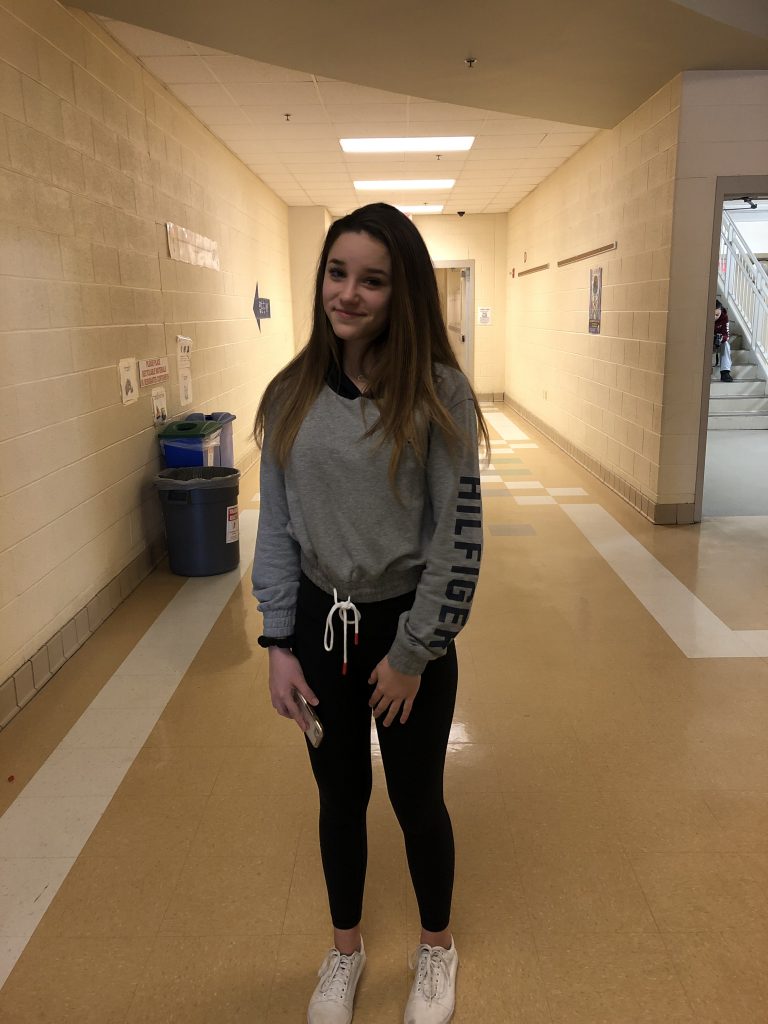
For this project we had to take pictures of people against a white background and make it look infinite. white taking pictures with our camera, we had to make it more light sensitive to the light. When we tried the camera with no light sensitivity the picture looked dim.