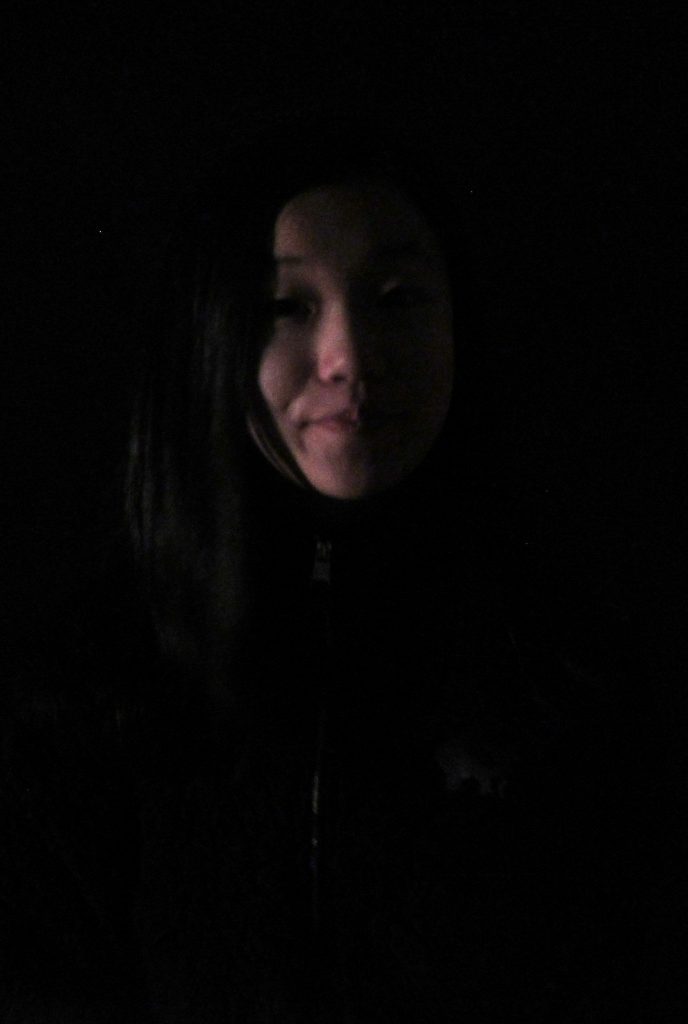
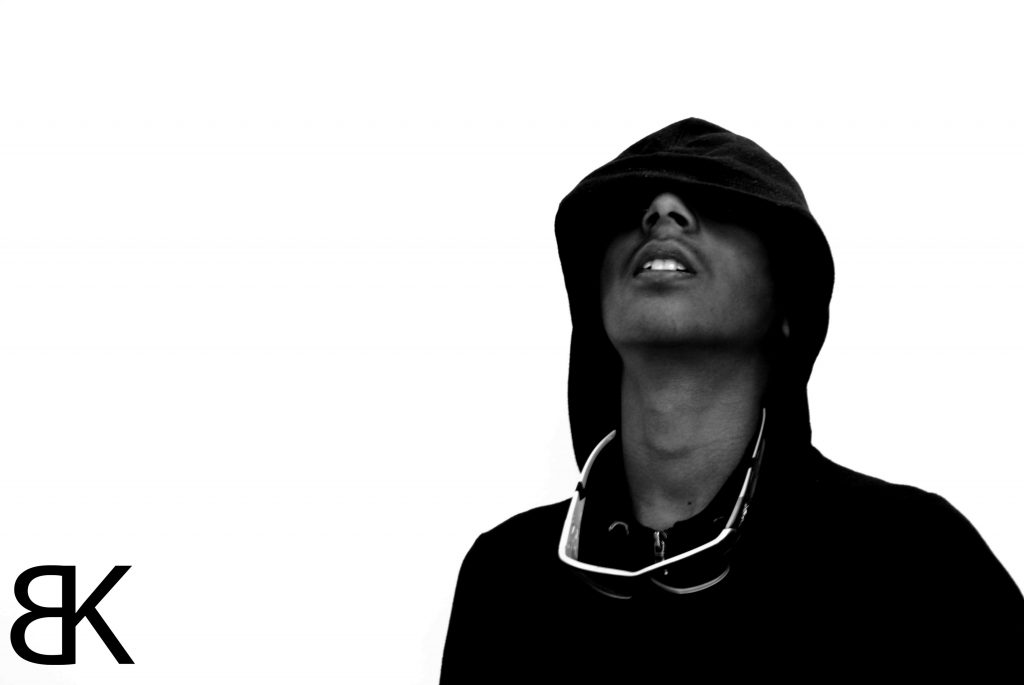
For this project, we had to use the camera on manual mode and mess around with the ISO. The ISO had to be low to create an infinite black background. What didn´t work was having a high ISO because it didn´t turn out well, but what did work were the angles the lights were placed. Click here to view more
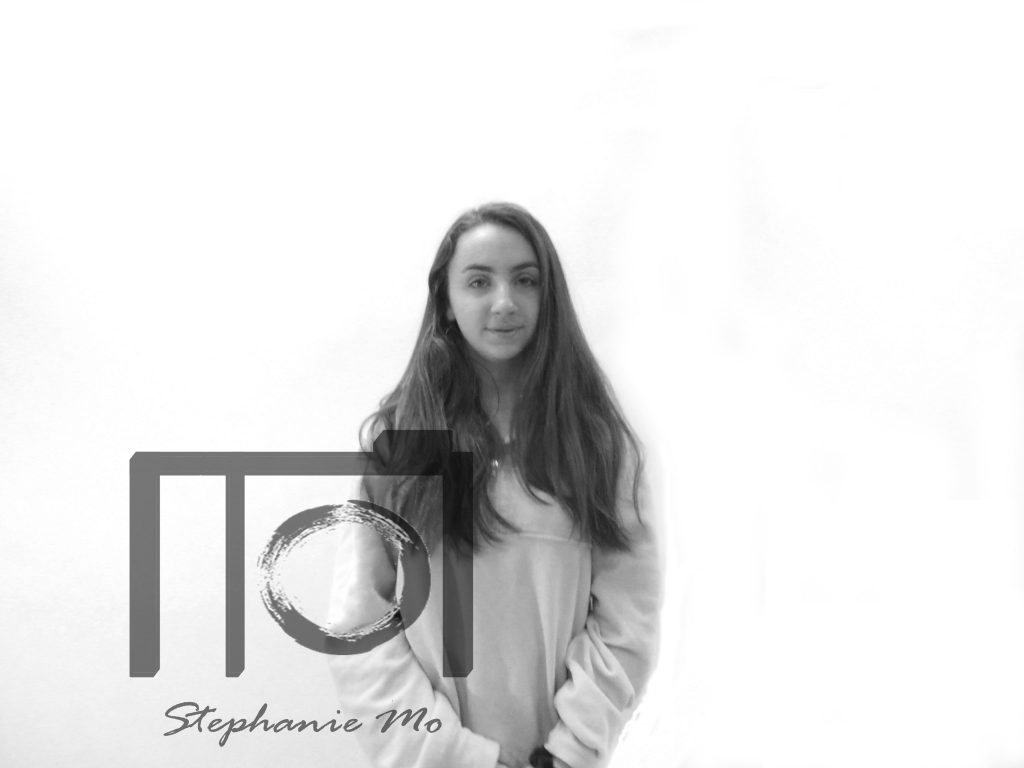
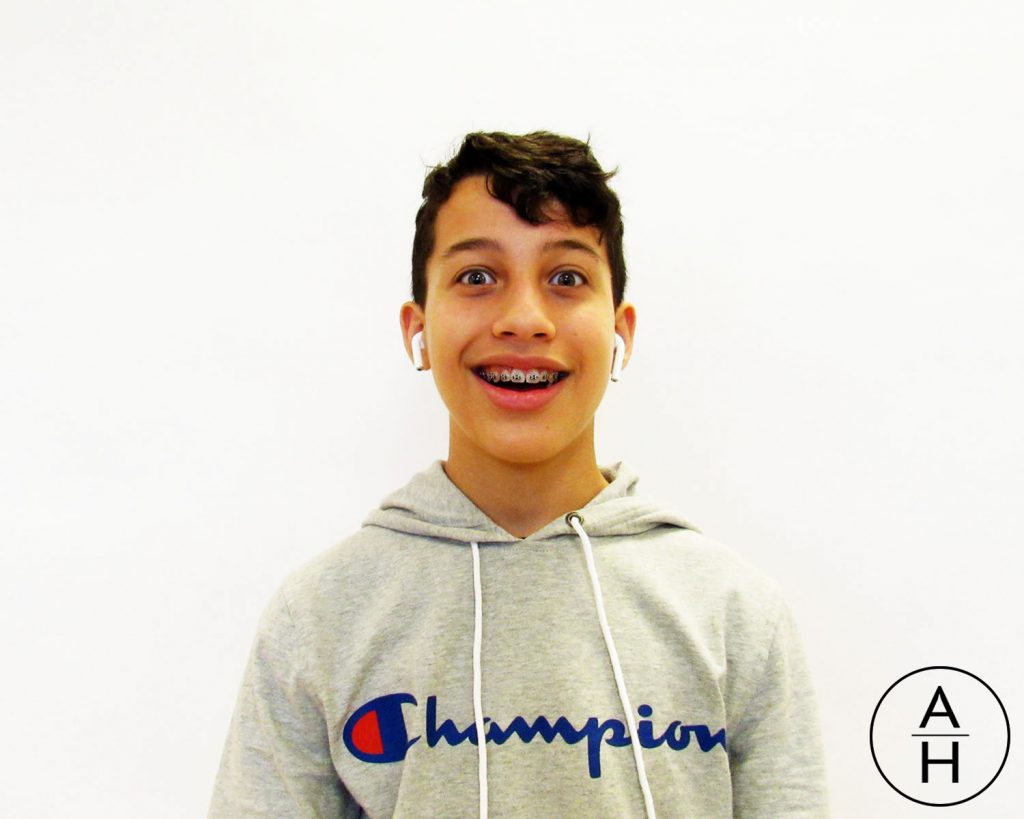
In this project, I took pictures of people on white and black backgrounds. Using a shutter speed of 1/13 of a second, it made it look like the backgrounds were infinite. The ISO was higher to capture more light. For the black backgrounds, we used a lower ISO so there would be less light captured so shadows on the background wouldn’t show. If the shadows did show or if I couldn’t see the subject’s face clear enough, I used Photoshop to turn up the brightness. All the white background pictures are in black and white.
As we were taking pictures, we found that placing the light in a certain position didn’t always work.We had to cover some of the light with our arms to prevent it from showing on the lens or creating a glare.
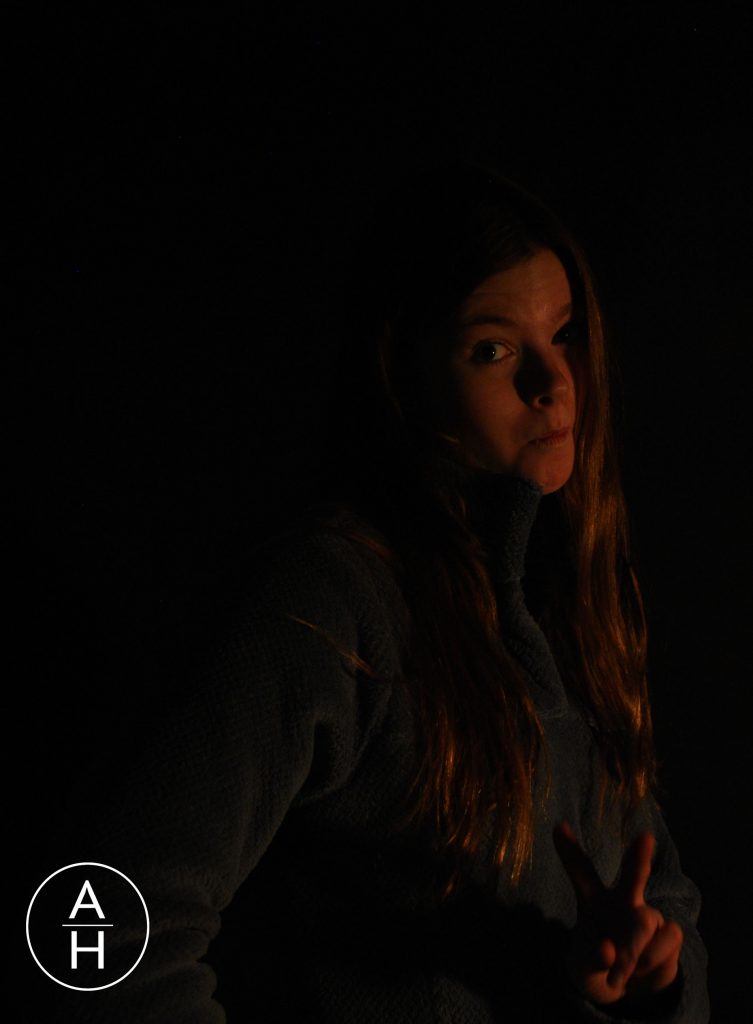
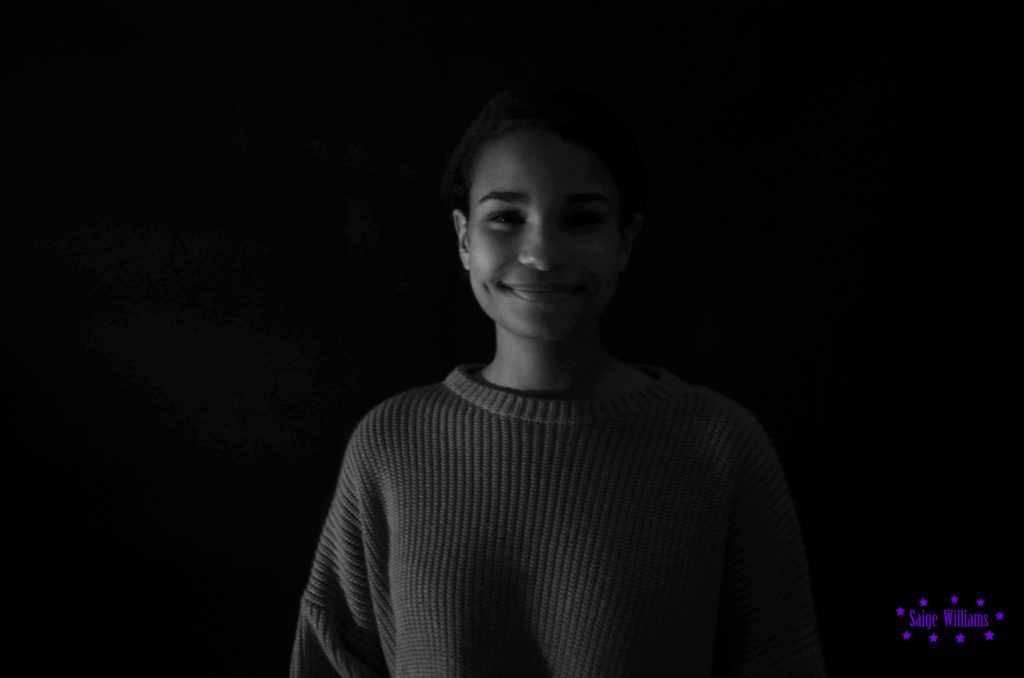
In this project, we took pictures of each other on white and black backgrounds. We had to adjust the ISO, Shutter Speed, and F-Stop on the camera. When we took the photos, we had to make sure that there was no shadow in the background. When I edited my photos, I adjusted the curves so the backgrounds didn’t have shadows on them. Something that worked was holding the lamp behind the person that was in the picture. The ISO was hard to figure out because it was different for each person.
This project was the hardest for me so far. We had to change our camera settings to manual so we choose everything. For this project, we had to change the Shutter Speed and ISO. Shutter Speed is how long the camera is taking the picture. You will know how long it is because it will take that long for the camera to click. The shutter speed for the white photo was quick and for the black it was longer. ISO is how much light is taken into the photo. For the white photo, we had to use a much higher one than the black. After we took the photo, we had to Photoshop them. For the white we had to make it lighter, and for the black we had to make it darker. Some things that worked for this project was the shutter speed. The shutter speed was the perfect time every time. The ISO, however, was very difficult. We had to adjust it for every person because everyone had different skin tones. It was hard to find the right one every time.
My group’s process was mostly trial and error. We played around with the settings such as, the ISO and shutter speed until we got the right photo. For the white background, we learned that with a higher ISO and a faster shutter speed. Lower ISO’s didn’t fully capture the white background when we shot the photos for it. A higher ISO allowed the white background to appear more whiter. However, for the ISO we had to change it, so that it would match with the person’s skin tone. For the black background, a slightly lower ISO worked. We used a slower shutter speed for the black background.
To edit the photos, my group and I used Photoshop to make the white’s in the photo look more whiter and the black colors look more black as they would in real life. We also used Photoshop to make the person’s skin look like their normal skin tone and add our logos into the photo.
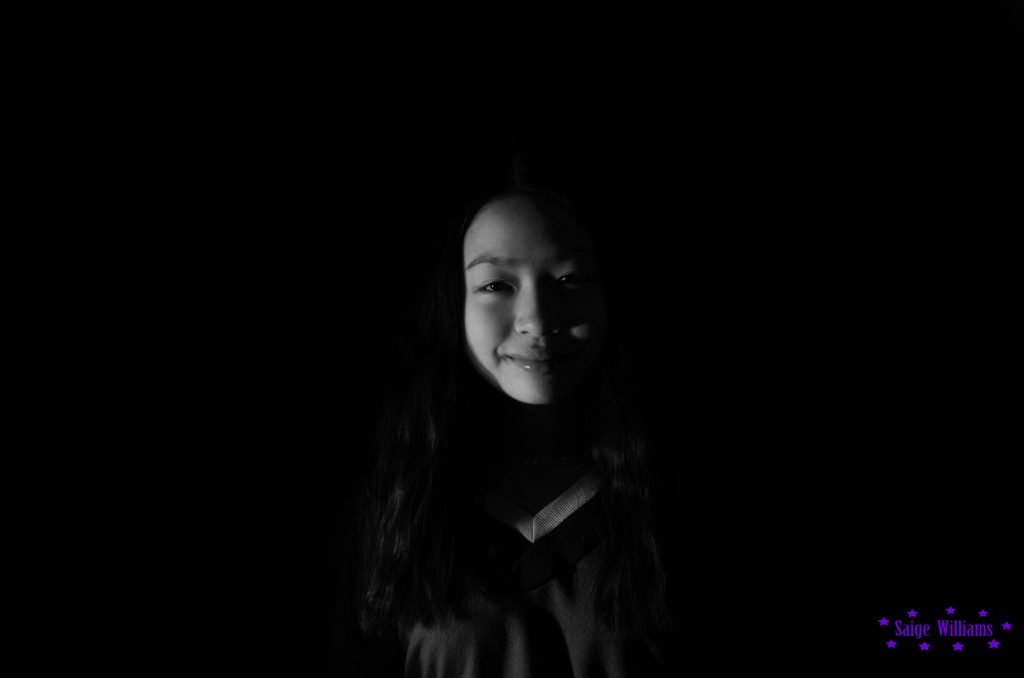
In this project we had to make it so the background of our photos was “infinite” , we did that by flashing a light at the white backgrounds and for the black backgrounds we shined the light on the model. This made it so there wasn’t a really long shadow in the background. I feel like in the black background photos shining loads of lights on the model worked a whole lot but being far from them made it that you couldn’t see them. the picture above is one of my favorites, you can click here to see them all!
In this project, I had to take several picture of my model, Bryan, but at different angles. One thing that was challenging was keeping Bryan still so I can get good shots of him for this project. This project helped me learn more angles that I can use when taking pictures on my phone/camera. Click here to see pics: https://drive.google.com/drive/folders/1ZKoyykm93xwhBcYskCzZfrpNxC0HDXeH
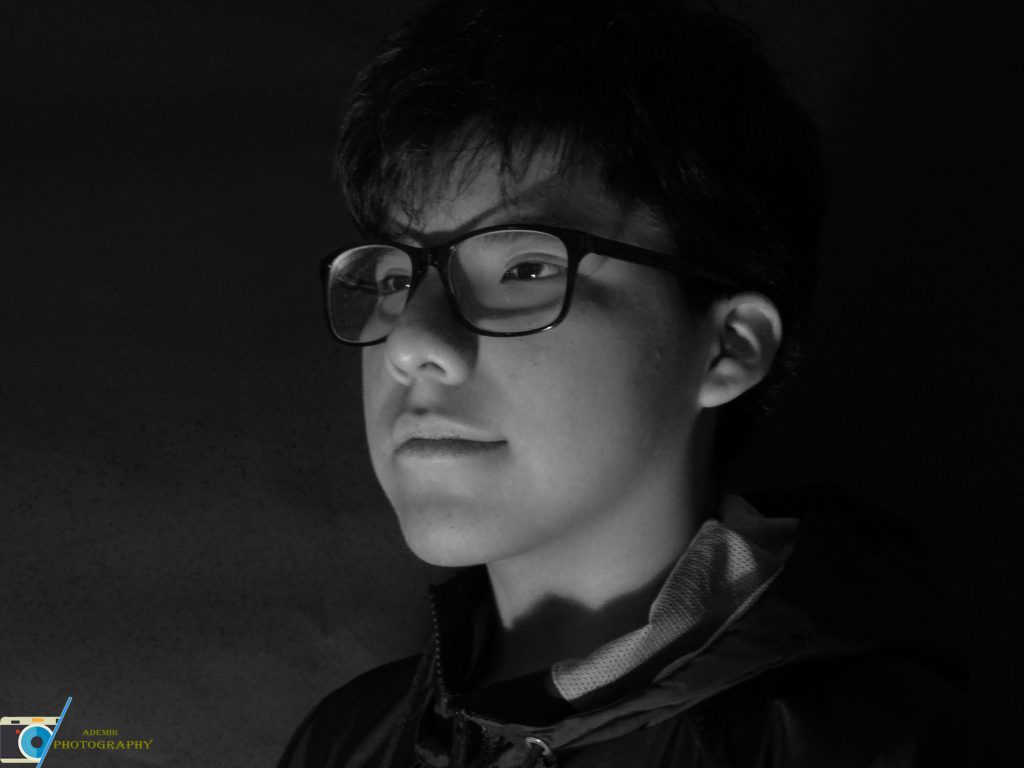
My method for taking these photos was pitting the camera infant of me and angling the light at the side of my face. Then, I adjusted the light with the red and yellow. I was successful with the lighting I wanted. What was challenging is putting the camera at the right settings.