With this project, we had to take pictures in front of black and white backgrounds and edit them to make the background look infinite. We used brightness, contrast, etc. It did make the background look infinite but the lighting just looked bad on our faces like it wasn’t good but it’s not really the point of the project.
This project had many pros and cons within it. One thing that I would say that didn’t work out so well would have been the weather outside. Well, not really the weather, but the wind. It made it much more difficult to take photos. But, I’d say the lighting and the positioning of the objects and the photos worked out perfectly. At the beginning of this project, I thought that the Rule of Thirds was a bit confusing and difficult. But then, I figured everything out and it became easier for me to take photos for this project. For the Rule of Thirds project to even work, I had to activate a grid onto my camera. This helps position the main focus of the photo. The horizontal and vertical lines also turn the photo into thirds, so you can make your photo proportional. To view more photos of this project, click here!
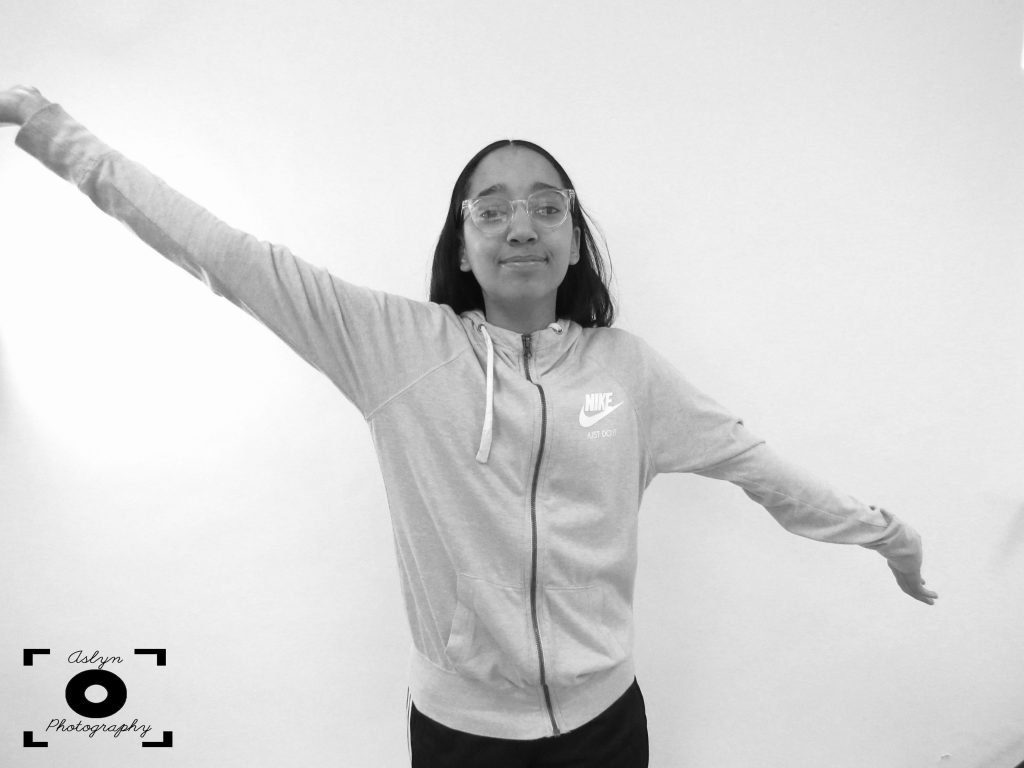
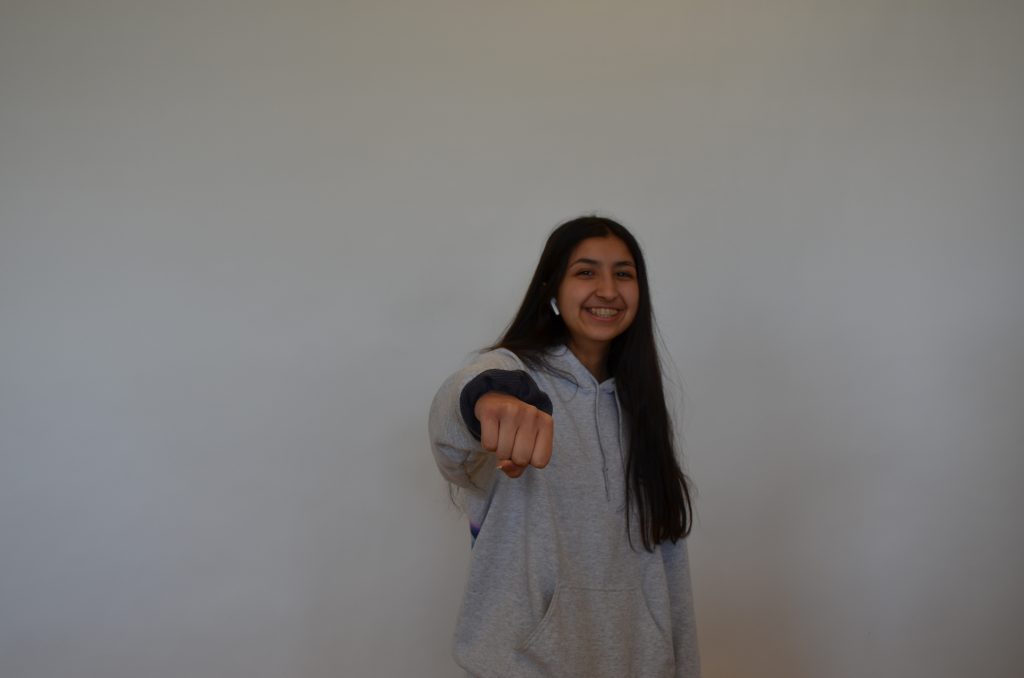
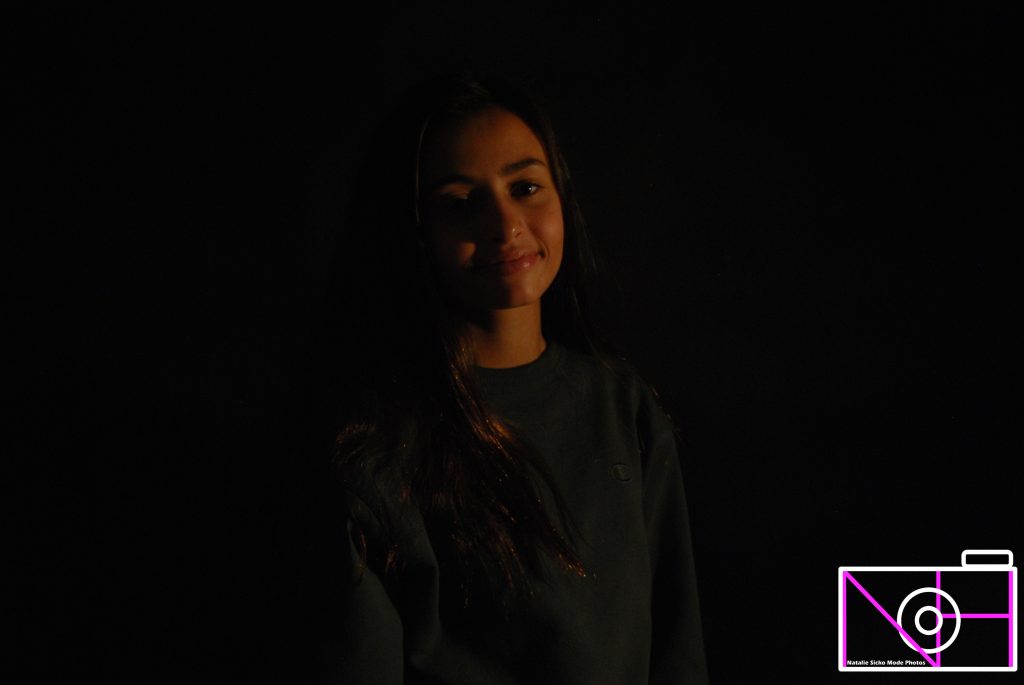
To take the photos we had to turn the lights off (for the black one) and adjust the ISO. To edit the photos I cropped both black and white background and for the white background, I made the pictures black and white. When we used the light on the black background directly it would cause light spots. When we put a sheet of paper on the back of the light it lit up us and not the background. White background pictures here. Black background pictures here.
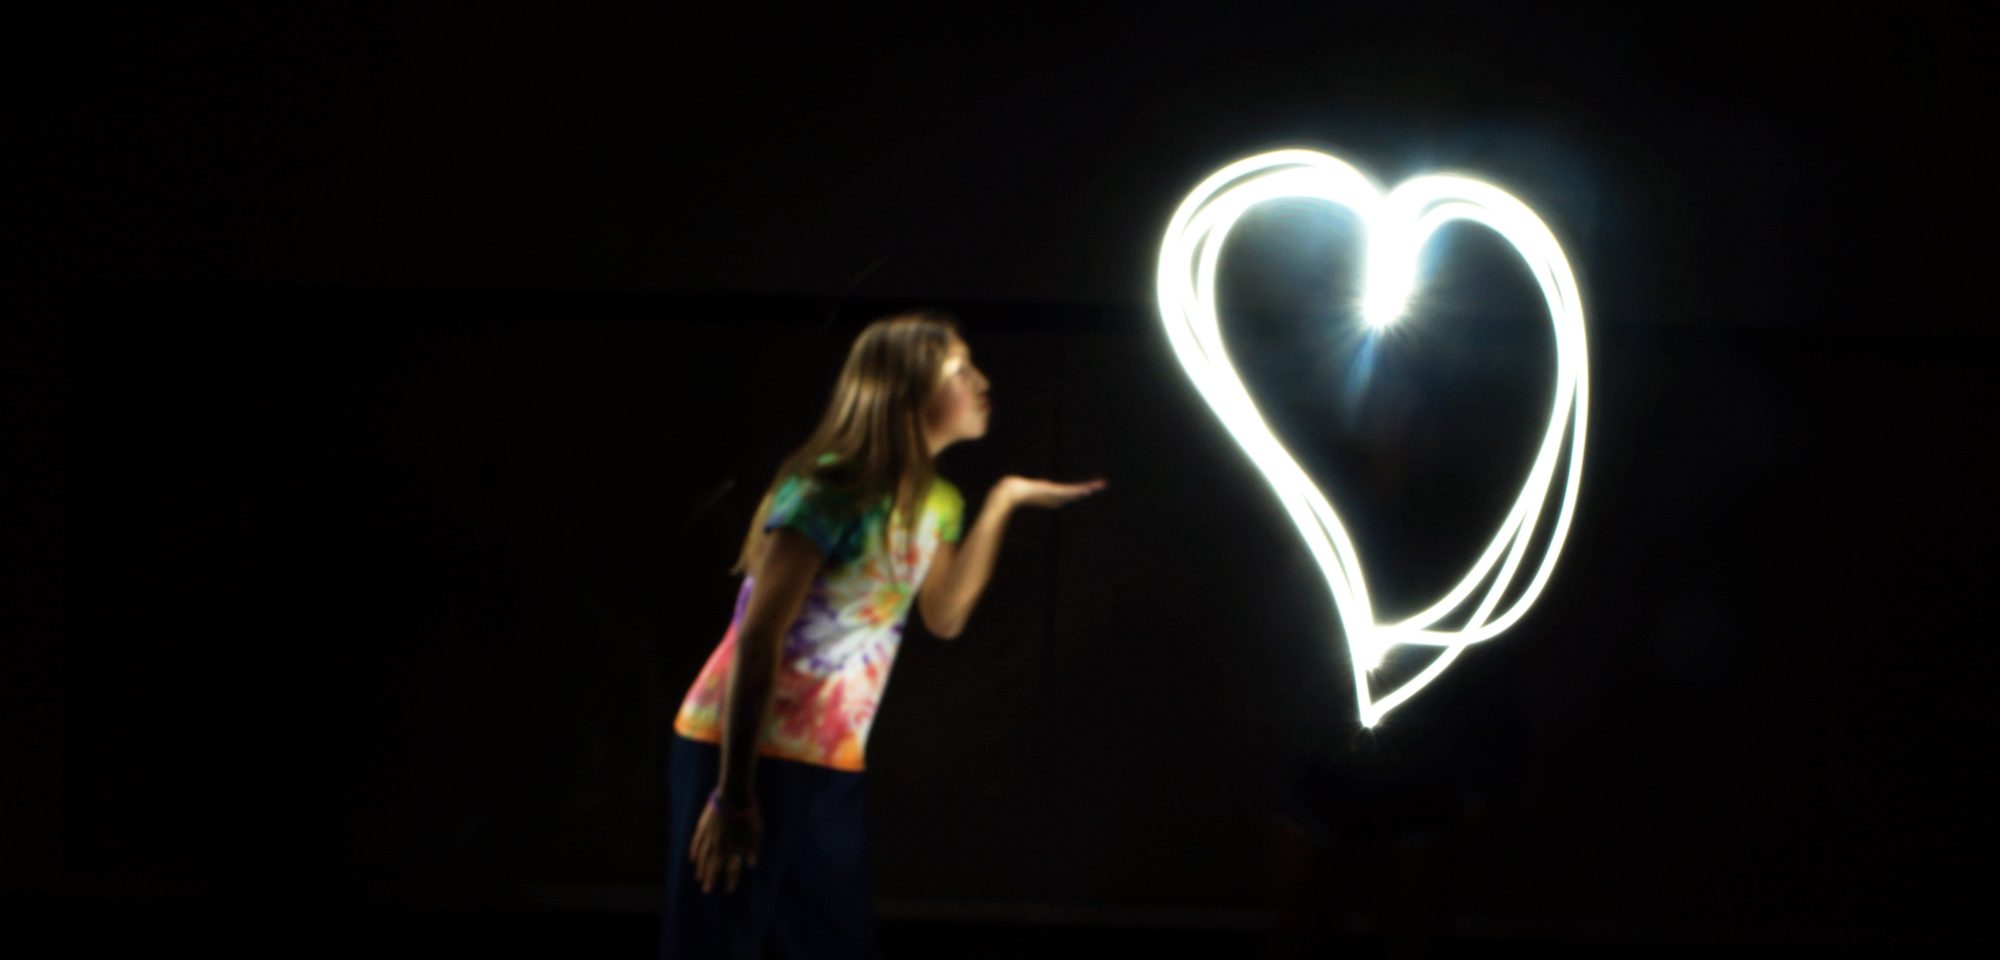
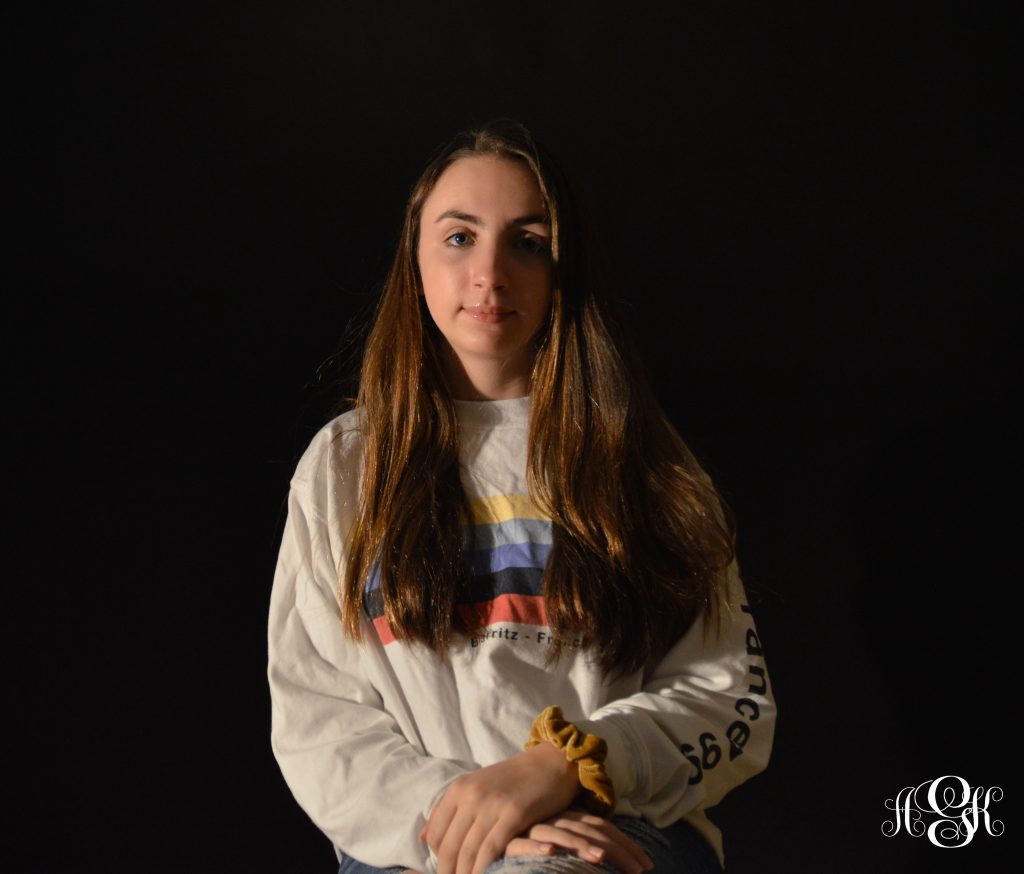
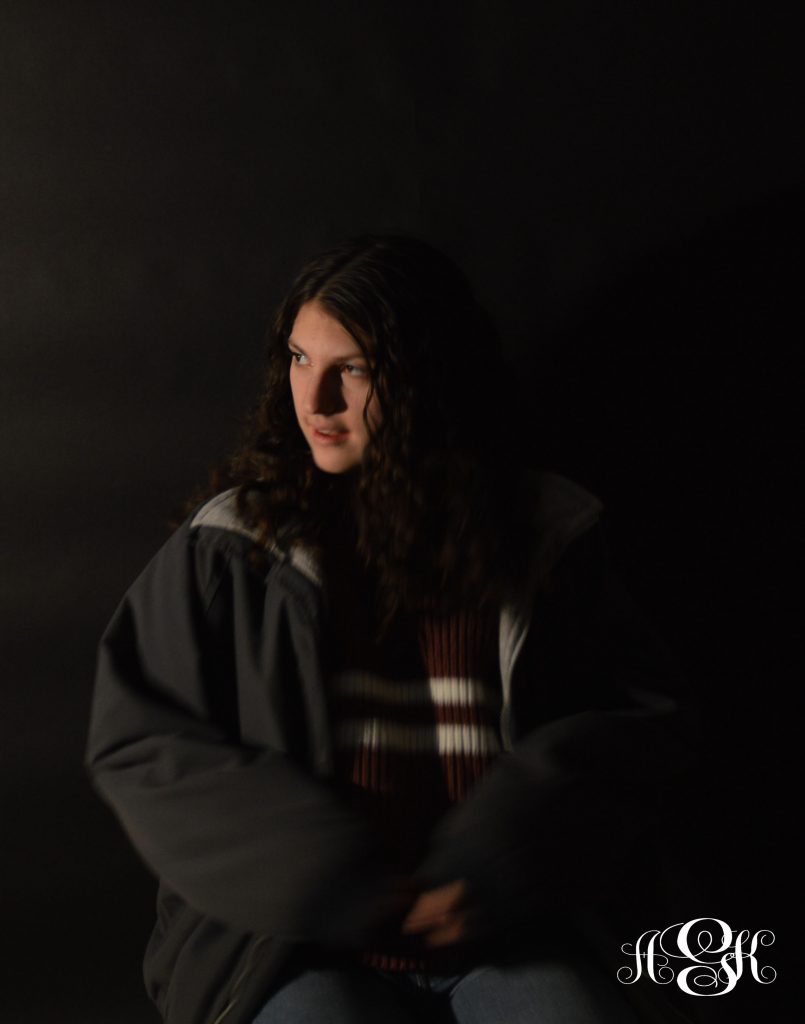
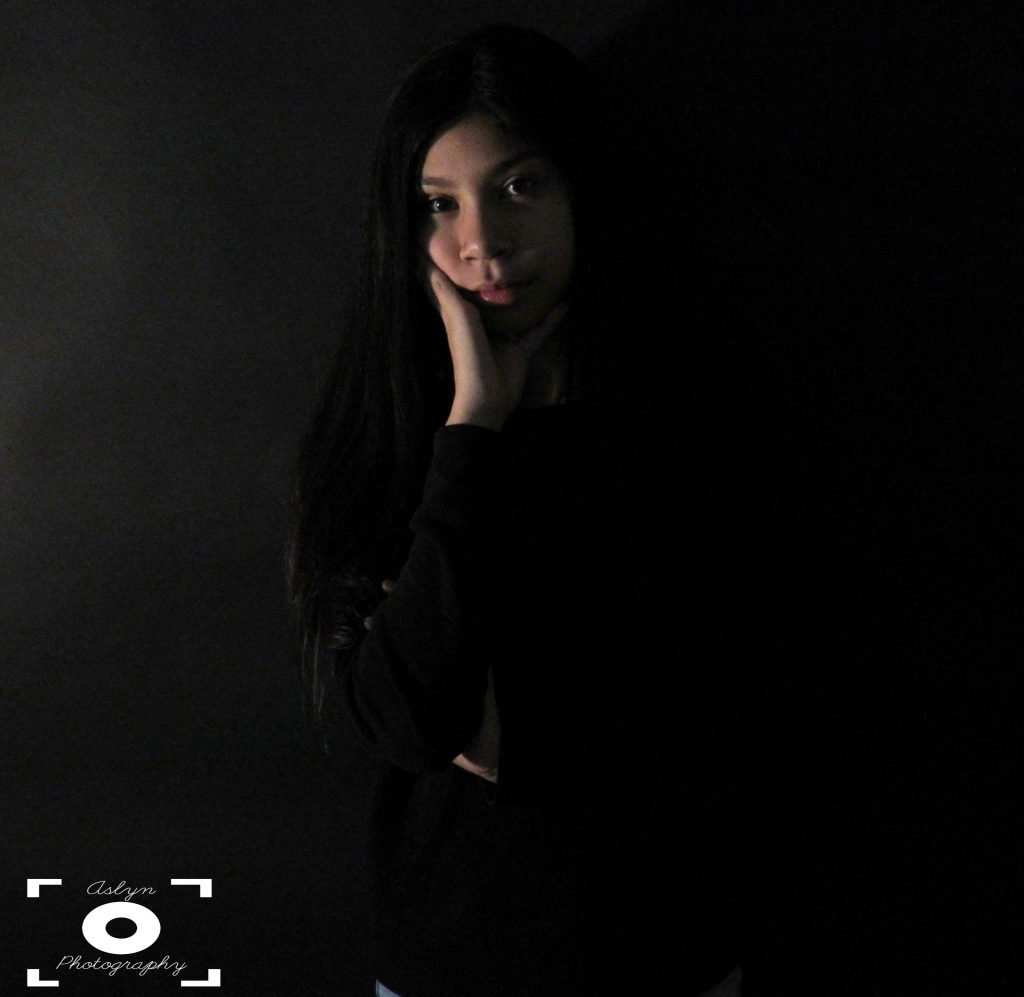
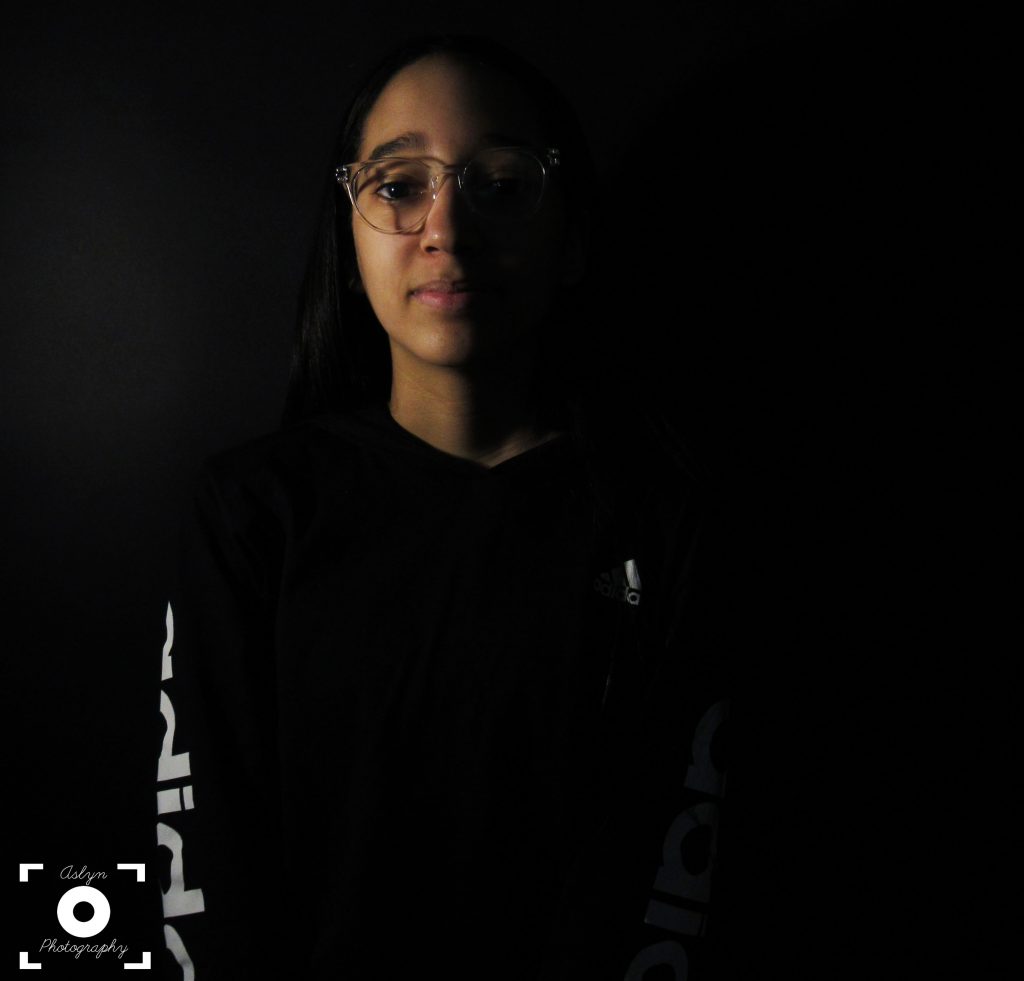
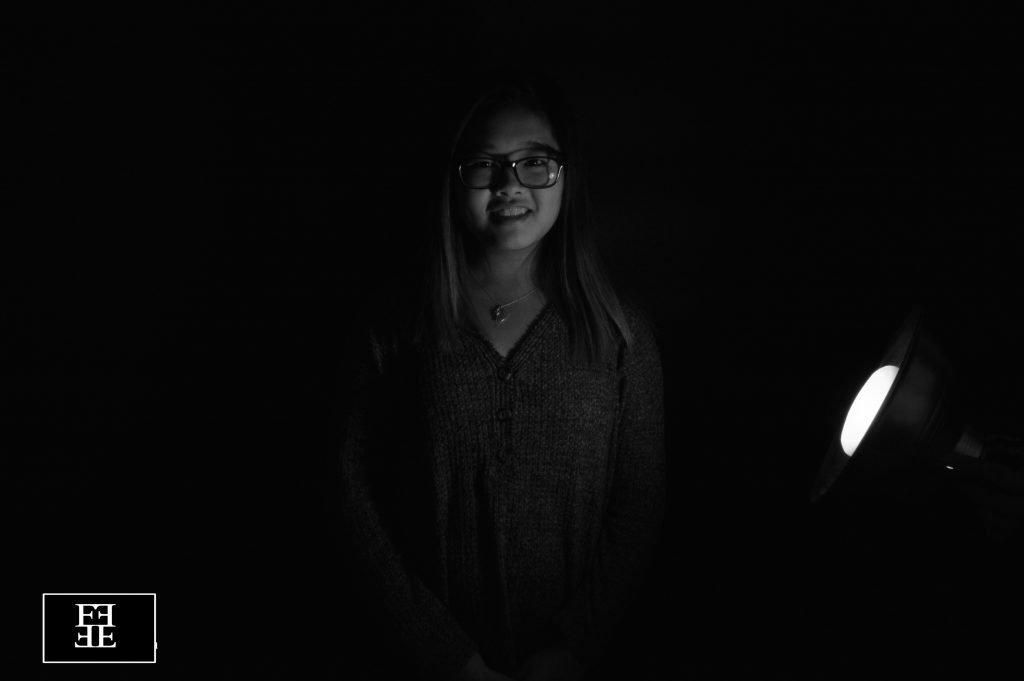
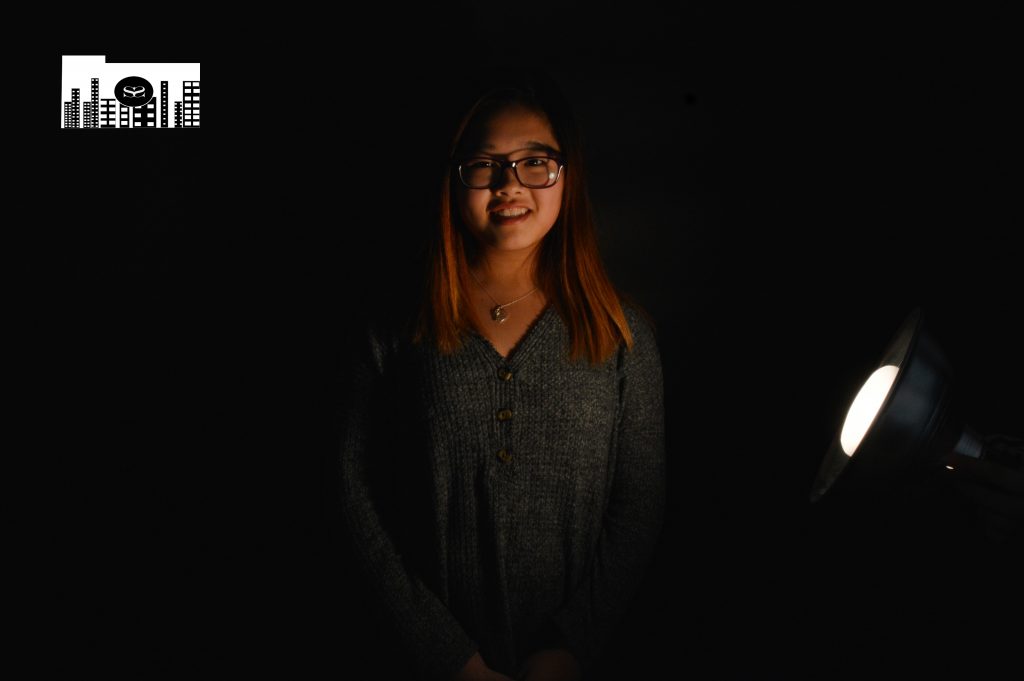
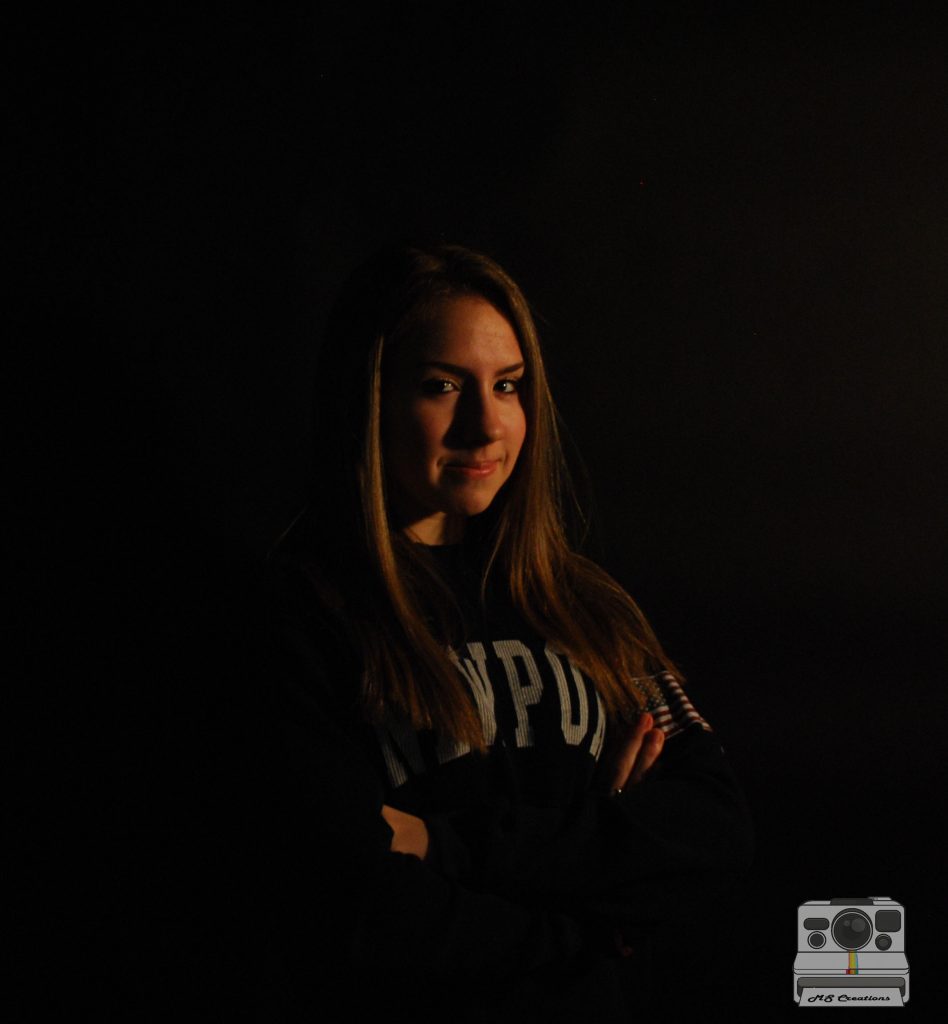
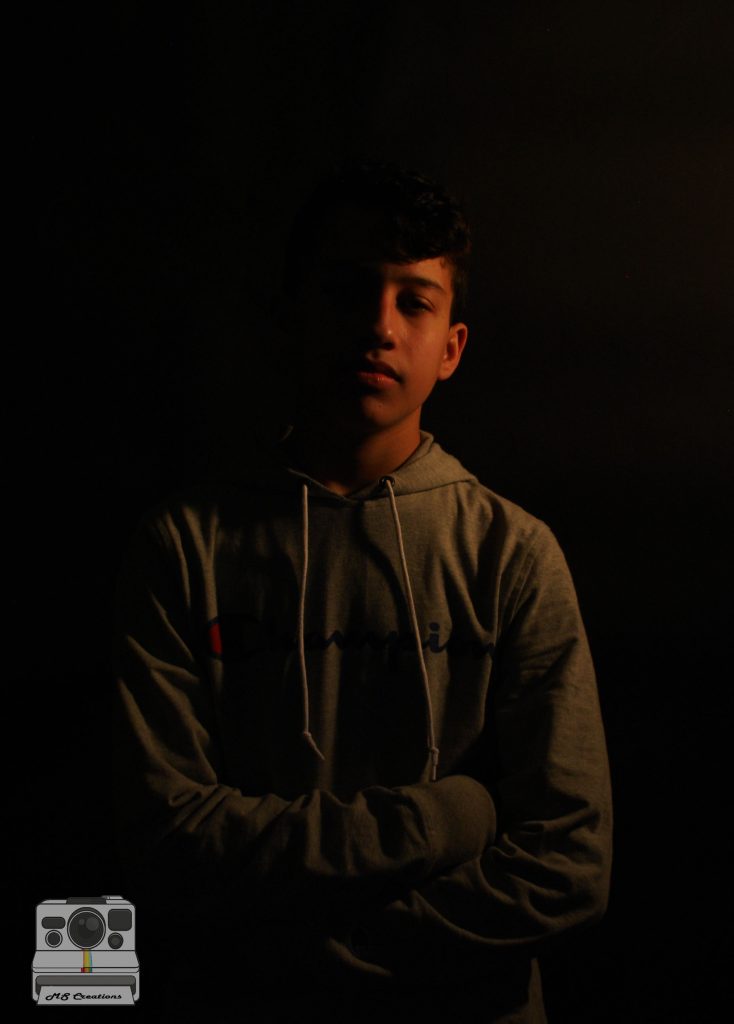
Infinite black background was a project that we did in class. It’s about where you get a black background and take a light bulb and then just start to pose for the camera. Something that worked well in the project was editing the photos. And something that was hard was finding a right pose for it. Overall this was a fun project to experience how to make a simple photo with black background so good and mysterious. Click here to see the rest of my photos!
Infinite white background was a project that we did in class. It’s about where you get a plain white background and take a light bulb and then you just start to pose and take photos. Something that worked well in this project was putting the light for the photos. And something that was hard was adjusting the light bulb because of the shadows. Overall this was a fun project, my favorite part of the project was taking a picture of someone. Click here to see the rest of the photos!
For the white backgrounds I had to take the photos and make the brightness more white and clear. For the black background I had to take the photos and makes the brightness dimmer and more mysterious. What worked for the white backgrounds were the pictures and the edits. But what didn’t work was trying to not make the skin of the person pale or white like how the background was. What worked for the black backgrounds was the editing and the positioning of the photos. What didn’t work was the light because it was hard to match it up perfectly.
I had to make 5 photos of 3 different objects making a total of 15 photos. A challenge in this project was changing the camera angle in height, position and object itself. The crayon was a very hard to take photos of because the stairs which took away the bottom portion of photos I could’ve taken.
Similar to the white portraits, I had to change the camera settings and the lighting a lot. The high ISO didn’t work this time. However, the low one did.
For the black background, we used a black back drop. We set the ISO to low and made the shutter speed a little longer to let more light in. We used Photoshop to add black and white, curves, and to adjust the brightness. What worked was shining the light on the person, not the background. What did not work was when the light was not at the perfect place, then the wrinkles of the back drop would show.