White Background

I had to change the ISO of the camera to make it so that the white paper background looks infinite. I used Photoshop to make the photo black and white and I changed the color’s curves to make them lighter or darker. The easiest part was when we edited the photos. The hardest part of this project was trying to get a lighting that doesn’t show any shadows. Click here to see the rest of my photos.

Rule of thirds

For the project we had to take 4 pictures of a people and 4 pictures of an object. The most challenging part of this project was getting the person matched up with the lines. The method asking people to see what their focus was on. From the beginning of this project I thought it was going to be really hard, but once I started taking pictures I figured it out. The lines in this project created 3 rows and columns. In addition I set up the lines on the object and the person.

Link for photo’s

1 object, 5 shots.

For “5 shots” I had to take 5 photos at 5 different camera angles of 3 different objects. I took pictures of a mouse, Maansur, and Mimi. I found it challenging to find different camera angles for the pictures. The hardest object to take a picture of was Mimi because she wouldn’t stop moving. This project helped understand how I can use different angles to make my pictures look better in the future. The picture below is my favorite because Maansur looks cool.

click here for photos

Rule Of Thirds

In this project I was successful with getting the right position to take pictures using the grid. However, what I wasn’t successful with was getting the right positions I wanted the people to stand to get a decent picture. I think the rule of thirds is useful if you are going to do an edit with the picture you took since you have a good amount of space to do so. The “lines” were supposed to help me place my models/objects in the right place. Click here for all the pics https://drive.google.com/drive/folders/10wUgPbBAScQQK8Pp76smVd4-lB0g62qq

Rule Of Thirds

This project worked when you didn’t stand against the wall because there is nowhere for your eye to travel to. At the beginning of this project I did not really understand the point of it because I thought it was very confusing, but by the end I understood and got many good pictures. The lines were the most important part of the project because without the lines you would not be able to do this. While doing this project we had to line up this picture with the rule of thirds lines and in the intersections.

Click Here to see my photos from this project

Rule of Thirds

In this project I really thought I wasn’t going to do well but it really wasn’t that hard. Some hard parts were getting the picture just right such as having the viewer looking at the picture and making there eyes wonder around the picture. What was easy was using the lines because the lines help you keep the picture straight and having a little part of the picture to be on one thing and the other part to be something else.

Click Here to see more

Rule of Thirds

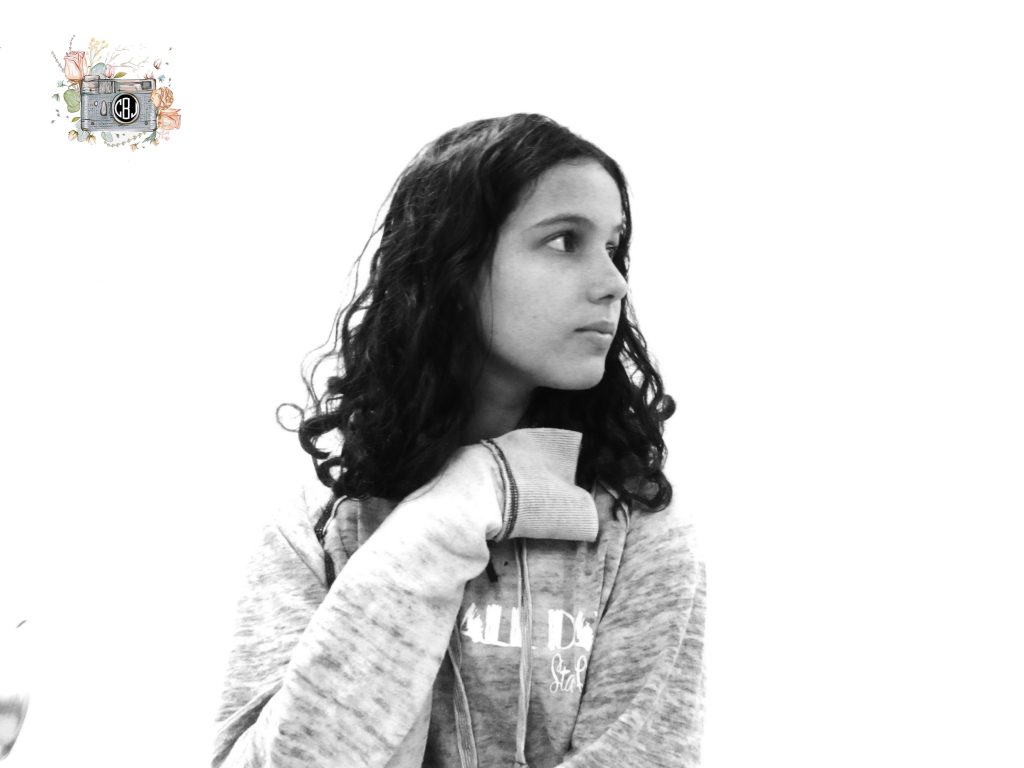
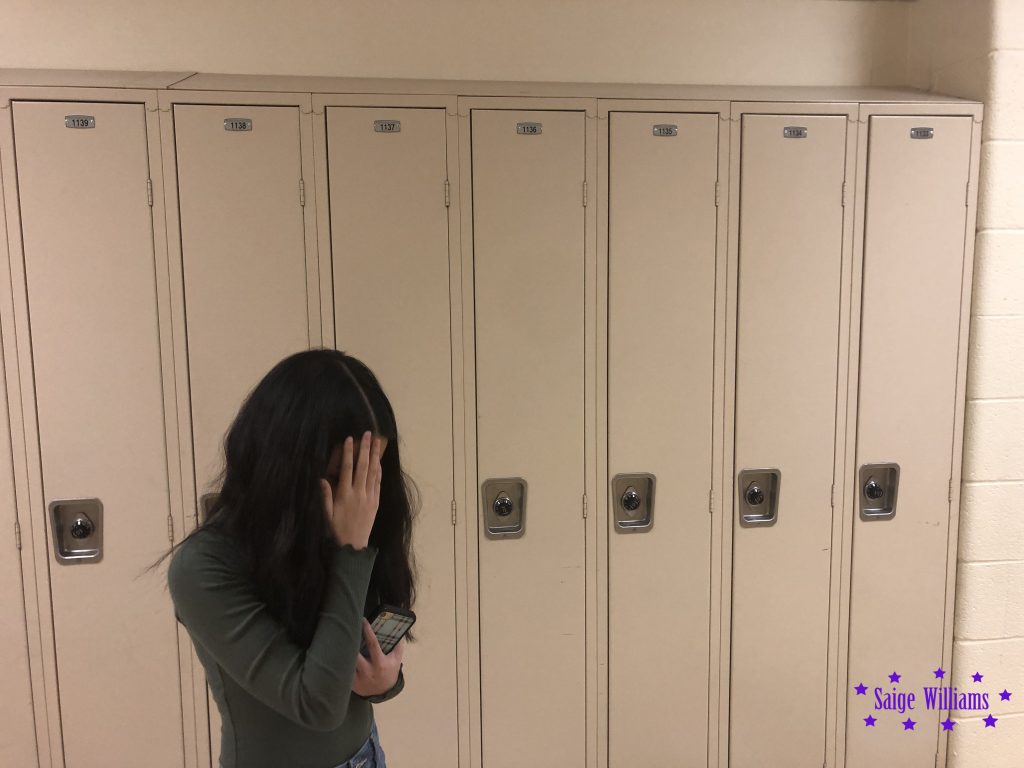
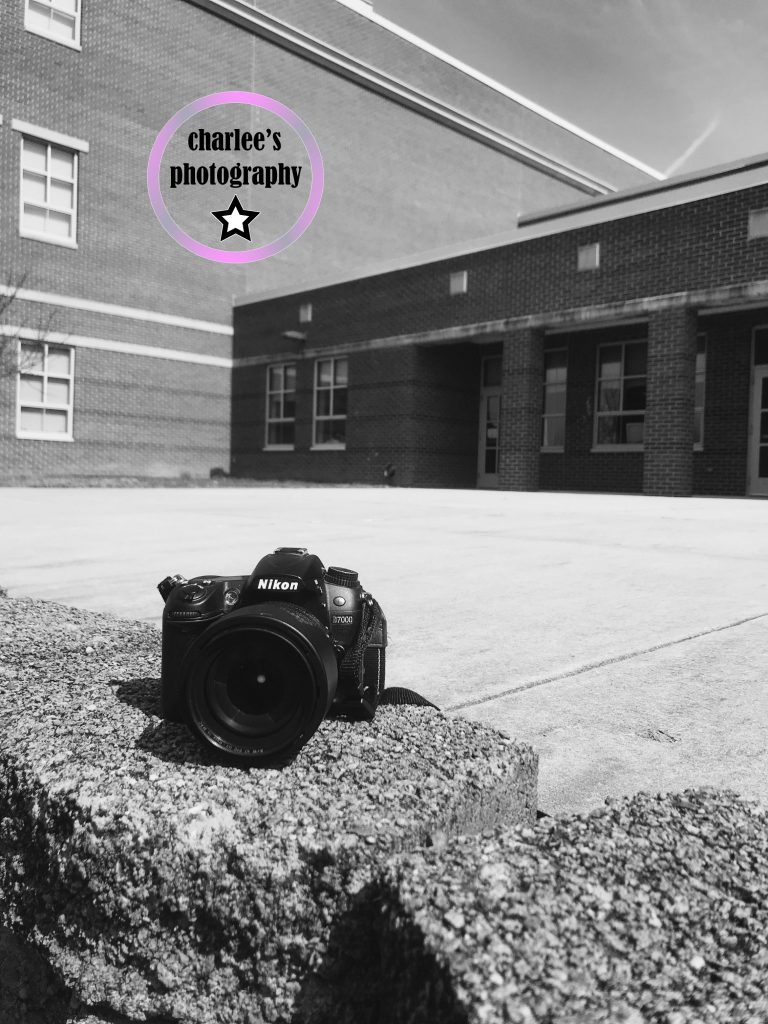
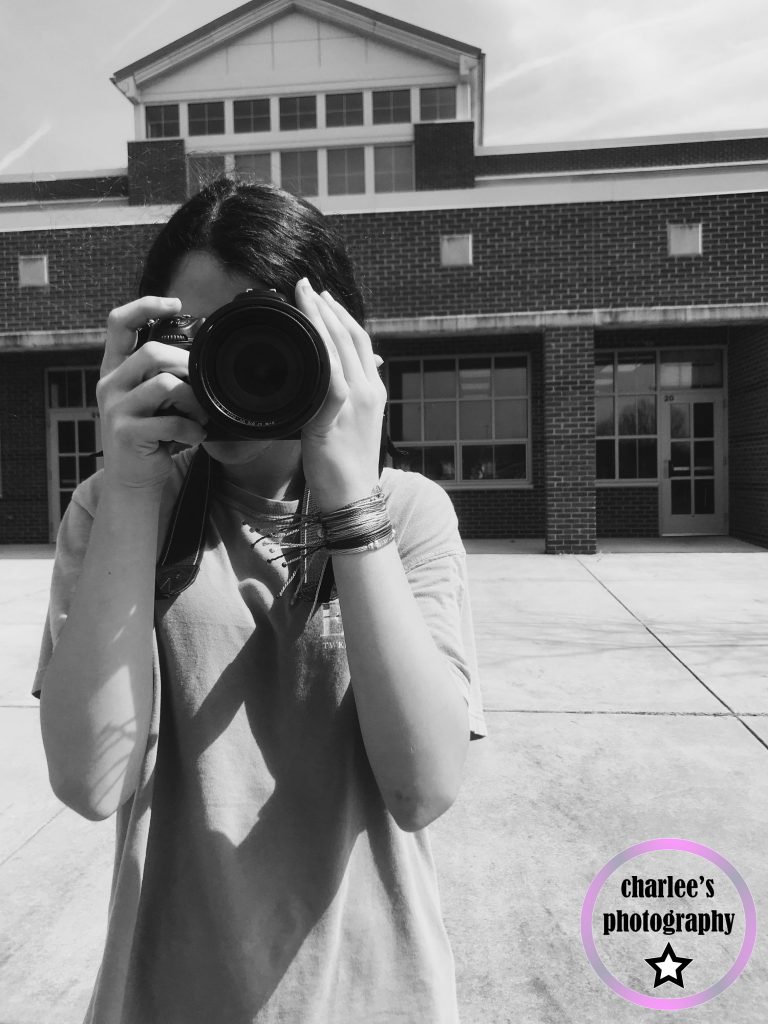
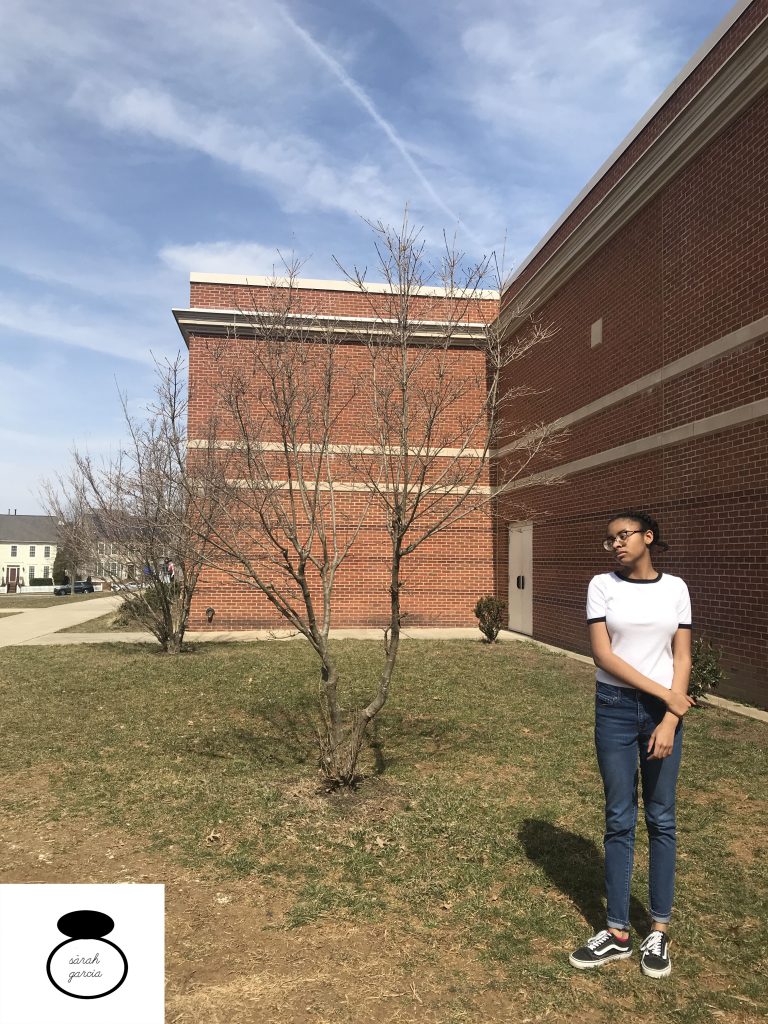
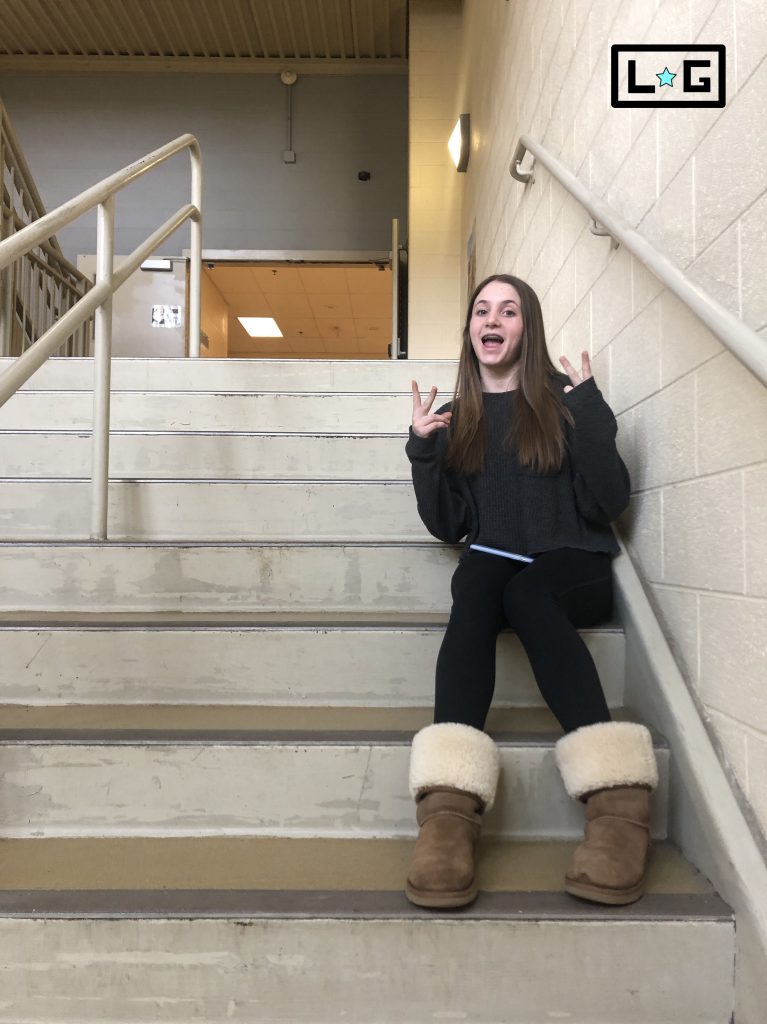
For the Rule of Thirds project, I found it worked best to place the people and objects in simple locations with simple background, so your eye can focus on the main object in the pictures. I found that it did not work to have people standing right against the wall, because then your eye had nowhere to travel to look for the person in the photo. Before we did this project, I thought it would be pretty simple to take these pictures. After we started taking the pictures, I found it to be actually very hard. For the picture on the left, I wanted Anna Claire to be one third of the image, so I put her on the far right vertical line so she stood out against the stairs. For the picture on the right, I wanted the main focus to be on the camera, so I put the lens on the intersection of the top line and the line to the far left.

Click here to see the rest of my photos.

5 shots

During this assignment I had to take 5 photos of 3 different objects all from different angles. One challenge I had during this project was thinking of different angles to take pictures from. The picture of the plant was the hardest because it was hard to find good lighting. This project helped me come up with new angles to take pictures of so they aren’t all taken straight on.

Click Here to view the rest of my photos