Rule of Thirds

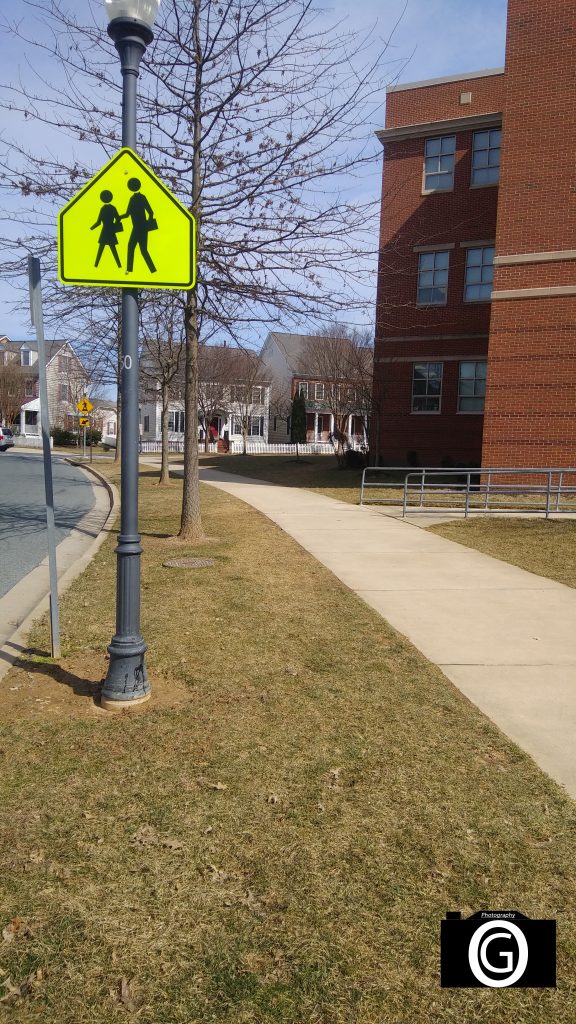
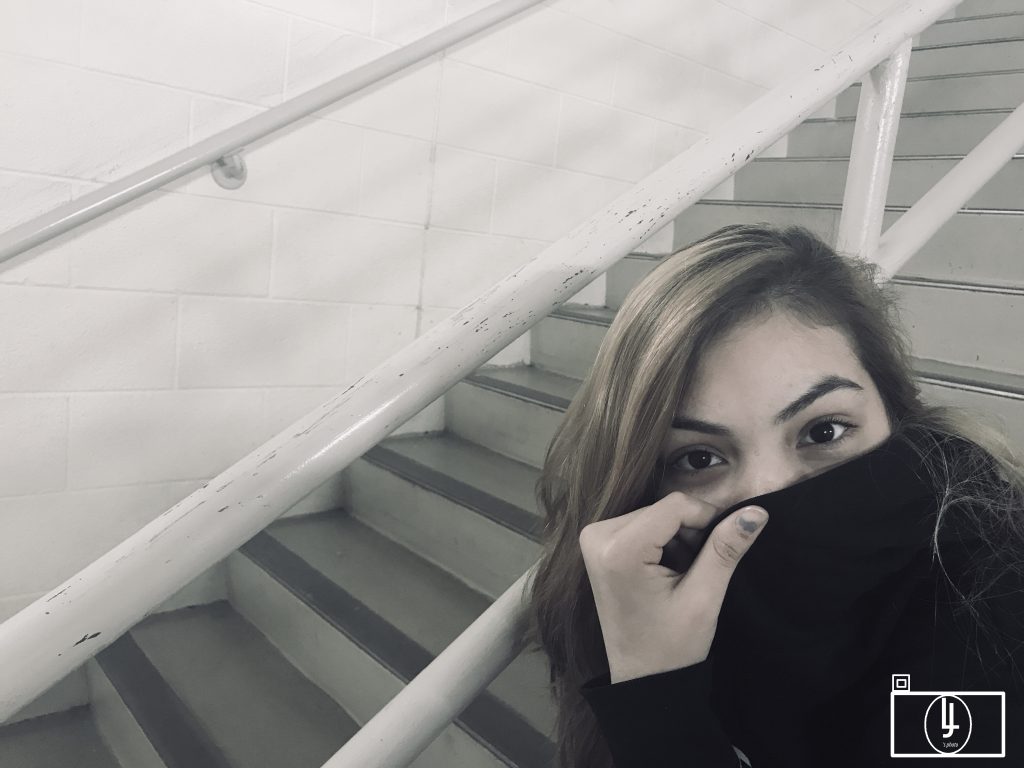
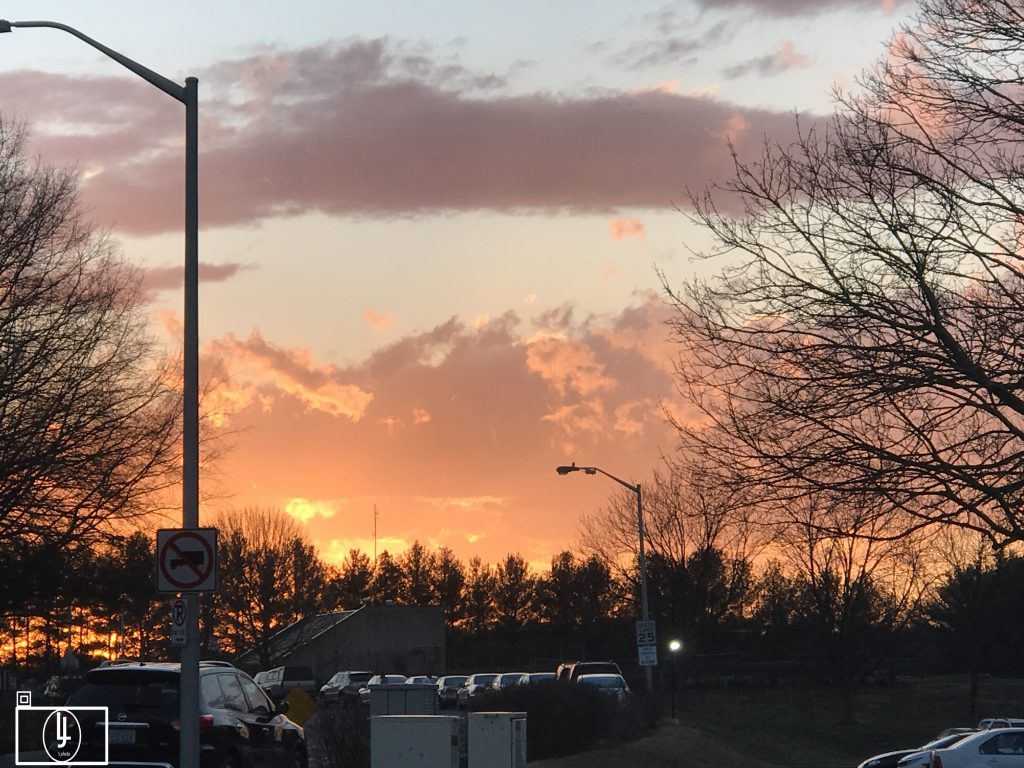
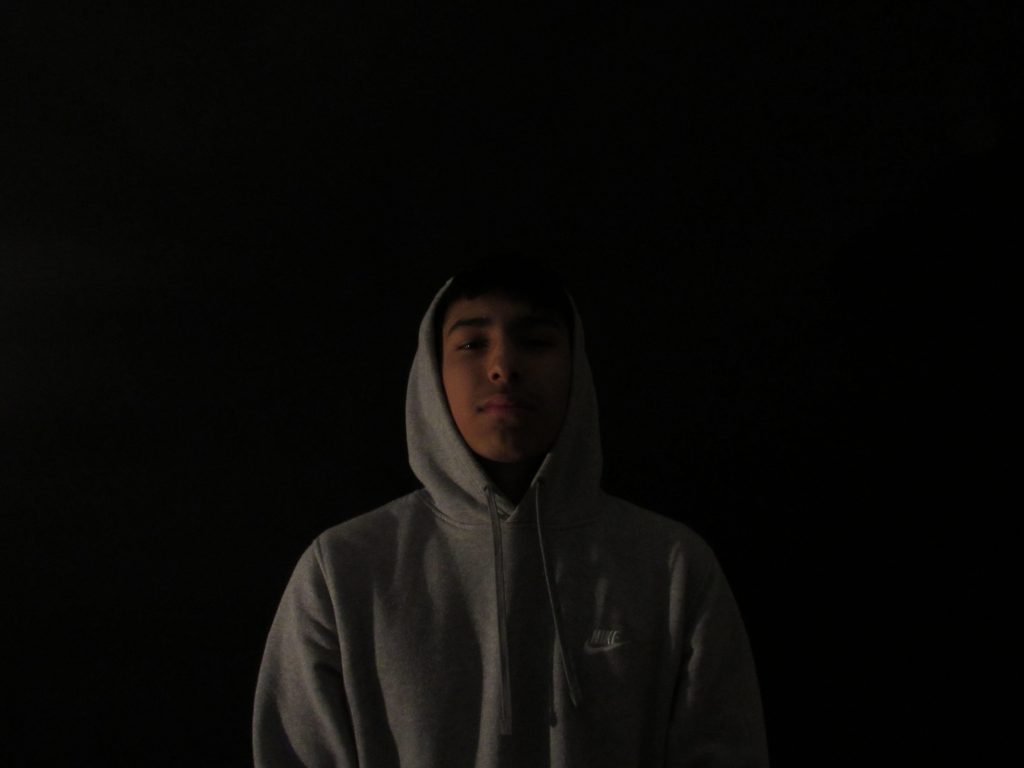
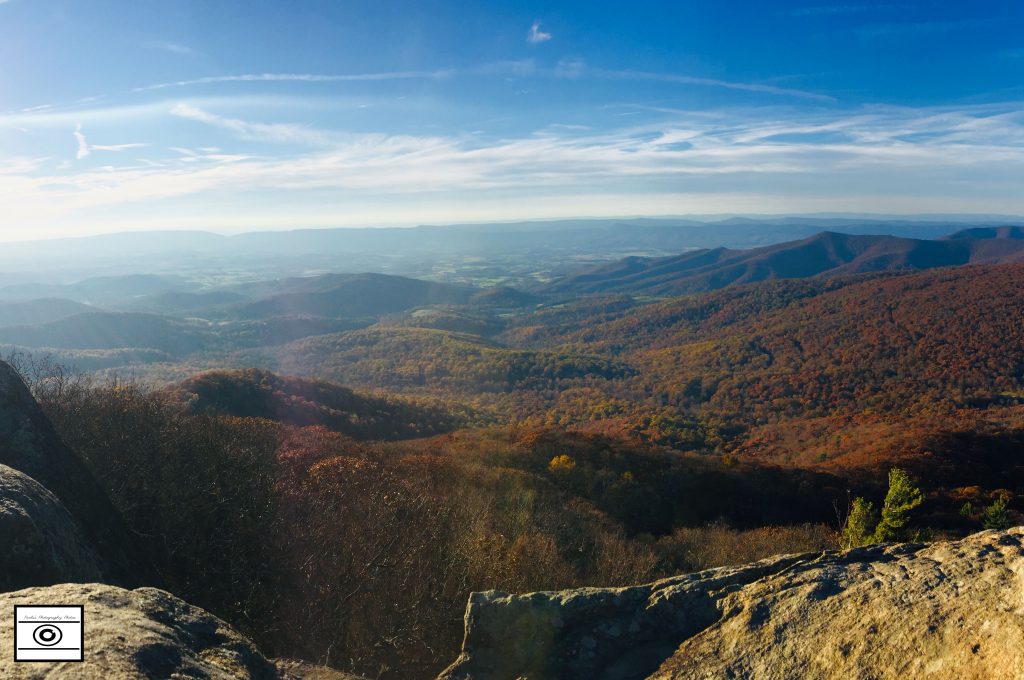
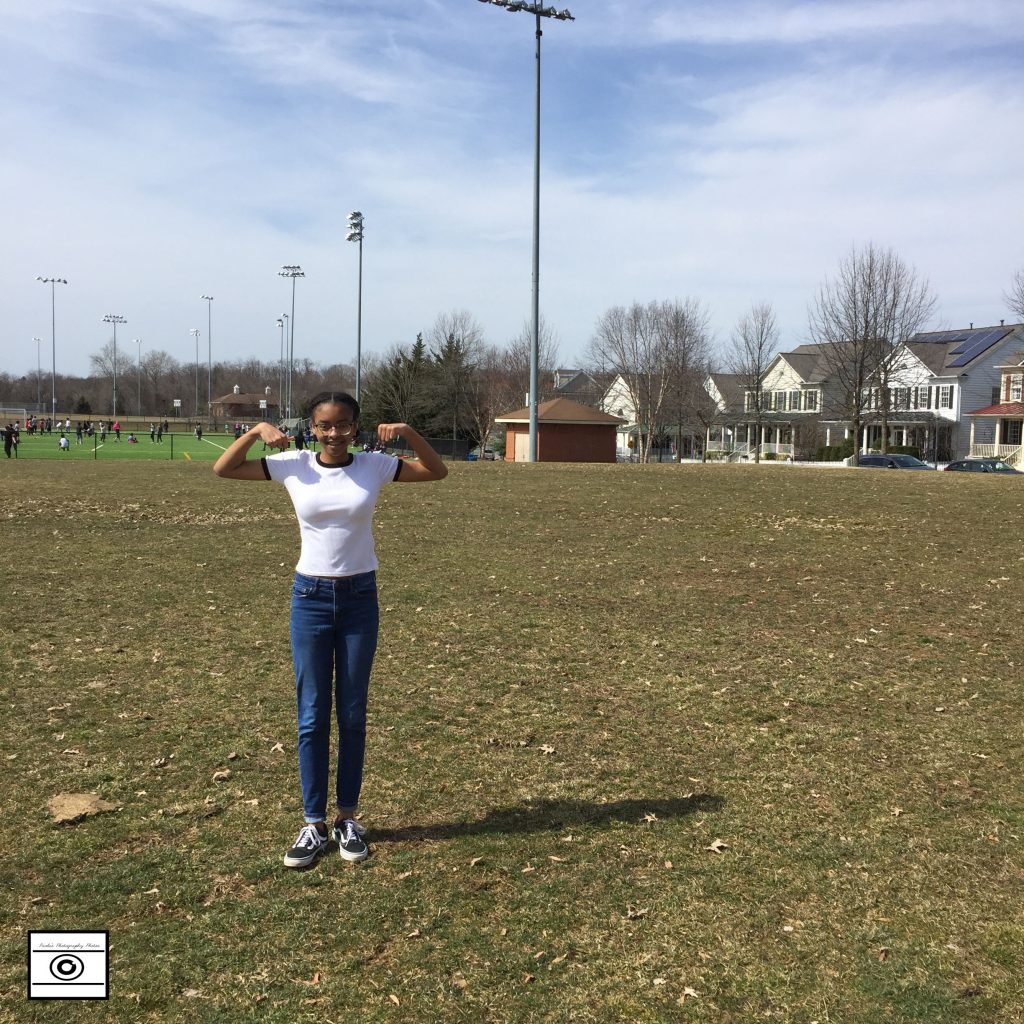
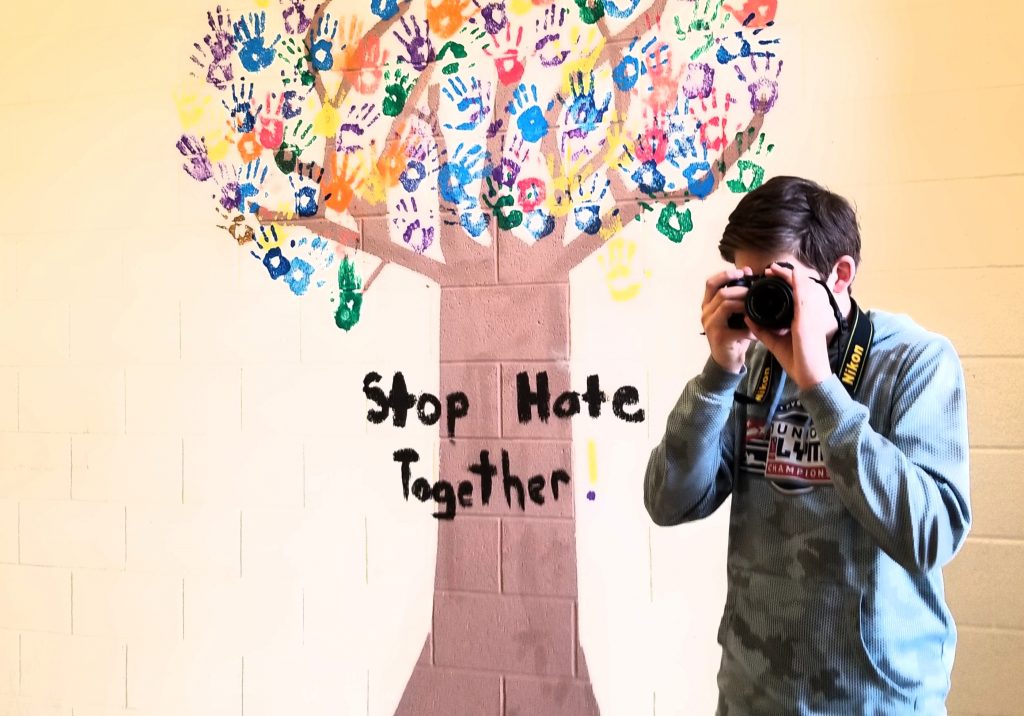
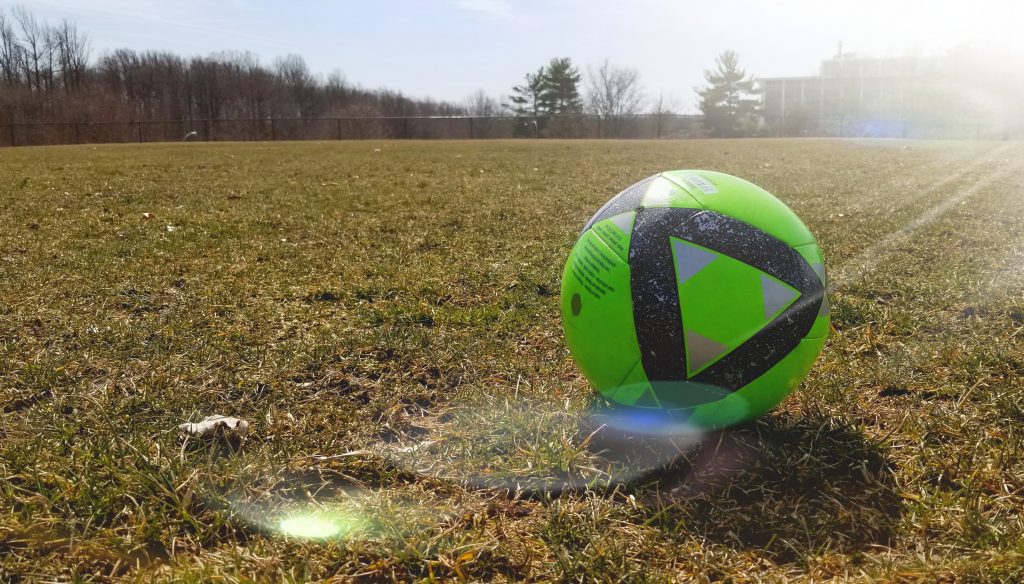
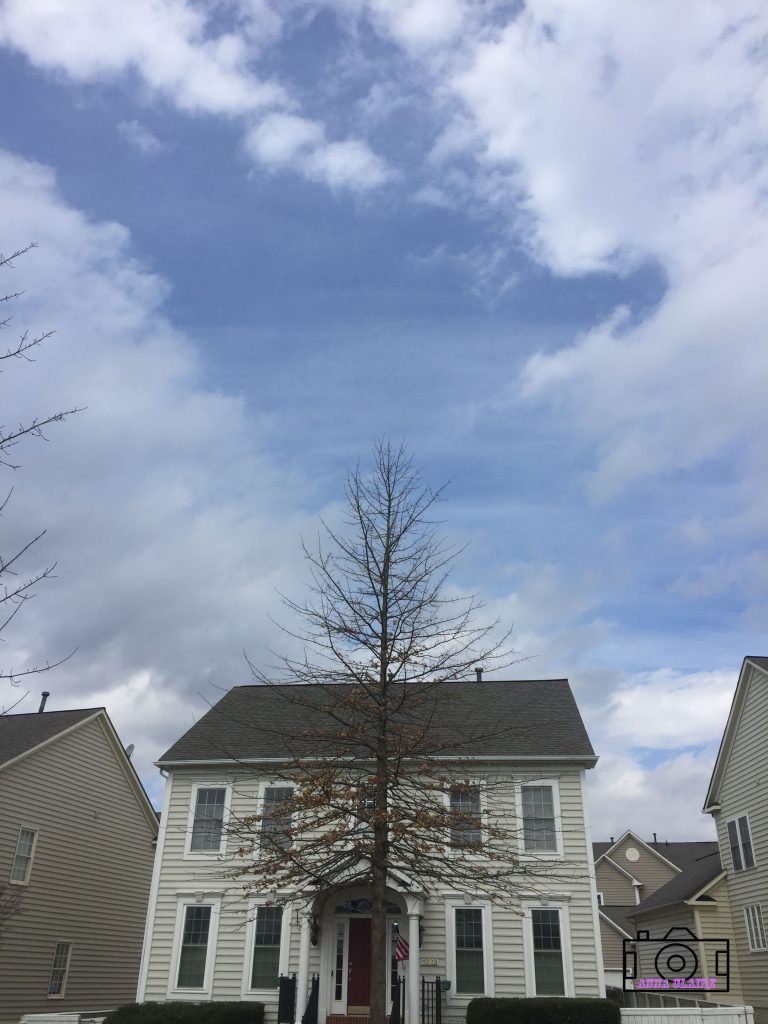
For this project, we took photos of random objects/people. when taking the picture, we had to line up our main object with one of the 4 lines or line intersections on the camera screen. none of the main focuses of our photos could be in the center. Overall this project was very straightforward, so there were not very many challenges. The easiest part of this assignment was aligning objects with the rule of thirds lines on the camera. Here is a link to all my photos:

https://drive.google.com/open?id=156BbbHvB5_4vbkWjF8KrERmyfhPSzTUt

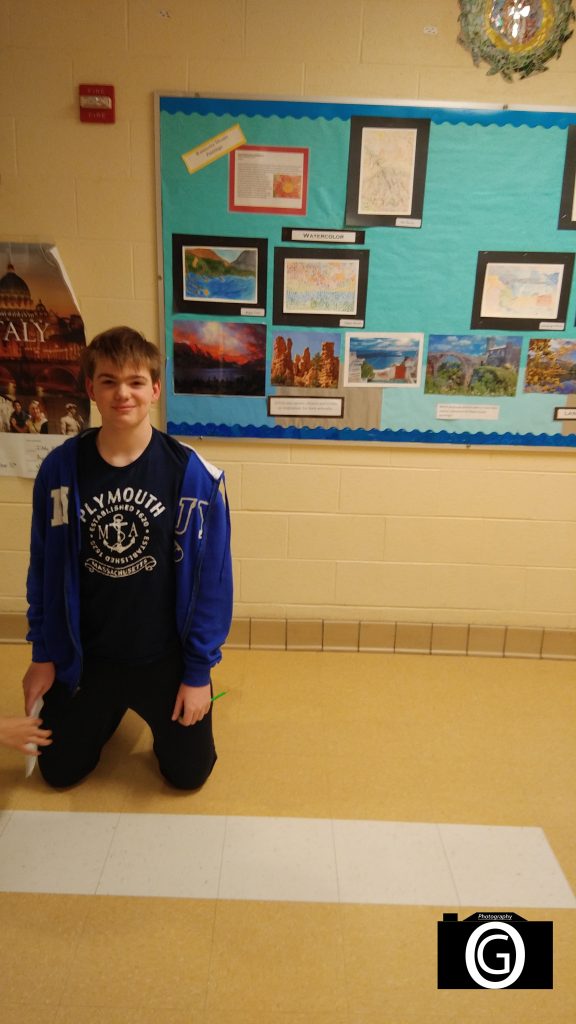
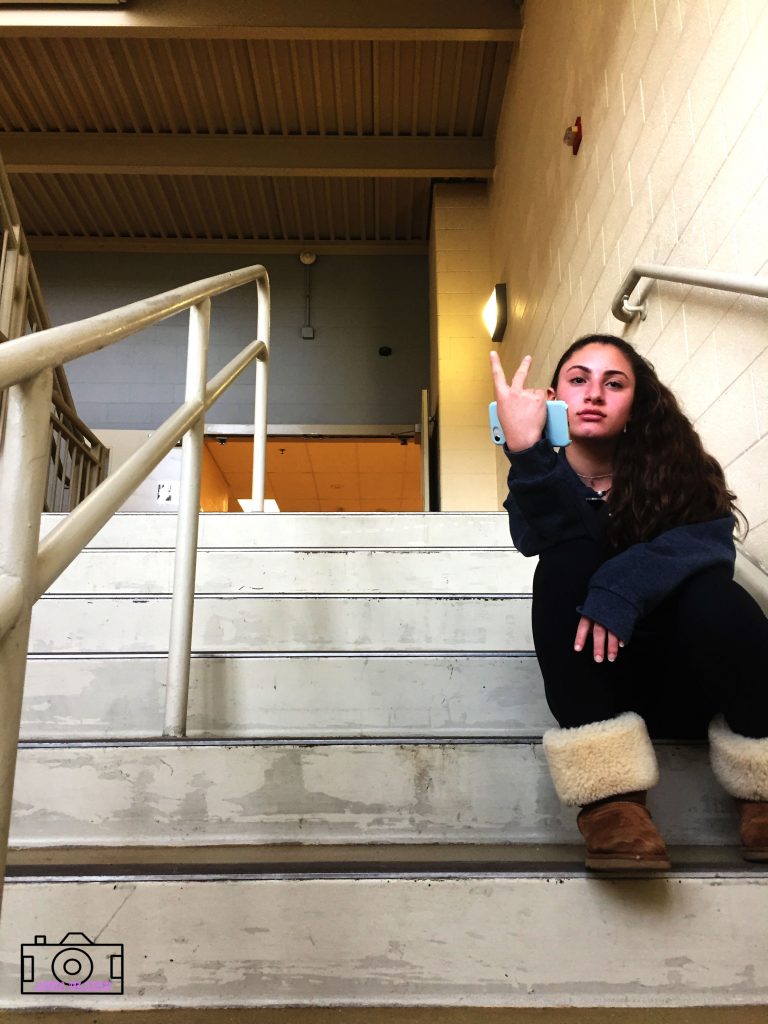
Below are my favorite photos of a street sign and a person:

Rule of Thirds

For this assignment, we had to use the grid on our phones, or camera to create the rule of thirds properly. The grid is created by 4 lines, 2 horizontal and 2 vertical. The 2 horizontal lines create thirds going sideways while the 2 vertical lines create thirds going vertically. These lines created 4 intersecting points, which are also the points that people focus on first. You wanted your focus objects of the photo to either take up 1/3, 2/3 or be on the intersecting points to create this project properly. The biggest challenge of this assignment was making sure I did it properly, because I couldn’t know if i did it properly since I am bias because I took the photo. To overcome this challenge, I asked other people what was the first thing they looked at in the photo, and if it matched up to what I was expecting, then I did it correctly. This project changed the way I take pictures because I realized, that the object that you want to focus on doesn’t need to be in the middle.

Link to all my other photos

Photo With Black Backround

The process of doing this assignment was really easy. This picture worked really well because of the lighting and theirs no shadows, We were supposed to get his whole body in the light but only got half of it.if you want to see more of my groups picture click here

Rule Of Thirds

I learn so much through this project of using rule of thirds. I think I did well using the line to set objects stands out and create a focal point. But for the cloud photos, that color or patterns of the cloud did not stand out. So I used the camera edit to make the color darker. I changed my thoughts through this project, because I am able to learn how to look at a photo using rule of third, and take pictures using rule of thirds. Here’s how I used the “Lines” to take photos. First, I used 1/3 of the photo focus on the Marelin’s whole face. For the rest of the photos, I used the line to make sure the objects are on the second line.

Click Here To see the photos

Rule of Thirds

For this project I had to take photos using the rule of thirds. Finding objects to take photos of worked for me, and the lines helped me figure out where to align everything. It was hard to get the angle just right and ensure that the object you wanted to be the center of attention, was the main focus of the image. I thought this project would be fairly simple but it was a lot trickery than I expected. Everything in the image had to be just right or you photo would not be successful. I used the grid on my camera to align everything up and it helped me a lot when it came to positioning everything in the photo. I put the object I wanted the most attention to be on, on the actual lines of the grid. Here are the rest of my photos.

I positioned Antonia on the very left line of the rule of thirds grid

I positioned the top of the school with the lowest line of the grid

black infinite backgrounds

What we did in this part of the project was get a black background, and put lighting on you so you are only showing your face basically. It was very hard to find perfect lighting, but it was easy to find black

CLICK HERE TO SEE PHOTOS

Rule of Thirds

In this project we had to take a photo using Rule of Thirds. This method is used to line photos up taking peoples view from one point to another. Using the grid on the phone you are able to take a perfect photo. The grid lined the photos and separated them into parts of the grid. One of the easiest parts of the project was finding a place to take the photo. The hard part was having to line the grid into the right position.

Click here to see my post

Rule of Thirds

The point of this project was to draw your eye to a certain object using the rule of thirds. When looking at the picture the point was to look at the things around your focal point that leads to the main object you are taking the picture of. One hard part of this project was lining up the objects with the lines and getting the picture to be straight up and down and not tilted. Also it didn’t work well when you stood against a wall because there was no where for your eye to travel. I thought this project would be fairly easy in the beginning, but once we started taking the pictures it was slightly harder then I thought. For example I wanted the person looking at the pictures eye to go directly to Lizzie. By using the rule of thirds I was able to put her in one third of the picture, and she stands out because she is the far right vertical line so when you are looking at the stairs it leads your eye straight to her. For the top picture I wanted your eye to go directly too the house, so I made the focus go to the house by doing the sky as two-thirds which leads your eye to the house that is at the bottom.

Click here to see more pictures

I object, 5 shots

I had to take pictures of 2 objects and take 5 different angled photos of each, after completing the 2 objects I had to take a picture of a person, with 5 different angles. A challenge that was presented during this assignment was taking 5 different angled pictures. The person was the hardest to take a picture of. It was the hardest because not everyone was willing to let me take a picture of them. This project helped me realize there are different angles of taking pictures.

Click here to see my photos