5 Shots

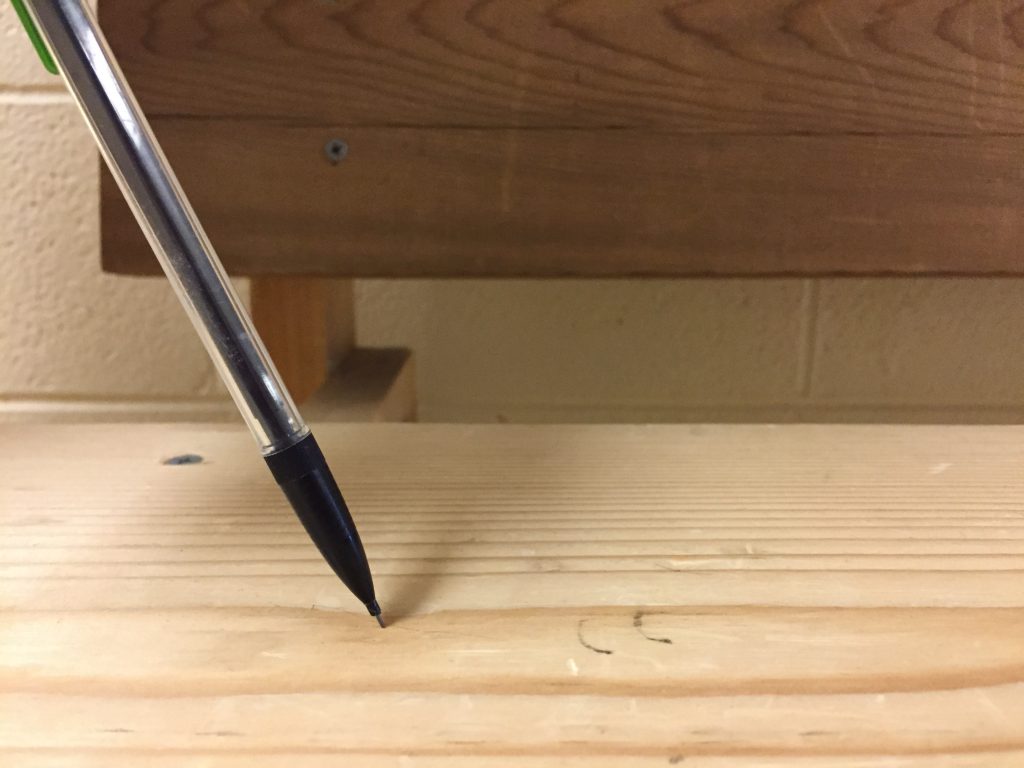
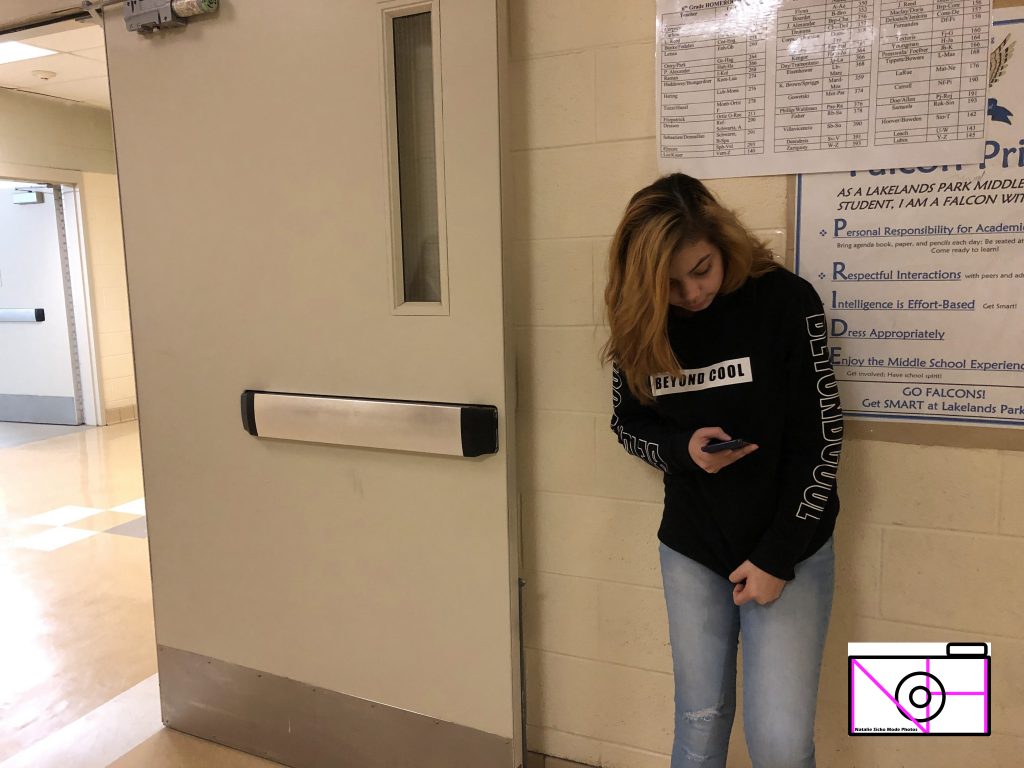
In this project us students had to take 5 pictures (each picture at a different angle) of 3 different objects. while taking these pictures the hardest part was being creative and thinking of different angles to take the picture. One of my objects was a microwave and one of the hardest things of taking its picture was thinking of different ideas to make the pictures interesting because the microwave was shaped as a square. Although the project had its challenging moments, the project taught me how to take more quality pictures and get different angles while taking my friends pictures.

Click Here to see my phohtos

Click Here!
Infinite Backgrounds

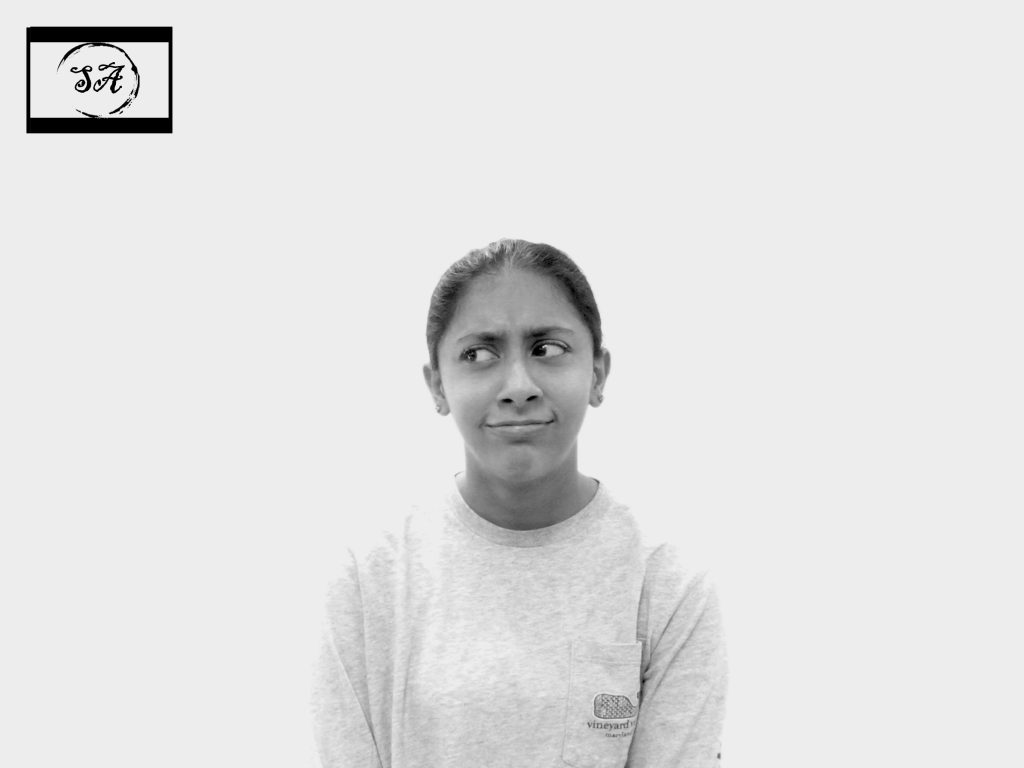
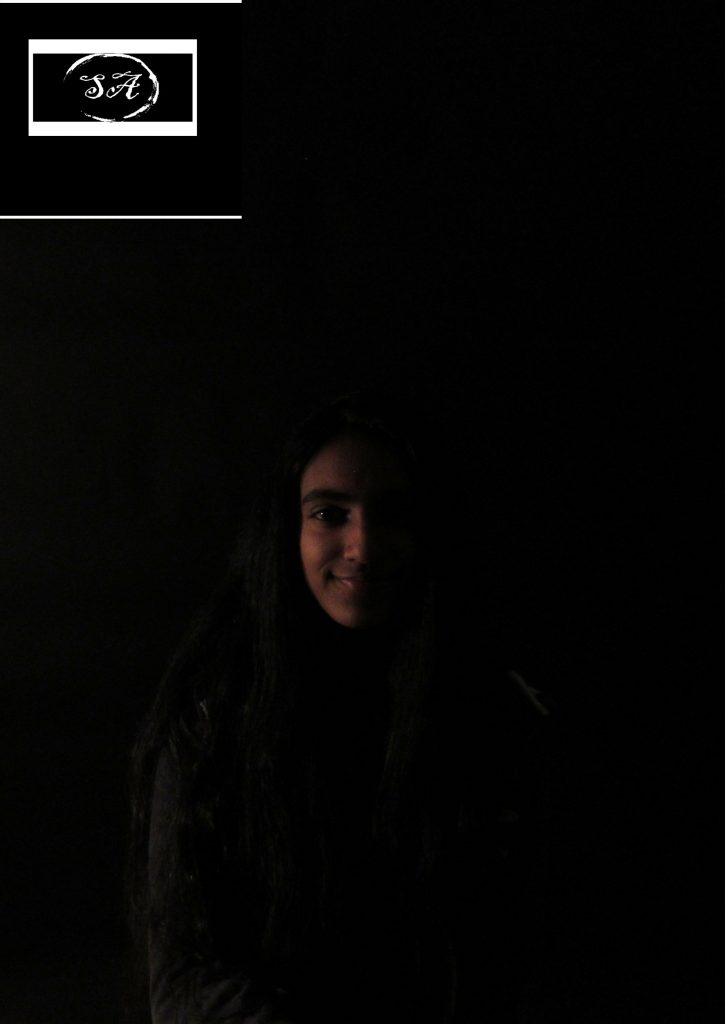
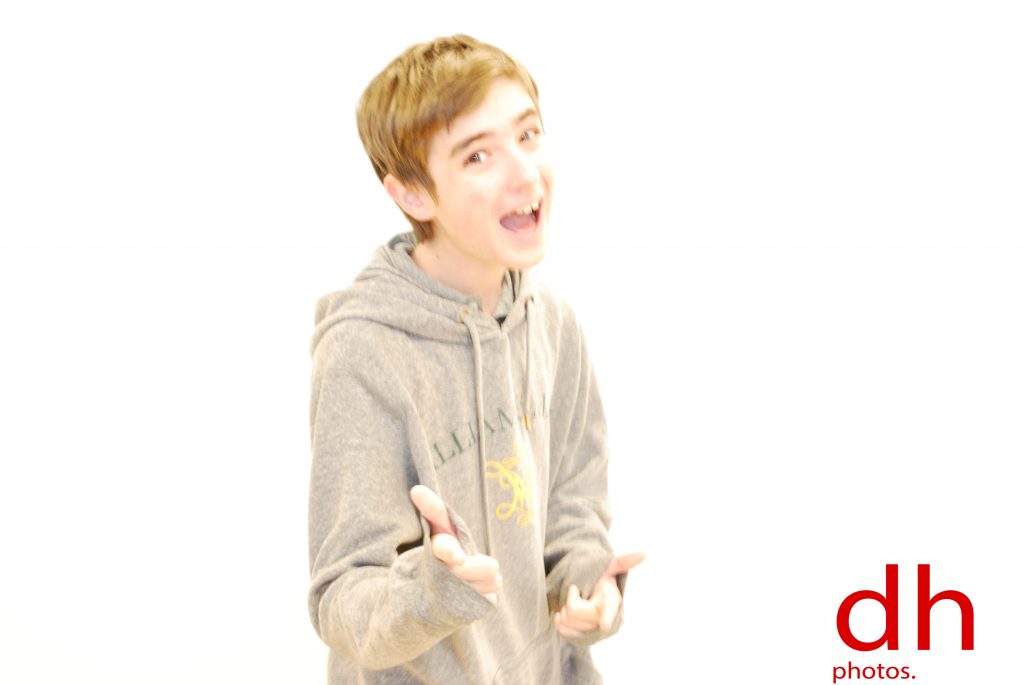
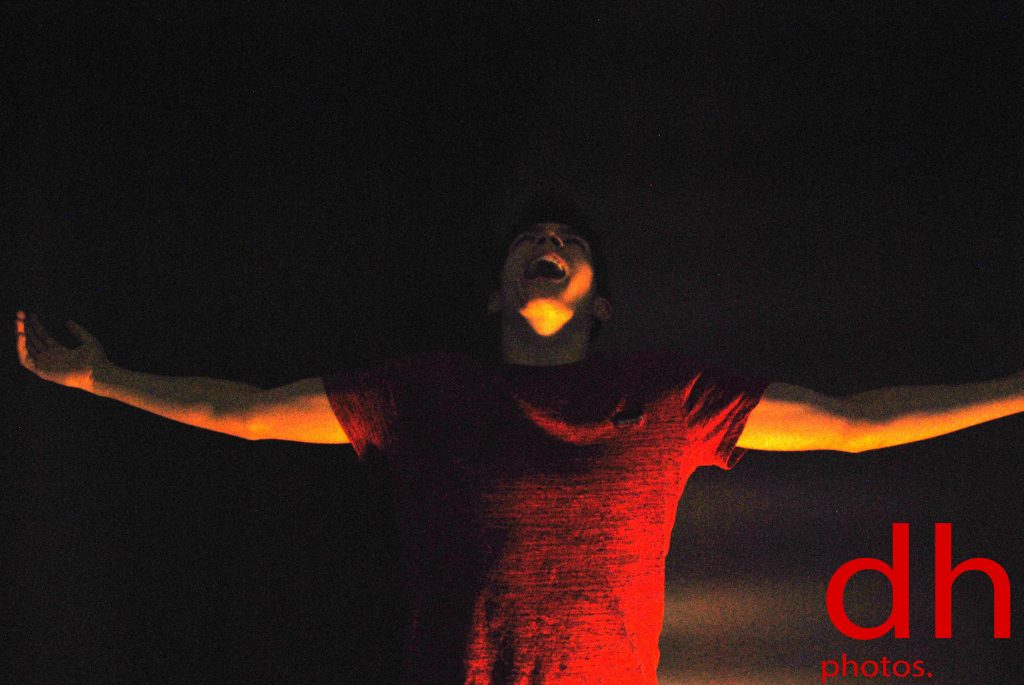
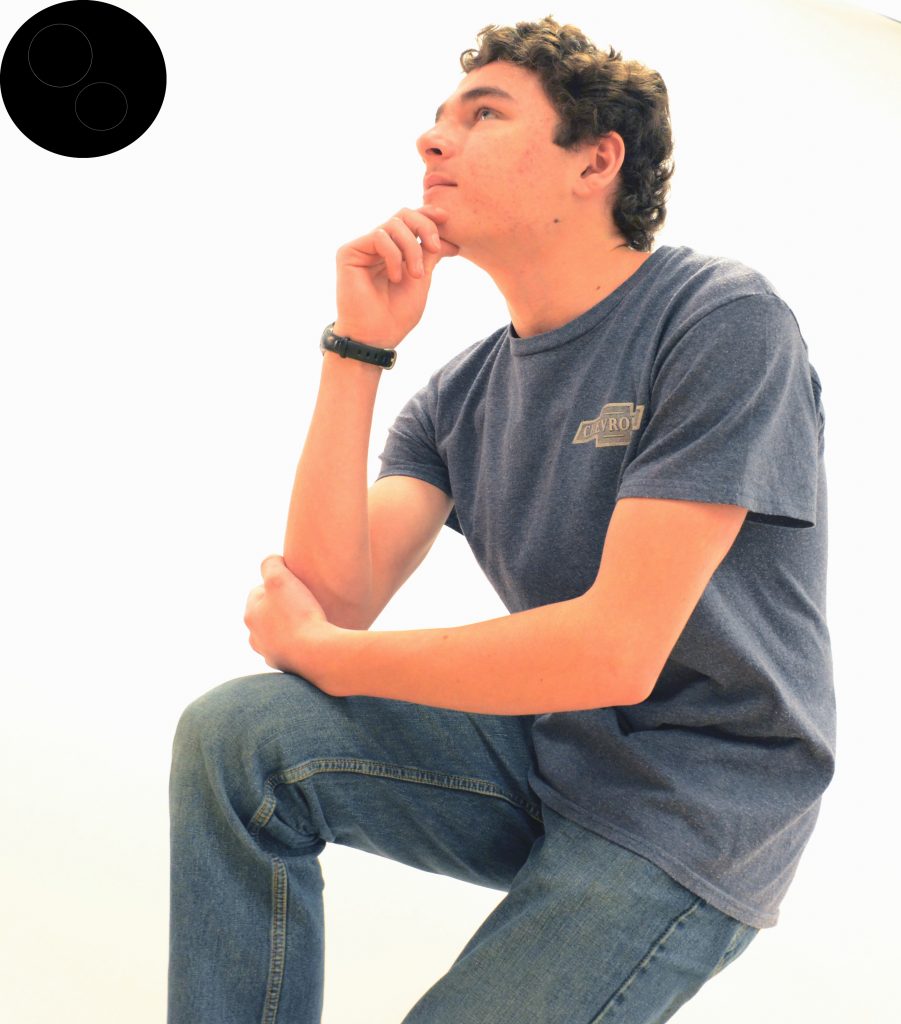
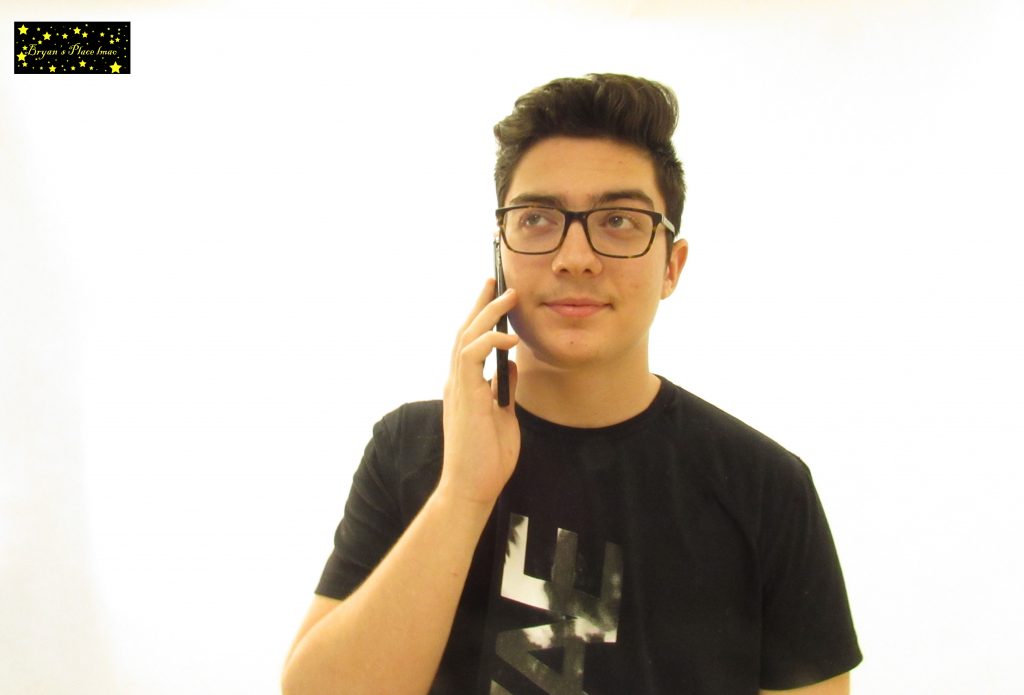
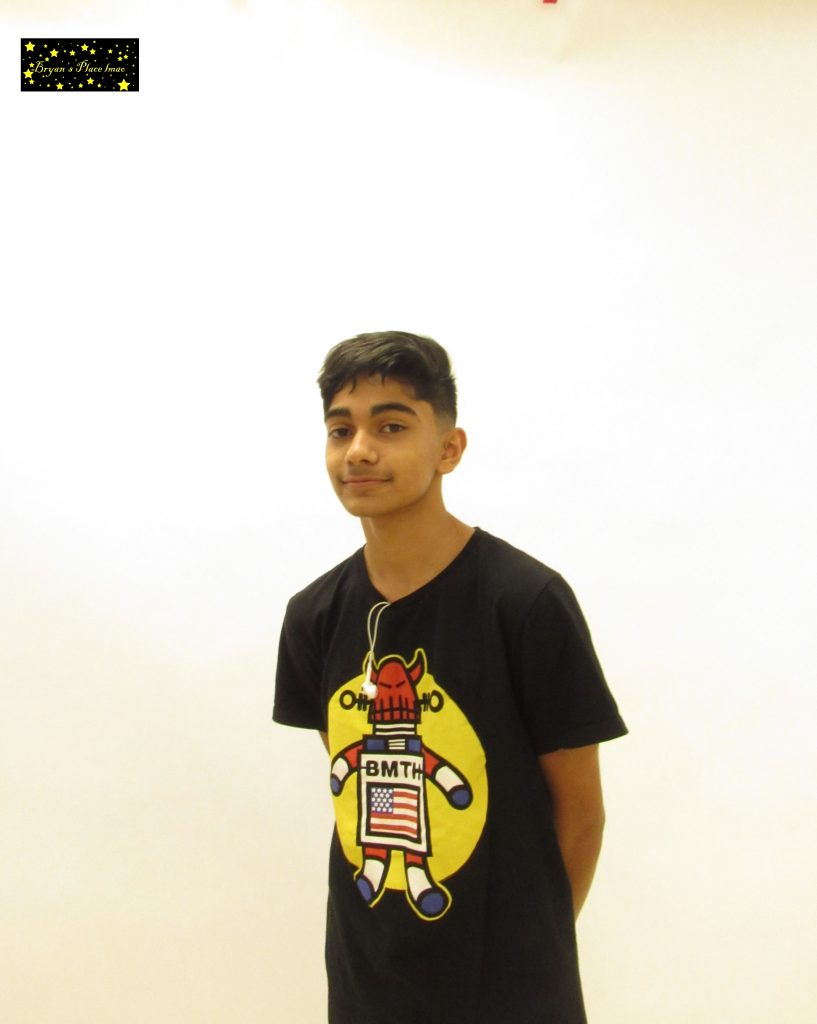
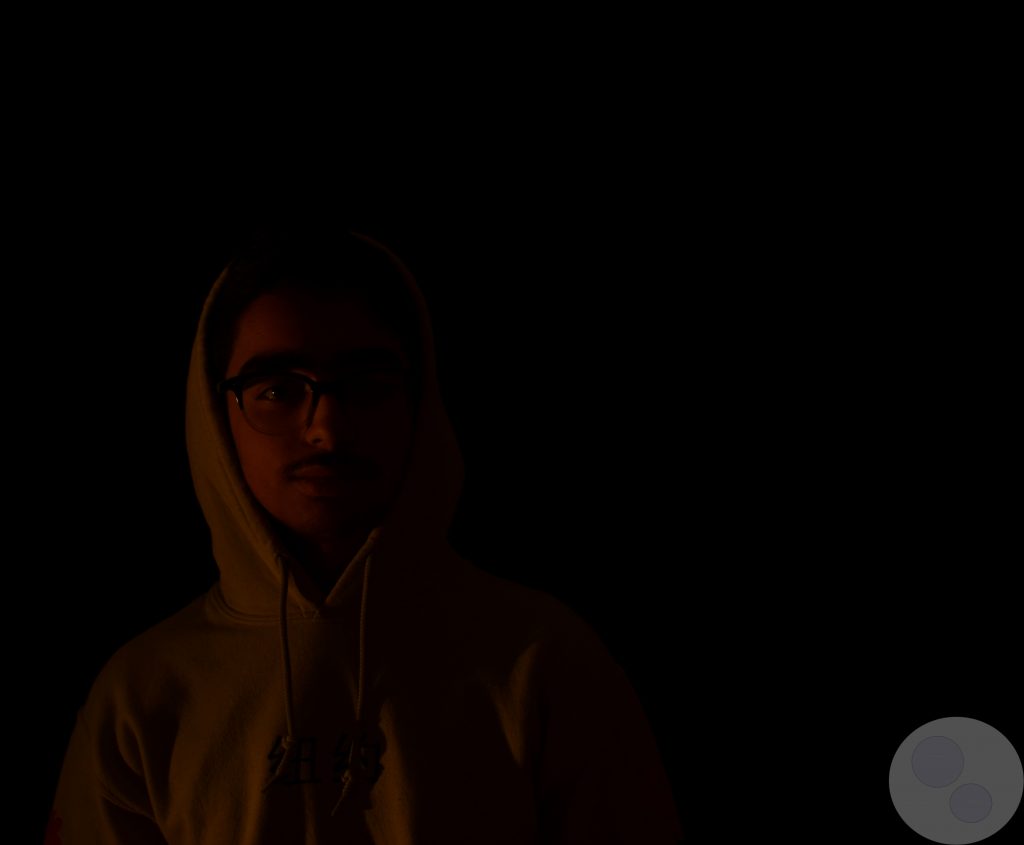
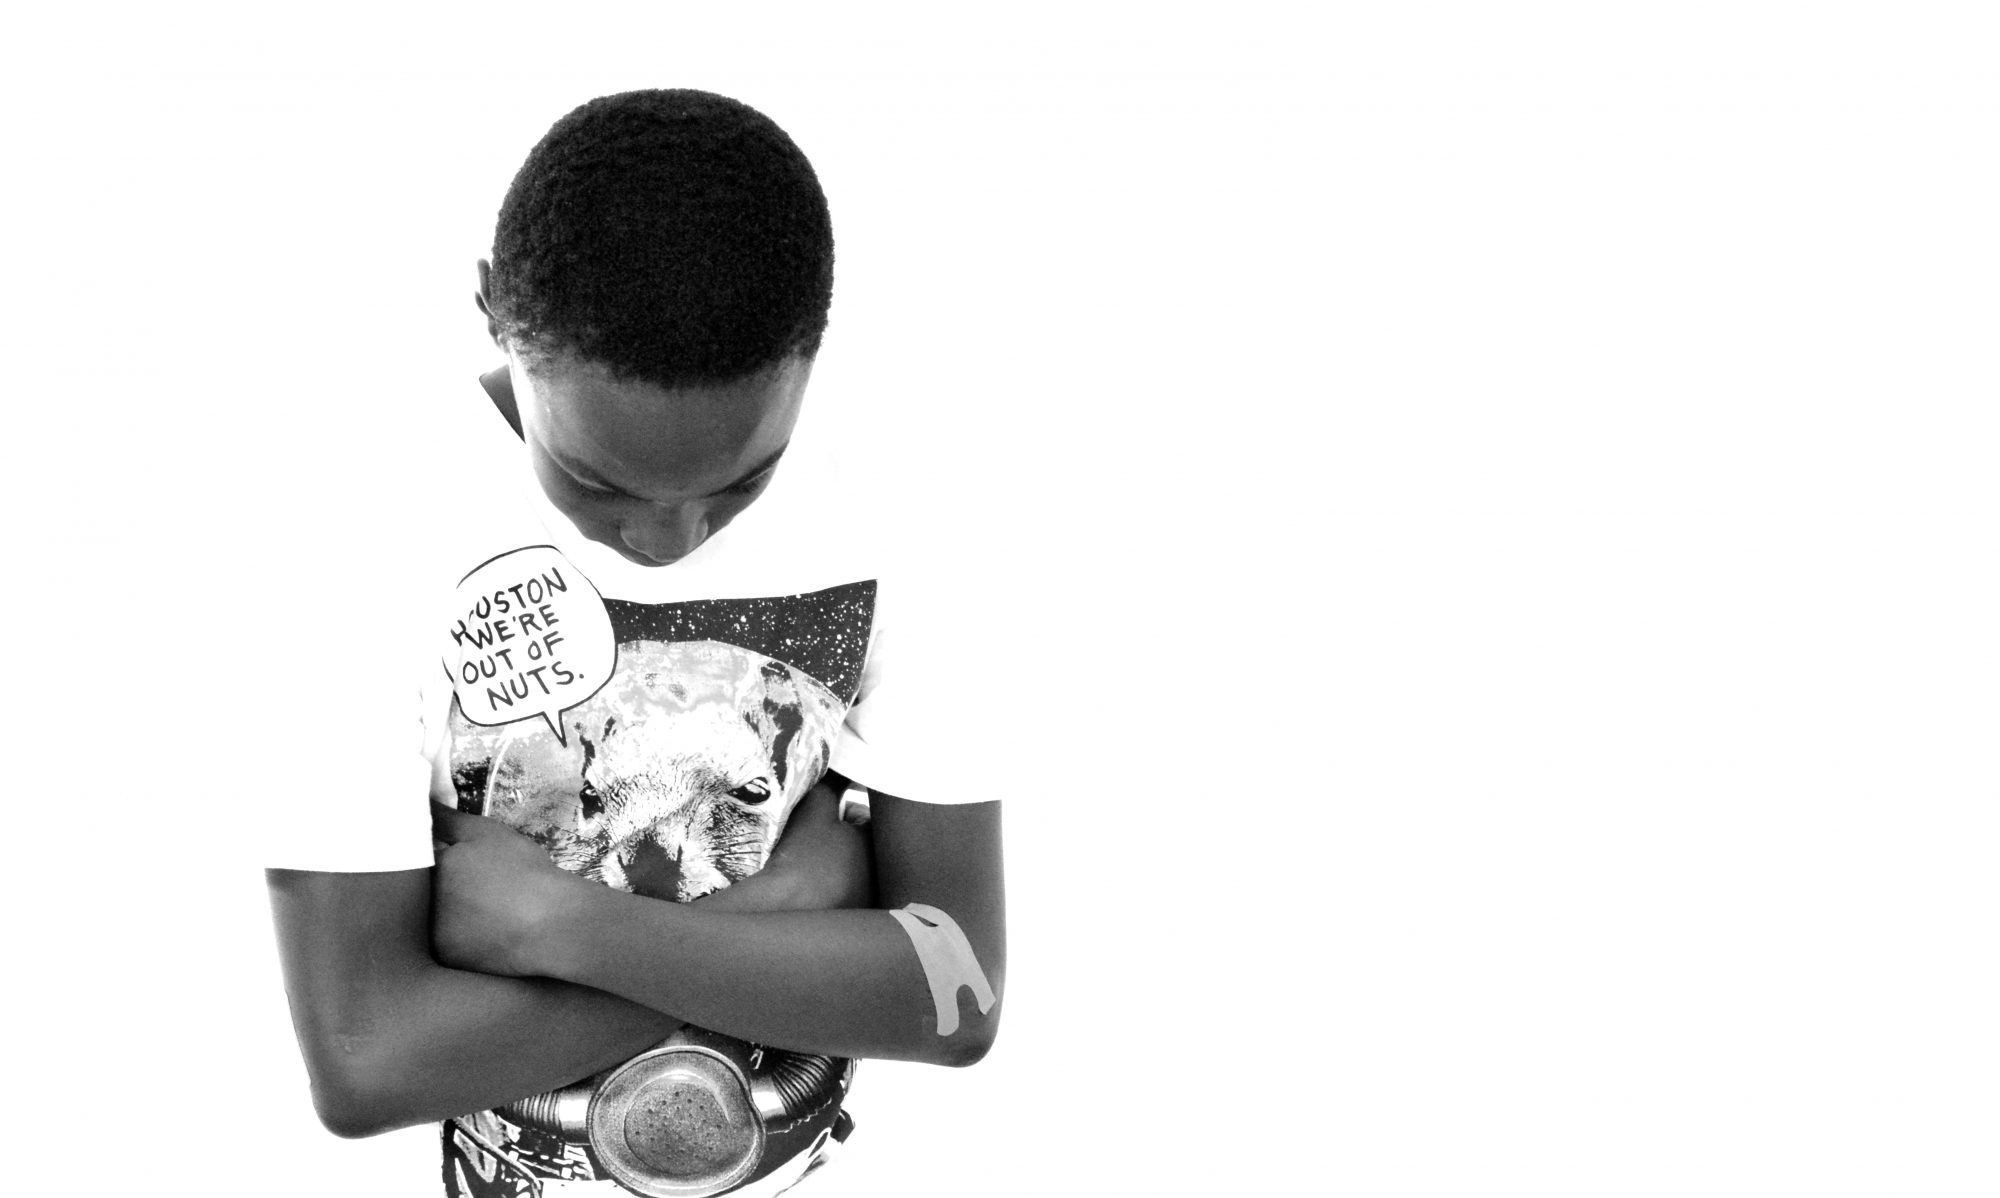
In this project, I took pictures of people with black and white backgrounds. Using a shutter speed of 1/13 which is how long the film was exposed to light. We had to use different ISO for both our black and white background pictures. In order to capture more light in the picture which we used for the black backgrounds, we had to use a higher ISO and to disregard the light we had to use a lower ISO which we used for the white backgrounds. At first, it took a while to get the right lighting for the photos and for there to be no shadows in the background. But after some trial and error, we ended up getting it. I also think we had a different variety of poses in the photos which really made the photo stand out more.

Click here to see more of the white background photos.

Click here to see more of the black background photos.

Rule of Thirds

My favorite photo with a person.
My favorite photo of an inanimate object.
  • The angles that worked for me were the right line and the left line. I thought that this project was very interesting, and further along the line, i thought it was fun. I used the left line and the right line the most, these lines are imaginary lines that divide a picture into a tic-tac-toe board. If you line up what the focus is with those lines and points, the picture looks better.

Rule of Thirds photos.

Black and White Backgrounds

We were not give any post instructions. What I did with my photos is I didn’t actually make them ‘black and white’, I just messed with some curves.

What really worked was making sure that there was the right amount of light, and making sure it hits the person right. Not doing the light right really messed with the shot.

white backgrounds

black backgrounds

White Background

Click here for my photos

The white background photos were quite easy for the entire group. This was my favorite picture due to the pose that Gage was doing. Within this photo the most important thing was lighting to make the background look infinite, I was the person with the light so I had to shine it on the paper.

Rule of Thirds

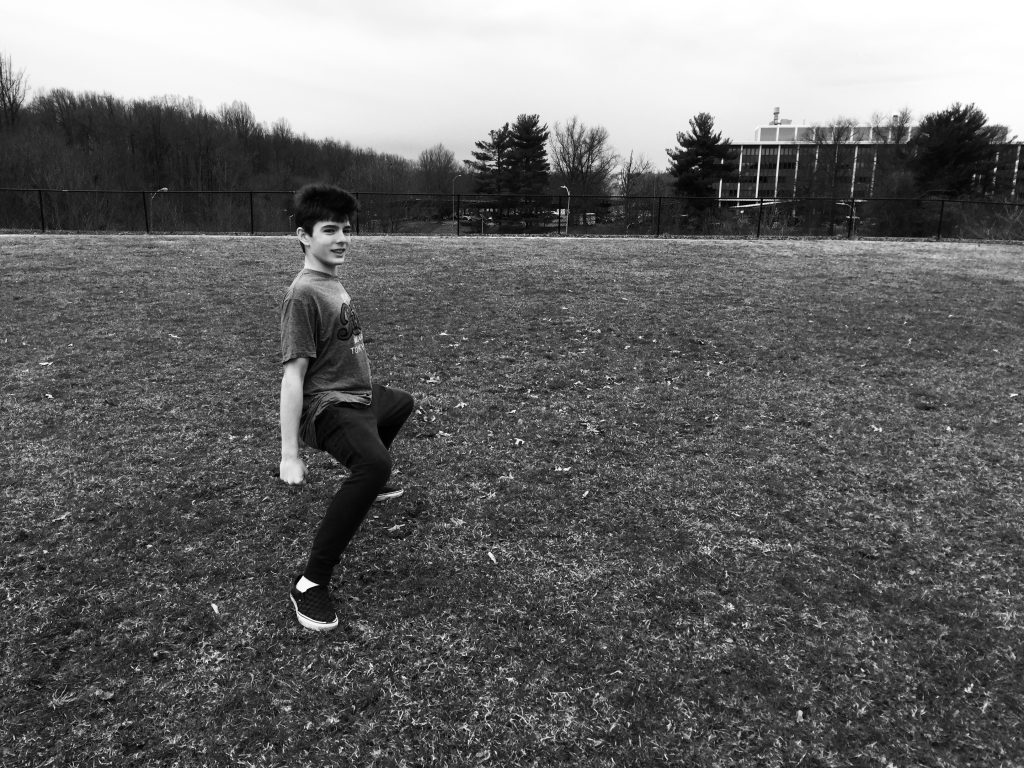
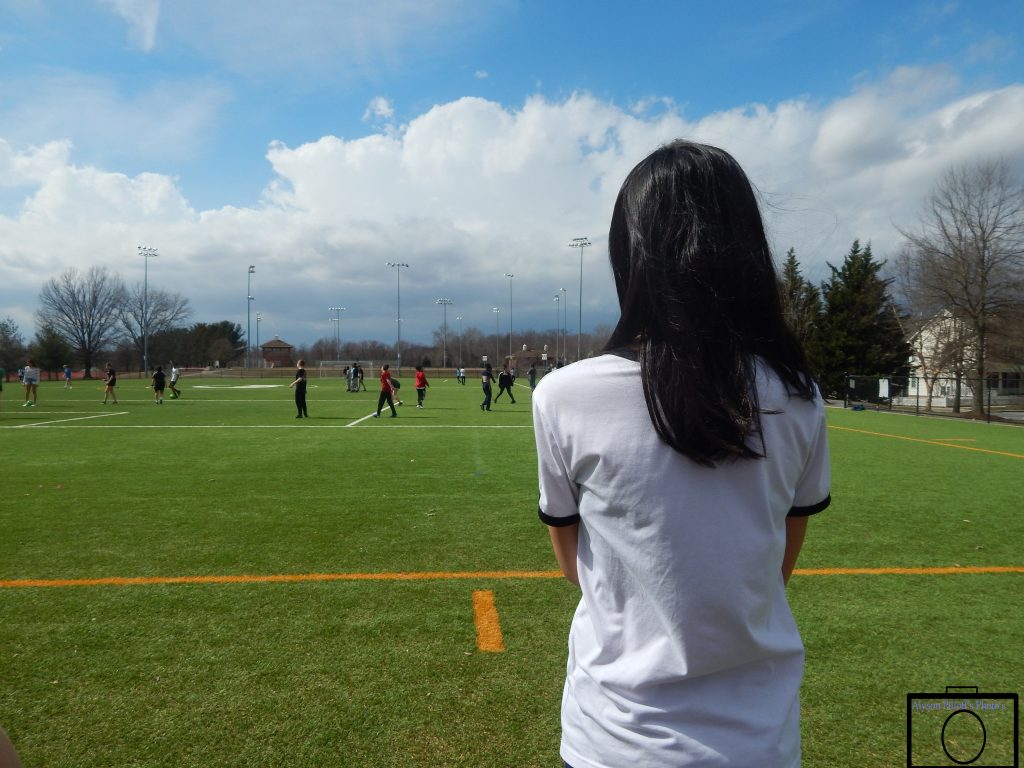
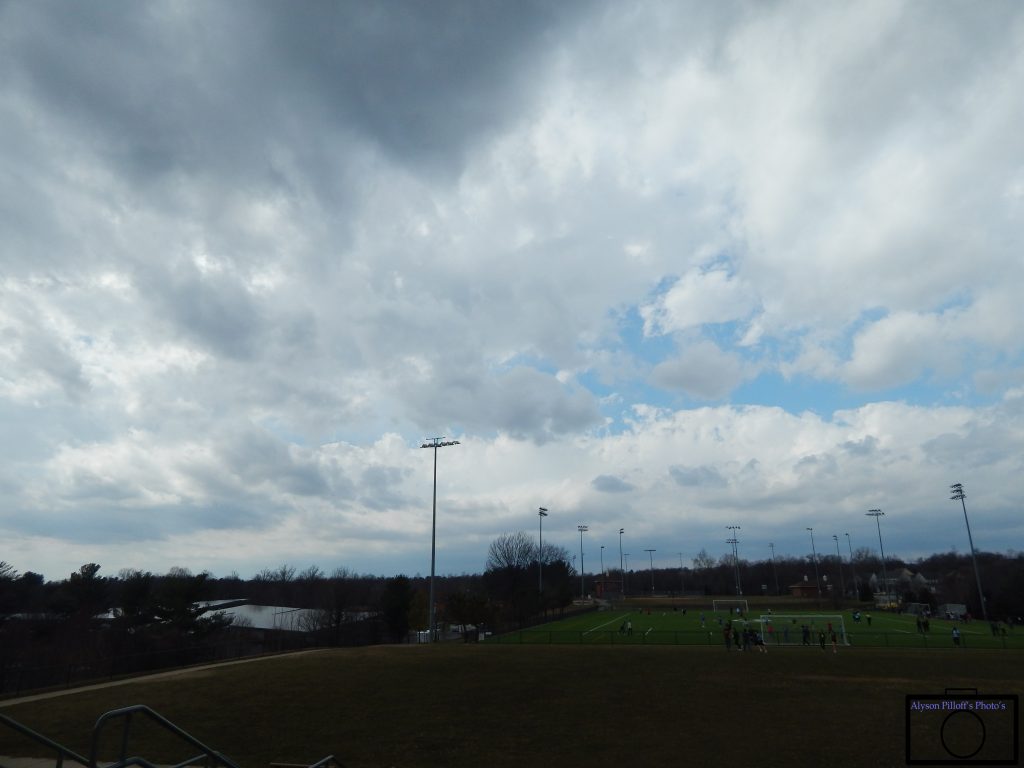
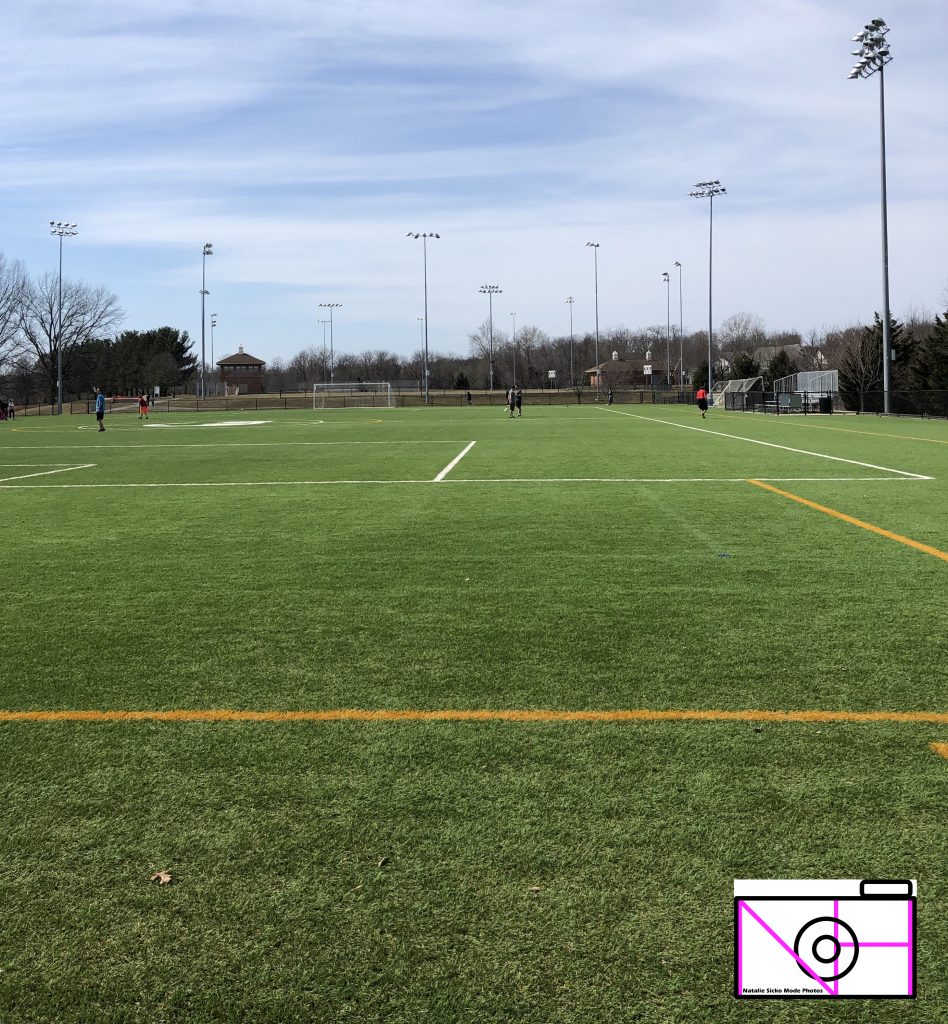
For this project, I needed to take photos of different objects but have them meet the rule of thirds. The rule of thirds is a grid of imaginary lines on your camera to help you line up your images in order to have the viewer focus on a certain point. I thought it was easy to imagine the lines on the camera that I used to position my photo. I just picked a intersection of two grid lines and positioned my main object at the intersection. If the picture also included the sky I would position the camera so that 1/3 of the picture was grass or ground and the other two thirds were made up by the sky. You can click here to see the rest of my photos.

White Portrait

For the white background I stood in front of the white background and I had someone shine the light behind me on the background so there wouldn’t be a shadow. That worked. What didn’t work was shining the light directly on me because that would have made a casted a shadow on the background.

Click here for my photos.

Rule Of Thirds

For this assignment, we had to use the skill rule of thirds. This skill is used when you want someone to focus on an object in the picture. What worked for this assignment was making sure the person or object was lined up with the intersections. My thoughts of the rule of thirds is, I like it because it has the pictures turn out better. When someone looks at your photo they will be able to see the main focus. I thought this project would be hard but it was not and now I can take better pictures. What didn’t work for this assignment was having things in the background. the lines in this assignment are like a tic tac board. When you take the picture you want to have the object lined up with the intersections or the dots.

click here to see my other photos

Rule of Thirds

My favorite photo that was taken was the photo of the field. My favorite person photo was the picture of Marelin. What worked was the photos and how they turned out. What didn’t work was trying to center the photos to the grid. At first I was confused on what we had to do for the assignment but now I feel like I have a better understanding. We had to take a picture with a grid and center it to focus on one object.

Here are some photos

Portraits With A Black Background

Click here for my photos

To take our photos it was a struggle at first since they just didn’t look right since the shutter speed was to slow and the ISO was just completely wrong. After our first 20 photos we got it right but after the photos came out just right. I think the lighting made it amazing which let me have a glow. Also the lighting was key to make it look great.