Portraits with an Infinite Background

Click here for my photos.

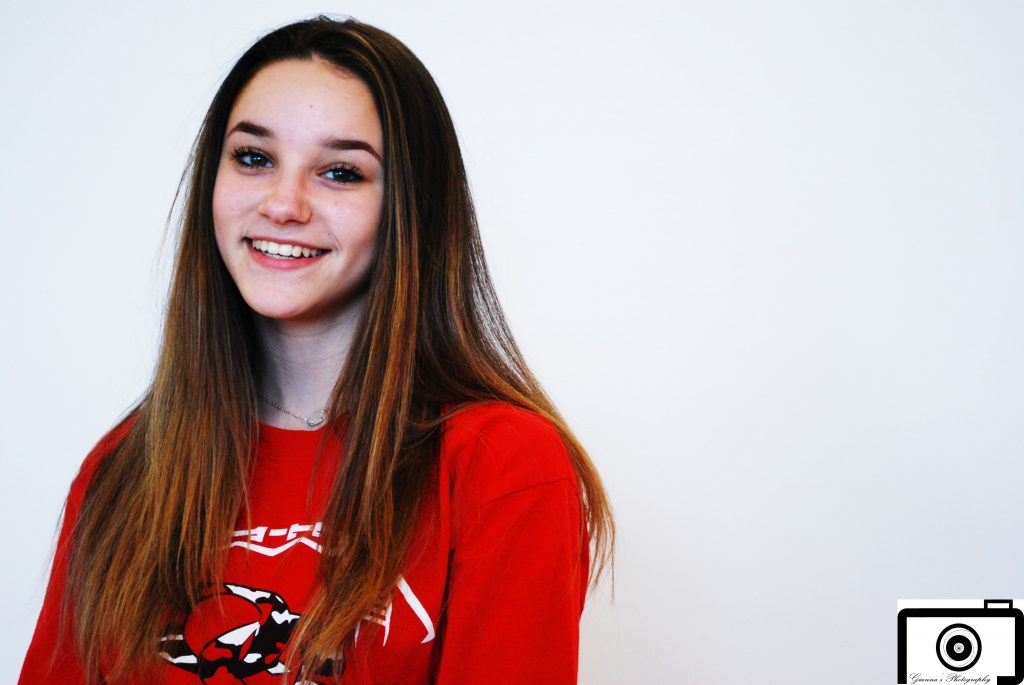
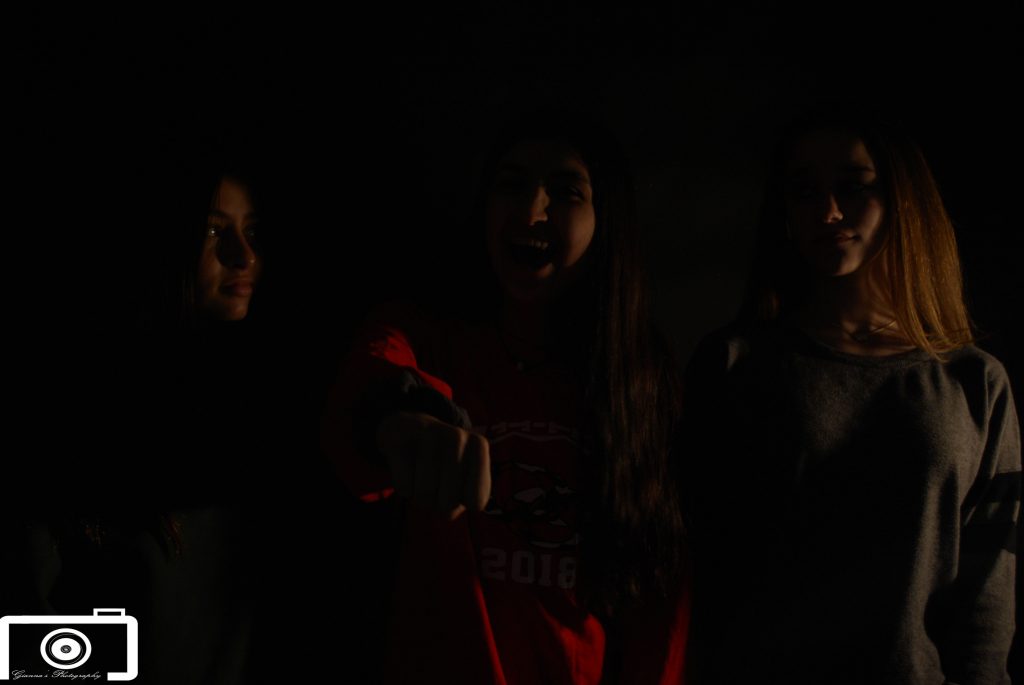
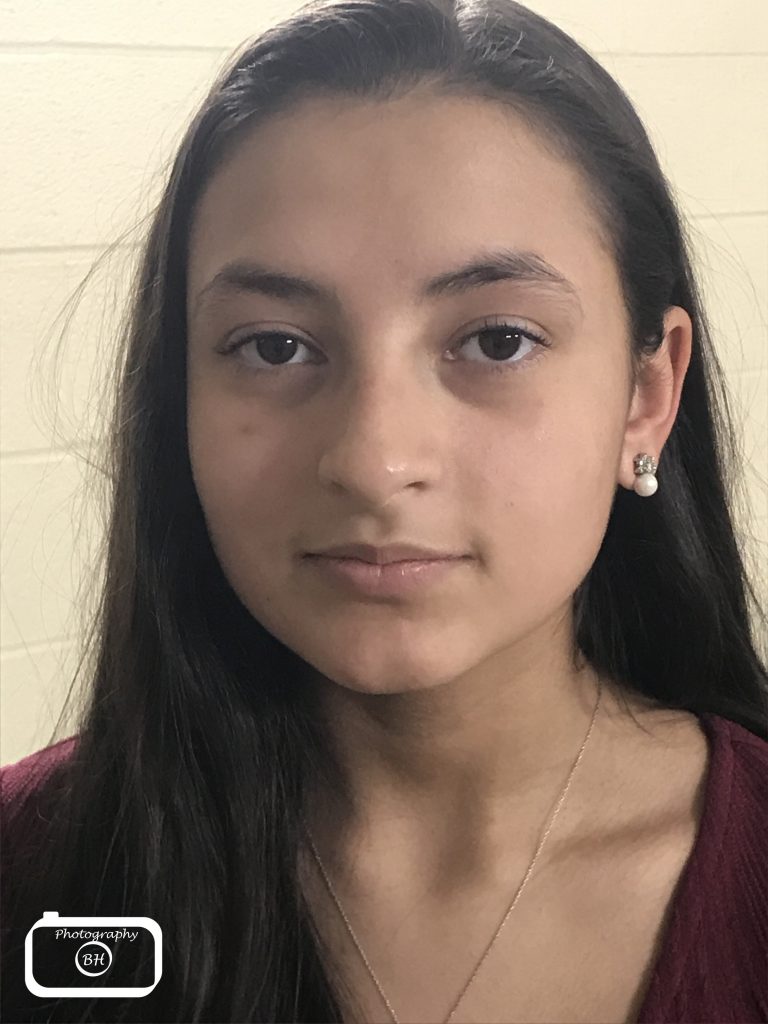
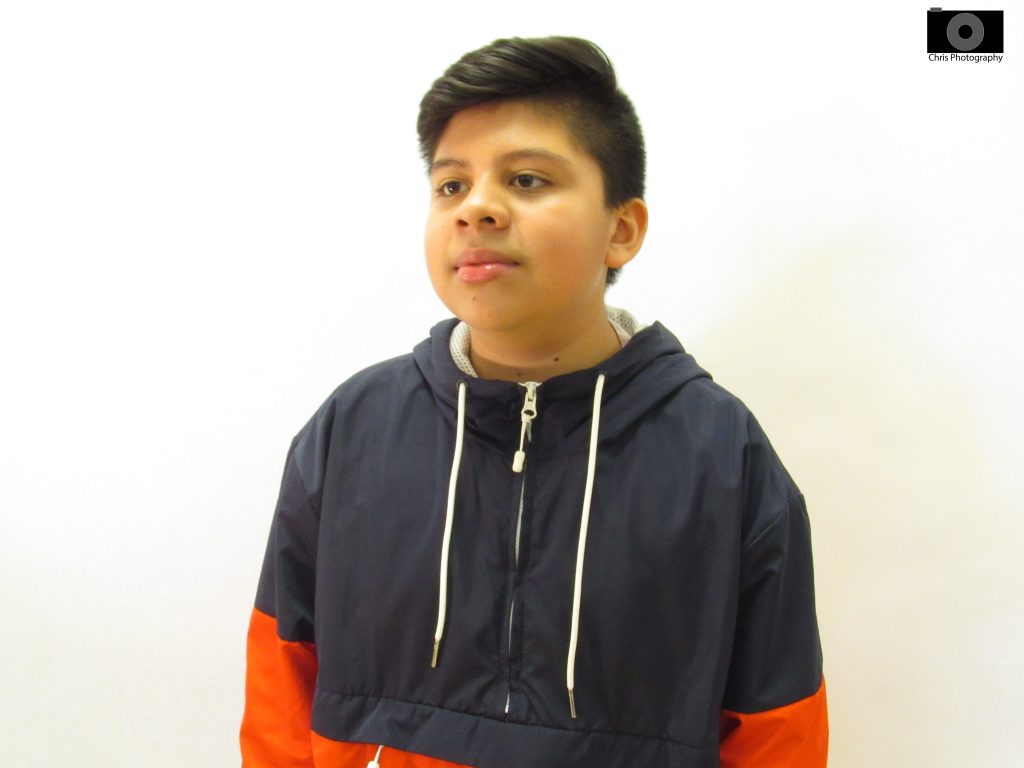
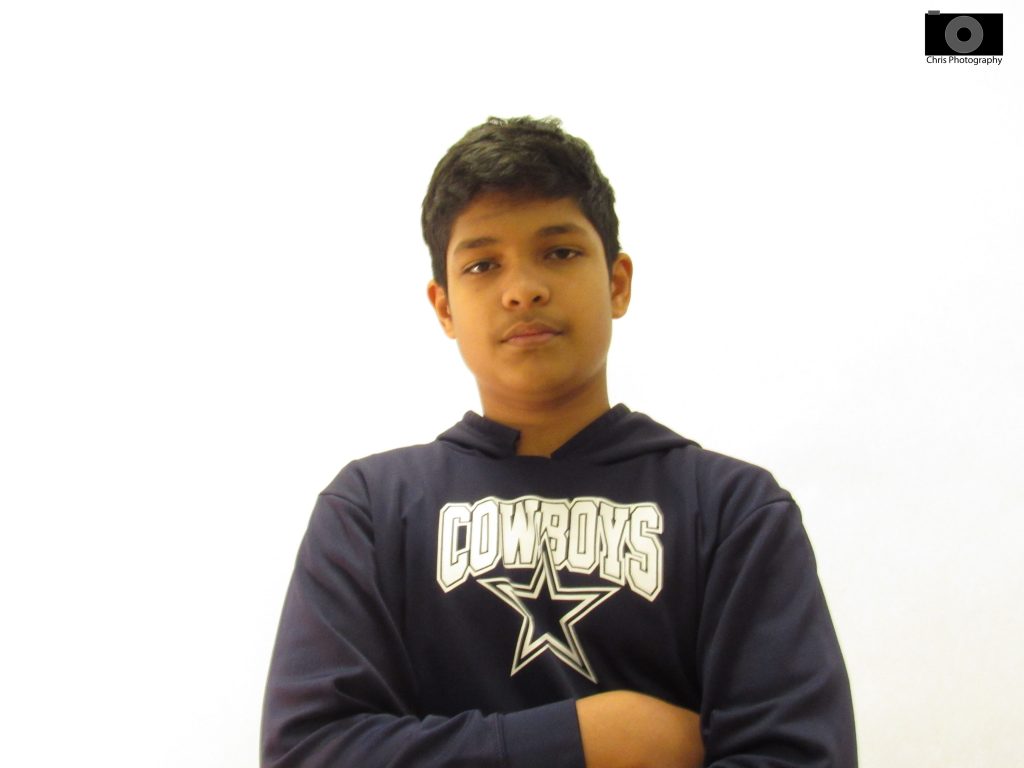
When I was taking photos for the white background, the settings had to be way different for when I was taking photos for the black background. During the white background pictures, I had to mess around with the ISO to make the picture and lighting different so you couldn’t see any shadows etc. During the black background pictures, I used the light to create different amounts of light on our faces so it would show up in the picture. Something that didn’t work was adding more light on the black background because it made it too light and you could see the background and on the white background if you were backed up, you could see your shadow. Something that did work was having multiple people in the photo which created a better photo in my opinion.

Rule of Thirds

During this project I officially learned how to take photos properly by using the Rule of Thirds. Then, we were asked to take 8 photos using these rules. We used these rules to help create a clear visual point in all our future photos. Although I think it was a bit hard to get our photos directly on the grid lines because it’s hard for a person to keep their hand perfectly still. Below are the photos using the Rule of Thirds that I took for this project. ?

click here to the rest of my photos

Rule of Thirds

Our goal in this project was to take interesting photos using the rule of thirds. I found it very difficult to take pictures of objects because, often, the objects wouldn’t form an interesting composition. However, I found it easy to take photos of people. In the beginning of the project, I thought all you had to do to have a rule of thirds photo was to put something on an intersection of the lines. Now, I have realized that that is not always the case. You need something to capture your attention. I also learned that when taking a straight forward portrait photo, you should line up the eyes of the person. In the portrait below, I tried to line up Hannah’s eye with the camera. In the objects photo, I wanted to have a different object on each intersection. One intersection is on the eye of the bird statue; another is on the wall, and the other two intersections are focused on objects.

Click here to see my photos.

Rule of thirds

In this projects for rule of thirds many things worked and many things didn’t work. Like putting the object that you want to be on the line or intersection of the grid. But putting the object in the center does not work. I thought that the rule of thirds was useless but now at the end I think that it is helpful so that the viewer can see the object first and then the background. I put Sophie on the side of the photo so she can be the first thing you see and then the background. The object in the second photo is my shoes. I want the viewer to look at my shoes first and then the background.

To see all my photos click here

Rule of Thirds

In this project we had to take 8 photos including people and landscapes that followed the rule of thirds. We used the 2 vertical lines and the 2 horizontal lines to line up out photos. For my landscape photo I made the sky take up two thirds of the photo so you focus on the sunset. In my photo of Natalia I lined up her eyes with the two grid lines. I figured out that the photos of the sky looked the best when there is nothing in front of the sky. It was hard to get the objects exactly on the grid lines.

Click here to see my photos

Rule of thirds

In this assignment, students had to apply the rule of thirds to their photos. The rule of thirds is an essential photography technique. It can be applied to any subject to improve the composition and balance of your images. The rule of thirds is one of the most useful composition techniques in photography. The technique that worked in this assignment was putting objects to the side instead of the middle. I had a hard time taking pictures of objects because it was hard for me to be creative. At first I thought that rule of thirds was a concept only professional photographers could understand, but then I realized that it was easy and made the photos more interesting. In the first picture, I decided to put kim in the left corner of the photo to make her the first thing you look at. In the second picture, I decided to be creative and put my shoes in the shot. It turned out good because of the contrast in color.

click here to see other photos

White Infinite Background

To take these pictures we had to play with the settings of the camera. We had to change the shutter of the camera to get different amounts of light in the picture. The more light the camera got in, the lighter the picture looked. Our best strategies was using our light towards the backdrop and aiming to the white background. Things that didn’t work well was aiming the light on the person because that made the person look like they were disappearing.

Click Here To See My Photos

Rule of Thirds

This project included students to take pictures of objects or other students using different sides of the camera so the object isn’t centered every picture. What really worked was using the cameras with the grid because it really helped separate the camera screen for the picture. What didn’t work was using the camera without the grid. The lines that were used for the camera really helped because it divided the camera so we can put the object on each side of the camera.

Click here to see my photos for Rule of Thirds