When I didn’t know about Rule of Thirds, I thought it was something that would make your picture more coordinated. After I touched it, it helped me better design the picture structure. I think it is a great feature. My Photos

The photography home of the Lakelands Park Falcons.
When I didn’t know about Rule of Thirds, I thought it was something that would make your picture more coordinated. After I touched it, it helped me better design the picture structure. I think it is a great feature. My Photos
Click Herehttps://drive.google.com/open?id=17bNmAhjjfJ_Z7ejpyFJFau78XoAWopK1
Basically you have to take 5 photos of one object from 5 different angles. We had to find 3 objects and take 5 photos. What I found challenging was finding different objects and take 5 photos in different angles. Taking the photos wasn’t hard at all. This assignment showed me that you should take many photos of the same object and different angles because they help you find a nice angle that you like.
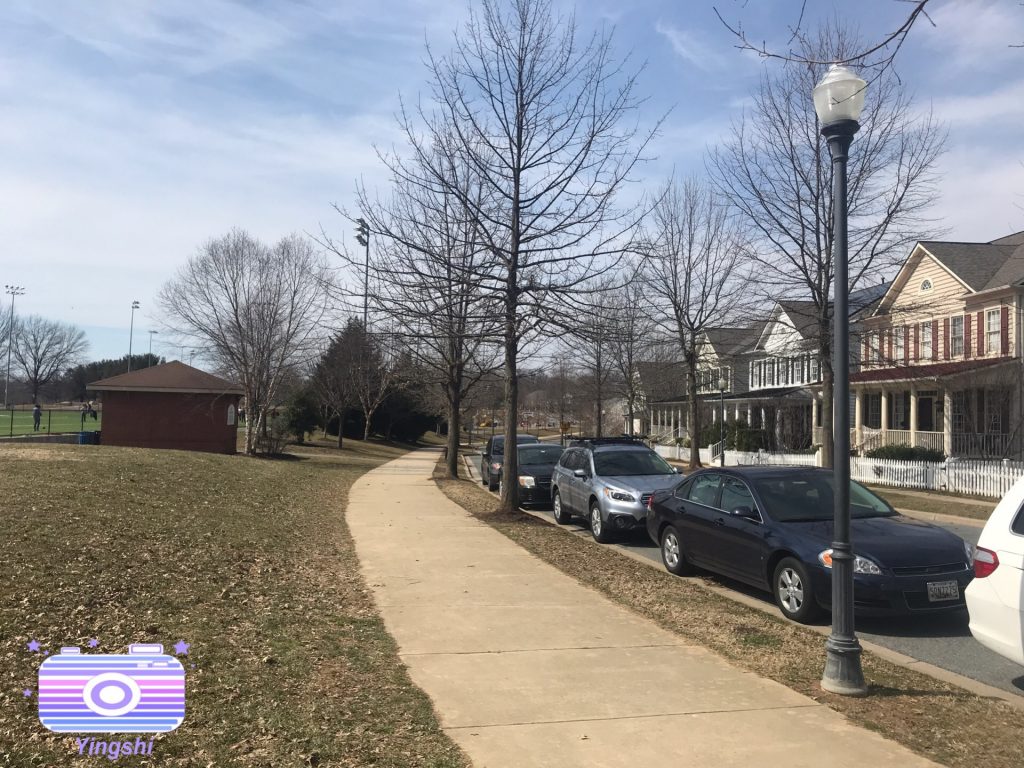
In order to successfully follow the rule of thirds, I turned the grid on on my phone. When I took pictures without the grid, they often didn’t follow the rule. I feel pretty neutral on the rule of thirds. It generally seems like a good thing, but other times it seems too restricting. I used the grid lines to make sure that my picture had flow.

Click here to see the rest of my photos.

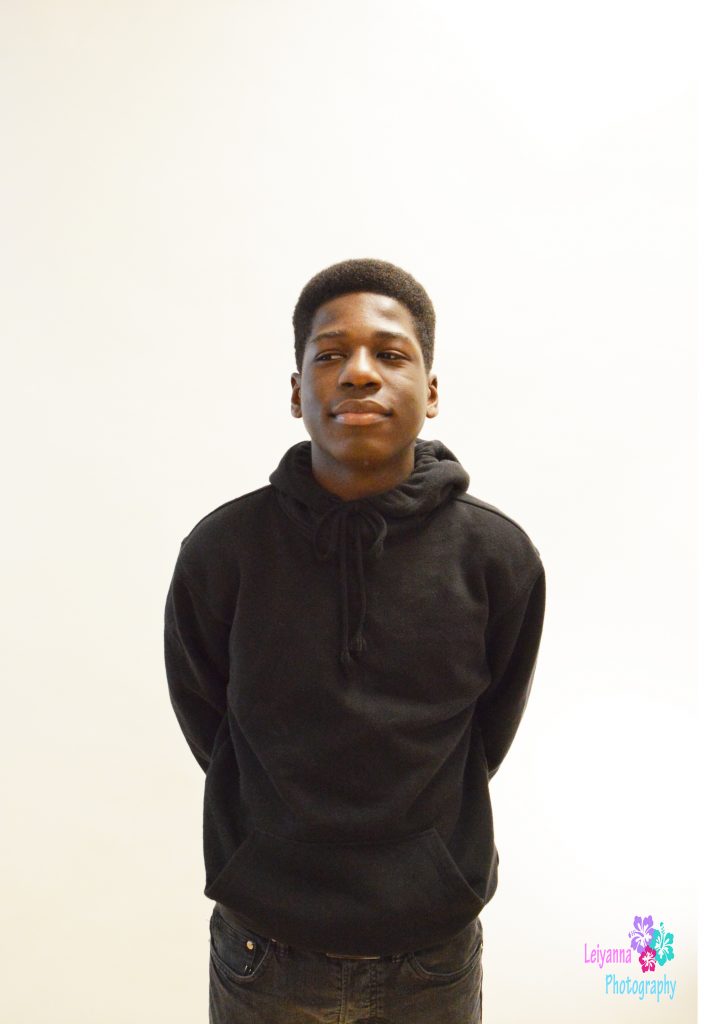
While taking the pictures with the white background, we stood in front of a bug white piece of paper and took our pictures. When we were done we used Photoshop to make the background infinite so that the shadows wont cast on the paper. Placing the light directly on the person caused the shadows to be more visible, but placing the light on the paper didn’t. We took many more pictures, to see them click here.
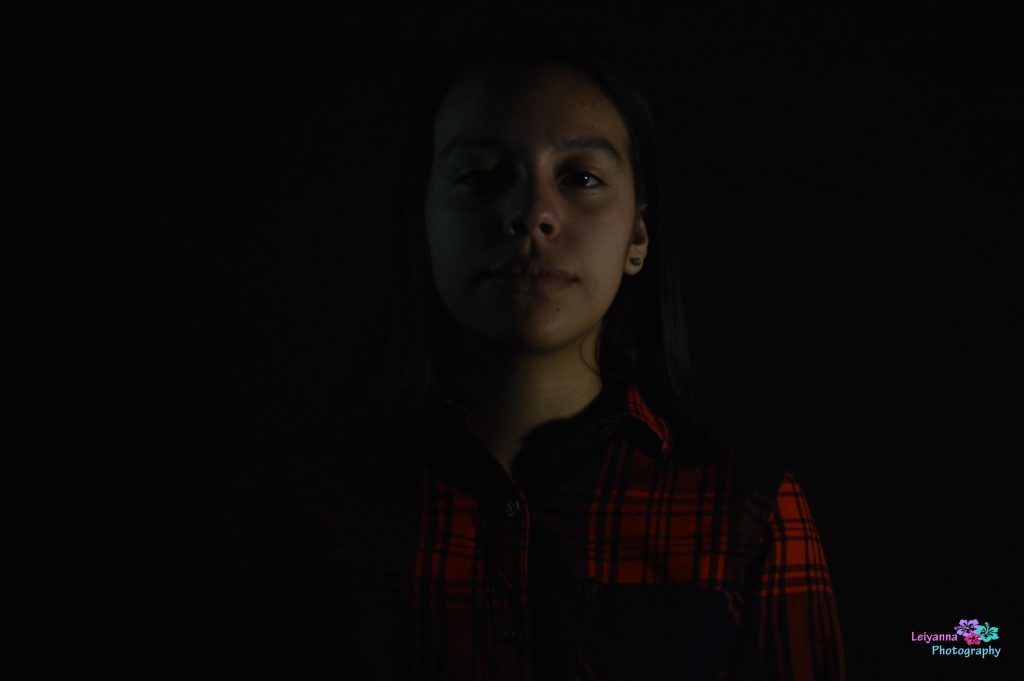
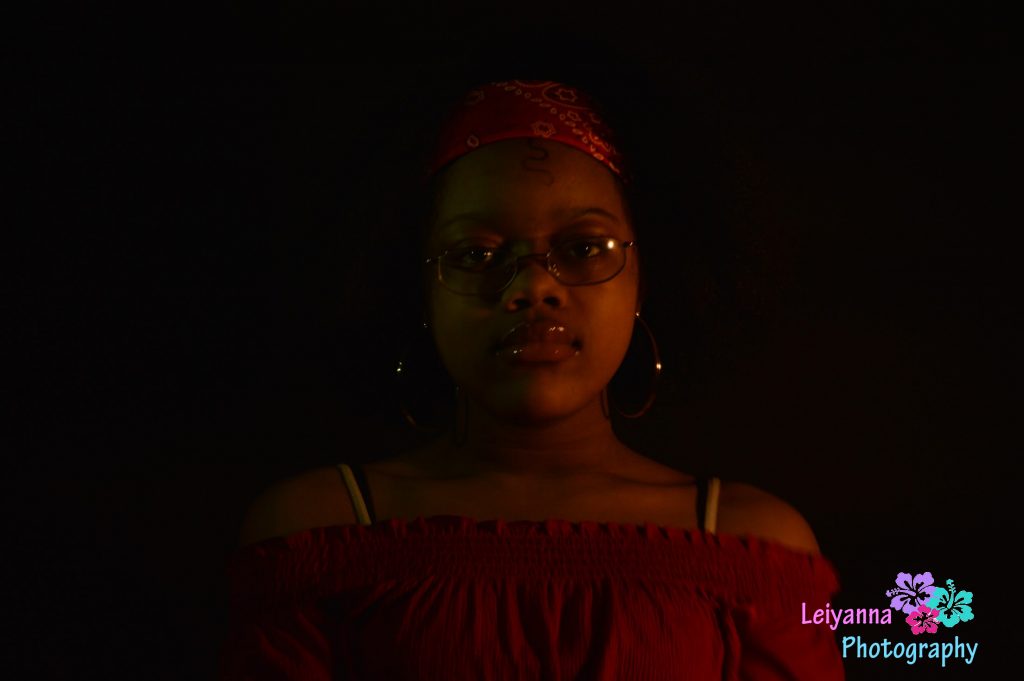
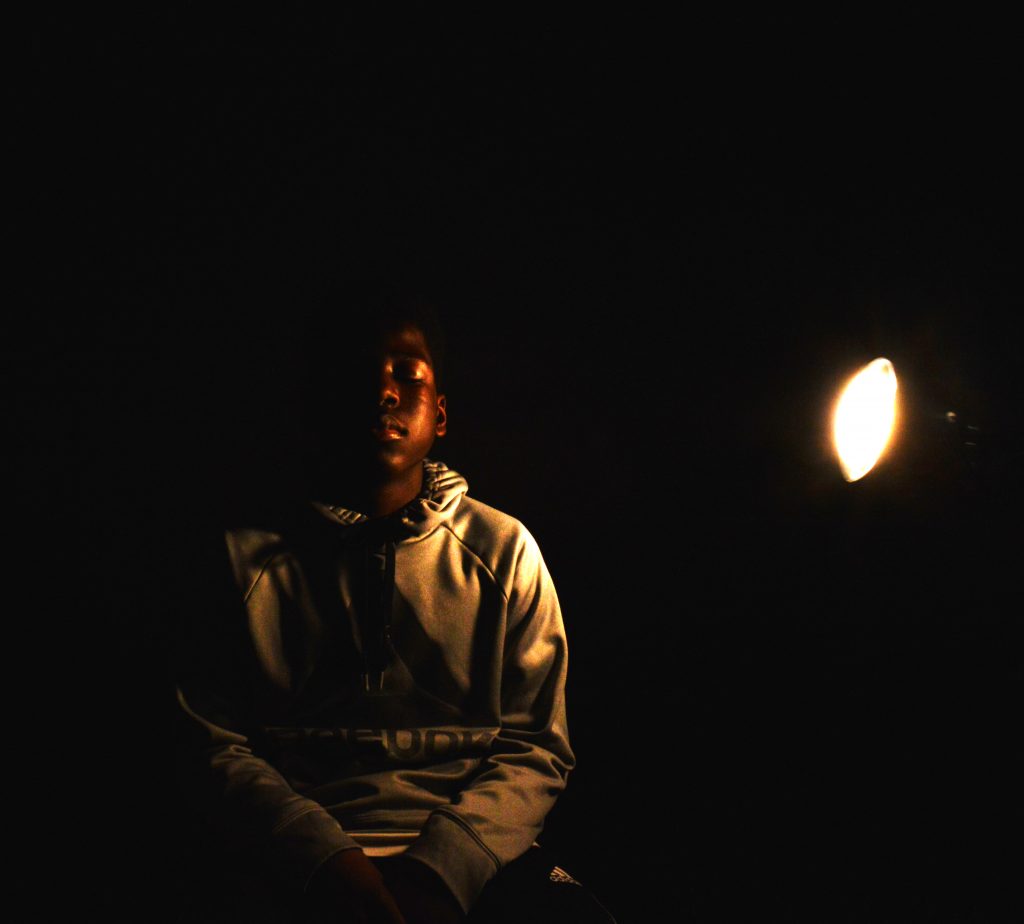
During this project, I used photo shop to edit my photos, including this one of course. The process of taking my photos was about 3-4 days at the most, and it took a lot of patience because of the limited amount of cameras available. One thing that worked for the black background was having the light facing closer to the back wall of the person, so that you could have more of the “infinite background” effect. One thing that didn’t work for the light background was when the light was too close to the right or the left of the wall, because you would be creating a shadow that you didn’t want. Click here to see the rest of my photos.

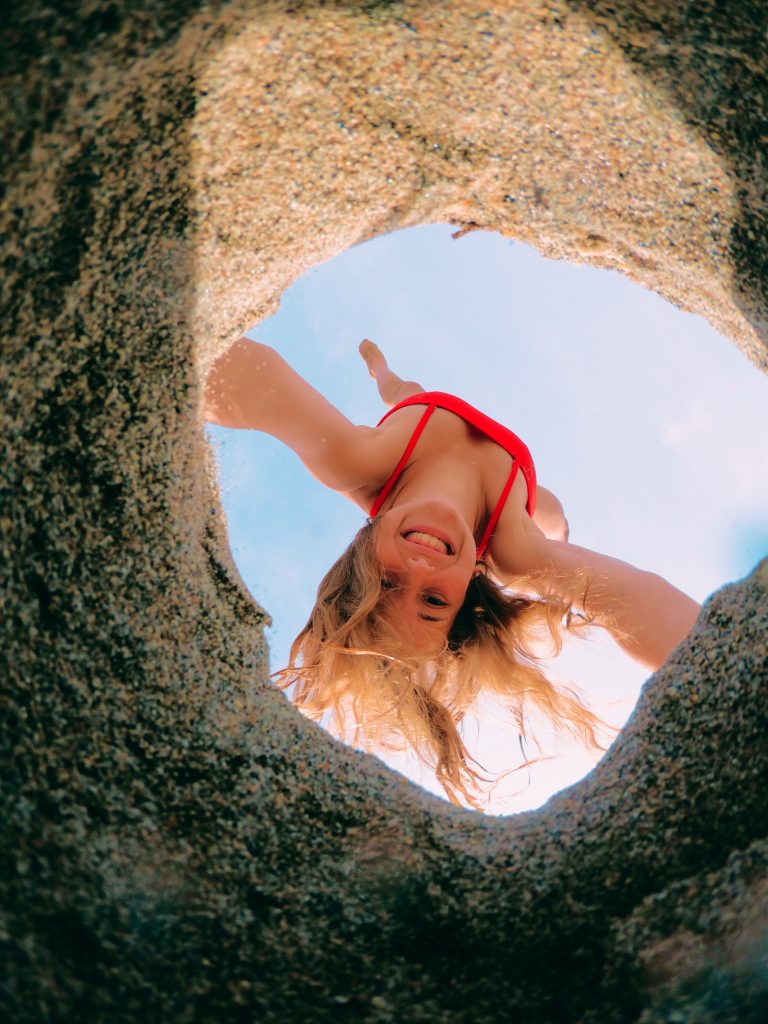
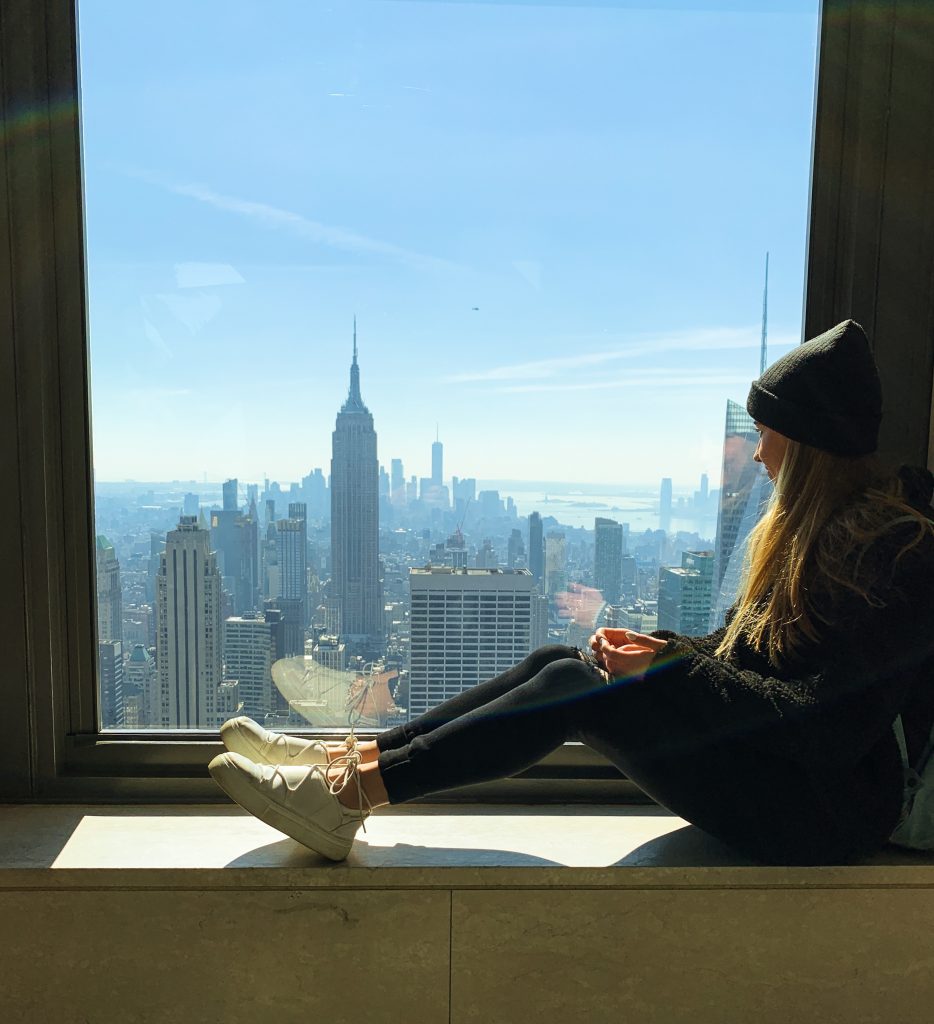
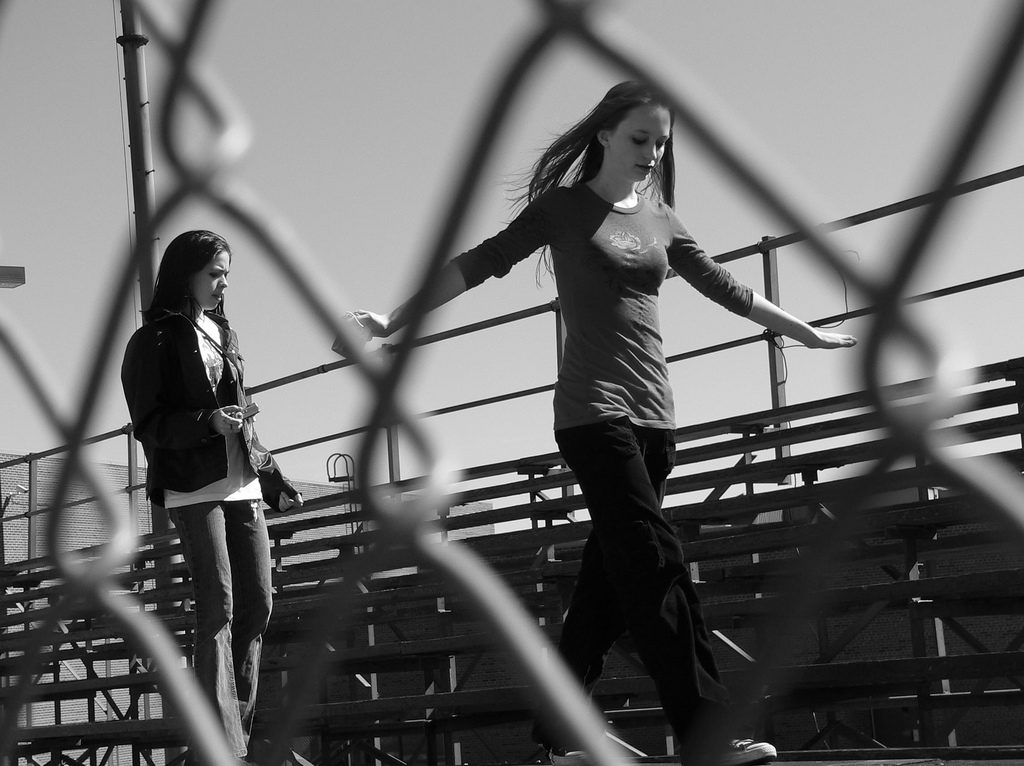
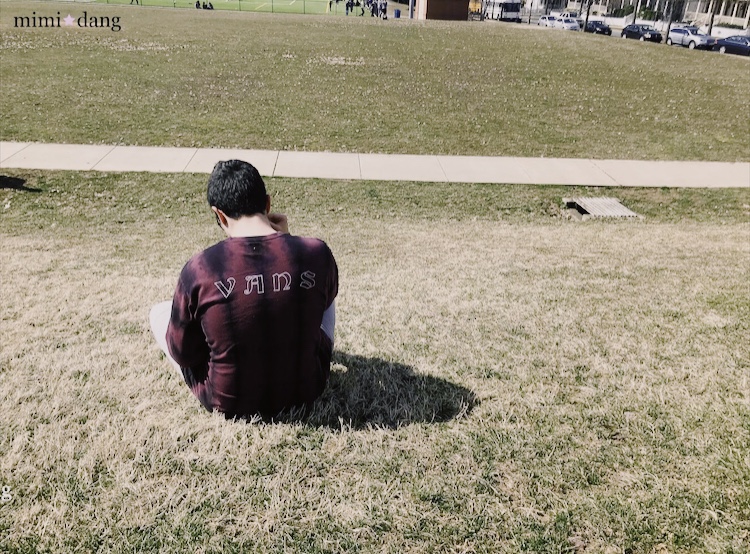
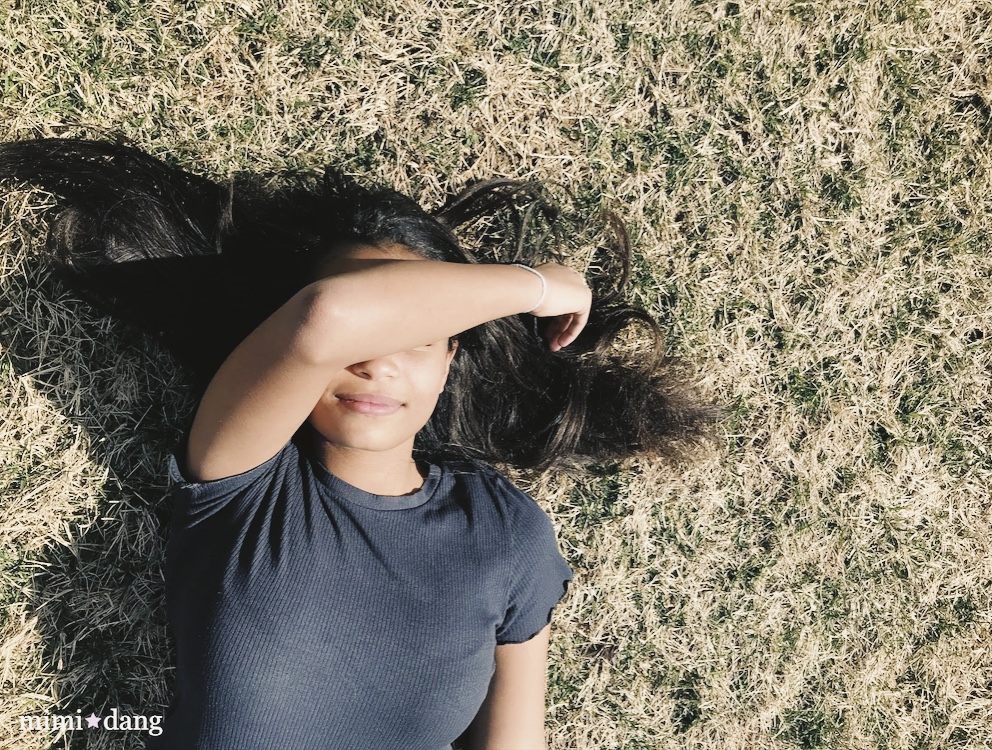
This project, hopefully, will continue to help you with composition. You’ve seen the rule of thirds, now let’s talk about using the environment you are taking photos in to help you frame your subject. Our school, even the inside, is a great place for this project. This a great project to show off your creativity. Just because you found something to frame your subject doesn’t mean that you will succeed with this project. Your subject is also part of this photo, make sure you have them involved in the shot (pose, activity, expression). I have been using the Lightroom CC App on my phone a lot lately for editing my photos. It has just about everything that Photoshop has. Below is the icon you will find in your App Store. VSCO is also a great app for this project, especially for those of you that don’t have portrait mode on your phones.
Don’t understand the project? Check this out!
Here are some examples of photos to give you some ideas. The ones below are mine.

Here are a few more that I found on the web.
click here to see more of my photos
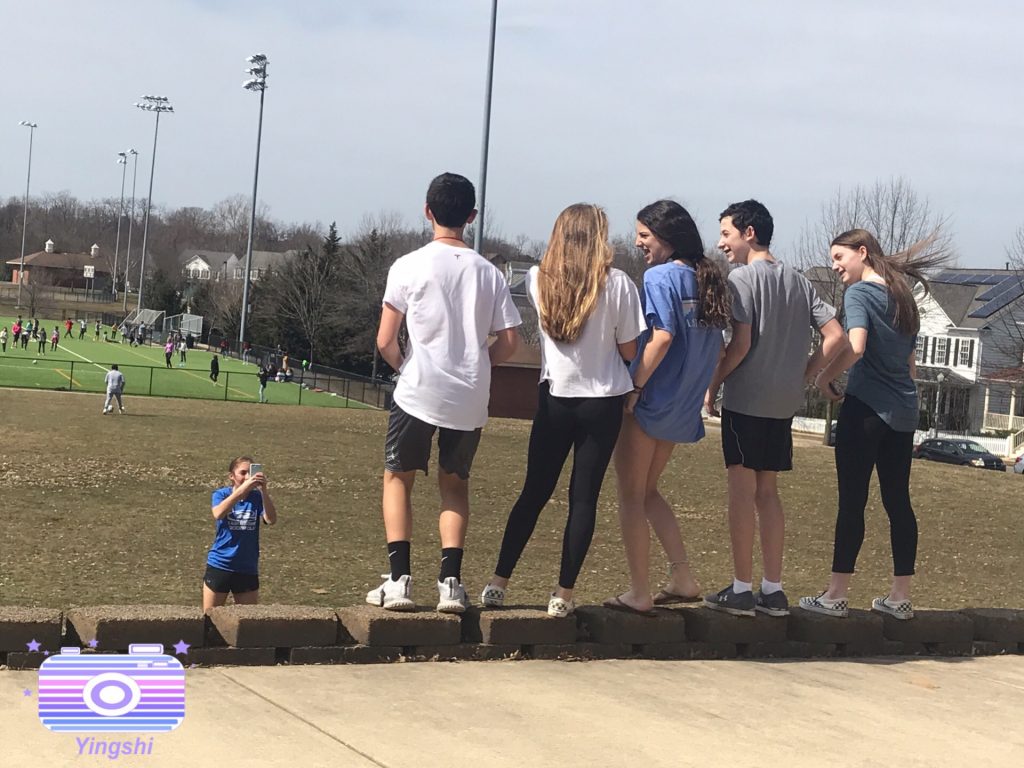
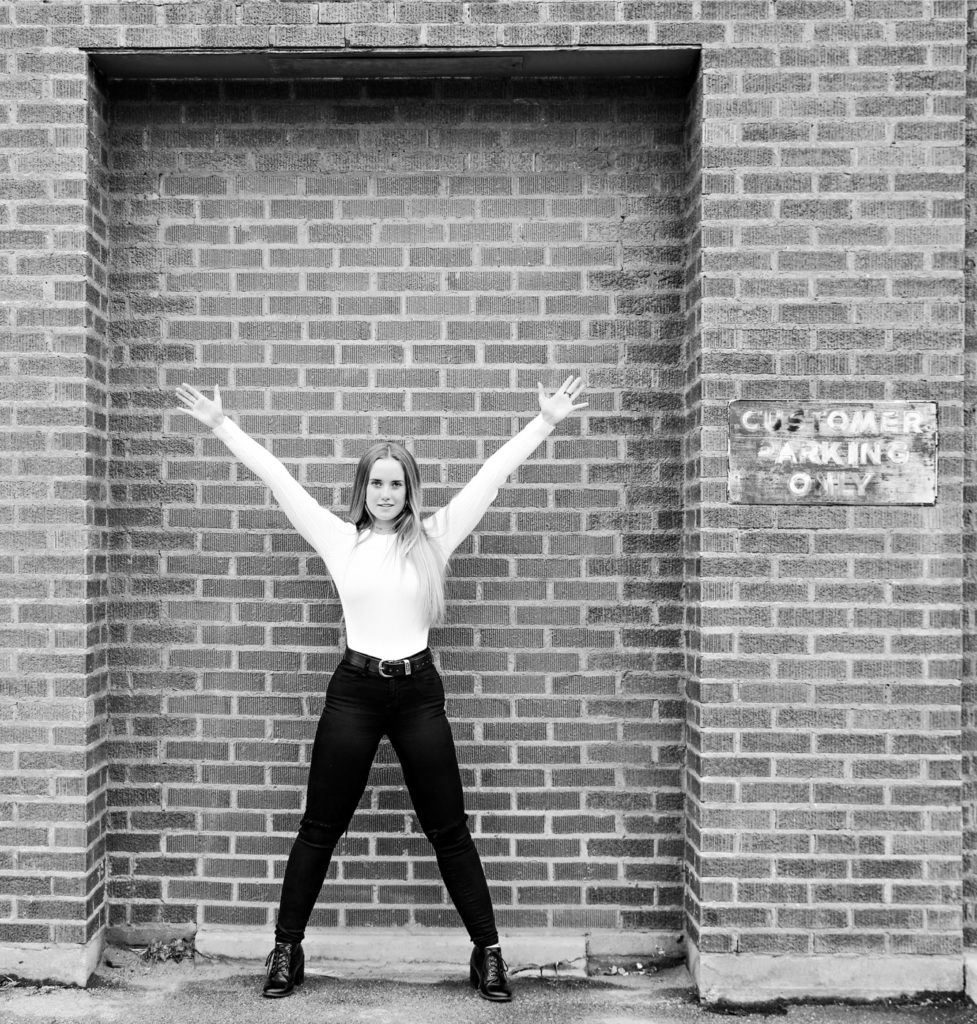
There were a lot of challenges because i would take good pictures but they would not work with the project because they were not on the grid lines. The easiest part for me was finding a good spot for the camera. My thoughts on the project did not really change, I think this project is pretty cool and interesting to figure out why people position their photos the way they do. In the picture with the girl, I positioned the camera so that her face was on the grid line so that people see her face first and then the rest of her body.
What worked in this project was getting different angles in different areas. Also by trying to Chose this distance of what I’m trying to take a picture of. What didn’t work is zooming in and focusing my one photo in one single area. My thought on the rule of thirds is including the background of the photo. The lines in my photo help me correlate where and how I should take my photo. What this does is make the viewers eyes move around the picture.
Click Here


For this project, we went outside to take photos and we also took photos inside our school. I wanted to take pretty photos so I also decided to add a filter to my photos by using VSCO. I thought rule of thirds was a unique way to take pictures. On the camera on my phone, I used a grid and when I took a picture of a person or object, one of the vertical lines had to be on the person or object. This project showed me that the person or object in a photo does not have to be in the middle.
Click here to see my other photos.

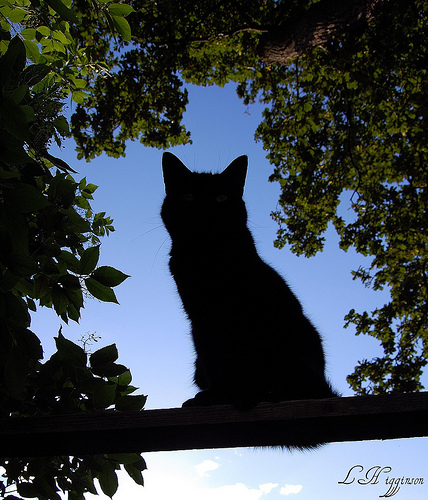
When I was completing this assignment, it was kind of hard putting a person in the photo to meet the requirements, but when it came to landscapes it was easy. At first, I thought this project would be pretty easy, but when I started working on the assignment, it got a bit difficult. I learned that the Rule of Thirds can be a helpful technique for photographers but can be difficult to use when trying to take the right shot. When I took the picture of my neighbor’s cat, I put her eyes on the right side of my photo to make her eyes the main focus. Then when I took the picture of Hannah I put her in the edge of the right side of my photo where she is the main focus. But at the time Samantha’s hand was more on the left side of the photo, so the corner of the viewer’s eye can transfer from Hannah to Samantha’s hand and the camera.

