White background

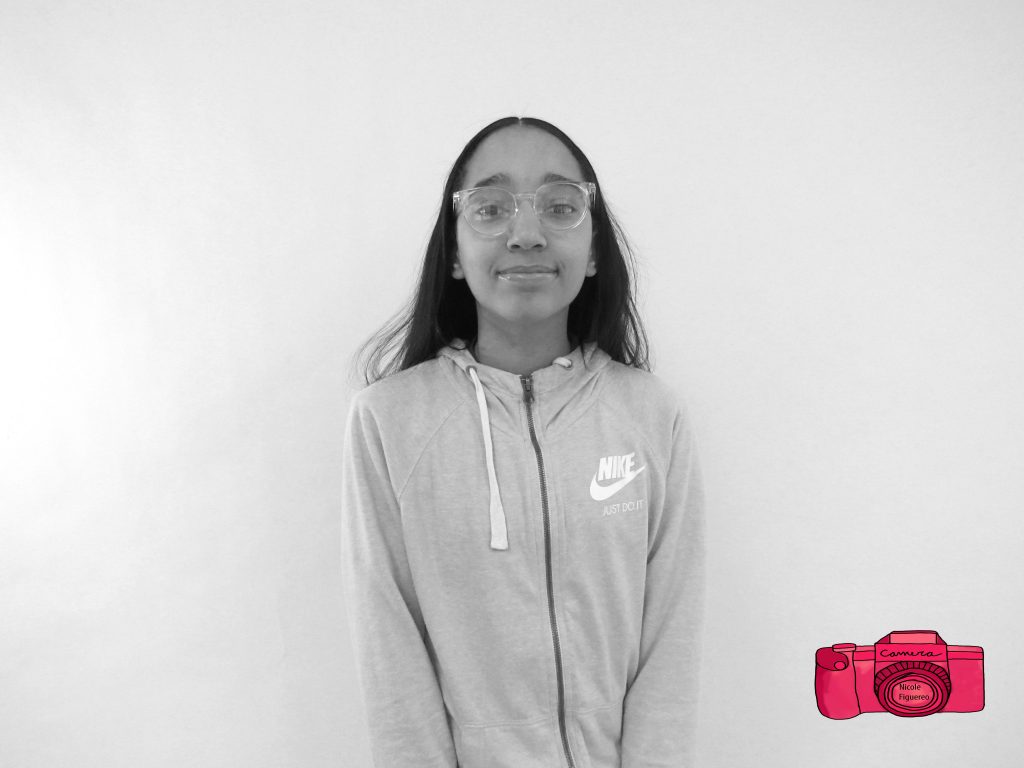
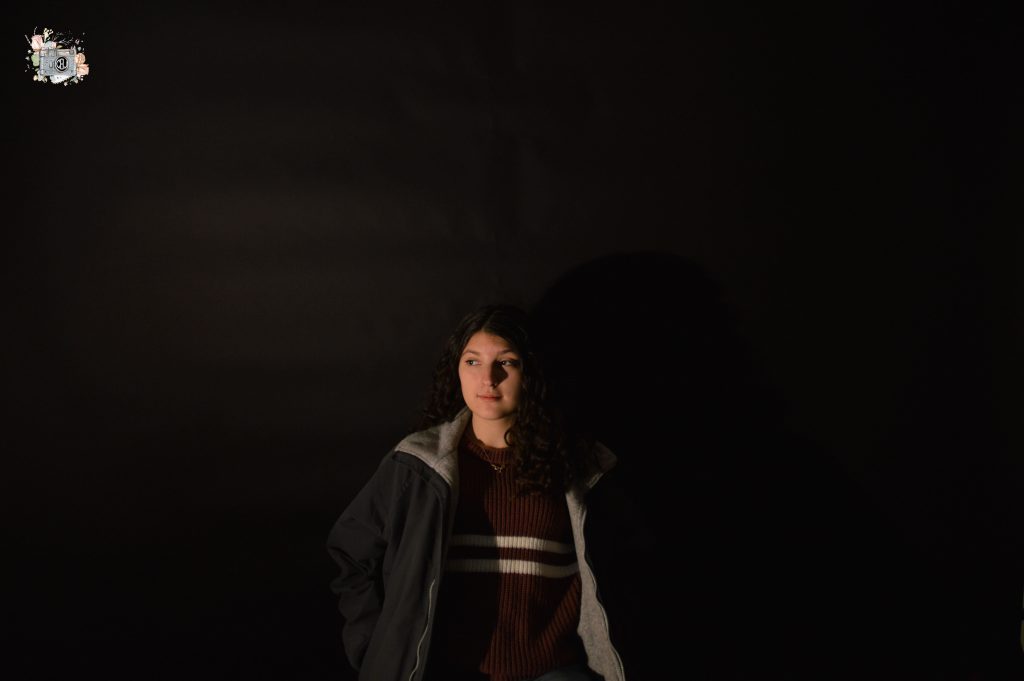
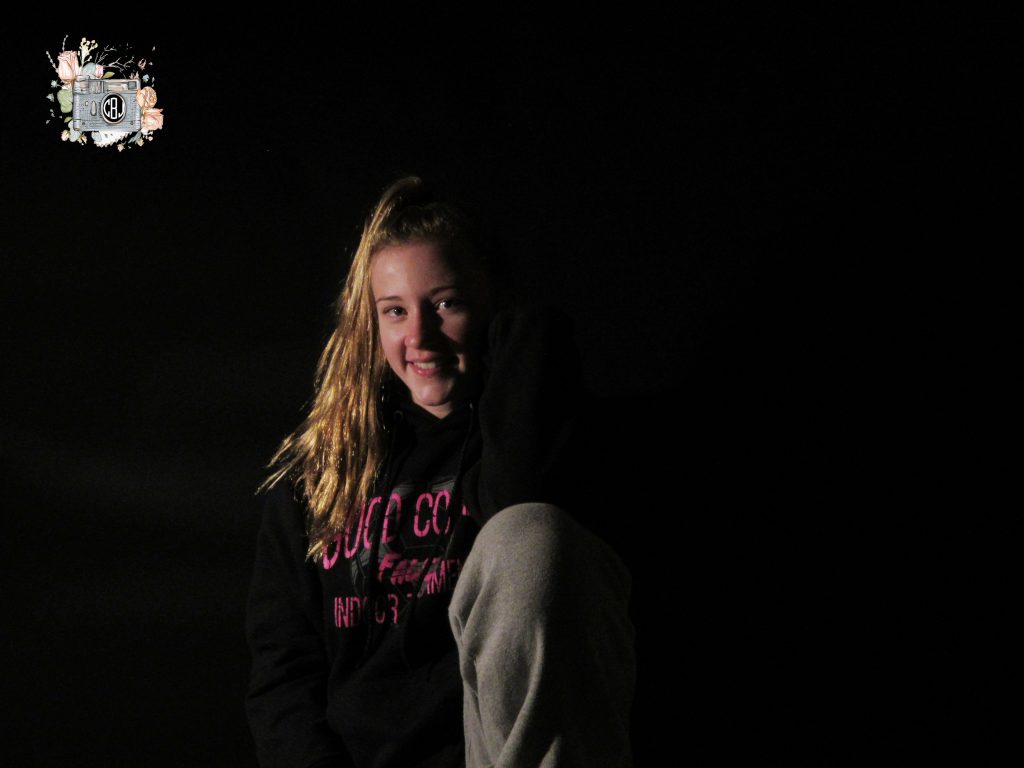
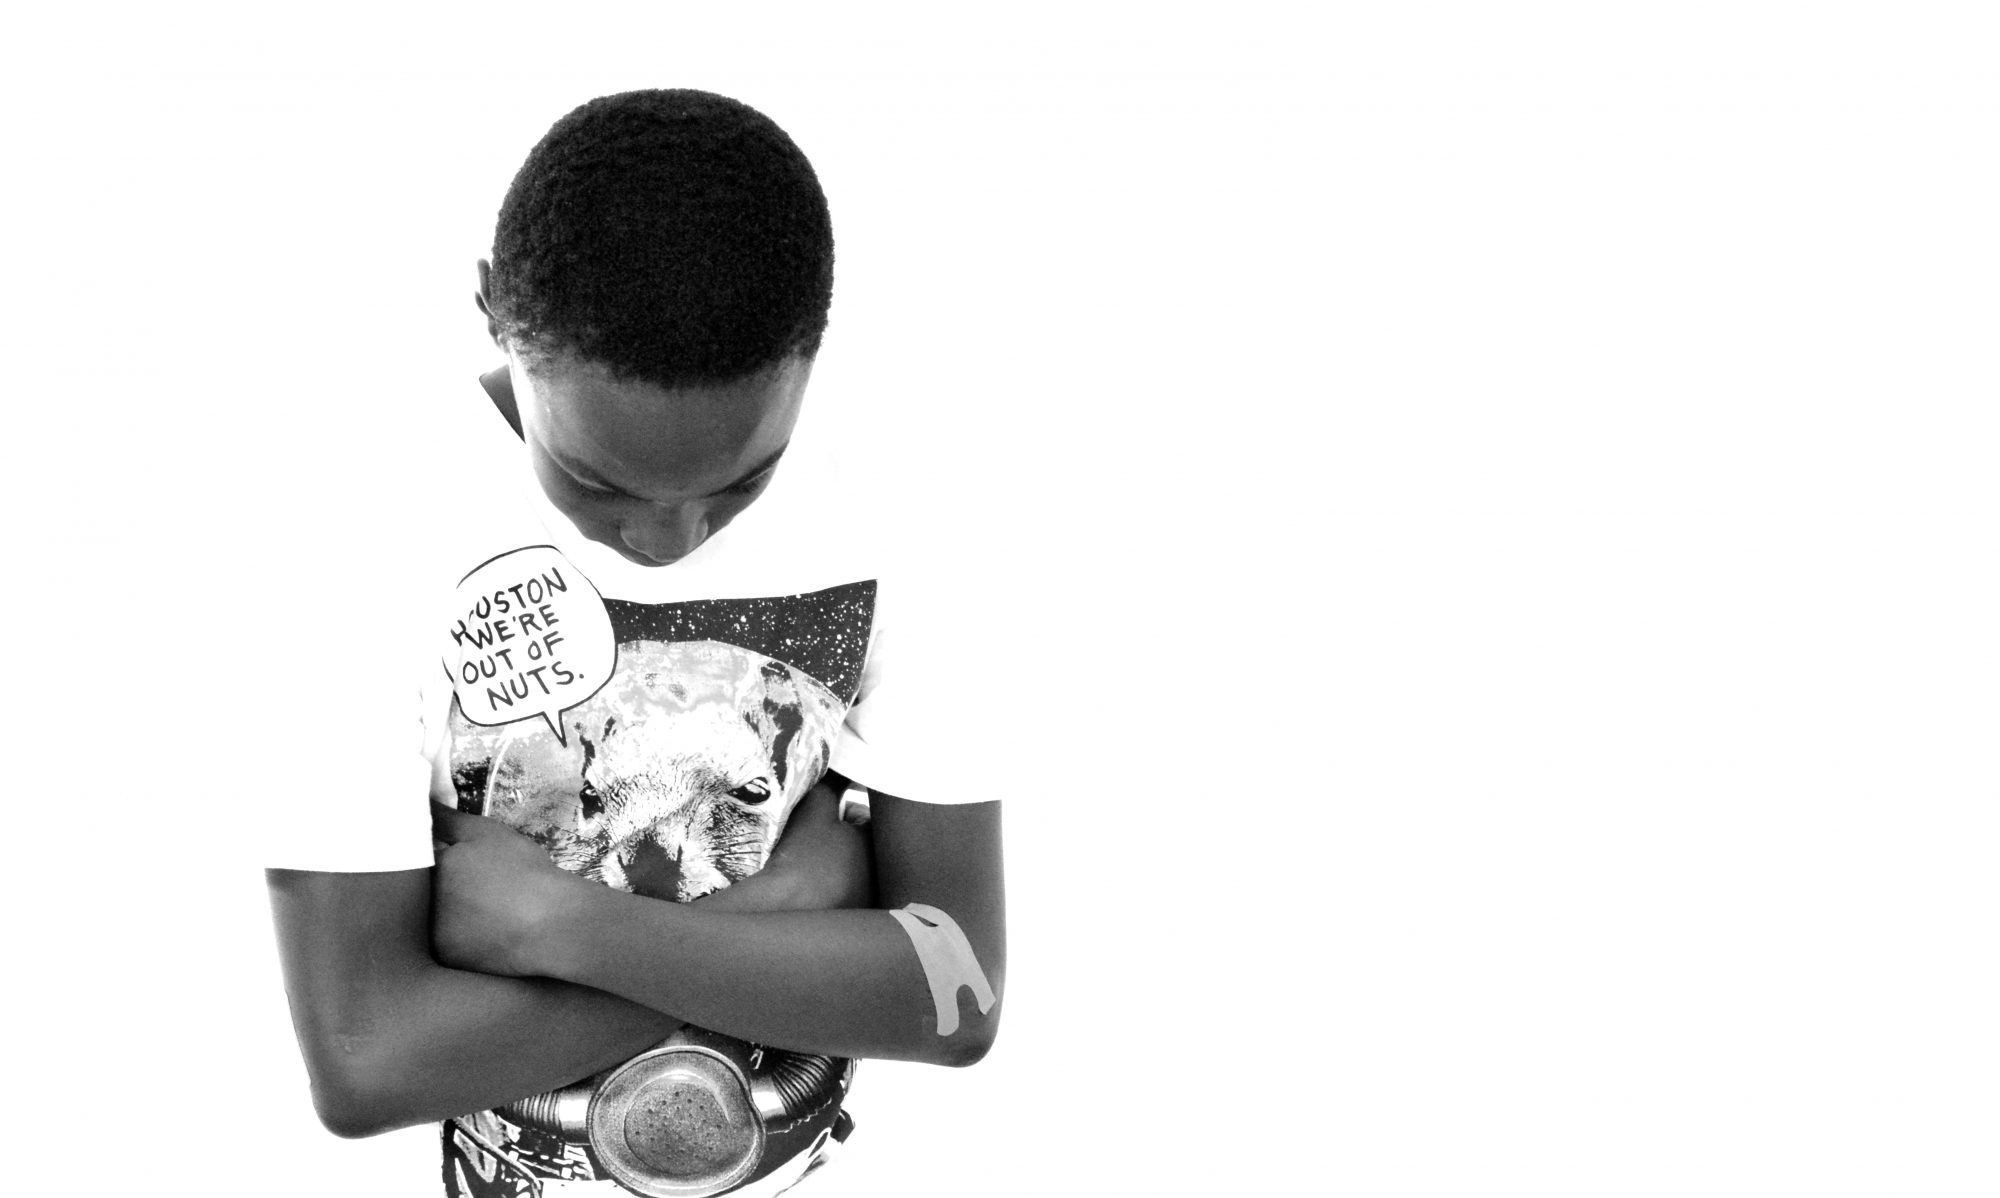
For this project we had to take pictures in front of a white background and to edit I added black and white in the picture.Things that worked were that the light wasn’t to bright or we can’t see our faces.Things that worked were if the lights were less bright.Click HERE for all the pictures.

Framing Your Subject

In this project we had to use objects in order to frame our subjects. In my photos I used fencing and pillars to frame my subjects. This project was much easier then the rule of thirds project because although I was worried about centering the subject I was able to use the rule of thirds background that I had in order to create my photos. Some of the challenges were finding good types of framing because some of the photos that I originally had took did not work because the framing wasn’t right.

Click here to see my other photos

Rule of Thirds

during this project we had to find objects to line up with the grid on our camera. The challenge during this project was making sure the object was completely lined up with the grid. I learned that making sure your camera is straight and lined up can change the picture completely. What I found easy during this project was finding the right object for the pictures. Click here to see the rest of my pictures.

Black Background

During this project we had to put the camera on manual mode and take pictures in ISO. What really worked was the outcome of the pictures, I really liked how the pictures looked. One setback on this project was the low amount of lighting from the outside lights.

Click here to see more pictures

5 shots

In the assignment we had to take 3 objects and take 5 different pictures.The challenging part for me was to find an object and the angle so it will look good.The hardest photo i did was the one with the person because i couldn’t find angles.The project helped me with better angles of an object.To see the rest of my pictures click here.

Infinite Background(White)

During this project, the main goal was to take a picture and make the background look like it disappeared. We made the ISO higher to make the white background even brighter. As well as a lamp that someone in each group would hold. A challenge during this project was making sure we had the correct ISO. The easier part of this project was to hold the lamp at the correct angle. Below is a picture of me and a picture I took. Click here to view the rest of the white background portraits.

Rule of Thirds

I used different angles made the picture more interesting and unique. When taking pictures front on they were less interesting. My thoughts changed because I thought it would be harder to take photos but it’s not very hard. On the caution sign picture, I placed the sign in the top left corner and lined it up with the top left point. When I took the picture of Mary I placed her on the top left corner. You can look at the other pictures here.

Rule Of Thirds

In this project we had to use a 3 by 3 grid in order to correctly place an object or person. I had a hard time trying to get objects lined up with the lines of the grid. When I got it lined up the picture turned out good. In the beginning of this project I wasn’t excited but now I think it has truly helped me take better photos. When I was taking these photos I was looking for an interesting background that way it wouldn’t look bad.

Click here to see the other photos

Black Background

To take the photos, we changed the ISO and we used a light to make the lighting good. To edit the photos, sometimes I changed the curves to make the colors brighter. The easiest part of the project was to edit the photos. The hardest part of the project was to make the lighting looks good with no shadows and use the light so we could see the photos. Click here to see the rest of my photos.

Framing

In this project, we had to frame our subjects. I took pictures inside and outside with Anika as my subject and used many different regular structures to frame her. I like the photo below because. This was project was different from the rule of thirds project since your eye had to move around the picture, but here you wanted the subject to be the main focus. Some challenges were making sure the subject was in the frame in an aesthetically pleasing manner and finding aesthetically pleasing frames. I enjoyed this project more than the others. Click here for the other pictures.