5 Angles

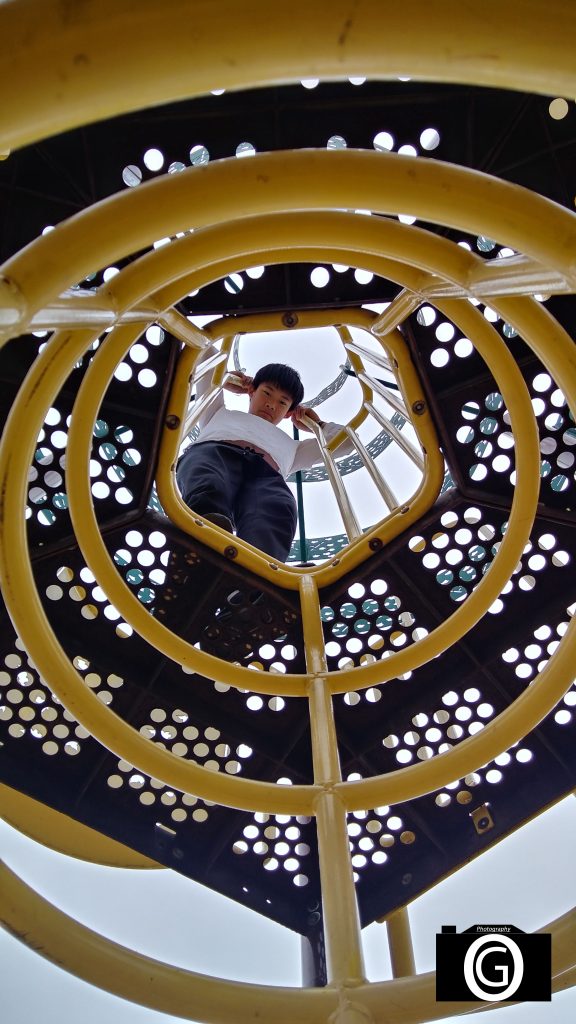
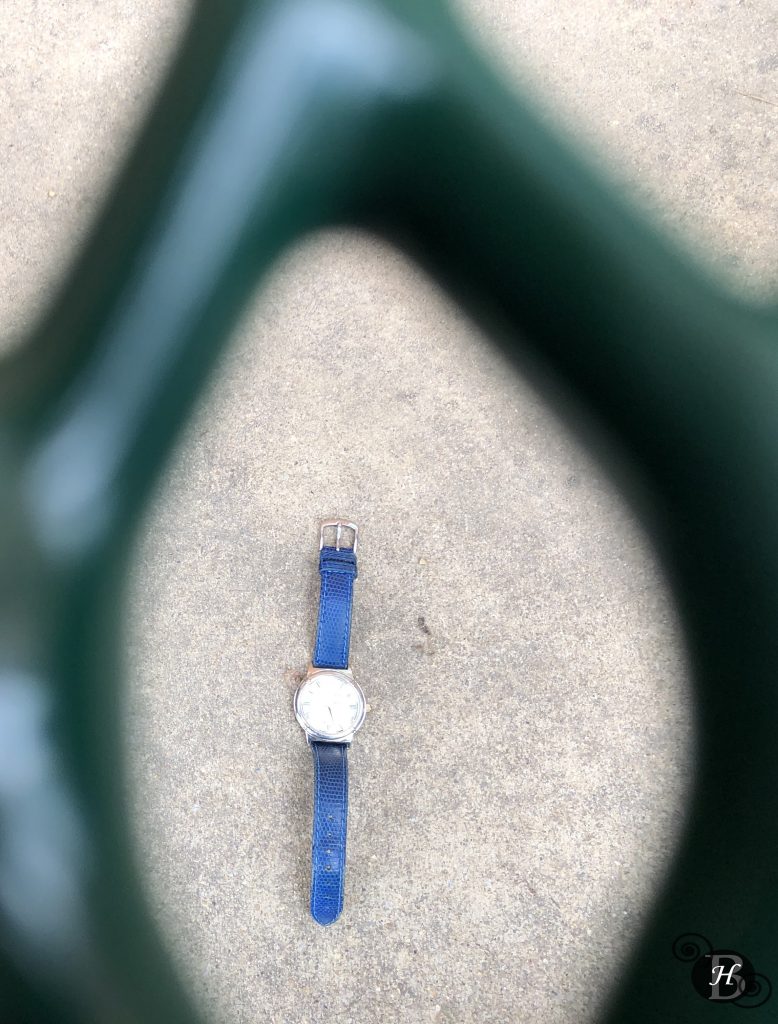
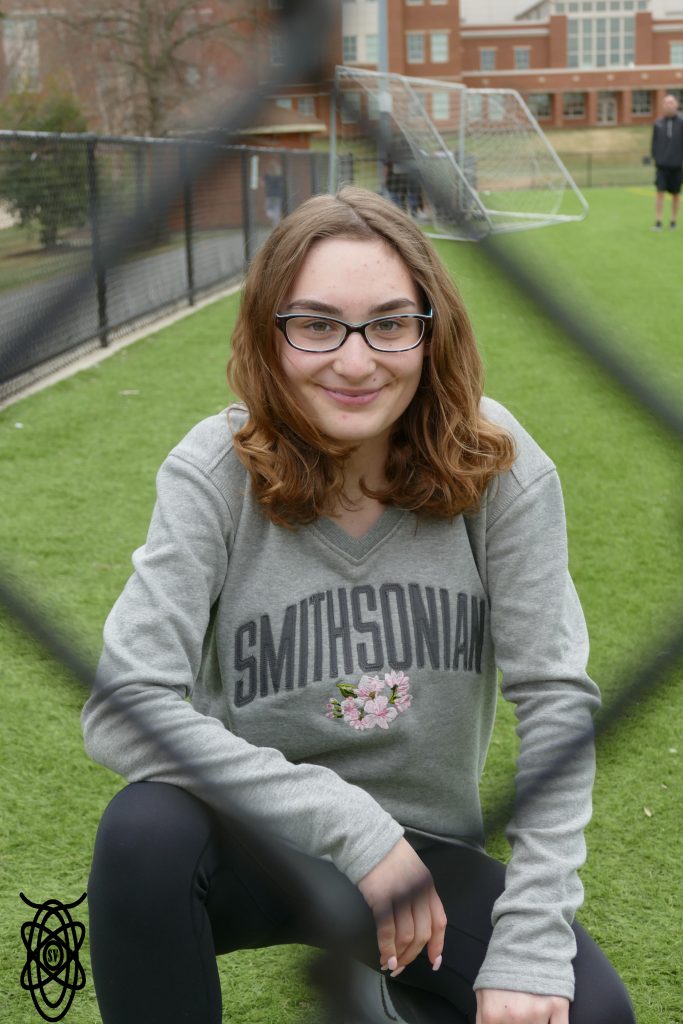
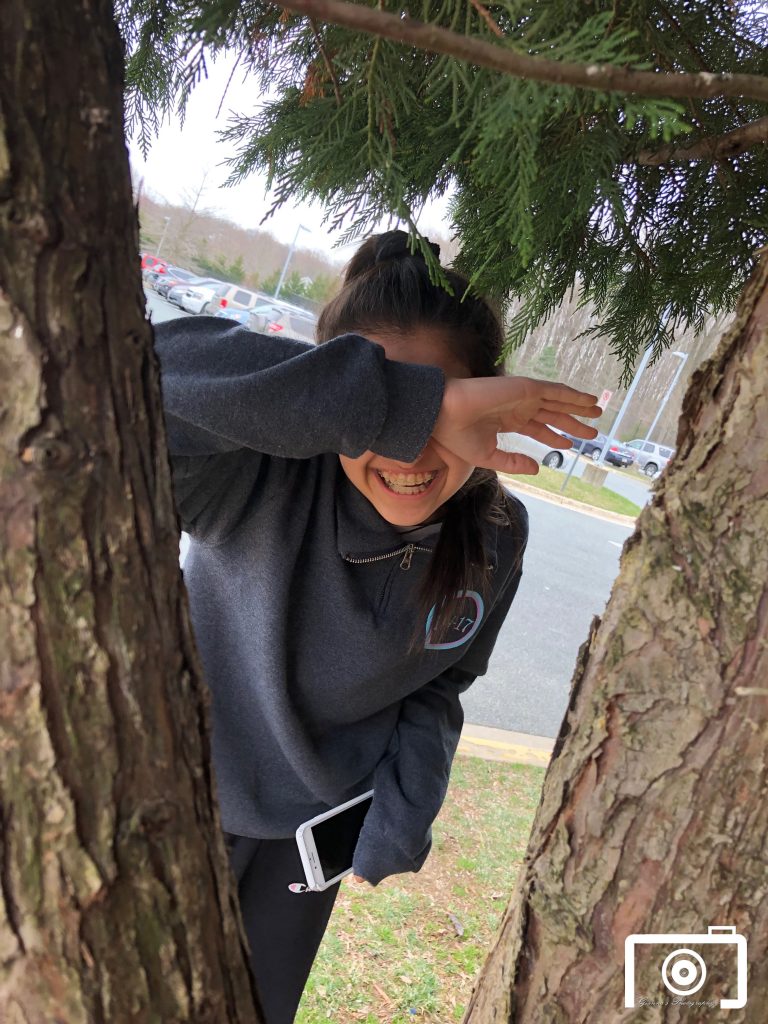
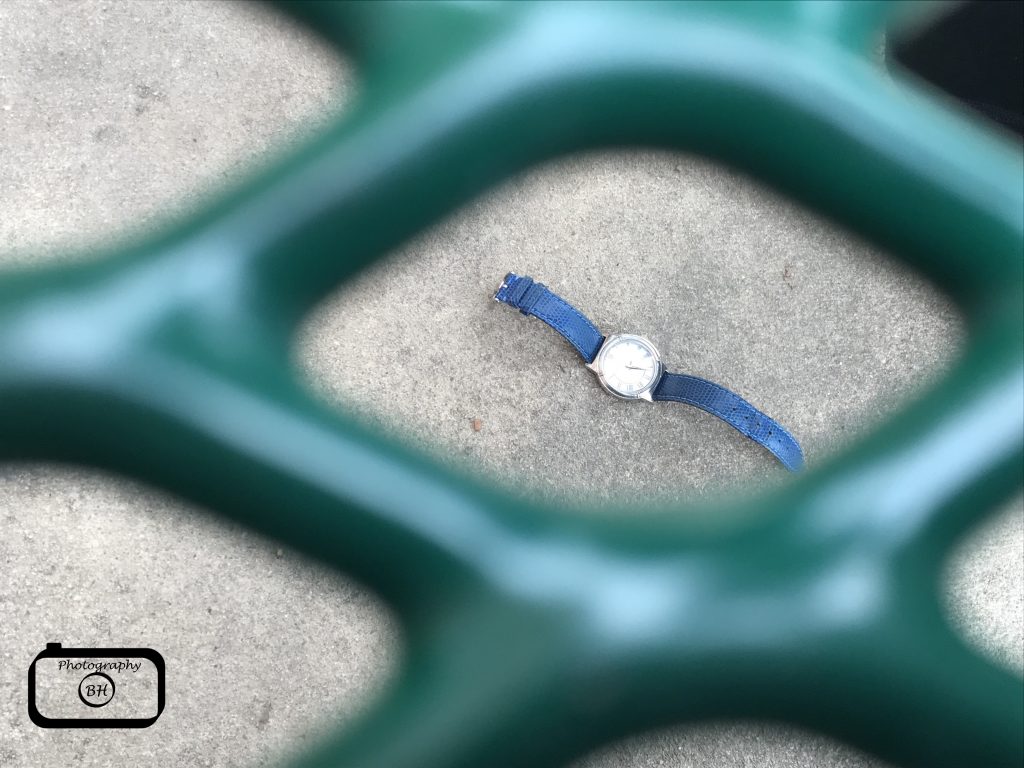
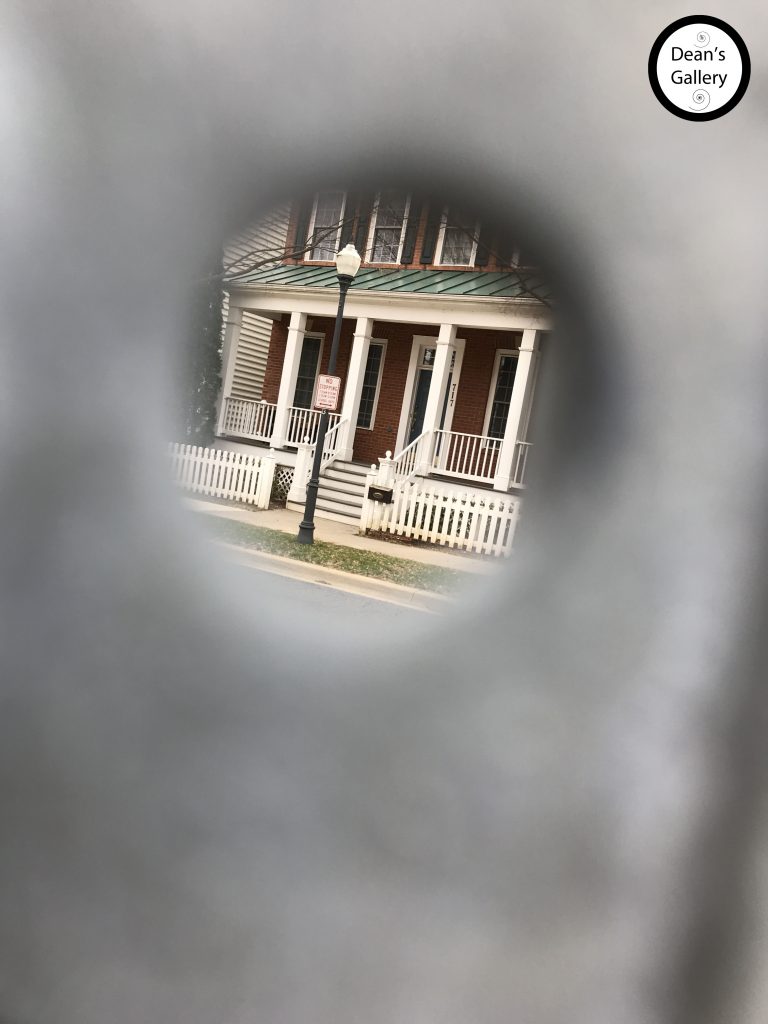
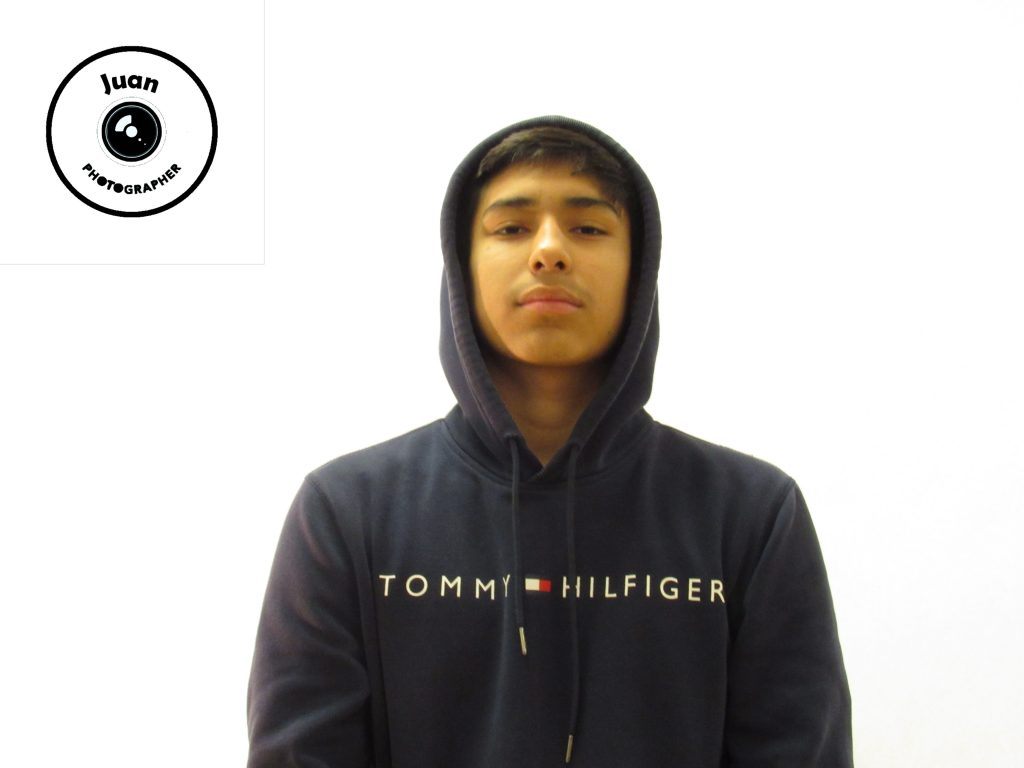
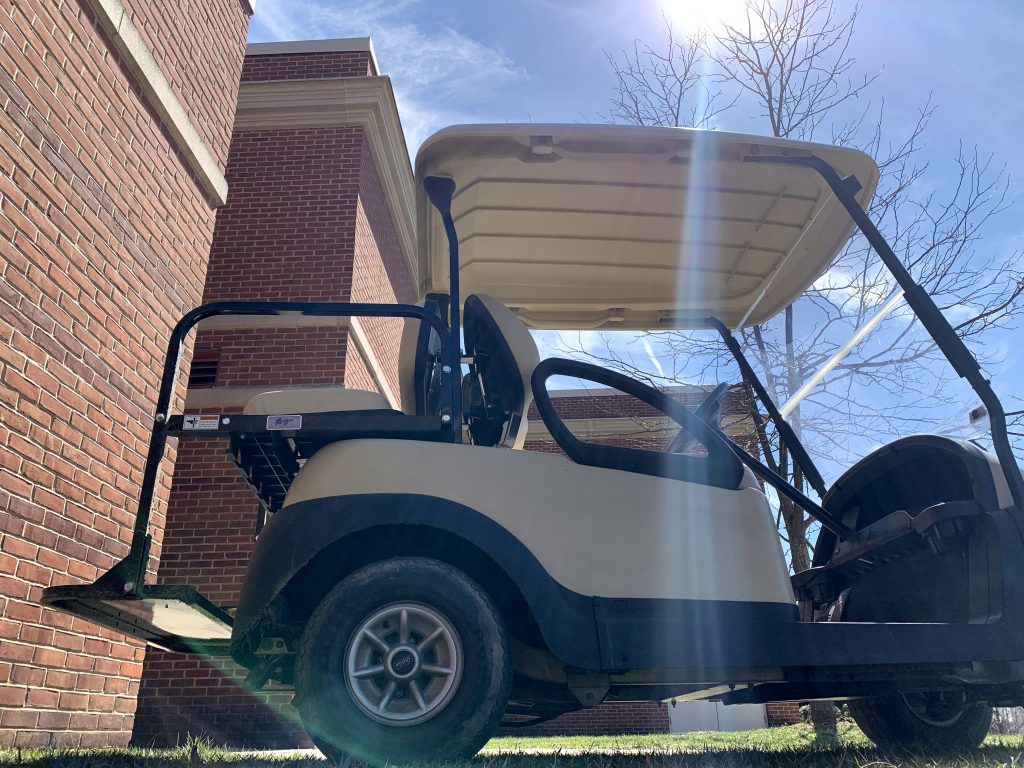
For this project, I had to take 5 different pictures of some objects and a person. One thing i found hard was when I couldn’t take a picture in the same angle again. I had to take a photo from 5 different angles. The computer was probably the hardest object to take a picture of because of it almost being against a wall. This project really helped me get a sense of  how to take multiple pictures from different angles efficiently. Next time I need to take some photos I will remember everything I’ve learned from this project.

Click here to see all my photos, here

Framing your subject

For this project we had to take pictures of people standing inside a frame. For example a door way or elevator. This project can relate to the rule of thirds by forcing you to focus on the subject, this projects is also different from each other because one uses real lines and one uses imagery lines. The hardest part about this project was making sure the person was in the right position. Another challenge was making sure there was good lighting and you could see the object or the person.

These are my photos

Framing Your Subject

In this project, we had to use random objects as the frame of our photo such as columns or a railing. In this project it was difficult to align the frame of our photo and our subject perfectly. For example you had to move around a lot to line up your frame perfectly. After you did this you had to position your main subject in the proper place. This was relatively similar to the rule of thirds project because you had to perfectly align different things in the photo. In rule of thirds, you had to align your subject with the rule of thirds lines. In this you had to properly align your frame and subject. Here is a link to my favorite photo. Below is my favorite photo. I liked this one because The playground had many unique objects to use as frames. This was probably the best from the playground.

Black & White Portraits

I used photo shop to edit my photos and make them darker or brighter, also to add more saturation etc. To take the picture was pretty simple, I just had to make sure the camera was in focus and the subject was in the middle. What worked was making it seem like the photo had an infinite background. What didn’t work was making the shadows on the wallpaper disappear.

These are my black photos.

I used photo shop to edit my photos and make them darker or brighter, also to add more saturation etc. To take the picture was pretty simple, I just had to make sure the camera was in focus and the subject was in the middle. What worked was making it seem like the photo had an infinite background. What didn’t work was making the shadows on the wallpaper disappear.

These are my white photos.

Framing your Subject

During this project we went outside and inside the school in search of five images that create framing. In photography, framing is when there is a natural grid provided in the area to create a visual point in your photo without using rule of thirds. This is different from using rule of thirds because while framing uses actual frames/grids rule of thirds uses a grid from your camera to create invisible frame points. Some challenges were finding actual frames and focusing the photo on one object. The photo below is my favorite because since the watch is the only thing in the bench it’s easy to focus on it especially since there isn’t much else in the photo. ?

Click here to see the rest of my photos

Framing Your Subject

In this project, we had to find object that we could use to frame the subject and draw the eye to the subject. This project is very similar to the Rule of Thirds project because the goal is to try to draw the eye to the subject. I found it hard to find something to frame. But it was easy to find things to use to frame my subject outside, not as much inside.

Click here to see my photos.

Framing Your Subject

Click here for my photos.

This project was about using other objects to create some sort of frame to have your subject inside of. For example, trees, curtains etc. This photo is my favorite because Natalie really helped show the framing of the tree around her. I like how she dabbed to make herself different than just standing still. Some challenges I faced while taking these photos with this composition were finding the perfect position to take the photos and clearly show the boarder.

Framing your Subject

In this project we had to frame 5 subjects with different objects around the school and outside. This project was similar to the rule of thirds project because in both projects we chose one object to focus on. It was hard to find a good frame and to think of creative places to take the photo. The photo of the watch is my favorite because I like how I made the holes in the bench blurry and the watch clear.

Click here to see my photos

Framing

In this project we had to find places in which we could put objects in the middle of them and make the objects the main focus of the picture. In the rule of thirds we had to put the object in a certain place on the grid of the camera and in this project we had to do it on our own and find out where to angle our camera, and where to put the objects to make them the main focus. Some of the challenges were finding something that I could take a picture through, while having an object to focus on. Here is the link to some of my photos!

White Infinite Background

To take these pictures we had to change the settings on the camera. We had to change the shutter lens of the camera. Giving light to the background didn’t really work because it was already a light background. What worked was making sure that there were no shadows. The camera was very good in the picture taking.

click her to see my photos