White Background

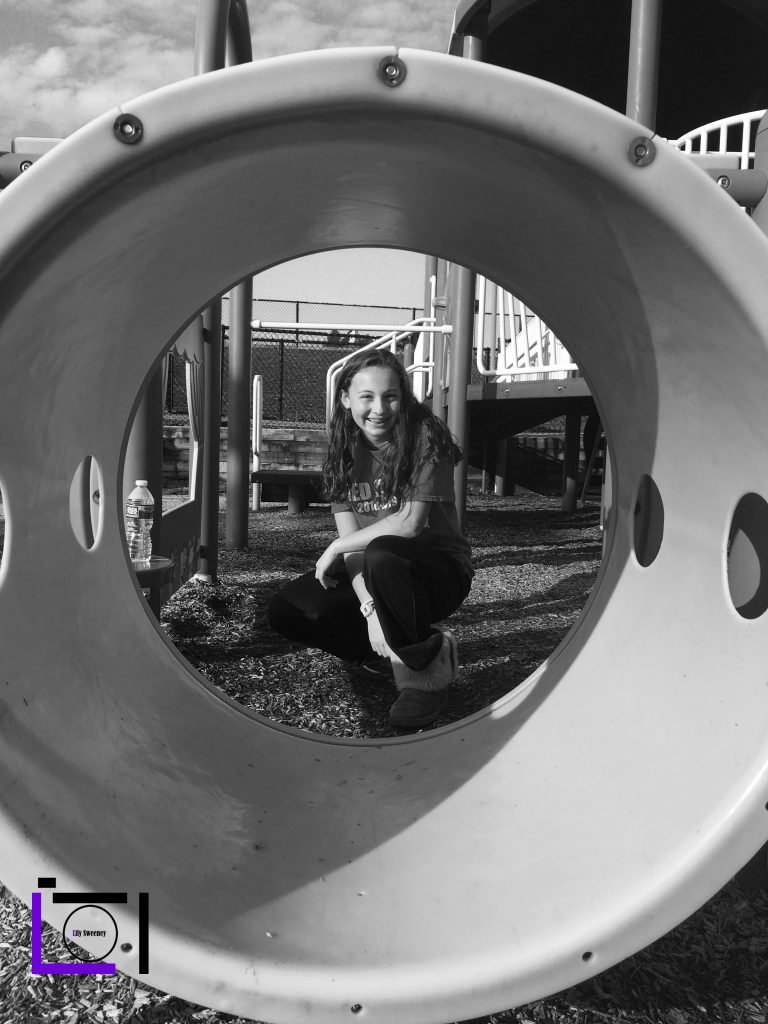
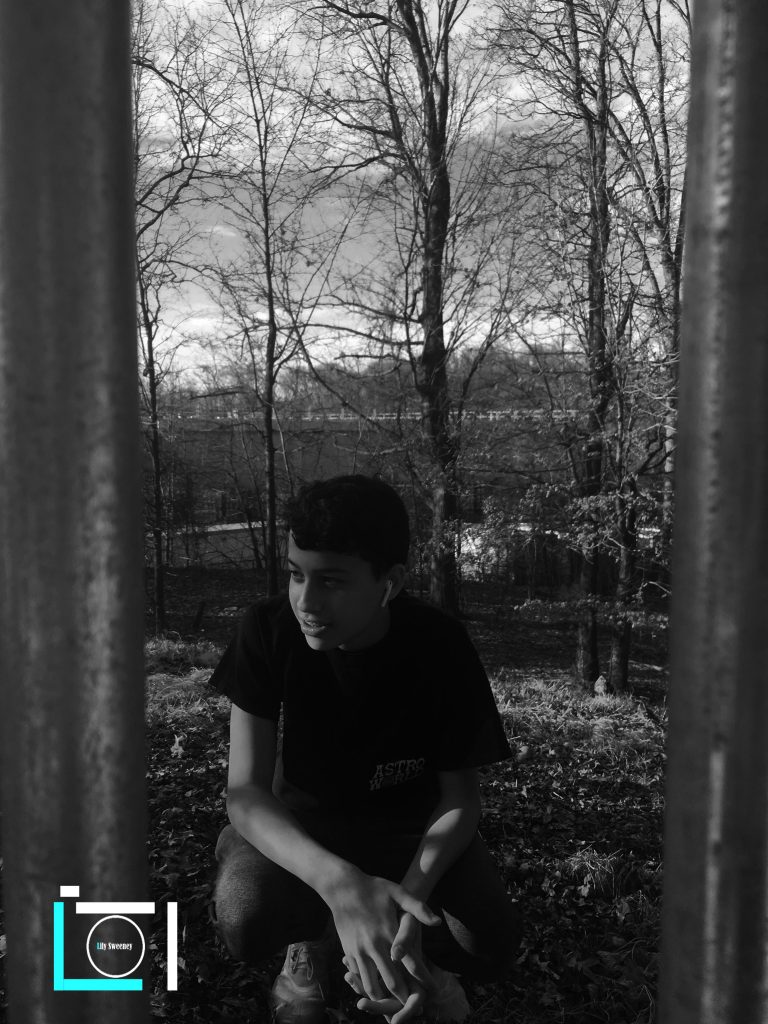
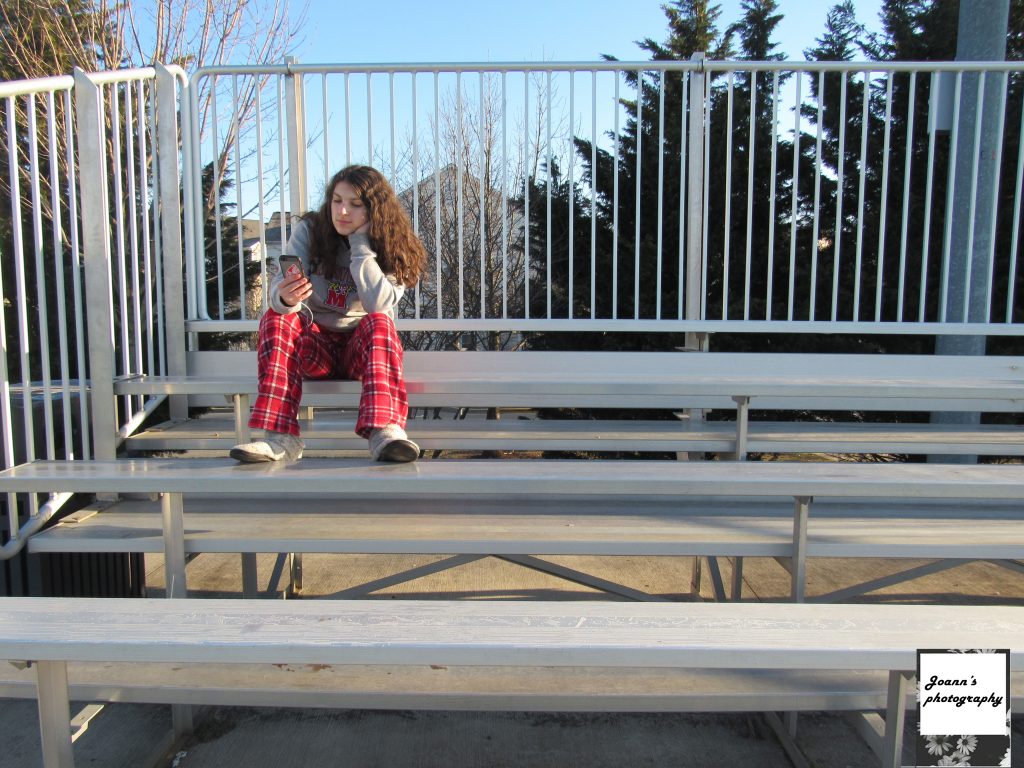
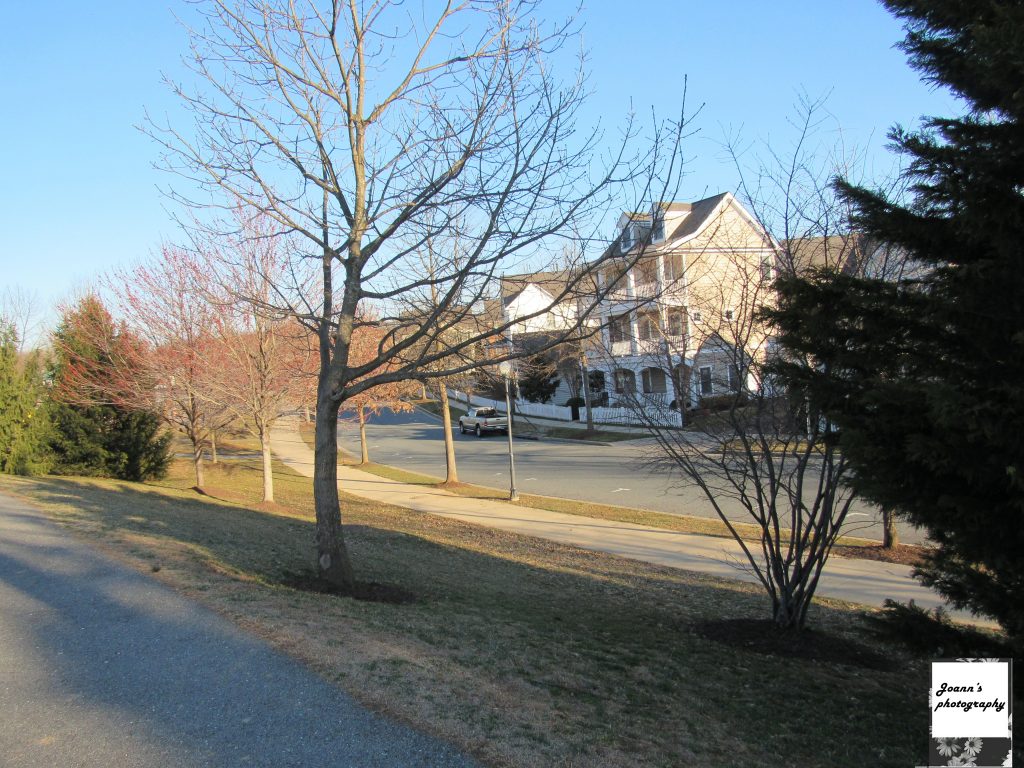
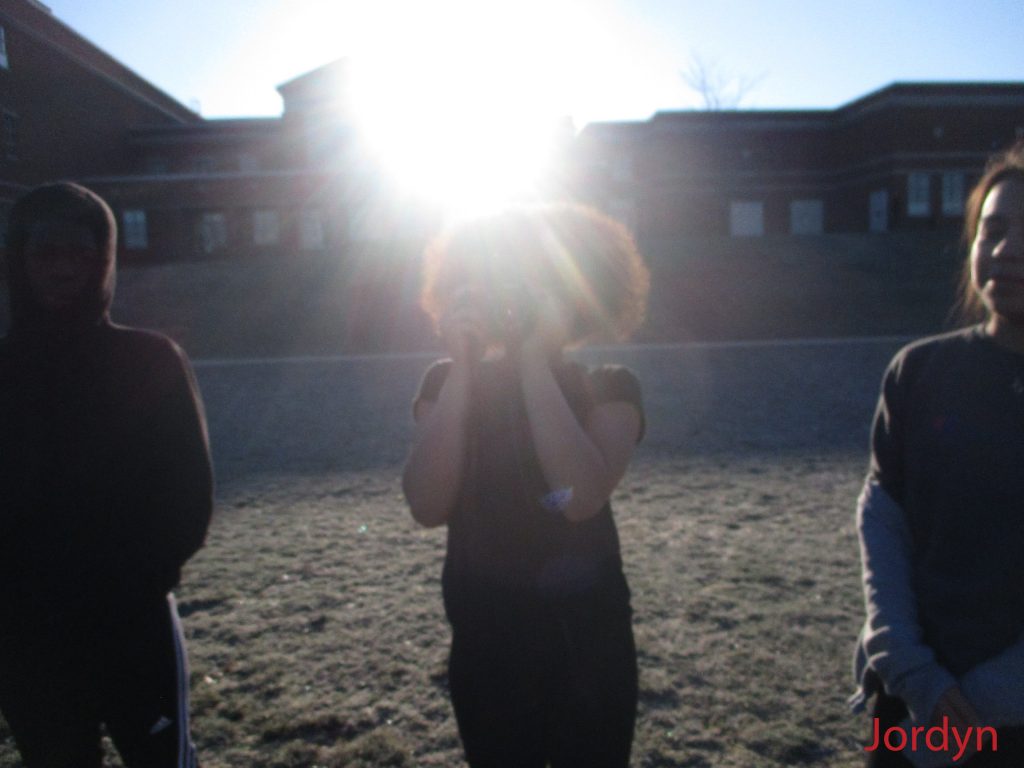
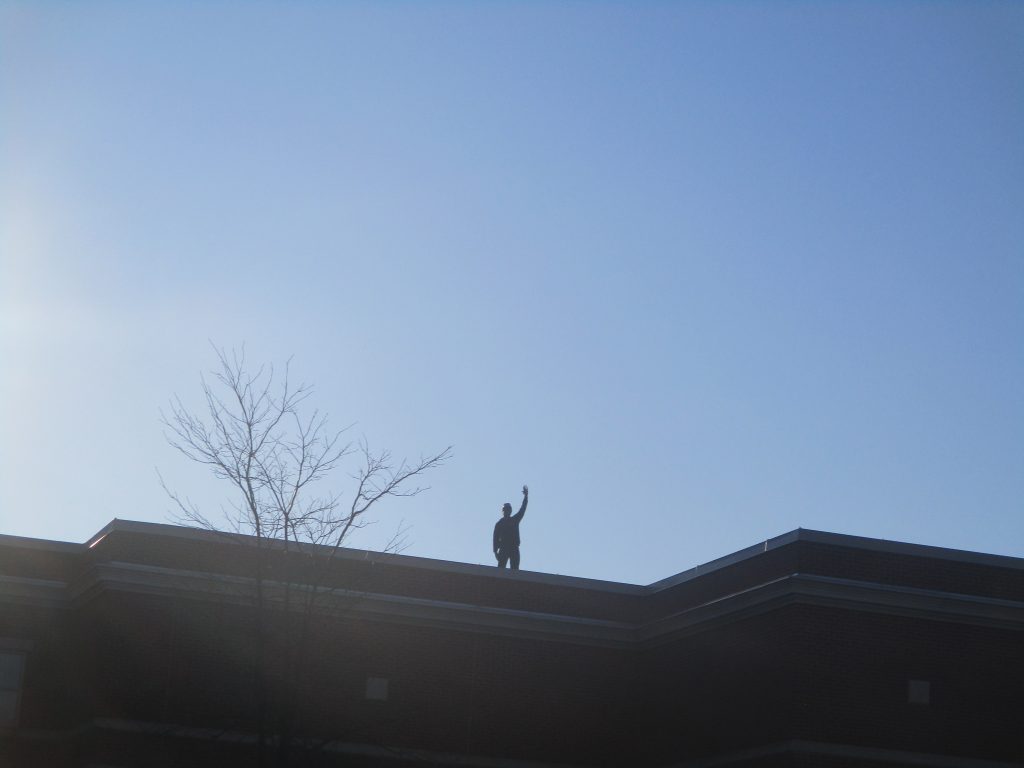
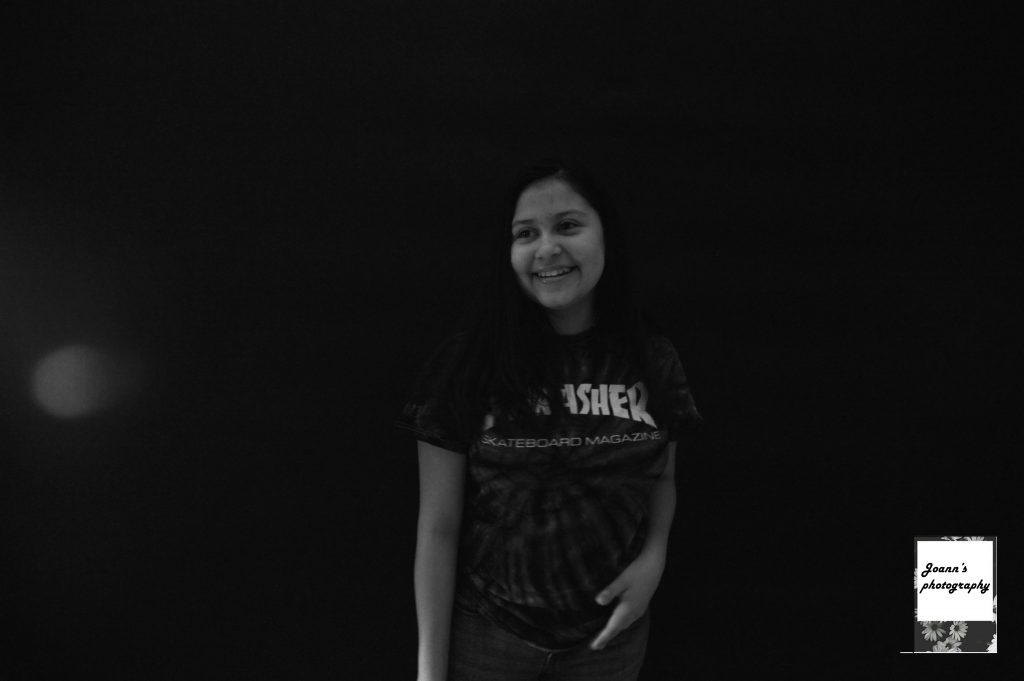
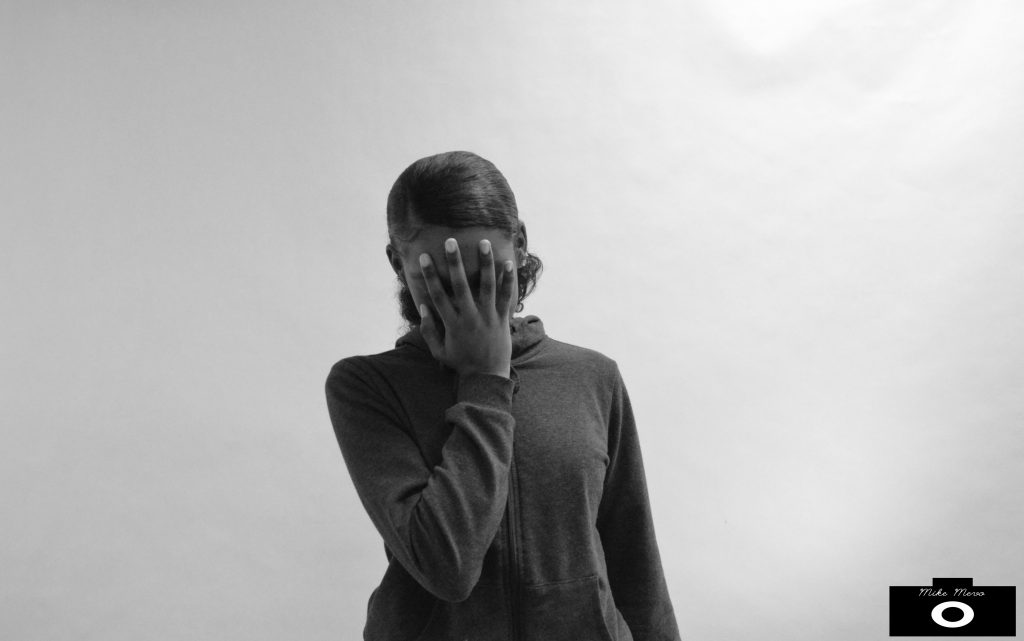
When making this project we had to take pictures on white background making the pictures look infinite. We used ISO so the light would be captured and the shadows wouldn’t show. If the ISO wouldn’t work then I would manipulate the picture using Photoshop. Using ISO really worked because it really captured the light and prevented it from making a shadow. I’m not sure if anything really did not work.

Click here to see more photos

Frame Pictures

In this project, we had to find a frame from things like gates, fences, playground objects, etc. Then, we had to have someone in the frame doing something that made sense to the frame and surrounding area. This project was similar to the rule of thirds project because you kind of needed to incorporate the rule of thirds into the frame pictures. In my favorite picture (shown below), the first thing you want people to see is the object (Mia). I feel like the frame helps the person looking at the picture focus on the object. This picture was my favorite because I really liked how the frame looked, Mia’s positioning inside of the frame, and the playground/sky in the background. The hardest part of this composition was making sure that the first thing people see was the object of person you were focusing on.

Click here to see the rest of my pictures

rule of thirds

For this project we had to take pictures that apply to rule of thirds. One thing I found hard was trying to find an interesting object to take a picture of. The easiest thing for this project is setting the subject of the picture on the grid. I thought that this project didn’t really make sense in the beginning and that you should just take a picture of your subject in the middle of the screen. Now I understand and it makes the picture look very interesting. In order to make the picture apply to rule of thirds you had to put your subject on one of the “lines”.

Rule of Thirds

Things that didn’t work for this project was if the object or person was too far away and if there was something bigger in front of the person.Things that worked were if the object and background was lined up with the lines.My thoughts were that this project helped me look for rule of thirds and it also helps capture the object and the background.The purpose for the lines is that they are lined up with the object and background.To see the rest of my pictures click here.https://drive.google.com/open?id=1jJHPeCVJ2ZKqqE4mBVmS8sWQU4WkOrzv

Framing your Subject

In this project we had to find a natural frame around the school and outside. We could use windows, doors, pillars, trees, etc. We had to take a picture of a subject in these frames. This project was similar to the Rule of Thirds project because both make your photos more interesting. They’re different because in the photos in Rule of Thirds, the subject isn’t in the middle of the shot. The hardest part was finding something interesting to frame my subject. Click here to see the rest of my photos.

This photo is my favorite because I liked taking photos with the railing as the frame.

Rule of Thirds

Click Here for my photos

This project was really fun to do, one of the things that was hard was finding interesting pictures inside. Something that worked was making Jordan sit on the bench to make the picture more interesting. I didn’t realize how important rule of thirds is, every time I lined my subject with the lines on the right or left.

Rule of Thirds

For this project we had to apply the “The Rule of Thirds” method in order to complete the assignment. The rule of thirds is a tic-tac-toe like array that takes up your whole camera view and the main object you are trying to capture should be along the focal points. What didn’t work was just capturing what we wanted top, the whole purpose of the project was to use that method. What worked was taking the pictures on the opposite side of the sun to create a sort of silhouette effect. I personally like to just take the picture instead of having to line the subject of the picture up with the lines. If you would like to see the other pictures I took using the rule of thirds click here.

Framing Photos

In this project we had to take a photo with a boarder around the object. The challenge in this project was finding the frame for the object. I learned that a small shadow or boarder around a picture can change the look fast. What I found easy during this project was find the right camera angles to get the object and boarder to line up. Click here to see the rest of my photos.

Rule of Thirds

For this project, I had to use the rule of thirds using grids on the camera. What worked for this project was using other objects in the background to make sure that the main subject was in the rule of thirds. What didn’t work was just taking a picture without using grids on the camera. Before I did this project I thought this was going to be the easiest project yet but this project was hard but helpful. The grids were really helpful for this project because they helped to frame my subject on one side of the thirds in each photo. The rest of my photos are here

Portraits with an infinite (black/white) backgrounds

For the infinite background project we had to set the camera to ISO 400. We had to take pictures in a white and in a black background. The hardest thing about taking these photos was the lighting. There was a shadow it would’ve been easier if we were allowed to use photo shop to cover up the shadow but we are not allowed to use it for this project. The thing that did work was finding the right position and poses the “models” should stay in.