Black Background

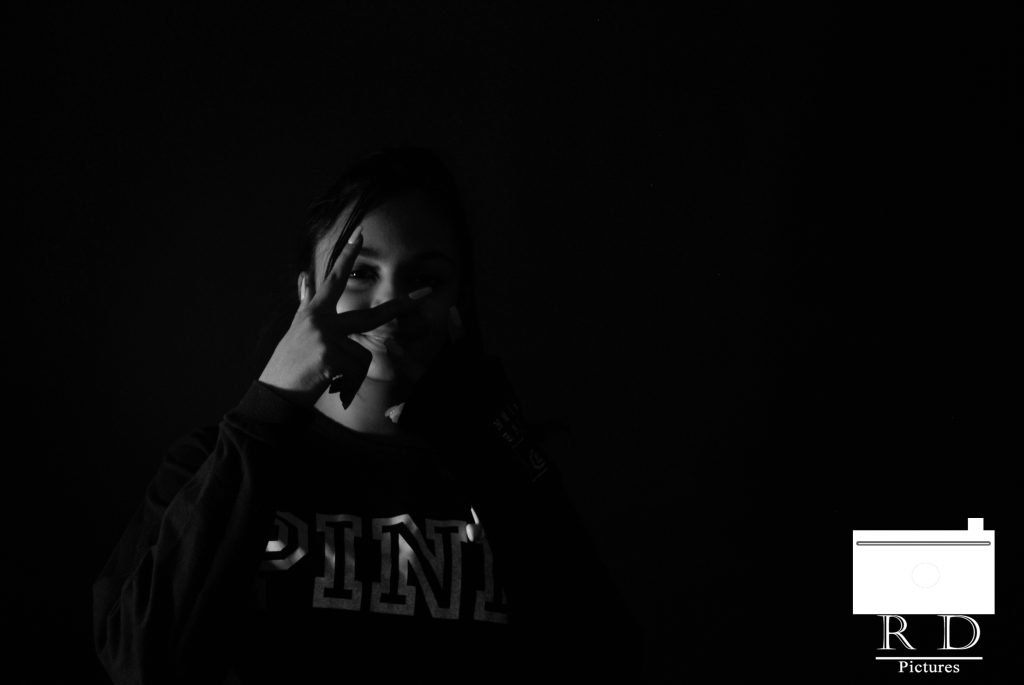
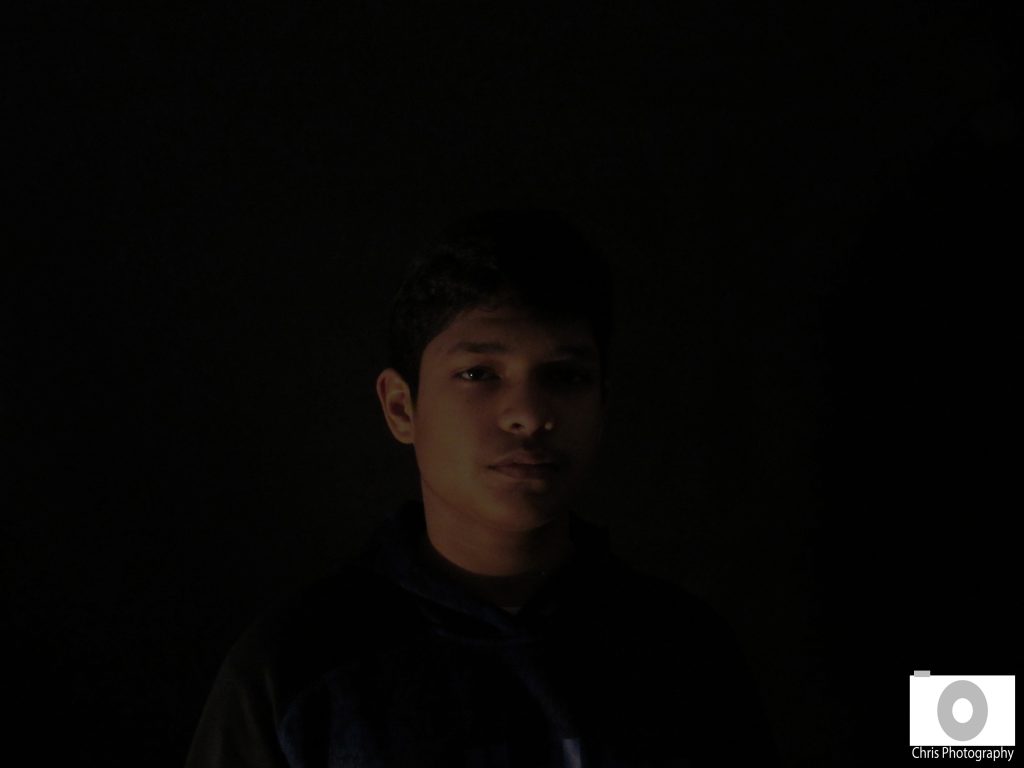
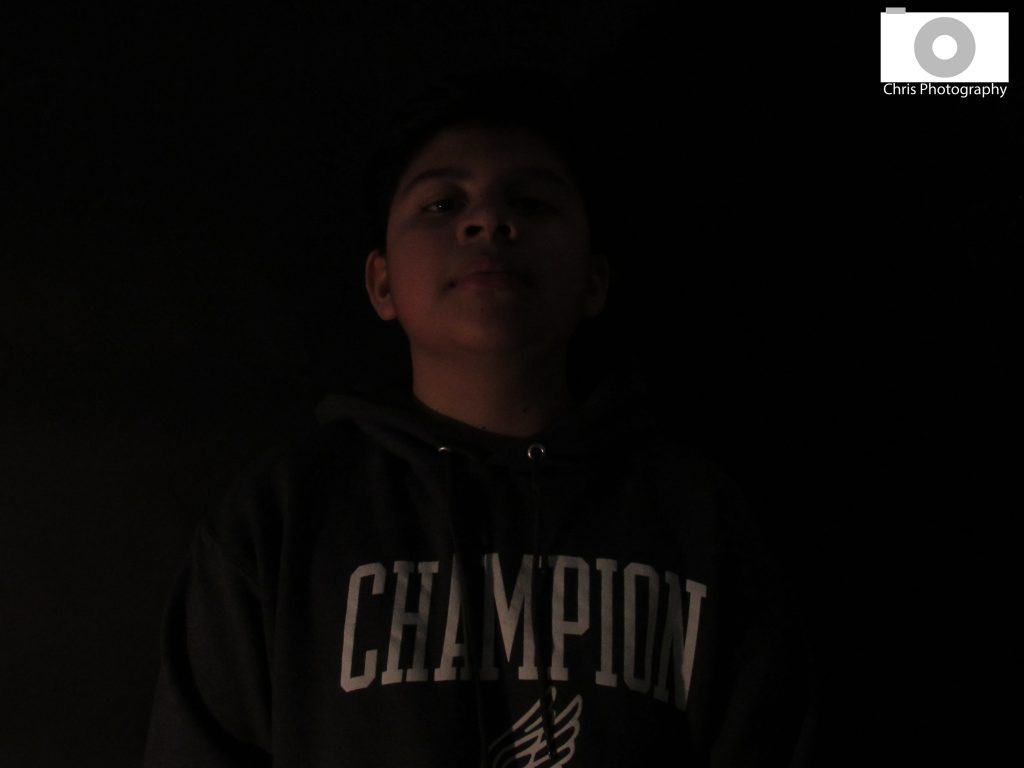
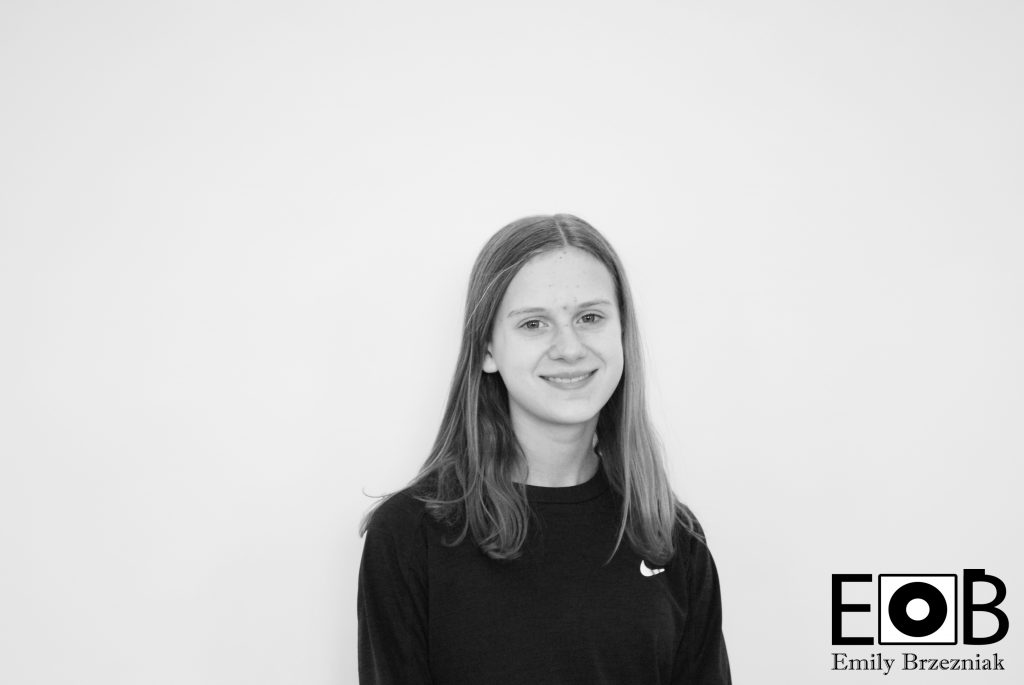
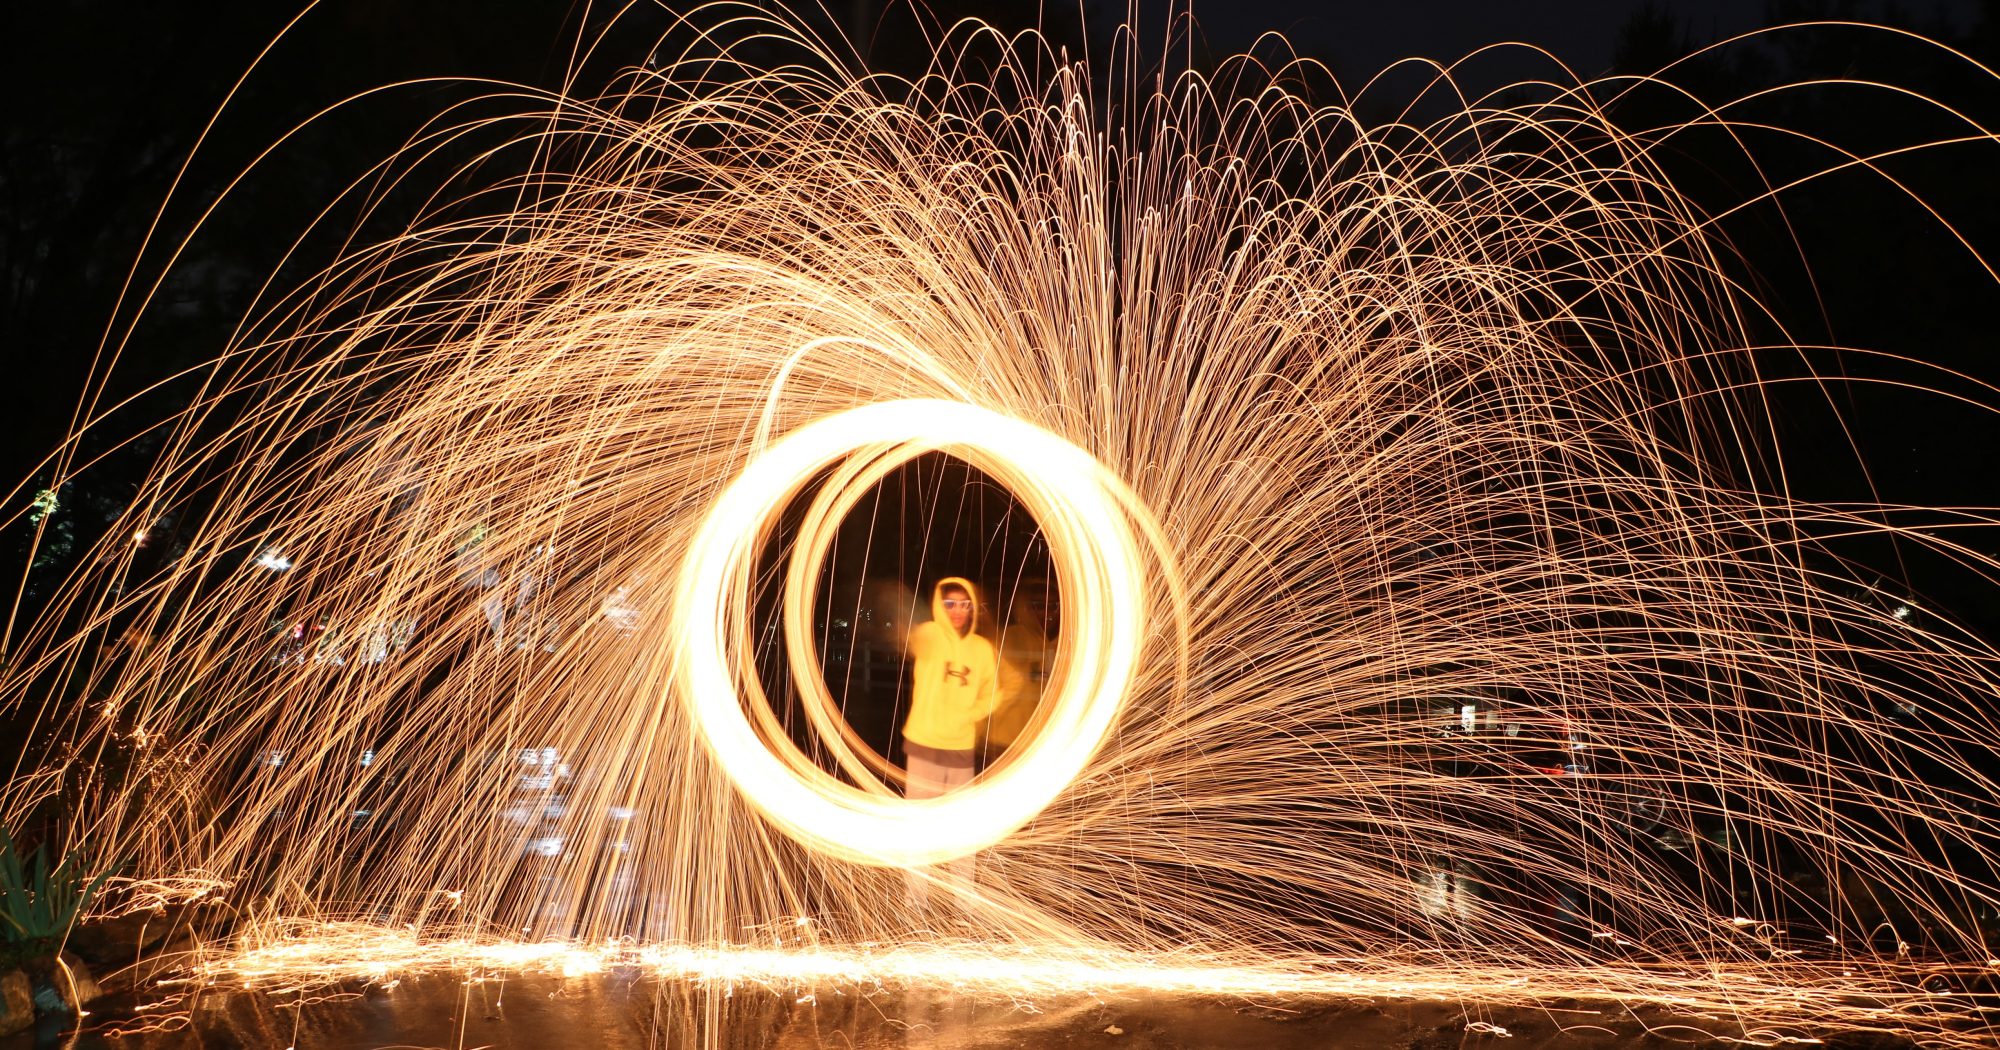
In this project, we had to make it look like there was an infinite black background. In order to get the right lighting, we had to put the light on the person, instead of behind. One thing that didn’t work was taking the picture far away from the person so it wouldn’t mess the lighting up. one thing which was easy was focusing on the subject better than in the white background post. It was hard because the light was really bright.

Click here for more pics.

Framing Pictures

In this project we had to go out and find natural frames and use them in our pictures. The difference between this and rule of thirds is that it didn’t have to be on the side. The challenges is trying to find good unique frames. Down here is example and my favorite. I like it because there are not a lot of things with that color and it is pretty simple with just 2 lines and the object in the middle. This is the link to see my pictures

Click Here to see more photos

White Background

For this project, we had to make the background look infinite.One thing I did was I adjusted the camera to make it more sensitive to the light, so the background looked at bright as possible. While I was editing I found it super easy to adjust the brightness. One thing I struggled with was getting the the proper adjustments to the camera. It was challenging to get rid of yellower areas.

click here to see my photos

Infinite Black Background

In this project we had to take pictures of other people in our group in front of a black background. The hard thing about this project was finding the correct lighting to get the person in the background to stay unseen. The easy thing about this project was finding the background to make the photo. What worked was standing 3 feet from the background so the light could hit the person and the camera wouldn’t see the black background.

Infinite Backgrounds

For this project we had to take pictures of a subject in front of a black and white background. We had to eliminate all shadows. We adjusted the ISO, if its too low it will not work. Also, we had to adjust the shutter speed. People had to stay still or it would not work. To view more pictures click ""/ “>here.

Black Infinite Background

Click Here to View My Photos

This is similar to the white but the shutter of the camera had to be changed. It can’t be as sensitive to the light because it is a darker background so it does need more light unless you want the picture to look darker. We used the light on the background so that the object wouldn’t have a shadow and they looked like they were the center of attention. If we would’ve shined the light on the person it would’ve had a shadow and they would’ve looked very bright when editing. When editing there was a lot of options when editing like black and white and changing the colors up.

White background

In this project, me and my group had to stand in front of a white backdrop and shine a light on each other. we had to make so the background would disappear or become inadvisable. I felt it was hard to get the right picture because I kept messing up and moving the camera.

Click here to see my photos.

Black background

When I was doing this assignment, me and my group had to adjust the ISO on the camera to make it look like an infinite background. We had to make the ISO lower so it looked darker, then when i was editing, I used the brightness to make me and my group look brighter but still have the background darker. The ISO had a very big arrect on the photo. But while we were taking the photos it was kinda hard to see our faces and we needed more photos too.

Rule of Thirds

These are two of my favorite photos!

In this assignment we had to take pictures using the rule of thirds methods. I believe thinking of the object that you want as your main focus and then taking the picture, you should show somebody and ask what they see first when they look at the picture. When I edited some of the pictures on Photoshop, some of them looked better in black and white than others. I believe this assignment was fairly easy to do. Okay so in the first picture the sky was my main focus so if you think of a tic-tac-toe board I tried to make it so the sky was in the first two rows. The second photo was the dog was my main focus so I took the picture while it was running towards the far right so the dog was in the middle row to the farthest right. To see the rest of the pictures click here

Rule of Thirds

In the rule of thirds project, I had a grid on my camera (3 by 3) and I had to line up certain objects with the lines or intersects. One thing that I struggled with in this project was knowing if something was the rule of thirds or not. One thing that worked for me was when I took an object and put it up close in one of the corners. It made the picture look a lot more interesting. At the beginning of the project, I thought the Rule of Thirds would give the picture more depth and make your eyes go from one thing to another. You are supposed to line up objects on the lines. When you set people up it takes a lot of directing so you can make sure that you get the people or object exactly where you want it. Overall, I really enjoyed this project!

Click here to see the rest of my pictures